No More Dull Backgrounds! Create Your Own Instead.

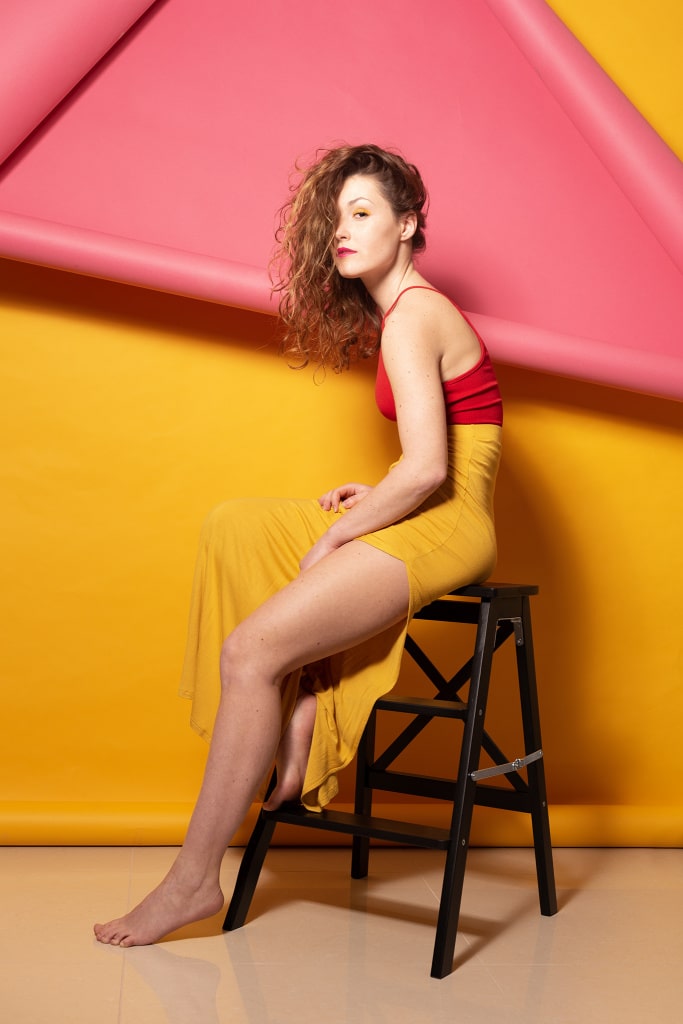
Backgrounds are a very important element for photography. You can use them to fundamentally impact a photo’s style and atmosphere. But many portrait photographers only focus on the foreground—their model. And that’s a shame! Don’t be afraid to experiment, to try to connect the model with their background, or to do the opposite and produce contrasts. You’ll see that it pays to be creative. Take inspiration from our article!
The background that you happen to have around isn’t always one that will really work. So how about creating your own? There are lots of possibilities for how it can look and how you can produce it. All you need are, say, scissors, double-sided tape, sheets of paper and cloth… in short, anything you can find at home and that you have a lot of, so that the frame is filled out nicely.
Gather up Your Materials
You surely know traditional studio backgrounds. They’re manufactured in a variety of colors and widths, out of paper or cloth. They have the advantage that you can buy them and then use them immediately. But if you can’t afford them, try finding a different source, like using unneeded or cast-off items in your household. You can also try contacting studios. They might find some unneeded scraps that they’ll gladly lend you. I like to use the paper scraps, because I can do lots of interesting things with them. They’re not just practical; they’re also great for creativity.
You can take stepped-on bits that most photographers would just throw away and layer them, tear them, and create. If you have, say, just one paper background, why not try buying paints and brushing on some interesting decorations? Involve your friends, family, or children, and you’ll see them having fun while creating gorgeous art pieces.
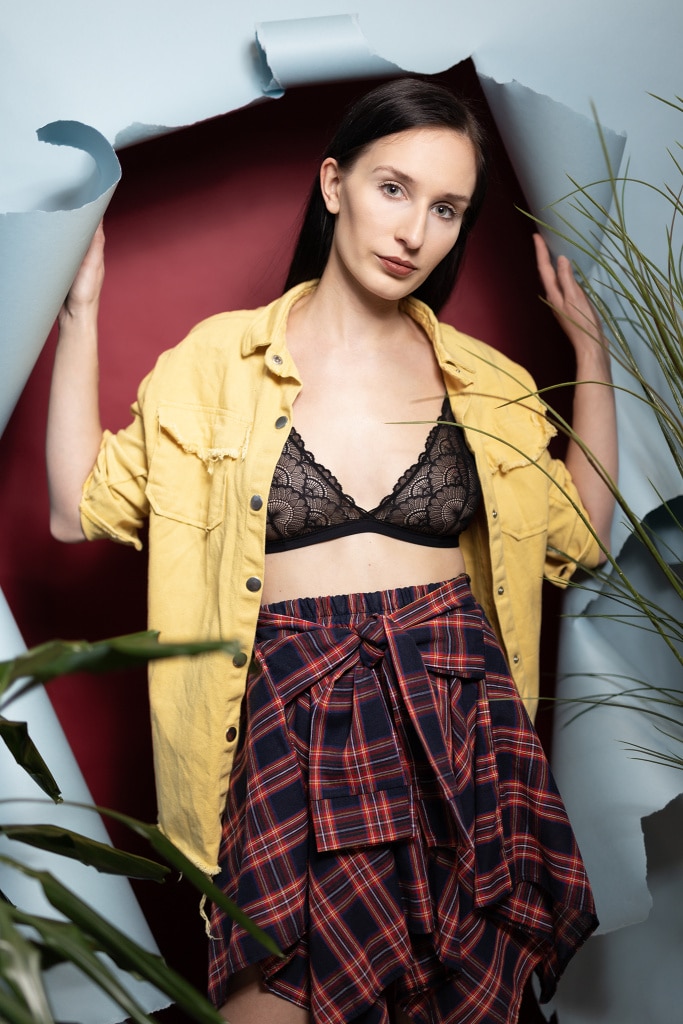
Watch Out for Focal Length
You should shape your background around the focal length you’re using. When you’re shooting a head-and-shoulders portrait, a small background is enough. But for a wide-angle shot, you’ll need lots of material. I recommend that you check your angle of view through the lens while making your background, so that it won’t be missing from part of the frame.
If you have an already furnished studio with backgrounds in several colors, you can go wild with combining colors, layering them, and just playing. You can even create a whole scene made especially for you.
What Materials Should You Use?
You can make a background out of anything. You might try asking your grandma for old pieces of cloth with interesting patterns. Or you can use anything that you want to get rid of and have enough of. You can glue on old newspapers and turn them into an interesting “wallpaper.” Recycling centers can be useful here as well. You can find a lot of interesting things there. (Again, remember that it’s important to have plenty of the material you’re using.) Or you can play hunter-gatherer for a bit. Keep storing away bits of the material you’ll be using, and as soon as you have enough, get started creating.
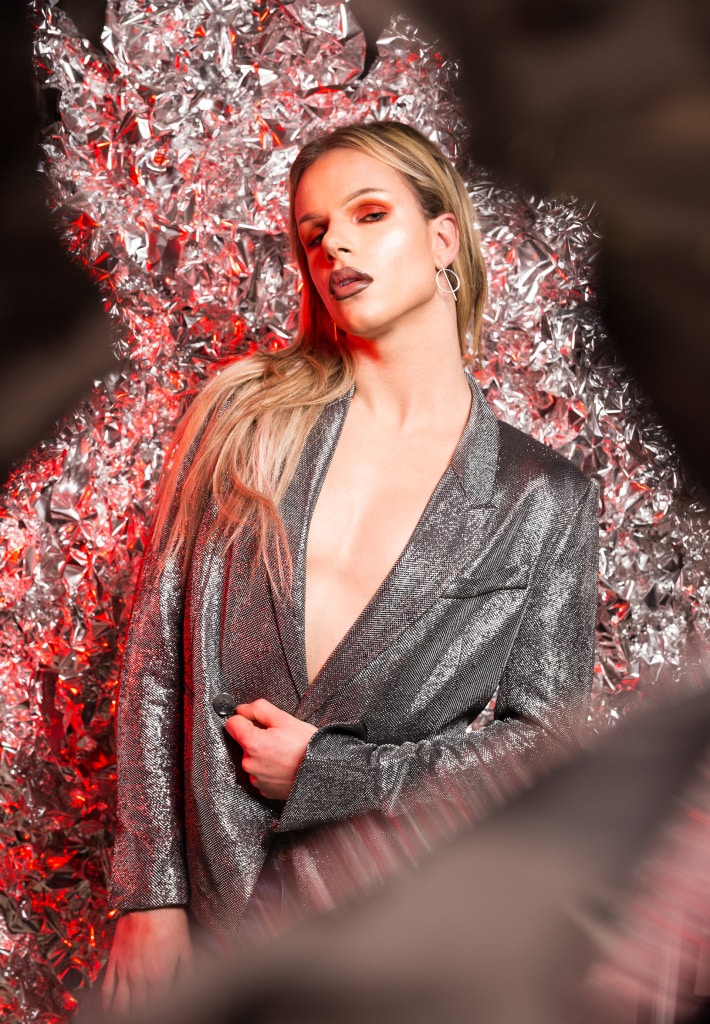
Once you’ve created a background, you can use it wherever you want to shoot. Or maybe just adapt it to your plans. Simply add some small element, a curiosity that makes your photo stand out from the rest.
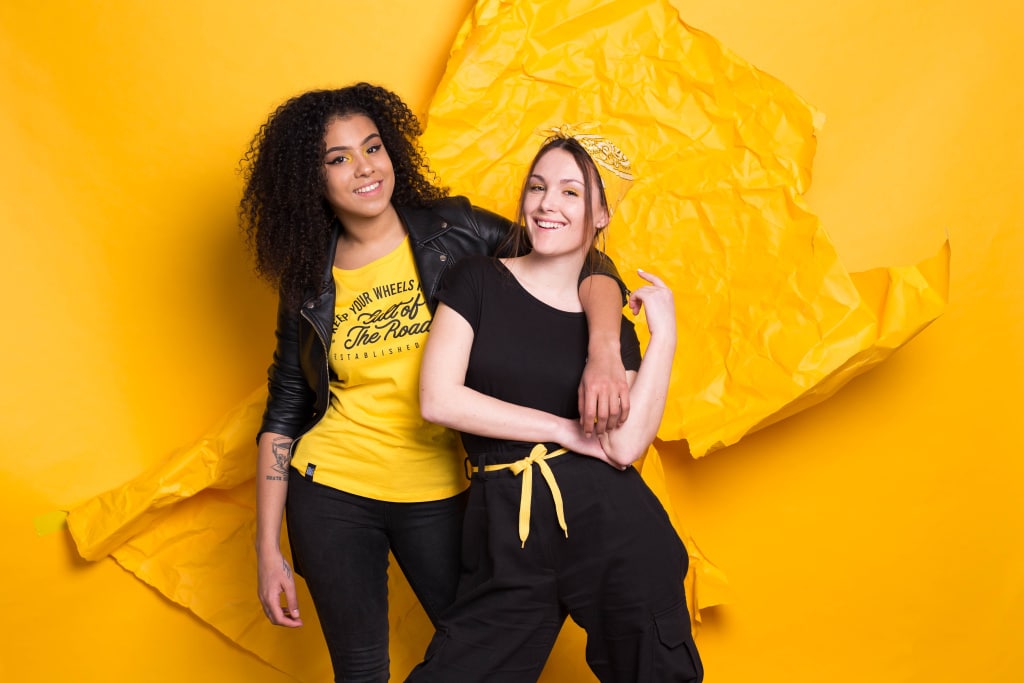
Stand Out—Be Creative
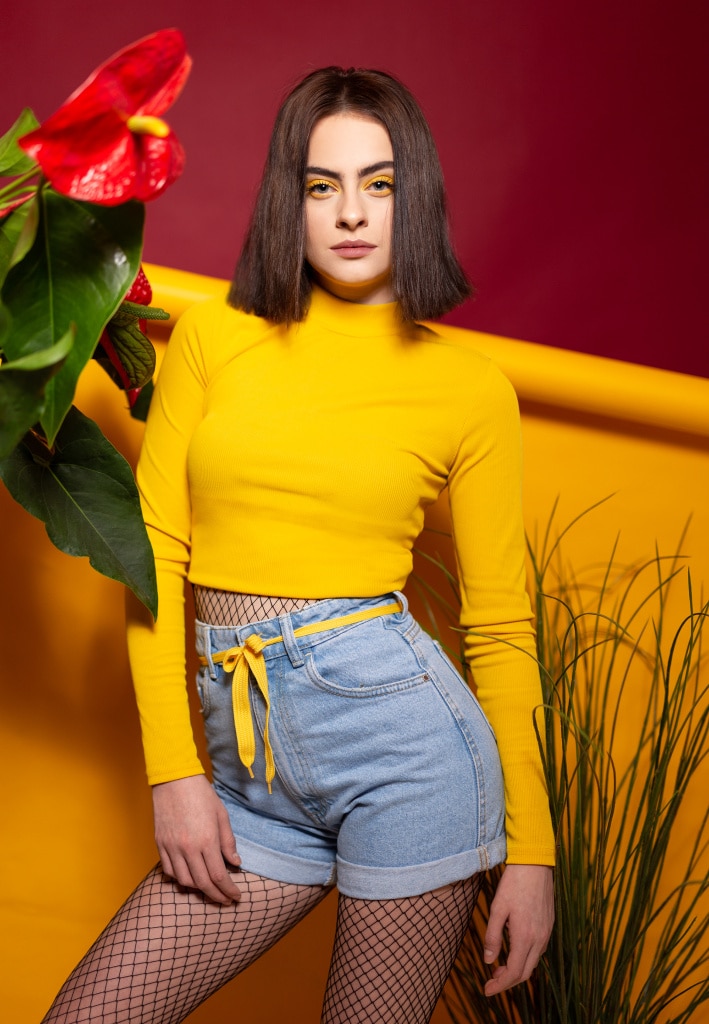
I hope I’ve inspired you to try out new possibilities and not just stick to what other people are using. Don’t forget to share your creations in the comments or on Zonerama! I’ll be looking forward to it!


There are no comments yet.