Photographing the First Blooms of Spring
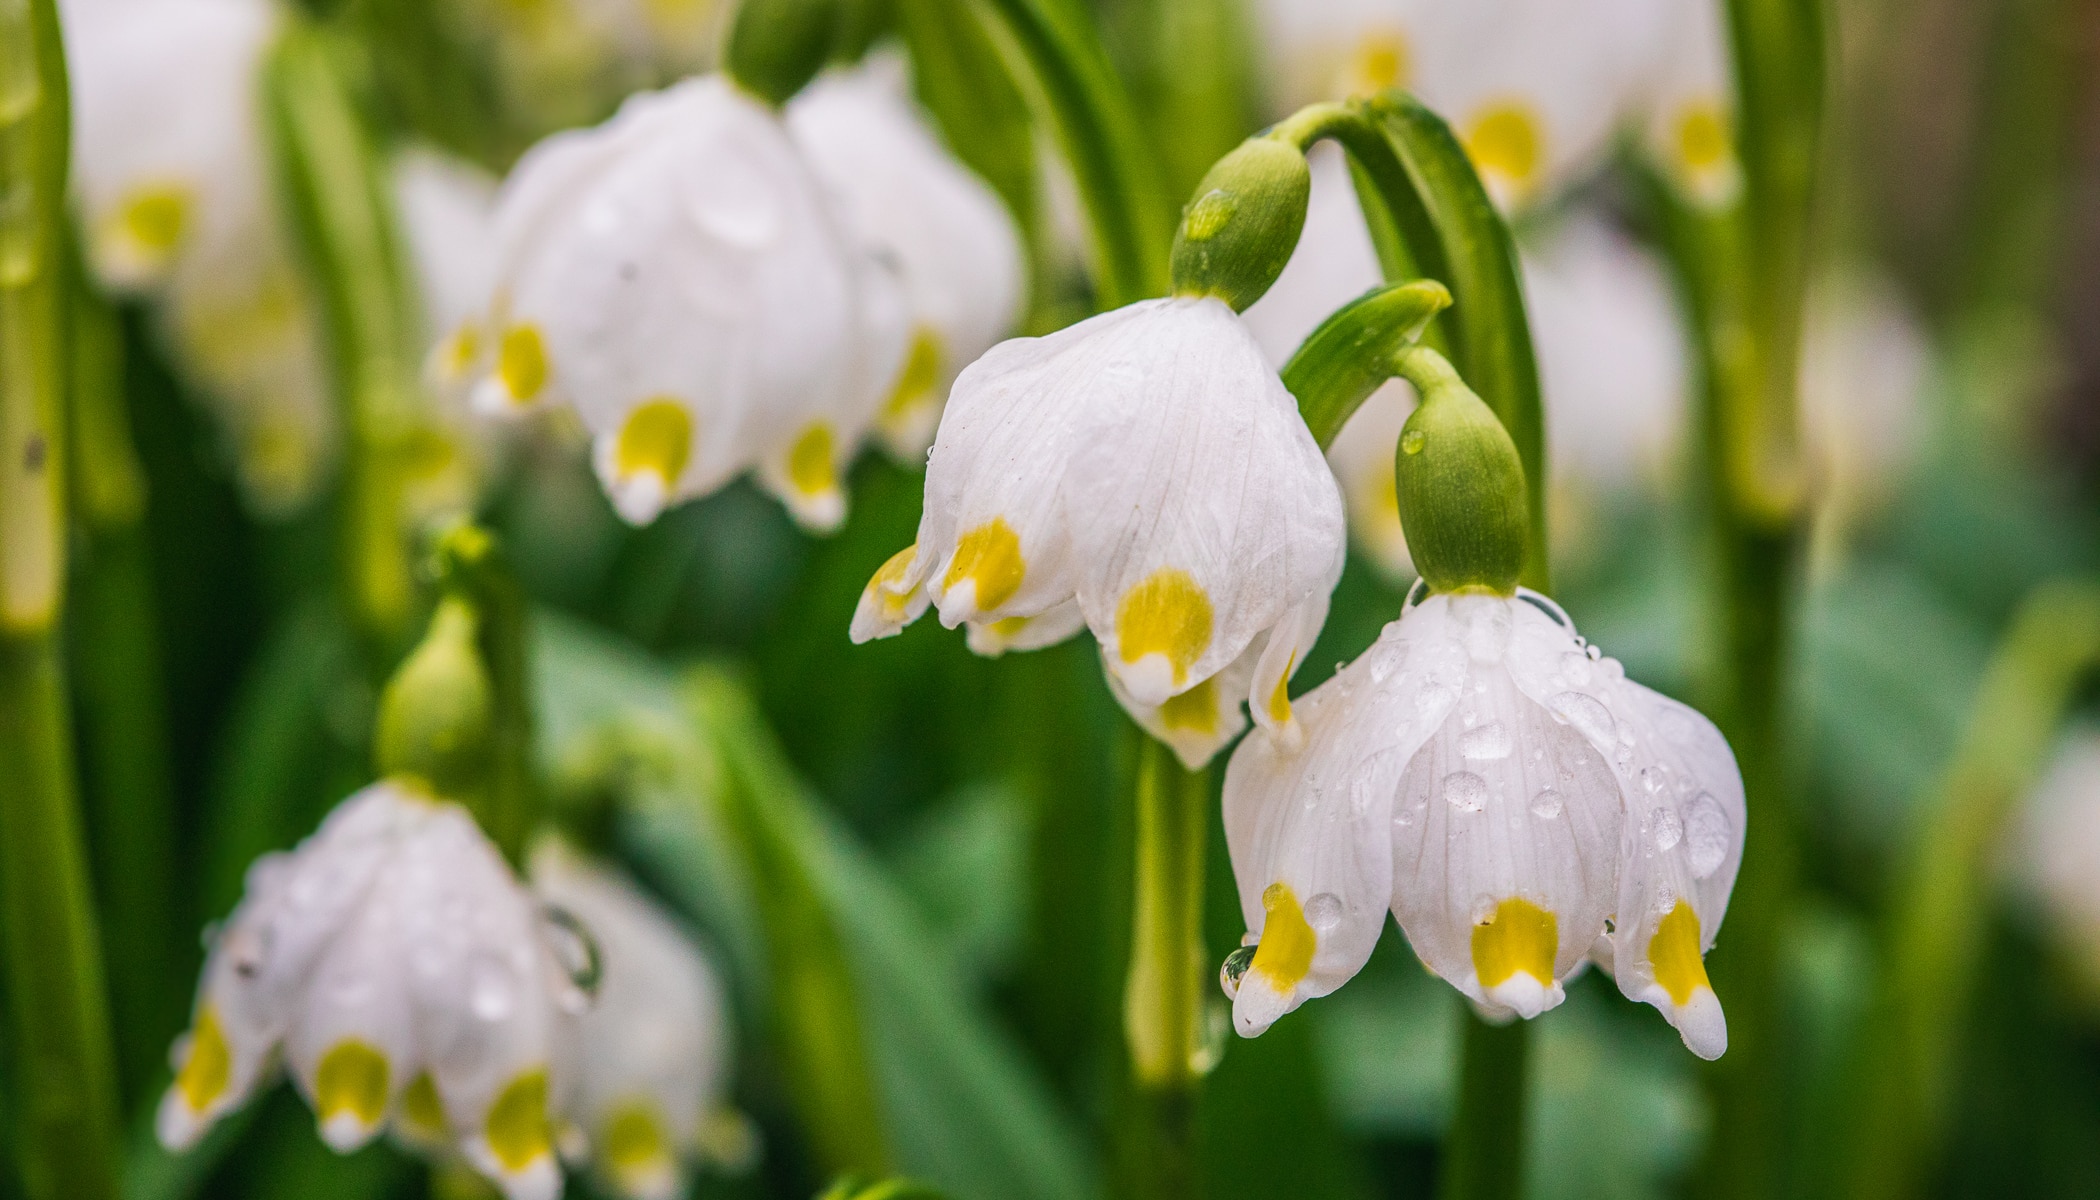
The time for capturing nature in bloom begins each spring. First, the small flowers, which are not only for feasting your eyes on, but also provide a great opportunity to test out your photography skills. Let’s review some basic guidelines and ideas for photographing a mere ten centimeters from the ground.
While we are focusing on spring photography here, most of the suggestions can be applied to the other seasons, and frequently to other subjects too. As we know very well in photography, there are connections to be drawn everywhere and it’s up to you how you choose how to apply new learning.
Time and space
Some of the first spring flowers here in Europe are typically Snowdrops (Galanthus) and Spring Snowflakes (Leucojum). Maybe you already have a place scoped out where your favorite spring flowers appear each year. Fortunately, the blooming period can be anywhere from February through April (depending on the type of flower and weather), so there are plenty of opportunities to get that perfect spring shot.
Demonstration using snowflake flowers
The following photographs were taken in a valley filled with spring snowflake flowers two years in a row, roughly in mid-March. The first picture shows the type of environment we encountered when photographing.
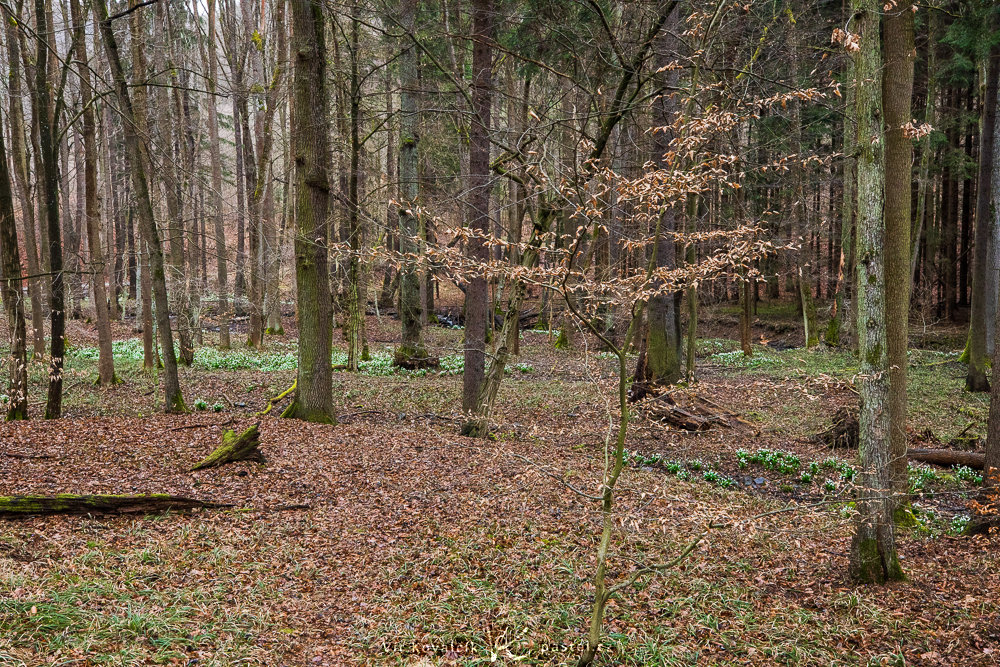
Canon 5D Mark IV, Canon EF 16-35/2.8 III, 1/125s, f/8, ISO 2000, focal length 35mm.
You may notice several things:
- These flowers bloom at a time when a dry, winter landscape still surrounds them. You can make use of this in your photo to show the contrast between the two worlds. However, if you want to convey a more optimistic vision, you have to carefully select the right camera angle to include more of the blooming flowers than boring tree trunks. See the examples below.
- Even though the green patches are far from one another, the patches of flowers themselves are relatively dense. Keep an eye on what’s under your feet to avoid accidentally stepping on some of the flowers while searching for the right shot.
- You can take pictures even when it’s overcast, but account for a higher ISO sensitivity or bring a tripod. Unfortunately, working with an ordinary tripod at very low heights can be a bit tricky. As you can see from the photos that have an ISO of 2000, I opted to not use a tripod. (Even though you can see a photo here taken at a normal height, this was more of a peripheral shot).
Long focal length
To bring attention to places of interest in the scene, use a long focal length. I used 100mm in the photo, but an even longer focal length wouldn’t be a problem.
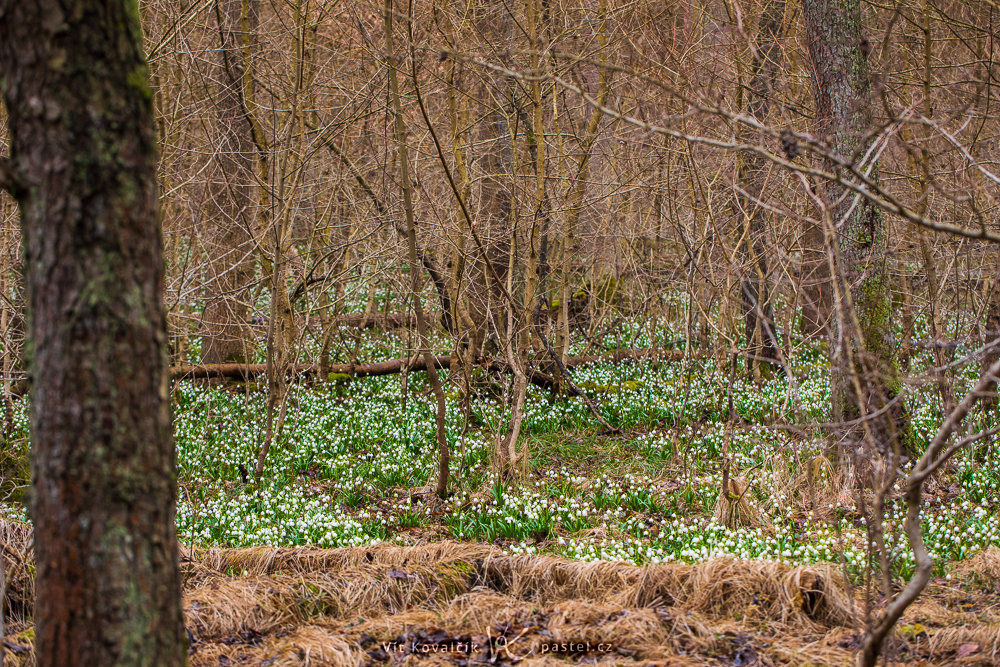
Canon 5D Mark IV, Canon EF 100/2.8L IS Macro, 1/125s, f/5, ISO 800, focal length 100mm.
Notice that the amount of greenery in the image has increased. It has resulted in what is called lens compression, which means the distant areas of the scene appear closer. To the viewer, it appears as if the distance between close points and far-off points is much smaller than in reality.
Naturally, this lens compression also involved exploring the patches of flowers and photographing in the direction with the longest distance.
Get closer
If you move closer as well as use a longer focal length, you will get an even more effective shot that is now filled with snowflake flowers.
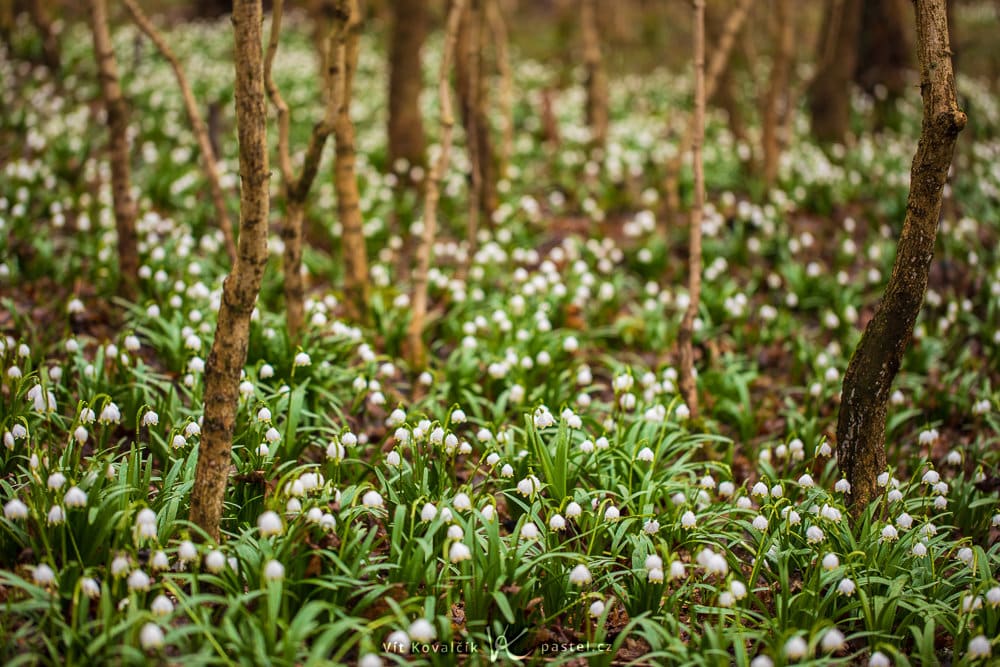
Canon 5D Mark IV, Canon EF 100/2.8L IS Macro, 1/125s, f/2.8, ISO 200, focal length 100mm.
Even here it is important to pay careful attention. I’ve seen plenty of images where the main subject was beautifully captured, only to have unnecessary chaos behind it ruin the photo. The background is also an important part of the photograph! This is why you should take the time to find which direction gives you the best shot.
It’s no coincidence that there are young, elegant tree trunks in the shot above. When you look at the wider shot from before, you see that it’s much more likely that there will be scattered tree stumps in the background or visible patches of dry grass. Finding a point of view that lacks any disruptive elements isn’t always easy, but your patience will be rewarded with a much cleaner image.
Completely close-up
A few steps closer and you’re venturing into the field of macro photography. Not every lens will allow you to zoom in to such an extent, but if it does, use it to your advantage. Nevertheless, you can get similar shots with non-macro lenses too. If you have a non-macro lens, you can shoot from a greater distance where your lens can still focus and later crop this wider shot. Yes, there will be some loss of image quality, but if you aren’t planning to print in large formats, the loss of quality is likely to be negligible.
It’s a good idea to lean over in order to get the camera at the level of the flowers. You will then shoot horizontally rather than up and down. Cameras with flip screens are a plus here, but you can manage without one.
Again, it’s important to keep an eye on the background. By turning in various directions, you’ll be able to see single flowers or groups of flowers gradually blending into the background.
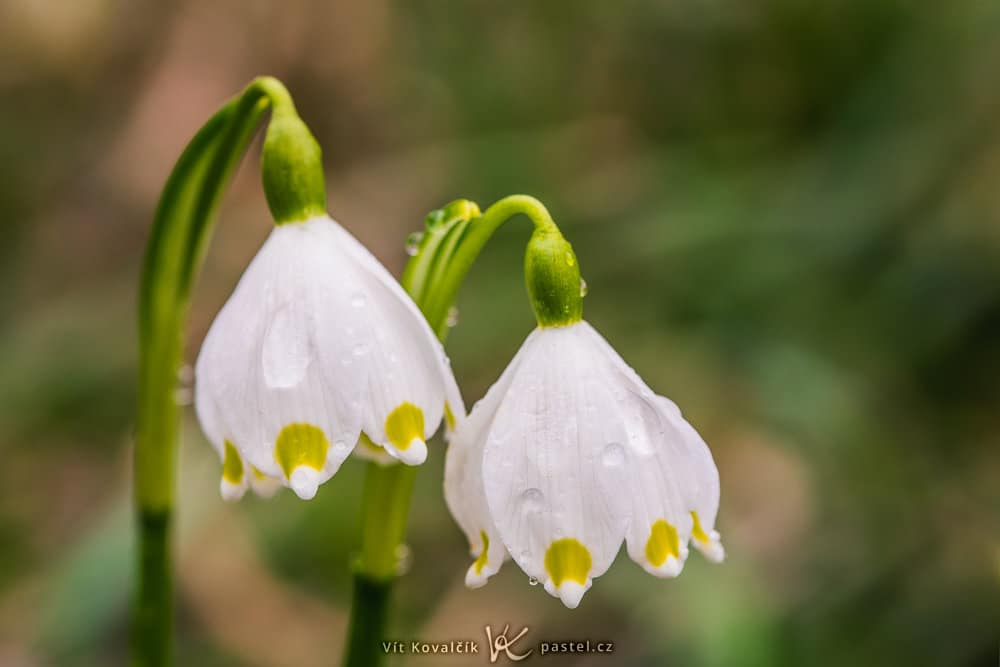
Canon 5D Mark IV, Canon EF 100/2.8L IS Macro, 1/125s, f/8, ISO 320, focal length 100mm.
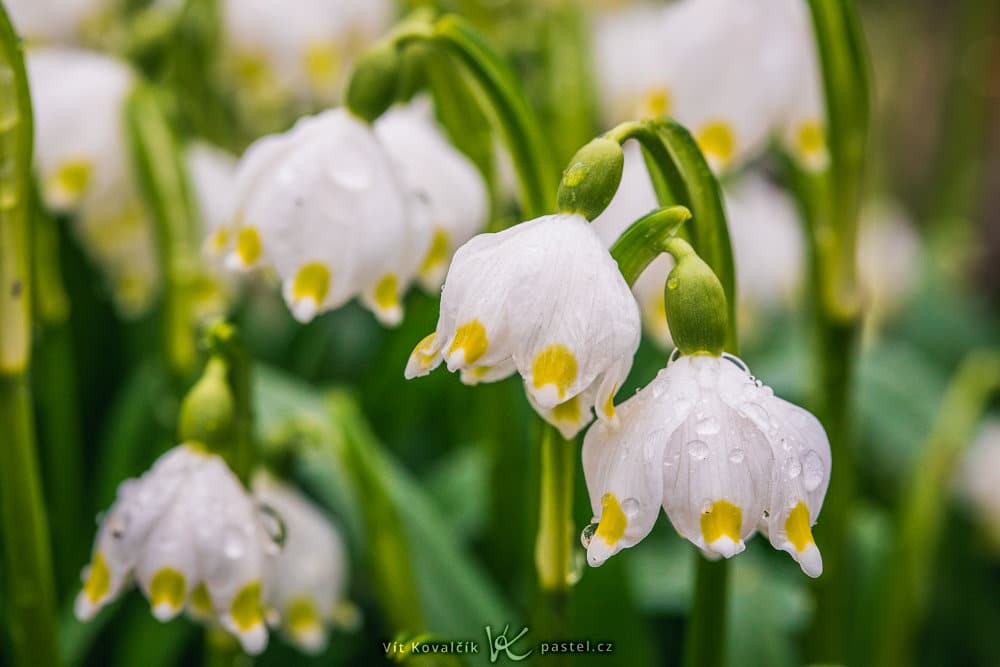
Canon 5D Mark IV, Canon EF 100/2.8L IS Macro, 1/160s, f/8, ISO 1 250, focal length 100mm.
For similar pictures, you’ll typically need a higher aperture. Without this, not even a single petal will be in focus. For a full-frame camera, I chose f/8, which corresponds to roughly f/5.6 on an APS-C or f/4 on a Micro Four Thirds system.
Another effect is used here – water droplets. On my first trip, I was lucky enough to arrive just after rainfall and the snowflake flowers still had some moisture on them, making them look fresh and delicate. For my second trip, I sprayed some water on the flowers, so I was able to get a similar effect artificially. Some photographers carry a spray bottle with them specifically for this purpose.
The foreground in front of the main subject
The background is not the only important factor. You will give the shot more depth if you capture something else in front of the main subject. In this case, it meant the camera was practically touching one flower, while focusing on those further in the distance.
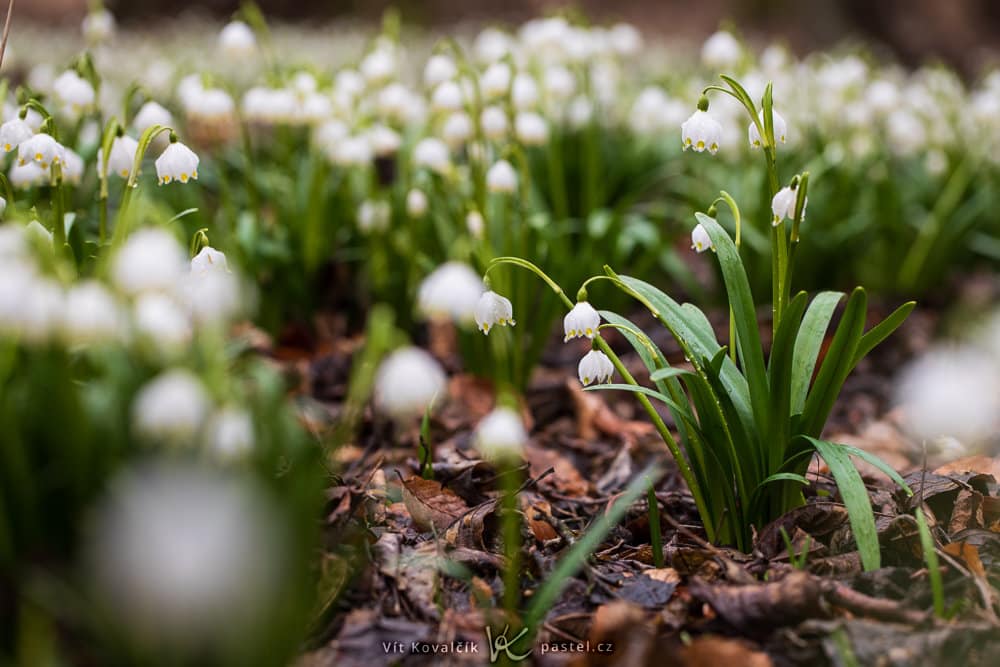
Canon 5D Mark IV, Canon EF 100/2.8L IS Macro, 1/125s, f/4, ISO 200, focal length 100mm.
Include additional elements
Another option to make the image unique is to include additional elements. For this particular location, it was a tree log covered in moss.
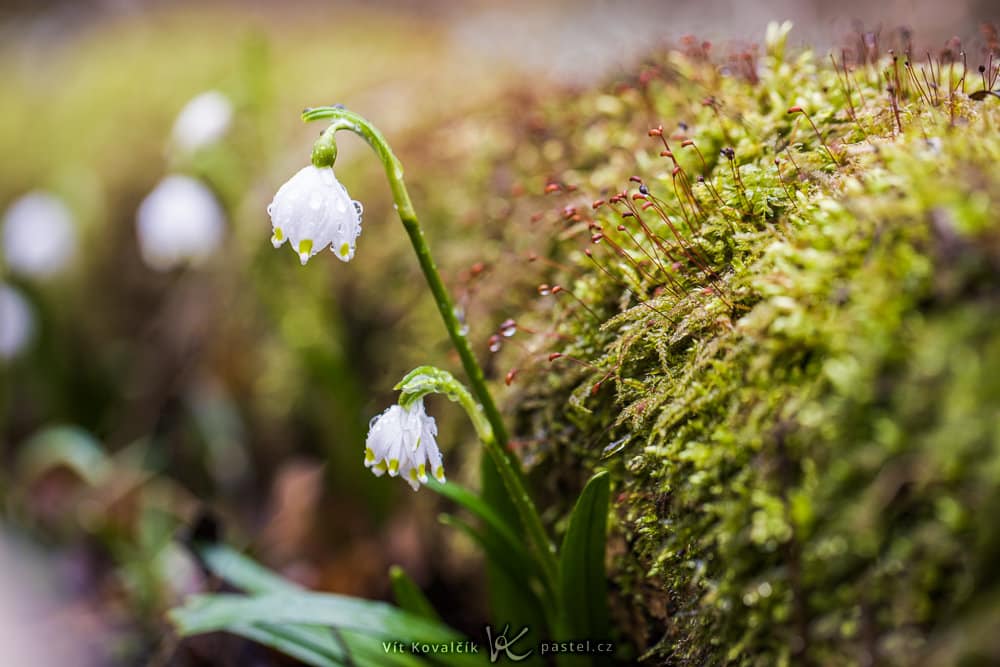
Canon 5D Mark IV, Canon EF 100/2.8L IS Macro, 1/160s, f/4, ISO 320, focal length 100mm.
I purposely photographed at the level of the log so that the out of focus moss was both in the foreground and the background. However, this isn’t the only option. We could also include the additional element only in the background to frame the entire scene just as well.
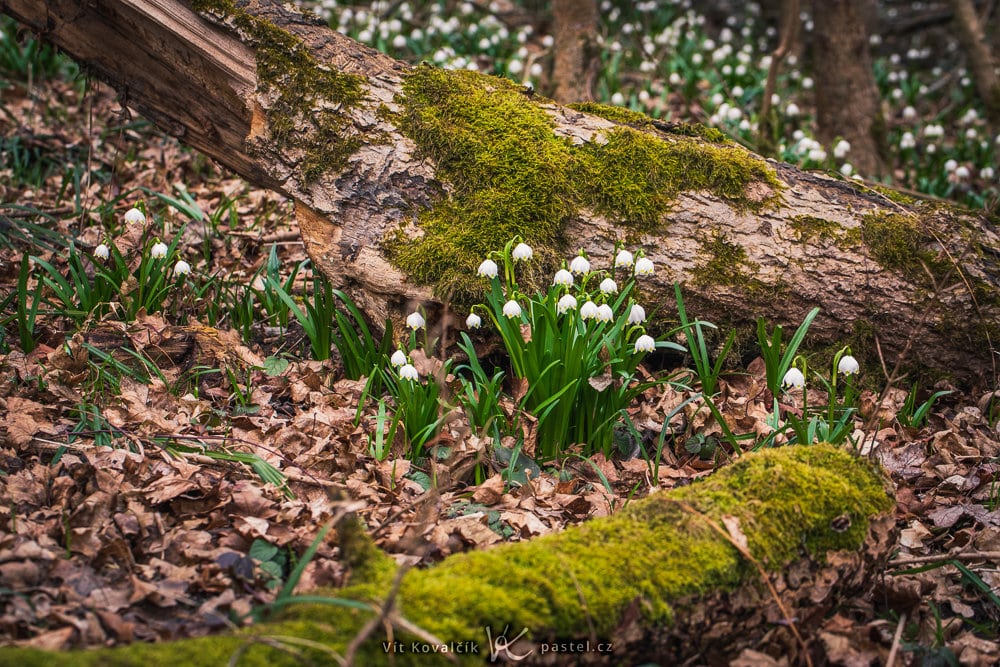
Canon 5D Mark IV, Canon EF 100/2.8L IS Macro, 1/160s, f/4, ISO 320, focal length 100mm.
Experiment to arrive at other types of photographs
The options described above are just some of the many possible paths to spring flower photography. Experimenting or even purposely going against the guidelines above will certainly help you develop your skills further. Only by doing so will you be able to arrive at other interesting shots and discover your own unique style. That’s why, even though my main tool throughout the article has been a telephoto lens, I end with an image from the other end of the spectrum. I used an ultra-wide 16mm lens – snowflake flowers as seen from the eyes of an insect.
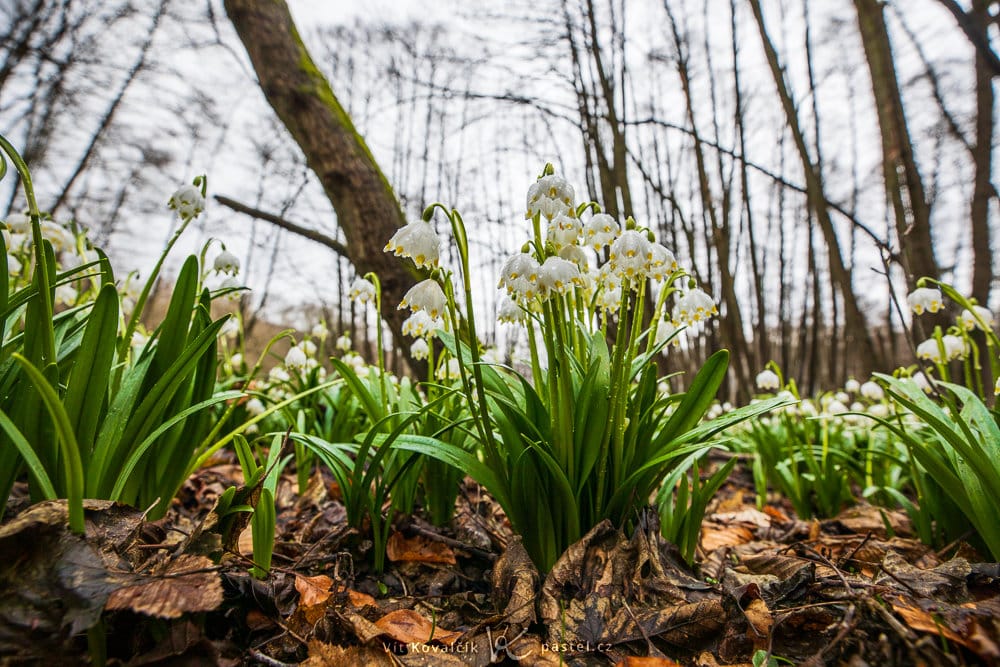
Canon 5D Mark IV, Canon EF 16-35/2.8 III, 1/200s, f/5.6, ISO 100, focal length 16mm.

There are no comments yet.