A Good Picture Sells! How to Take Pictures of Secondhand Items to Catch Your Buyer’s Eye
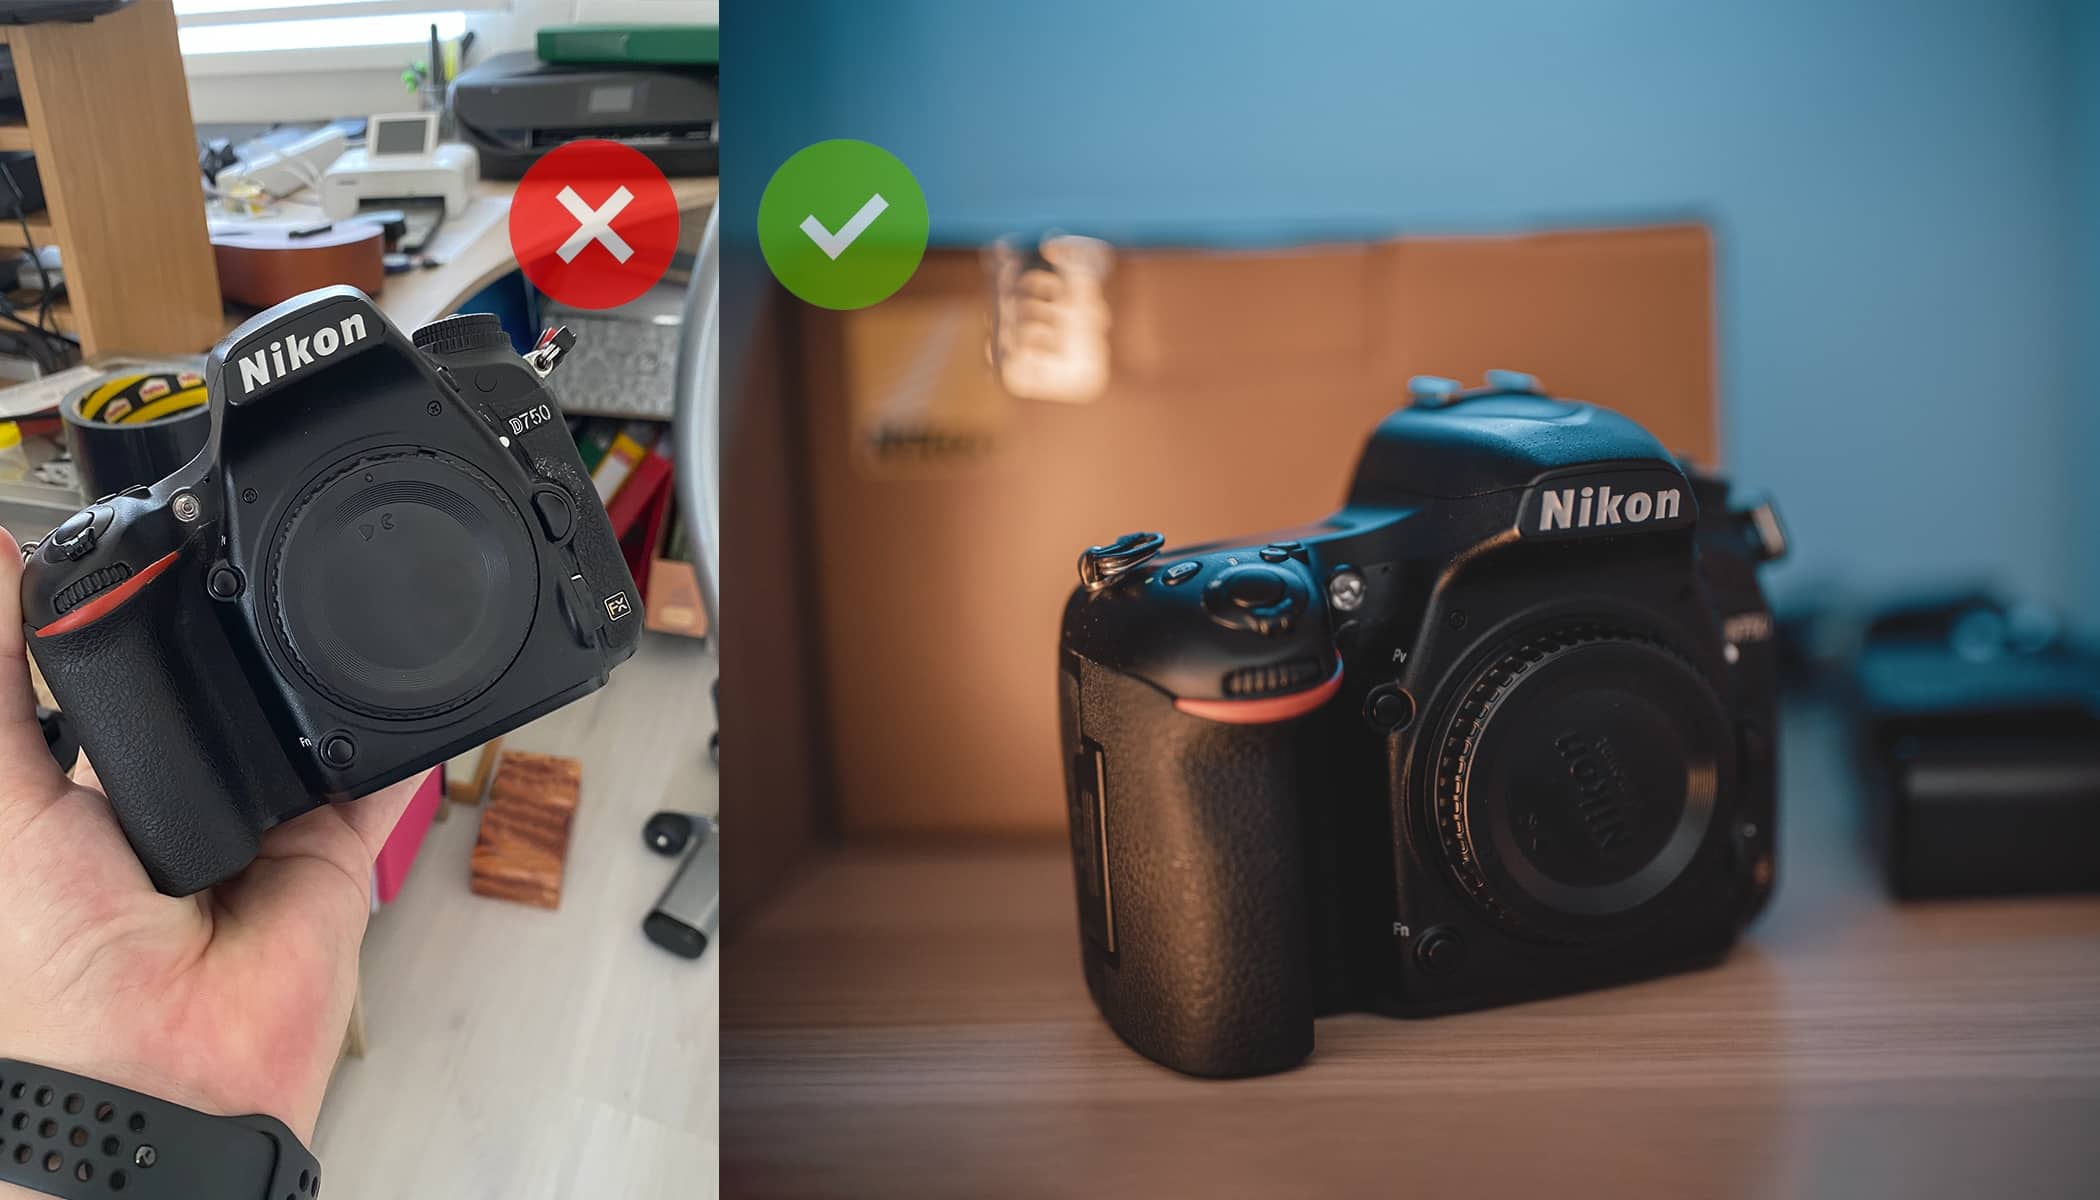
When you’re selling something on the Internet, it looks better when you include a high-quality photo. Whether your sale is successful or not ultimately depends on what you’re selling, for how much, and what condition it’s in. But photos very much influence the first impression of the item you’re selling and of yourself as the seller. If you take a good photo of the product you’re selling, it is sure to help you very much. Let’s take a look at some basic principles.
We will demonstrate everything using the example of selling used photography equipment. However, the majority of tips will be applicable no matter what you’re selling (with the exception of cars, real estate, and other big-ticket items). Let’s take a look at how to take pictures that will help these items sell themselves.
Pay careful attention to these main things:
- Take pictures in a realistic setting, not a white background,
- Clean up the area – a messy background never looks good,
- Use good lighting, either natural or artificial,
- Keep an eye on exposure (this is especially important when selling photography equipment),
- Don’t be afraid to use a bit of creativity.
Don’t take pictures on a white background
If the pictures of the photography equipment you want to sell look like product photography as you would see on the manufacturer’s website, the buyer may think that you didn’t want to take pictures of the equipment and just used a picture downloaded from the internet. Or even worse – that you don’t even own the equipment and you are a scammer.
So, what do we do? The best thing to do is take pictures of the product in a realistic setting. Take some time to prepare and remove any disruptive elements from your picture.

Sometimes a bit of tidying up will do the trick
Disruptive elements such as a messy table or room are the most common eyesore in photos of secondhand items for sale. While these things don’t decrease the quality of the items you’re selling per se, it does say a lot about the seller.
I would rather buy a camera that was previously owned by a responsible photographer that used covers, regularly cleaned the equipment, and treated it with care. Seeing a mess in the picture certainly doesn’t convince me of this. Quite the opposite, it makes me question the care the previous owner took with the equipment. While this isn’t necessarily true, many potential buyers think this way.
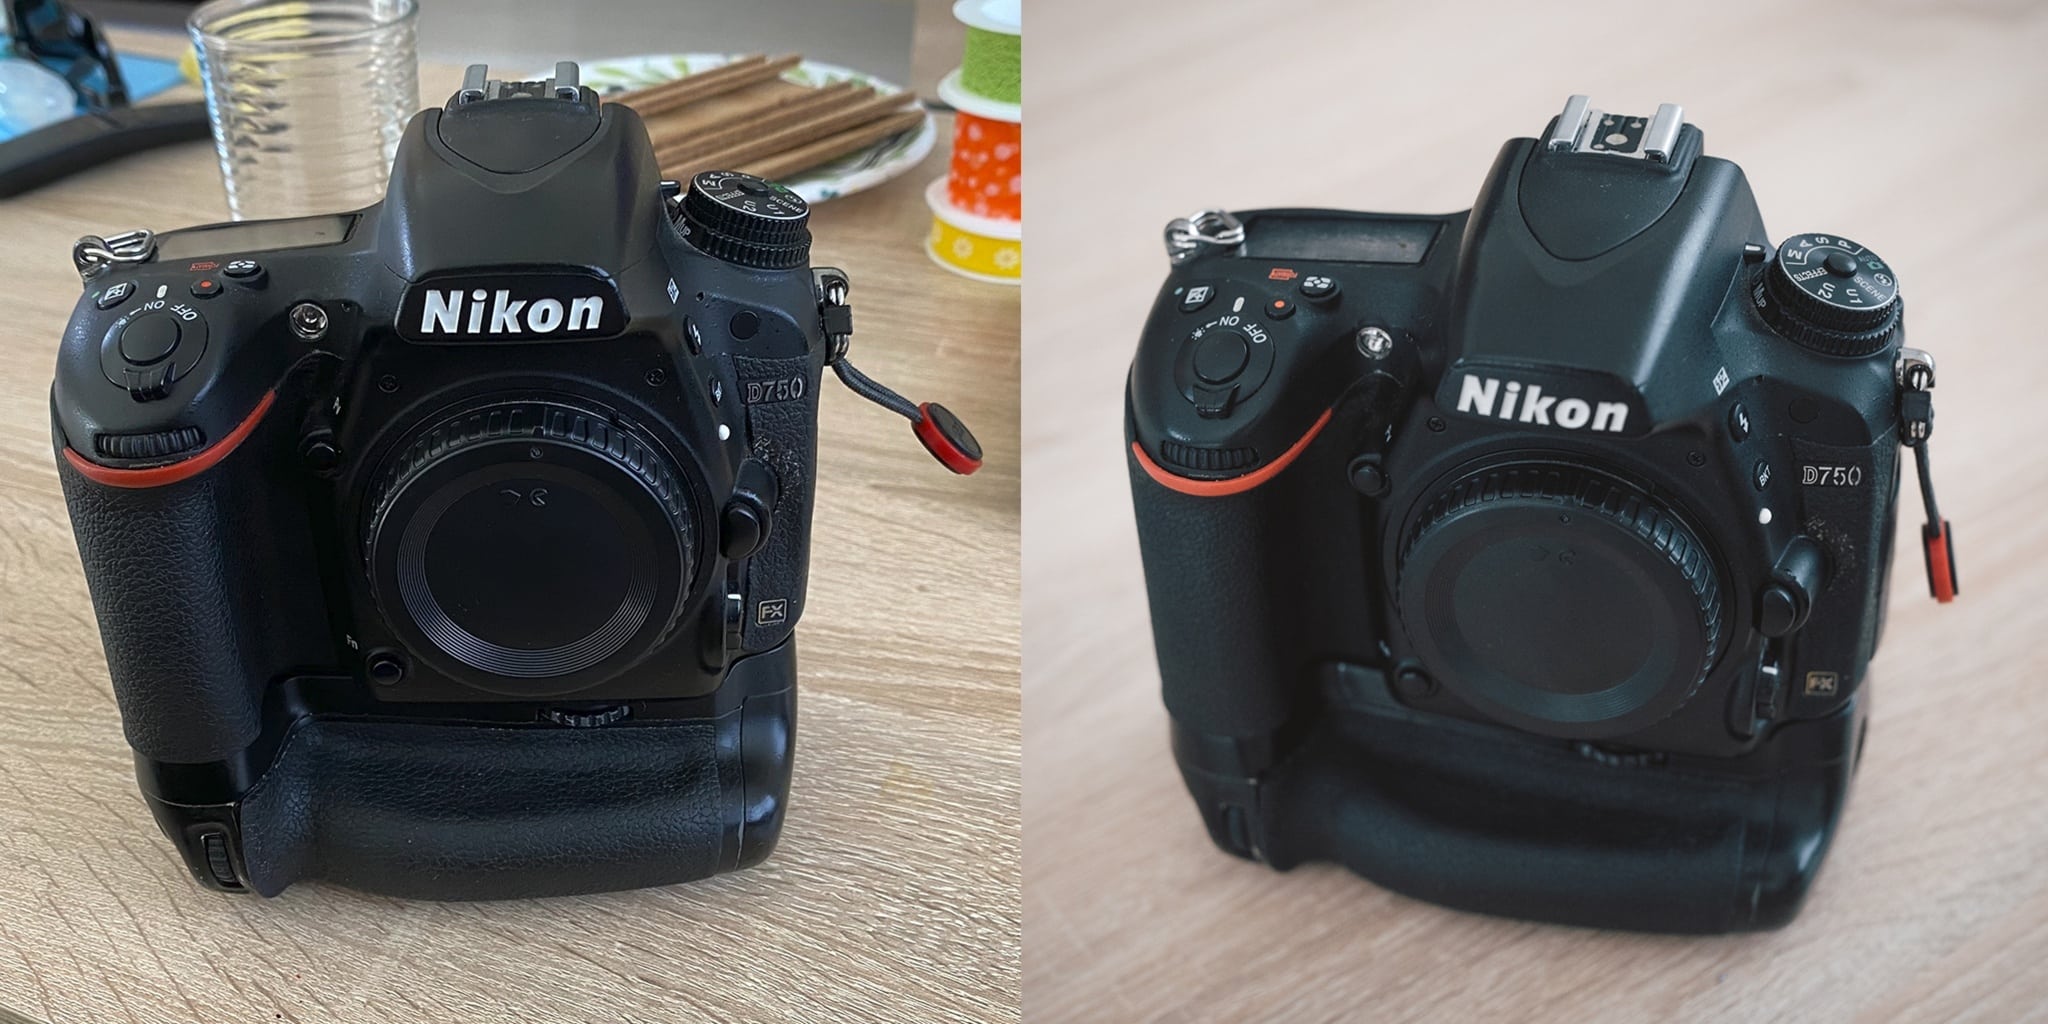
Limited on space? Use the floor or a shelf
If you have a lot of clutter and a table won’t work, clean out just one shelf from your bookcase and you’ve created a closed-off space where nothing can distract from the item you’re selling. Daylight should be more than enough.
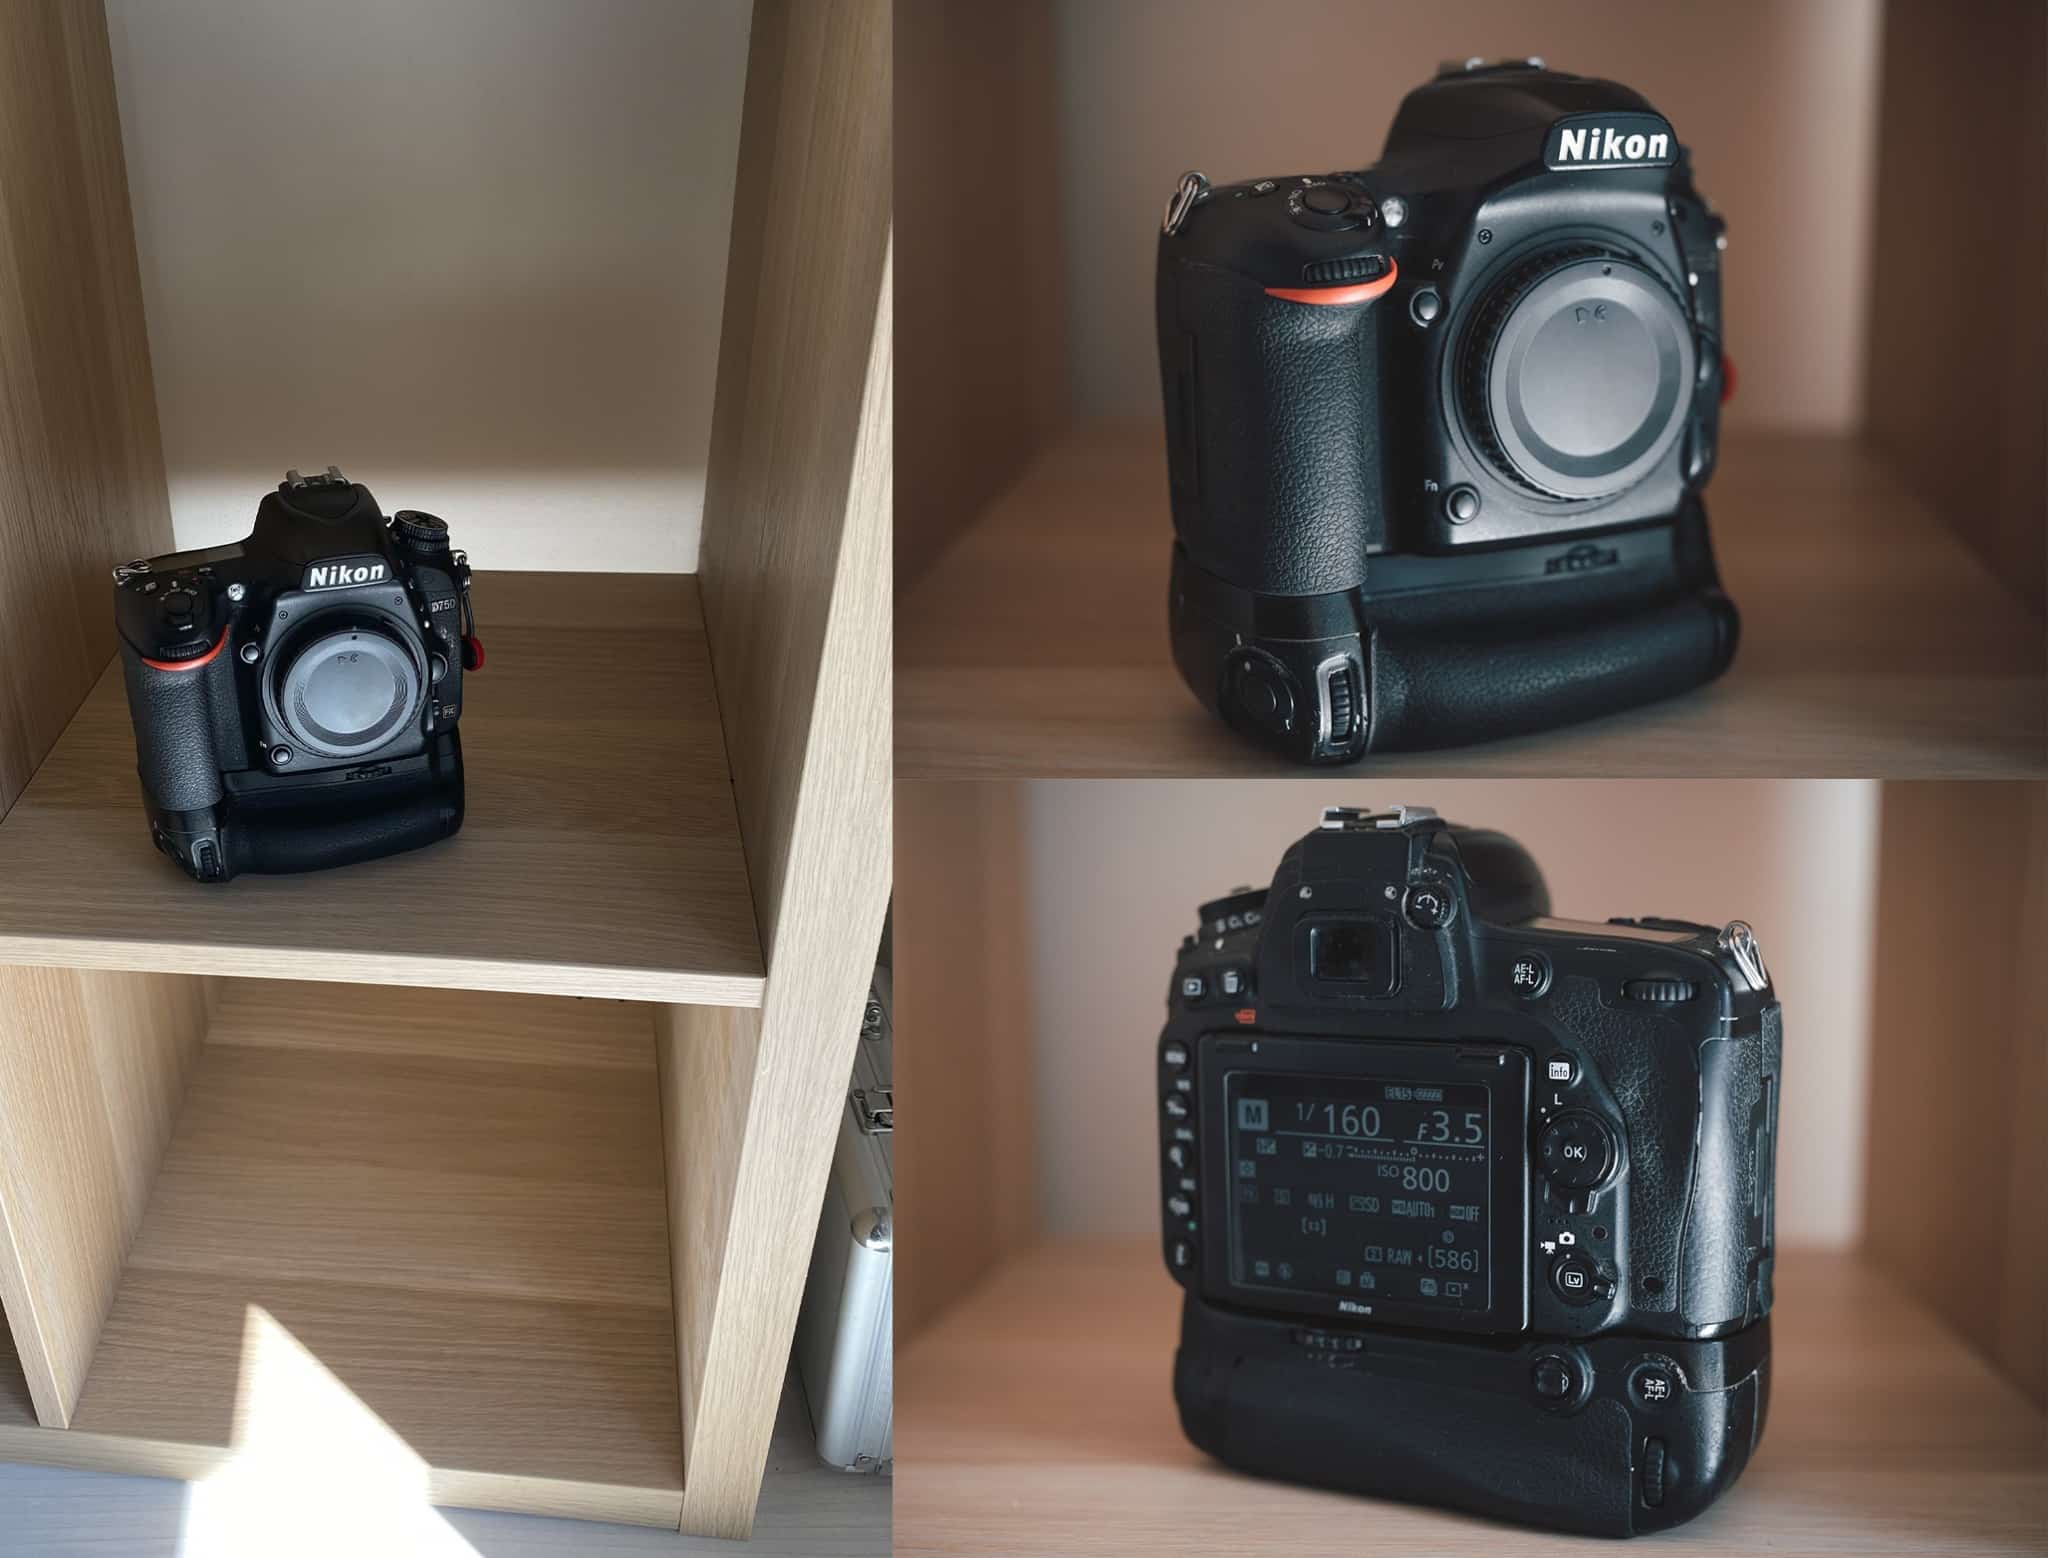
Another option can be the floor. All you need is a clean area of the floor to simulate an infinite background.
Lighting is not essential, but it can help
If you feel that daylight alone is too dull or you’re shooting at night and don’t have other options, you’re going to need some type of lighting. For example, using RGB lights allows you to create your own unique style.
If you want to have some fun experimenting, you can do some editing as well. But be careful! You should never retouch scratches or be dishonest about the condition of the items you’re selling. However, tweaking exposure, lighting, or in this case, adding some blue color is alright and Zoner Studio can definitely help you.
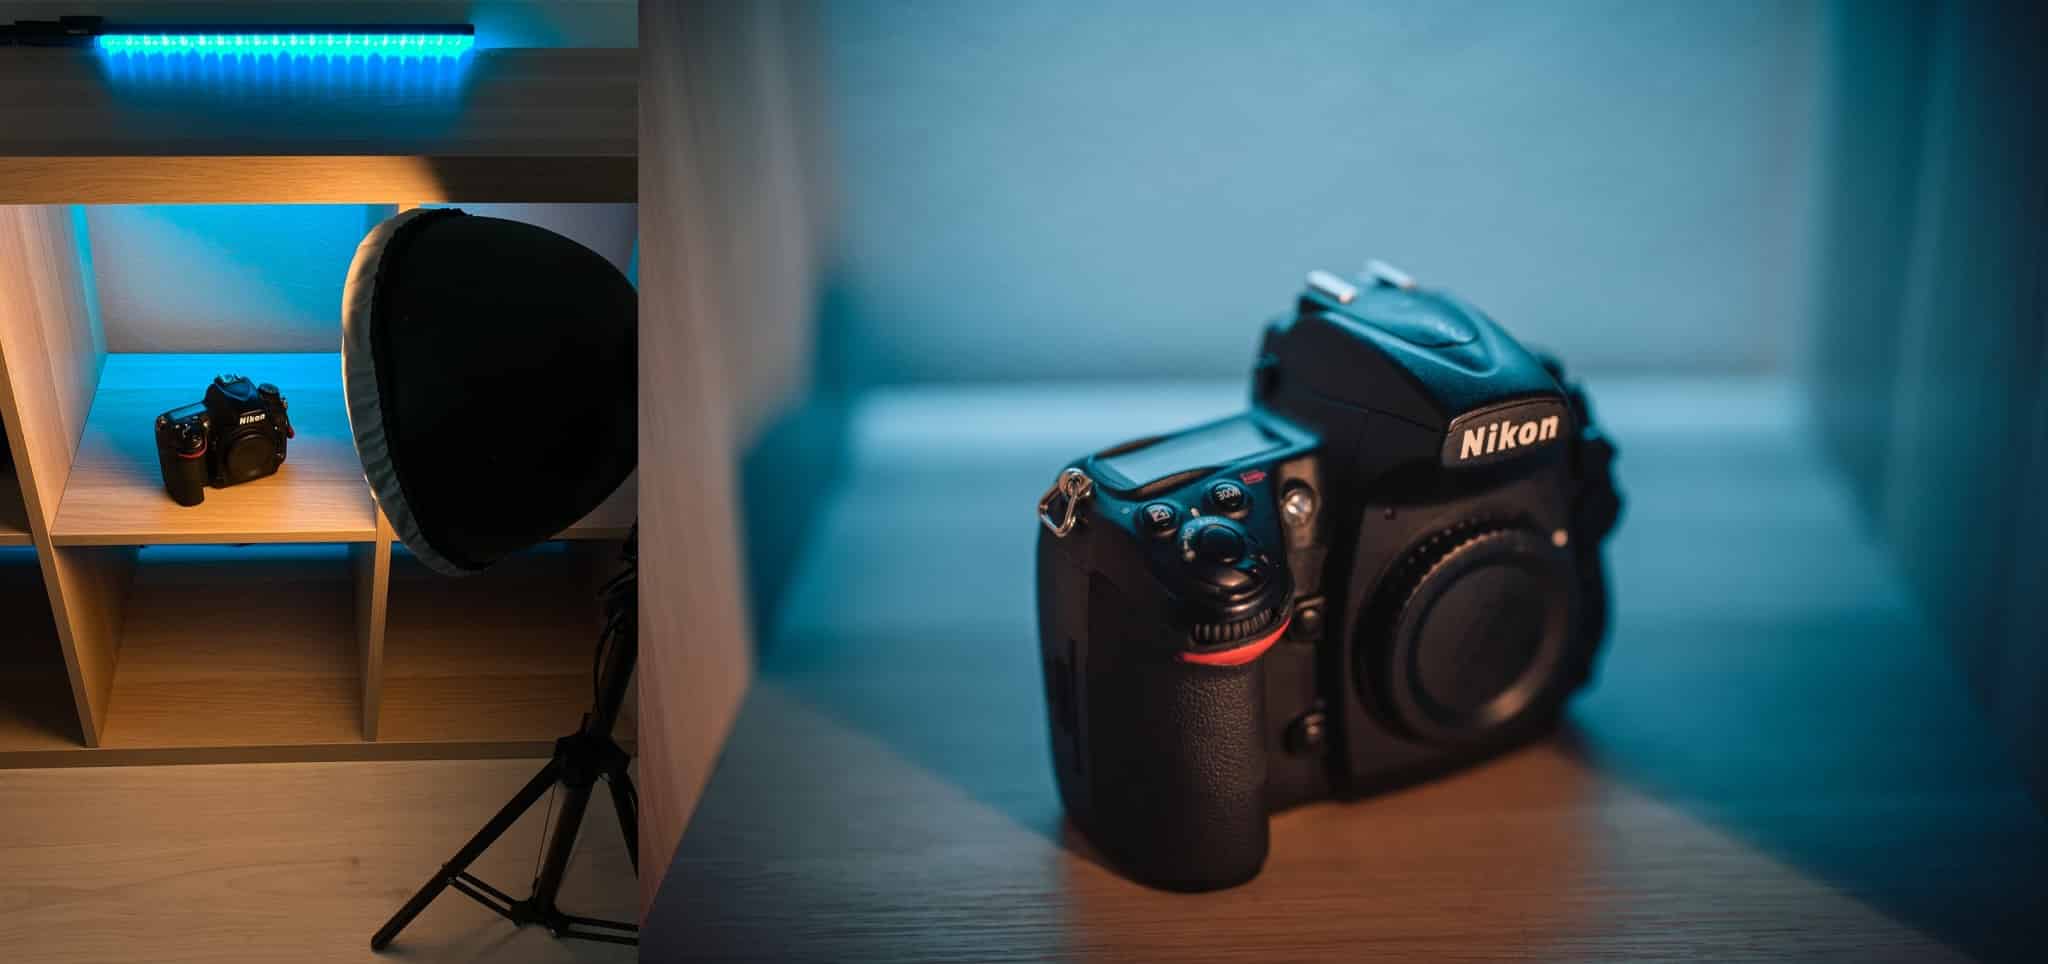
Frequently, when selling secondhand photography equipment, my friends recognize my photos because I use this combination of warm light from the front and a blue backlight.
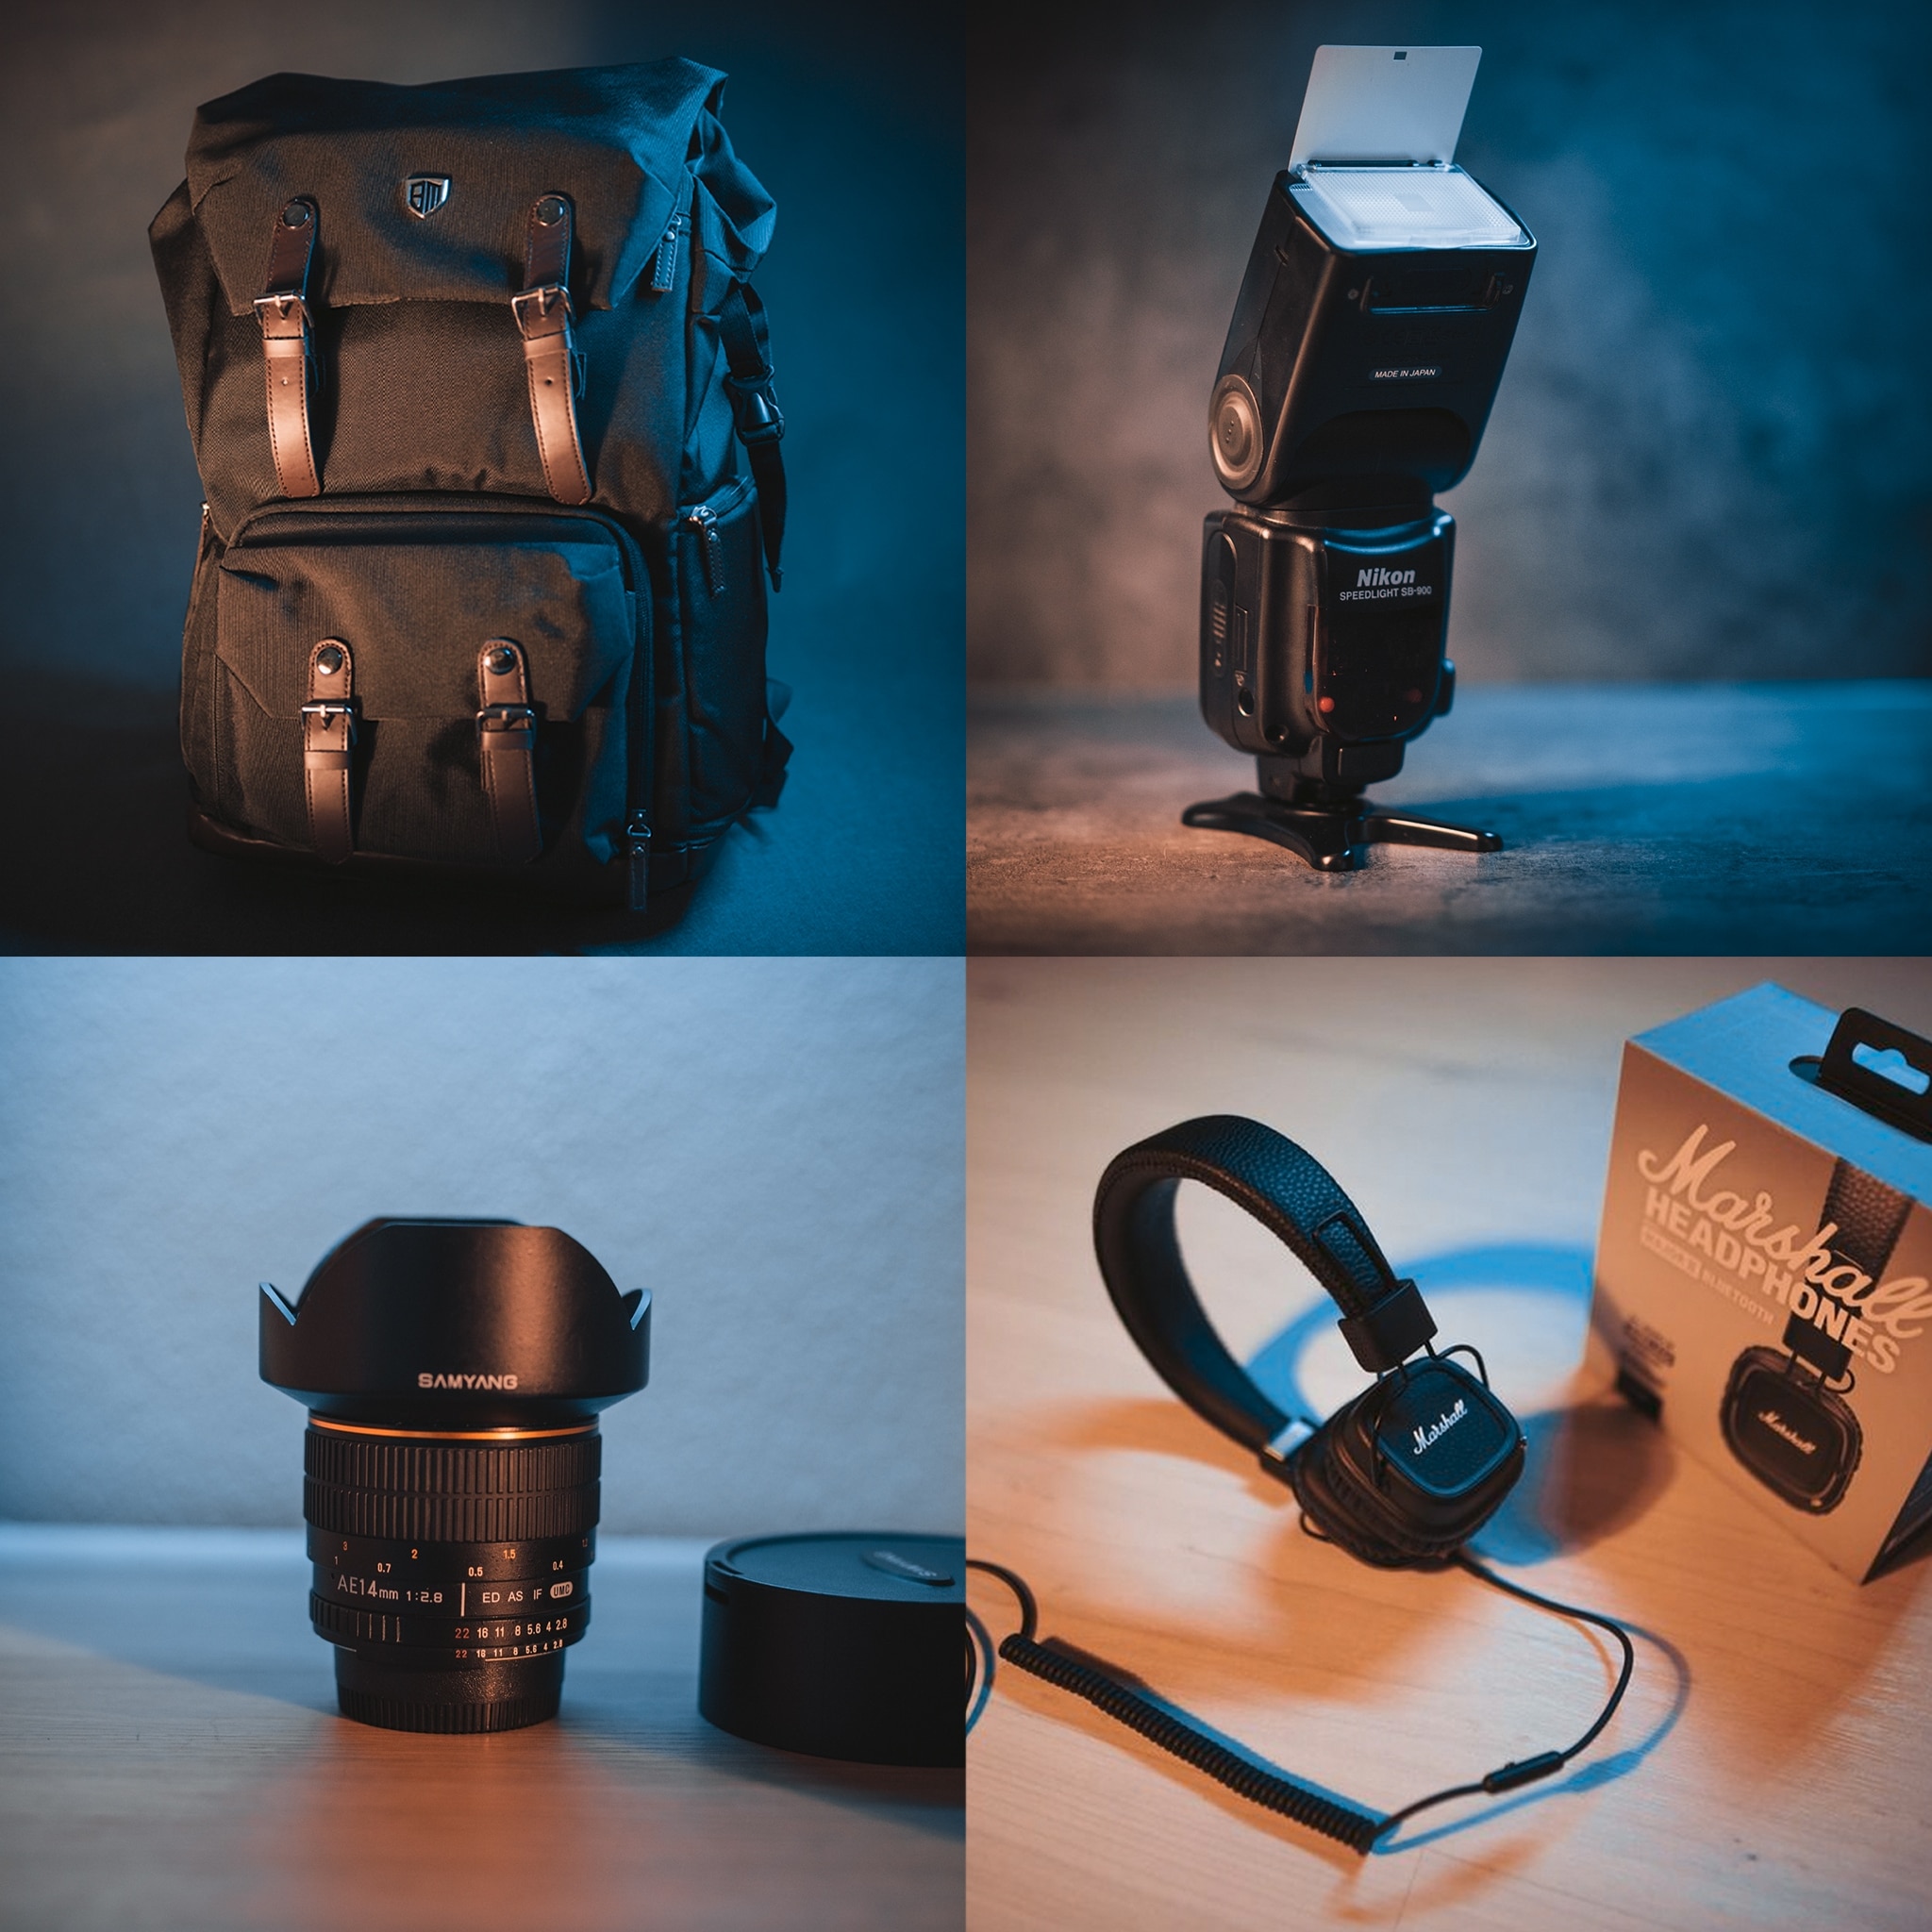
Take pictures of the complete package
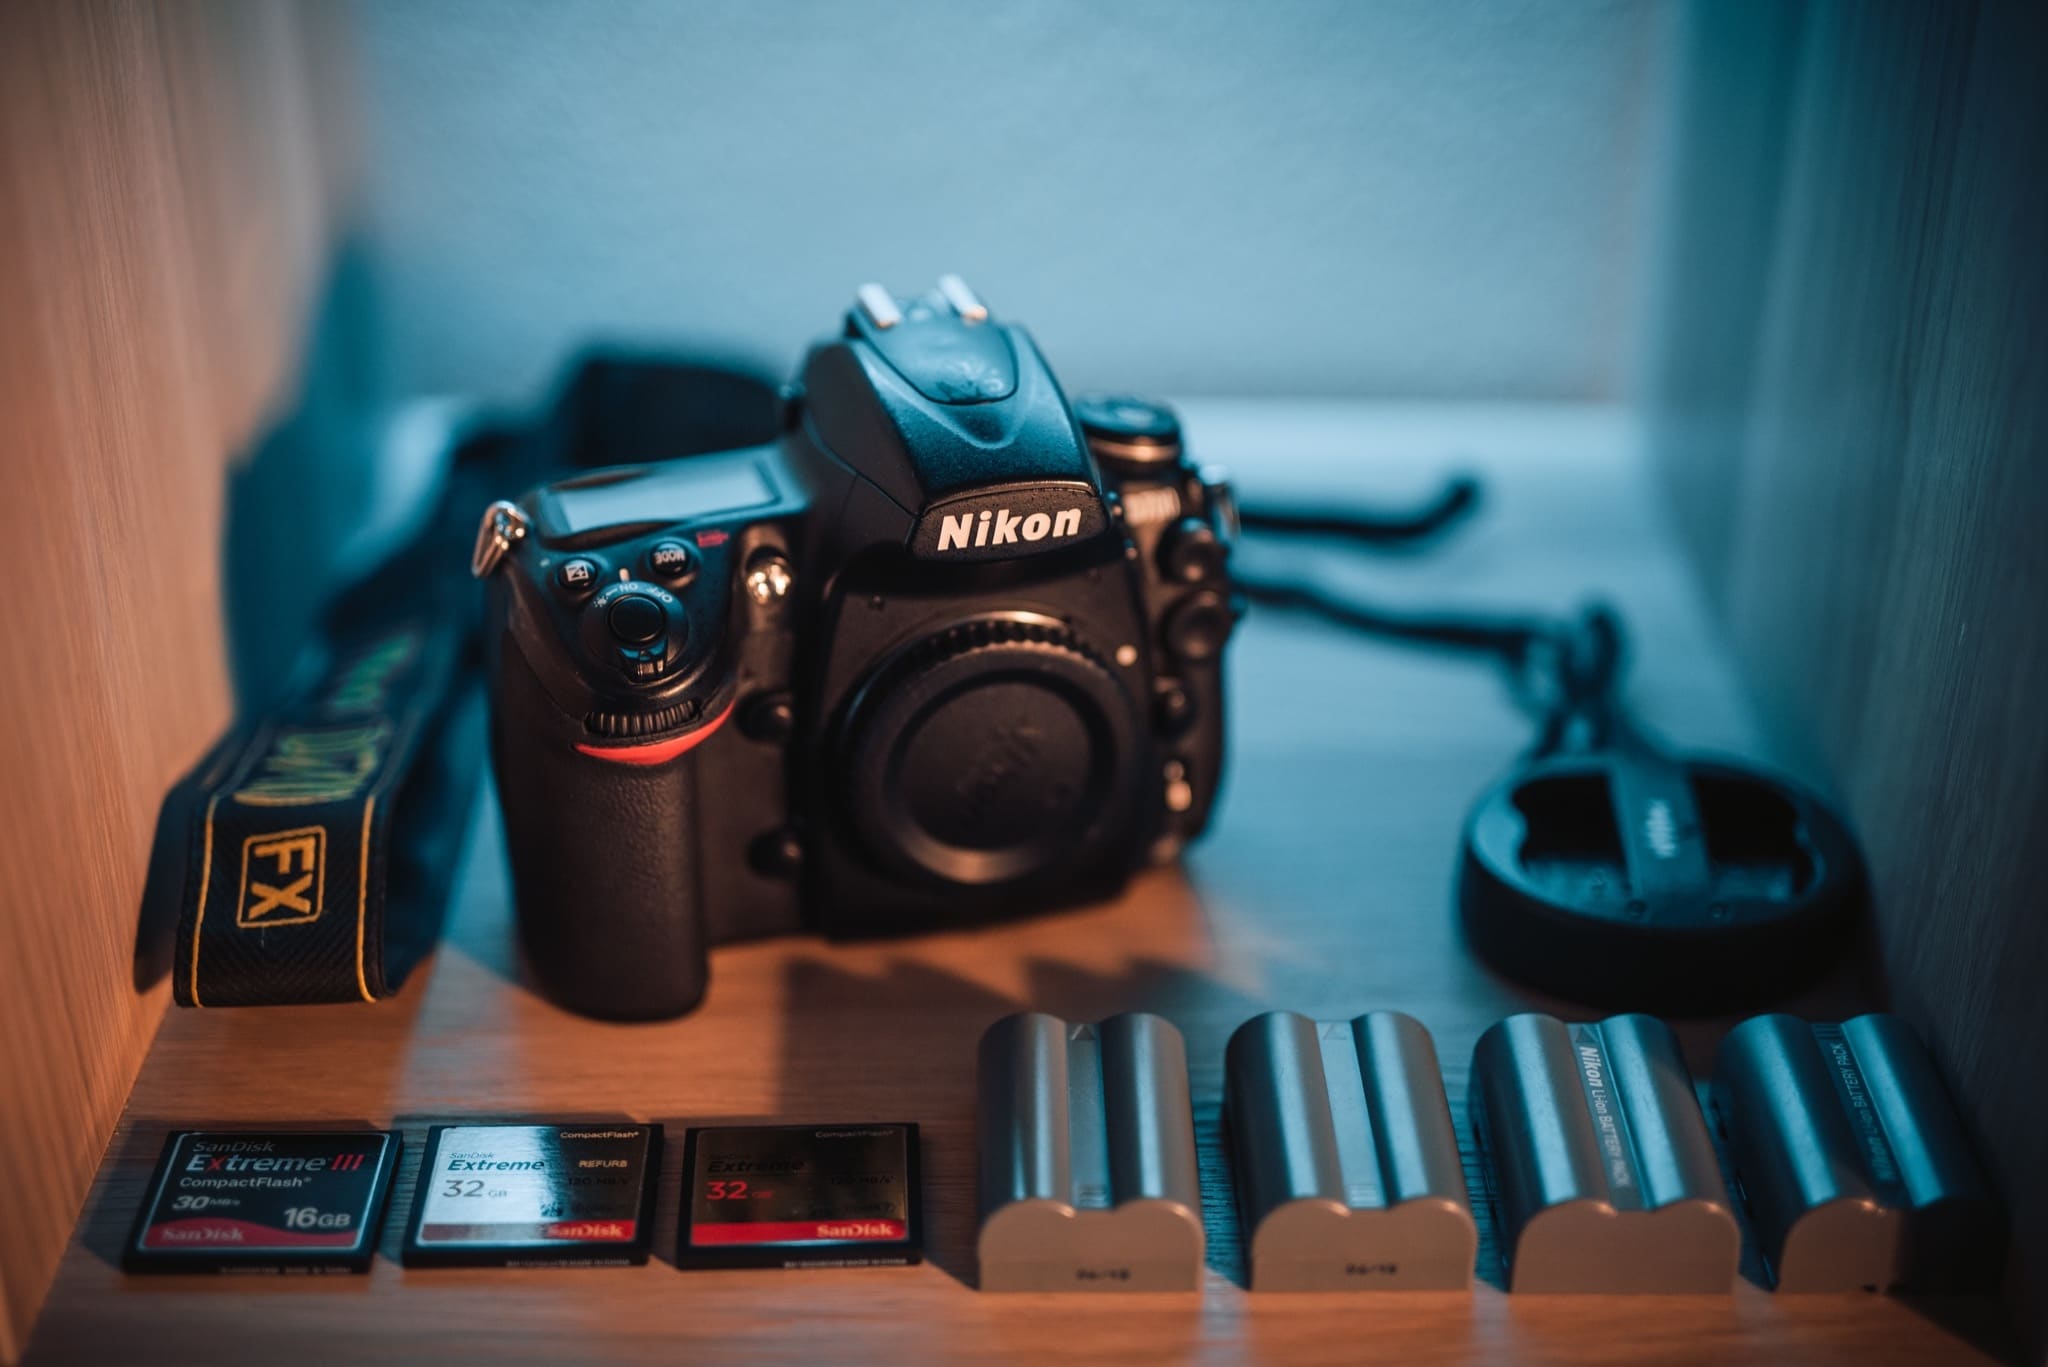
It’s a good idea to take pictures of the product with everything that comes with it. Your photo will look better if the buyer can see the complete package including additional items that go with the main item for sale.
Taking pictures with your mobile phone? Be sure to use the right exposure
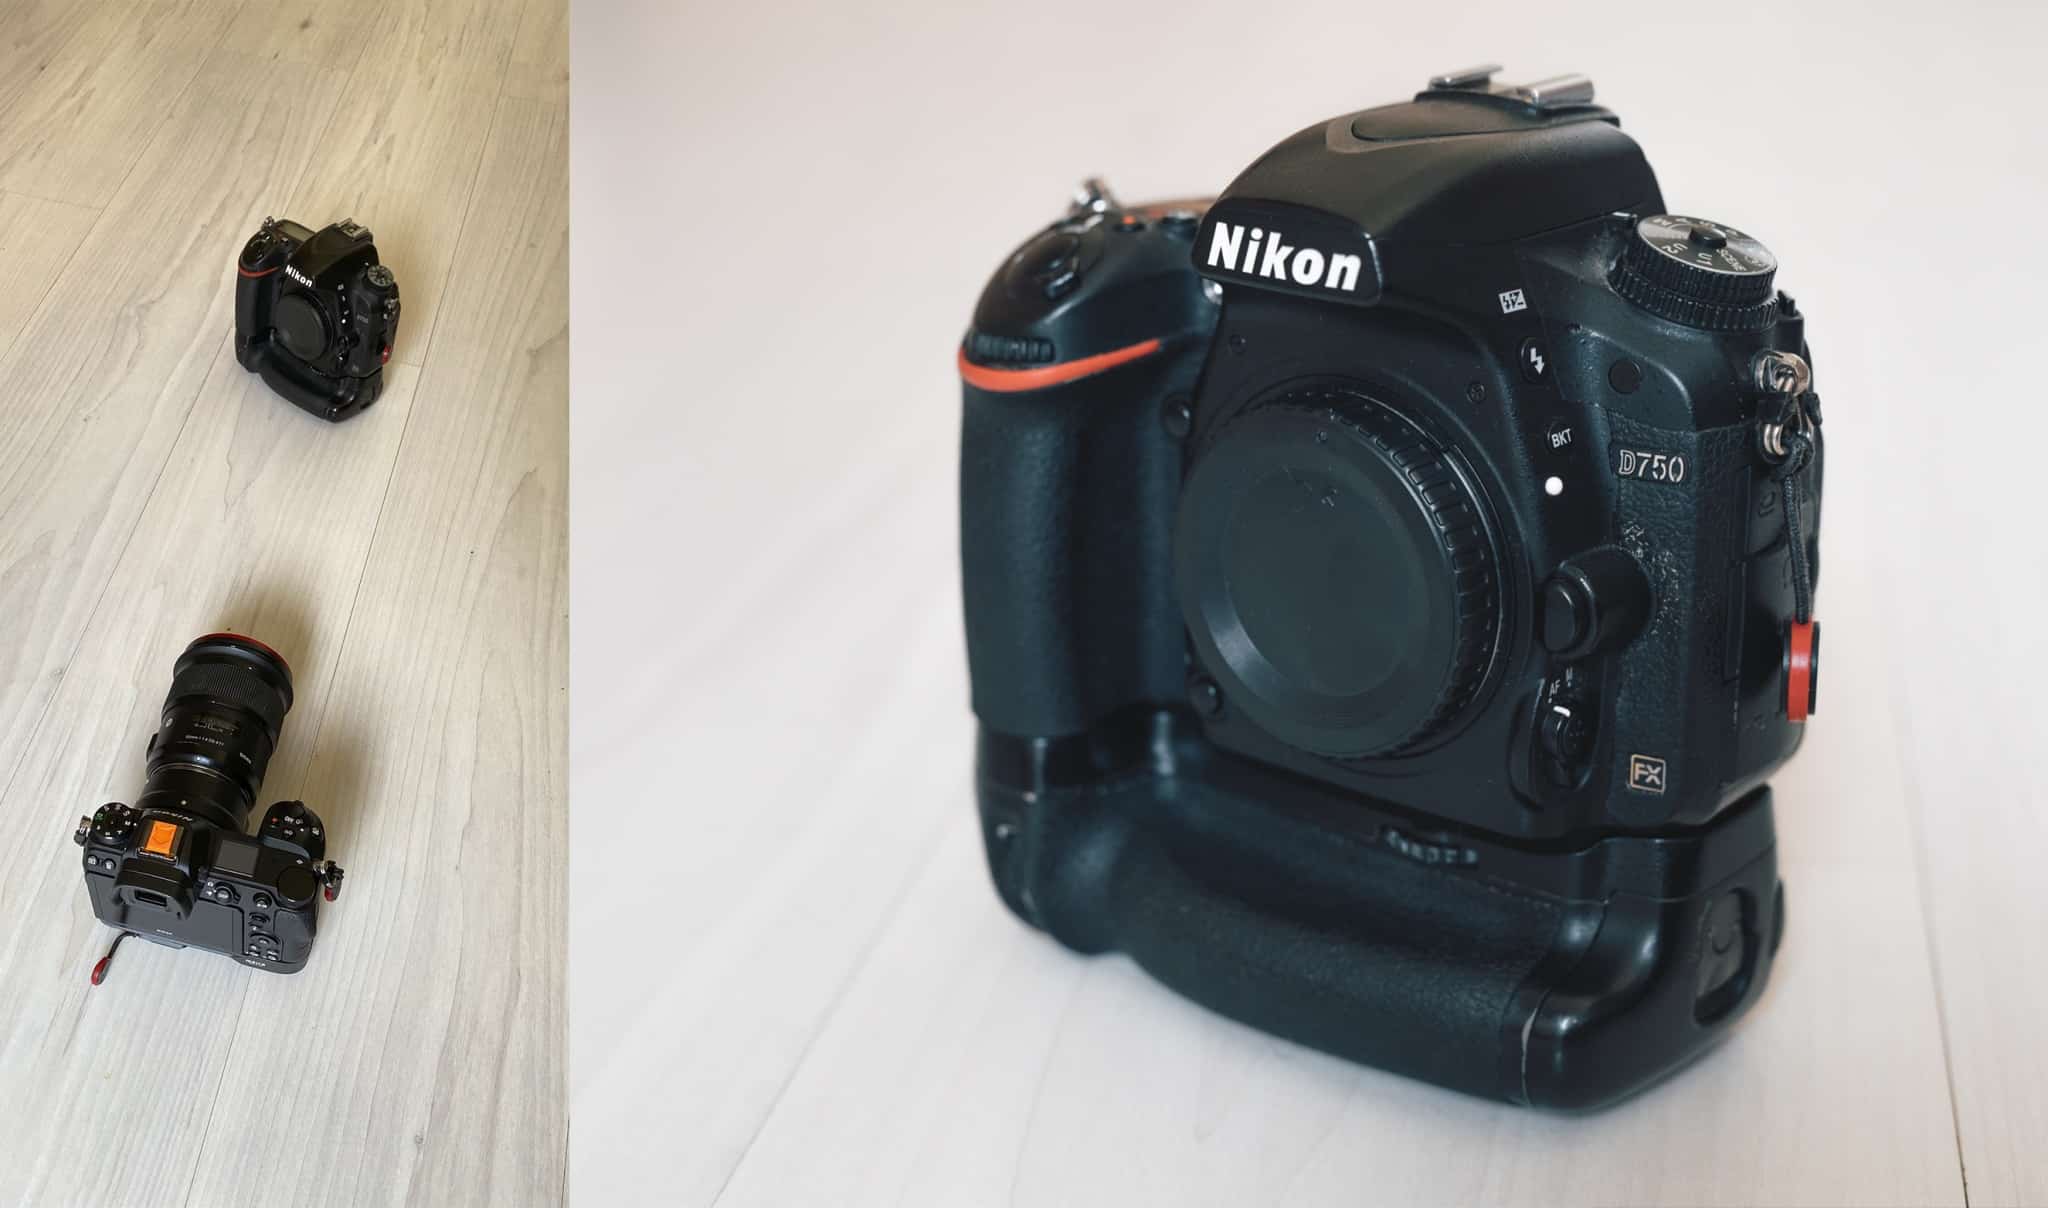
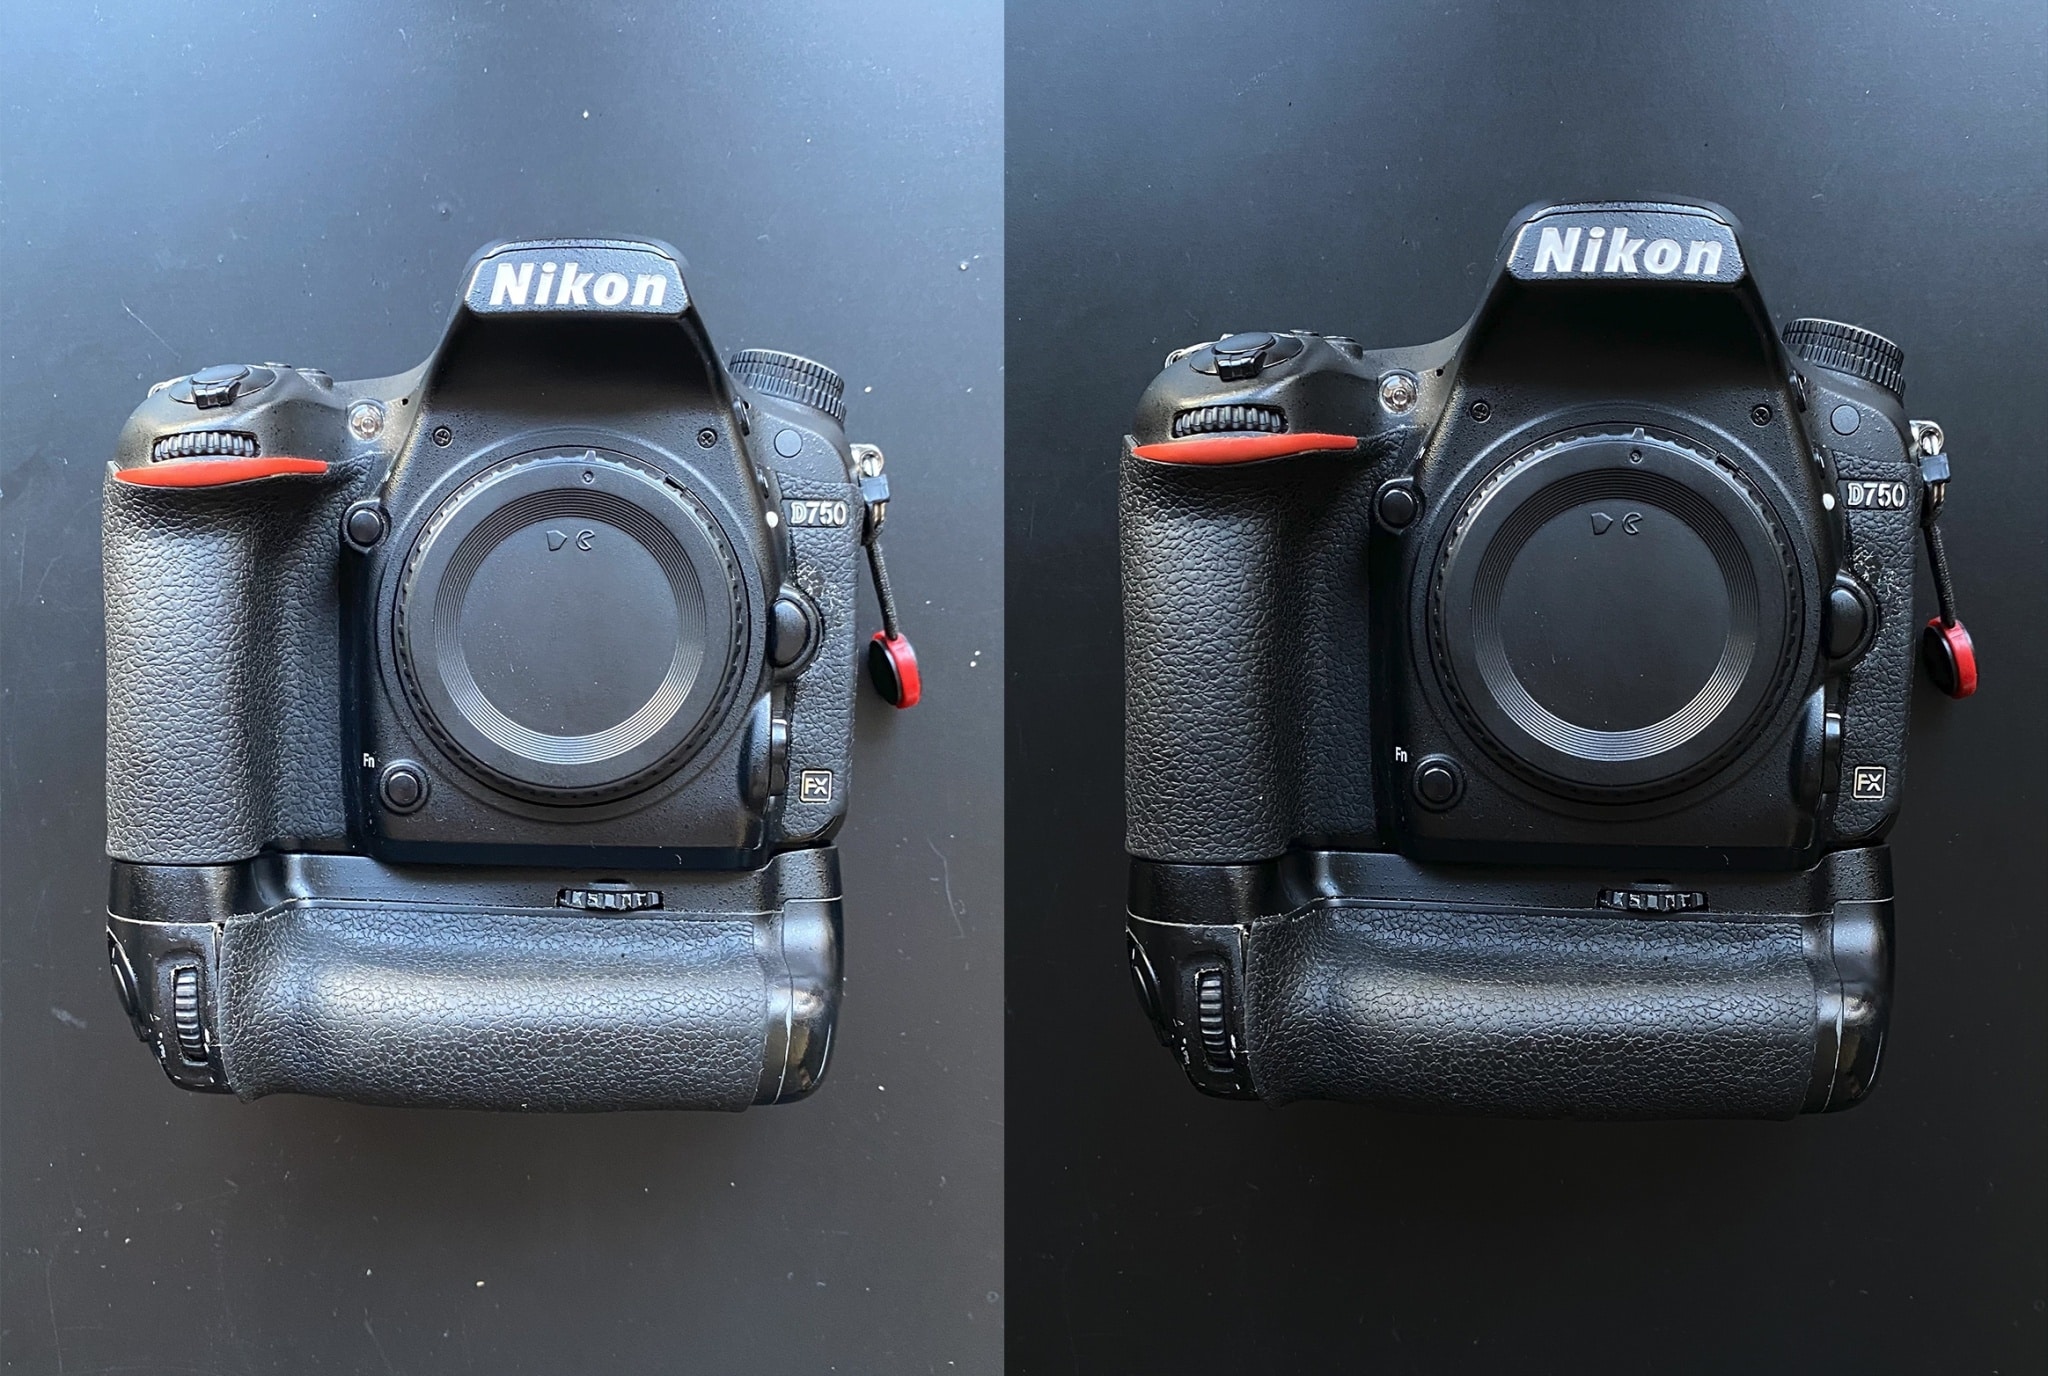
The most common problem when taking pictures of photography equipment with your mobile phone is overexposing it. If you are using automatic settings, the phone usually only sees a black surface and will automatically try to lighten it up. The result will be something like the picture on the left.
The camera doesn’t look like this in reality. What’s more, every bit of dust is visible unless you do a deep clean on the camera. All of this could be easily solved by simply clicking in a lighter area of the screen, for instance, the camera label, or by darkening the photo when shooting. If this doesn’t work, you can always correct exposure in Zoner Studio.
Want to really catch the eye of your potential buyer? Try something creative
The majority of what you put in your sales ad is there to inform the potential buyer. However, sometimes you want to really grab your buyer’s attention. For example, an ad offering to buy damaged equipment to sell for spare parts might look something like this:
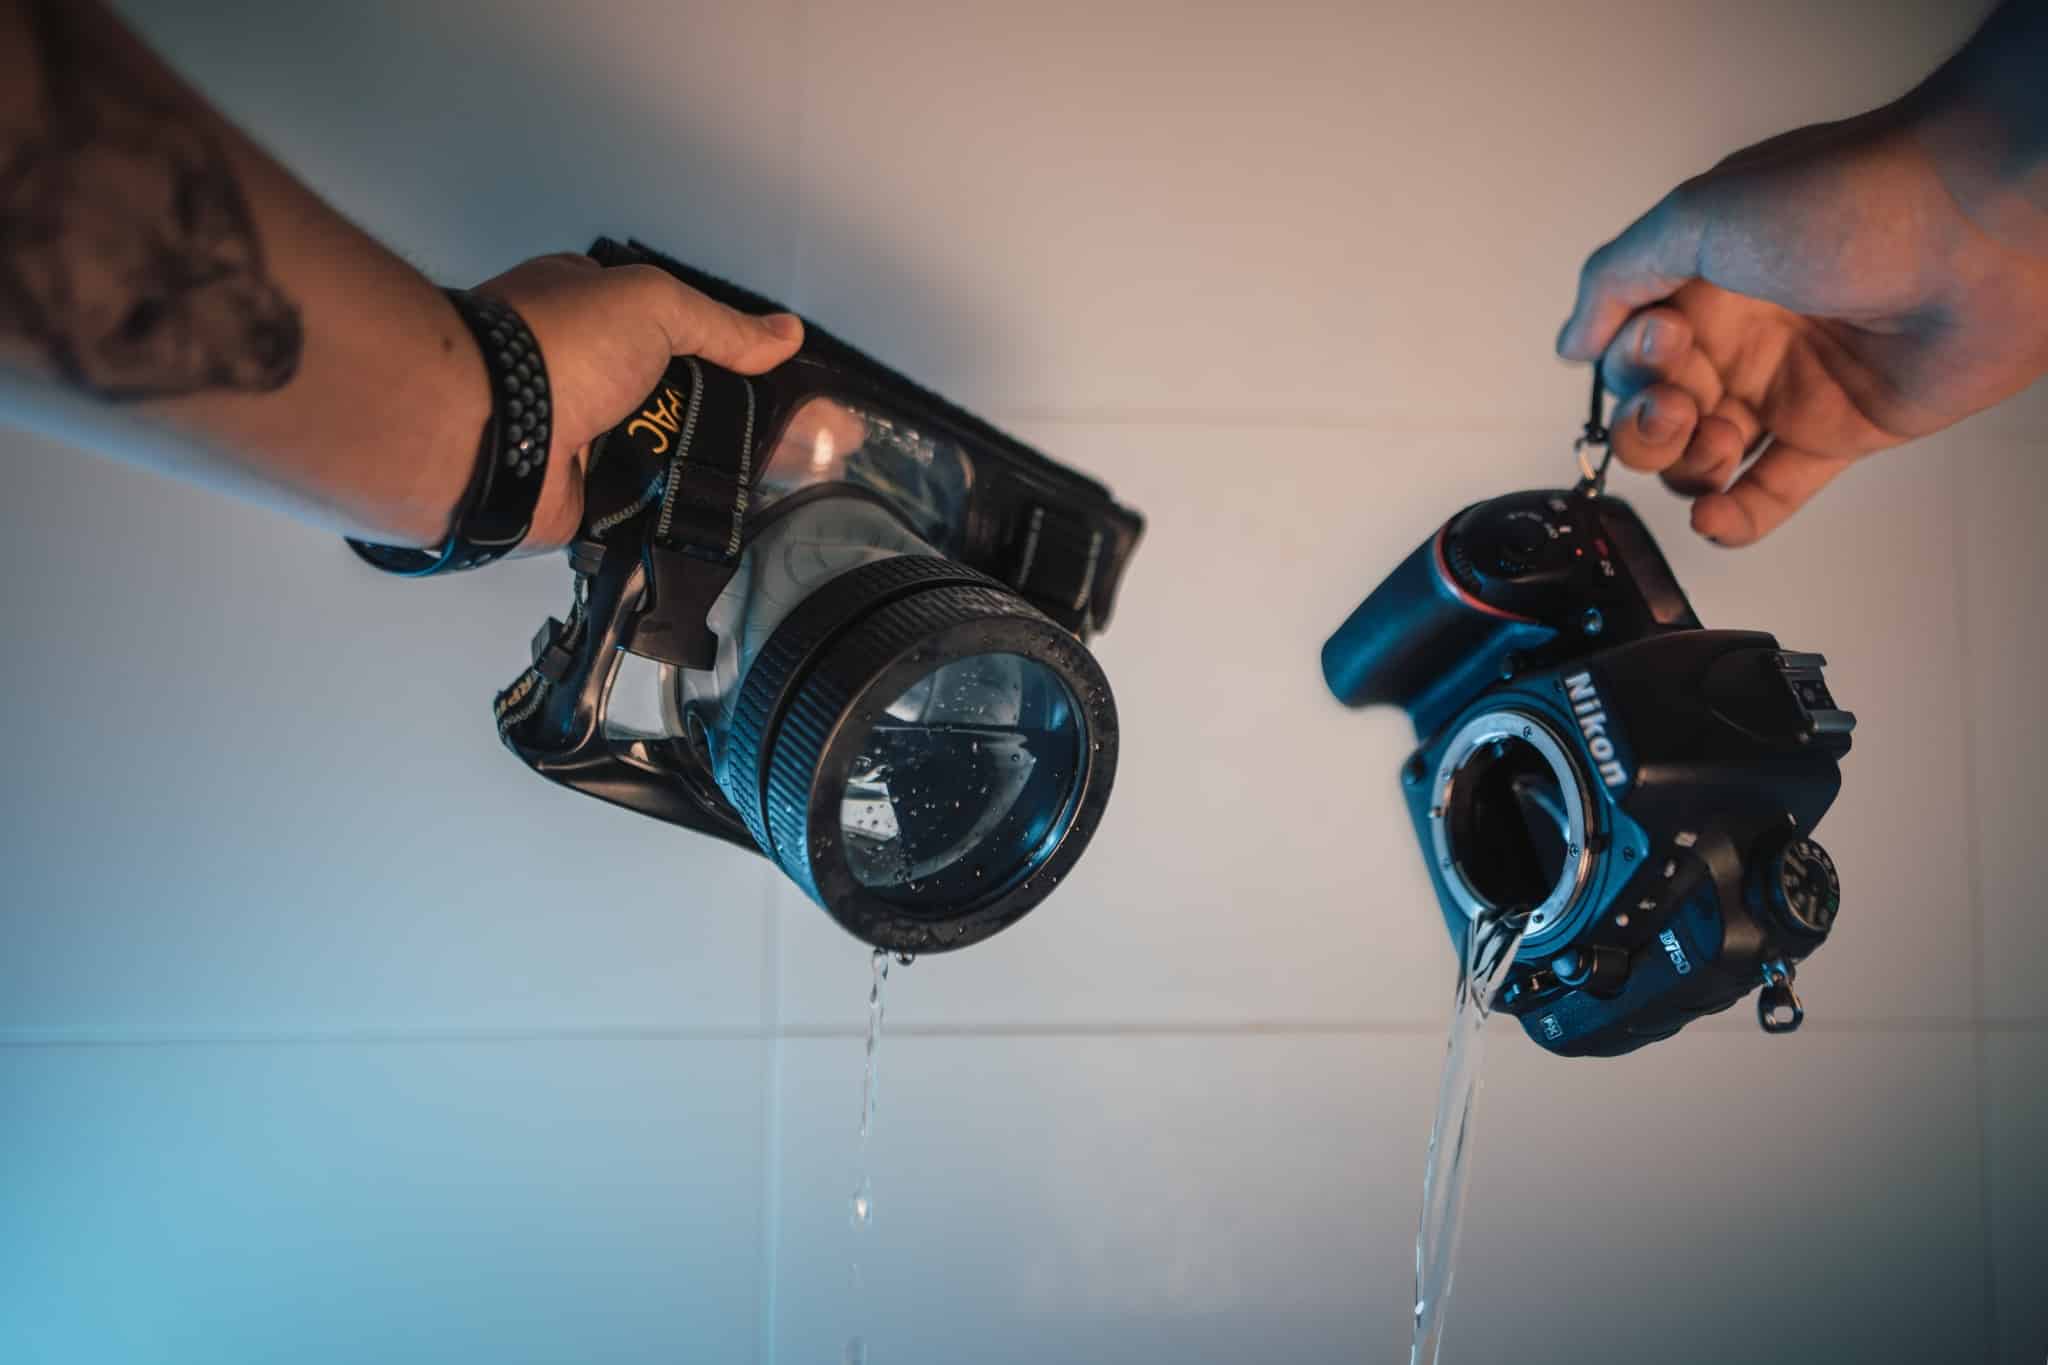
Another option is to show a sample photo of what the product looks like in action. That being said, the majority of buyers prefer to know more about the technical condition the equipment is in rather than some kind of display of creativity.
Final tip: how to find the camera’s shutter count
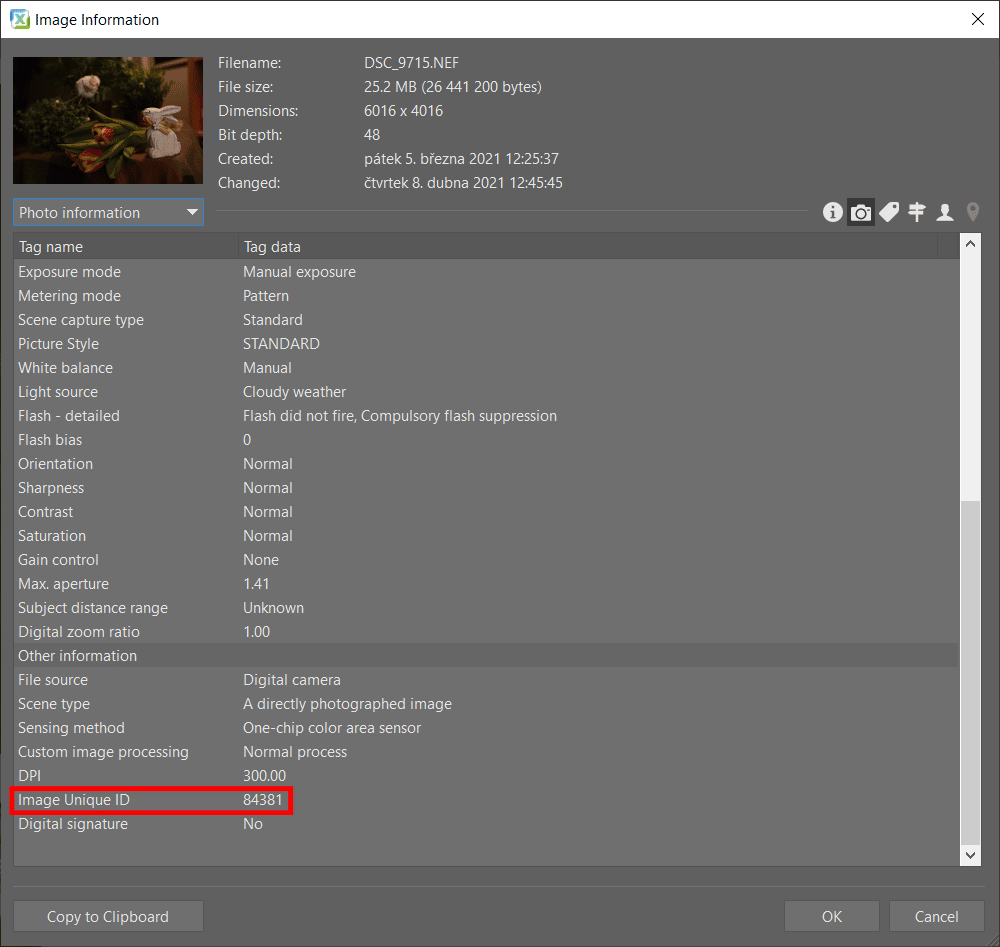
Selling a camera? The camera’s shutter count is more important than how old the actual camera is. It can be found by either uploading your last photo to www.camerashuttercount.com or in Zoner Photo Studio. Right click the picture (in RAW) and choose Image Information (Shift+Enter). Under Photo Information in the Image Unique ID field, you’ll find the camera’s total shutter count.
Download Zoner Studio free for 7 days and try improving your own photos of items for sale.

There are no comments yet.