Add a Realistic-Looking Sun to Your Photos in Zoner Studio
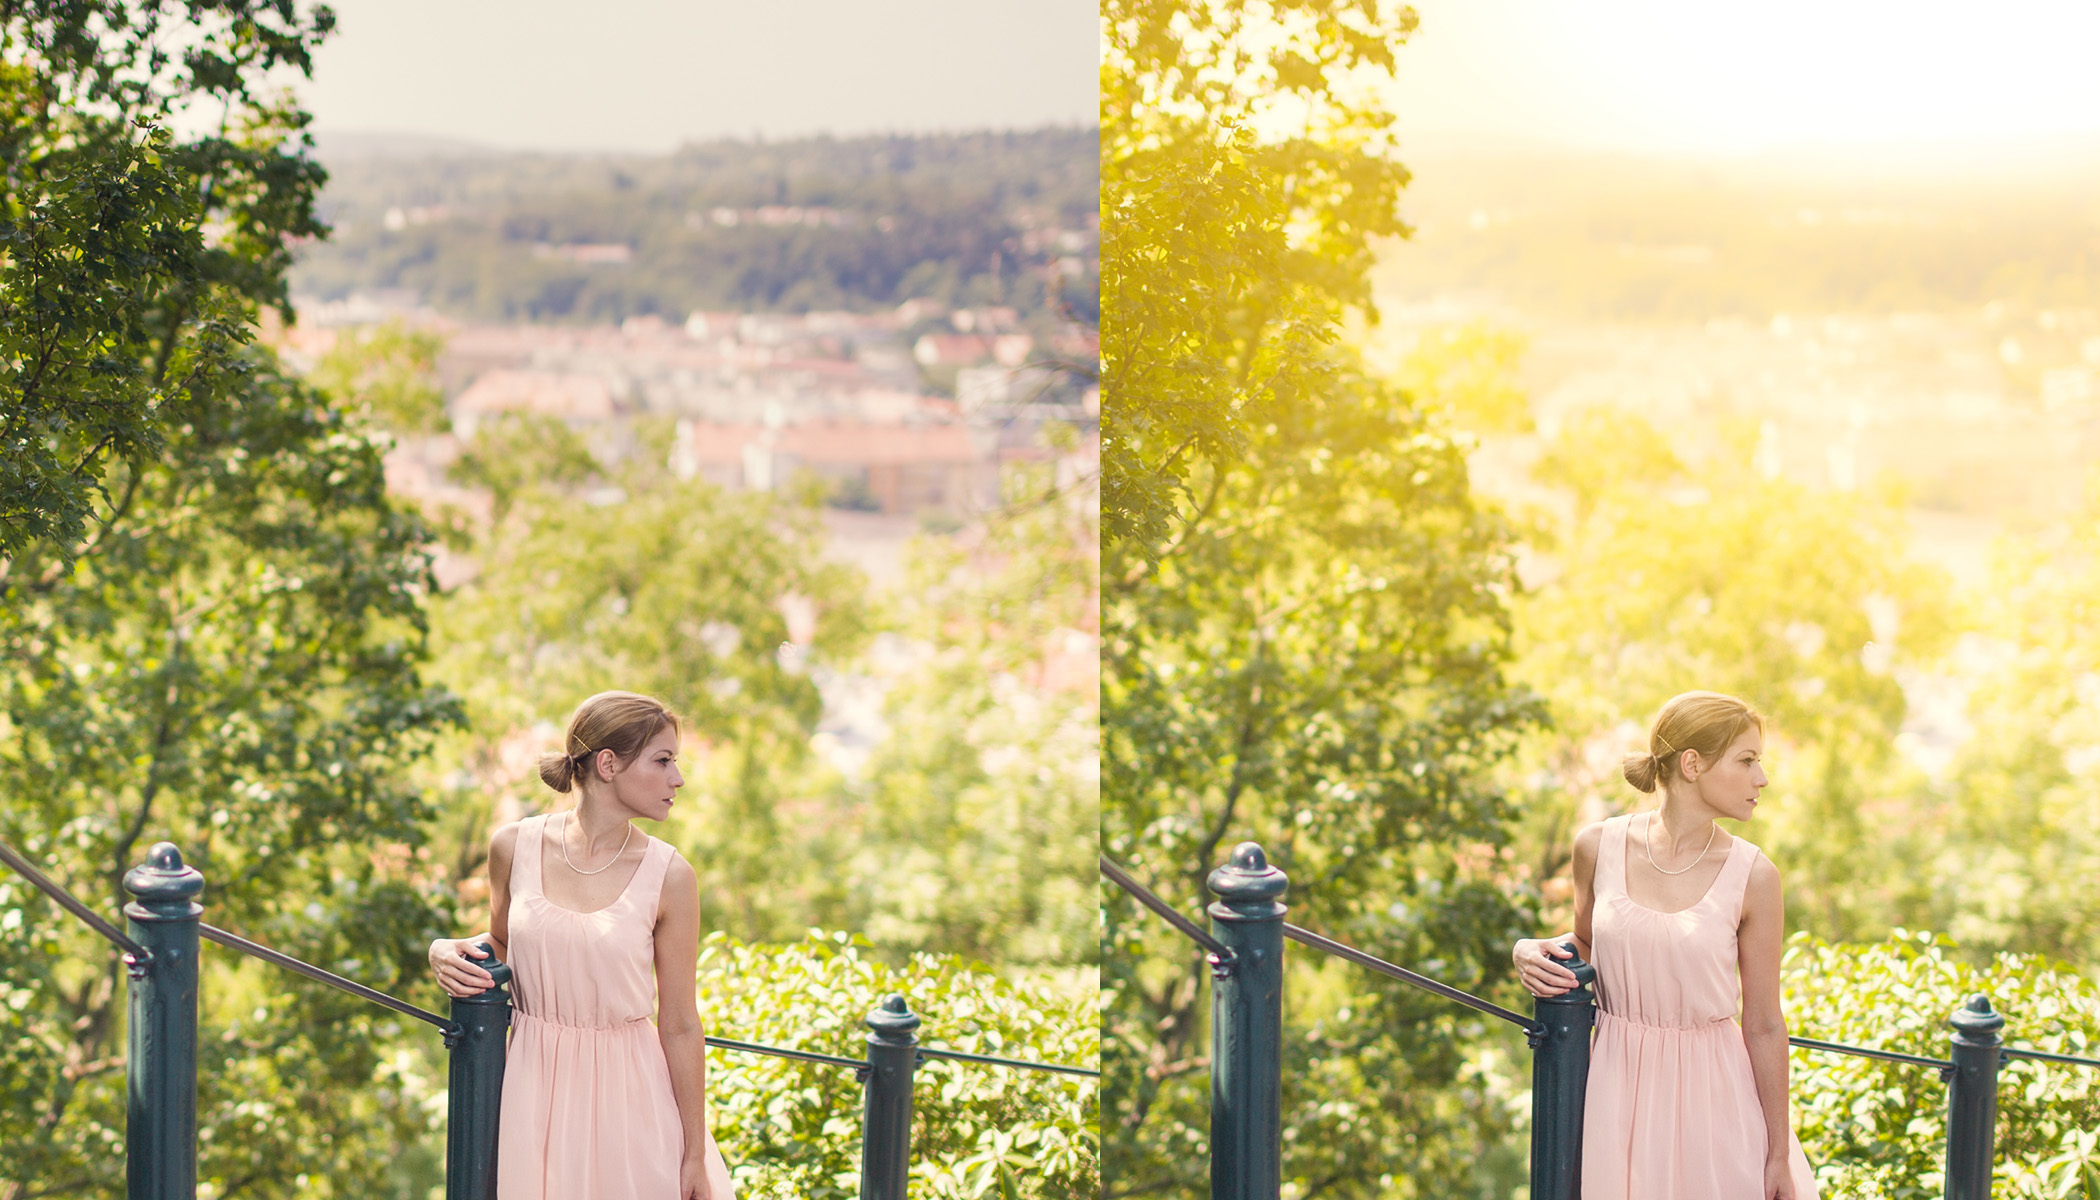
Add some sunshine and atmosphere to your photos. In this article, we’ll walk you through step-by-step instructions for easily creating a realistic sun effect in Zoner Studio. You can do this in both the Develop and Editor modules. Learn how to use radial gradients, adjust colors and layers, and emphasize light conditions for a more striking result.
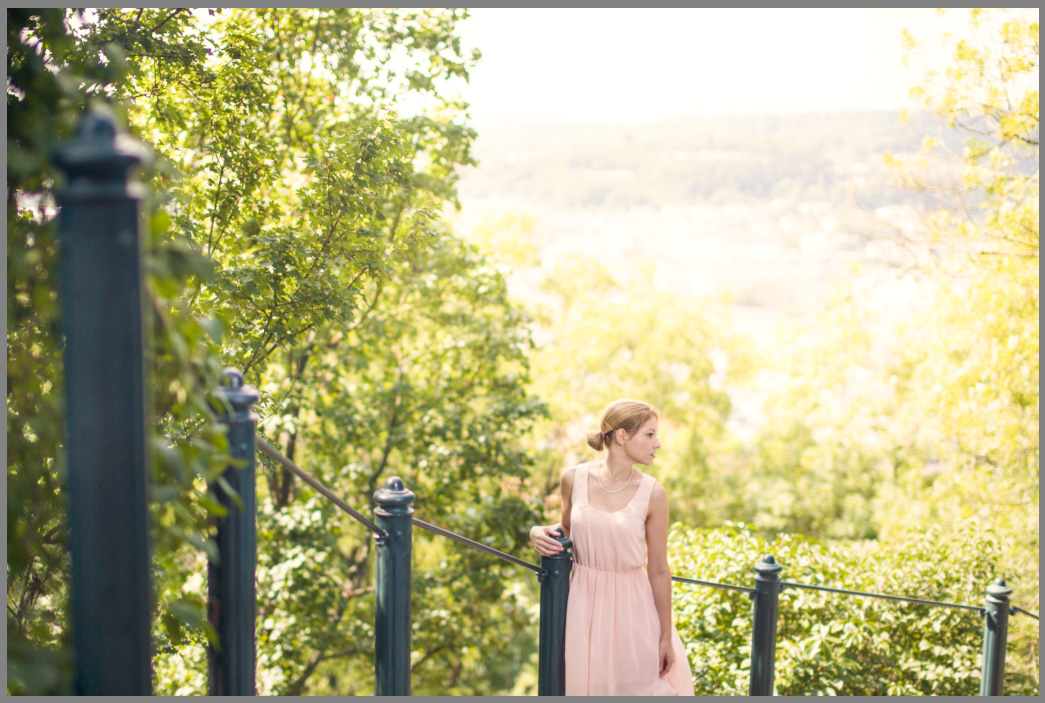
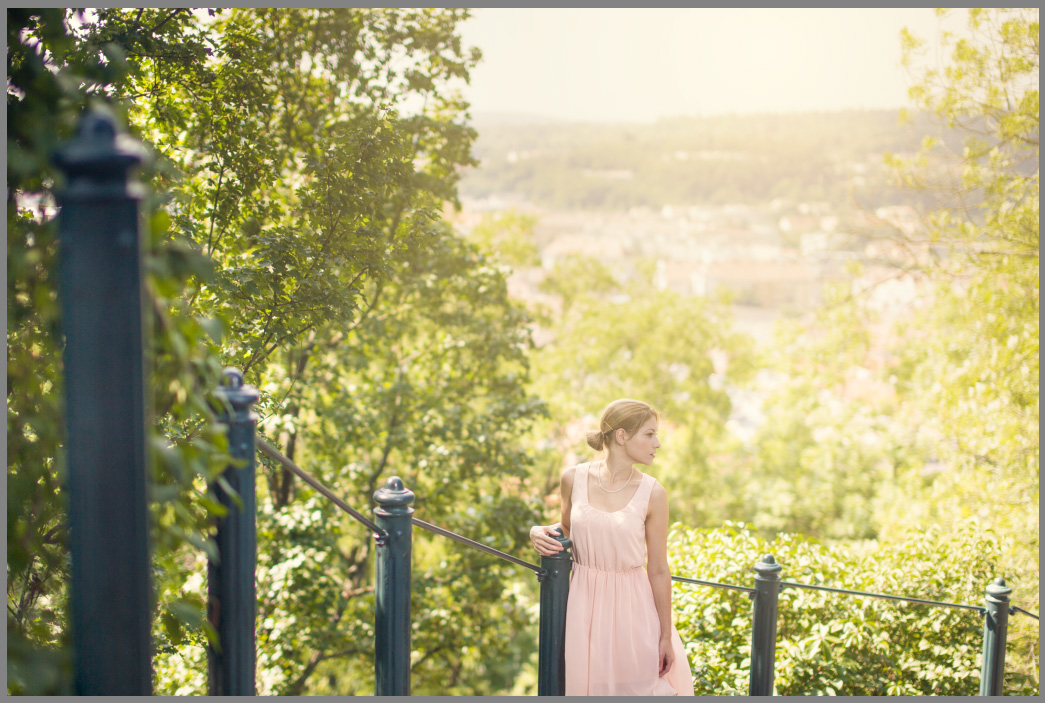
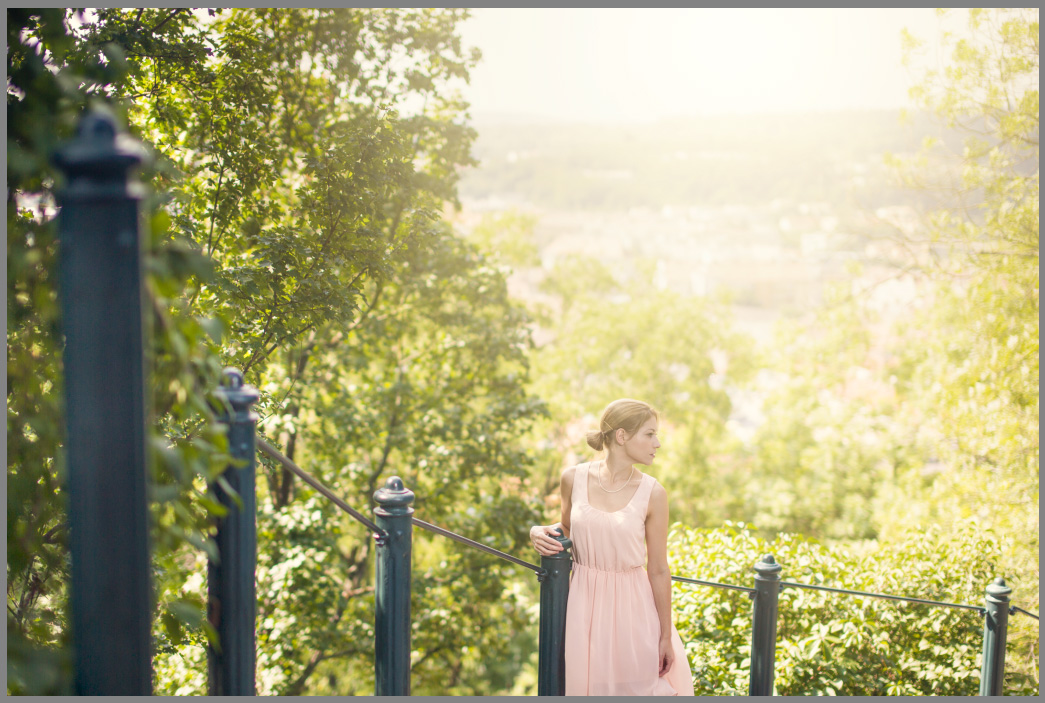
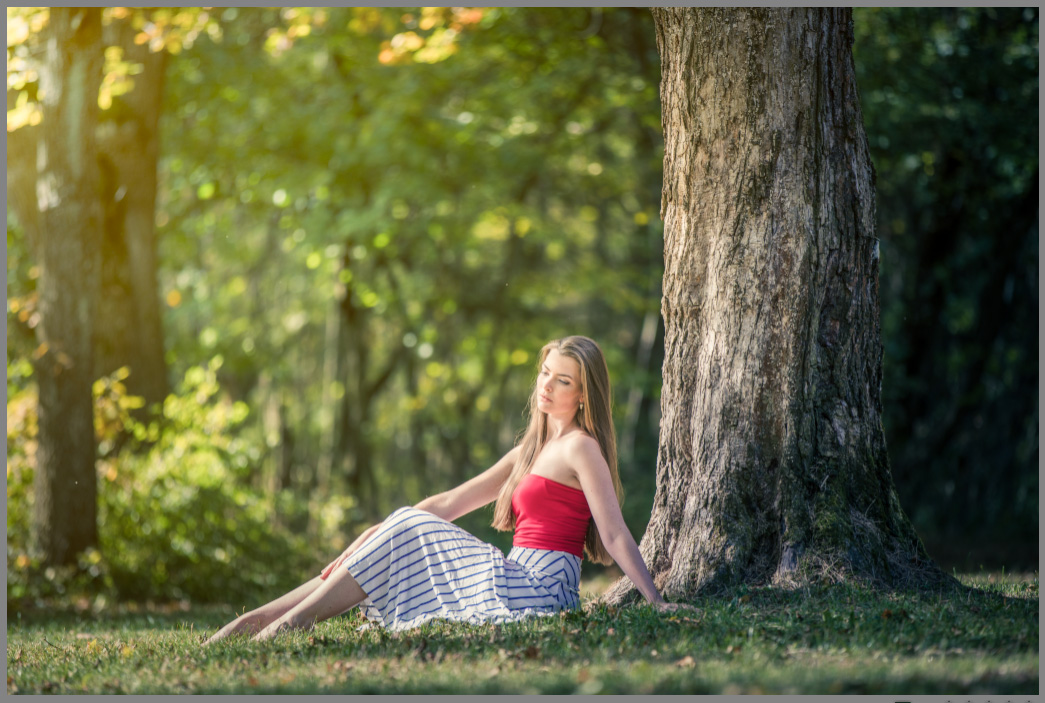
Adding a sunny haze doesn’t always make sense. If you took a photo on a cloudy or rainy day, this kind of effect would end up confusing the viewer. But if your shot already has some backlighting, whether behind a model, landscape, or building, the following method can work well.
Two different methods
There are two main ways to add a sun effect in Zoner Photo Studio X. Decide whether you prefer to work in the Develop or Editor module.
Each method has its pros and cons, but they’re quite similar. Both rely on the idea of adding a radial gradient to the background that is brightest at the center and fades out towards the edges, just like real sunlight in a photo.
Adding sun in the Develop module
In the Develop module, go to the Local Adjustments icon, and then select Radial Gradient (R) under Masks.
In the image, click and drag to draw the elliptical shape of the sun effect. The shape temporarily appears blue. Once you stop drawing and start adjusting the sliders in the right panel, the blue disappears and your changes take effect.
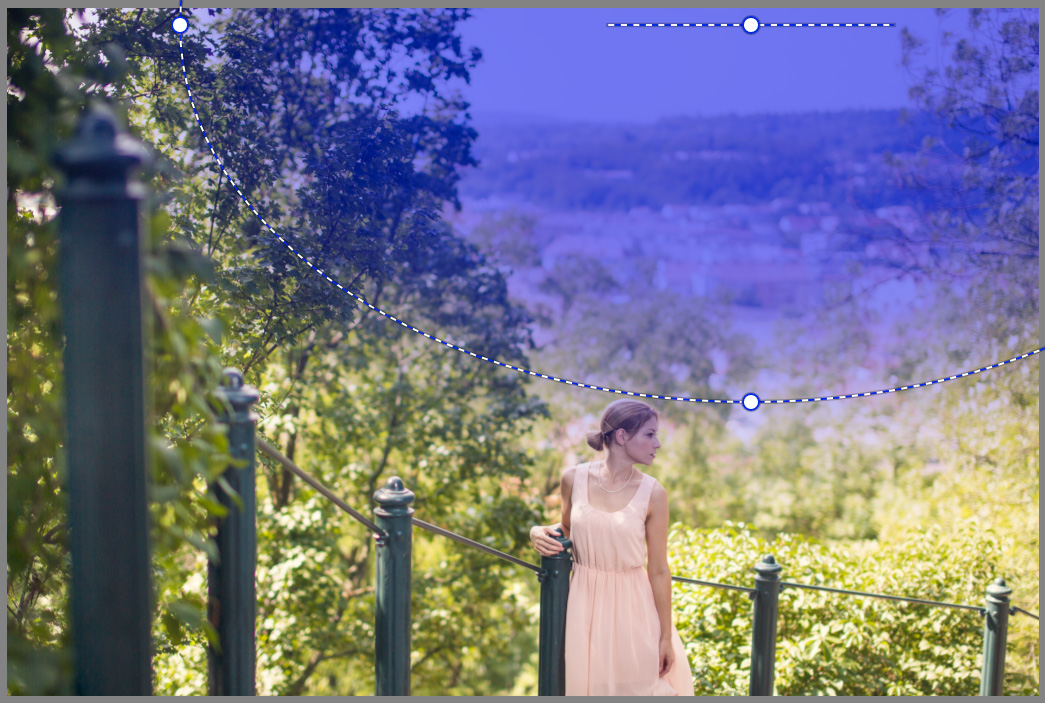
Start by increasing Exposure. It depends on the size of the gradient and the image itself, but don’t hesitate to go as high as +3 if needed.
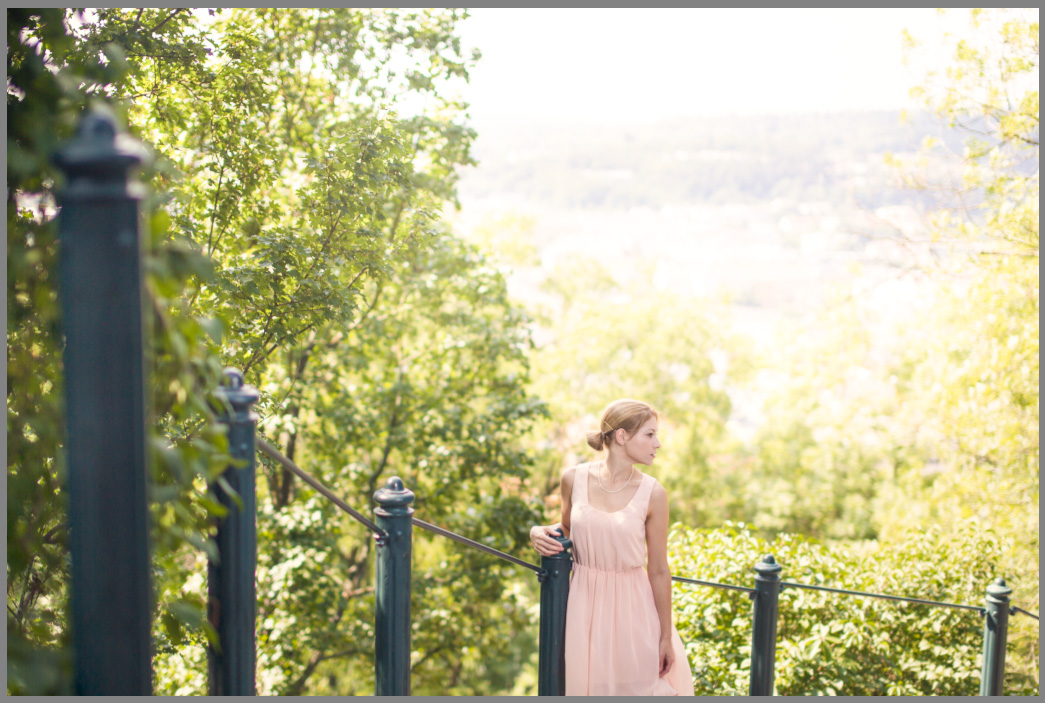
Increase Exposure for the Radial Filter, here by +2.5.
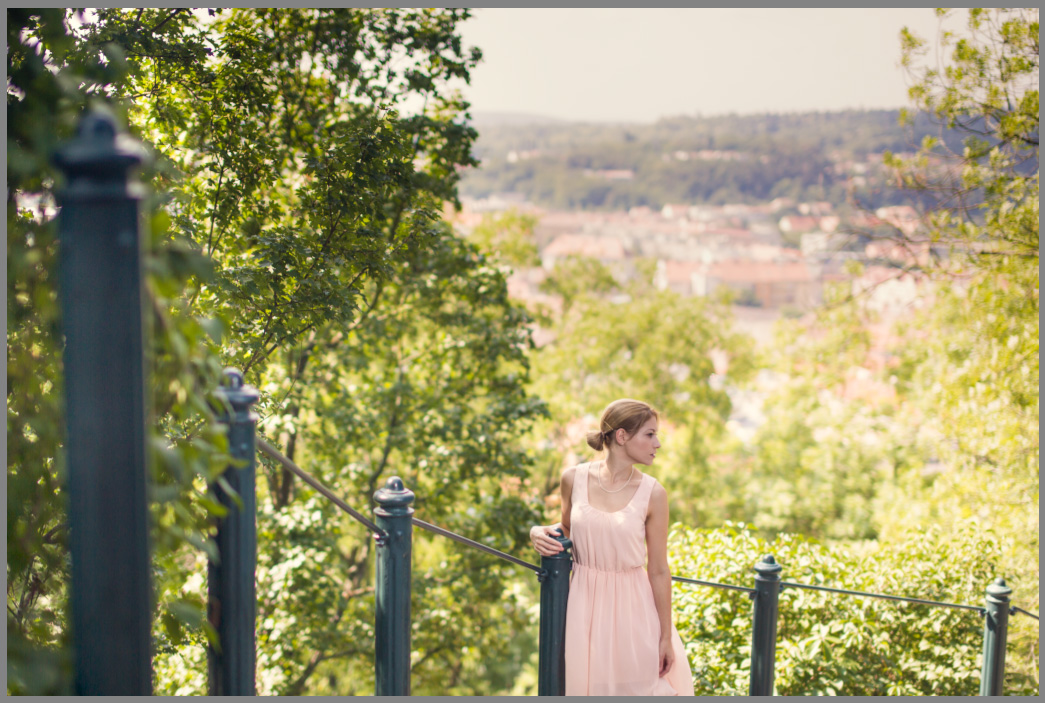
Real sunlight affects more than just brightness. It’s a good idea to shift the colors toward yellow, which can be done in many different ways. The simplest is by increasing Temperature, which offers a subtle but effective result.
However, Temperature has its limits. For a more pronounced color shift, scroll down to the sliders in the Color Overlay section. Select a light yellow or orange, raise the Intensity, and experiment with different Modes. Instead of Normal, try Screen or Lighten.

To go along with brightening and color adjustments, a slight blur can help too. You can achieve this by lowering Clarity.
Extra trick—Double effect
For a slightly more advanced trick, apply a double or triple radial gradient with gradually smaller radii. This gives you even more control over which parts of the image are affected. For example, you might apply a soft light across half the frame and increase brightness or colors more sharply near the “sun” itself.
The fastest way is to duplicate the mask using the button in the mask panel, then shrink it and slightly tweak its settings.

Adding sun in the Editor module
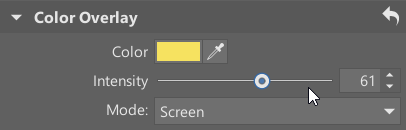
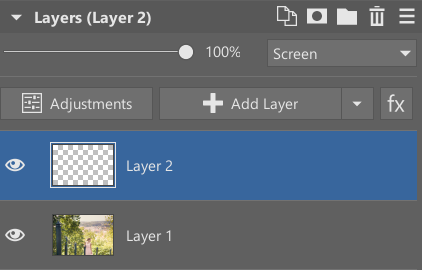
The Editor doesn’t use radial gradients directly, but with layers. Start by adding a new layer in the layers panel. At the same time, set the layer blending mode to Screen.
Apply a radial gradient to this new layer using Drawing Tools (select Gradient under Drawing Tools). Make sure to change the gradient type to Radial.
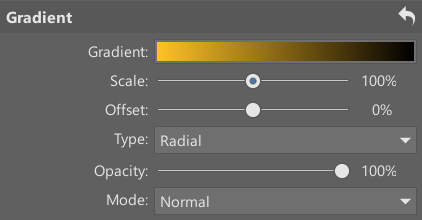
You need to set the gradient colors yourself, but it’s best to first draw the gradient roughly into the image by clicking and dragging. This way, any colors you choose will appear directly in the photo.
Since the screen blending mode removes black, black areas won’t be visible. So the gradient should go from yellow or orange to black, as seen in the example above.
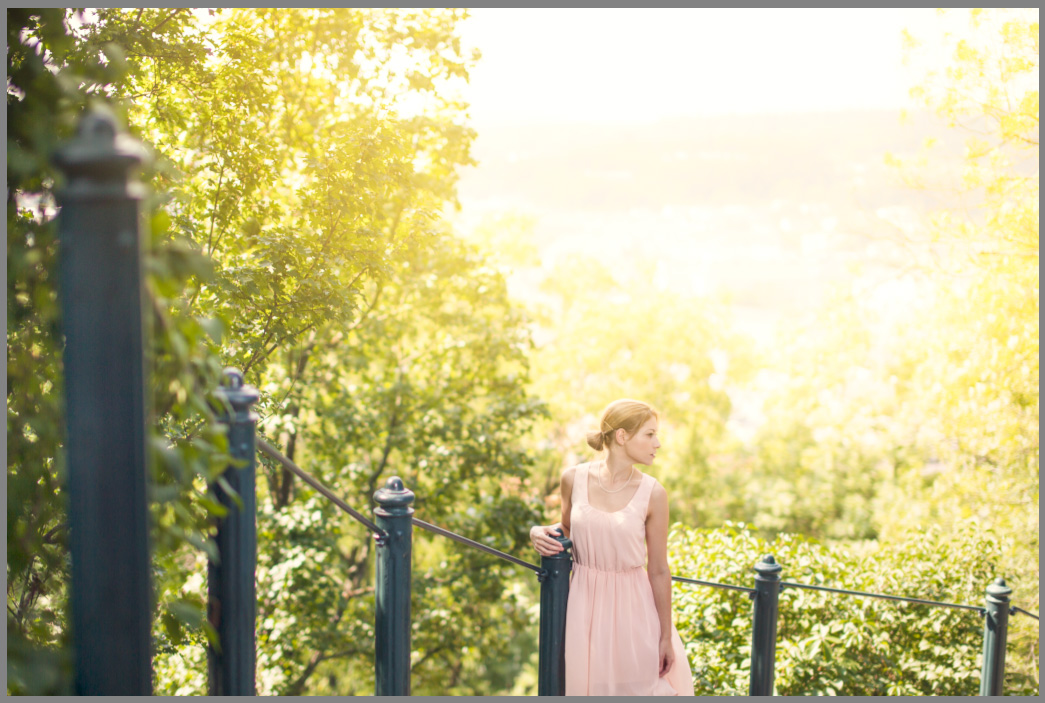
After applying the gradient, you get a sun effect that’s similar to what you’d get in the Develop module.
You can also duplicate this effect by using Duplicate Layer (Layer menu->Duplicate Layer). Again, this gives you a more pronounced center.
Pros and cons of the sun effect in both modules
Both methods are similar and can be enhanced in their own ways. The Develop module is a bit more straightforward when it comes to creating the sun effect and offers a number of other tricks. Plus, it makes it easy to use Clarity and other sliders to modify the original image underneath the gradient. Another big advantage is that you can fine-tune everything later.
In the Editor module, the process is slightly more complex, but it gives you more control. For example, the gradient can include multiple colors. So instead of just black to yellow, you could create a black-yellow-orange-white gradient. One gradient can then simulate the effect of several stacked layers.
A simple effect with a powerful atmosphere
Adding a sun effect isn’t complicated. While it may seem suited only to bright images, that’s not necessarily true. It can also work well with darker photos, helping to brighten them up.
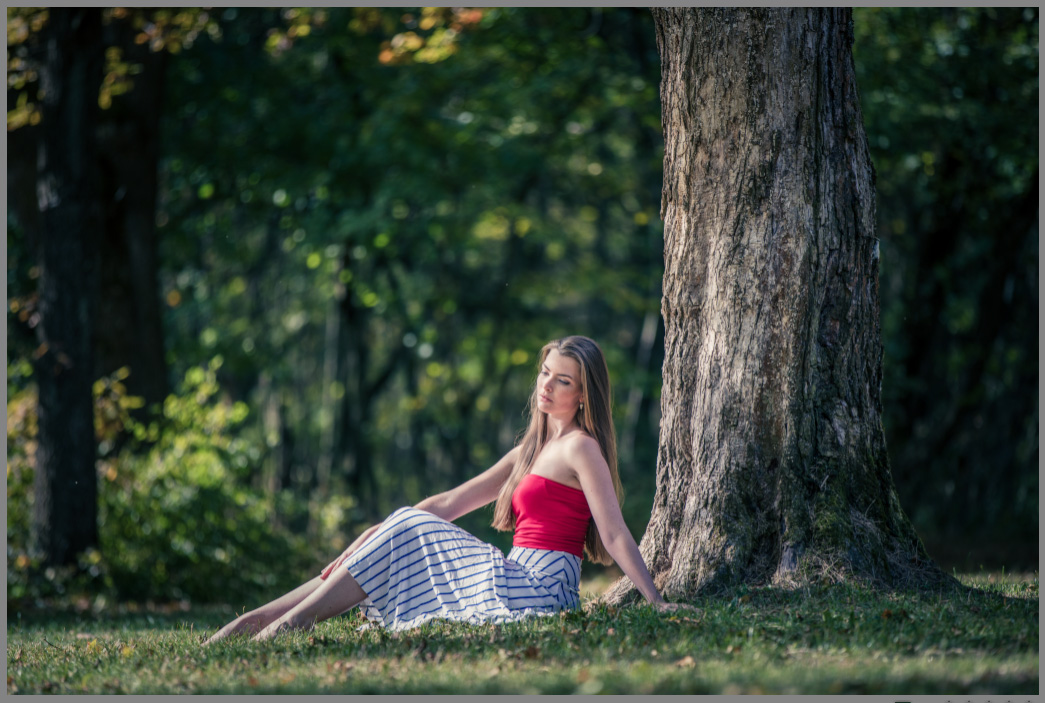
A darker photo made much brighter.
The process also works well for landscapes or cityscapes. Don’t hesitate to experiment and get unique results you can add to your photography portfolio.
There are no comments yet.