Creative Still Lifes Part II: Secret Tricks You Can Master at Home
Do you want your creative still life photography to look like it came straight out of a fairy tale? In this article, I share some simple camera tricks you can try at home, from rainbow effects to making objects levitate, and crafting frozen-glass scenes. You’ll learn how to work with light, a polarizing filter, and everyday props that make your photos eye-catching at first glance. All you need is a bit of creativity and a few easy-to-find items.
In the first part of this series on creative still lifes, we focused on brainstorming ideas. Believe me, coming up with the concept for your shoot is the most important part. But now, I want to share some of my technical tricks. There are so many that they could fill a whole book. But for now, I’ll let you in on a few of my favorites.
Template
As I mentioned in Part I, I can’t draw. At all. But what if I want a magical figure or recognizable object in my still life? Easy—Google it, print it, and cut it out. That’s exactly how I made the letters for one of my photos. I cut each one from black paper and carefully glued them to a glass panel. Something like the glass shelf from your fridge works perfectly. I placed the glass behind the main subject and, thanks to its transparency, it wasn’t visible in the photo. I lit the letters from above and also lit the background. Then, I added the rest of the scene and used an ordinary flashlight for extra light.


By the way, if you don’t have an assistant, I recommend using a remote shutter release. I use the Canon Camera Connect app, which not only lets me trigger the shutter but also view a live preview directly on the display. Of course, a standard remote shutter release works just as well.
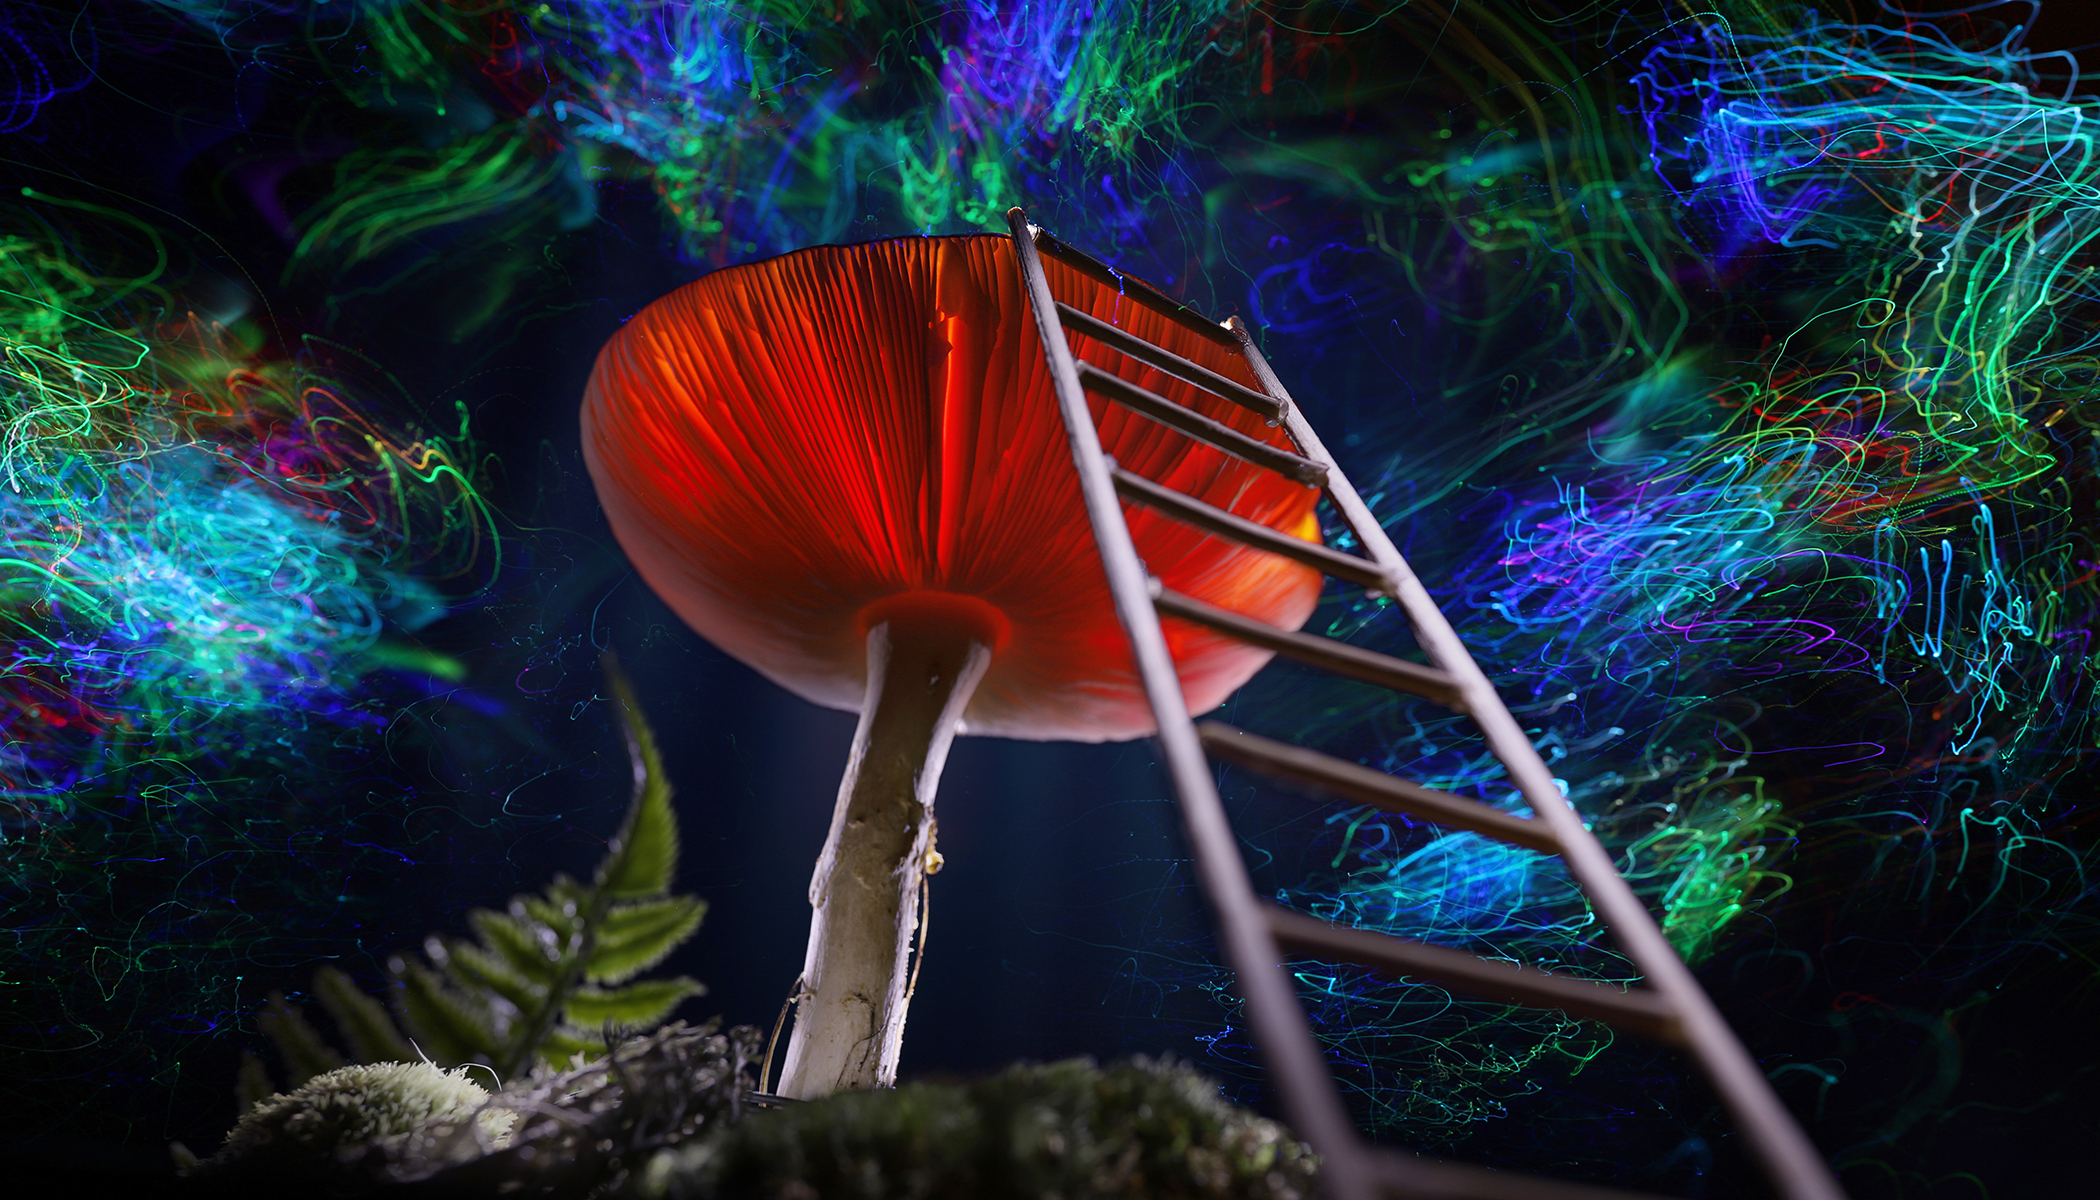
Polarizing rainbow
Do you know the rainbow effect you get when looking at transparent plastic backlit by a monitor through a polarizing camera filter? If not, you have to try it. I guarantee you’ll remember the experience. Just put a polarizing filter on your lens, place some transparent plastic like a cup or spoon between the camera and a white computer screen, and slowly rotate the filter. The plastic instantly turns into rainbow patterns.


So how do you turn this effect into a photo? For me, the color spectrum brings to mind bubbles, Pink Floyd, childhood, and unicorns. So I cut out a unicorn image and stuck it onto a piece of crumpled plastic bag. Why crumpled? Because it makes the rainbow effect stronger, catching the colors across the whole surface, not just around the edges. I glued the unicorn to the glass and placed my laptop behind it. By rotating the filter, I made the screen go black and the unicorn magically lit up. Then, I added a doughnut and some sweets because what little girl’s dream world doesn’t include pink candy? I lit the scene very softly to keep the main subject dominant.

TIP: Just like in the studio, the same rules apply: avoid direct lighting from the front. Light from behind or from the sides, to shape the volume and add depth.
Levitation
Levitation can make your photos feel magical. Sure, you can toss objects in the air, but it’s hard to get the right composition mid-flight. I prefer more control and use a glass board and hot glue gun. I glue objects directly to the glass so they look like they’re floating. I’ve glued eggs, lemons, and even a tennis ball this way!
If I need more space or depth, I use wires. For example, in one series with playing cards, I attached each card to a wire with a tiny drop of glue so they wouldn’t slip, and hung them so they spread out.
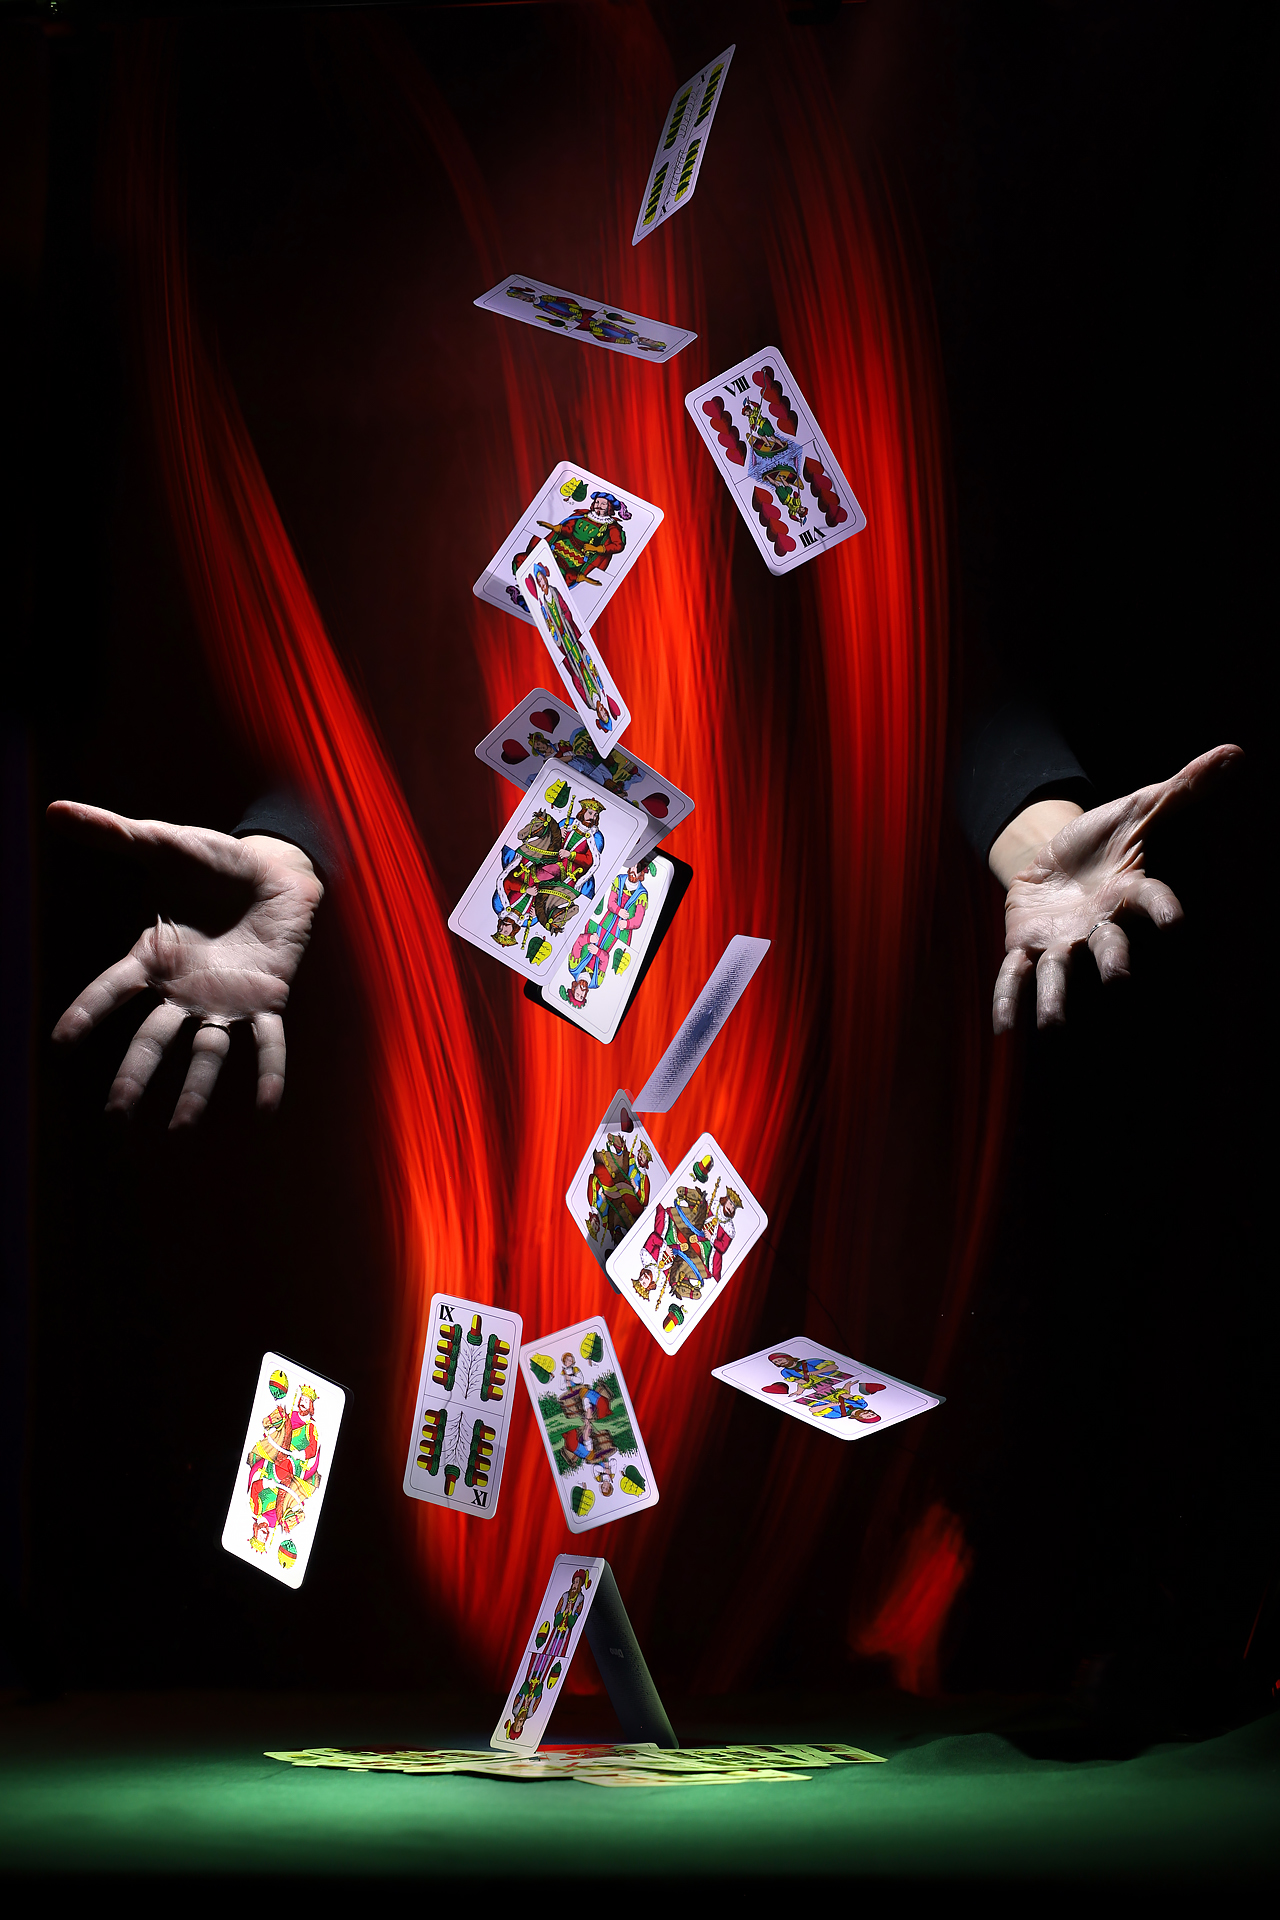

I lit the scene using a flashlight from various angles (except the front) and added red streaks of light using a fiber-optic brush with a red filter. I lit the hands one at a time using a long exposure, and then removed all traces of the wires in post-production.
TIP: When you’re including a person in the shot, I recommend using flash. It’s hard to keep them sharp when lighting over a few seconds. Firing flash manually in quick succession worked great for me.
Frozen glass
Want to peek into a winter fairy tale or under the ice of a frozen pond in the middle of summer? You can achieve this effect by coating glass with a thick mixture of light beer and Epsom salt. Once it dries, it looks frozen. I used this “icy” surface on a glass panel balanced between two chairs. Above it, I placed a set of magnifying glasses and a fish template below. I lit the scene by aiming light at a white reflector underneath, another from above on the right, and finally added a lighter to the scene for warm light. The warm glow created a beautiful contrast to the cold atmosphere of the scene.
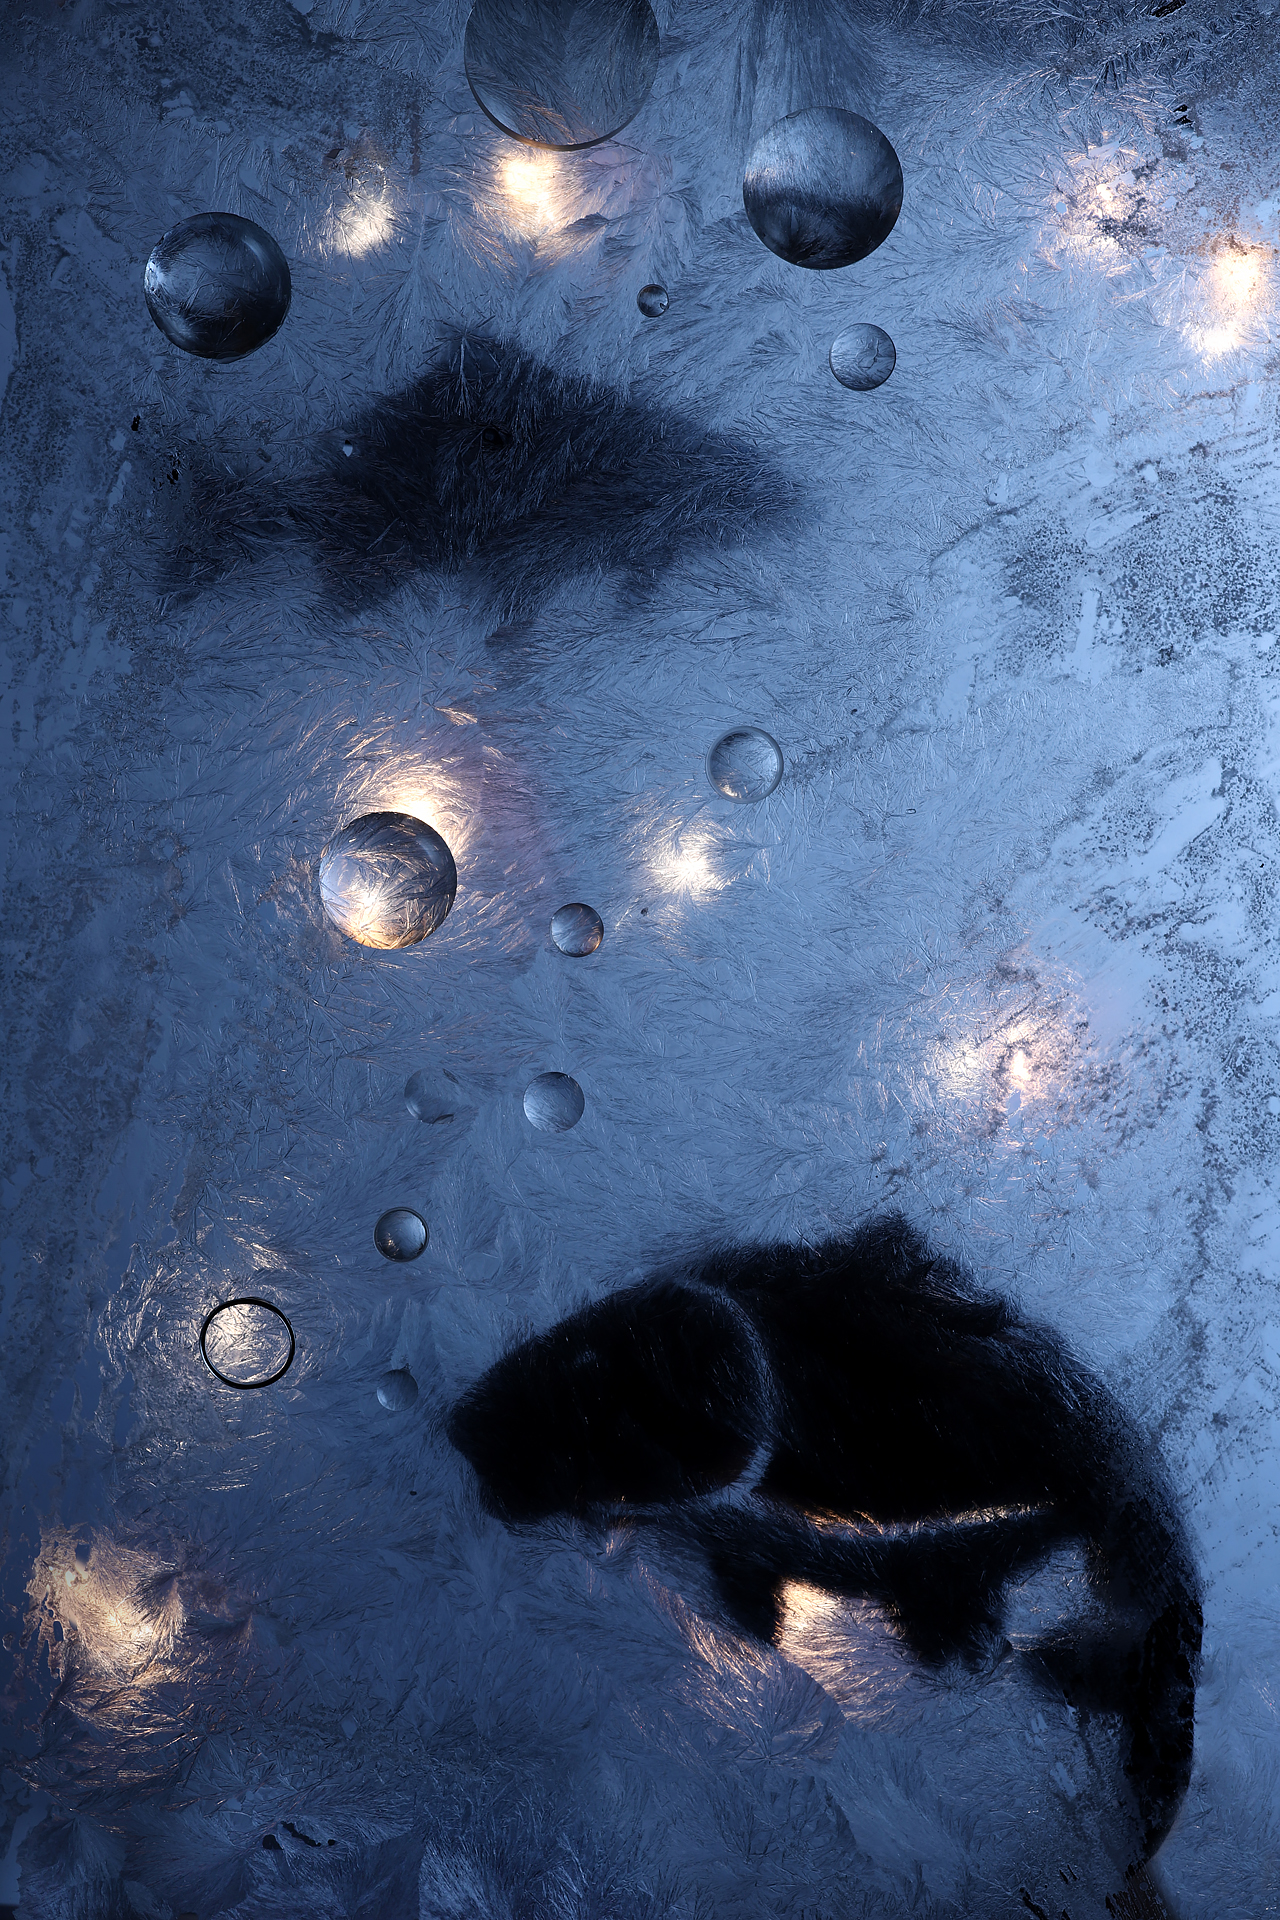

If you want to shoot with a short exposure, you can create warm highlights using a string of Christmas lights on the floor. Try placing the lights at different heights. Each will be a different size, and not all will look the same.
Preparing the mixture is simple. Mix one tablespoon of Epsom salt with two tablespoons of light beer and spread evenly over glass. Let the salt dissolve completely until there are no large grains left and dry overnight. Resist the urge to touch the mixture!
There are no comments yet.