How to Adjust Exposure and Dynamic Range
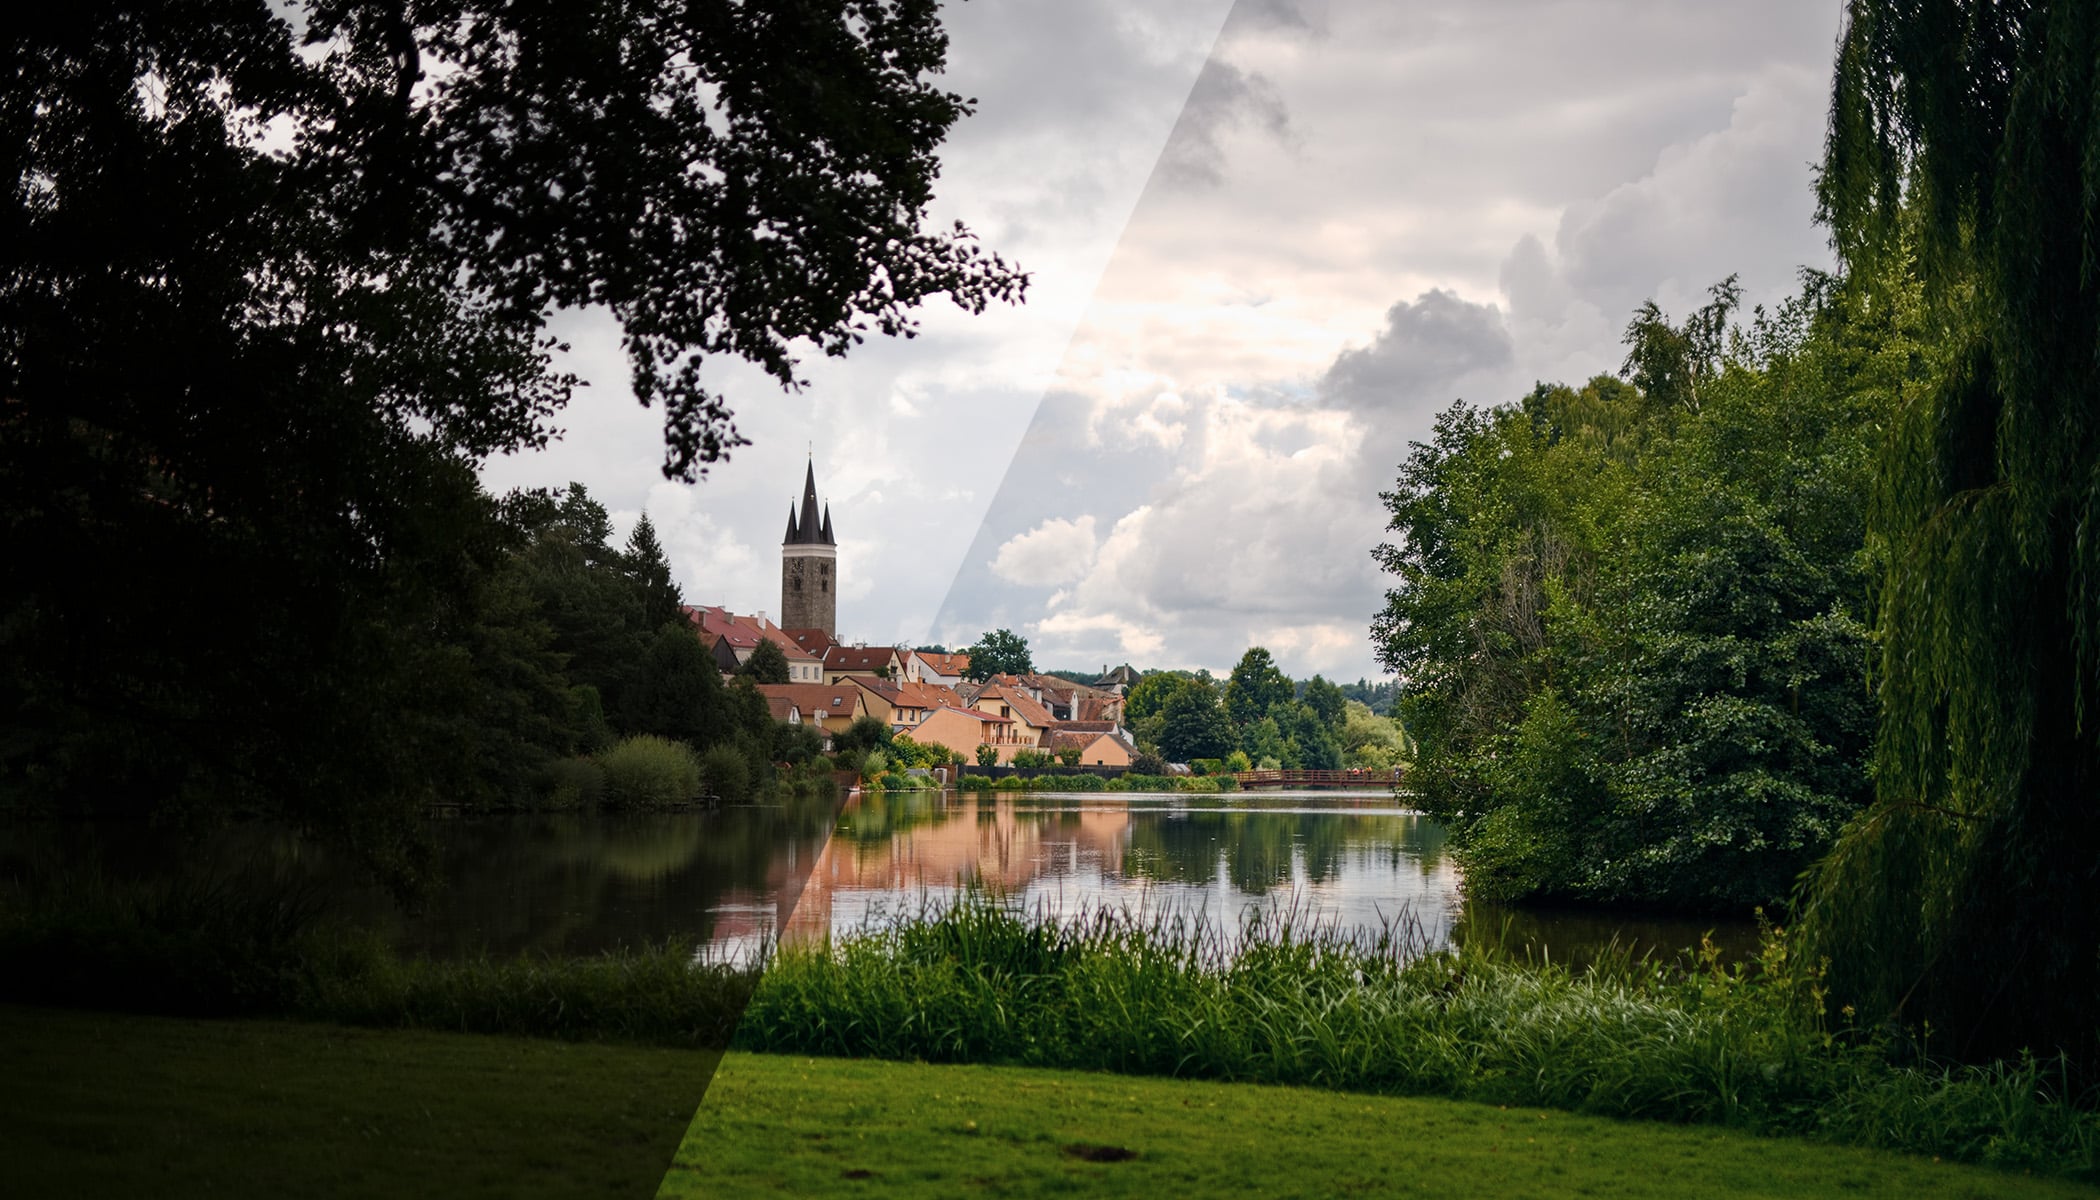
Almost every photo requires at least some adjustment to exposure and dynamic range. With RAW photos in particular, you can get more out of them than you may have expected. This comes in handy if you didn’t watch your exposure settings when shooting or you are shooting a scene with harsh highlights and dark shadows. A common example is a landscape or portrait photo where a part of the photo contains a bright sky and another is covered in shadows.
The Exposure settings group in the Develop module of Zoner Studio contains everything you’ll need for adjusting exposure. You’ll find everything from tools that work with the entire photo to those that edit only areas of a certain brightness. This way you can adjust the overall exposure and then lights and shadows separately. The result will be a perfectly exposed photo with good dynamic range.
Basic exposure tools
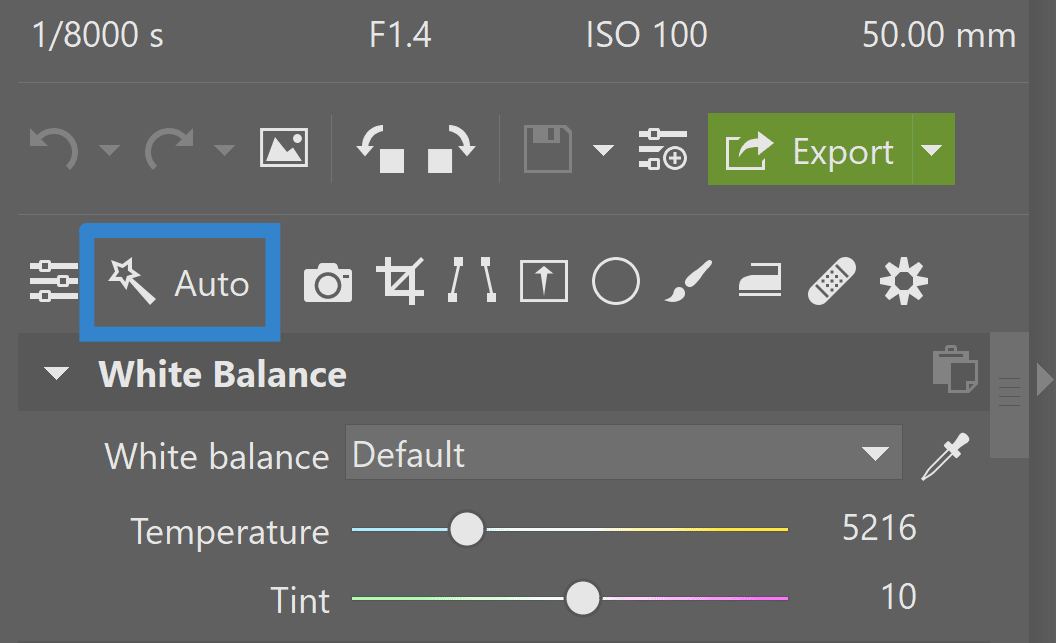
The Exposure and Contrast sliders adjust the overall brightness and contrast of the photo. If you are unsure, or if you want to speed up the process, we recommend trying the Auto button, which will automatically adjust the exposure, allowing you to fine-tune the details.
The two other tools in Exposure, Black point and White point, will probably be used infrequently or with less intensity since they significantly change the histogram. These sliders are useful if the photo lacks contrast and is missing white or black colors.
Dynamic range
The Dynamic range subcategory contains tools that will perfectly balance the light and dark parts of the photo. Tools such as Lights and Shadows are complemented by the Blacks and Whites sliders.
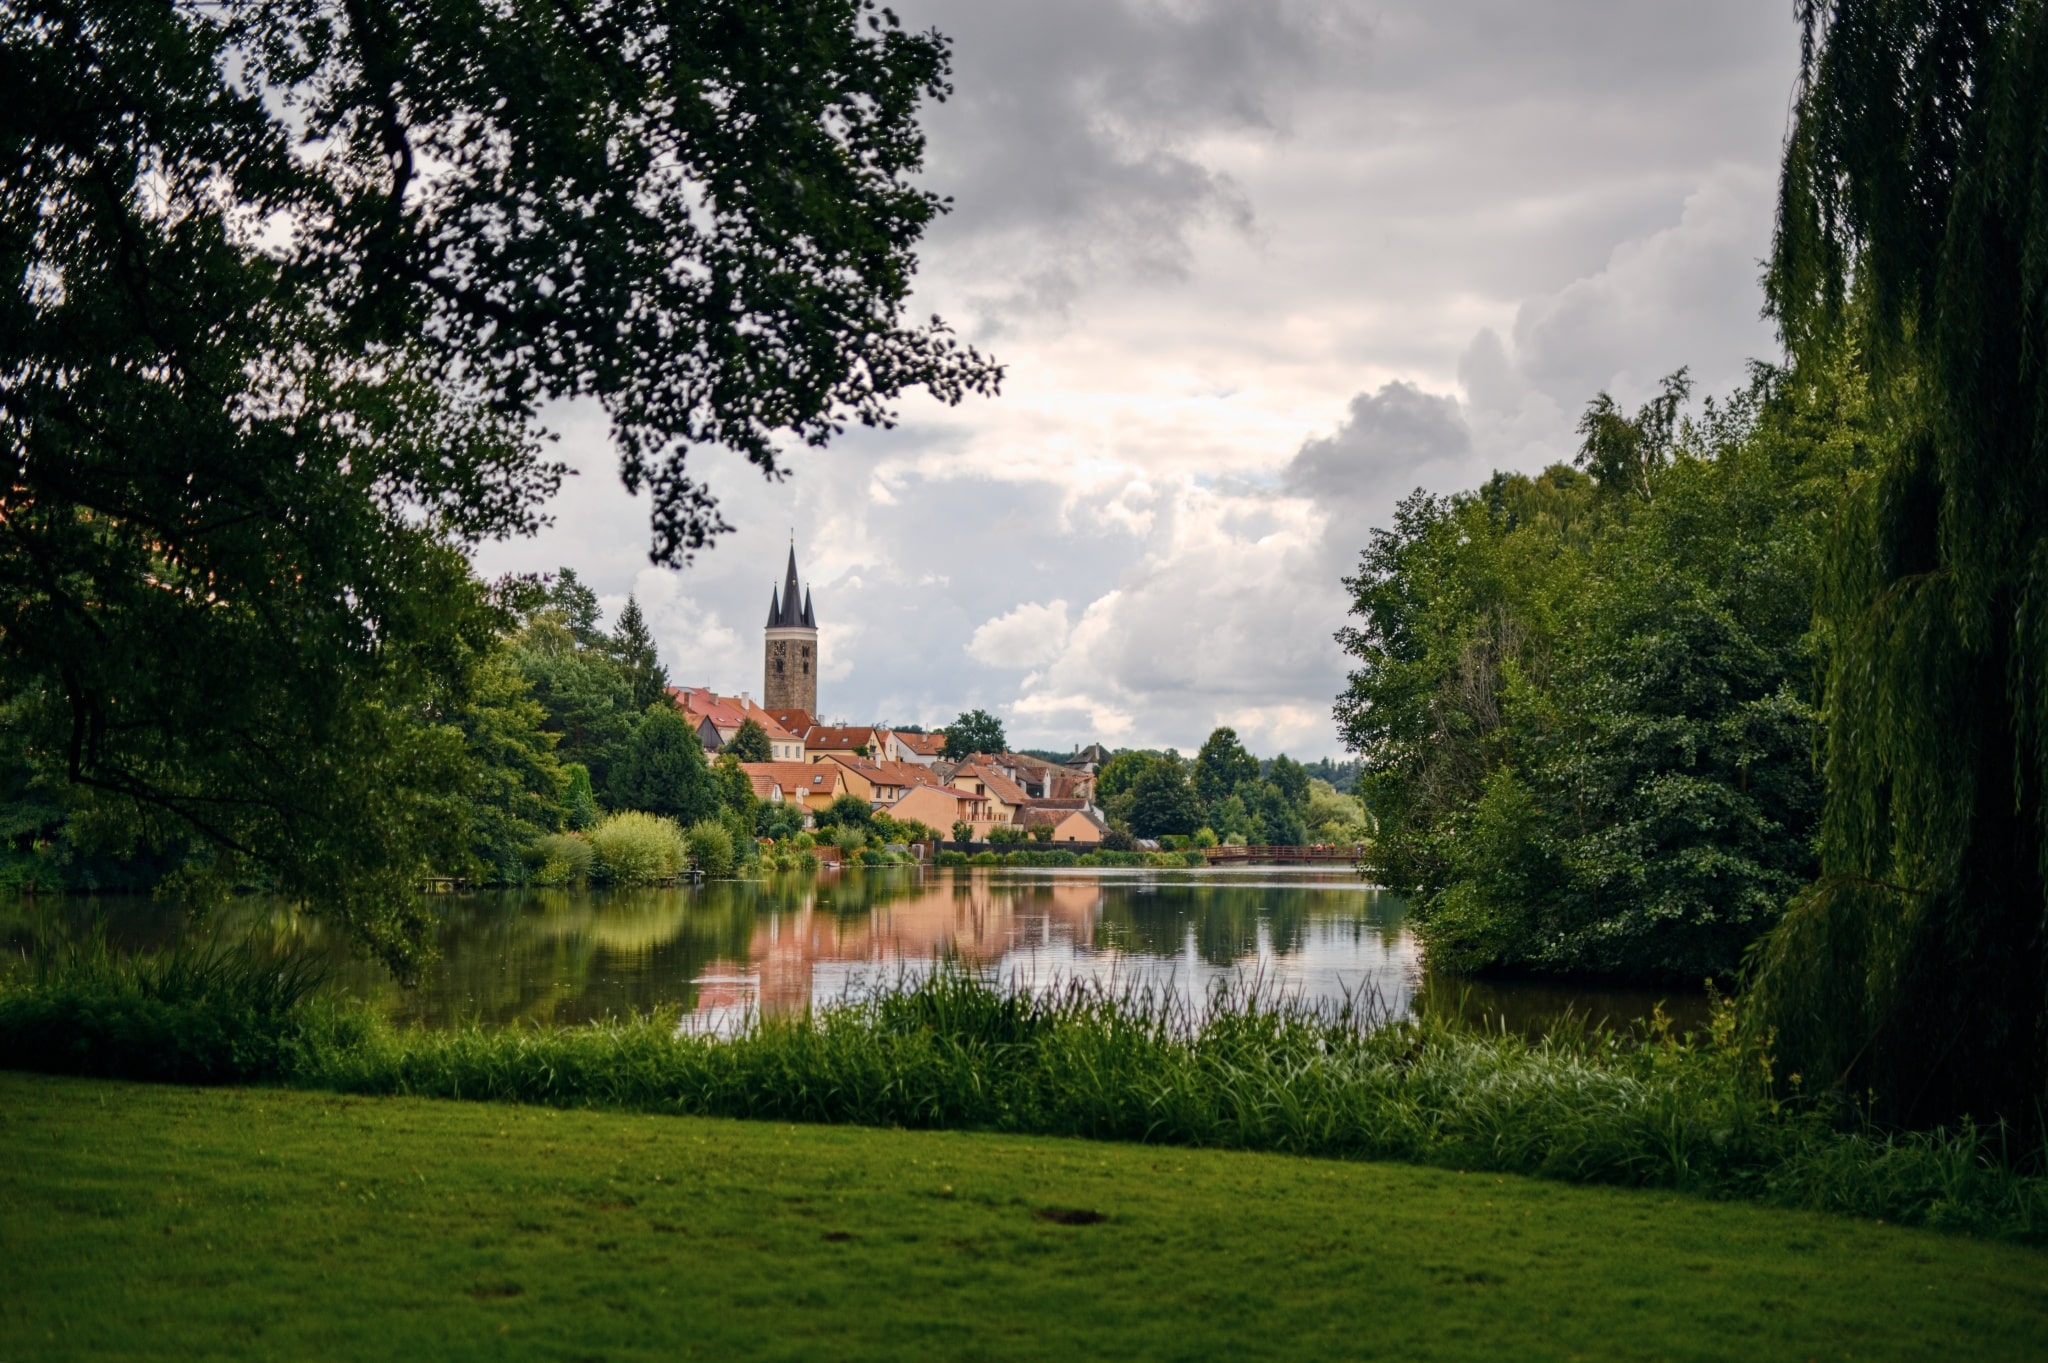
The following landscape photo is a classic example of when exposure needs adjusting. The sky is slightly overexposed, while the foreground is covered in shadows.
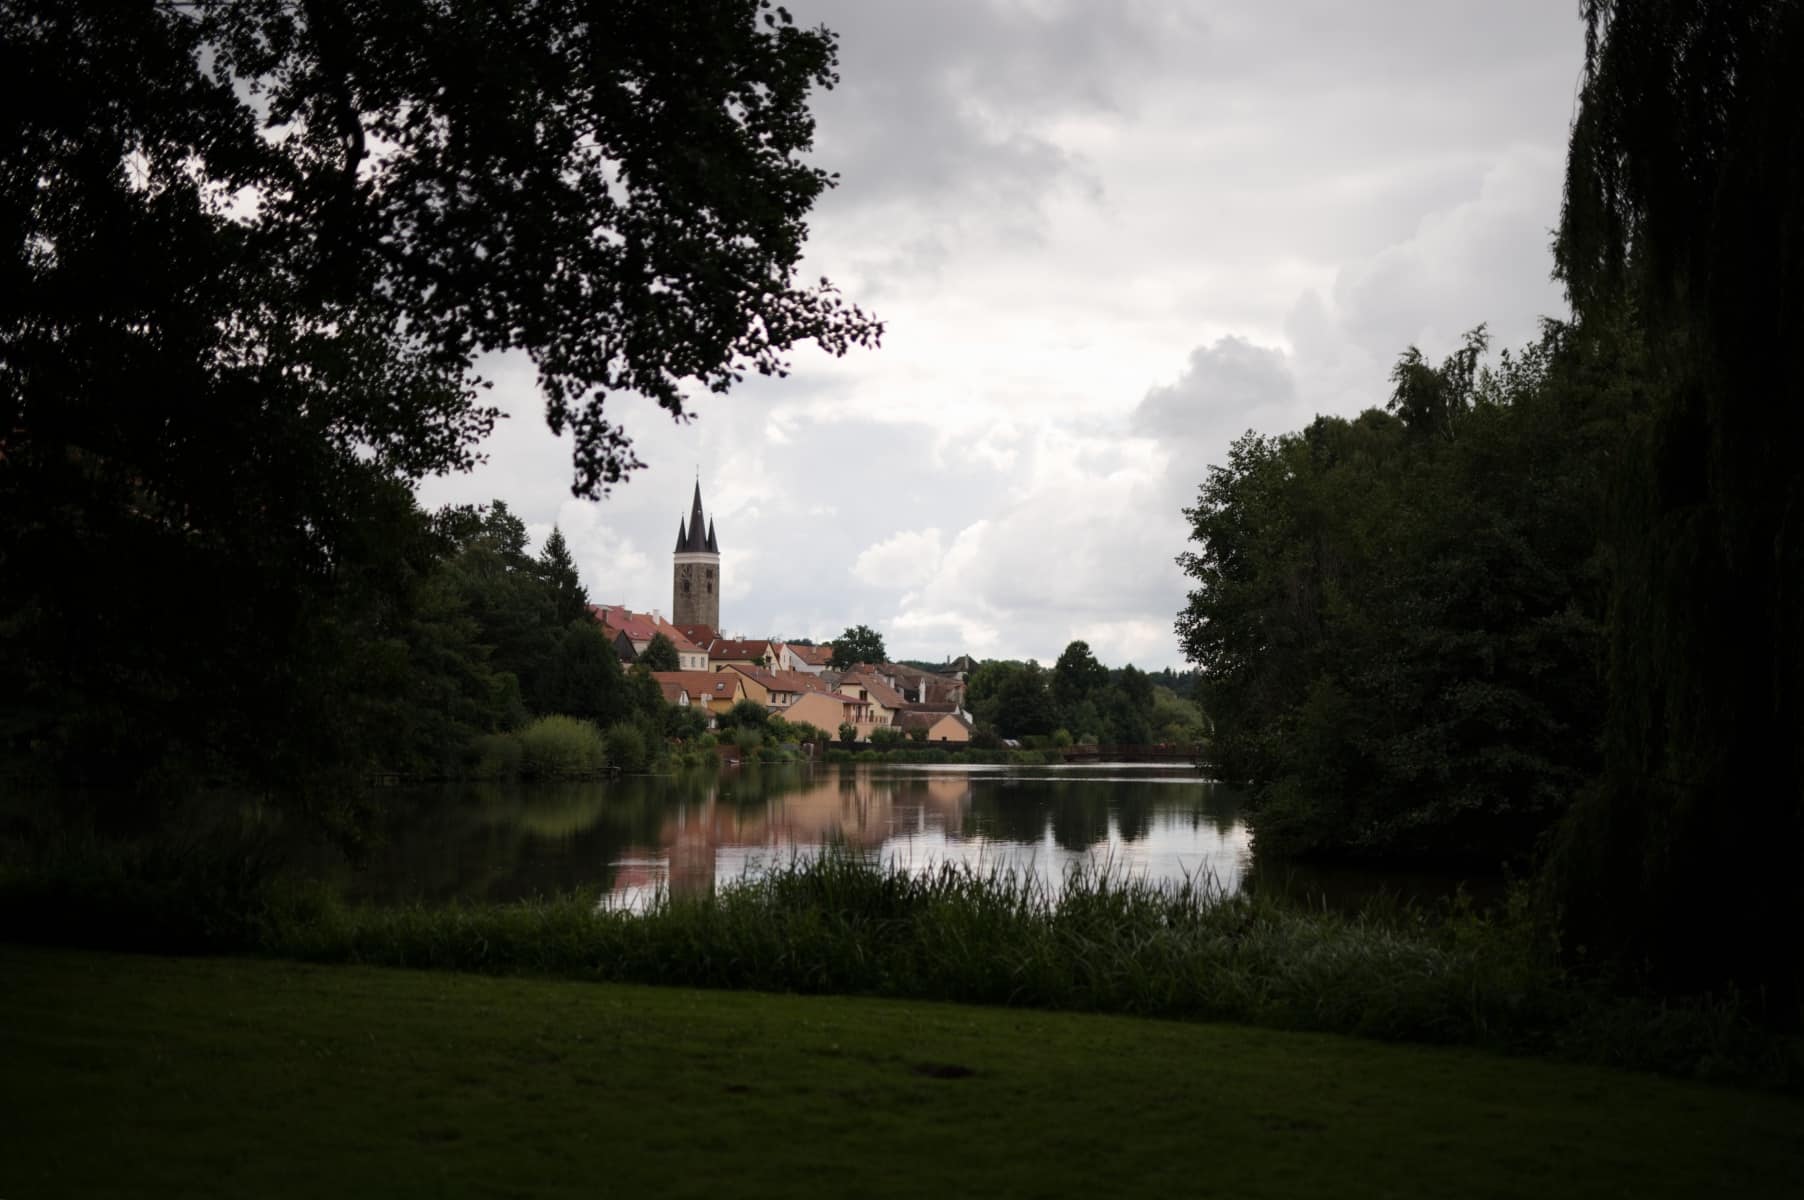
The editing process here is quite simple. All you need to do is decrease the Lights sliders in order to darken the overexposed sky. Then, drag the Shadows slider to the right to brighten up the shadows. This will lighten the overly dark areas. The overall exposure is then more balanced and we have improved dynamic range.
Using the Blacks and Whites sliders, we’ll fine-tune the photo so that it doesn’t lack contrast and looks natural. The Whites slider adjusts the lightest parts of the photo. Similarly, Blacks adjusts the dark parts of the photo.
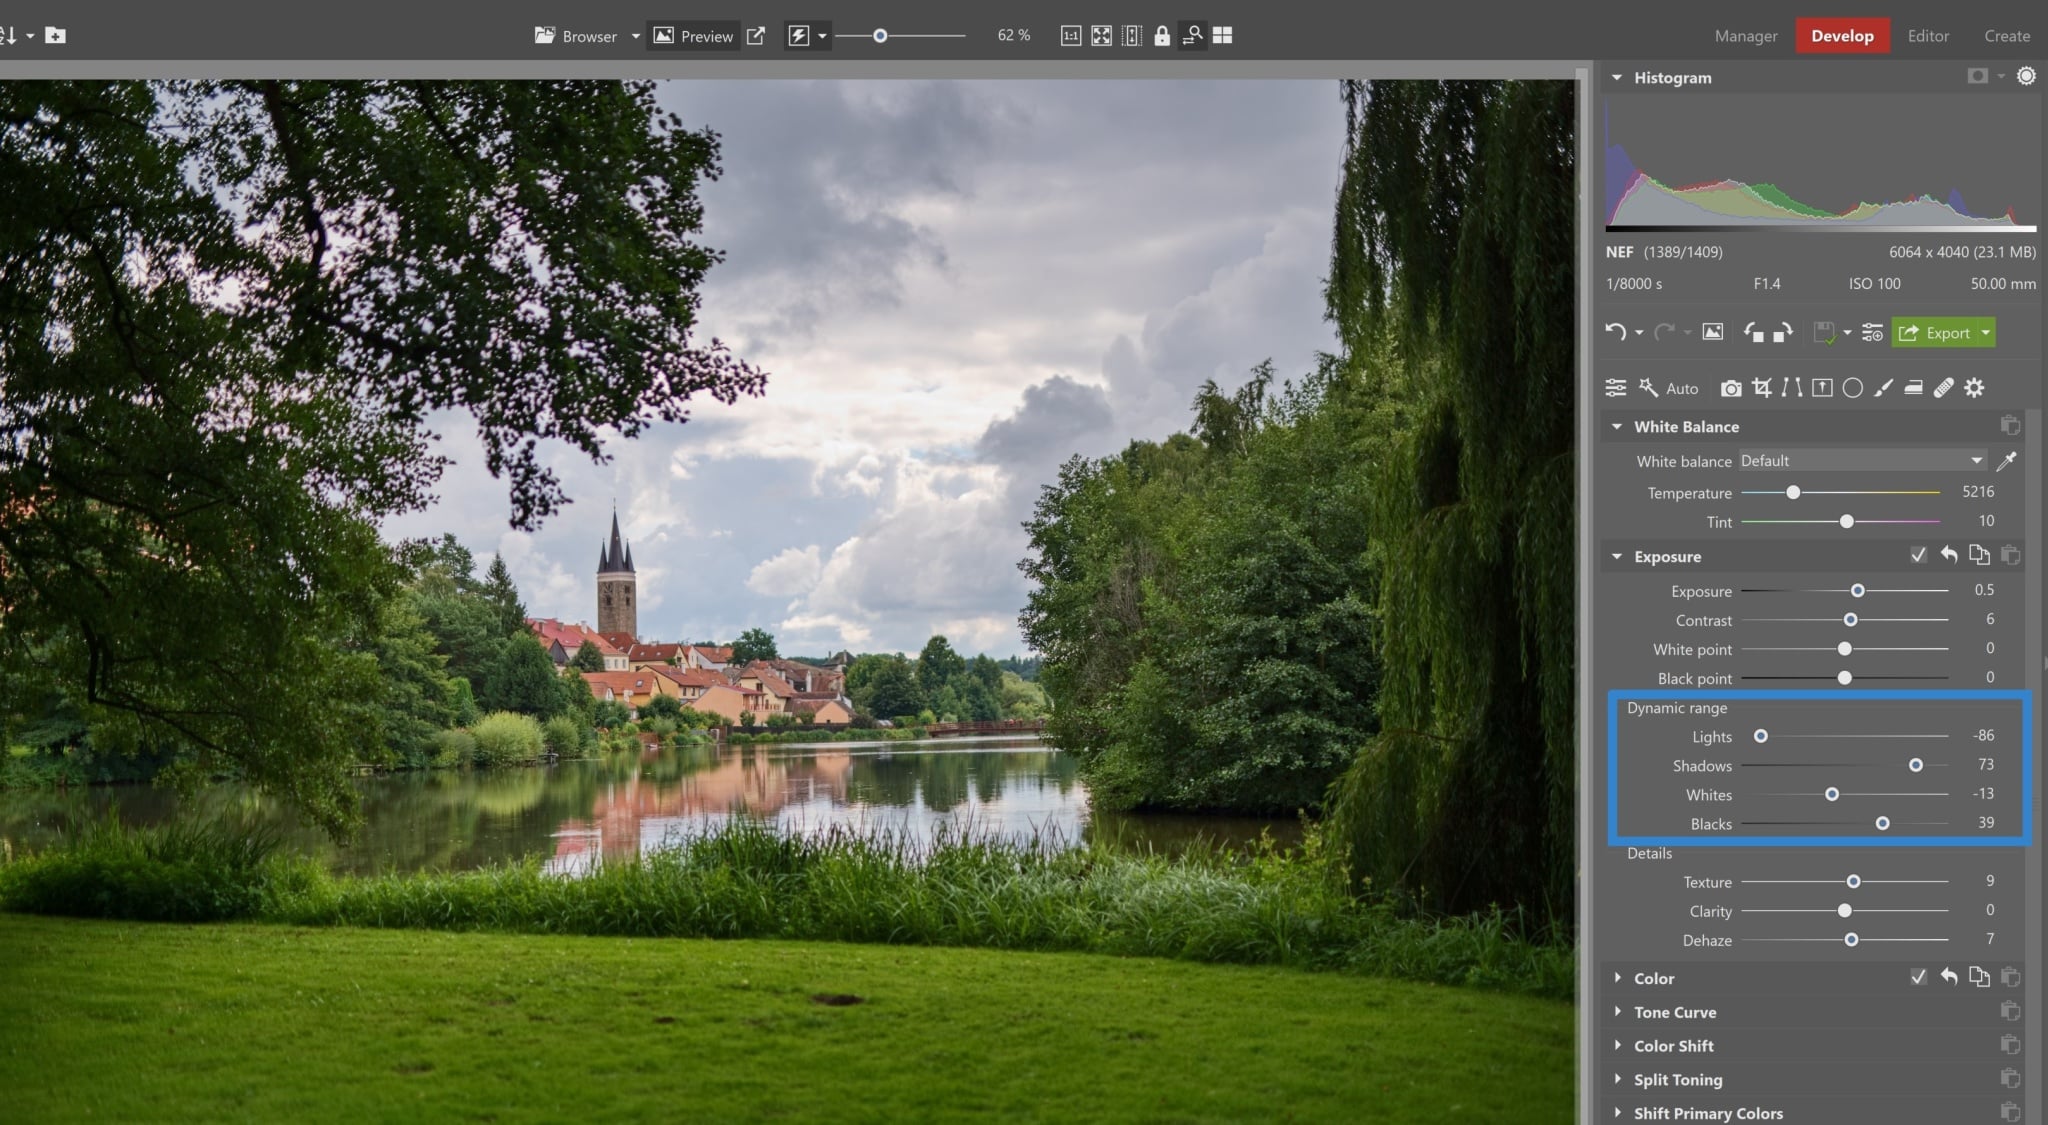
Next, add a reasonable amount of Texture and Clarity for a sharper and more powerful effect.
Photograph before and after adjusting the dynamic range
Compared to the original photo before editing, there is much more detail. Even the texture of the tree leaves, previously hidden in the shadows, can now be seen. On top of that, after decreasing the lights, the previously dull and gray sky now has interesting features.
Download Zoner Studio free for 7 days and get the most out of your photos using tools for adjusting exposure and dynamic range.


There are no comments yet.