Remove Backgrounds with AI
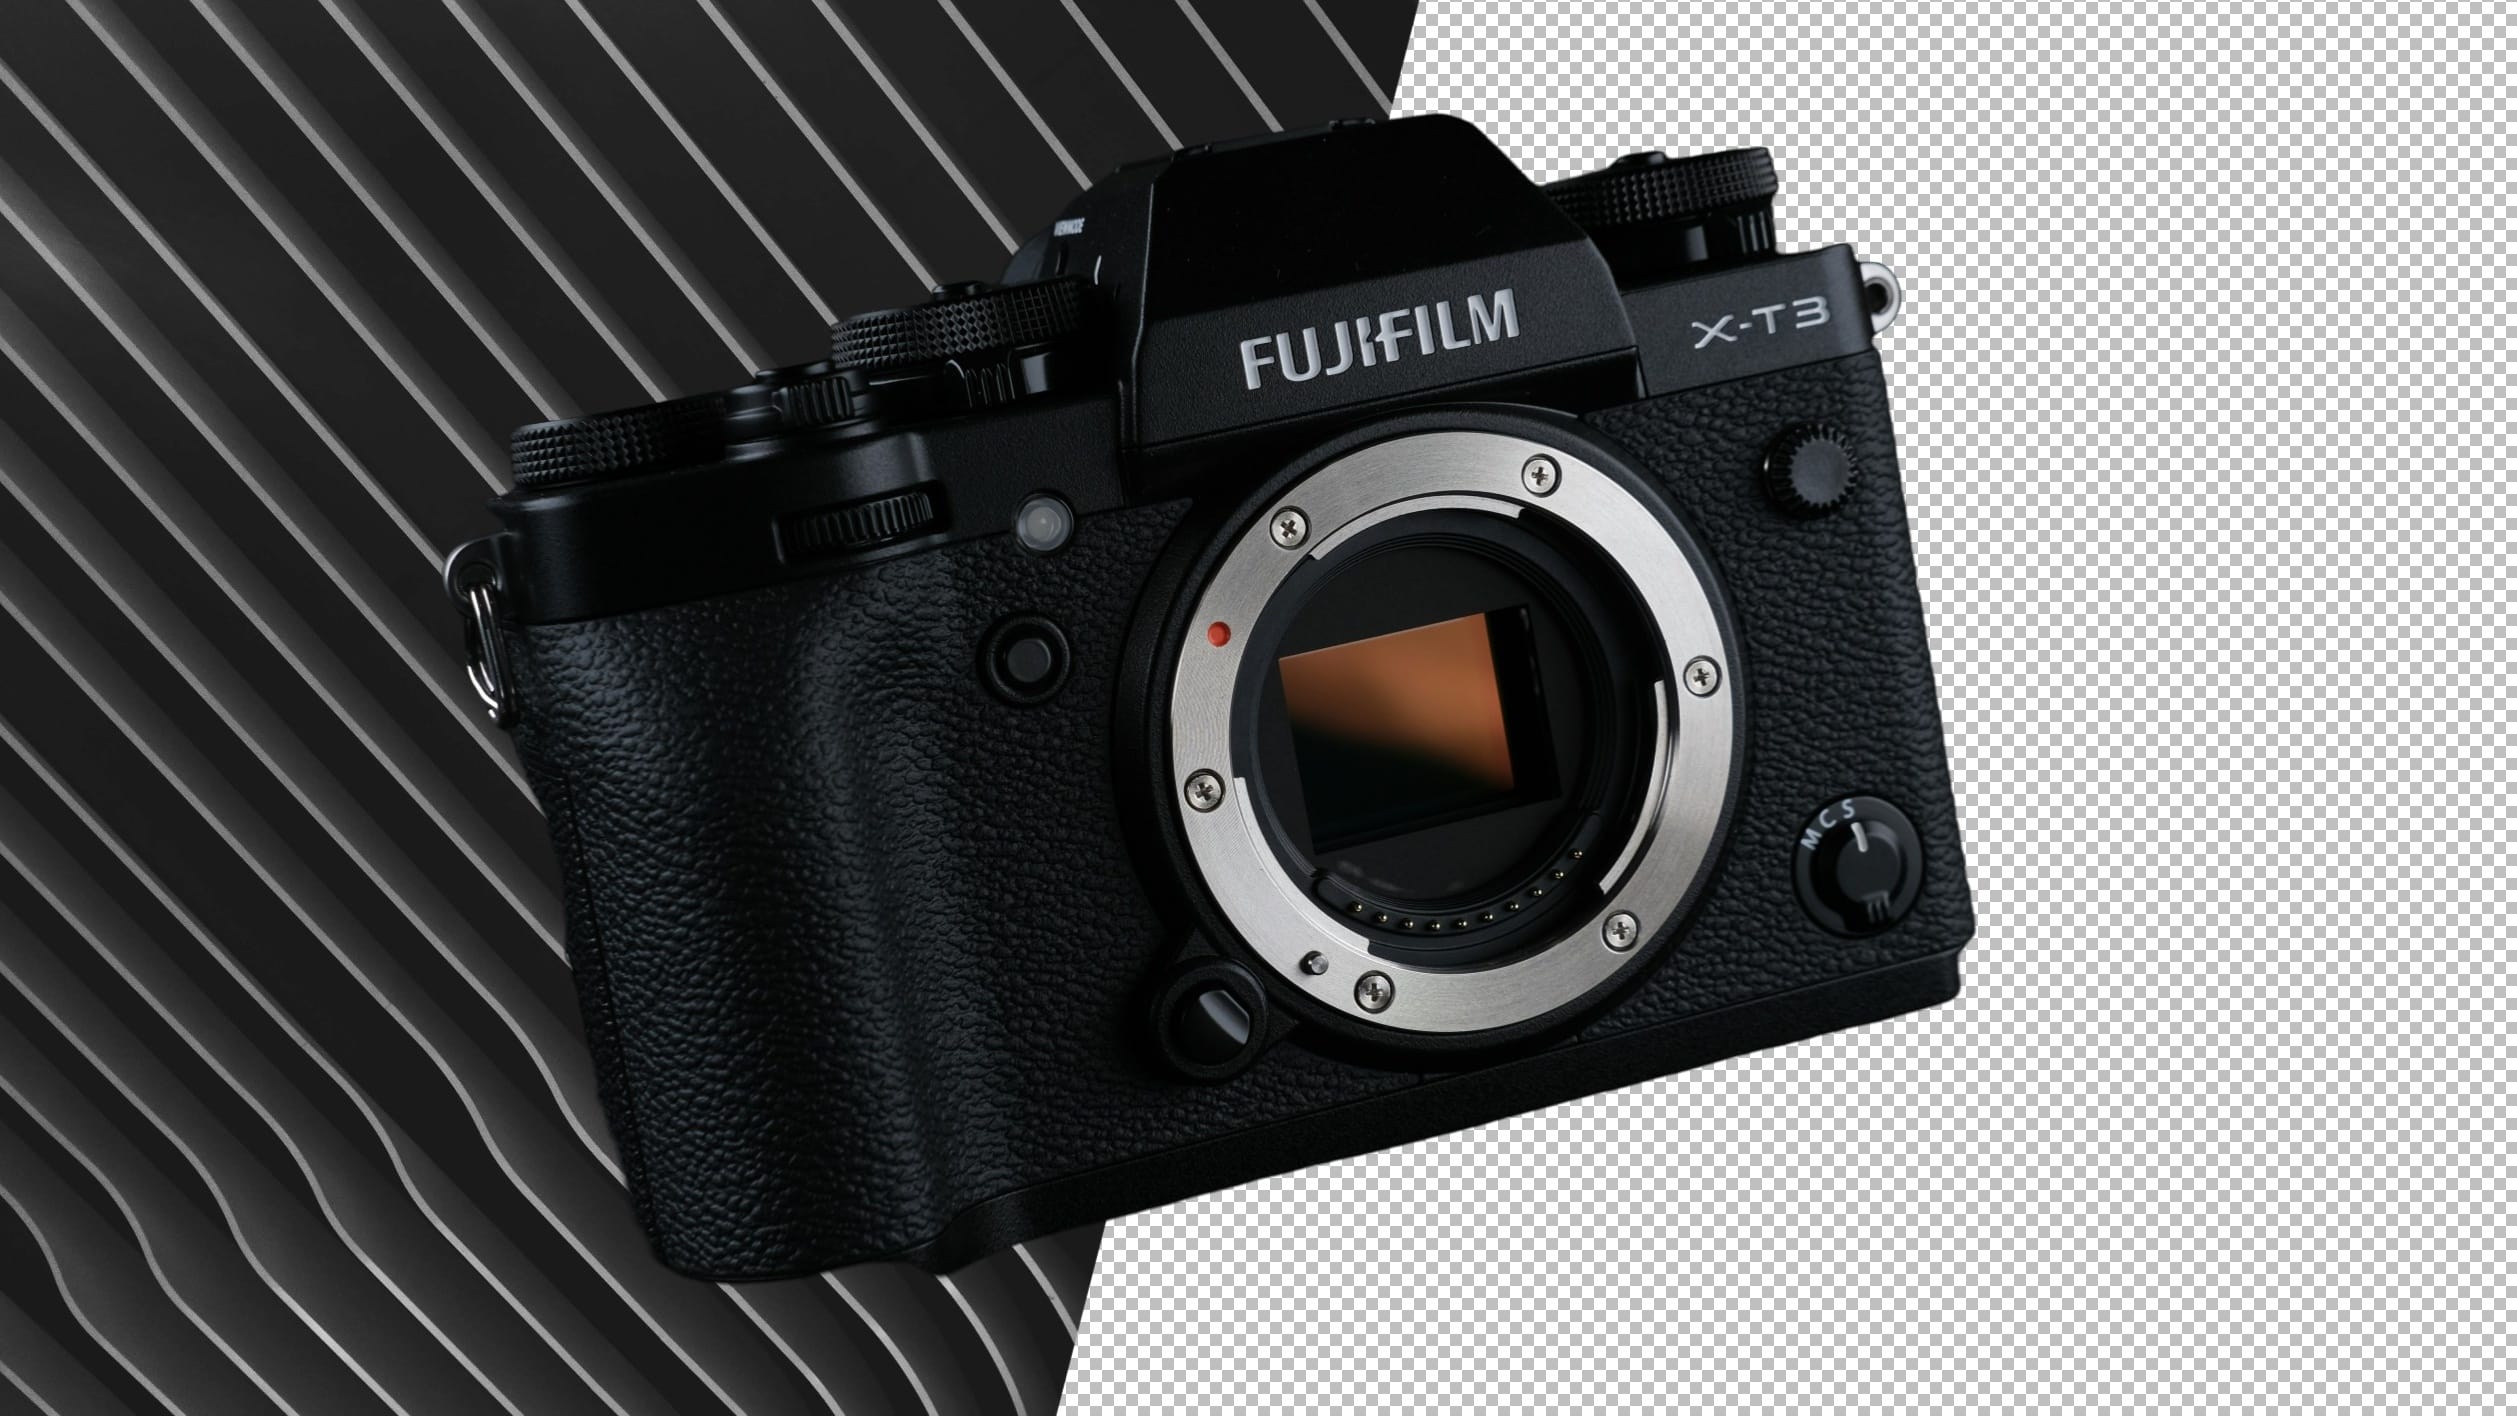
Transparent backgrounds are the perfect tool for editing product photos, creative collages, and other innovative uses. The tools in Zoner Photo Studio X, along with artificial intelligence, make removing backgrounds a breeze.
With AI Remove Background, you can quickly edit your product photos for your website. Not only can you remove backgrounds from your photos, but also fill it with color, or save it as a mask for further editing in the Editor module. It only takes a minute.
Remove backgrounds in bulk
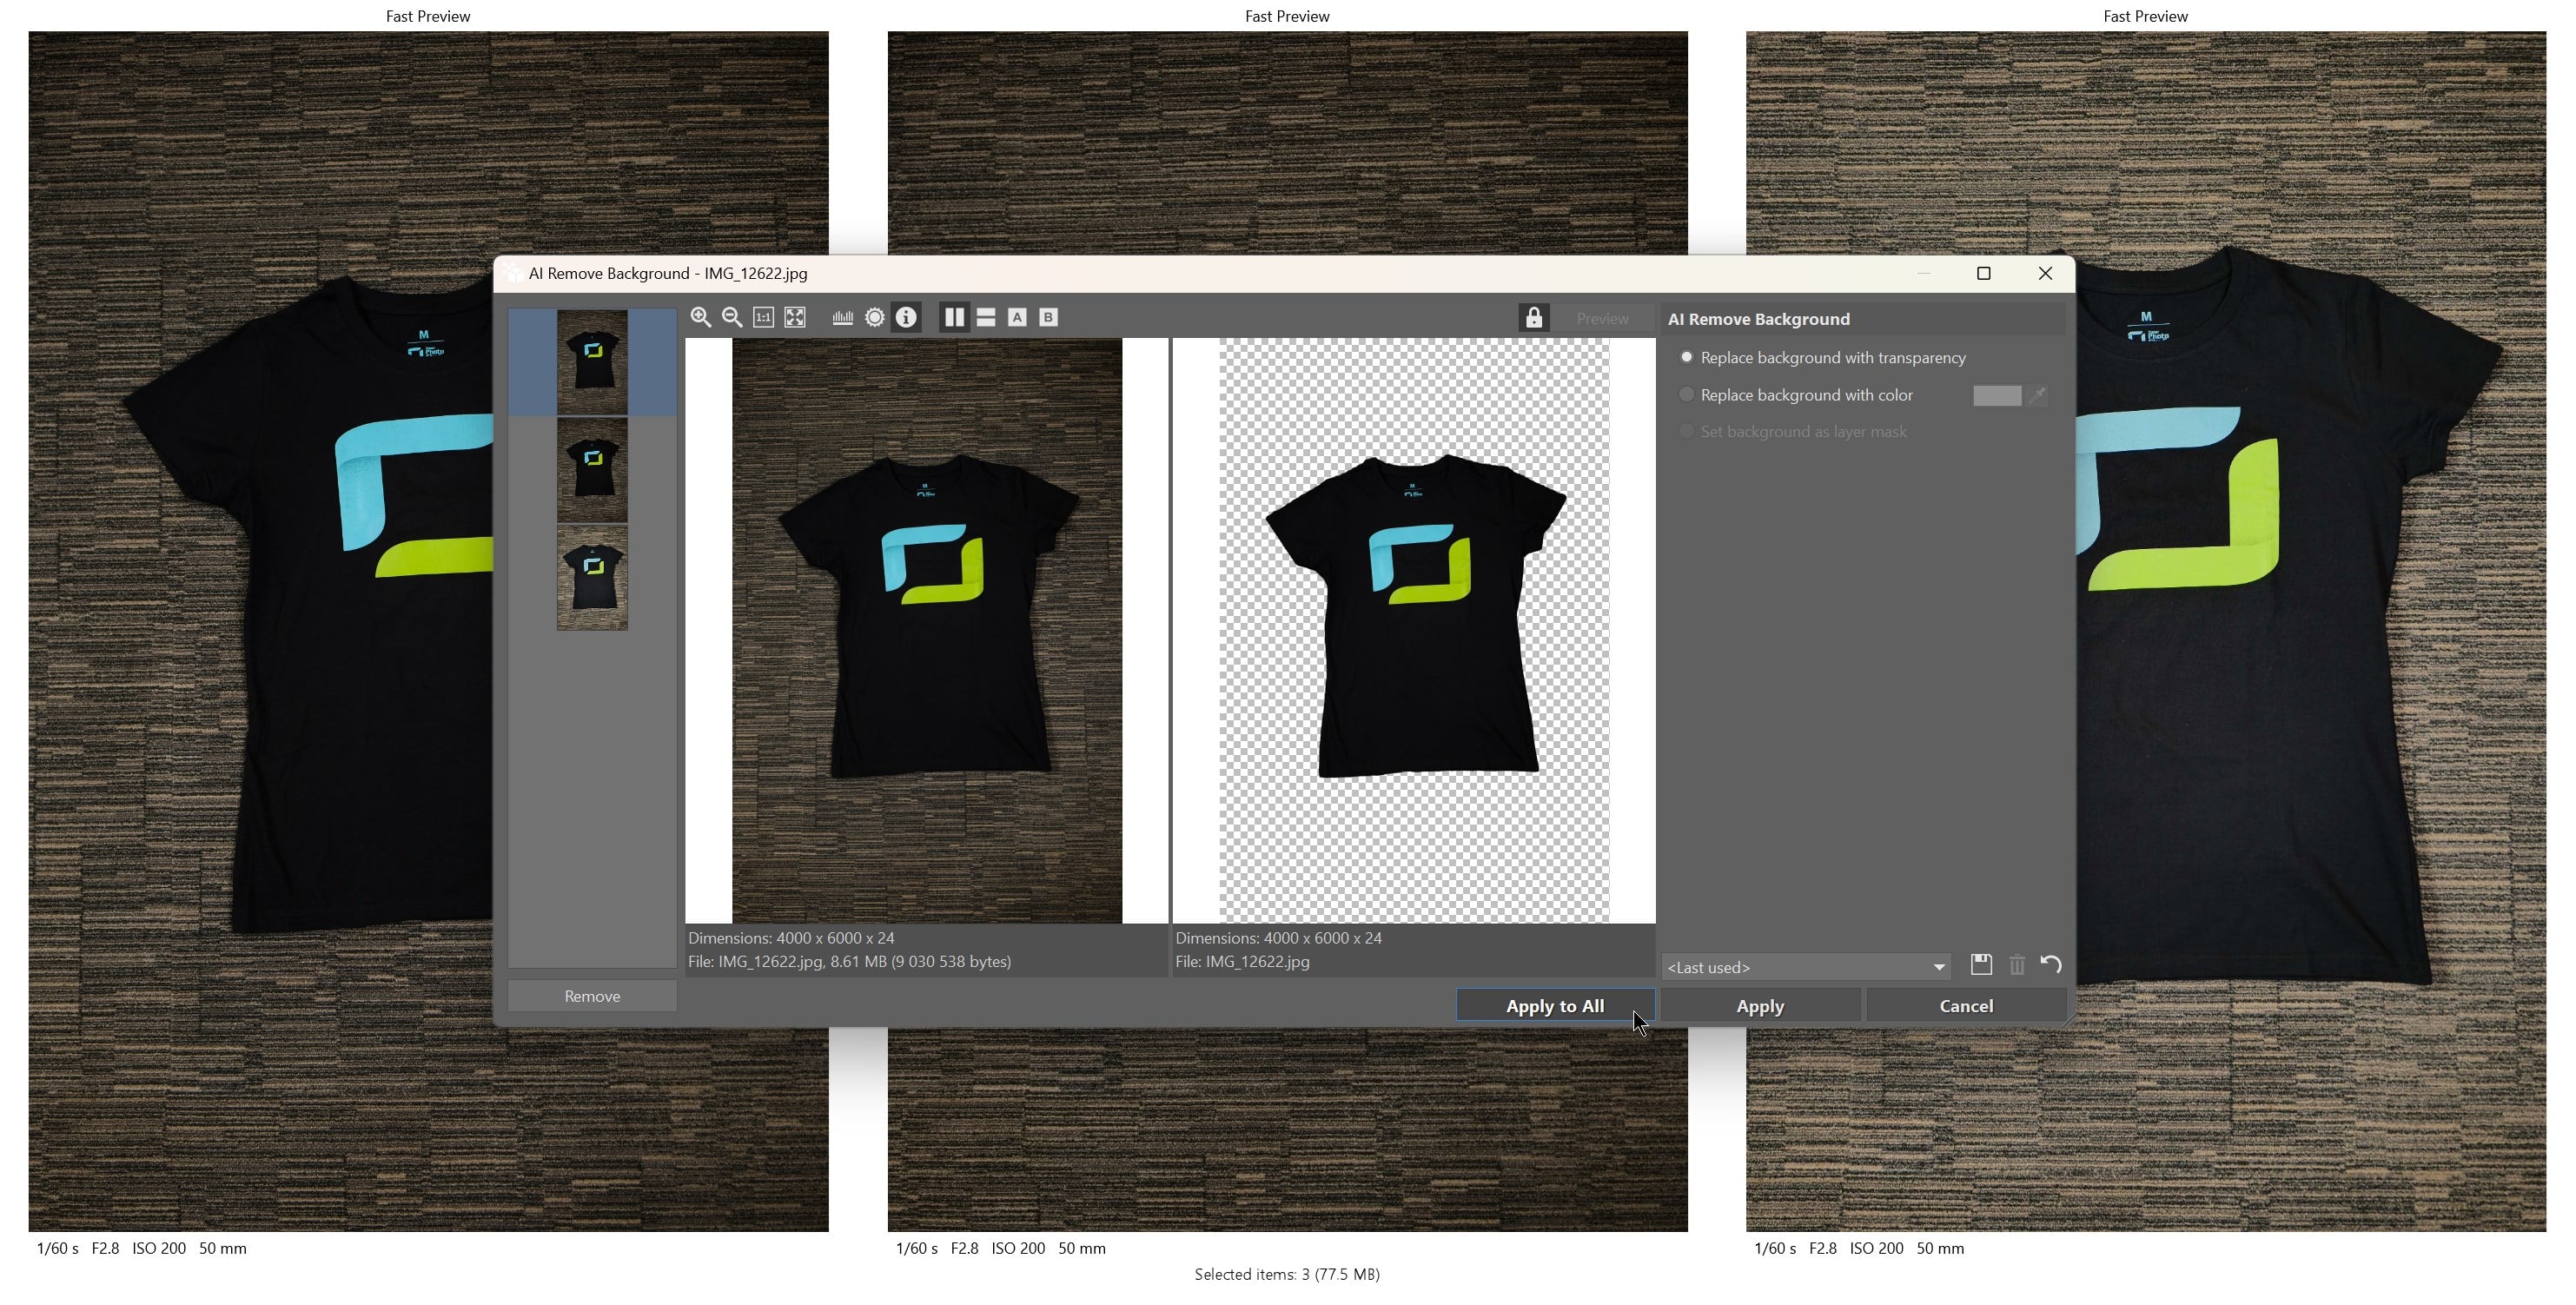
One way to remove backgrounds with AI is using the Manager module. This method is most useful for removing backgrounds for multiple photos at once. Choose the photos you want to remove the background for, and in the main menu bar, click Edit and select AI Remove Background.


The AI Remove Background function overwrites your original files. To avoid losing the originals, be sure to make copies of them first and only apply the function to your copies.
Once you select AI Remove Background, the background is removed automatically. You now have several options. To remove the background, leave the default option, Replace background with transparency, selected.
You can also access the Remove Background function using the Batch Filter (Ctrl +Q). We recommend this method if you want to add another filter to your photos. The Batch Filter overwrites the original files. Again, be sure to back up your photos so you don’t lose the originals.

For example, if you want the background to be white, go to Replace background with color and select the color of your choice.

Turn your background into a mask
Another option is Set background as layer mask. You can only do this in the Editor module, where you can work with the selection further. Or, you can replace it with a different background.
Click Edit in the main menu bar of the Editor module. You can also find it by going to Layers and clicking Adjustments > Edit > AI Remove Background.

If you want to replace the background with a different background, add the new background to a new layer. Then, move this layer below the one with no background.

You can also remove the background manually using Selection Tools and working with layers and masks. However, this process is considerably more complicated, especially since you need to manually select objects.
Download Zoner Photo Studio X free for 7 days and try using AI to remove the backgrounds of your photos.
Kaushal Shah
Creating transparent background I get it. But once we have transparent background, how to fill that part of image with a solid fill colour or anything else? That’s part I’m struggling with. I’m on Zoner Studio 15 pro. I know in above article you’ve mentioned doing it with layers, but I don’t see that option in my version.
Eva Krusoftova
Hello, Kaushal,
Thank you for your inquiry, and we are pleased to know that you are a loyal user of Zoner Photo Studio. Unfortunately, this is not the place for full technical support, so please direct your query to our support team, who will be happy to help you with setting up the program and explain everything.
We wish you much success in editing your photos.
Eva | Learn Photography by Zoner Photo Studio