How to do Still Life Photography: 7 Practical Tips That Will Help You With Light and Composition
The still life genre has one large advantage over the rest—you can even do it at home. You don’t need a studio or expensive equipment to get great pictures. Ordinary home equipment and a little creativity are enough. Not convinced? Then check out our 7 tips on how to photograph still lifes.
Recently, we showed you the basic rules for photographing still lifes. Now you’ll learn how to apply those principles in practice. I’ll be presenting a seven-step process that works well for me.
1. Imagine Your Picture
Creating a mental vision of your future picture is the most important step of all. That way you’ll clarify what mood you want to bring to the picture.
You’ll also be narrowing down your choice of props to just the ones that fit your dream photo. It’s true that running around your home looking for props can be fun, but it’s often depressing and fruitless instead.
And what’s more, your idea of your final picture will help you to choose the right lighting.
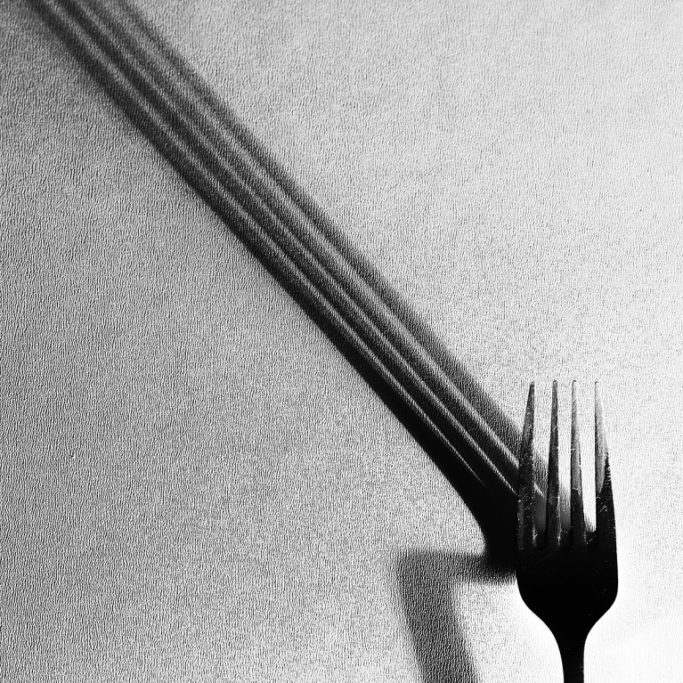
2. Find the Right Light
And the right light is an integral part of every good still life. You’ll find it by north-facing windows—but also in unexpected corners of your home.
Try treating this as a fun task and spending a day watching how the light changes in your home. Take note of interesting light and shadow gradients, as well as cones of sharp noonday light.
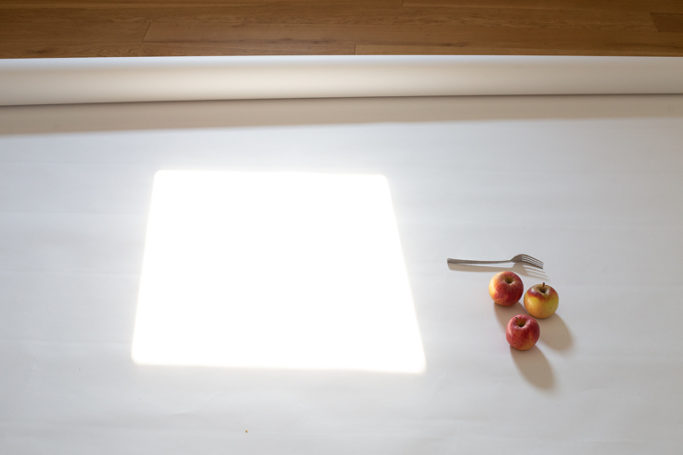
Canon EOS 6D, Canon EF 50 mm f/1.4 USM, 1/80 s, f/5.6, ISO 800, focal length 50 mm
Canon EOS 6D, Canon EF 85 mm f/1.8 USM, 1/60 s, f/8, ISO 100, focal length 85 mm
In the winter, the days get shorter, and the long evenings come. But you don’t have to give up on photography even then. You can also light a photo with an ordinary desk lamp.
You’ll have longer exposure times than you would when using studio flashes, so don’t forget a tripod and a remote trigger.
3. Prepare the Scene
Traditional lamps tend to produce sharp point lighting. You can soften their light with a diffuser, a translucent material, or for example baking paper. But don’t put any of these things directly in front of a lamp, because its hot bulb can burn through them.
When you’re preparing your scene, think about a suitable base and background as well. Try using a variety of bases, from lightweight foam boards to plexiglass (good for reflections) to wood planks. There’s no limit here. All you need is for these materials to fit each other and the props you’ve chosen.
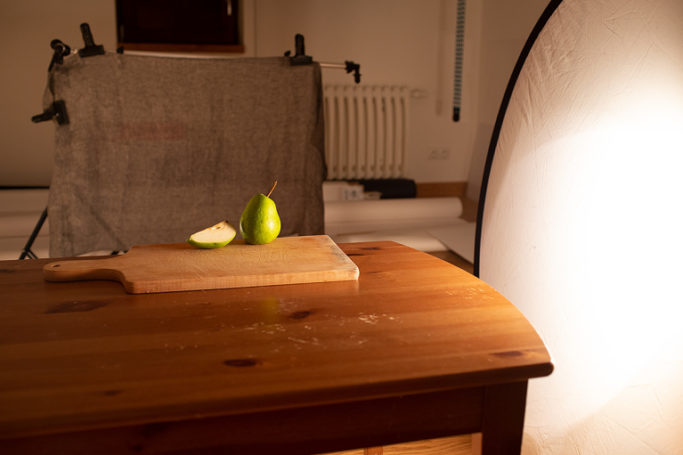
Canon EOS 6D, Canon EF 35 mm f/1.4L USM, 1/8 s, f/4, ISO 800, focal length 35 mm
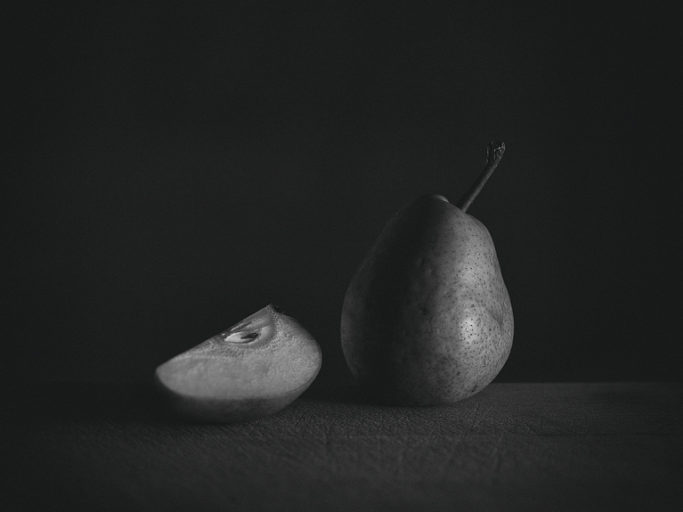
4. Choose Your Props
The variety of objects that you can include is endless. The classic props include:
- eggs,
- apples,
- pears,
- vases,
- and flowers.
In a modern still life, you can use anything except living creatures. For example:
- cigarette butts,
- screws and nuts,
- old or new shoes,
- or simple geometric shapes.
Take inspiration for example in the pictures of American photographer Irving Penn—or the Czech avant-garde photographer Jaromír Funke.
As I’ve mentioned, in this phase of my shoot, I generally have a pretty good idea of what mood the picture will have and what types of objects I’ll be using. That way, I’m choosing from among similar things, making my work easier and faster.
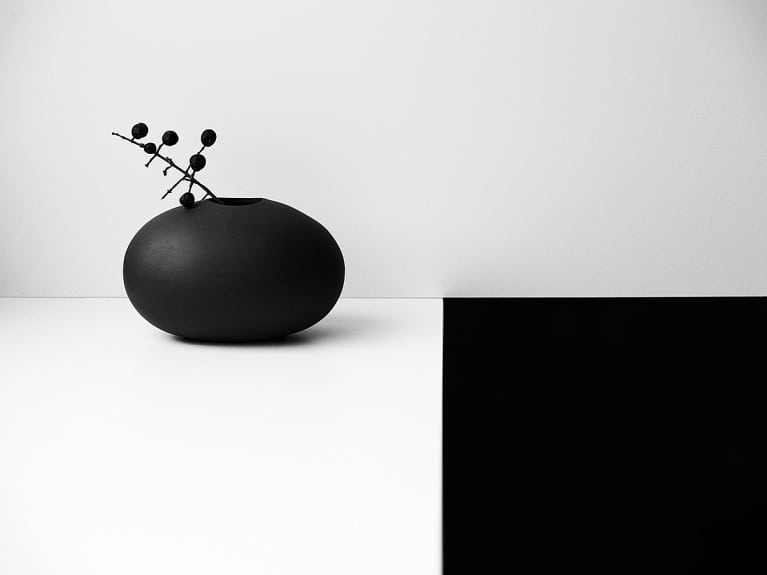
5. Think Through Your Composition
The fewer objects you have, the easier it tends to be to assemble a composition. Your still life should contain at least two objects, so that they can communicate with each other. Another option is to capture a single thing together with its shadow or reflection.
When you’re photographing reflections, you can even use a centered composition, although otherwise you should avoid it. Thirds and diagonals remain, as always, the traditional compositions.
When you’re photographing still lifes, you have time. So you can consider in advance how you might crop the picture in Zoner Photo Studio to give it a different ratio of sides, and have that vision in mind when you’re composing the shot. I find the live preview function in the Canon 6D very useful in this respect, as it lets me choose among four ratios of sides (2:3, 3:4, 1:1, and 16:9).
Canon EOS 6D, Canon EF 85 mm f/1.8 USM, 8 s, f/11, ISO 100, focal length 85 mm
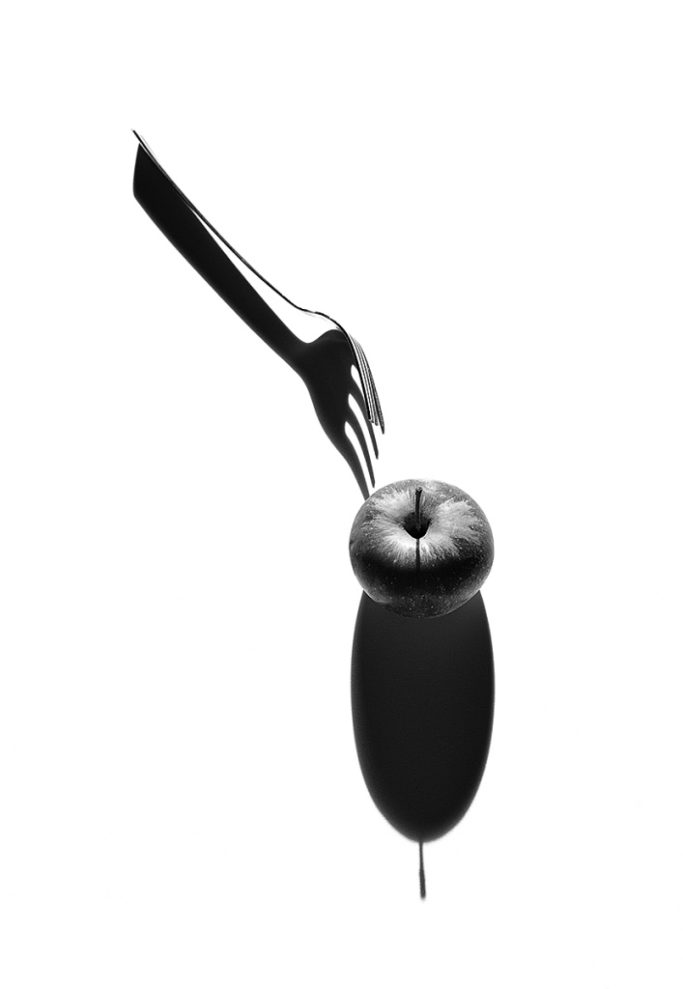
6. Exposure
The moment you have the composition fine-tuned, start thinking about the exposure.
Personally, I handle exposure in Manual mode when I’m taking pictures with studio flashes, while for daylight or lamp shots, I rely on Shutter Priority and exposure correction.
When you’re using lamps, the only way to correct your light is to darken the picture overall or place the lamp farther from the subject (or, sometimes, to add a diffuser). This can be confusing if you otherwise use studio flashes.
The exposure time is a big difference. It’s around 1/125 s for studio flashes, while it tends to be many times longer under lamplight.
But that doesn’t have to be a disadvantage. Pictures with long exposure times have an unmistakable atmosphere. The only gear you need is a firm tripod and a remote trigger. And the only thing to remember is: turn on mirror lock-up!
Canon EOS 6D, Canon EF 100 mm f/2.8 Macro USM, 8 s, f/2.8, ISO 100, focal length 100 mm
7. Create and Experiment
Your reward for your long (but important) preparations is the phase where you’re no longer handling the technical angle; you’re just creating. And in photography, that’s what comes first—both for still lifes and for everything else.
There are no comments yet.