Lighting for the Studio and Outdoors: An In-depth Look at Flash Photography
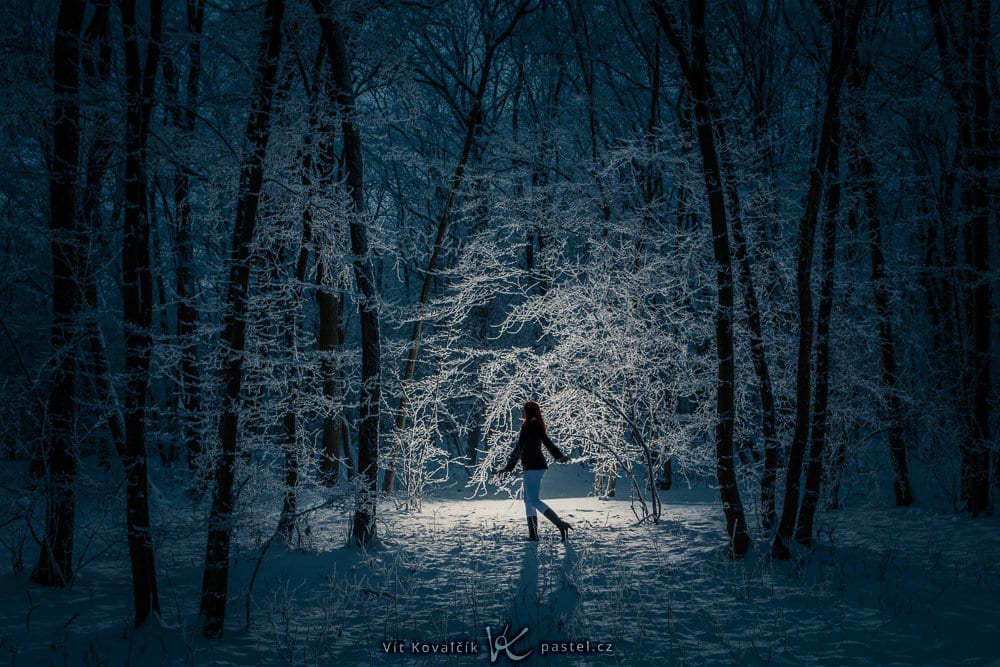
A powerful light source is an invaluable tool for photographers. Flash photography is commonly used in the studio, but also does its job outdoors and can drastically change the scene. The only problem is that the range of offerings is enormous and can make your head spin. We’ll walk you through the different parameters and specifications so you know what to watch out for and what you don’t need to worry about when it comes to choosing your flash.
There are many types of lighting that are suitable for use in a photography studio. This article breaks down the most used, flash. We also took a look at the wide range of strobe lighting options suitable for exterior use because they don’t require an electricity source (at least not for a few hours). Therefore, the following article could be useful for those searching for studio lighting as well as for those shooting anywhere but the photography studio.
The specifications are listed starting with those I consider to be the most important. However, your own personal requirements may differ completely. I did not take price, size, or weight into account, despite these being important factors. These factors tend to follow the same pattern as the other requirements and the limits you set are highly personalized.
Method of flash trigger
We first chose to look at the way the camera and flash communicate.
A relatively straightforward solution is as follows: purchase an ordinary wireless remote shutter that can deliver a signal to trigger the flash and nothing more. The only thing is that this method is not very convenient because in order to change the output, you have to go to the flash and select everything directly on it. In the case of multiple flashes, this means you will need to adjust the settings on each one individually.
For this reason, several flashes use an integrated receiver that the photographer can use to remotely adjust the strength of the flash or turn off the flash completely. The only thing is that this option does not come standard so you will need to purchase the exact transmitter (remote flash) model from the same manufacturer.
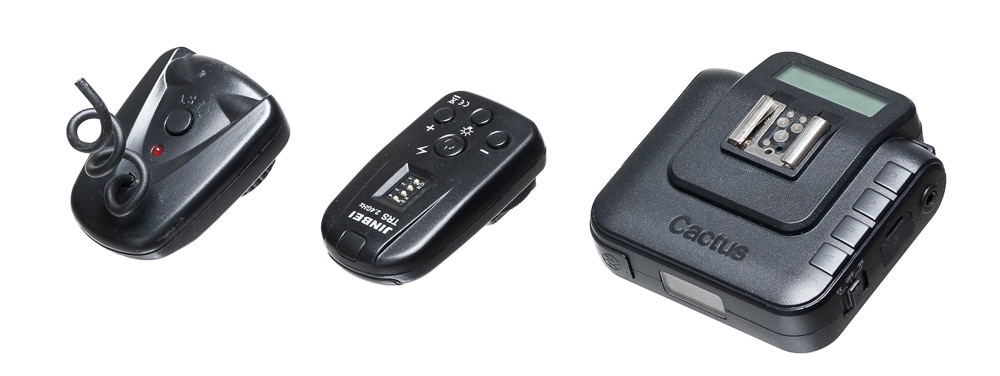
You will also need to know whether or not the system is compatible with your brand of camera. If it isn’t, you will miss out on some advanced functions such as TTL (Through the Lens metering) or HSS (High-Speed Sync). Or, worst-case scenario, the remote flash won’t work at all. Note that the functions described here are examples only. Your flash may not have them at all. Nevertheless, incompatibility can still cause other issues.
Once the issue of compatibility is resolved, there are the functions of the remote shutter itself or the entire system in general. Namely: how many groups of lights will you need? For example, some systems only support three lights, which may be limiting. With multiple lights, you can no longer set up more lighting independently. It must be in the same group with another flash with a shared power setting.
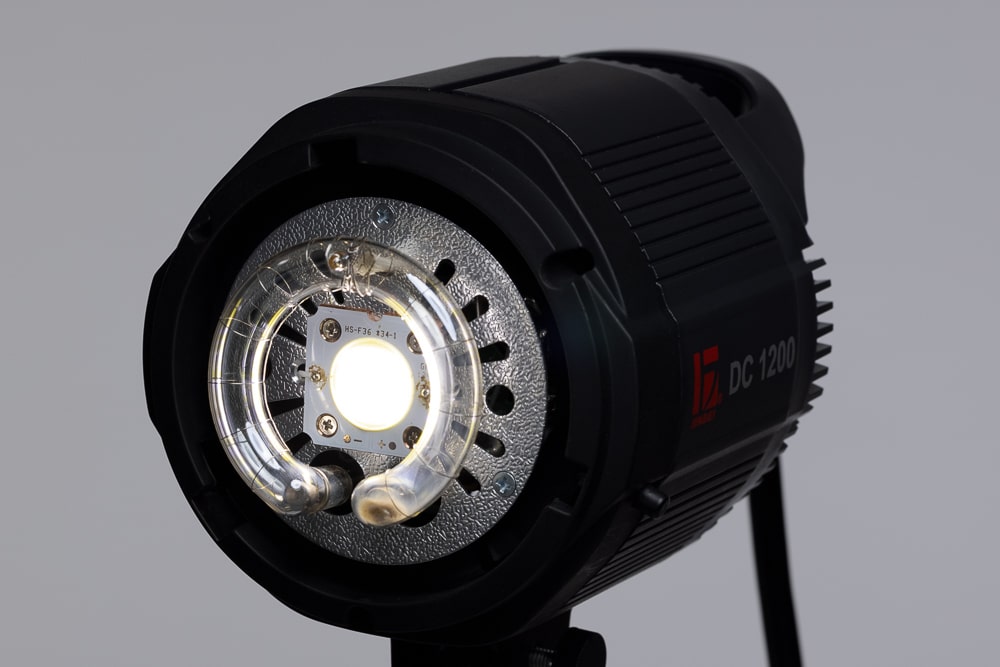
Power Source
Now we look at the basics of the flash itself, which affect its usability in different settings, as well as its price and weight.
A mains-powered flash will do for the studio. While you need to be prepared to run extension cords to the outlet, you won’t need to constantly charge batteries.
Another alternative is a battery-powered flash.
It is increasingly common to have the battery installed directly in the body of the flash device, also known as a monoblock. A monoblock eliminates the hassle of connecting multiple separate parts. On the other hand, this puts all the weight on the top of the tripod, which has adverse effects on its stability.
Yet another option is to have a separate flash head and generator. You can’t avoid having cables, but there will be a generator on the ground that can simultaneously serve as a weight for the tripod. The whole setup can even withstand gusts of wind. Depending on the type of generator, one generator may be enough to power multiple heads.
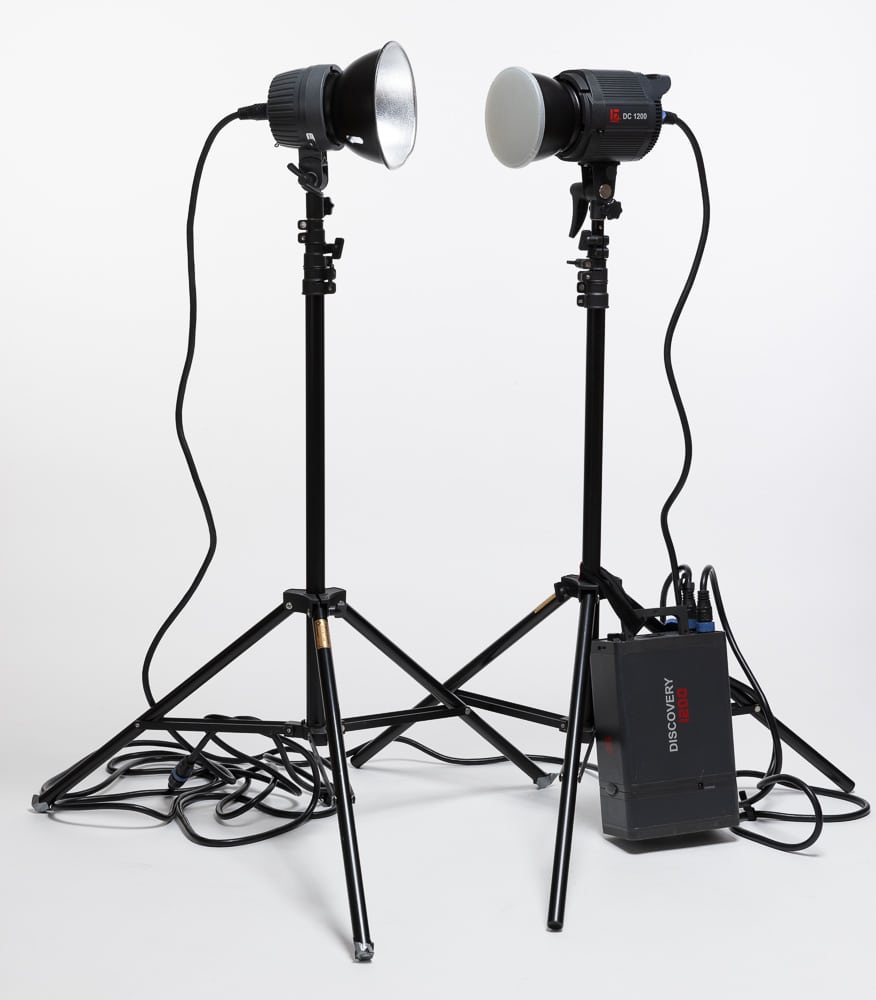
For more distinguishing users, there is flash that can run on both battery as well as mains power.
Maximum power
The flash’s output in watt seconds can be found directly in the name, though it may not always be entirely accurate. It lacks the efficiency label, so inferior lights may lose some energy and the intensity of the light emitted is somewhat lower. Still, it is a good rule of thumb.
In most photography studios, you’ll find flashes with 300-600Ws of power, though there may only be one flash at that power range and the rest are less powerful. Flash with over 600Ws of power is usually reserved for specialized purposes.
The power you require from your flash depends on the type of subject and your style. For groups of people lit from a distance with lighting that is diffused through a large softbox, you’ll need a flash with plenty of power. On the other hand, for photography of small objects shot with an exposed flash and no softbox, lower output will suffice.
Minimum power
Maximum power is not always the be-all and end-all. What if you need to light a close-up or use an aperture of f/1.4? Times like these will have you wondering how much you can reduce the flash output.
The rate of reduction is not given in watt seconds, but rather in fractions from 1/1 (max. power) to a smaller number such as 1/16, 1/64, or 1/256. This tells you what fraction of the original power the light can achieve. It’s important to understand that the actual number depends on the maximum power. For example, a flash with 600Ws of power and a minimum of up to 1/32, at its lowest setting, will have the same power as a 300Ws flash with a minimum of 1/16.
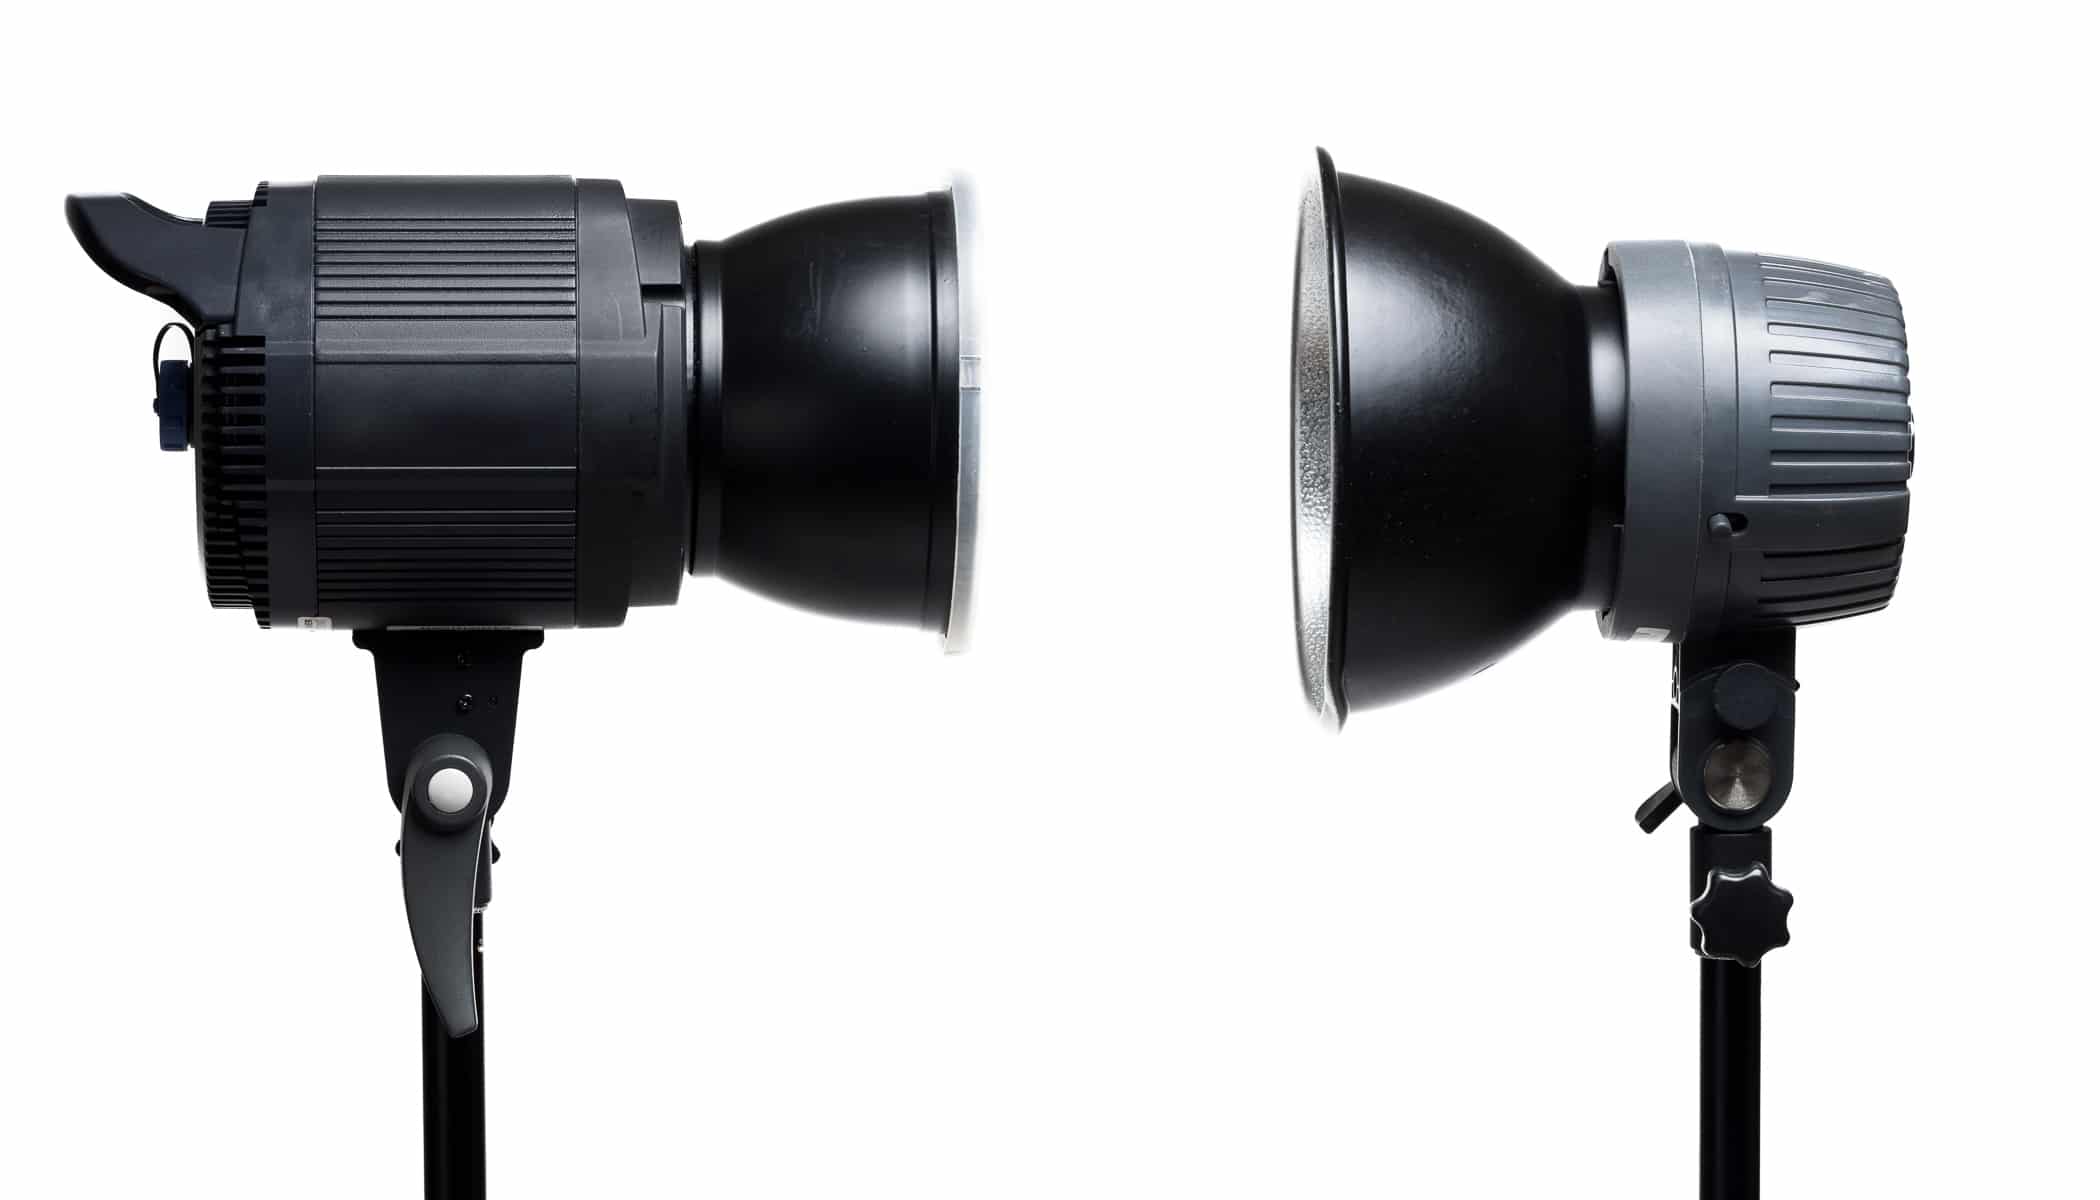
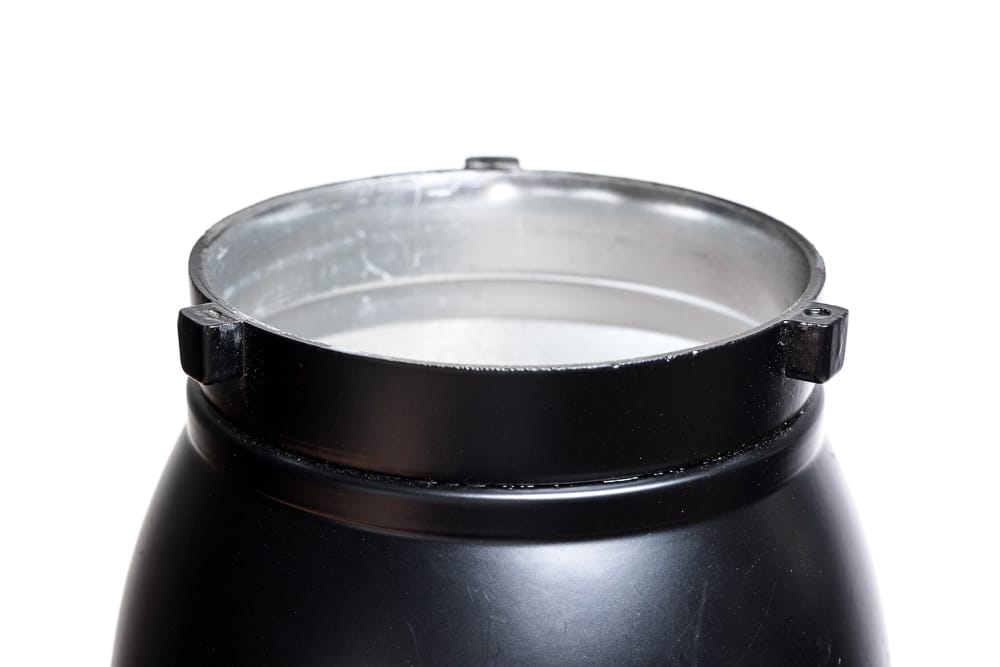
Bayonet
The way you attach modifiers, such as softboxes, is also important to consider. The most popular is the Bowens bayonet, but some manufacturers have come up with their own solution that may suit you better. If needed, Bowens adapters are commonly available.
Ease of purchasing spare parts
You probably aren’t planning to destroy the flash right away, but an important component, the flashlamp, wears out with use and will stop working in time. For this reason, it is made to be replaced by the user. You can easily find a replacement, but beware of unknown brands.
Color temperature and its variations
Color temperature itself usually isn’t a problem, but keep in mind that different brands are calibrated slightly differently and using multiple lights from different manufacturers may complicate things. Mixing brands also results in more complicated control over the flash (see first point), so you will rarely encounter combinations using different lights.
Color temperature also specifies its diffusion, which depends on the warming up of the device, flashlamp strength, and other factors. More expensive brands have the color temperature more under control and the diffusion is smaller.
Charging time
Basically, the shorter the charging time, the more expensive the flash because it contains higher-quality electric components. Nevertheless, the longest charging time listed applies to the highest output. In other words, a 600Ws flash is comparable to its 300Ws counterpart with half the charging time.
Duration of the flashlamp
Sometimes labeled as burn time. Again, the shorter the burn time, the better. But also be prepared for a higher price tag.
Comparing this parameter is more complicated than it may seem. Flashes emit light in “bursts” which gradually fade to nothing. The remaining “tail end” no longer really contributes to the lighting of the scene. But how is this tail end measured?
For this reason, two times are given- t0.5 and t0.1. These tell us how long it takes for the emitted light to drop below 50% and 10% of its maximum power, respectively. Expect the t0.1 time to be roughly three times that of the t0.5 time. Unfortunately, you won’t always be able to find which time is being referred to in the specifications.
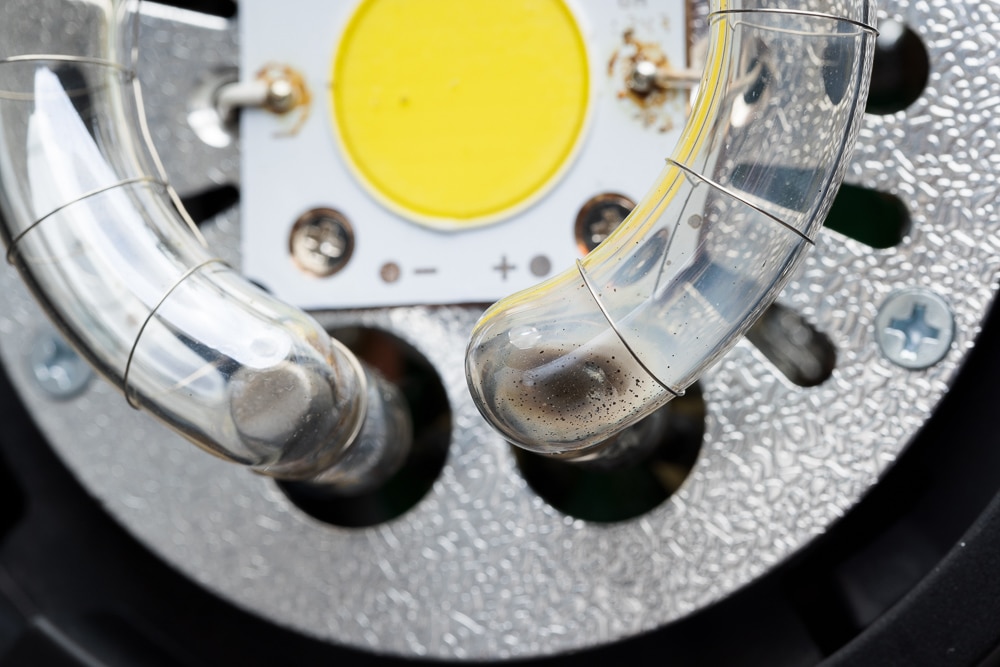
Modeling light
Almost every flash has a secondary light source that is always on in order to show the photographer what to expect after pressing the shutter. There are multiple types of modeling lights with different functions. Some modeling lights use a standard E27 bayonet and bulb. Others have a built-in LED-type light. This has lower energy consumption, so it is more useful, especially when shooting using battery power. Both the incandescent bulb and LED are sometimes referred to as pilot light bulbs.
A common feature that isn’t present in all lights is the relative strength of the modeling light as related to the strength of the main lamp. This feature is useful when setting up multiple lights. Here, each light serves as its own modeling light for visualization purposes and only a fraction of its light is used rather than the whole bulb at maximum power.
Special features
Depending on the system and the way it’s controlled, you can expect to see additional features. Some consider them necessary, while others consider them a useless luxury.
These additional features we are referring to are TTL and HSS.
TTL (Through the Lens) is an automatic calculation of flash power using a small preflash. It comes in handy for busy scenes, but less so in the studio. This is because you lose control over the light and the automation is far from perfect.
HSS (High-Speed Sync) allows you to shoot with extremely short exposure times by having the flash emit a series of short flashes.
Both functions require very precise coordination with your camera since the camera must support not only the flash, but also the remote flash (or the receiver if not built-in).
Start out with something more affordable
If you don’t have an abundance of experience with flash photography, a simpler device will do for starting out. Gradually, you will learn which parameters no longer cut it for you. And if you find that the functions you need don’t work, don’t despair! The flash photography industry is experiencing fast-paced development. In just a matter of a few years, a new model that meets your requirements perfectly may appear on the market.
Further Reading:
Setting Up Your Photography Studio: What Type of Lighting Should You Choose?
Setting Up Your Photography Studio II: What Type of Background
kumarasamy
studio liyt