AI Masks in Zoner Studio: Faster, More Precise Local Photo Editing
Local adjustments in Zoner Studio just got smarter. With AI Masks, you can select the main subject, background, or sky with one click. Then, fine-tune them with complete precision. Combine masks, refine details, and let AI handle the heavy lifting. See how these new tools simplify your workflow!
AI in photo editing is no longer just a futuristic concept, it’s becoming an indispensable tool for photo editing in Zoner Studio. The new AI Masks introduced in the Zoner Studio Spring Update 2025 let you instantly select your main subject, background, or sky with one click and edit them with complete precision. Discover how they make photo editing easier and open up new creative possibilities.
AI-powered tools save you time
The Develop module of Zoner Studio now offers a total of nine masking tools for editing specific parts of your photo. You can find them in the right panel under the Local Adjustments (L) icon. Some are brand new, while others have been upgraded with new functions:
- Subject (AI)
- Background (AI)
- Sky (AI)
- Object (AI)
- Brush (previously Filter Brush)
- Radial Gradient (previously Radial Filter)
- Linear Gradient (previously Gradient Filter)
- Color Range
- Luminance Range

All of these Masking Tools create a mask, which is essentially a selection. You can combine multiple Masking Tools within a single mask to refine and customize your edits even further. This gives you nearly limitless editing possibilities.
Accurate subject and background selection
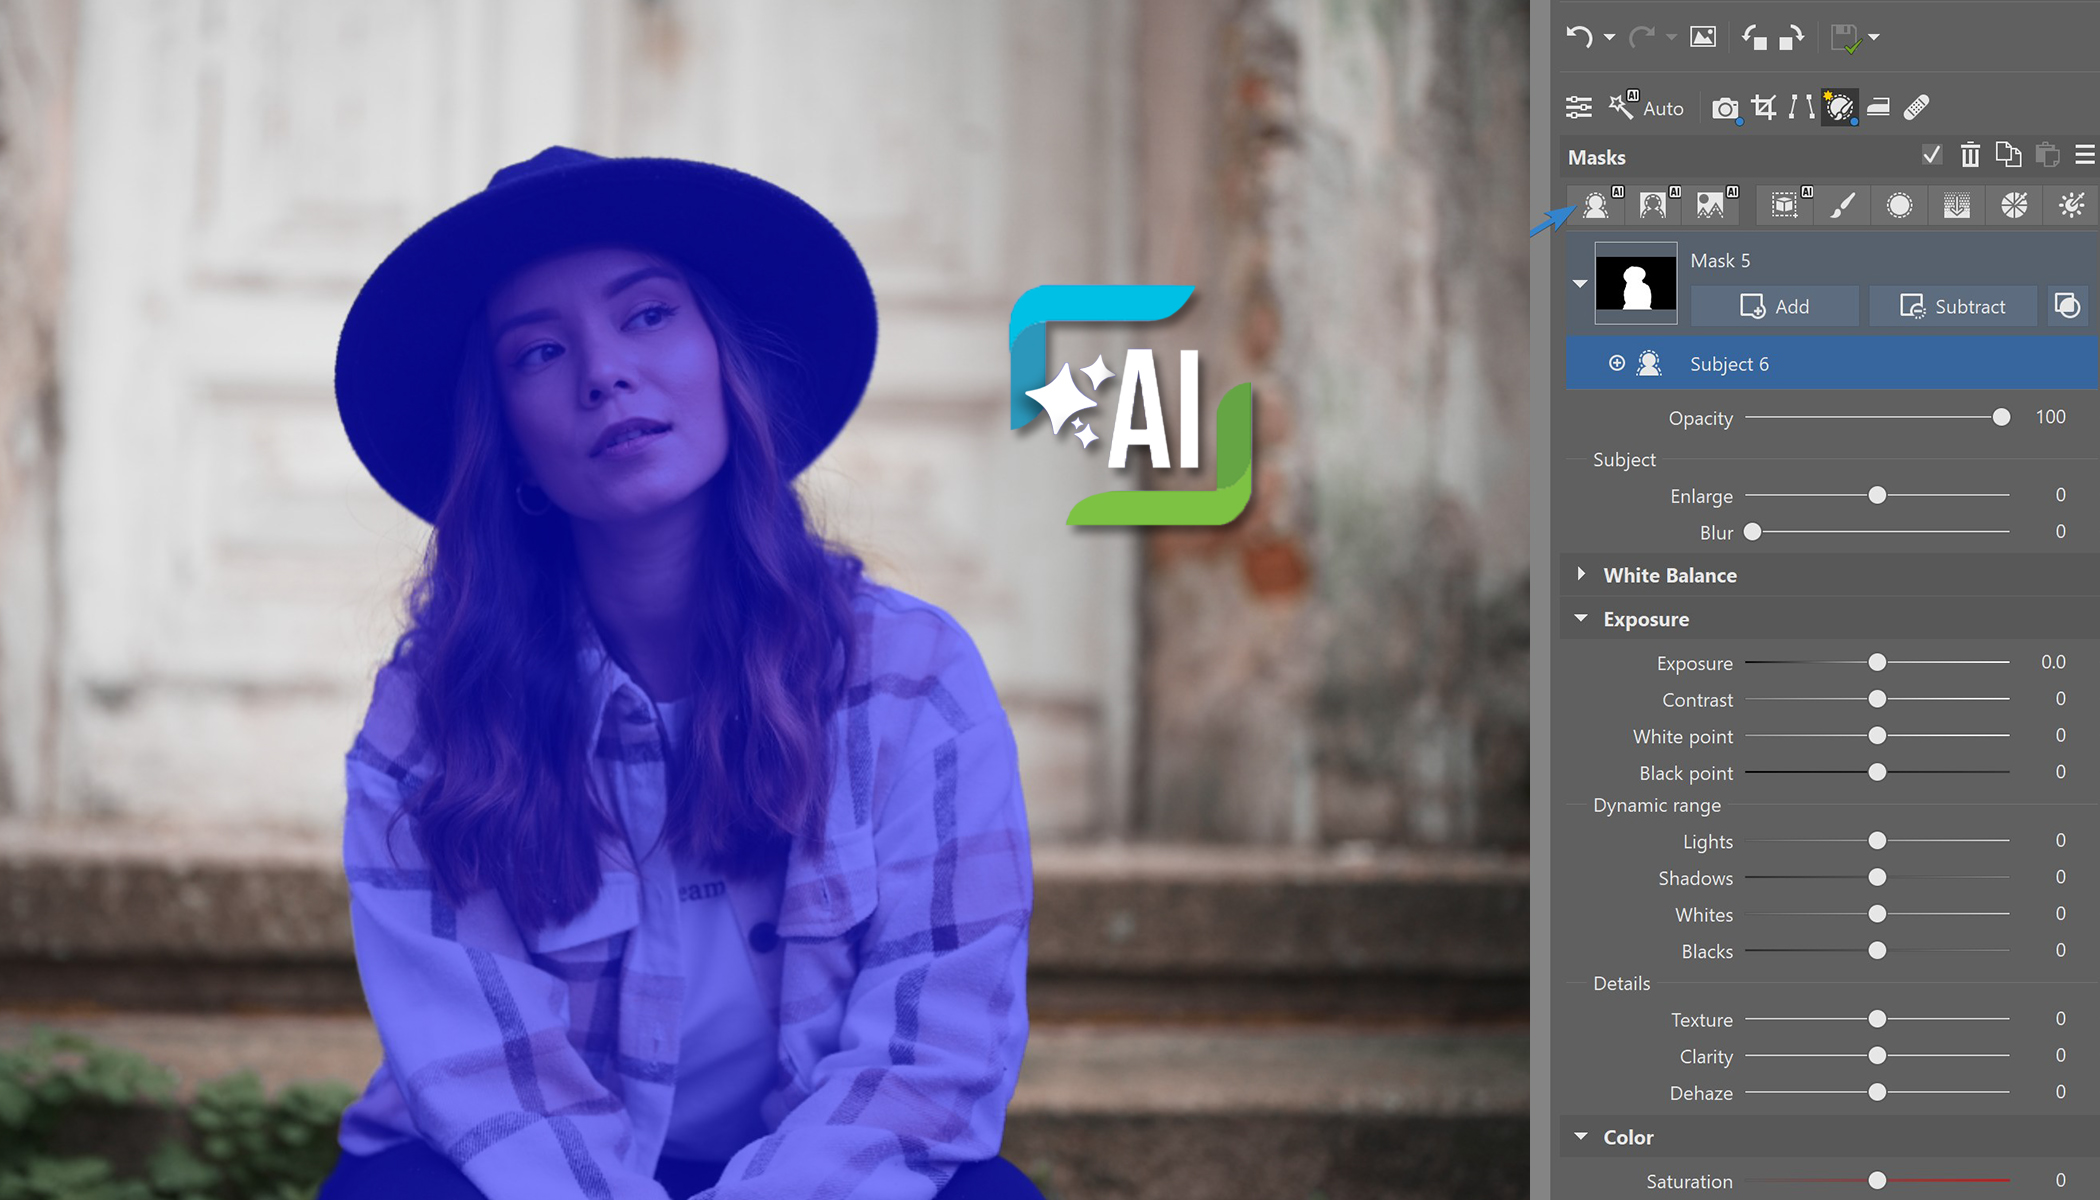
The first useful Masking Tool is Subject. Click the icon and AI instantly selects what it determines to be the main subject of your photo. The screenshot shows an example of what it does:

The second masking tool, Background, works the same way, but in reverse. It selects everything surrounding the main subject.
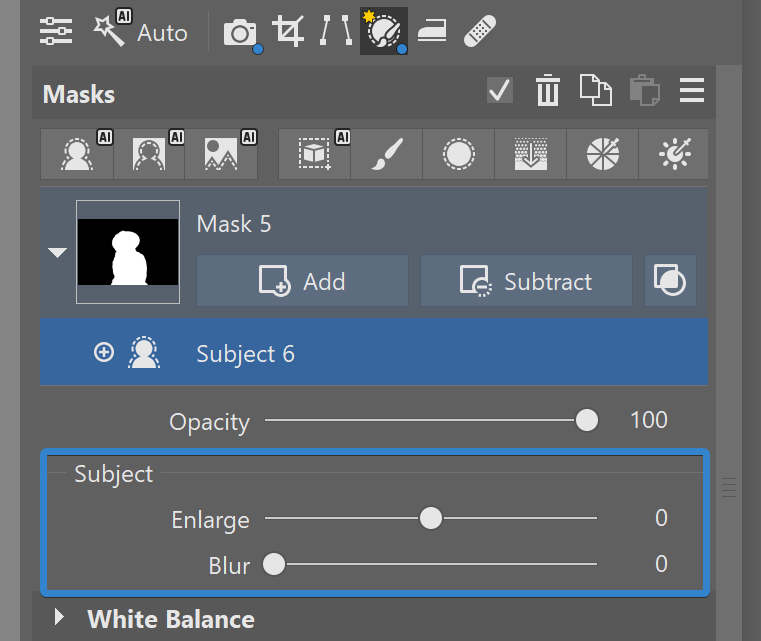
Below the mask options, there are two tools for fine-tuning the mask. Enlarge adjusts the mask’s edge size and Blur controls how smooth the transition is, or how sharp the edges appear. Most of the time, you won’t need to tweak these settings, but it’s good to have them when needed.
TIP: If AI doesn’t accurately select the main subject, you can adjust the selection manually. Click Add or Subtract and use the Brush tool to refine the mask by adding or removing parts as needed.
Select the sky with one click
Another very useful tool is automatic sky selection. The Sky tool selects the entire sky, making it very useful for landscape photography. You can then easily adjust the selection. For example, try tweaking Contrast, Clarity, Dehaze, or Polarization to add depth and drama to your landscapes!

Object selects objects within a chosen area
For greater control over your mask, there’s the Object tool. Simply select the area where you want Zoner Studio to identify the object.

You can create as many masks as you want. In this photo, you can edit each penguin or anything else separately.

Combine Masking Tools
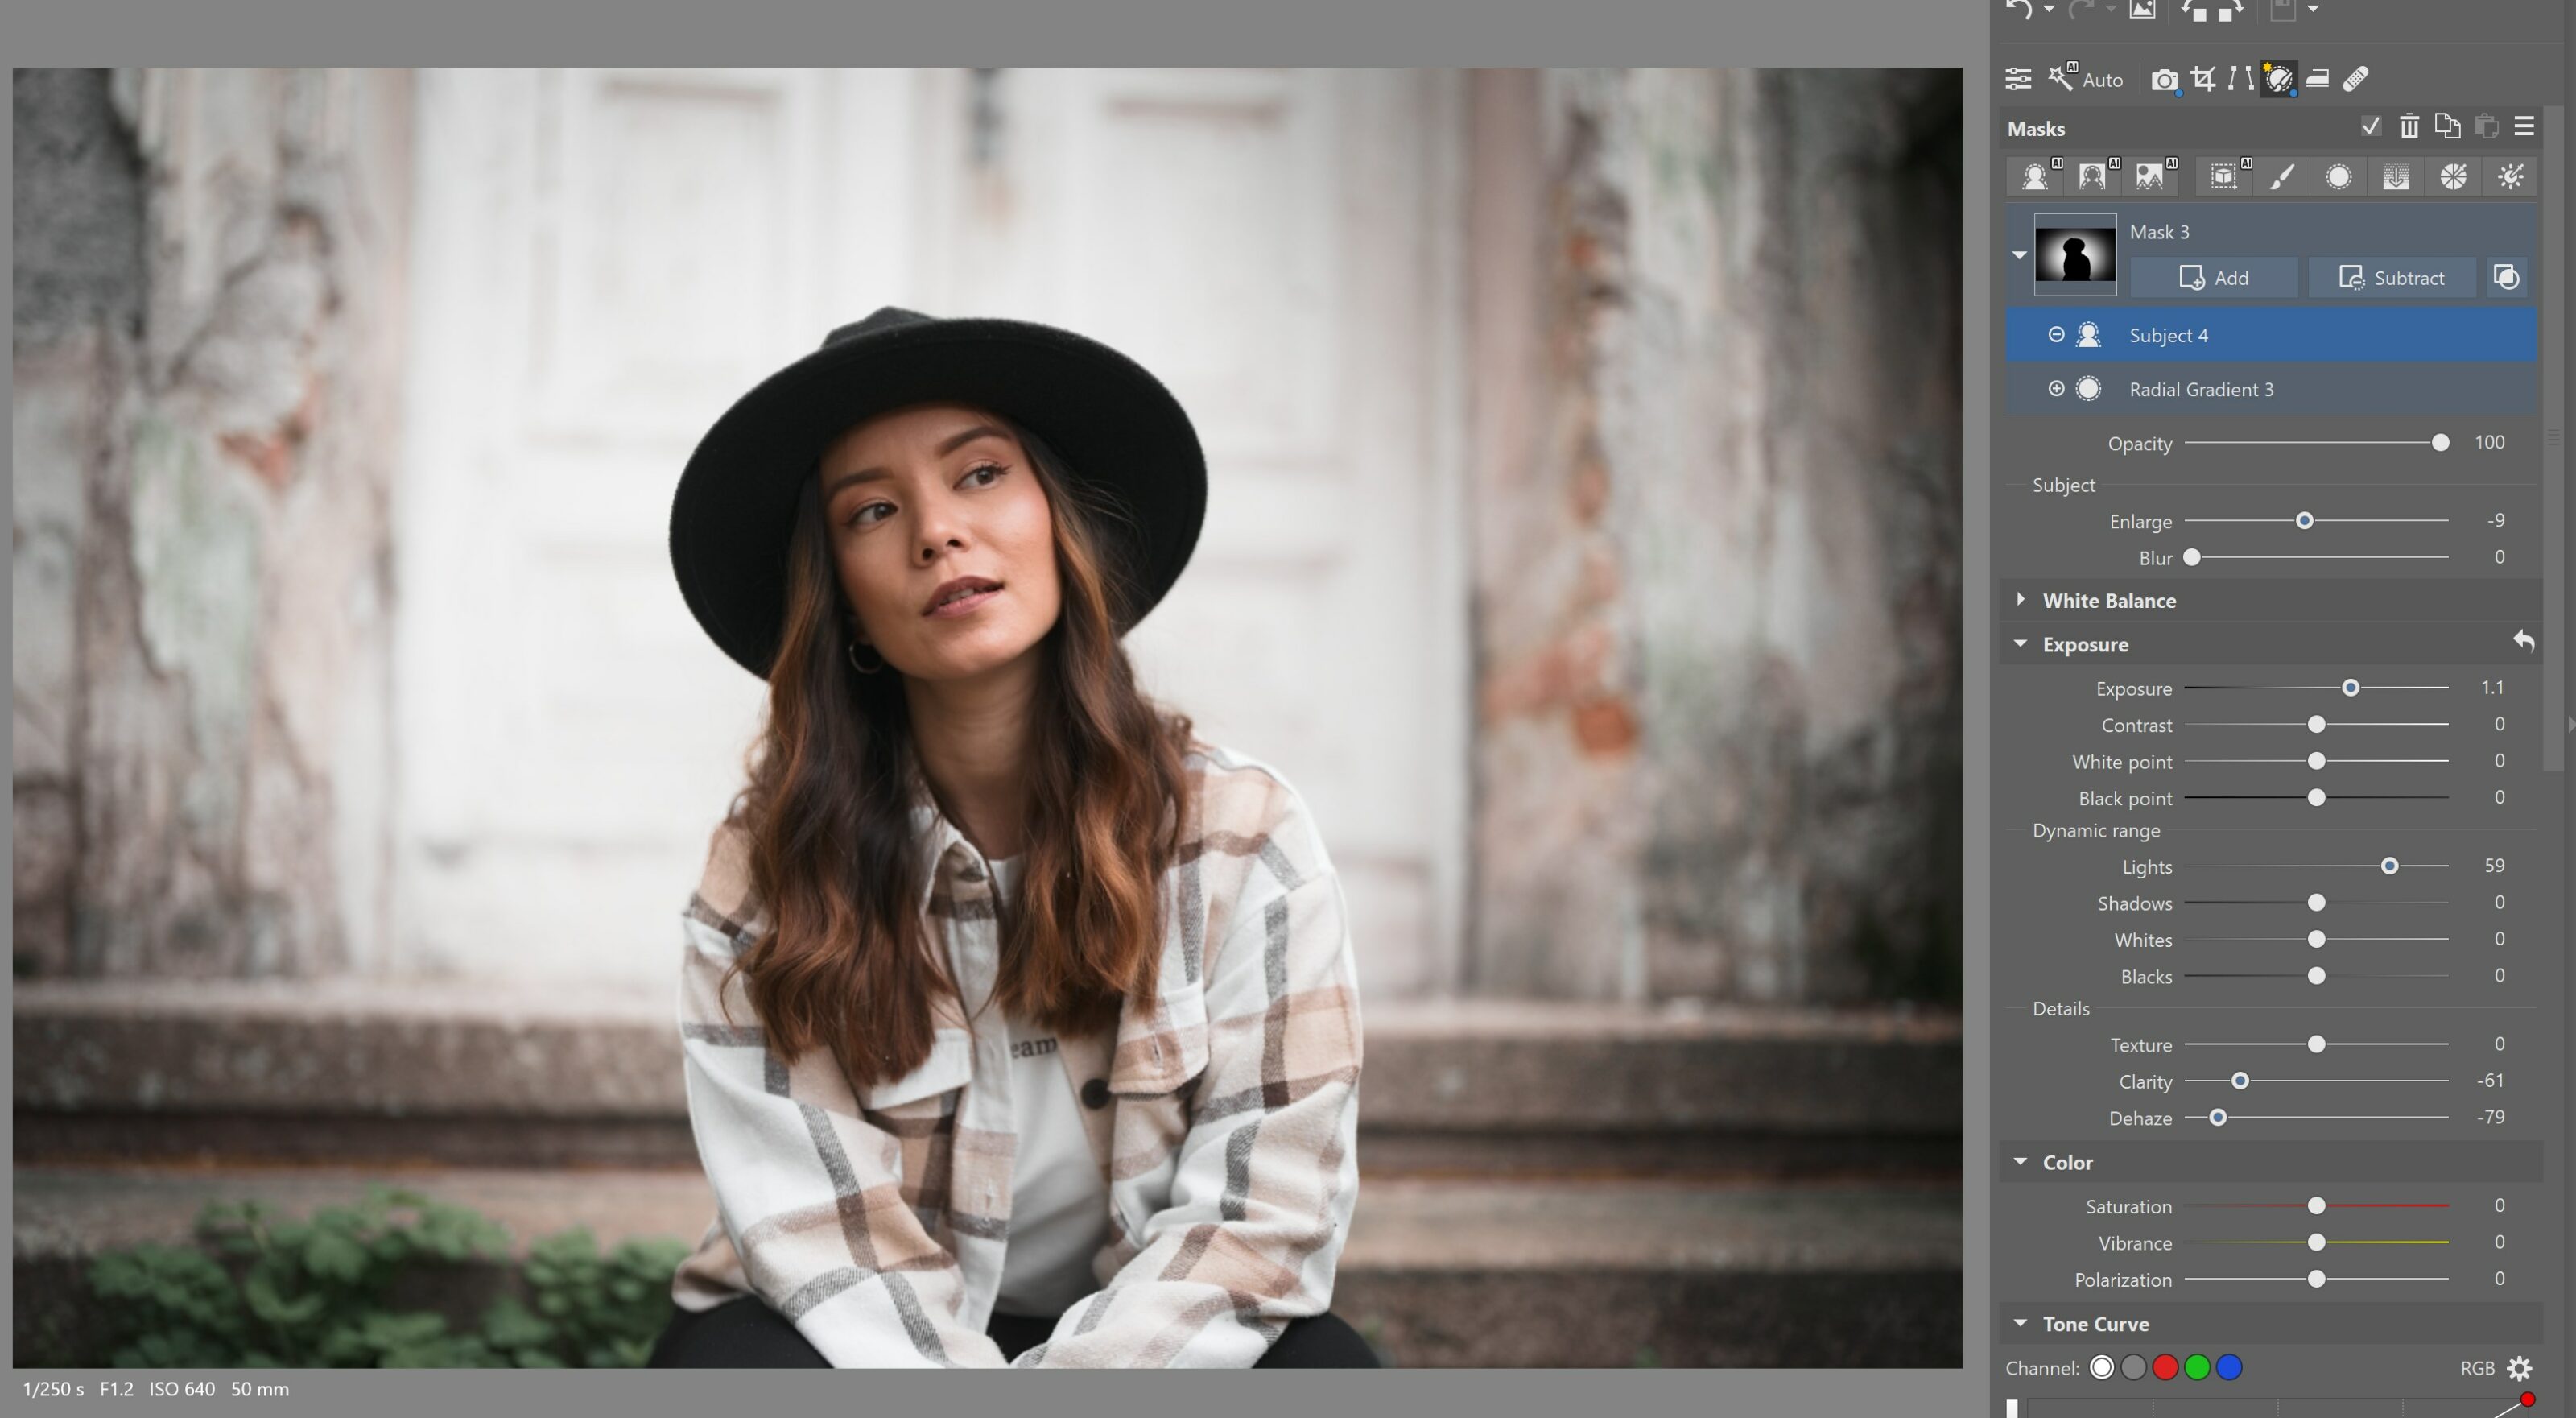
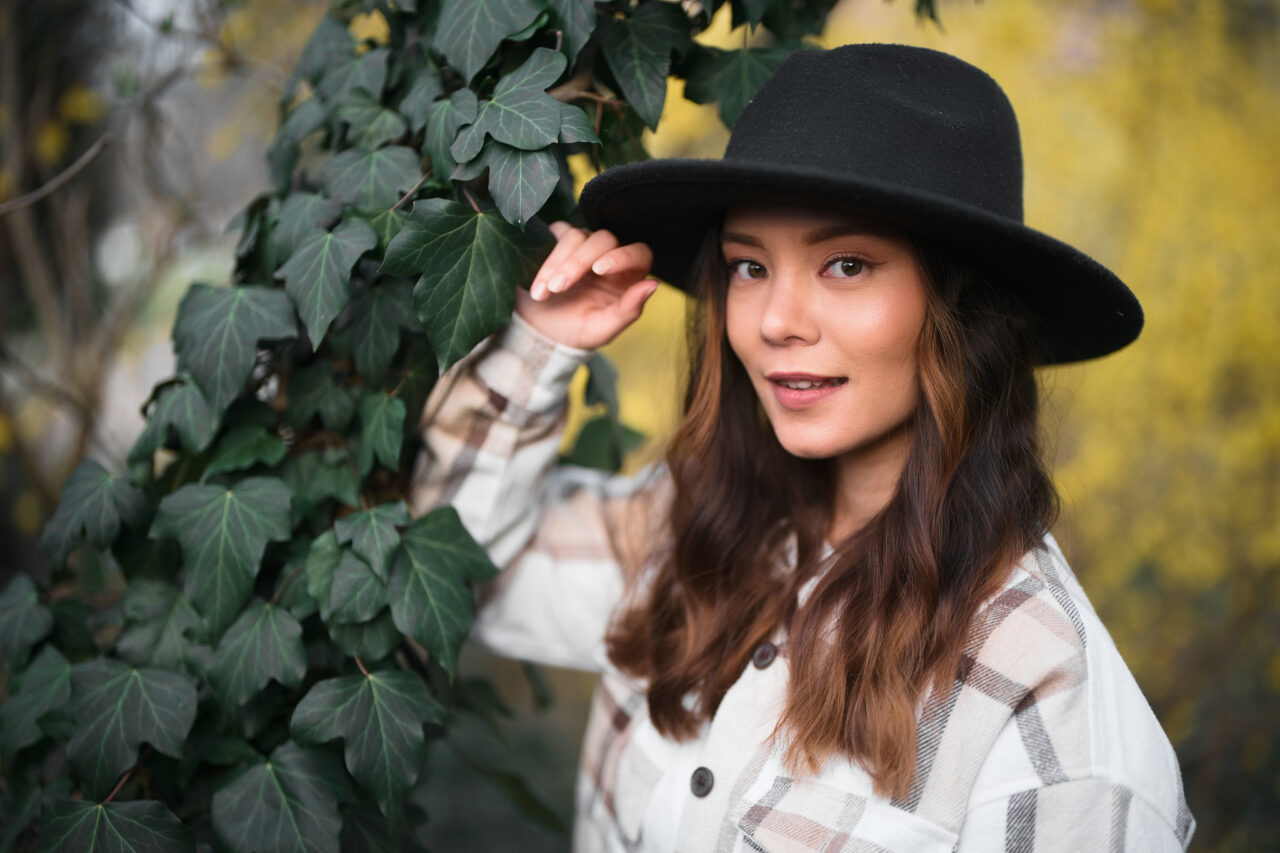
The real magic happens when you start combining Masking Tools. This unlocks a huge range of editing possibilities, all while keeping your editing non-destructive, so you can take full advantage of the RAW file’s image data. Let’s look at a simple example where we separate the subject from the background and brighten to draw attention to her.
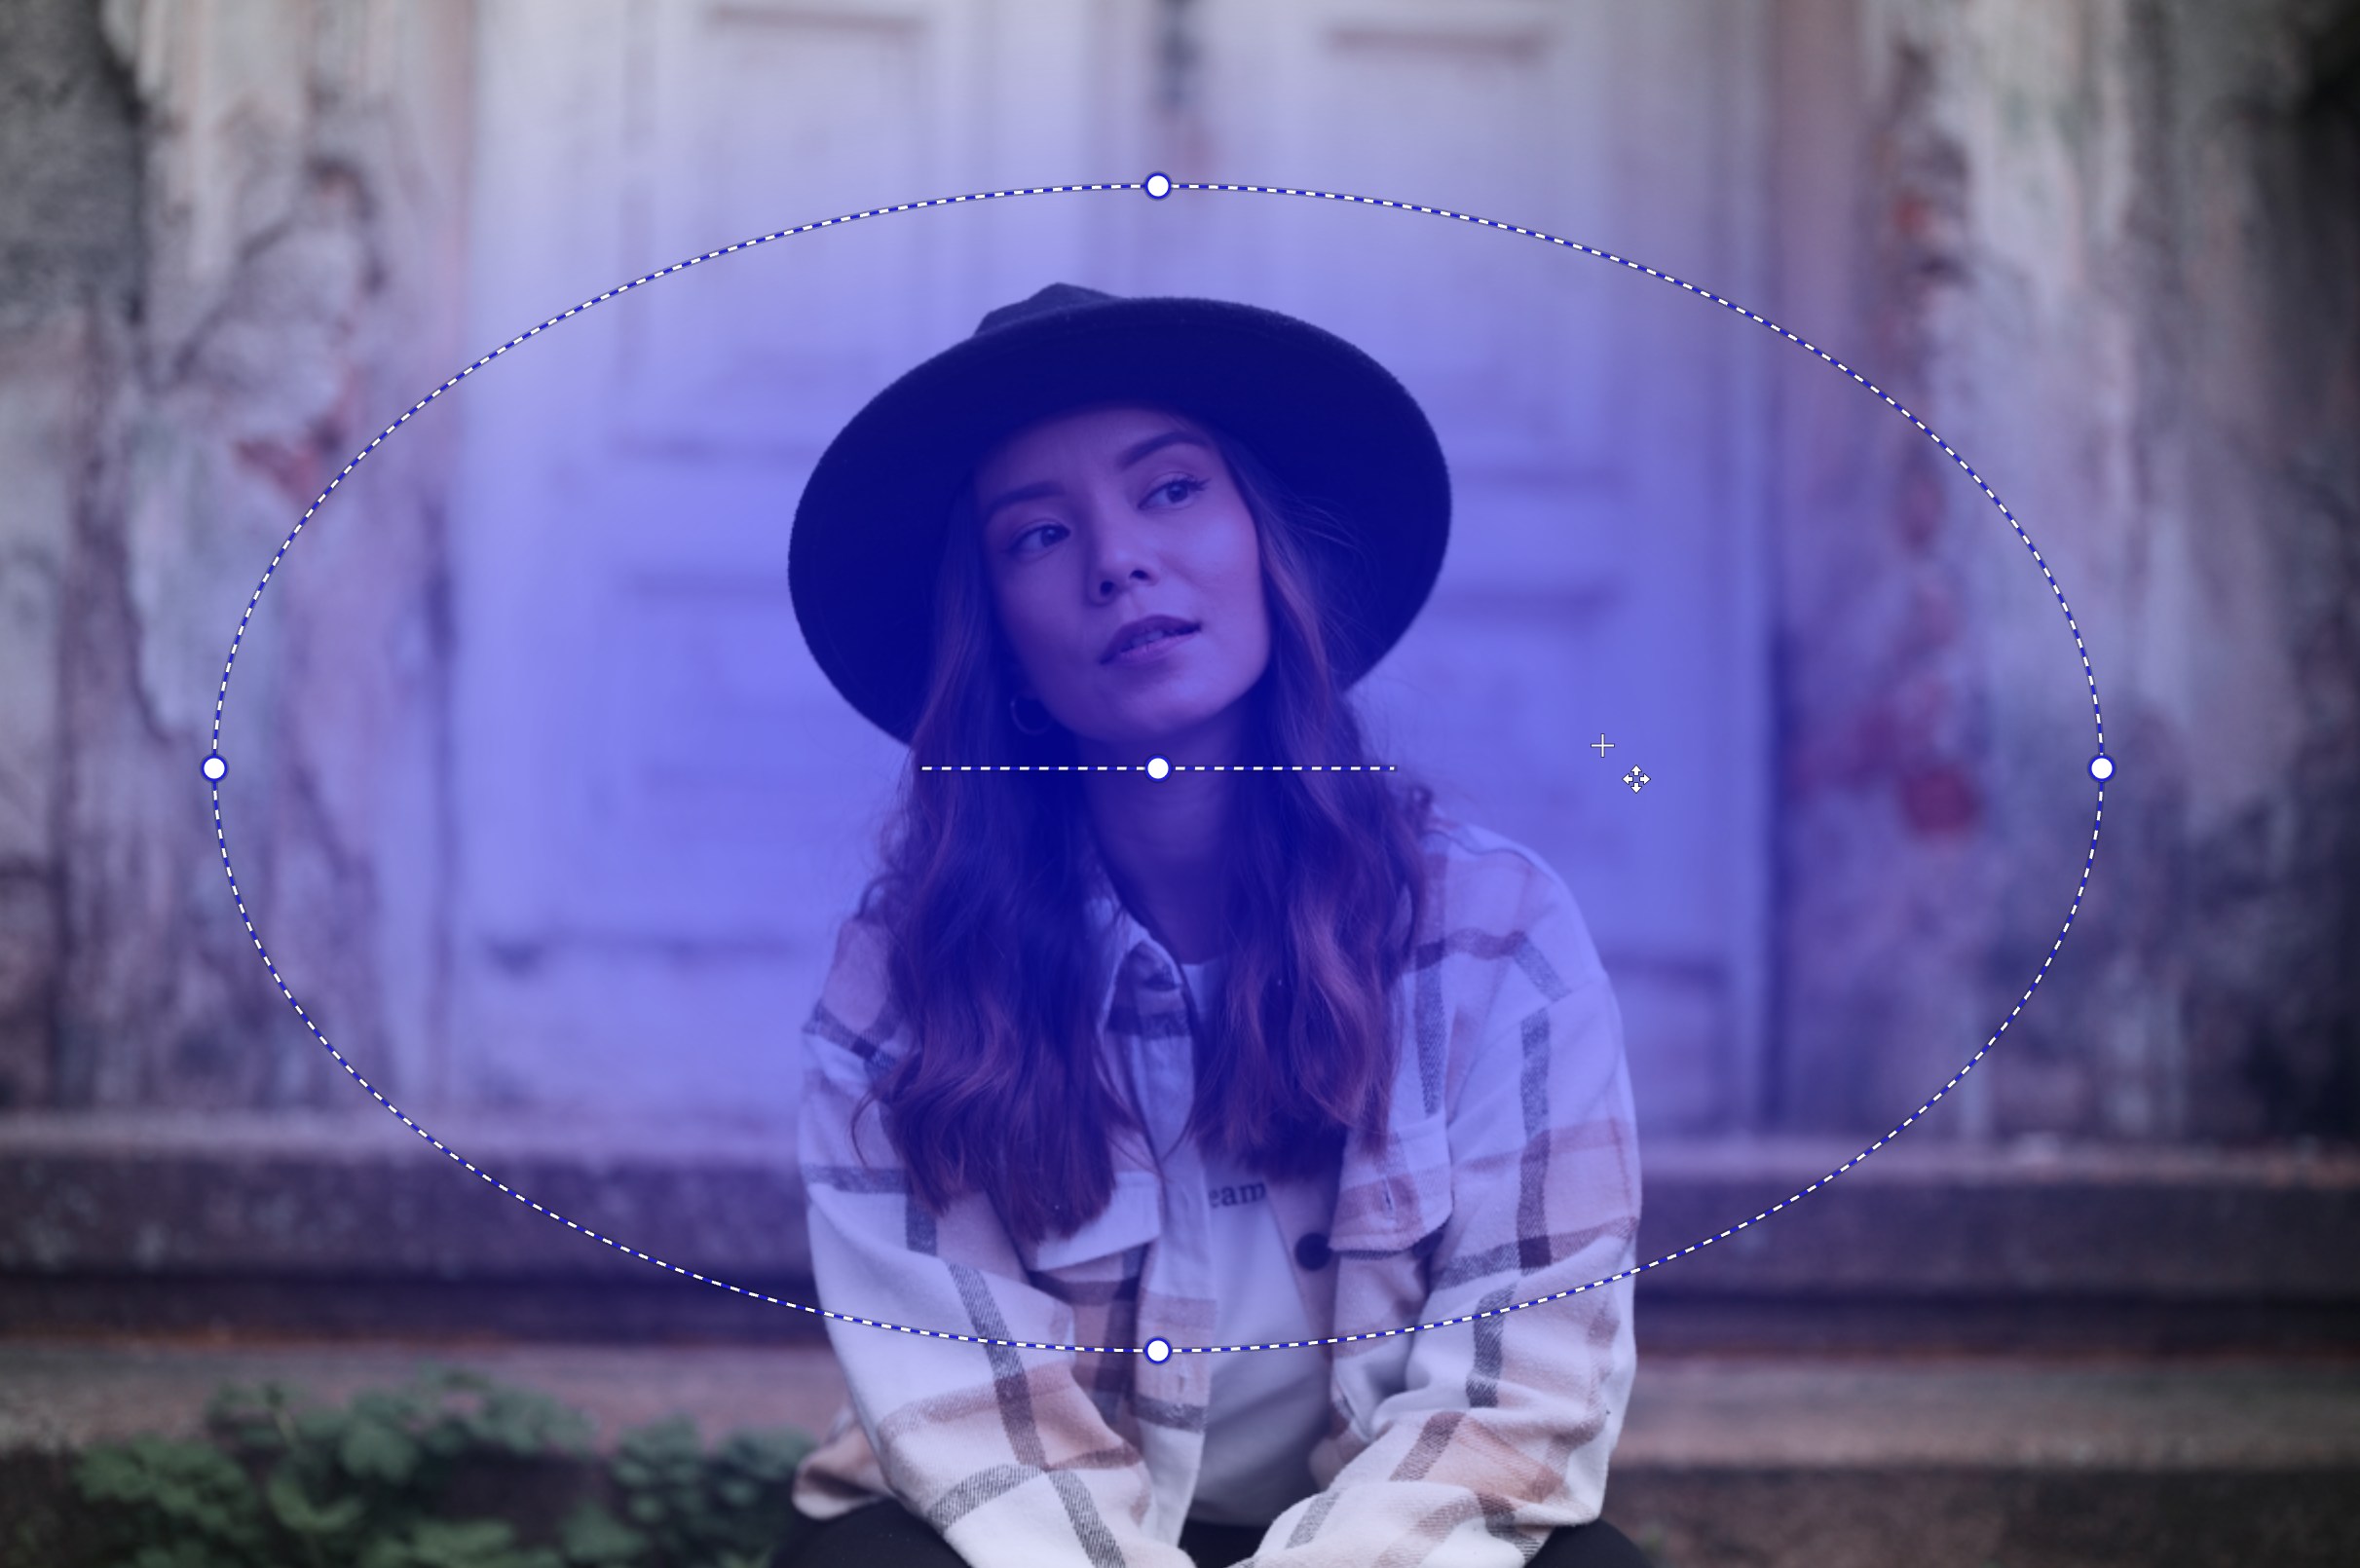
Start with the Radial Gradient, a tool you may already know from Develop but has recently been renamed. Select the area around the subject and set the largest Gradient width for a smooth effect.
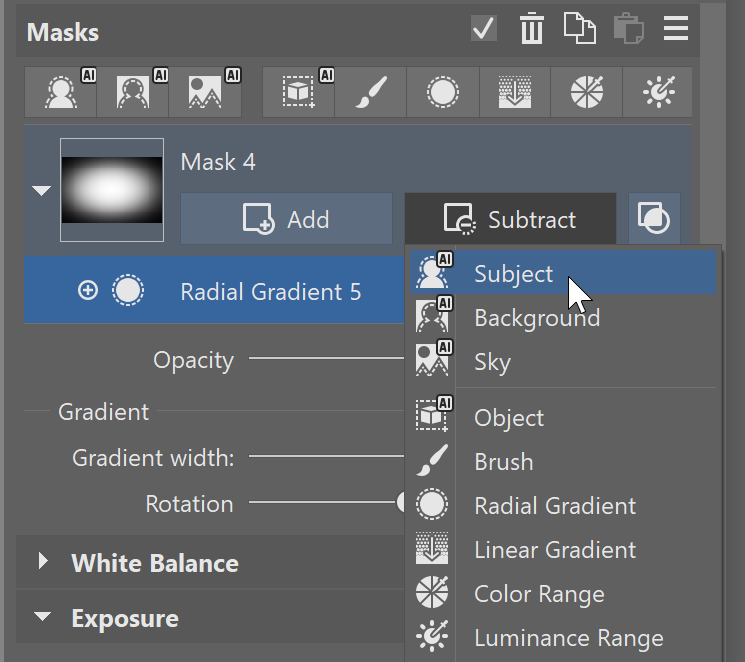
Next, click Subtract next to the mask and select Subject. This subtracts the subject from the radial mask, leaving only the background selected.
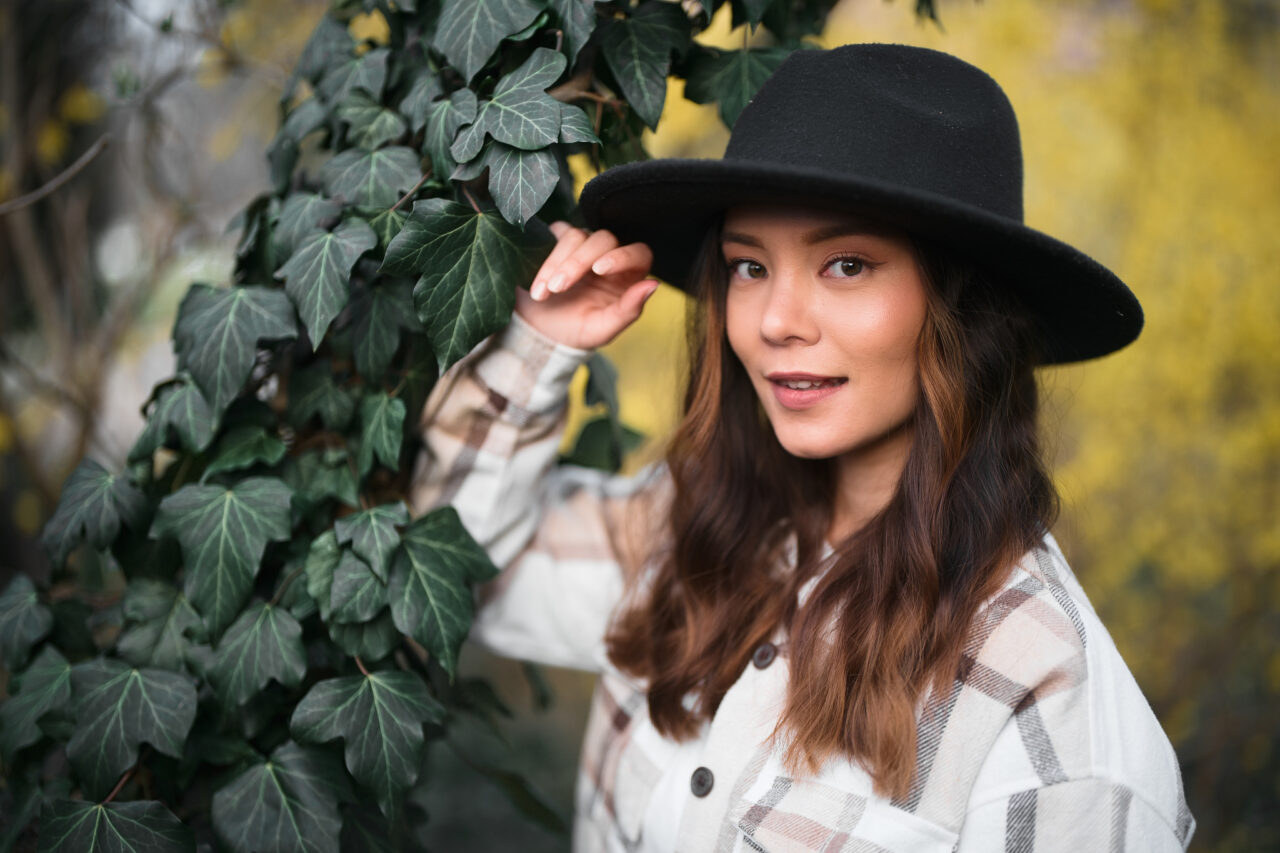
This creates a smooth radial mask around the subject, which can now be edited separately.
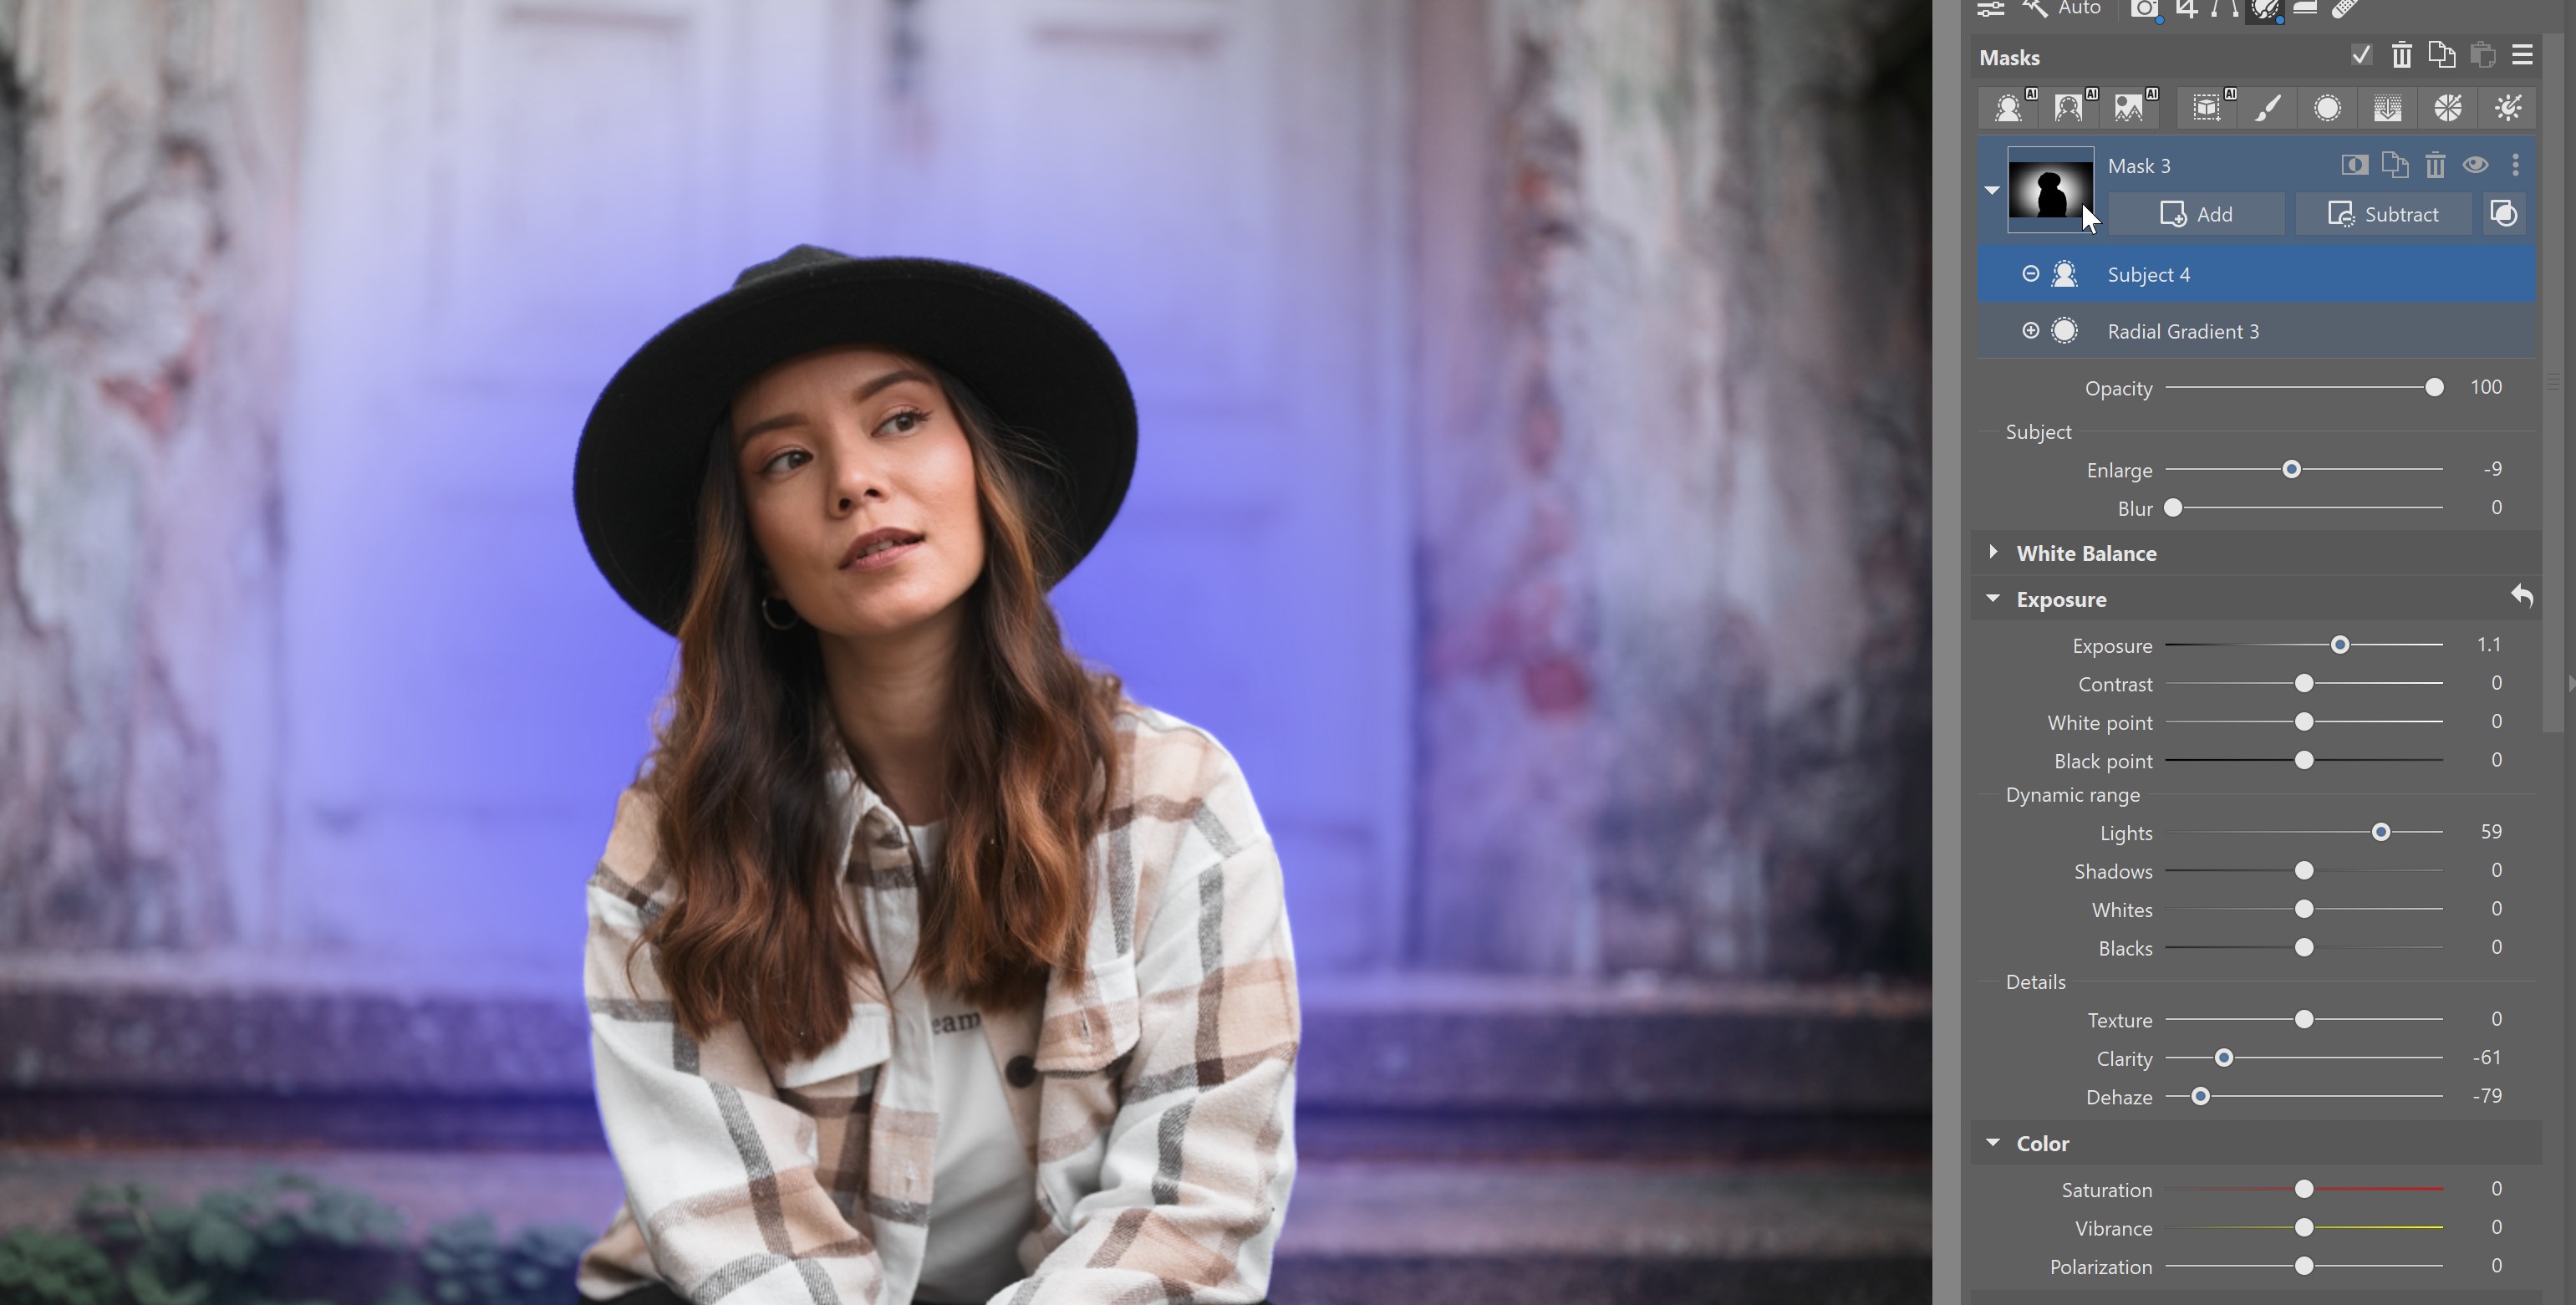
Increasing Exposure and Lights or decreasing Dehaze and Clarity brightens up the background and makes it slightly hazy.
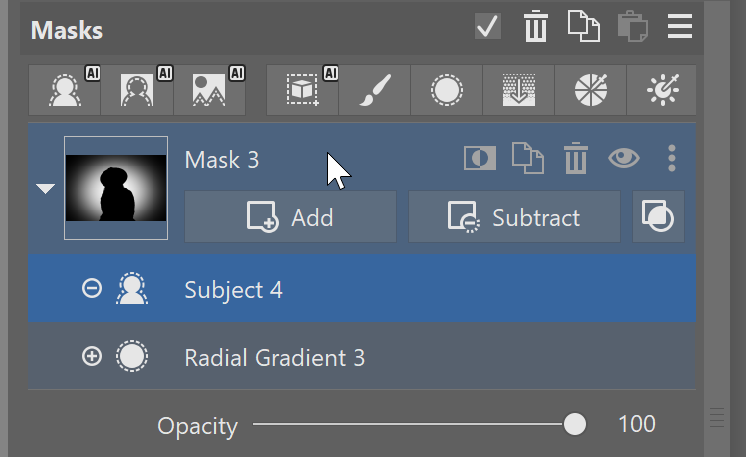
Keeping track of your masks
The main mask, simply called Mask, is a combination of all the Masking Tools. It represents the final result of your adjustments to the photo. The Add and Subtract icons let you apply additional adjustments using the various Masking Tools.
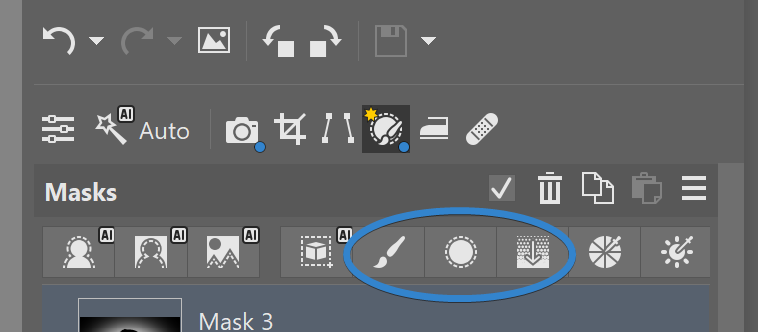
Original tools remain
Previous local editing tools, such as the Filter Brush, Radial Filter, and Gradient Filter, are still available. They’ve been renamed to Brush, Radial Gradient, and Linear Gradient.
Color Range and Luminance Range
For more precise adjustments, two additional Masking Tools are available. Color Range lets you create a mask based on a selected part of the color spectrum. Click the eyedropper and select a color in the photo. Then, use the color wheel in the right panel to specify what is added to the mask and make your adjustments.
With Color Range, you can select all greens or skin tones to edit them separately. This goes beyond adjusting Hue, Saturation, and Luminance. It allows you to modify Clarity, Shadows, White Balance, and more.

Here, the texture of the ivy is brought out using Contrast and Clarity without needing to select it manually.
Luminance Range, on the other hand, selects only certain levels of luminance. This helps soften shadows or deal with overexposed parts of the photo.
Save AI Masks as a preset
One of the great things about AI Masks is that if you frequently apply certain adjustments, you can save them as a preset and use them again later with one click. For example, if you save a common sky-darkening adjustment as a preset, AI automatically detects the sky in another photo and applies the saved adjustment.
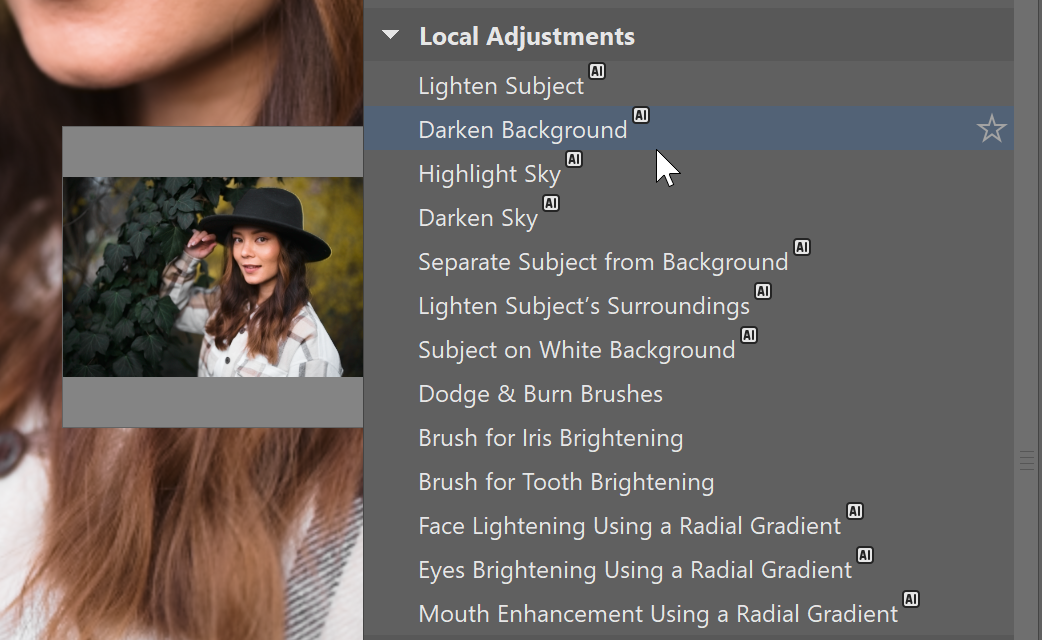
To give you a better idea, we’ve put together a few presets that are automatically available in Zoner Studio. Presets with the AI offer have advanced selection using AI. You can also create your own AI presets. There are many options!
Remember to only save AI Masks in your presets without any manually added or subtracted parts. For example, if you select the sky and then remove a part of the selection using the Brush, the mask will be applied to other photos with that same area removed. This can cause issues if the images aren’t identical, such as when shooting from a tripod. The same applies when copying AI adjustments to other images.
FAQs about AI Masks
How do AI masks work? AI automatically detects the main subject, background, or sky in a photo and creates a precise mask, which you can then edit as needed.
What AI Masks are available in Zoner Studio? You can find Subject, Background, Sky, and Object masks. Each one helps you quickly select a specific part of the photo.
Can I combine masks? Yes! You can add or subtract individual masking tools for even better results.
What if AI doesn’t accurately select the subject? Use the Add or Subtract functions, select the Brush, and manually fine-tune the mask. You can also adjust the mask edges using the Enlarge and Blur sliders.
Can AI Masks be saved for future use? Yes! You can save your adjustments as a preset. When applied to another photo, AI automatically detects the corresponding parts and applies the same adjustments.
Do you have more questions about masking and Local Adjustments? Let us know in the comments!

Download Zoner Studio free for 7 days and enhance your photos with advanced masking and AI!
There are no comments yet.