Use Local Adjustments to Perfect Your Photos
Does your photo already have basic exposure adjustments, but it still doesn’t seem to be enough in certain places? Use local adjustments in Zoner Studio to fine-tune your photo to perfection.
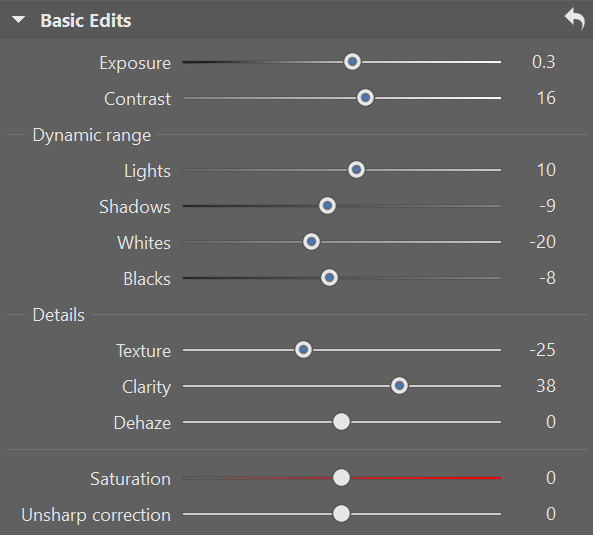
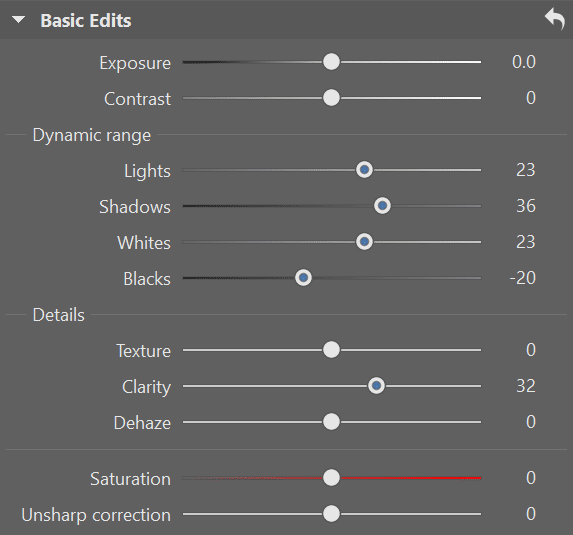
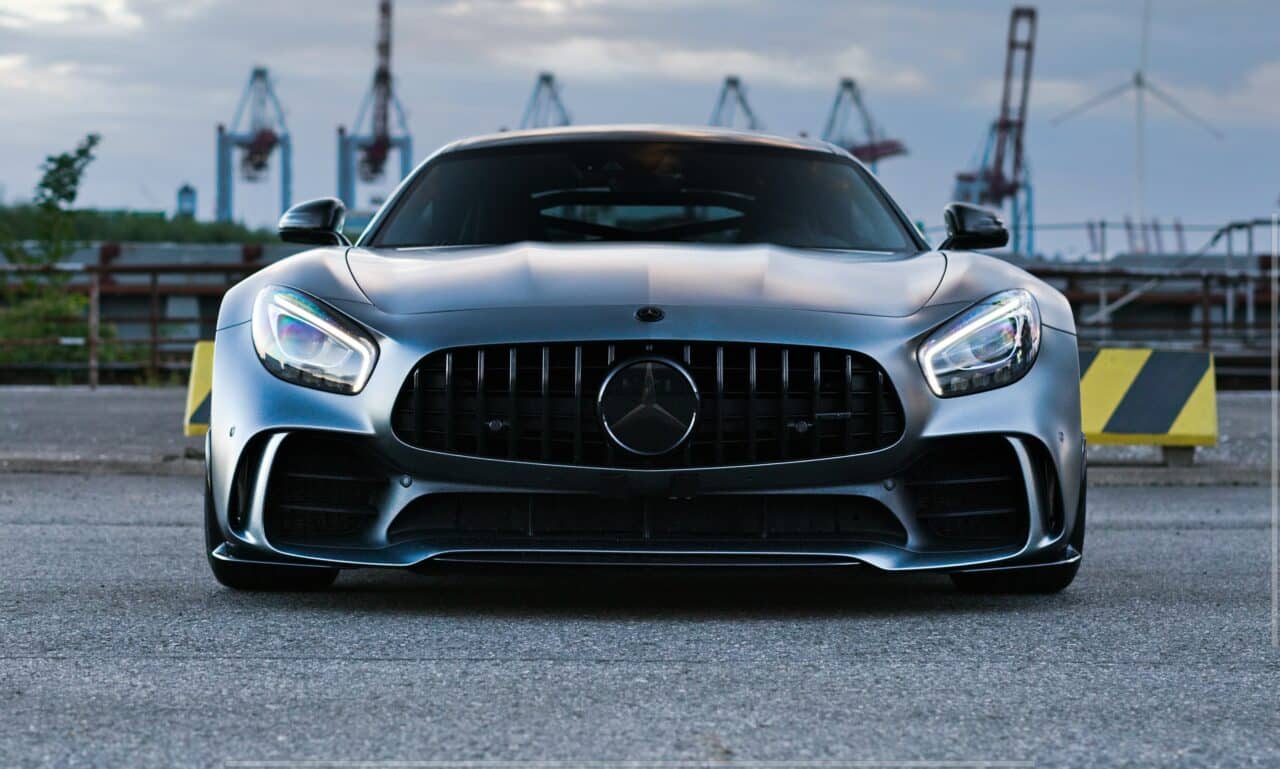
We’ll skip basic adjustments to Exposure and Dynamic Range and go straight to local adjustments. Here’s what the photo looked like after these basic adjustments so you can get an idea of what the car looked like before local adjustments.

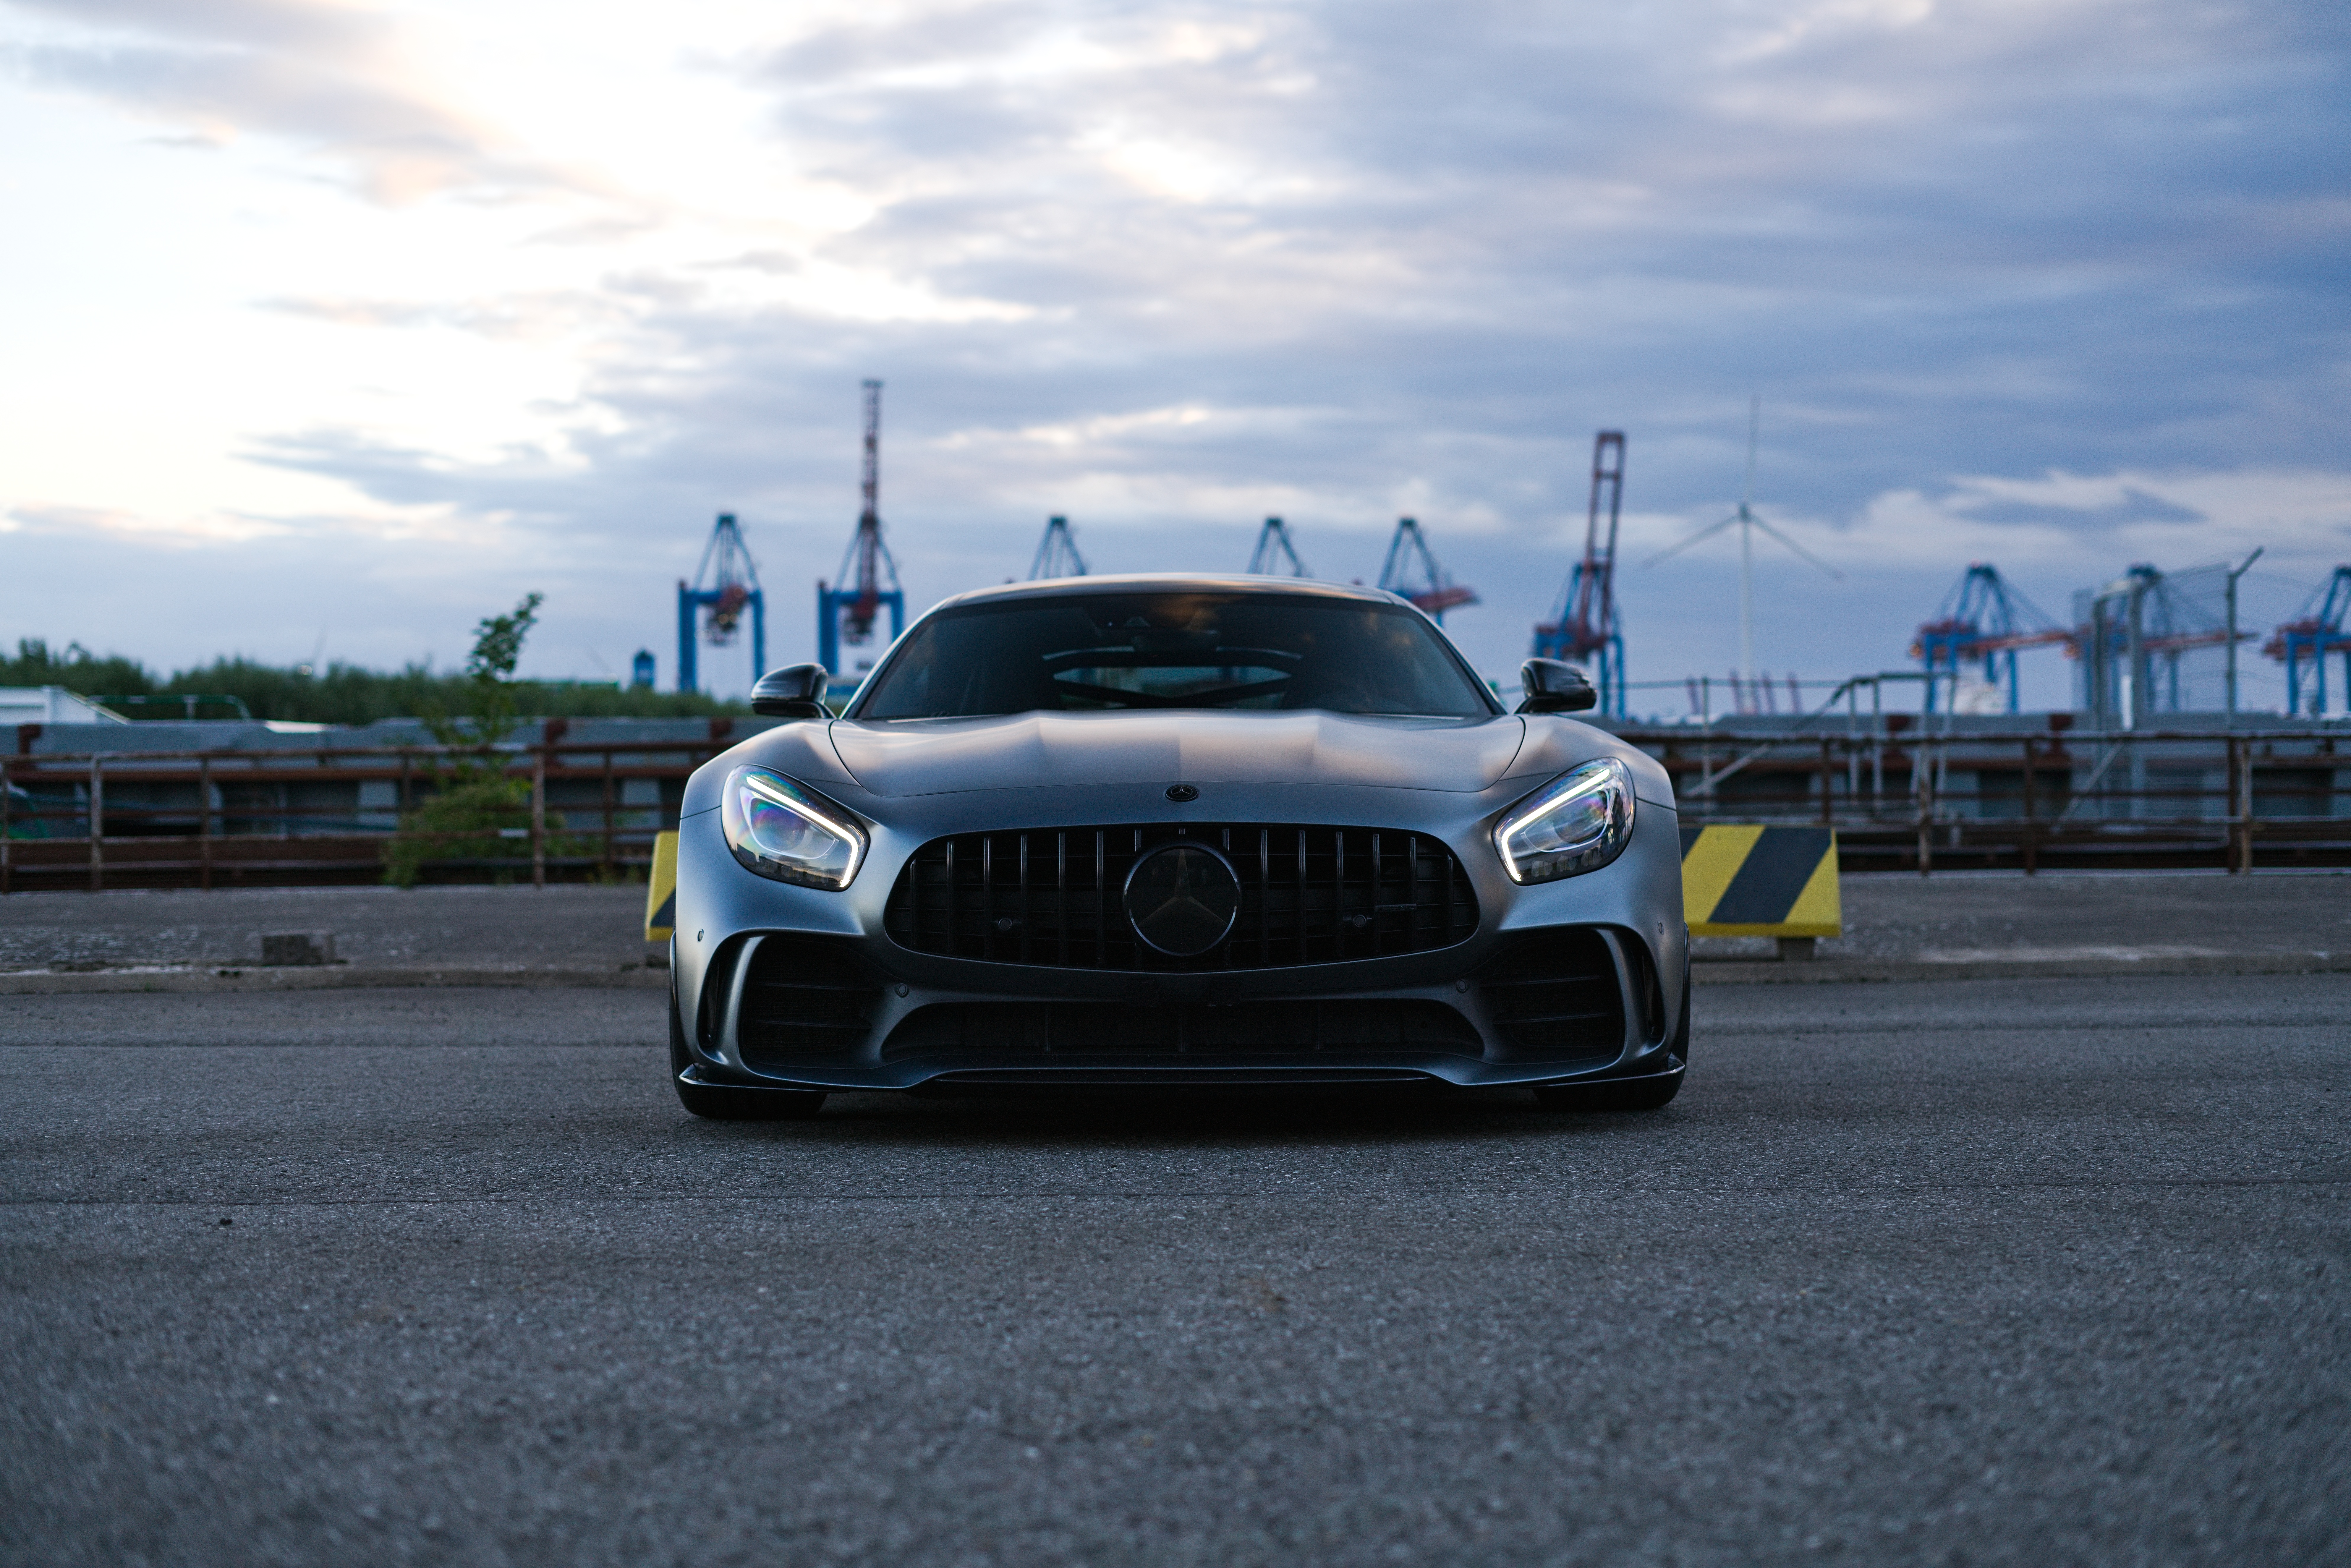
After basic adjustments to Exposure and Dynamic Range .
Straighten lines
The first local adjustment is to straighten the horizon using the Straighten lines (K) tool. It gives you more options to straighten the crooked horizon. Adding guide lines is enough for now.
Select the line you want to level and drag the line from point A to point B. Make sure the guide line is long enough. If it’s too short, the straightening may not be completely accurate.

Gradient filter
The next step is local adjustments to the exposure between the sky and ground. The Gradient Filter (G) is useful for this purpose. Add the first filter so it covers the entire sky.

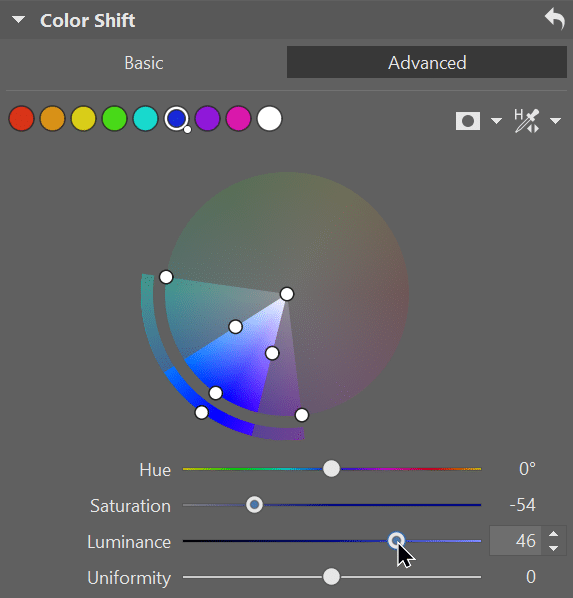
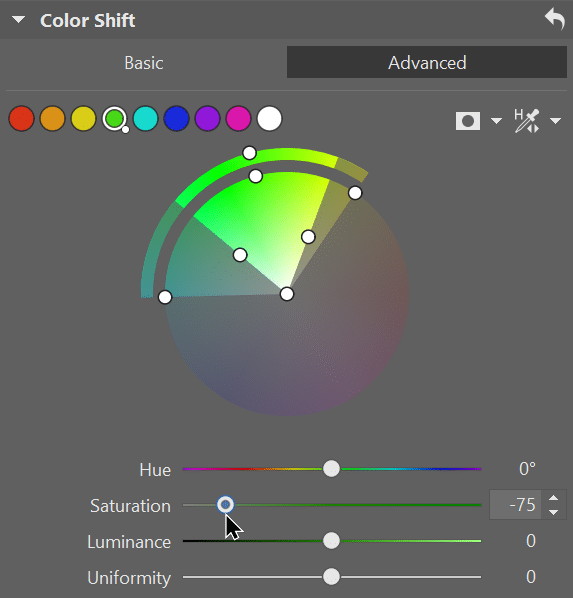
To help accentuate the clouds, I lowered Exposure and increased Contrast. I also lowered Whites even more, eliminating the area of slight overexposure on the left side of the sky. And since the sky looked too blue for my taste, I lowered Saturation and increased Luminance for blue in Color Shift.
There is no need to add a new filter to select the ground. Just duplicate the Gradient Filter for the sky, invert, and remove the adjustments.
Since the ground is dark, we just need to slightly increase Exposure and Shadows. We are ready to move on to the next local adjustment.
Filter brush
Now that your background is finished, focus on the car itself and its details. First, use the Filter Brush (B) to select the car.

Adjust the car’s Exposure and Dynamic Range. Just like I did with the sky, I lower Saturation for blue that is reflected from the sky on the hood of the car.
The car looks much better, but different parts of the car still need more detailed adjustments. For the next step, use the Filter Brush to select the front end of the car. This part of the car is very dark, and the grille is almost not visible.

The headlights need their own adjustments. If they were both the same, I could add them to one mask. But since they are each lit slightly differently, I select and adjust each headlight separately.

Headlights before and after editing.
The last adjustment for the car will be the windshield using the Filter Brush. It could use some darkening. Add another mask and select the entire windshield.


Don’t forget about the background. On the left side of the photo, there is some noticeable greenery. There is no need to create a new mask. Just like with the Gradient Filter, click the first Filter Brush mask, the car selection. Then, duplicate this mask, invert, and remove any adjustments. Use Color Shift to reduce the saturation of the green.
The yellow paint on the barriers behind the car is also quite noticeable. I could use Color Shift to reduce it, but I like the yellow there. It’s an interesting compositional element and adds some color contrast to the photo, so I’ll leave it in.
Radial Filter
Finally, I am going to emphasize the car some more using the Radial Filter (R). Increase the transition width for a smoother transition between the car and background.

Just like before, I duplicate and invert the mask. Make adjustments to the inner mask (car) and outer mask (background) so they match. First, make adjustments to the outer mask, then the inner mask, and again to the out mask until you are happy with the result.
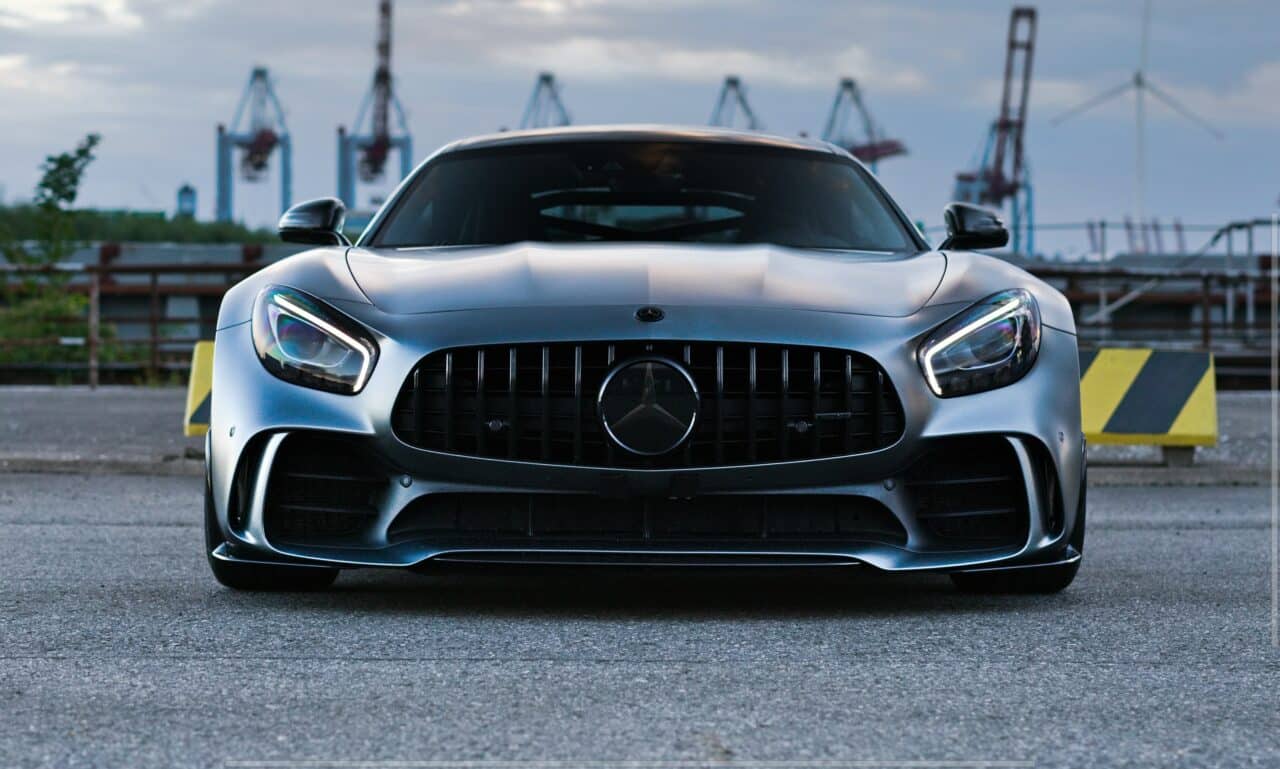
And that’s it. Let’s take a look at the final comparison.
This is the kind of magic you can work using local adjustments. Download Zoner Studio free for 7 days and start using local adjustments on your own photos. If you’re still unsure about local adjustments, check out our video and see the entire process for yourself.
There are no comments yet.