Zoner Studio Step By Step. Part 3: The Develop Module
Whether you’re shooting in RAW or JPEG, every photo could always use some subtle editing. In the next part of this step-by-step guide to Zoner Studio, we’ll take a look at basic editing in the Develop module. We’ll also show you a few tricks to speed up your photo editing.
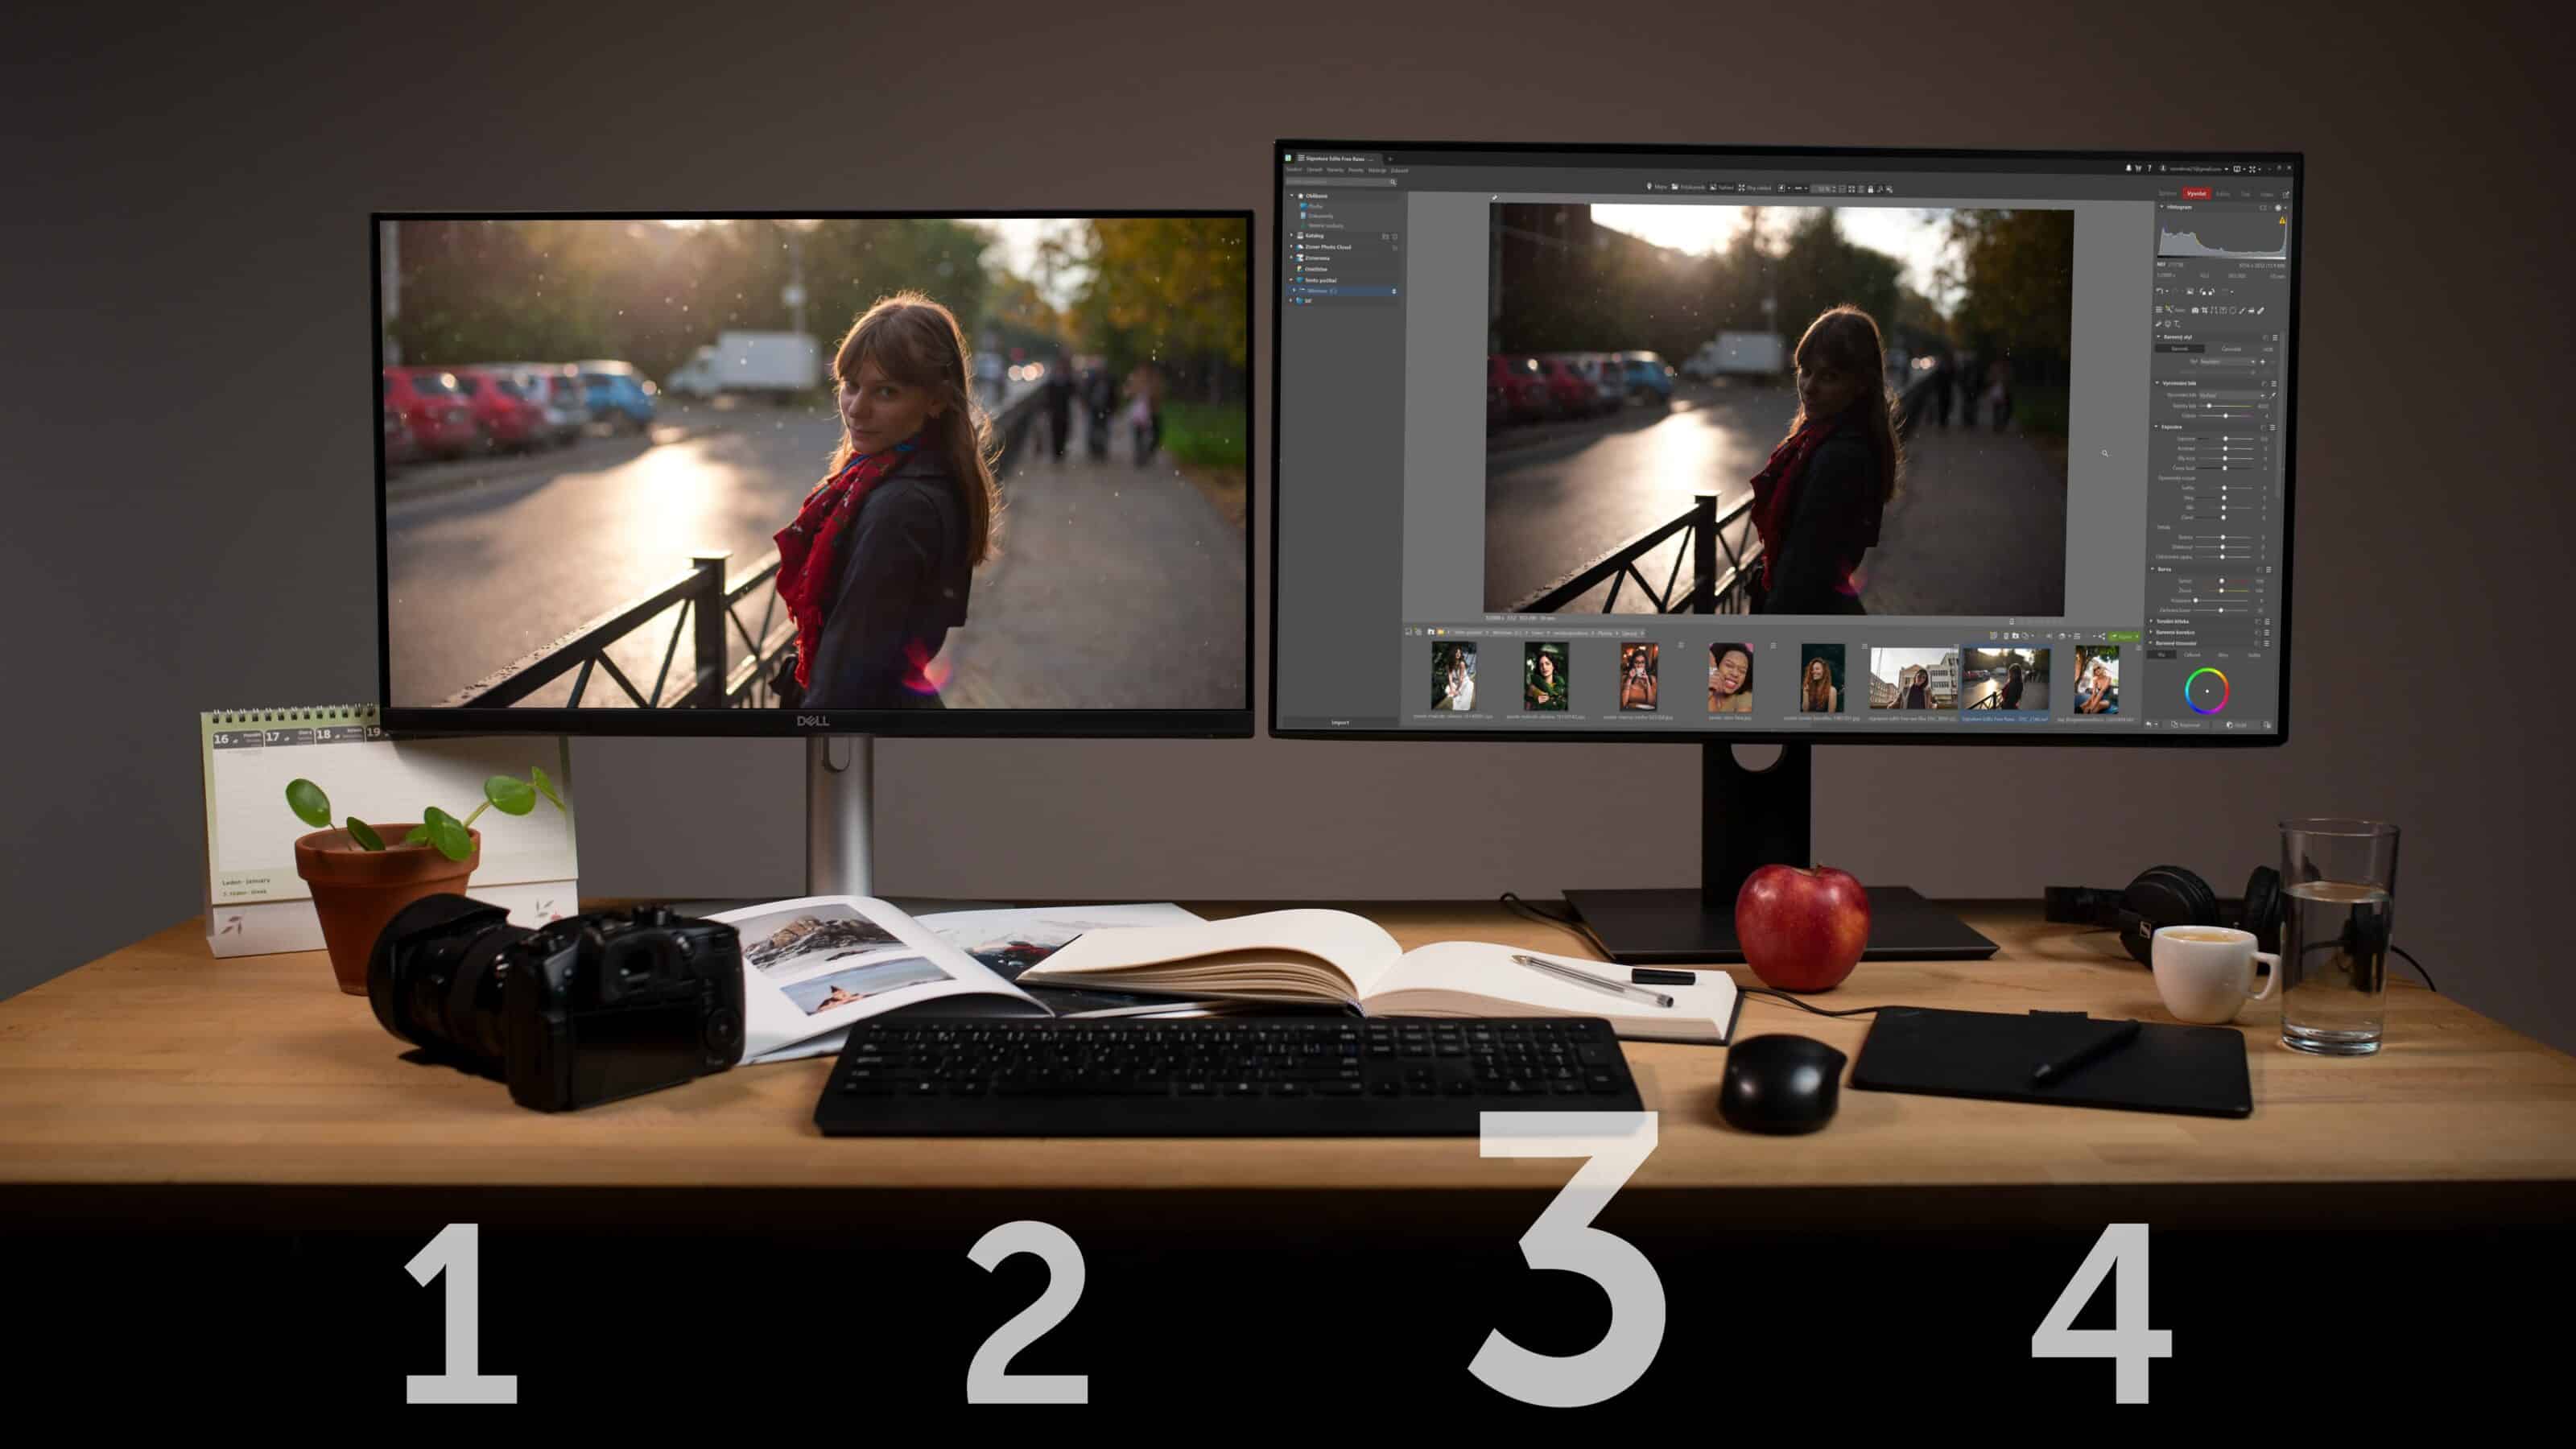
In the first and second installments of this series, we showed you how to get your photos on your computer and get them organized. Now, we’ll get to the actual editing.
RAW images? Develop module!
The Develop module of Zoner Studio is primarily for non-destructive editing. This style of editing writes edits to a DATA-Zoner Studio auxiliary file so that the original image remains unchanged.
This makes the Develop module perfect for working with RAW files. It is also useful for other image formats, especially when it comes to photos whose originals you want to protect from destructive editing. Choose your settings and export the photos.
Other advantages of non-destructive editing include that you can return to its version history at any time. It doesn’t matter if you go back to a photo in a week or in a month, the entire list of adjustments is available so you can revisit and change them.
Adjusting your settings
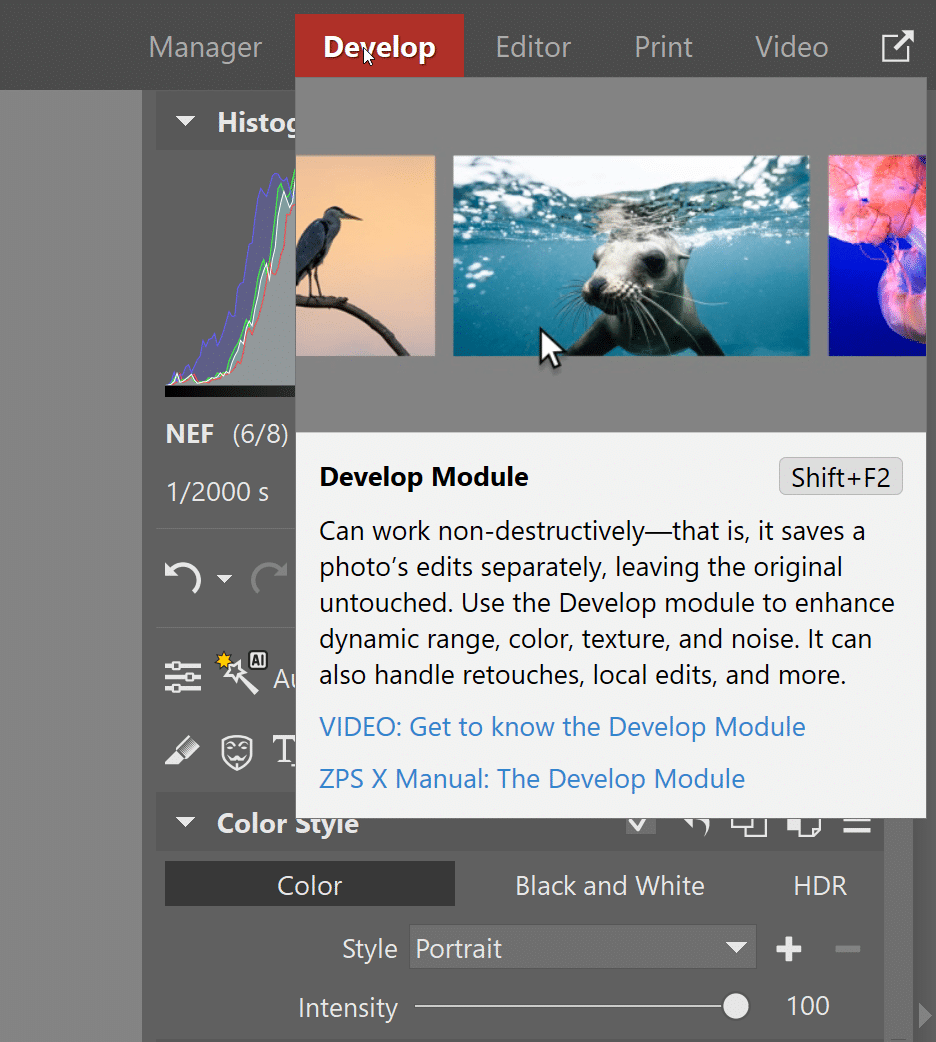
The order of the sliders in the Develop module is no coincidence. In the Color Style section at the top, you make an important decision about the final look of your photo. This is where you choose whether you want to edit the photo in black and white, color, or if you want to do HDR editing. HDR is the high dynamic range data stored in the image.
Each of these options gives you access to different functions. Next, it’s useful to make adjustments to White Balance and Exposure. If you edit your photos’ colors and then White Balance, the colors can be altered and you would need to start over. The same is true with Exposure in relation to the other tools.

Copy and paste adjustments to save time
If you have multiple photos from one series that require the same adjustments, you can save a lot of time by copying and pasting adjustments. Making the same adjustments for each photo gets time-consuming.
We recommend editing one photo and then Copying (Ctrl+Shift+C) the adjustments. A window opens where you can choose if Zoner Studio should copy all the adjustments or just some of them. Then, select any other photos in the film strip to paste (Ctrl+Shift+V) the adjustments.

Using presets
Another feature that can simplify your workflow is Presets. In addition to copying adjustments, you can also save them for future use. Click Presets and the + icon to Create Presets (Ctrl+T).

Give the preset a name and select which folder to save it in. Then, choose the adjustments for the preset. For further adjustments, click the name of the presets and the adjustments will be applied automatically.

Want to learn how to make custom presets? See Presets Done Differently—Create Your Own Presets.

If you want to speed up your workflow even more, you can use one of our ready-made presets. In Zoner Studio, basic presets come pre-installed. You can also find special seasonal preset bundles on our website that we regularly update.
Don’t forget to export
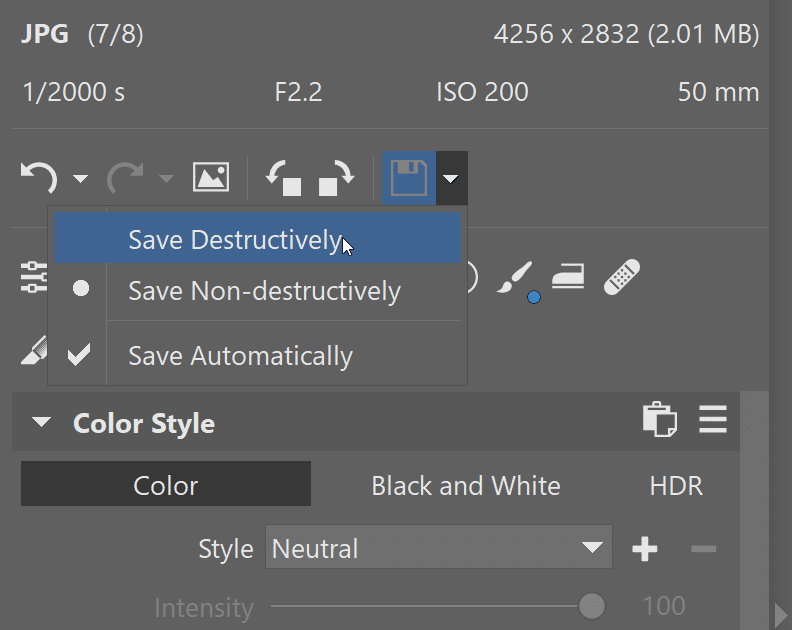
All editing in the Develop module is non-destructive editing. This means the adjustments are saved to a separate file and you do not overwrite your files. You can only see the adjustments in Zoner Studio. To publish, print, or share your photos with clients, you have to save them. Select the photos and click Export. Select the location where you want it saved, and quality, and you’re done.

When to use destructive editing
If your photo just needs some quick editing or retouching and you don’t need a version history, or you don’t feel like dealing with non-destructive editing, you can choose the Save Destructively option. This overwrites the photo without the need to select the size when exporting. The Export icon changes to a Save icon and after editing, you save the photo. Just keep in mind that you overwrite the original and you can’t undo any changes.
What’s next?
These are the basic adjustments in the Develop module. In the next part of this series, we’ll go more in-depth and go over specific editing of a photo or part of a photo. We’ll go over retouching, the Gradient filter, and much more.
Download Zoner Studio free for 7 days with full support for all these features. Give the Develop module a try!
There are no comments yet.