Zoner Studio Step by Step. Part 4: Where Next in the Develop Module?
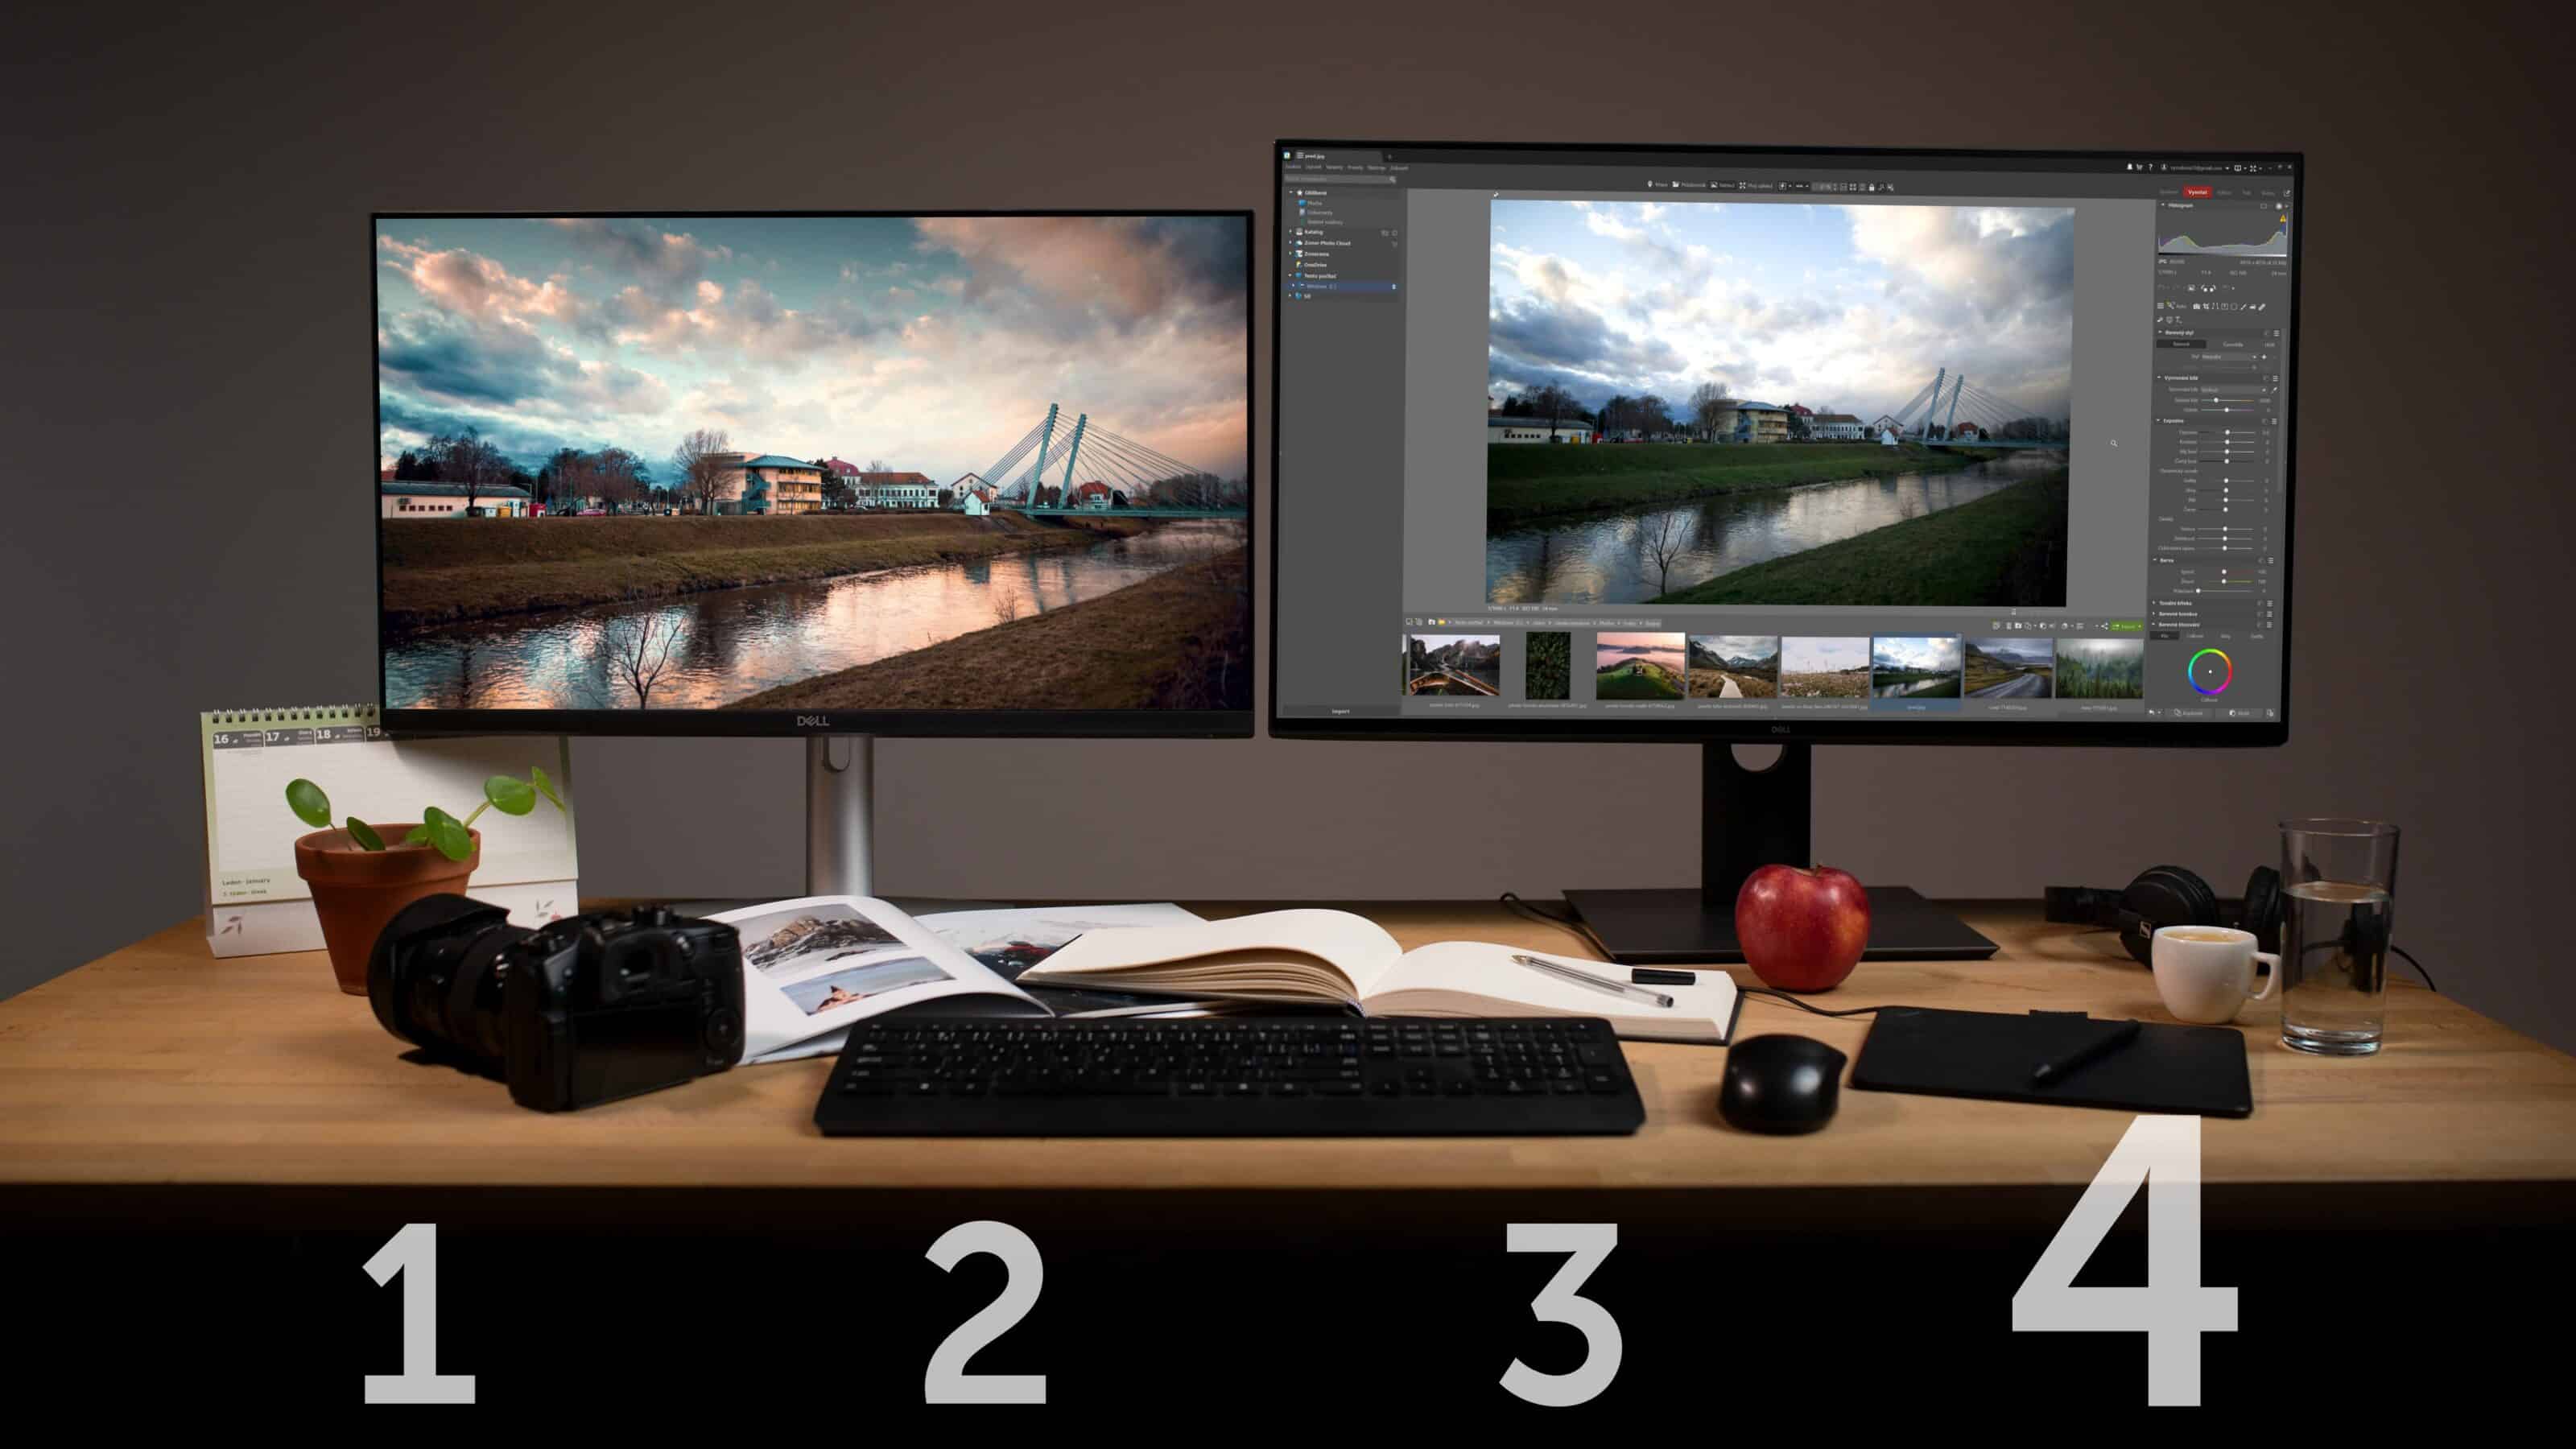
The options for editing photos in the Develop module of Zoner Studio are endless. In this installment of our series, we’re focusing on more advanced editing, including straightening a crooked horizon, using the Gradient Filter, local filters, or retouching. Get your photos ready and discover how you can improve them!
In the previous installments of this series, you learned how to import, sort, and start editing. But there are many more possibilities in Zoner Studio. In this article, we’ll pick up from where we left off in the Develop module.
Crooked photos
One of the first editing steps is usually to Straighten Lines and Crop, which can help you improve your photo’s composition or adjust its aspect ratio. Unless it’s your artistic intent, the horizon should not be crooked. However, as we know from experience, sometimes you can’t get a perfectly straight horizon when shooting. This is when the Straighten Lines (K) tool comes in handy. Straighten Lines also suggests a crop for the photo.
Another option is Straighten horizon, the ruler icon under Crop and Rotate (C). It works by adding a straight line along a dominant plane that defines the horizon. Then, the image is automatically aligned.

Then, you can crop the photo. The most common aspect ratios are found in the crop menu. It’s not a good idea to eyeball the crop, which can backfire when printing.

Using a Gradient Filter for the sky
Gradient filters existed long before there was Zoner Studio. Physical gradient filters can be used when shooting. But it’s usually a good idea to keep this option as a backup when editing.
For landscape photography, it’s useful to apply a Gradient Filter (G) to the top part of the photo to darken the sky. Then, you can lower Lights and Exposure.

Retouching in the Develop module
The Develop module is designed to be used for all basic photo editing, including retouching. If there is something distracting in the photo or something that doesn’t belong, use the Healing Brush (J) to remove it. The Healing Brush is not only for retouching blemishes.
In the example below, there’s distracting trash on the ground. Set the proper diameter and click the area in the photo. Zoner Studio finds the source area for you.

If you want more control over the source area, just hold the Ctrl key and manually select the area you want to copy.

More local adjustments—Filter Brush and Radial Filter
Use the Filter Brush (B) to adjust a specific area in the photo. It works like a regular paintbrush. Set the diameter, blur, and paint. We recommend blurring as much as possible to avoid sharp edges. In this case, the filter is used to soften the effect of the Gradient Filter, which darkened one of the clouds too much.

A second, very similar option, is the Radial Filter (R). It works similarly, but you use it to create elliptical shapes. It’s useful for bringing out your subject by brightening, or you can darken the area around the Radial Filter by clicking Invert Mask and then decreasing exposure.

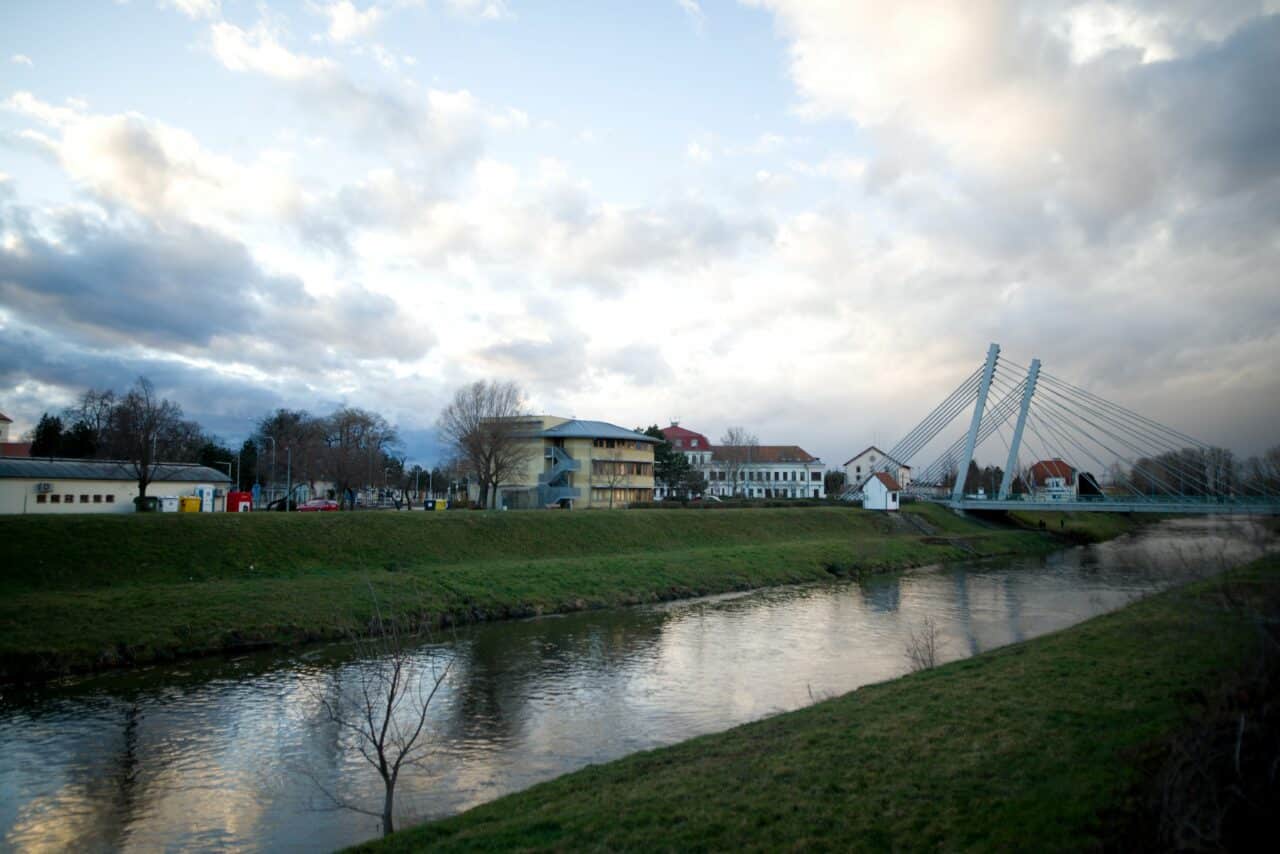
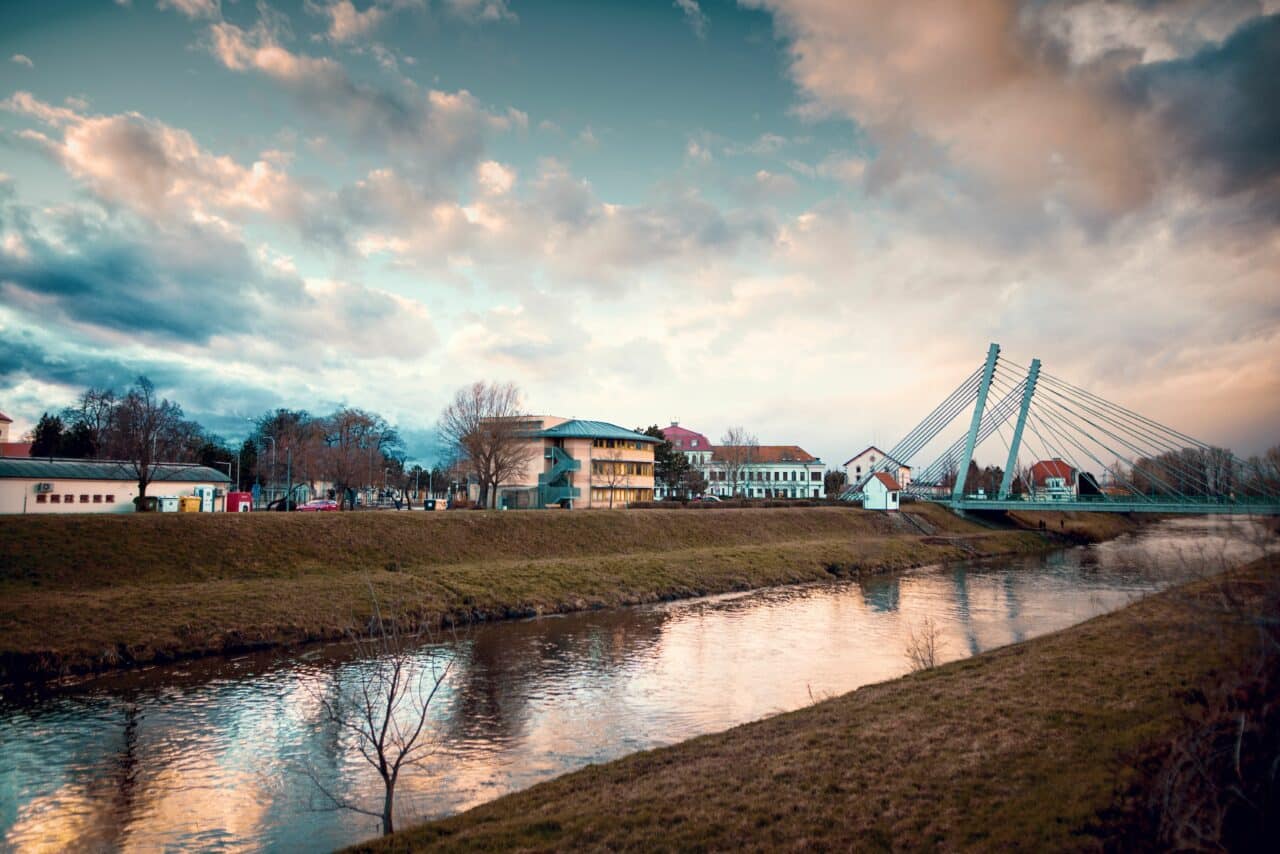
Photo before and after editing.
Download Zoner Studio free for 7 days with full support for all these features. Try editing your photos in the Develop module today!
There are no comments yet.