How To Add Shine to Hair using Zoner Studio
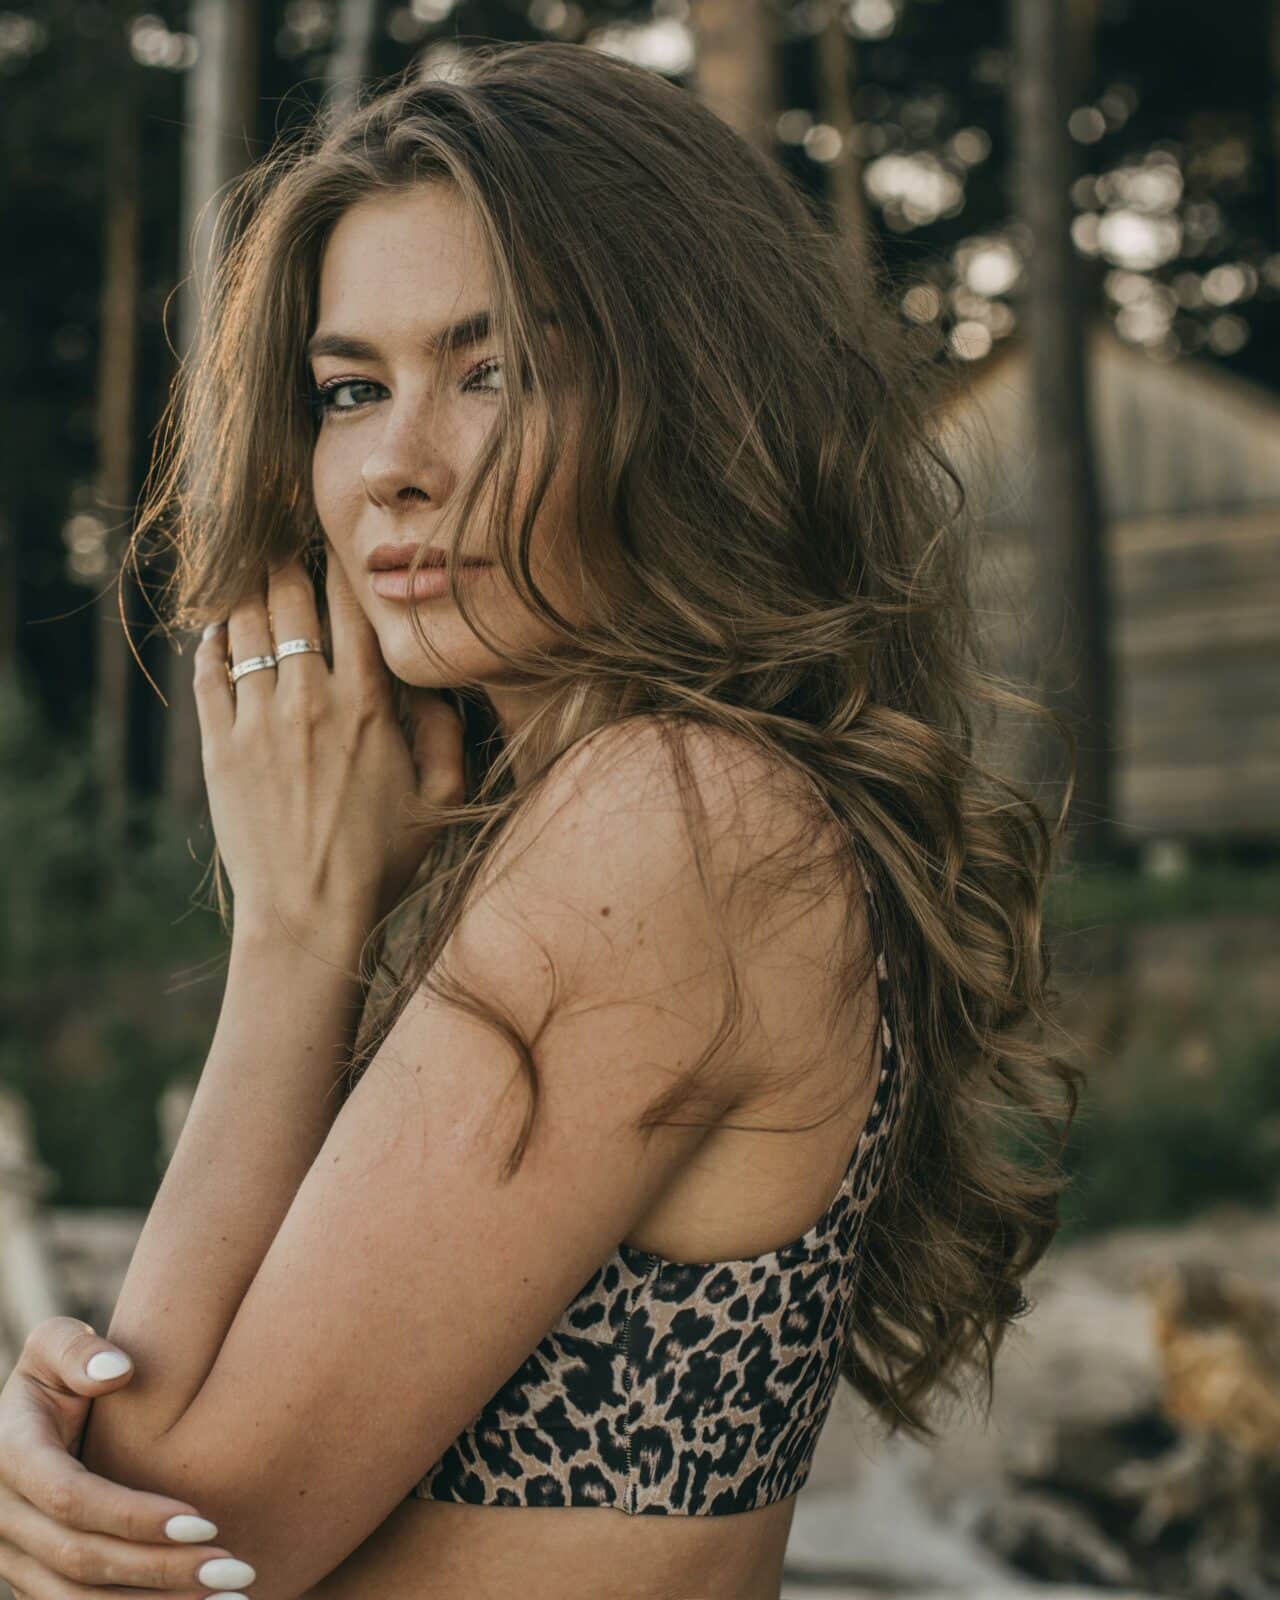
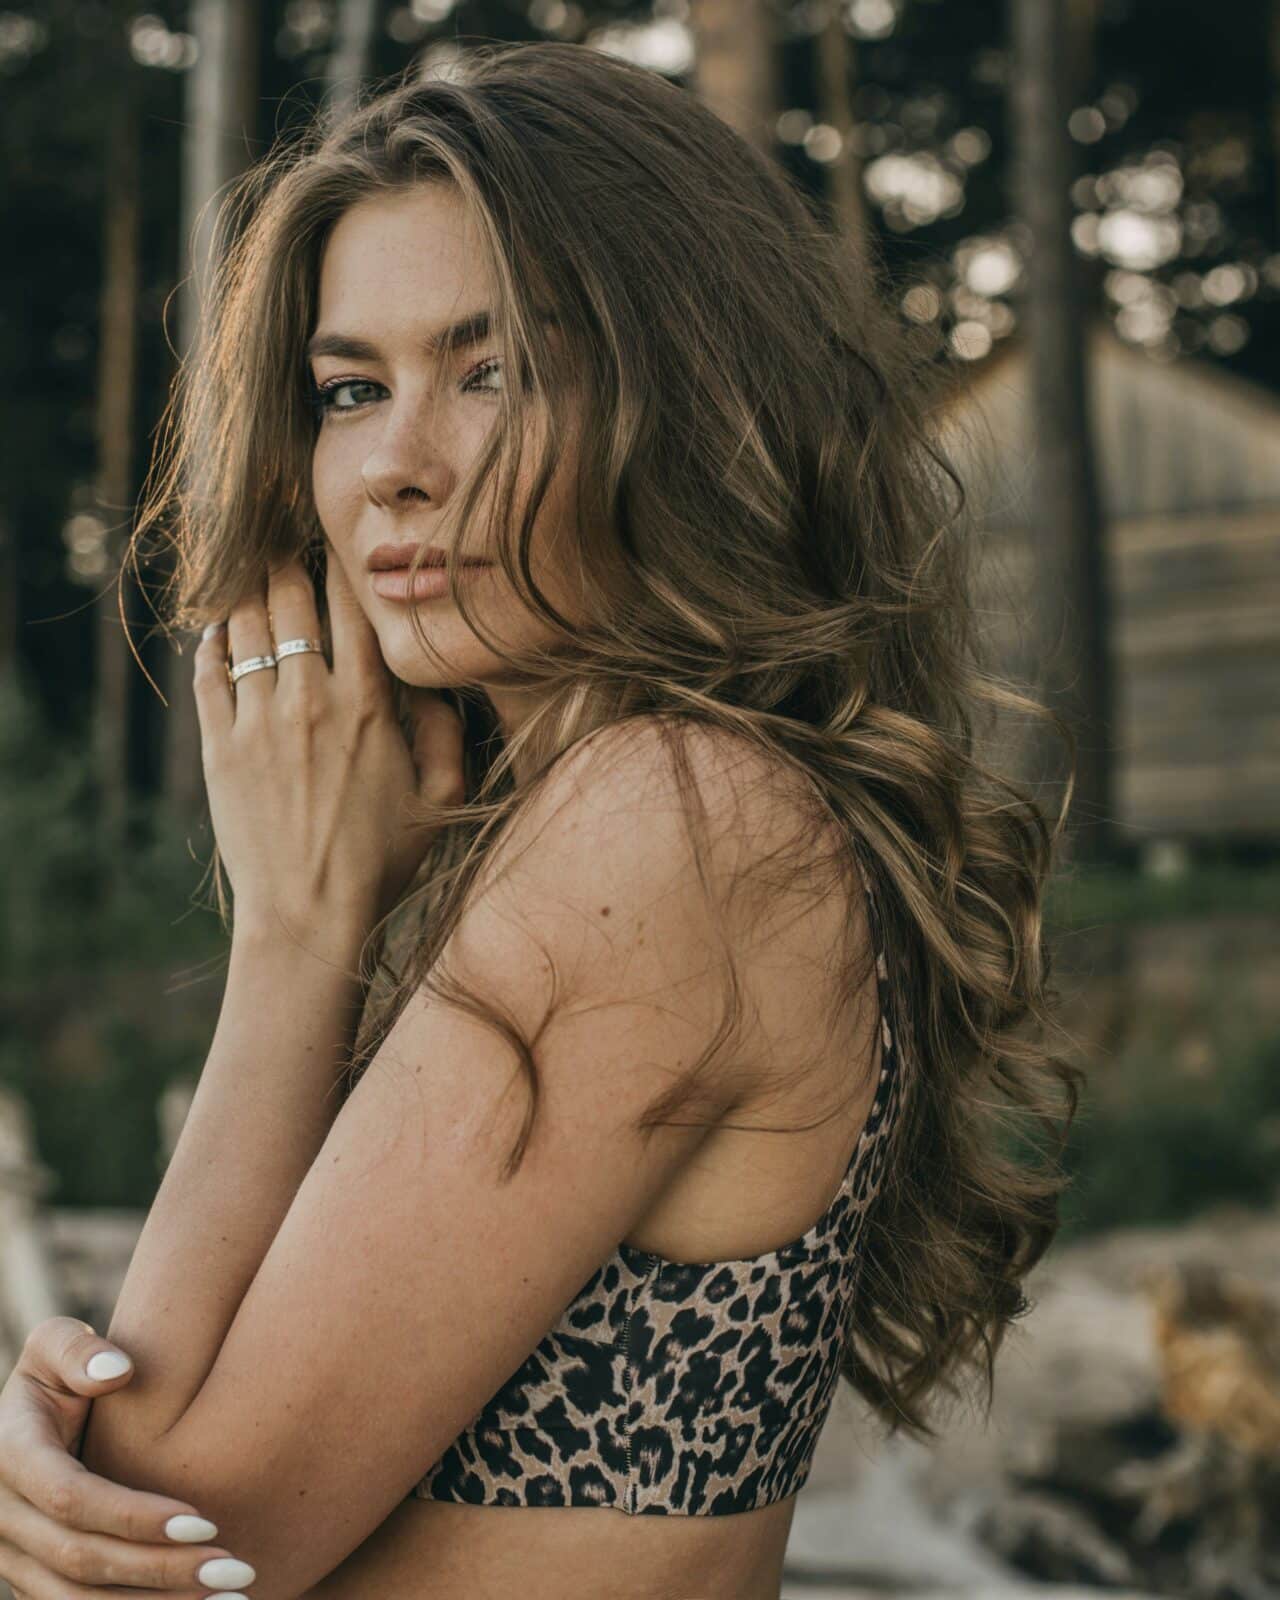
Photographers tend to focus on the eyes in portrait photography and the importance of hair is often underestimated. While the eyes are very important, we can’t forget about the other parts of a portrait. Let’s take a look at how to retouch the hair and enhance your portrait photography.
The eyes are the most important part of a portrait since they convey emotion and are the first thing you notice about a person. But let’s not forget about the other parts that add depth to your portrait.
Previously, you had to do advanced adjustments like the ones we are discussing in this article in the Editor module using masks and layers. However, a much simpler way is to use local adjustments, specifically the Filter Brush in the Develop module.
Lightening hair
Lightening and darkening the hair use practically the same technique. Select the Filter Brush (B) and click Add Mask. Set Blur to 100%, so the lighter parts of the hair look as natural as possible and don’t have sharp edges.

To keep your edits organized, I recommend giving the mask a name, like Lightening.
Next, just use the brush to select which areas of the hair you want to lighten. It’s best to choose lighter parts of the hair because light hits those parts more and the effect will look more natural.

After selecting various strands to lighten, go to Exposure. In the Dynamic Range section, slightly increase the values for Shadows and Blacks. If it’s too intense, lower the Effect Strength using the slider just below the brush.

Darkening hair
Now to Darkening the hair. This is useful for adding deeper contrast to the hair. The same technique applies. Once again, add a new mask, rename it Darkening, and use the Filter Brush to select the sections of hair you want darkened.
Select darker strands of hair for darkening and lighter strands of hair for lightening. The result will look more natural.

Once everything’s selected, decrease Shadows and Blacks. Just like with lightening, you only need to move the sliders a small amount. A little goes a long way.

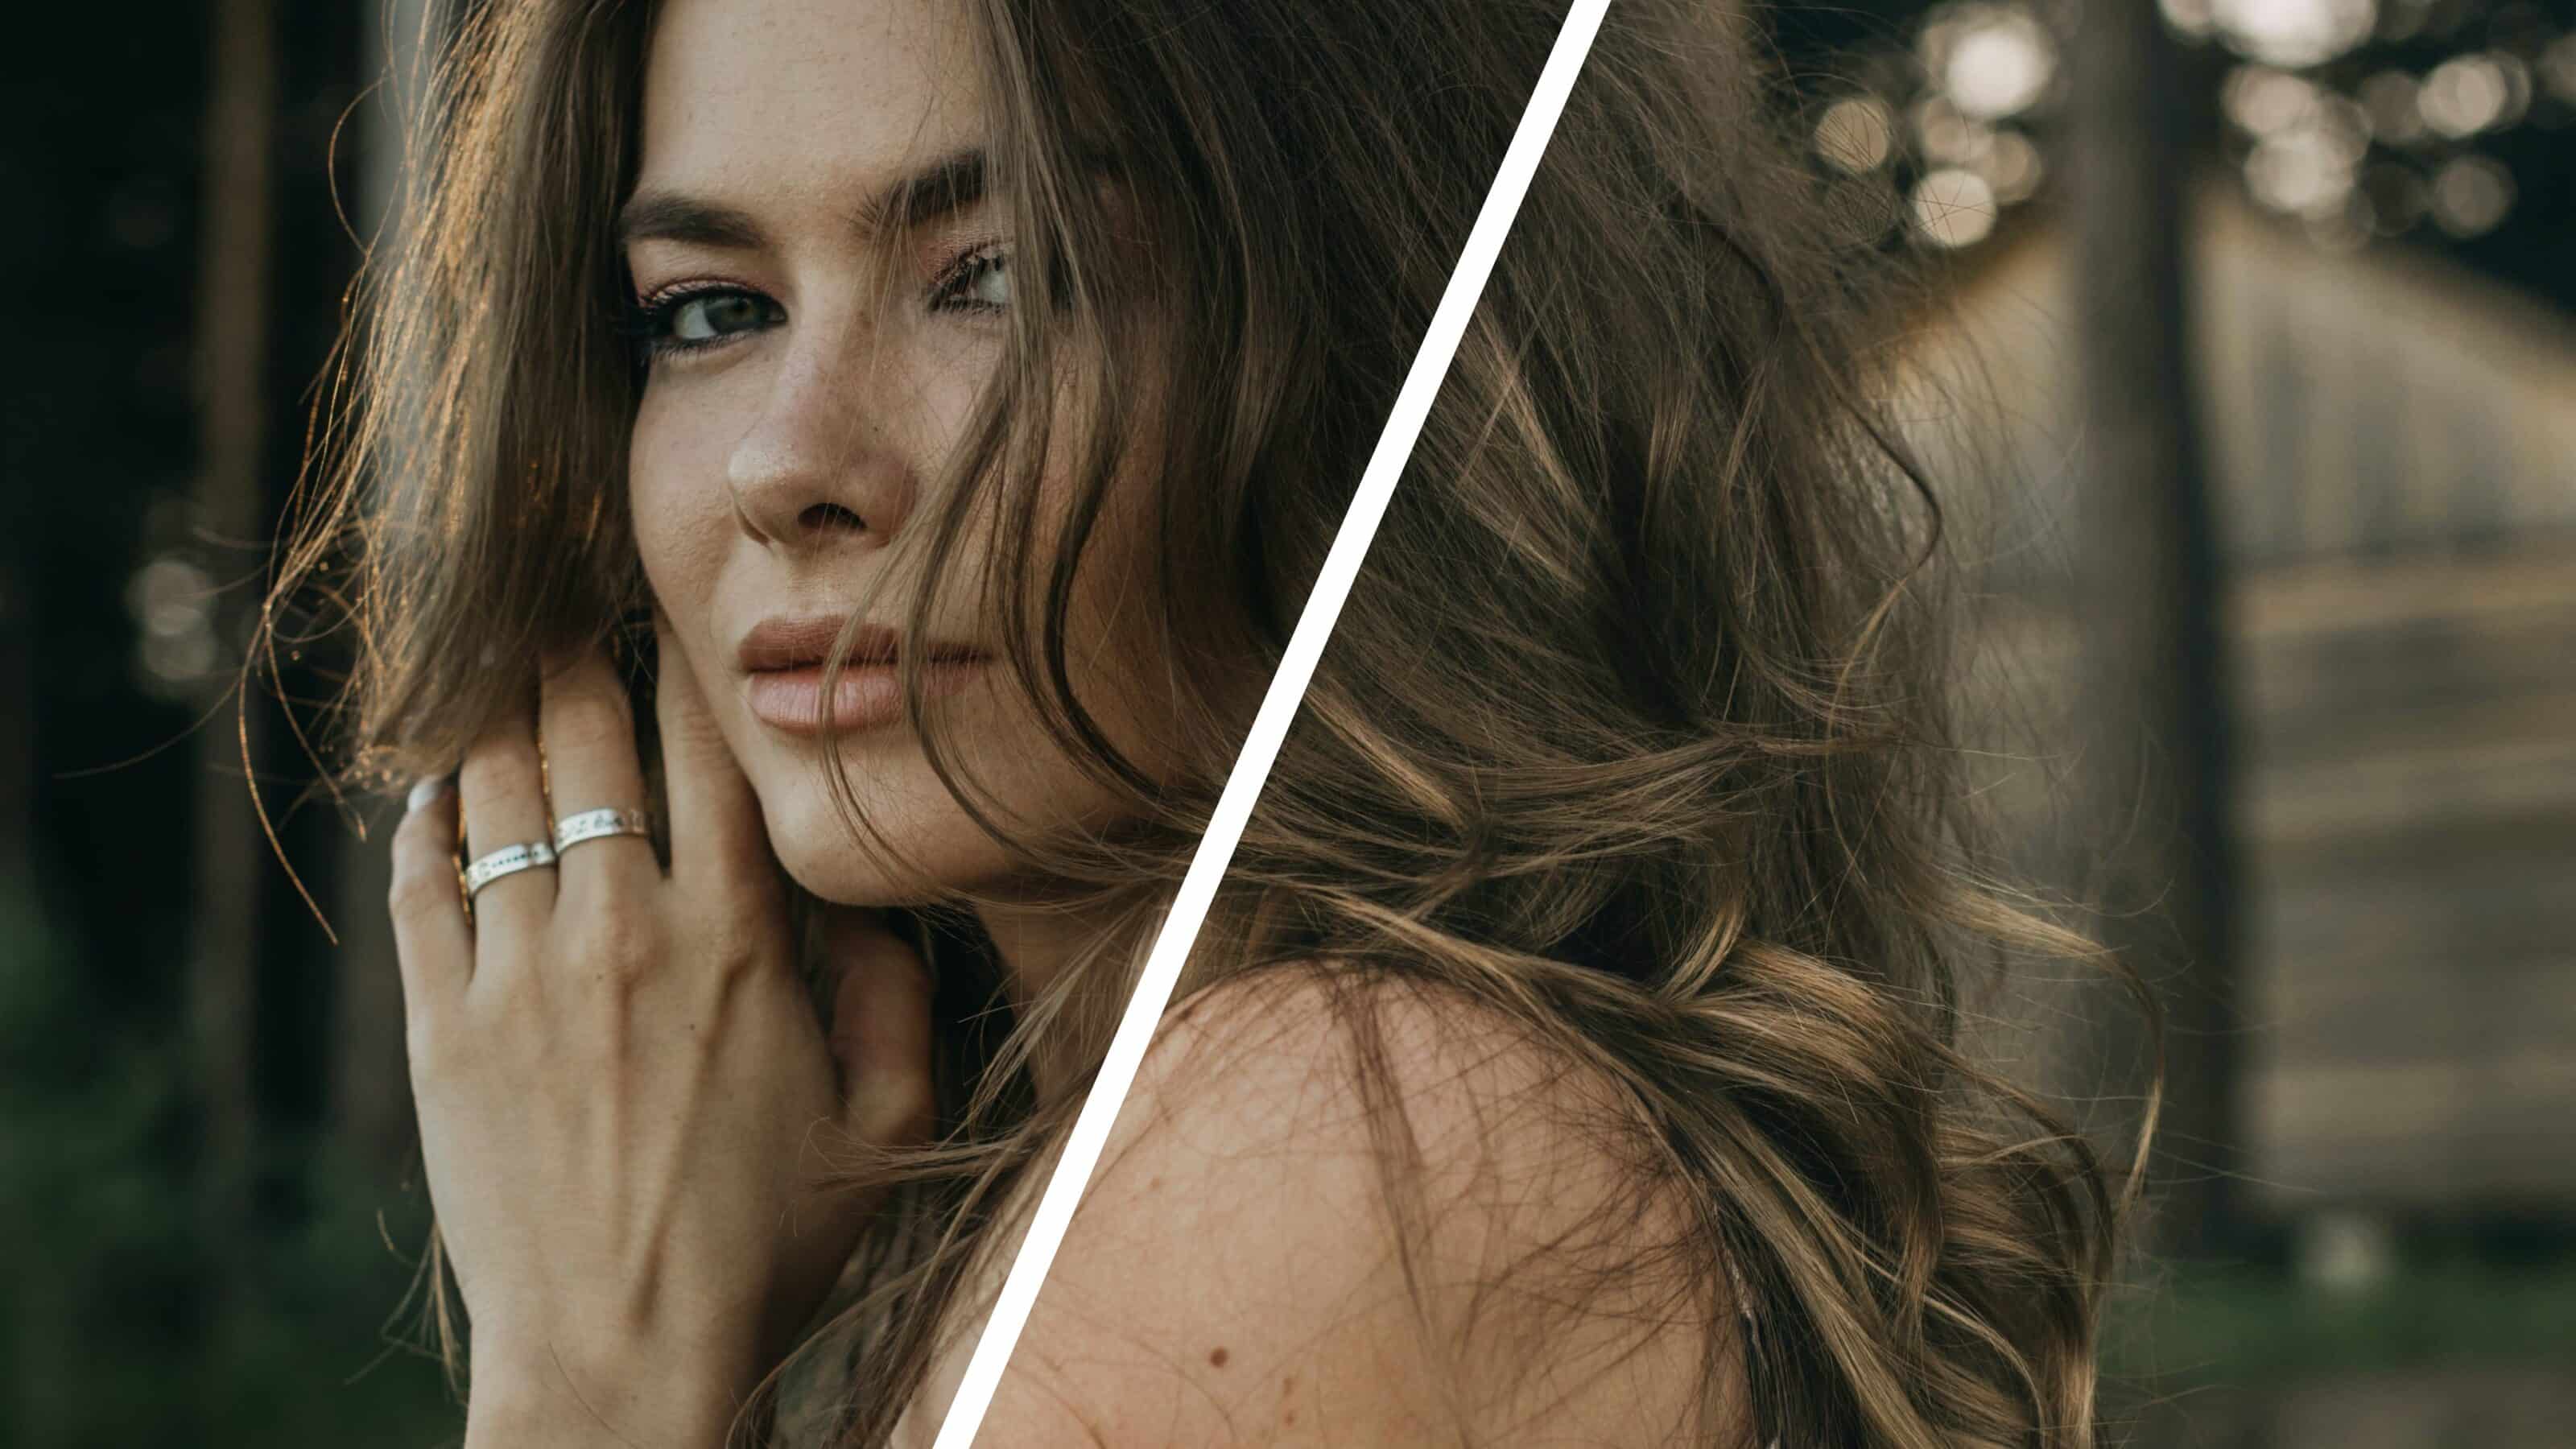
Once everything is lightened and darkened, click the picture icon to see what your photo looks like before and after editing.
Compare your photo before and after editing.
You can work your magic on your portraits using the Filter Brush. Download Zoner Studio free for 7 days and get to work on editing your portraits. If you’d like some extra guidance, check out our video where we show you the entire process step-by-step.
There are no comments yet.