Edit Portraits with Zoner Studio
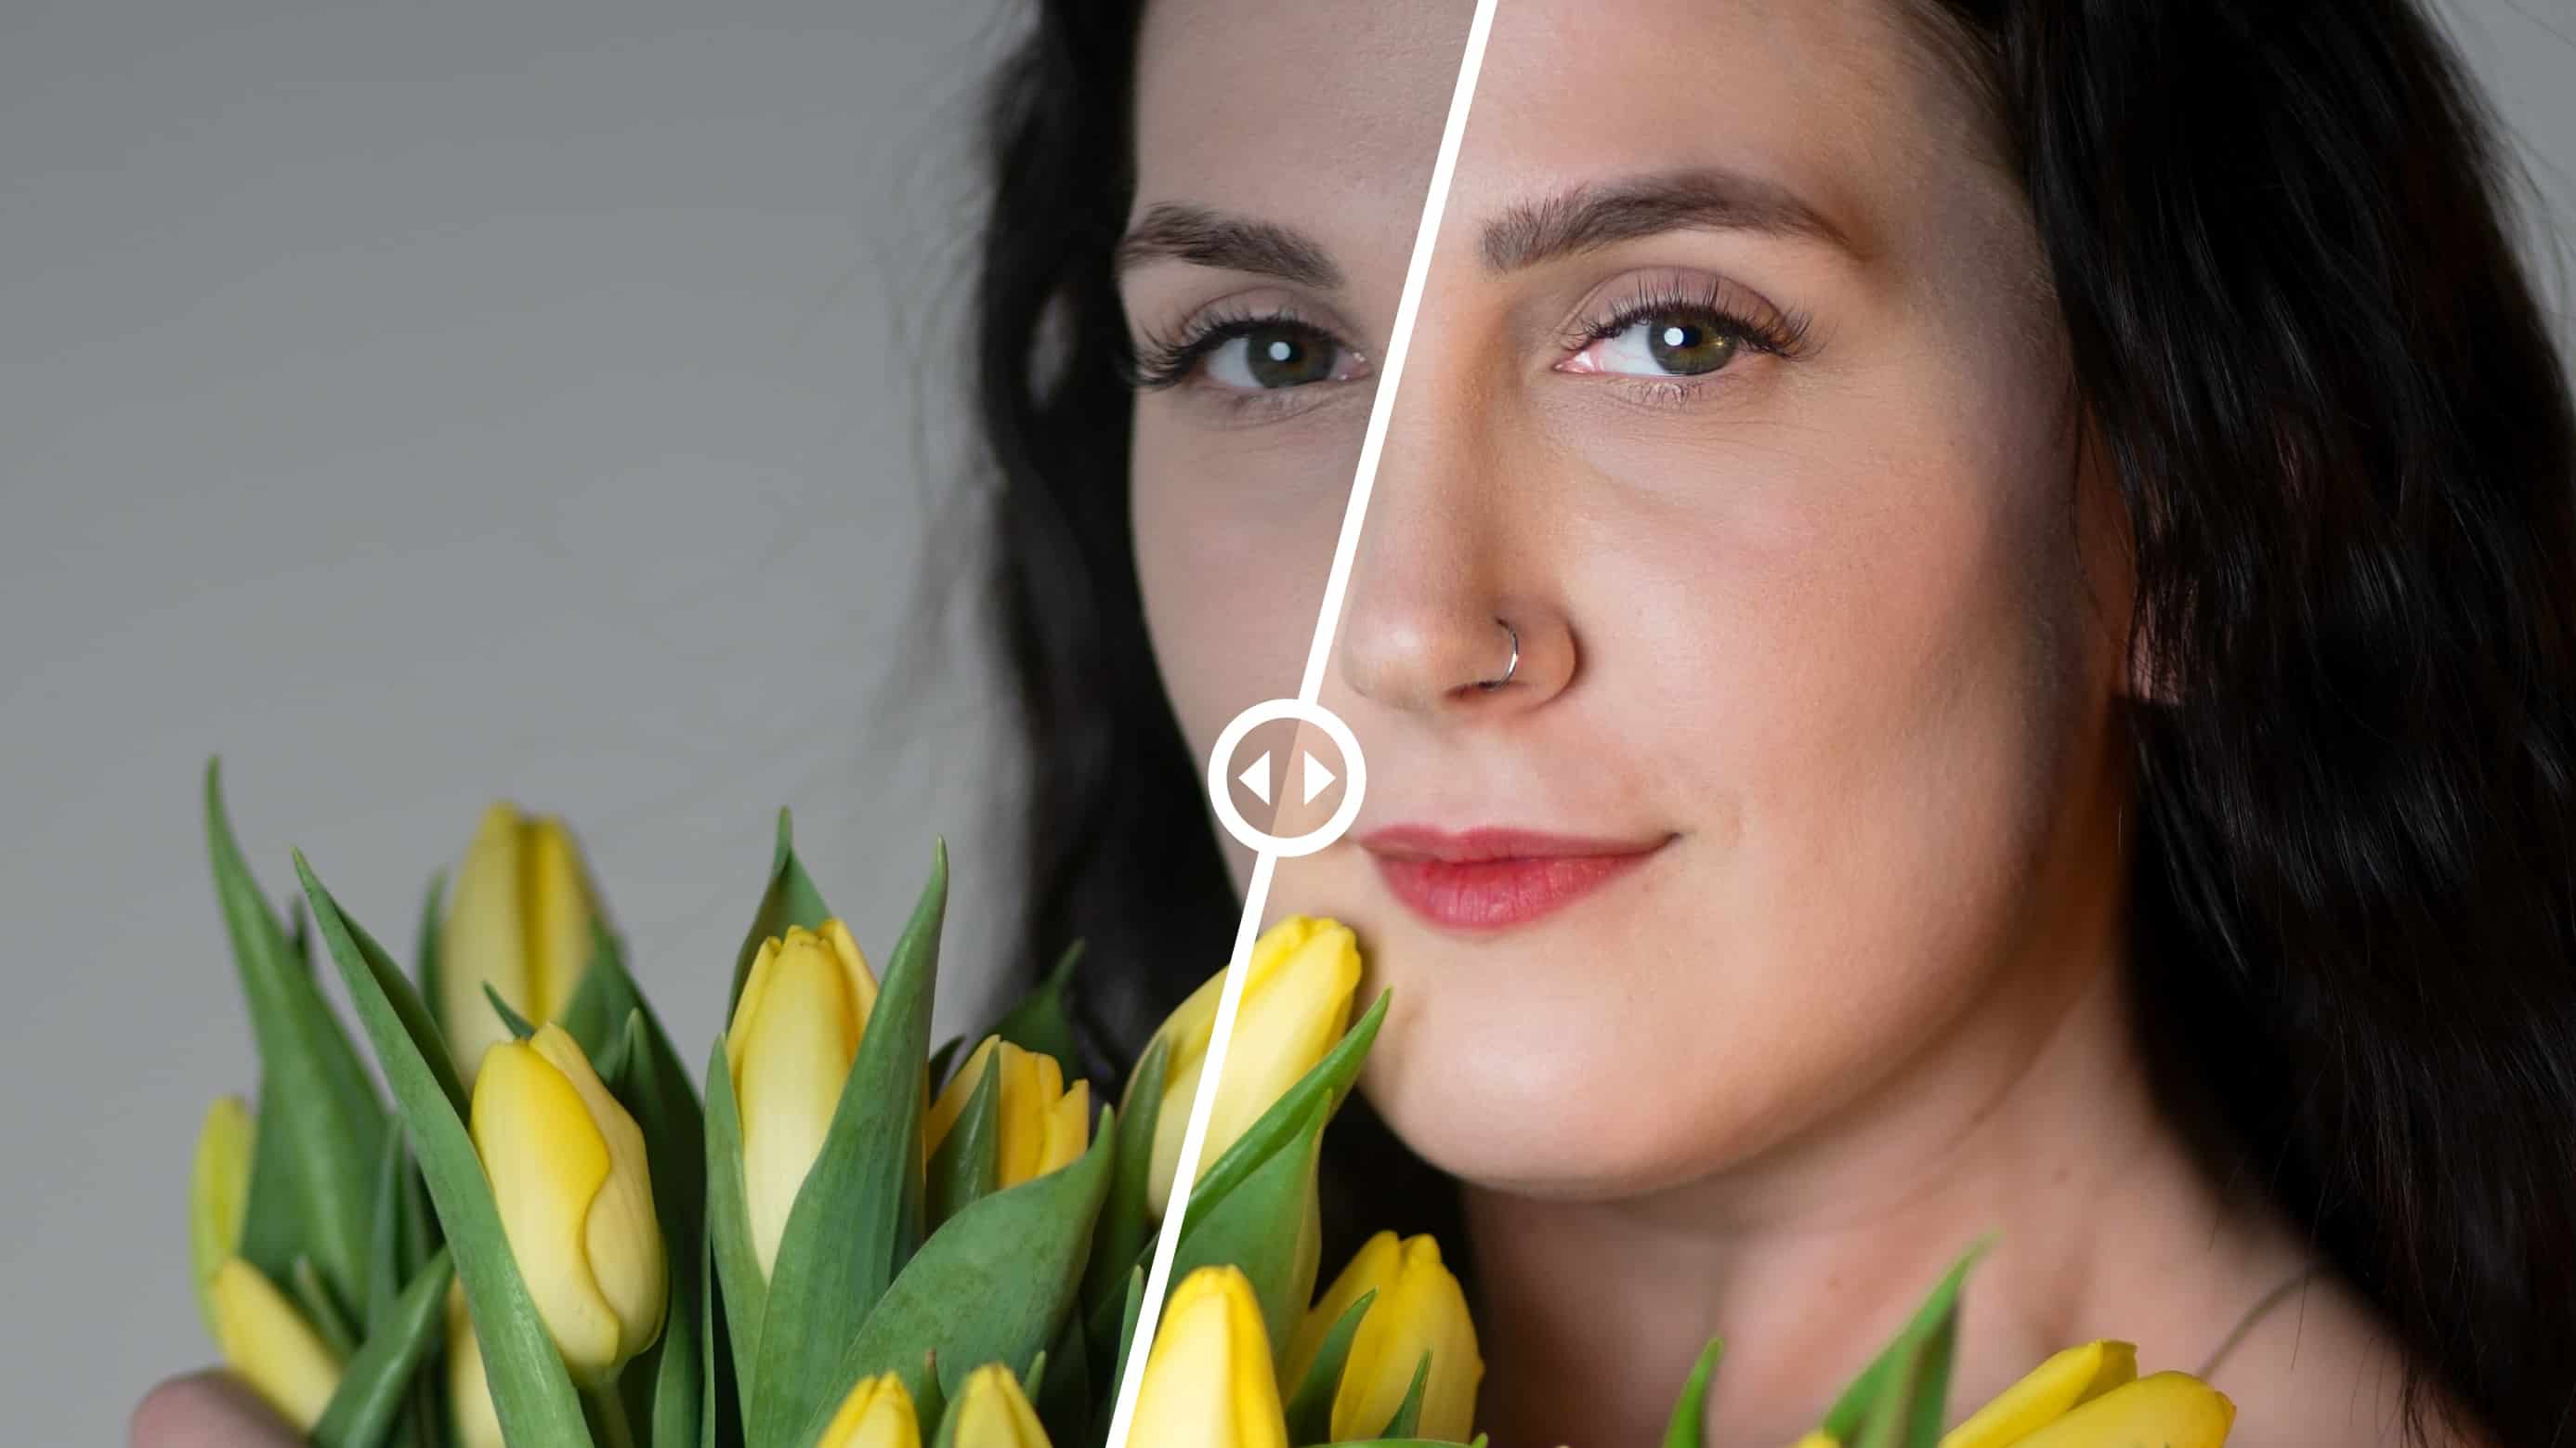
There are many ways you can edit portraits. Each photographer has a slightly different process and workflow. Still, there are several main adjustments that most photographers use. Let’s perfect some portraits using Zoner Studio and the Develop module.
Each portrait is different and requires different adjustments. Our process isn’t a one-size-fits-all, but it includes tools that you can find useful and can use to get inspired.
Start by cropping your photo
The first step is Crop and Rotate (C). It’s a good idea to properly crop your photos before you start with adjustments to exposure and color. This way, you’ll work with the final composition and edit the photo only where needed.

Exposure is important
The right exposure adjustments can work wonders. It can help bring light to the shadows, remove overexposure from white areas, and emphasize features with texture and clarity. We can’t give you exact values because each photo’s exposure is different and needs different exposure settings, but here’s why and how to adjust your Exposure settings.
For this example, we needed to:
- Slightly increase Exposure because the photo was quite dark
- Adjust the brightness level using White and Black point
- Increase Lights under Dynamic Range to bring more light to the model’s face
- Decrease shades of White to eliminate overexposure on the tulips
- Increase the Shadows to remove harsh shadows on the model’s face
- Decrease Black to bring dark shades back to the model’s hair

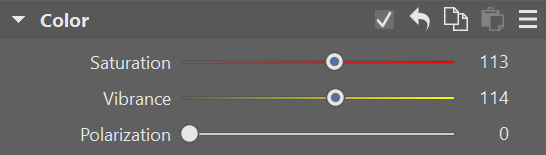
Color work
There are several functions for color work in Zoner Studio. The first is White Balance, which lets you adjust the basic white balance and color for the entire photo. Under Exposure, you can find Color, which you can use to adjust Saturation, Vibrance, and if needed, Polarization.
In my case, I chose to only slightly increase Saturation and Vibrance, because the photo was a bit dull color-wise, despite the brightly colored tulips.
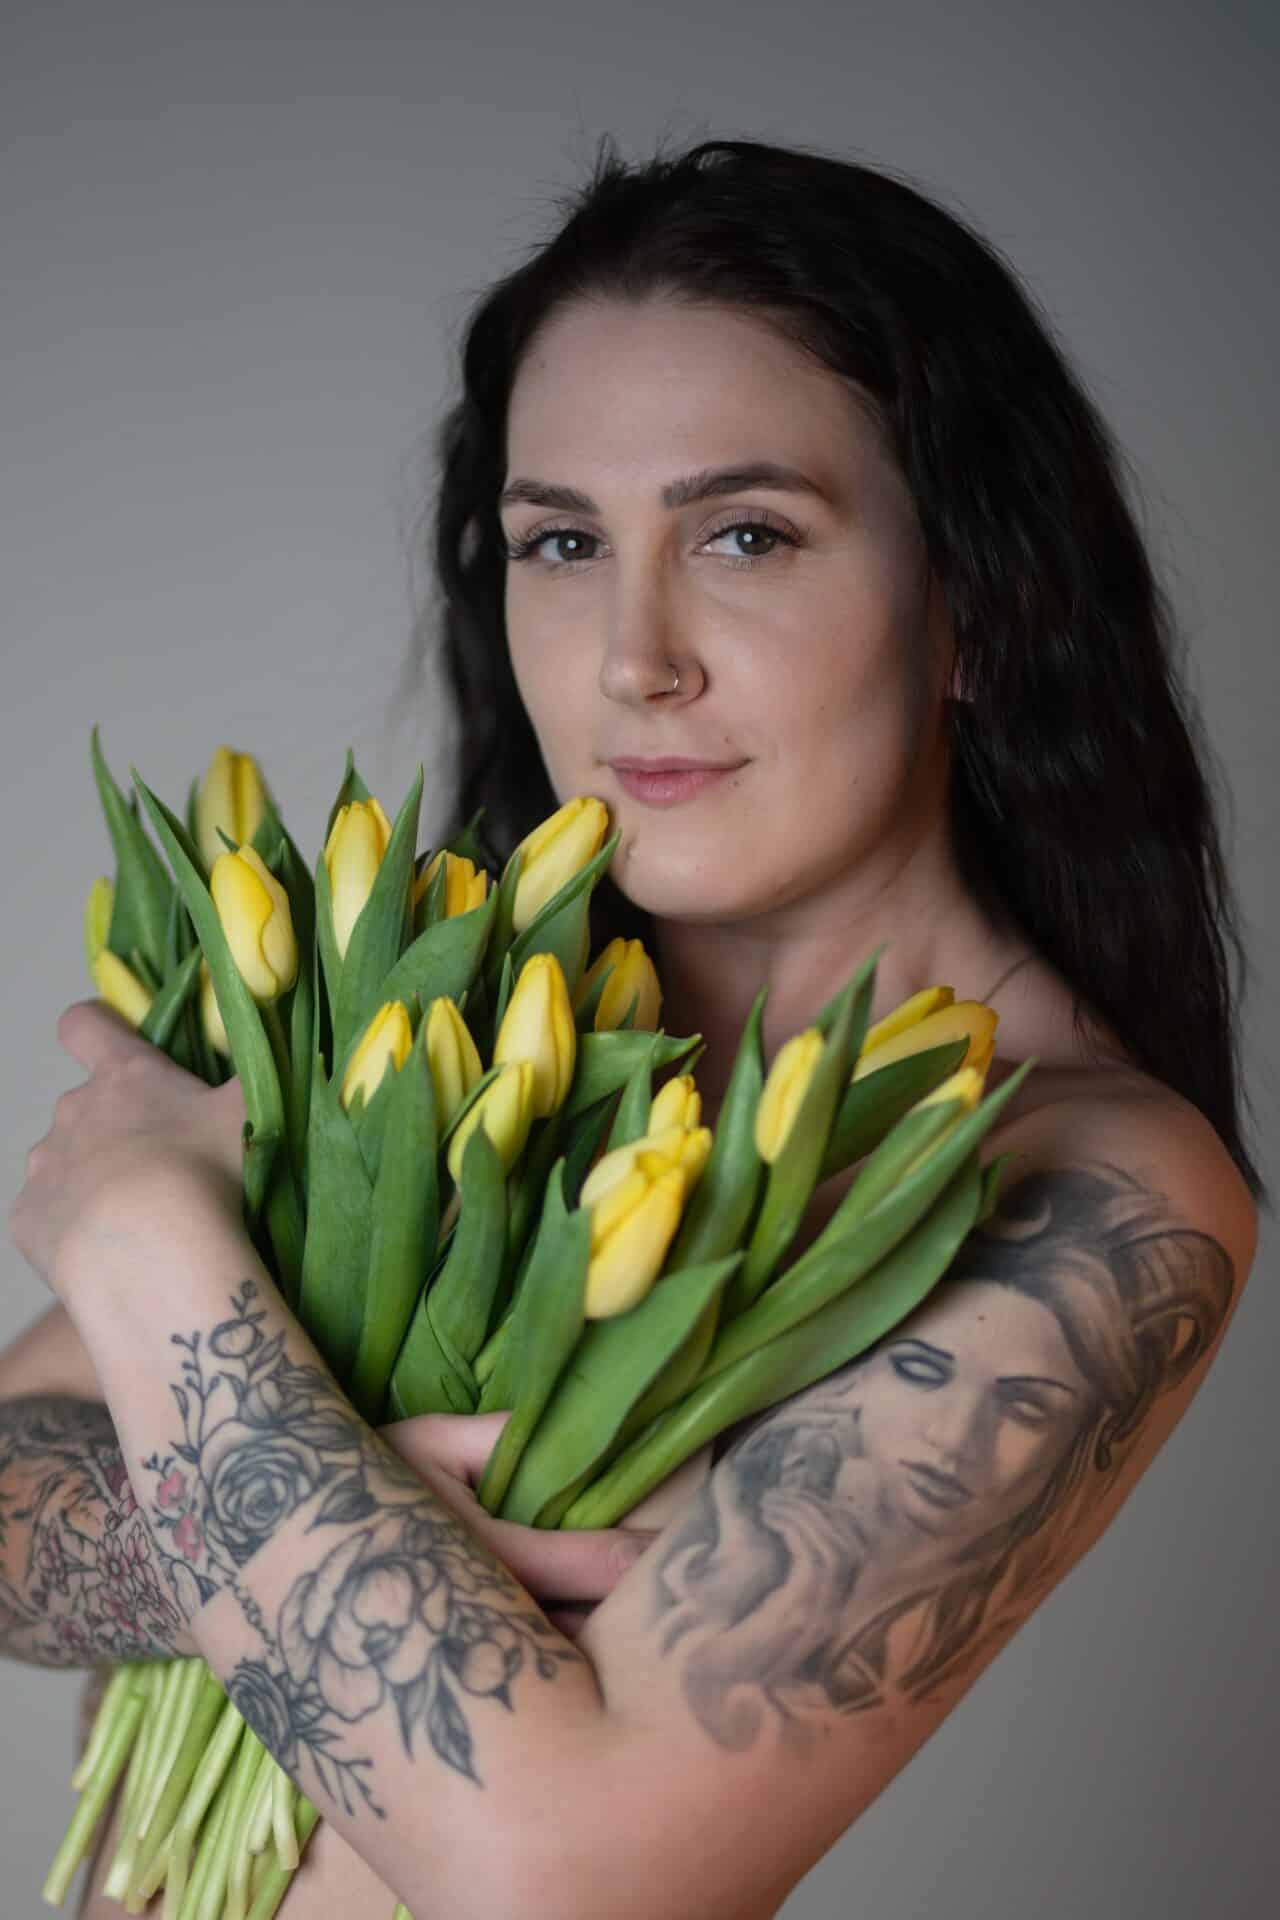
You can also adjust the photo’s color using the Tone Curve, Color Shift, and Shift Primary Colors. I opted for Advanced Color Shift and used the eyedropper to select colors and adjust the shade. Then, all that was left to do was tweak the colors to adjust their saturation and brightness.
First, I used the eyedropper to adjust the skin tone. Then, I adjusted the green of the tulip leaves to make them darker and more pronounced.

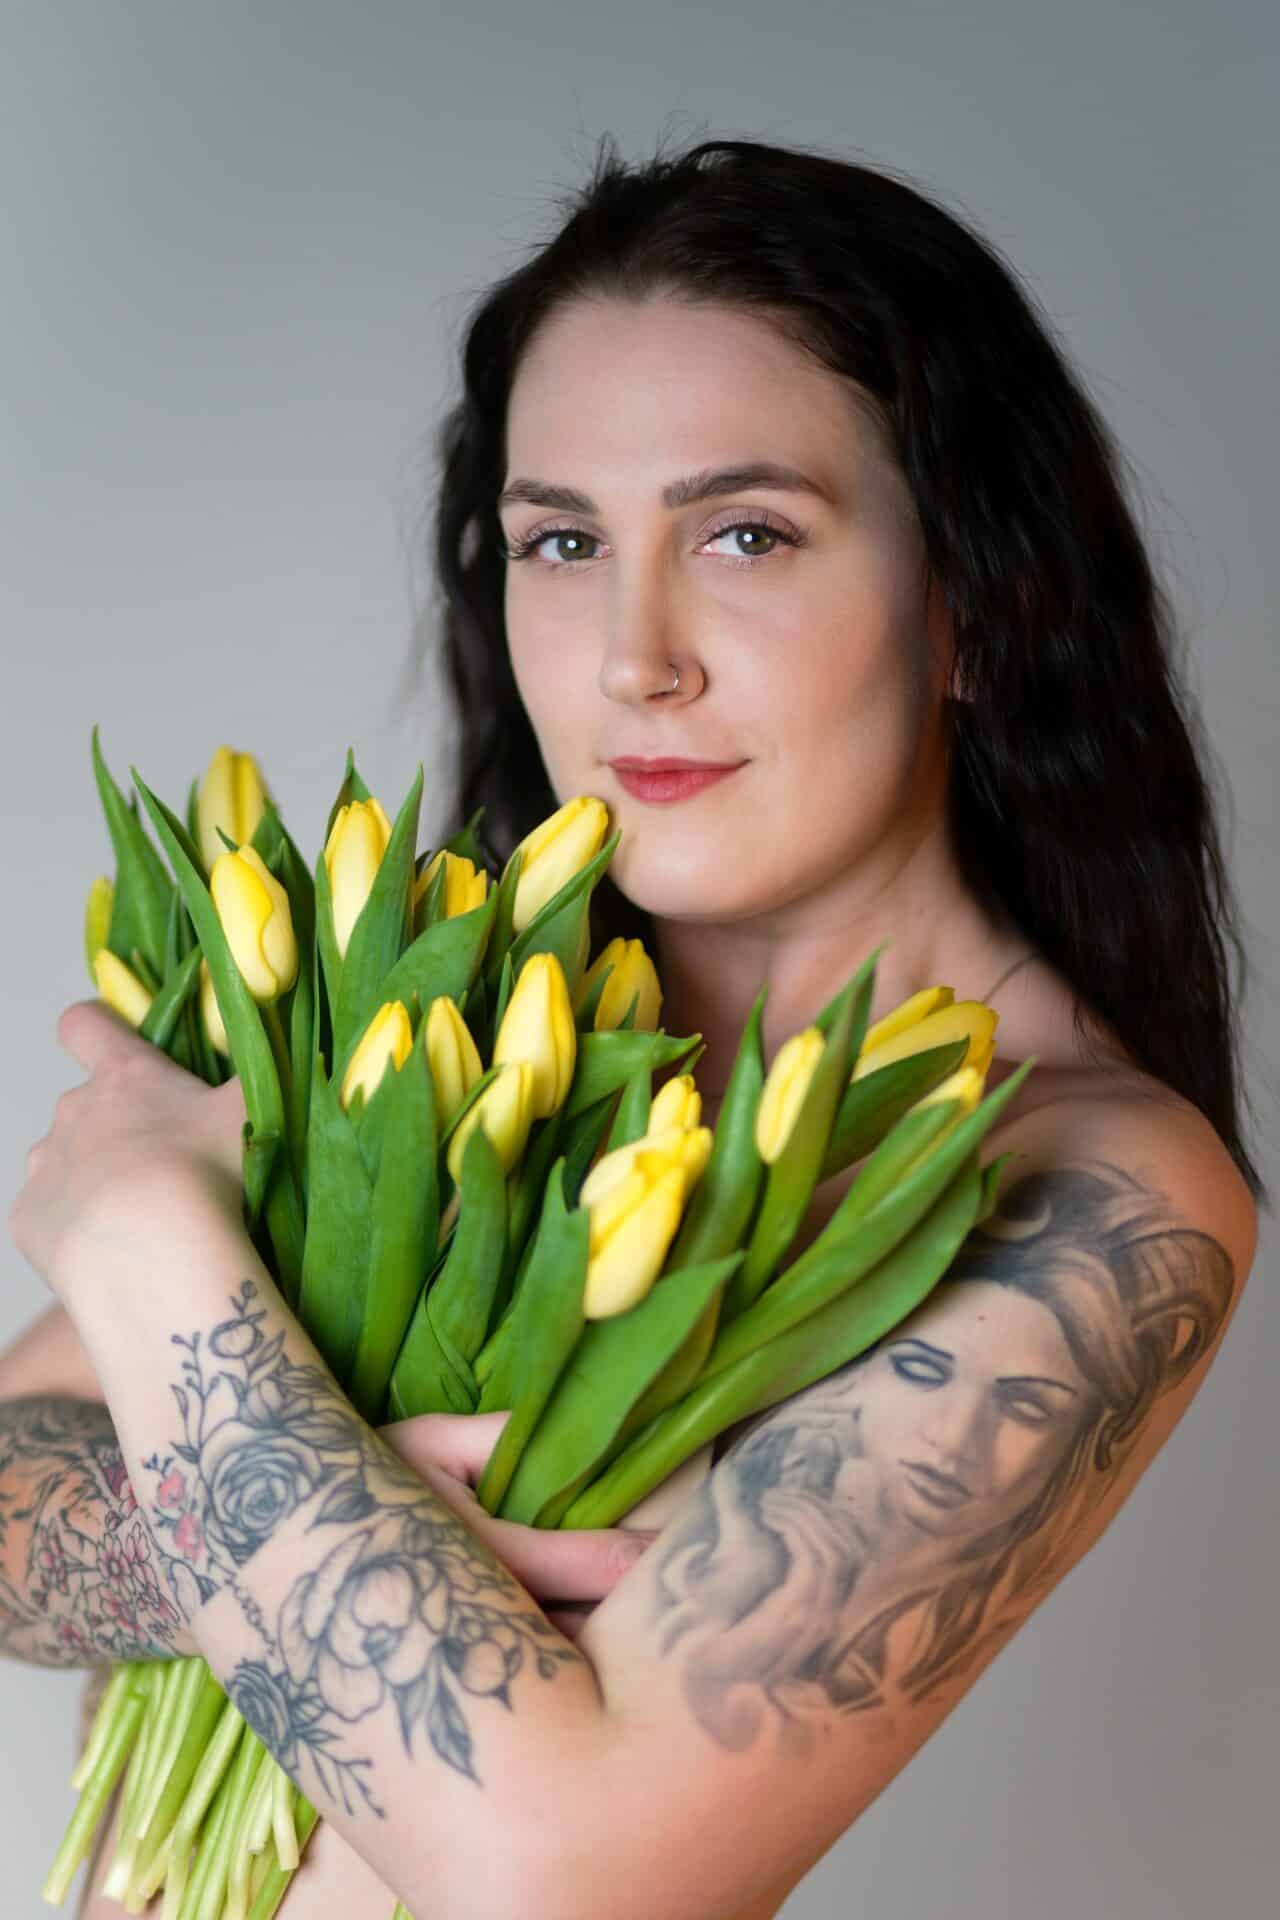
Don’t be afraid to use local adjustments
There are certain things you just can’t do with global adjustment because they affect other parts of the photo that you want to keep. For my photo, I want to emphasize the eyes, which could use some highlighting. The eyes are the be-all and end-all of any portrait and are the first thing everyone notices.
For this type of local adjustment, I use the Filter Brush (B), which allows me to select virtually any shape. I slightly decrease Density and increase Blur to make the selection more subtle in relation to the surroundings.

There are many adjustments and techniques you can use for editing the eyes. You can even change the color of the eyes. But I don’t want to do that. I bring out the eyes by slightly increasing Contrast and adjusting Dynamic Range. Then, I slightly increase Sharpness.

Be careful when using local adjustments for Sharpness and don’t overdo it. This type of adjustment for the eyes can be too much when compared to the surrounding area.

I use local adjustments for the lips to give the photo some color contrast. I mainly use Color Shift for this adjustment to adjust the color of the lips.
I shift the lip color towards pink, increase Saturation, and lower Brightness. Now the lips look like they have lipstick on.
If I were to change the lip color using global adjustments, it would affect the skin tone too with similar shades of pink. It is better to select a specific area using local adjustments.


Keep your masks organized by renaming each mask. This makes navigating the adjustments much easier.
If your model has a toothy smile, you can use local adjustments to whiten the teeth.
Fine-tune any imperfections
Retouching is another important part of editing portraits. Almost every portrait has some blemishes that can be removed with retouching. But it’s entirely up to you whether you want to remove, soften, or leave these blemishes.
Retouching Tools (J), specifically the Healing Brush or Clone Stamp, are useful tools for retouching. For retouching the skin, it’s best to use the Healing Brush because it averages the colors and exposure with the area being retouched, giving you a more natural result.

Make retouching easier with Seek source region automatically. After enabling this option, Zoner Studio automatically finds a spot similar to the one you’re retouching and copies the color and texture from it.
Another important tool you are sure to use when editing portraits is the Smoothing Brush(U). The Smoothing Brush is perfect for reducing wrinkles. Select wrinkles and fine lines with the brush and use the Intensity and Detail preservation sliders to control how pronounced the adjustment will be.

Cleaner background using Vignetting
Adding Vignetting to your photos is not exactly trendy these days, so it may seem like an unnecessary tool. You don’t need to add Vignetting to bring out the center of the photo. It can help you quickly adjust the background behind the portrait.
Vignetting comes in handy if you’re shooting a portrait with a white background. Very often the background has shadows in the corner of the photos. It looks like the photo has black vignetting. But you can reduce this by doing the exact opposite and adding white vignetting.
Vignetting can also be caused by your lens. Before editing your photo, you can reduce vignetting using the Camera and Lens (M) function

Find Effects at the bottom of the right side panel, and then Vignetting below that. Choose from:
- The Exposure method: creates the vignetting effect by changing exposure values.
- The Color method: creates vignetting by adding white or black.
The extent to which the vignetting appears is customized to your needs using Radius, Rounding, and Feather.
Of course, you can also use Noise Reduction or Add Grain. Or, try converting your portrait to black and white.
The options for editing portraits are endless. Download Zoner Studio free for 7 days with access to all functions. See all you can do with your portraits!
There are no comments yet.