Using the Develop Module vs. the Editor Module

Thanks to your valuable feedback, we here at Zoner Studio are learning how Zoner Studio users edit their photos. However, from time to time, there are situations when “The left hand doesn’t know what the right hand is doing.” In other words, users are using an overly complicated tool to edit their photos. This is usually due to a wrong choice between the Develop or Editor module. While both modules are used for photo editing, each works in a completely different way. In this article, we’ll go over some typical examples of when it’s better to use one module over the other.
Image format matters first and foremost
Simply put, Zoner Studio is designed to use the Develop module for editing RAW images and the Editor module for all other image formats. Generally, this is how it’s done. However, it’s not always that simple. The majority of image formats can be edited in both modules and for good reason.
If we follow this rule of thumb, then it is ALWAYS better to edit RAW images in Develop. Even though RAW images can be opened in the Editor, it results in a significant loss of data and you don’t use the potential dynamic range potential. RAW files in the Editor are converted to destructive file formats so the results are similar to working with JPG files.
Editing RAW images in Develop lets you get much more from your images
Next – What is your goal
So if RAW image formats belong in Develop, therefore JPGs belong in the Editor? Not exactly.
It’s important to understand how each module works. The Develop module is for non-destructive editing and the adjustments you make are saved to a supplementary file. You have to export the file at the end. On the other hand, the Editor module works with the photo directly. When you are done, just save the file, overwriting the original data. But, what does this all mean?
If you have files that you want to edit so that new files are created, leaving the original data untouched, it’s better to use Develop. A typical example is RAW images which can’t be edited any other way, as we already discussed.
However, this can also apply to JPG images if you have already shot them in JPG or if they are already edited but you still need to tweak them.
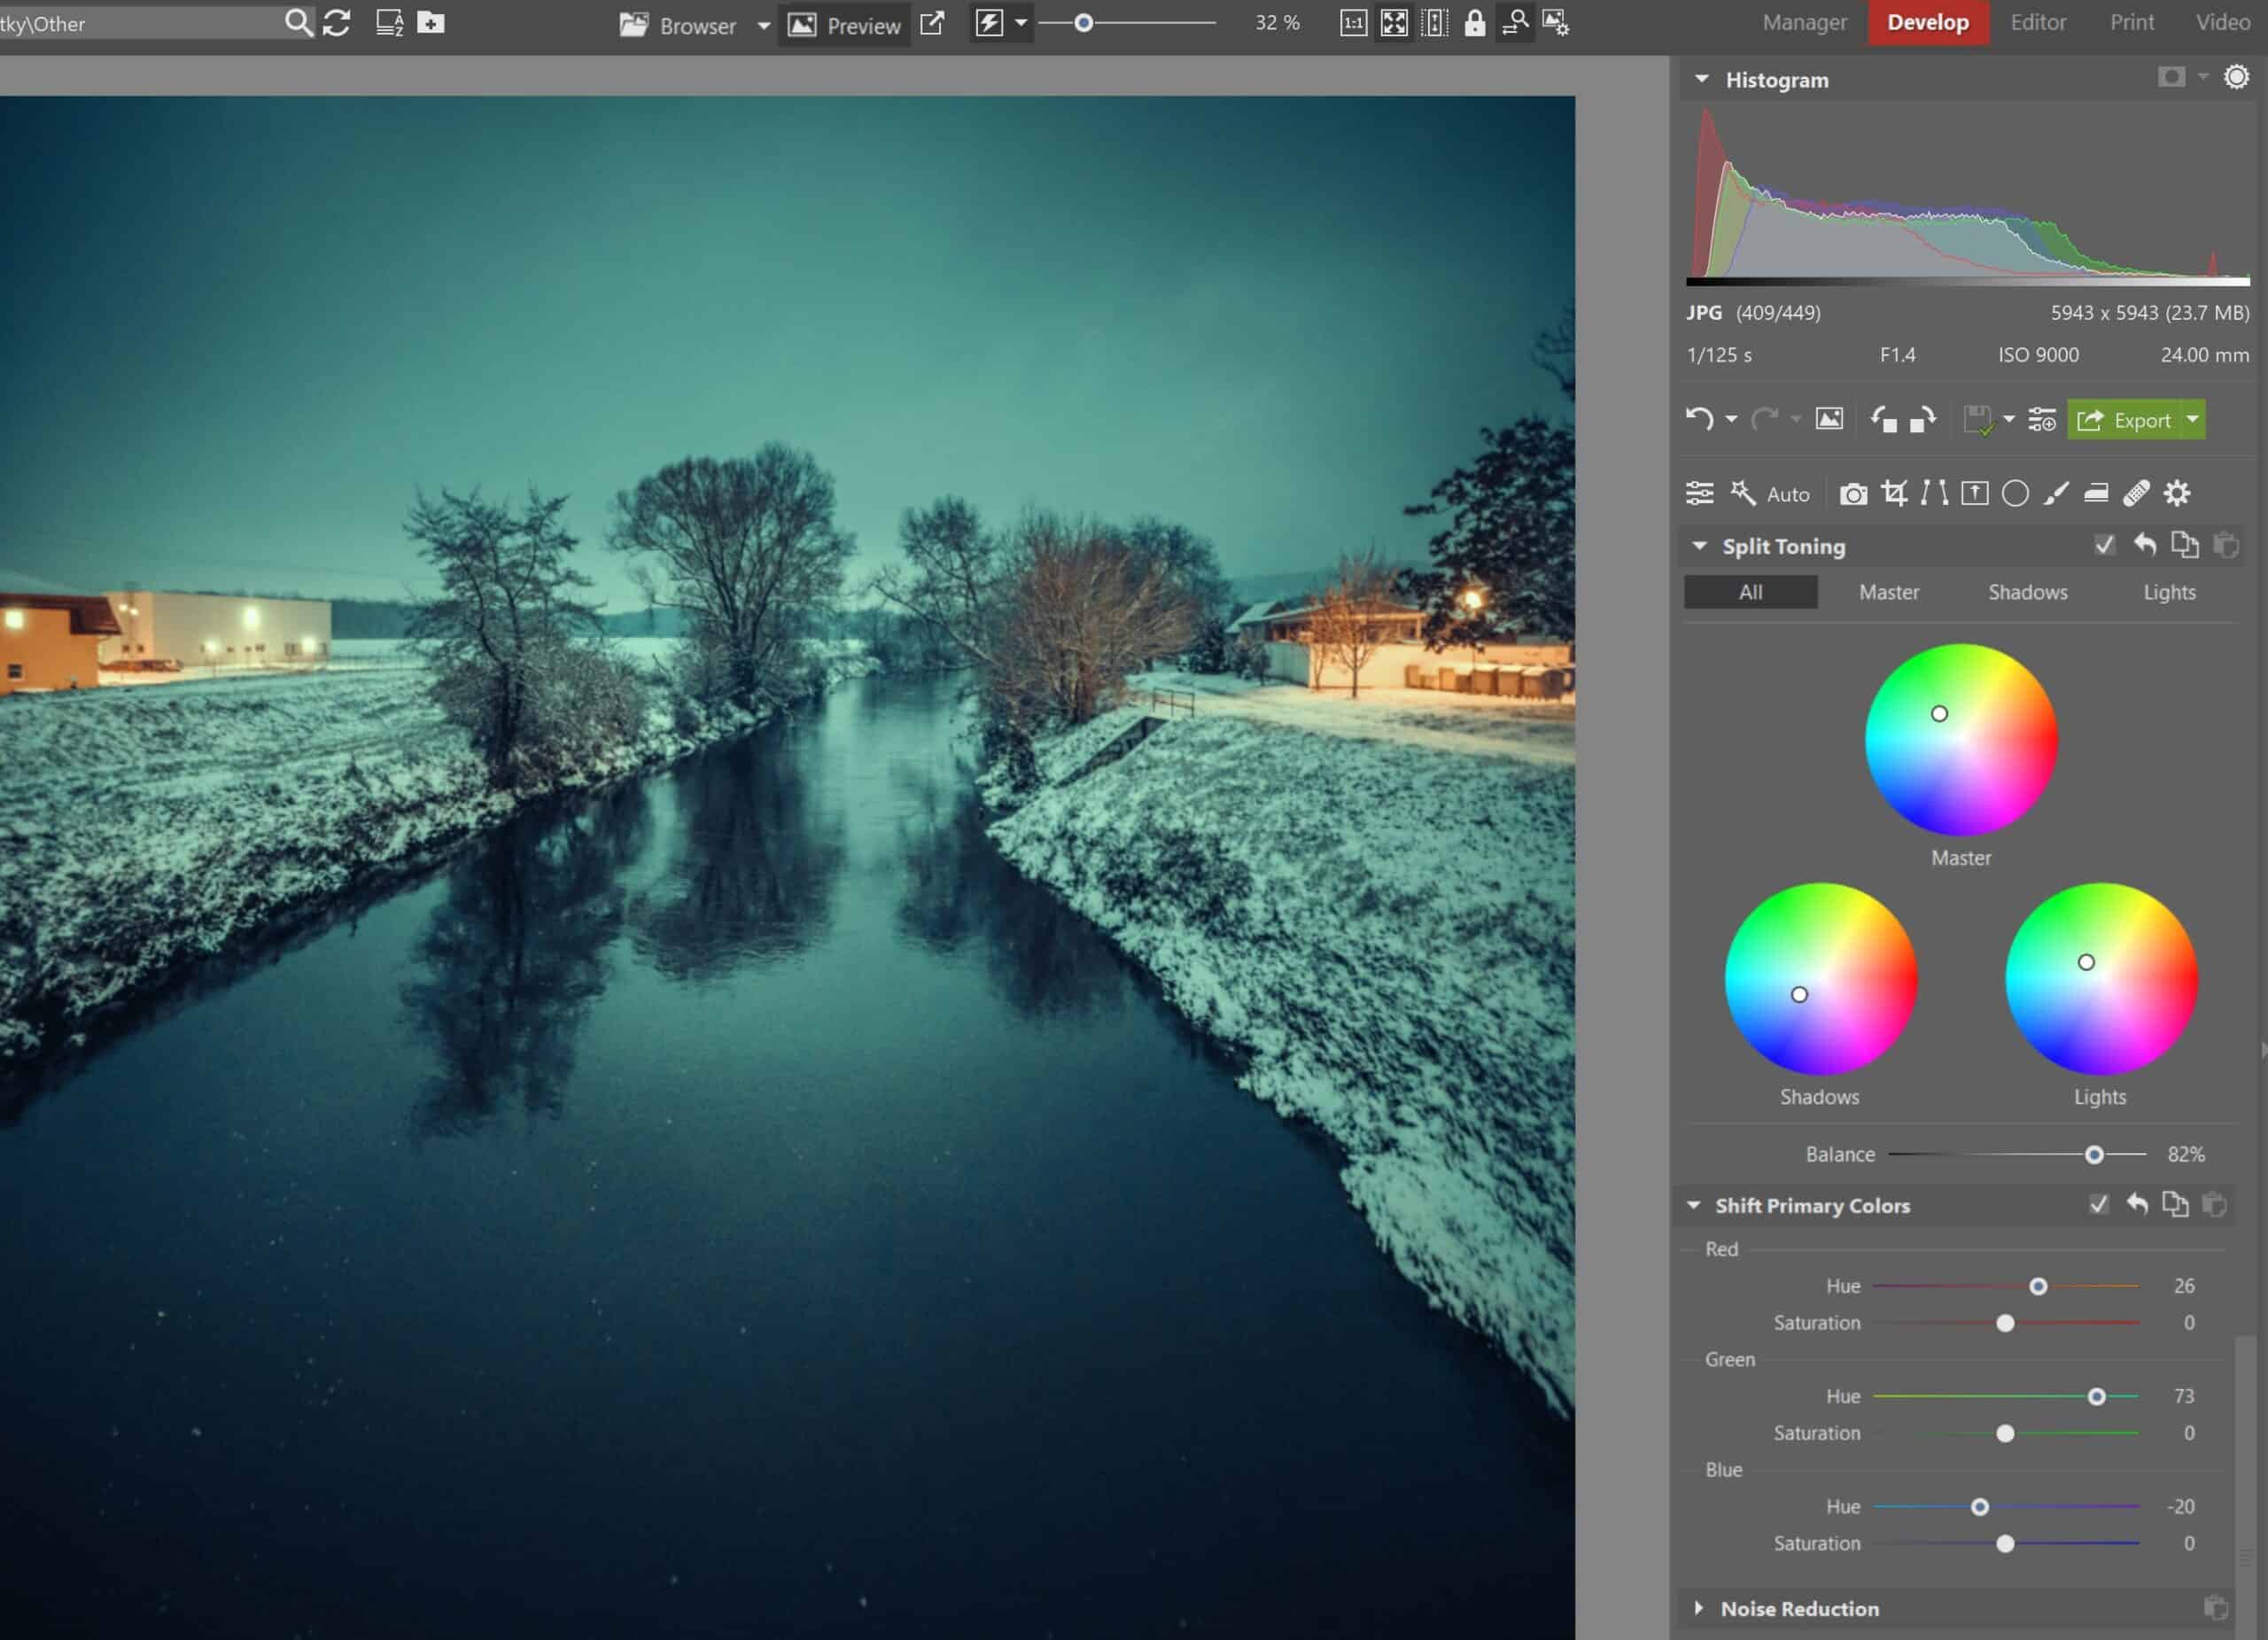
Color filters and presets
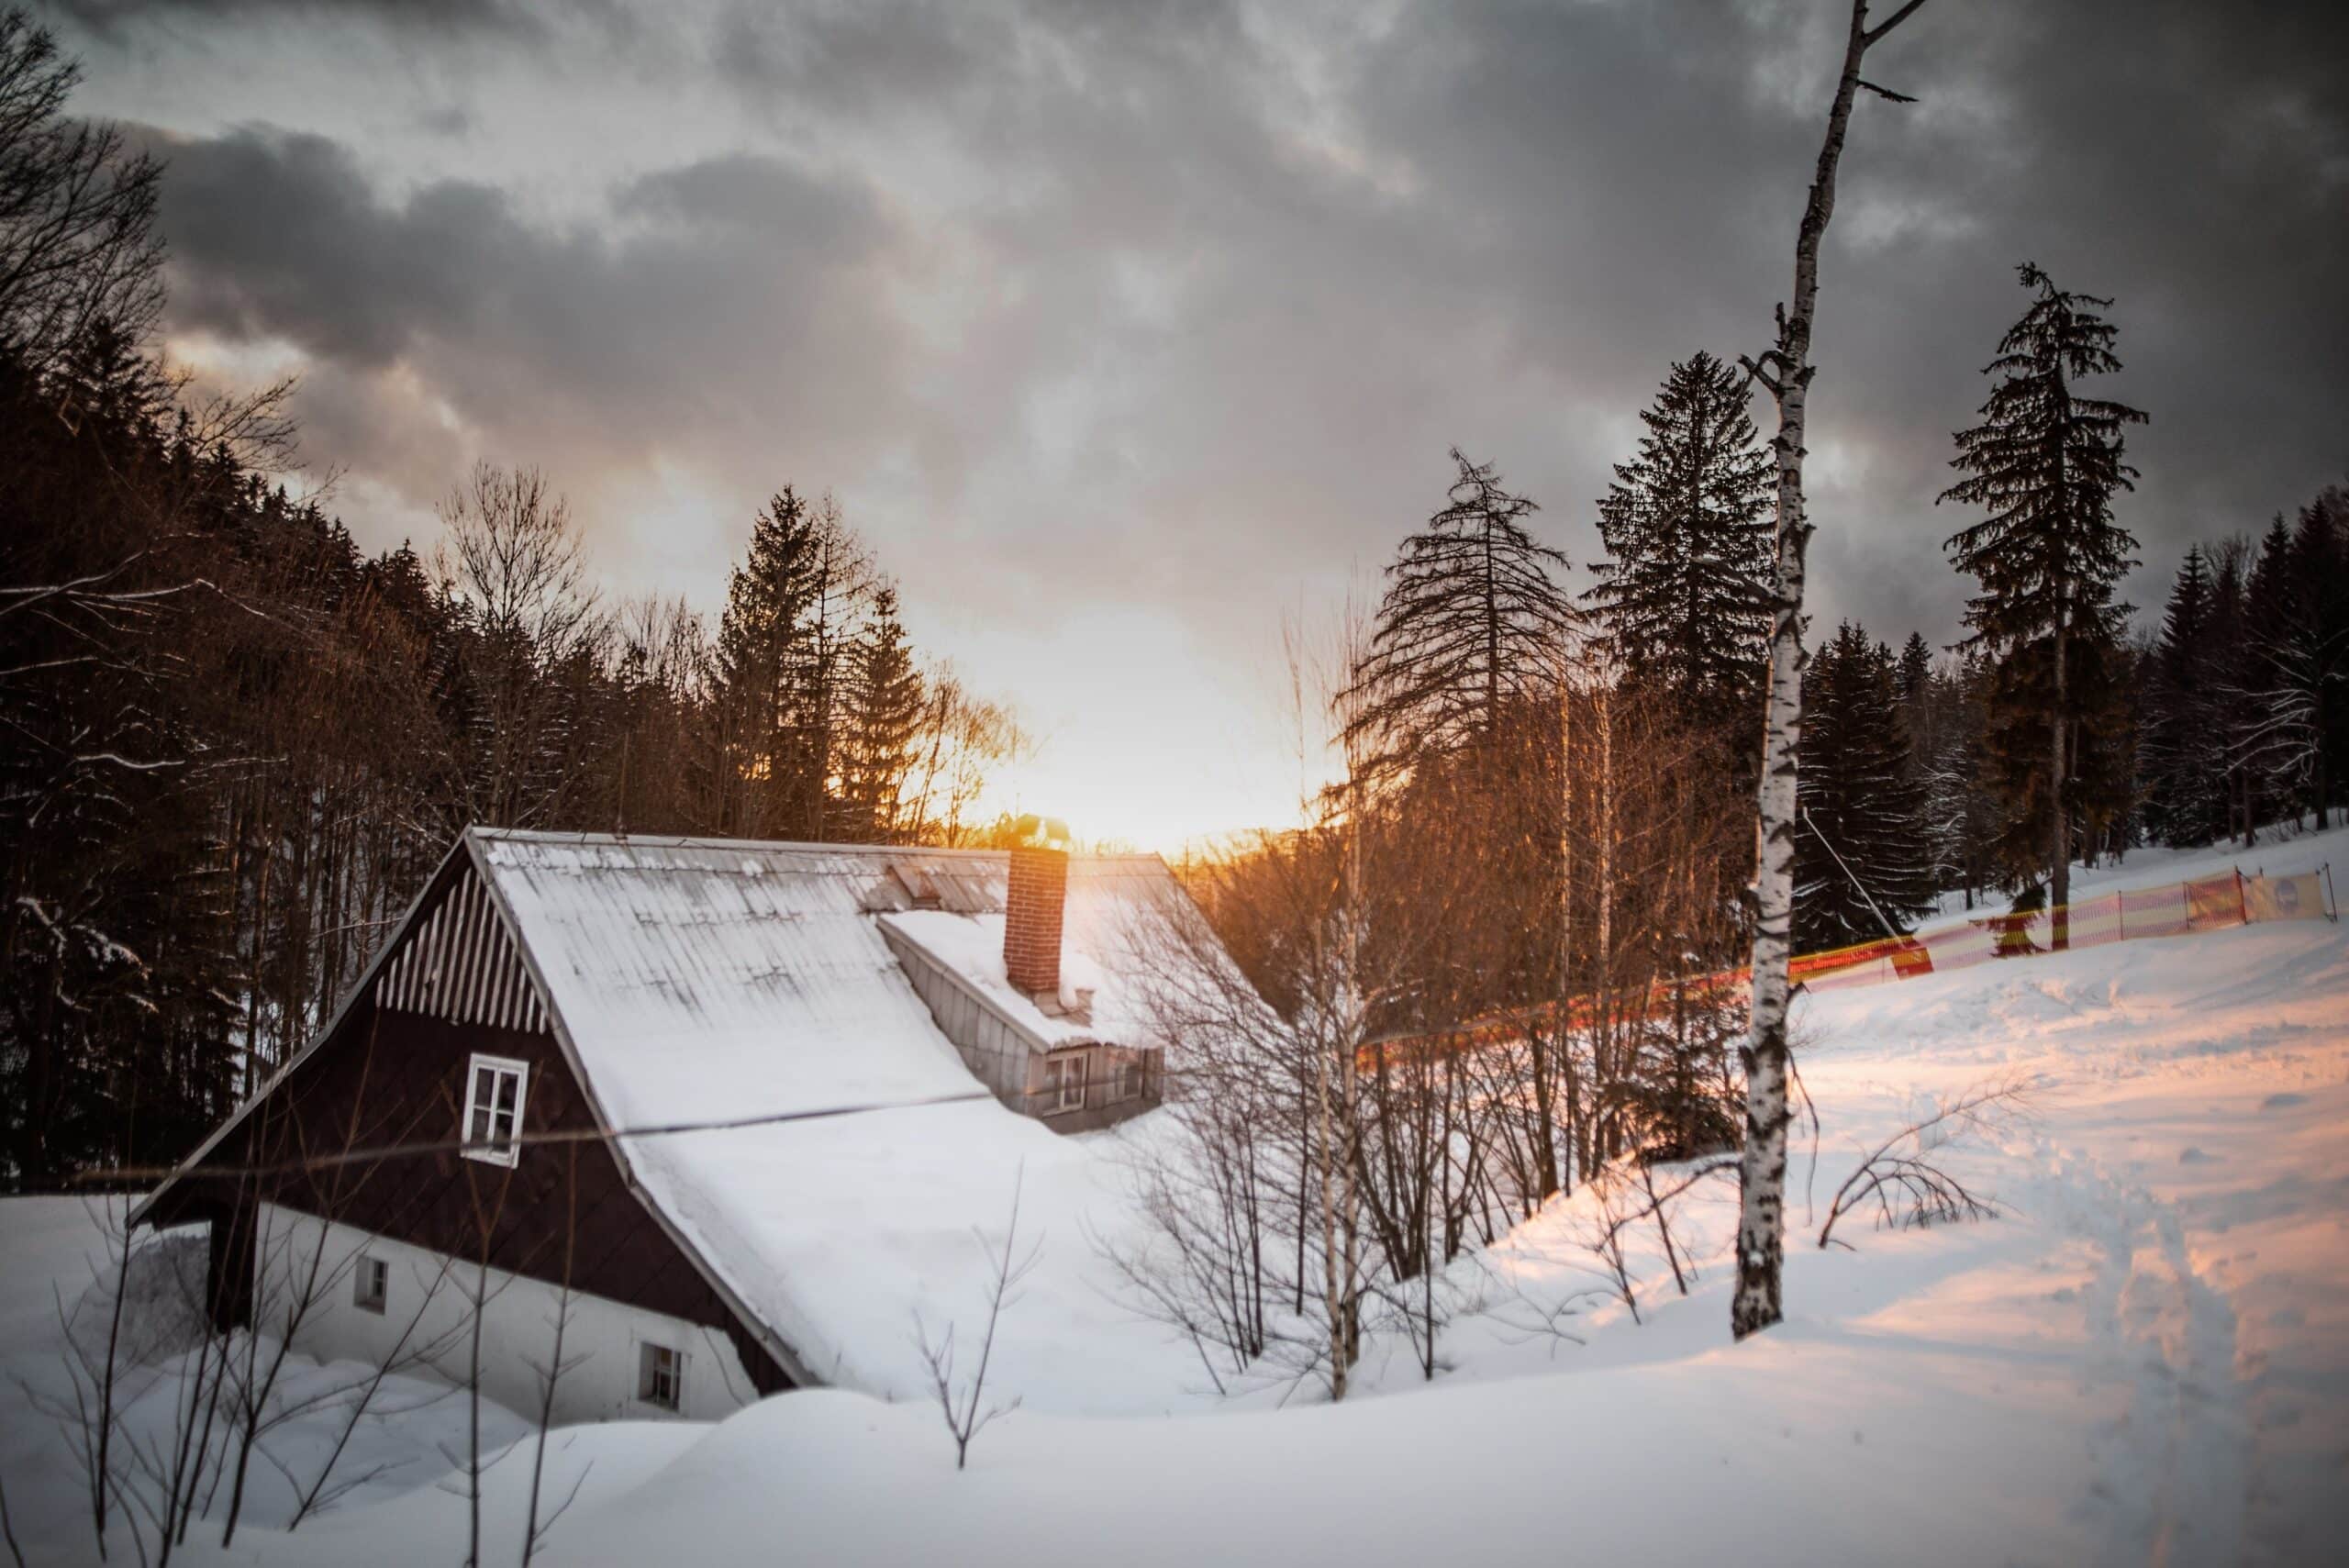
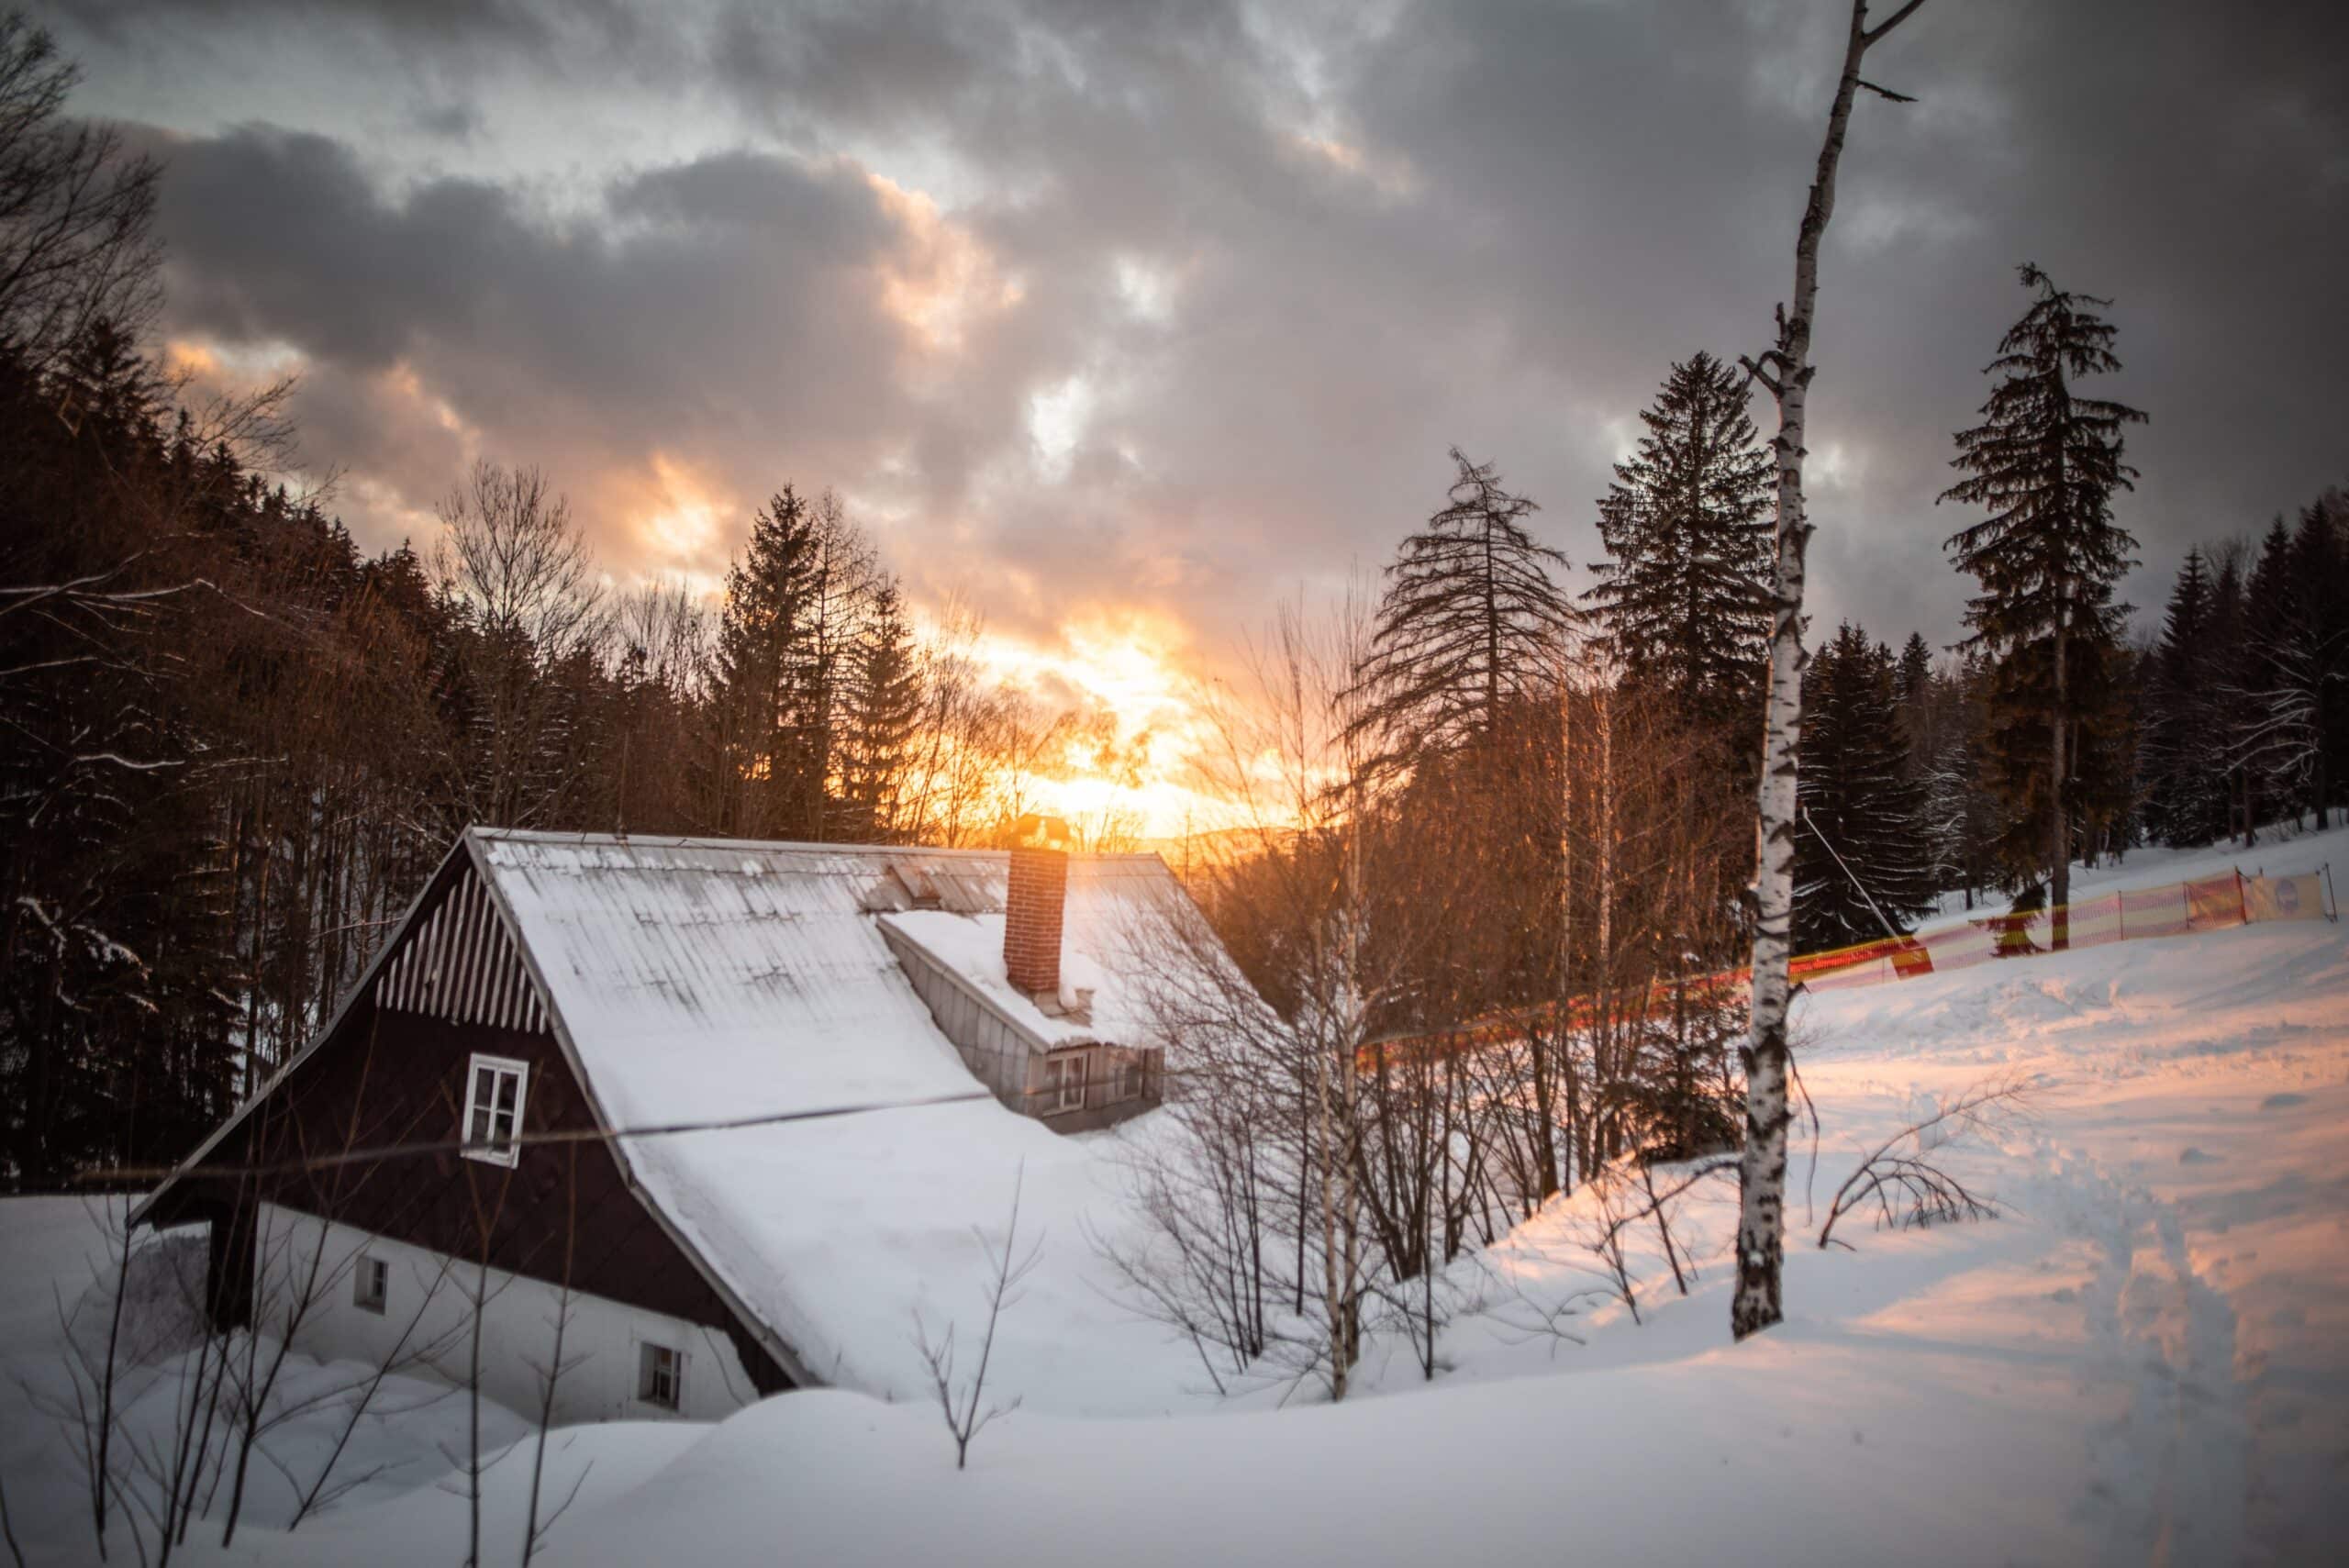
To give your photos a consistent color look, the Develop module is a much better choice. Quickly and easily use it to create a distinctive style using Presets or color tools. This can easily be done to all photos in a folder at once.
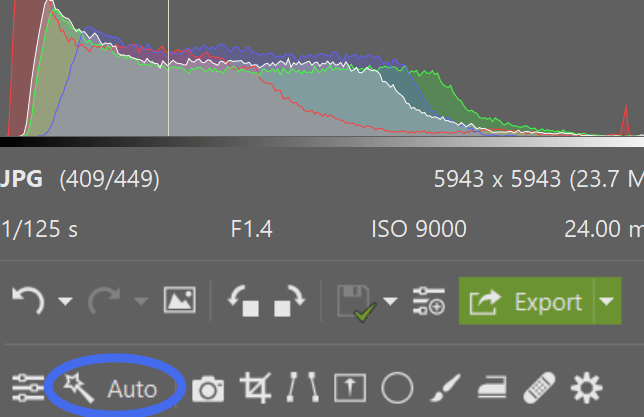
Automatic adjustments
Both the Develop and Editor modules have an Automatic enhancement button, but it works completely differently in each module. In the Editor module, you’ll notice only a small change when you click it, while in Develop, it’s a much more sophisticated tool that works intelligently with photos and affects multiple tools at one time.
Therefore, we highly recommend using Develop when working with automatic adjustments.
Retouching
It’s difficult to say which module is better for retouching because it depends on each user’s preferences. Most users encounter one of two typical scenarios.
- You are editing photos in Develop and occasionally something needs to be retouched. In this case, it doesn’t make sense to wait for retouching in the Editor because it would only waste time. You want to use the Develop module.
- If you have already exported your edited photos and you notice that there is a blemish that needs to be removed, it is faster to open the Editor. Do the retouching, confirm the changes before exiting, and you’re done. Opening the file in Develop and creating a new export would slow you down. In this case, it’s better to use the Editor.
You certainly can’t decide between the two modules based on the difficulty of retouching. You can do complex and advanced retouching in both Develop and the Editor. The advantage of Develop lies in the non-destructive editing while the advantage of the Editor is the option to arrange your photo in layers and be more efficient when using a larger number of strokes.

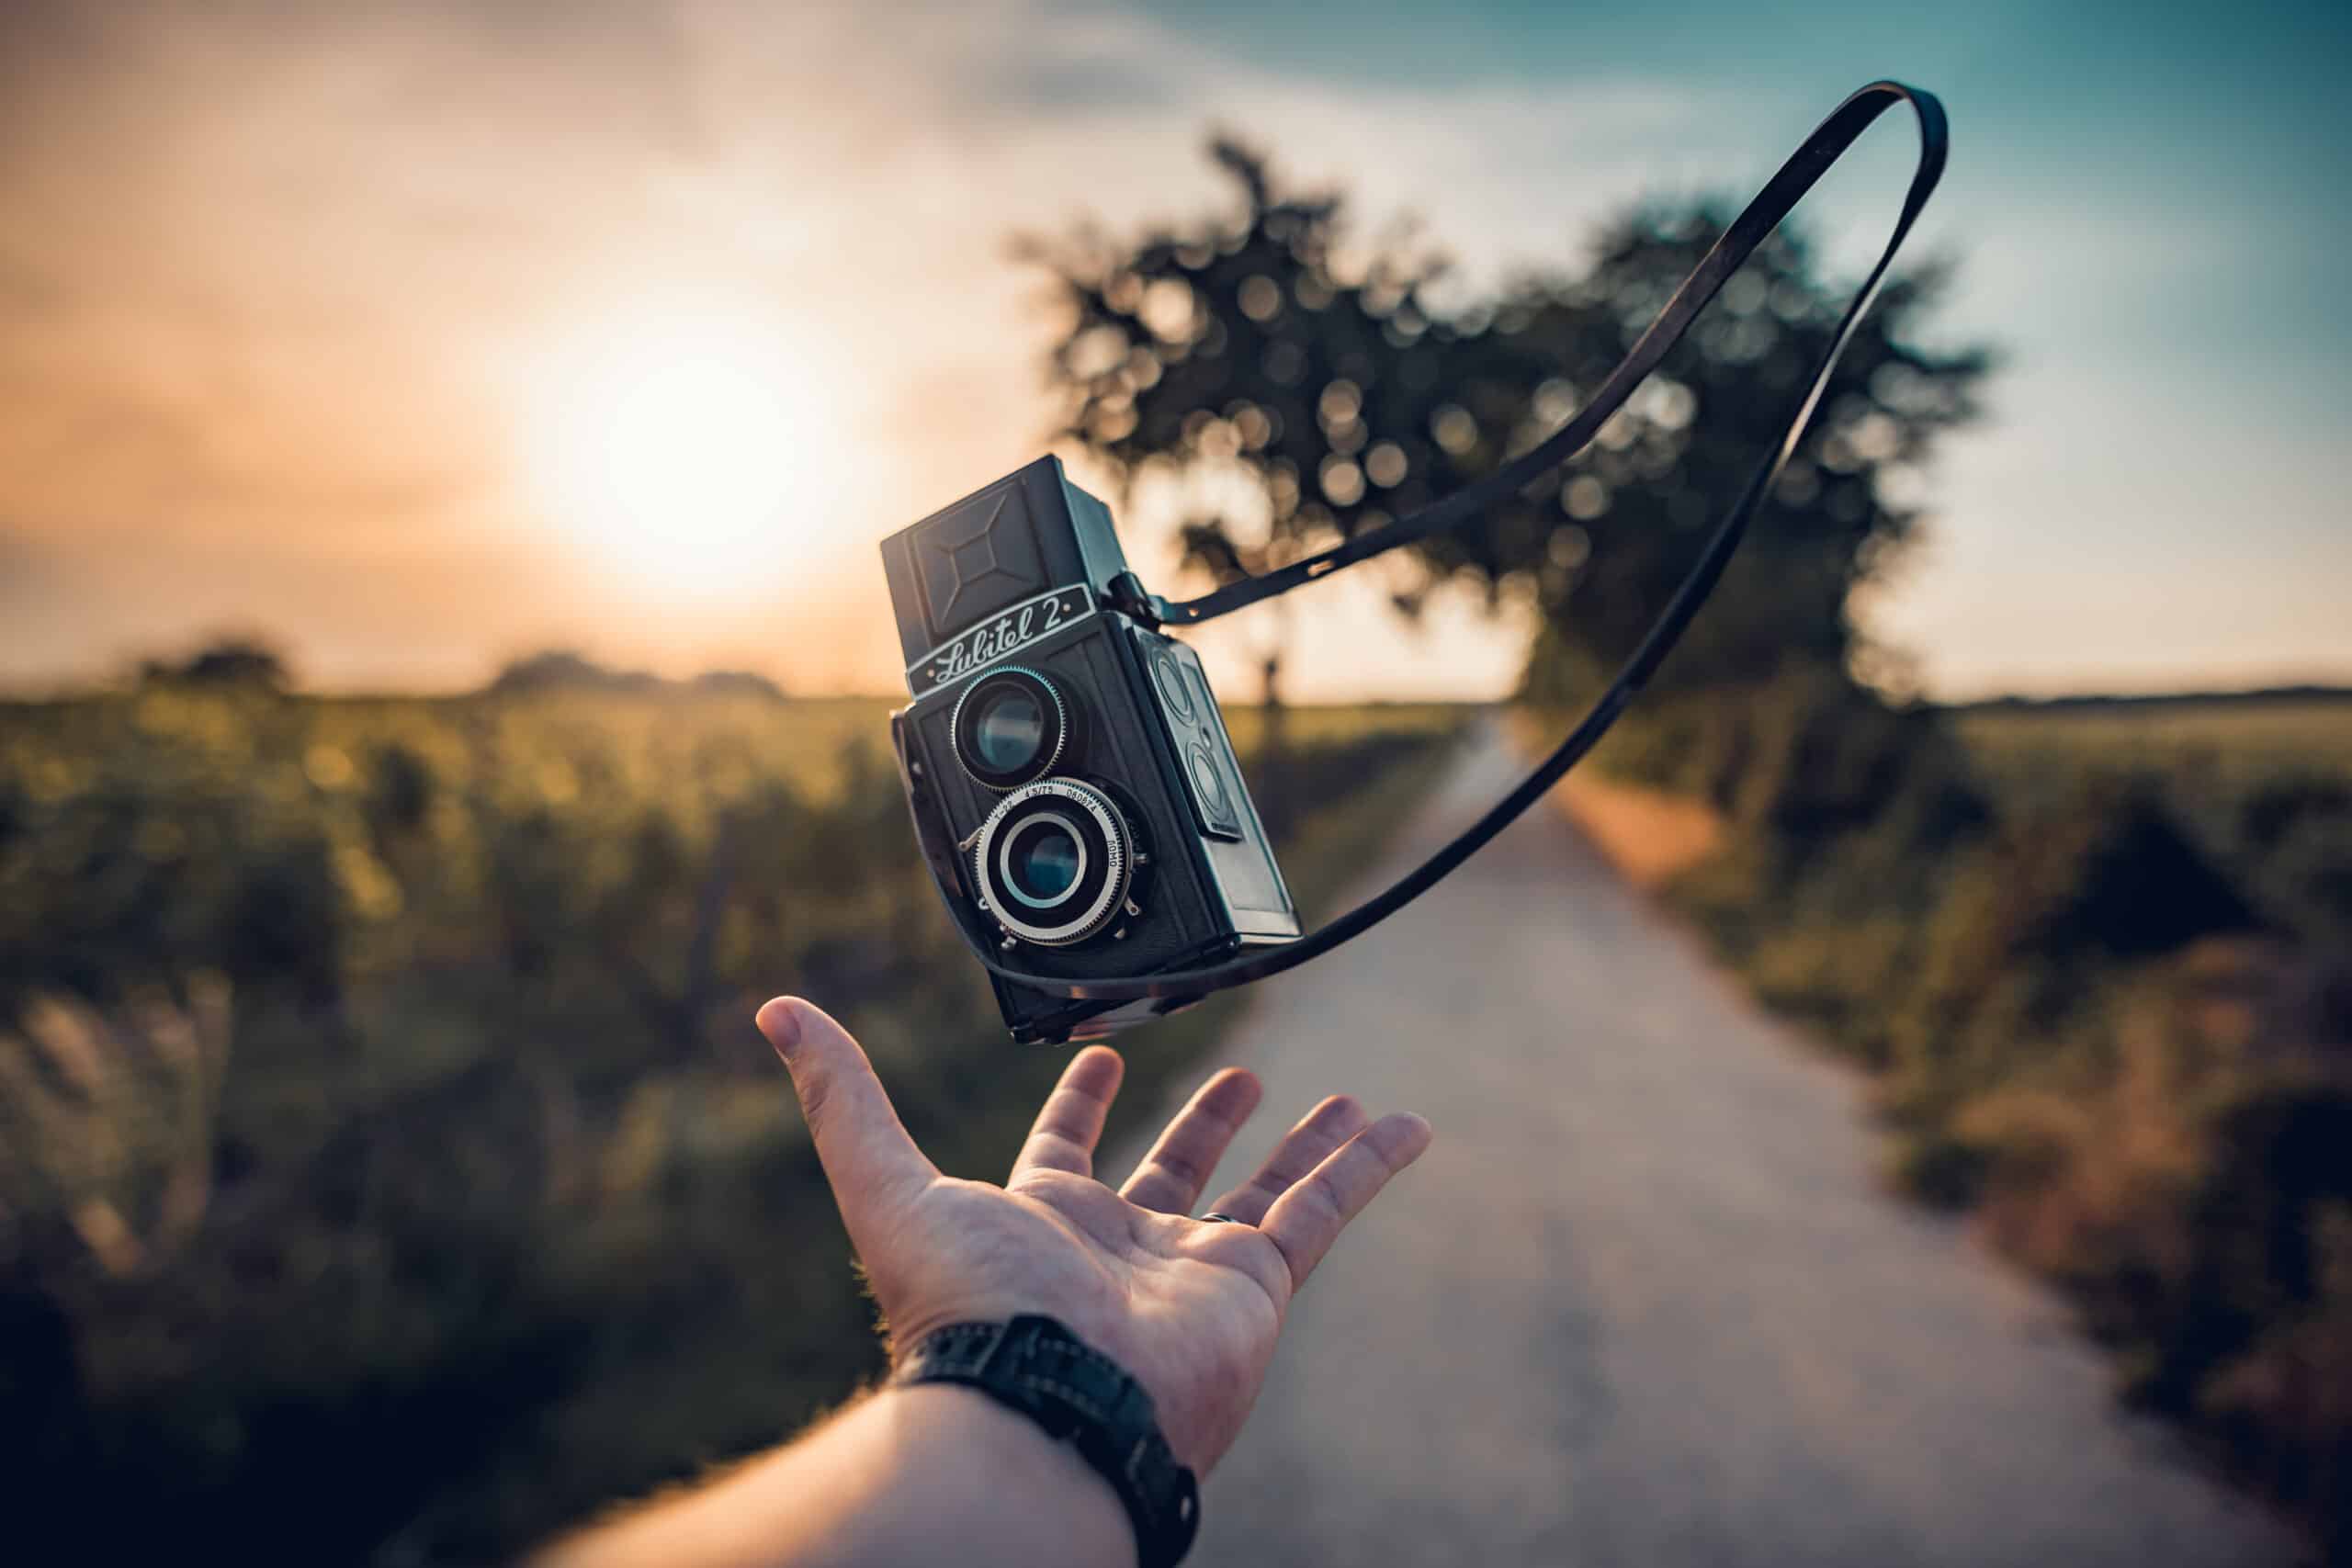
Nikon Z6II, Nikon 50 mm f/1,4 AF-S NIKKOR G, 1/200 s, f/4.5, ISO 100, ohnisko 50 mm.
Photo montage
The main advantage of the Editor is working with layers. If you need to insert something into your photo, the Editor is a clear choice.
Checking before and after
It’s worth mentioning one more interesting observation. It seems both modules have this in common, but the truth is, each is quite different.
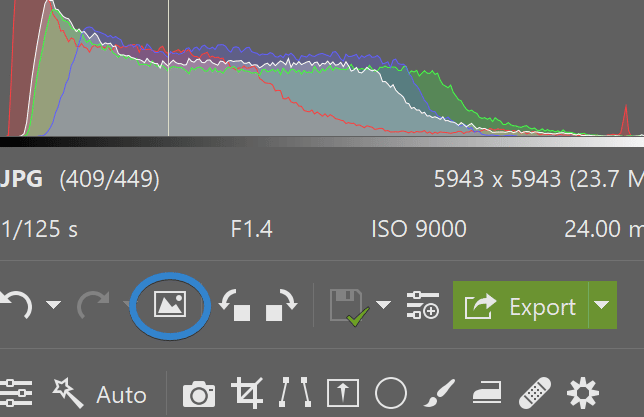
The Show Original (/) icon in Develop will actually show you what the photo looked like before editing. In the Editor, the icon is in the same place, but it’s only enabled if you’re making an adjustment that you haven’t applied yet. Once you apply changes, the icon is once again inactive.
For this reason, when editing in the Editor and using layers, we recommend duplicating the original layer right away. Then turn off visibility. If you move that layer all the way up you can check the unedited version by clicking the visibility of this unedited layer.
Which module is better?
Each module has its purpose and it’s best to be able to use both.
Download Zoner Studio free for 7 days and compare for yourself. Maybe you can even see how your images would look in black and white.
There are no comments yet.