Retouching Problematic Skin
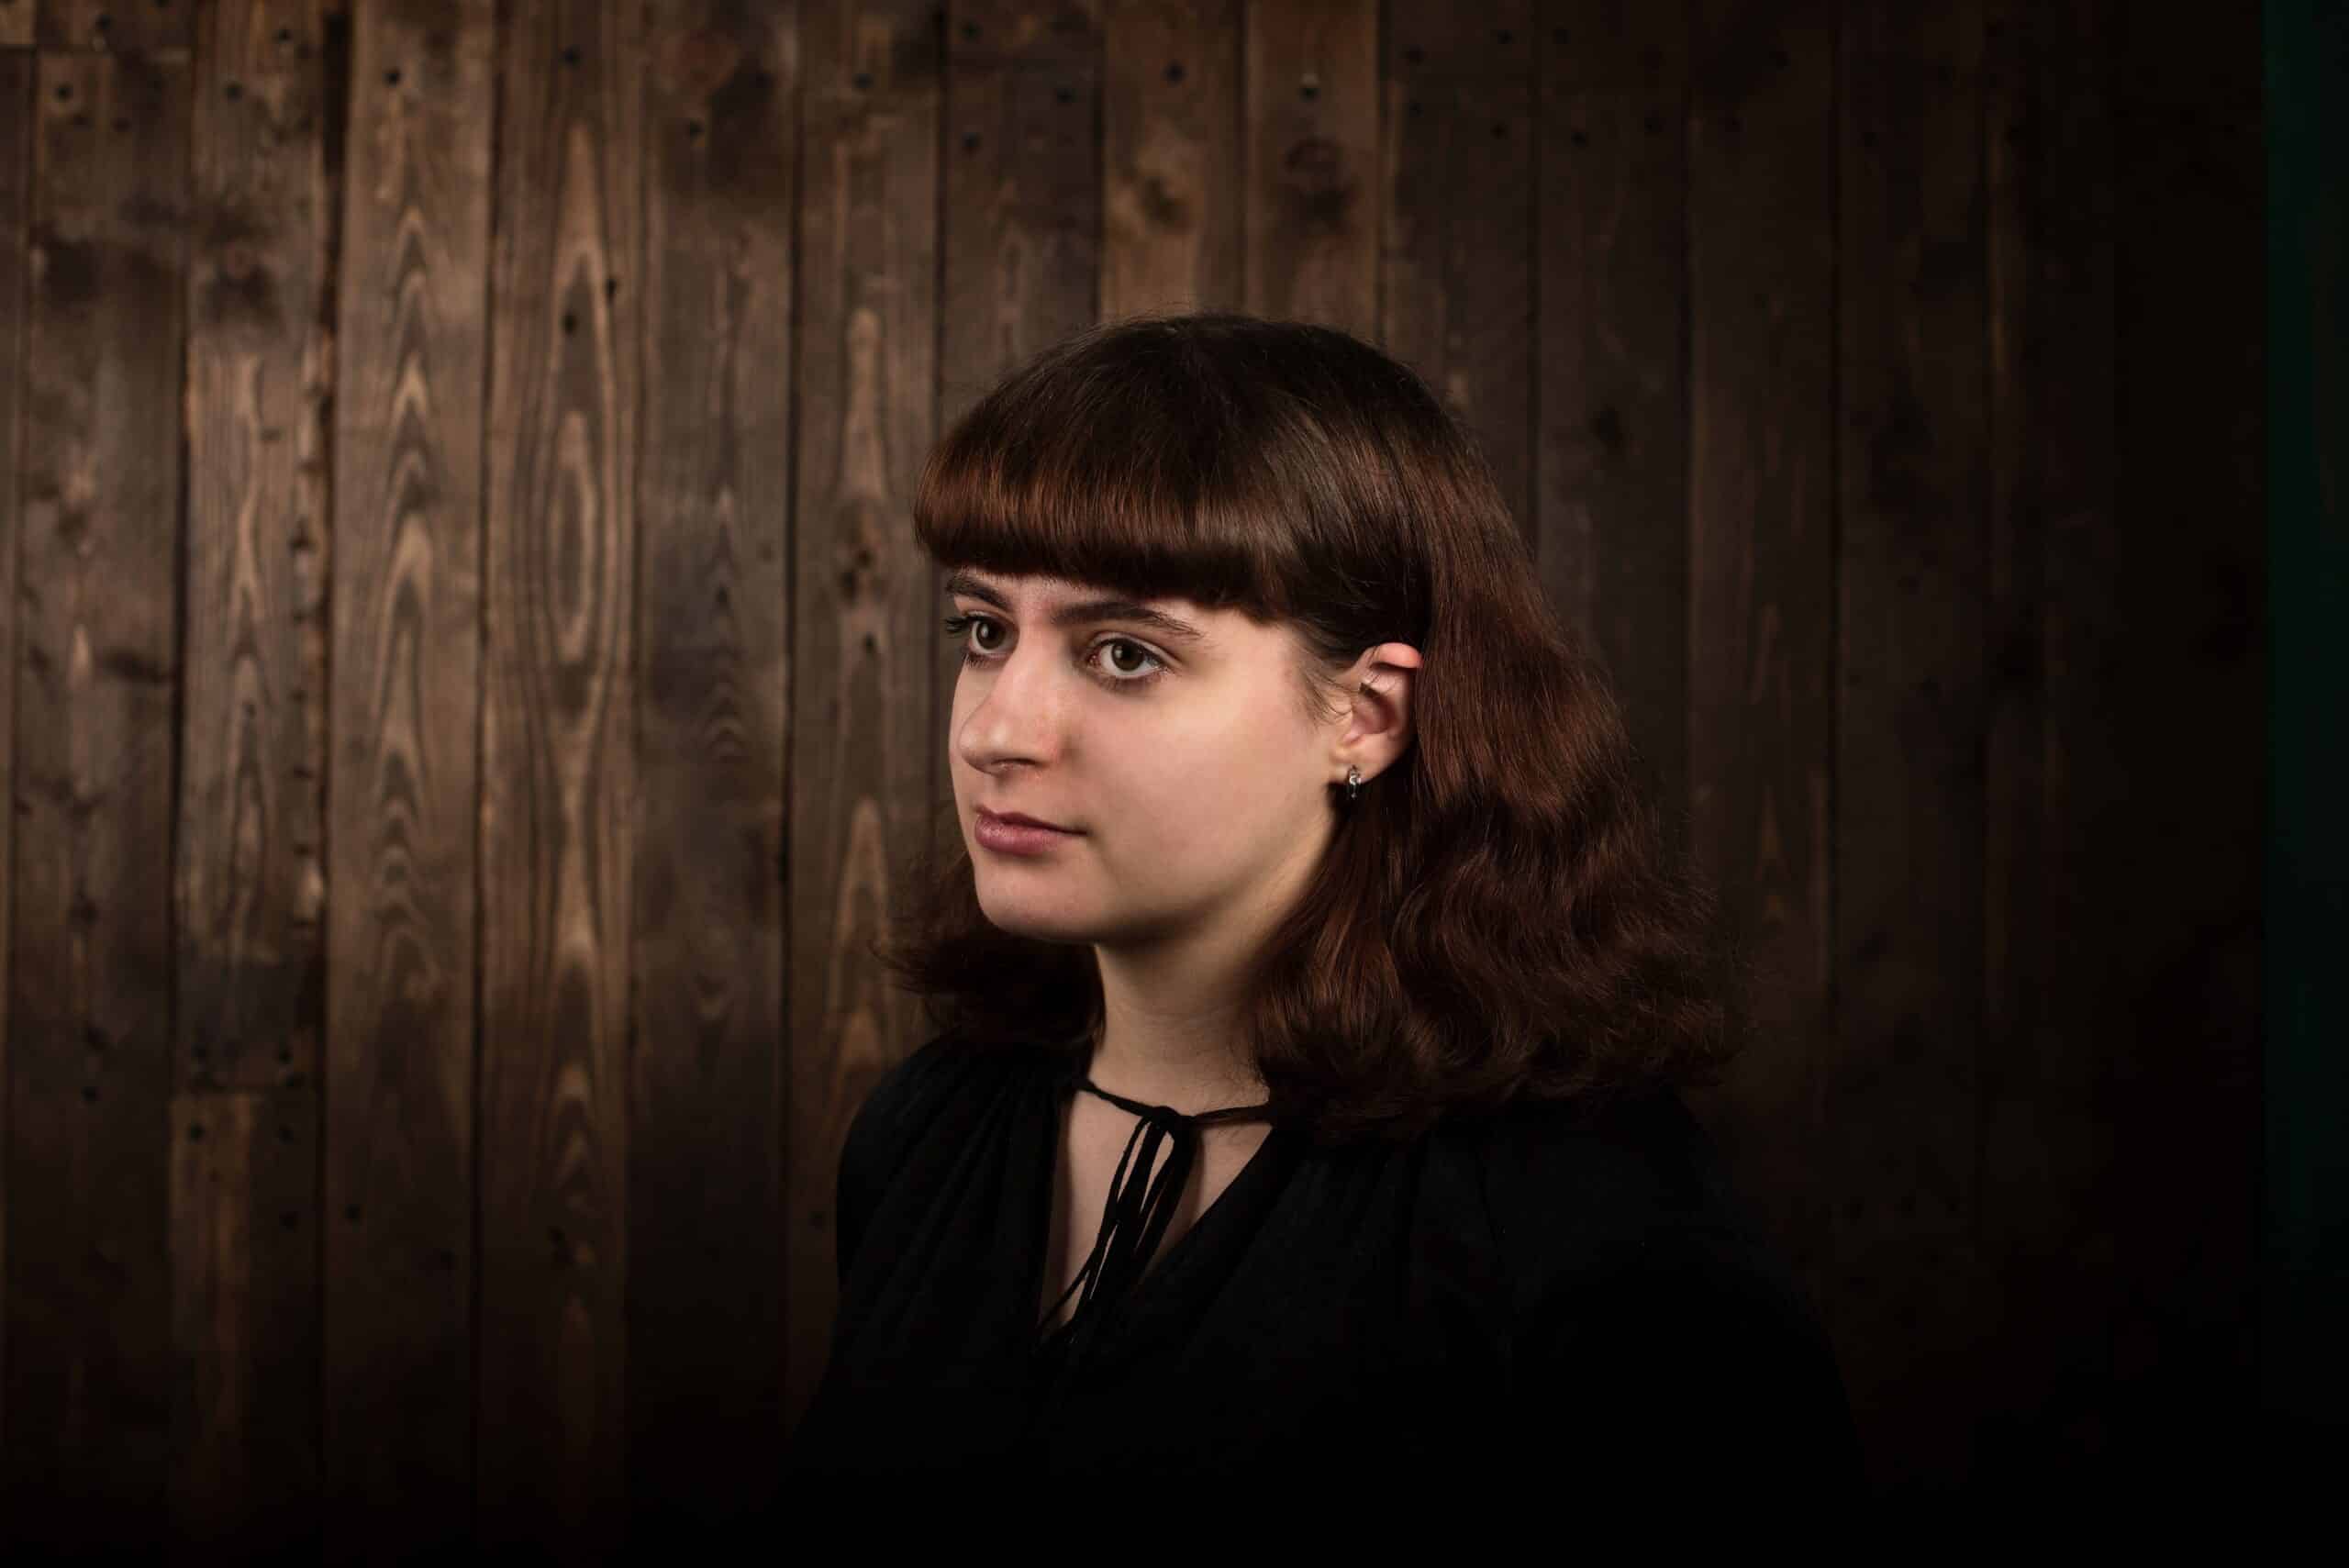
Not every model you photograph will have perfect skin and you might need to do some editing to problematic skin. Let’s take a look at retouching skin blemishes in Zoner Photo Studio X while keeping the complexion natural-looking. After all, we want to maintain the skin’s natural texture and not turn our subject into a wax figure.
Lighting and makeup
Before we dive into the specifics of retouching, let’s briefly review the importance of using proper lighting when shooting portraits. You already know that if you light your model from the front, you’ll help conceal many imperfections. Lighting helps us conceal or reveal certain things. Keep this in mind and don’t overly light a model with problematic skin from the side. Try lighting your model from the front.
Discuss if you want to apply at least some foundation or makeup with the model. This will make your job easier and your model will feel better too. If they refuse to have their picture taken with makeup because it irritates their skin or they simply don‘t want to, don’t force them. Makeup can also be used by male models; the concept is the same. Today’s retouching demonstration is done on a female model with no makeup.
Start with the Develop module
Start by using the Smoothing Brush (U) in the Develop module. This is where the first rule of thumb comes in: don’t overdo the smoothing. If you set a high intensity, you’ll get a “waxy” look. We used an intensity of 25. Set Detail preservation so that certain details are preserved in the photo.

Next, we want to work on the skin‘s Uniformity in the Develop module. The skin is likely going to be slightly reddish. Go to the Color Shift settings group. Find the Advanced tab and use the eyedropper to select the skin tone. Use the sliders to gradually fine-tune everything until only the color of the skin tone remains selected.
Tip: If are having trouble selecting only the face, use the Radial Filter to help with selecting the face only
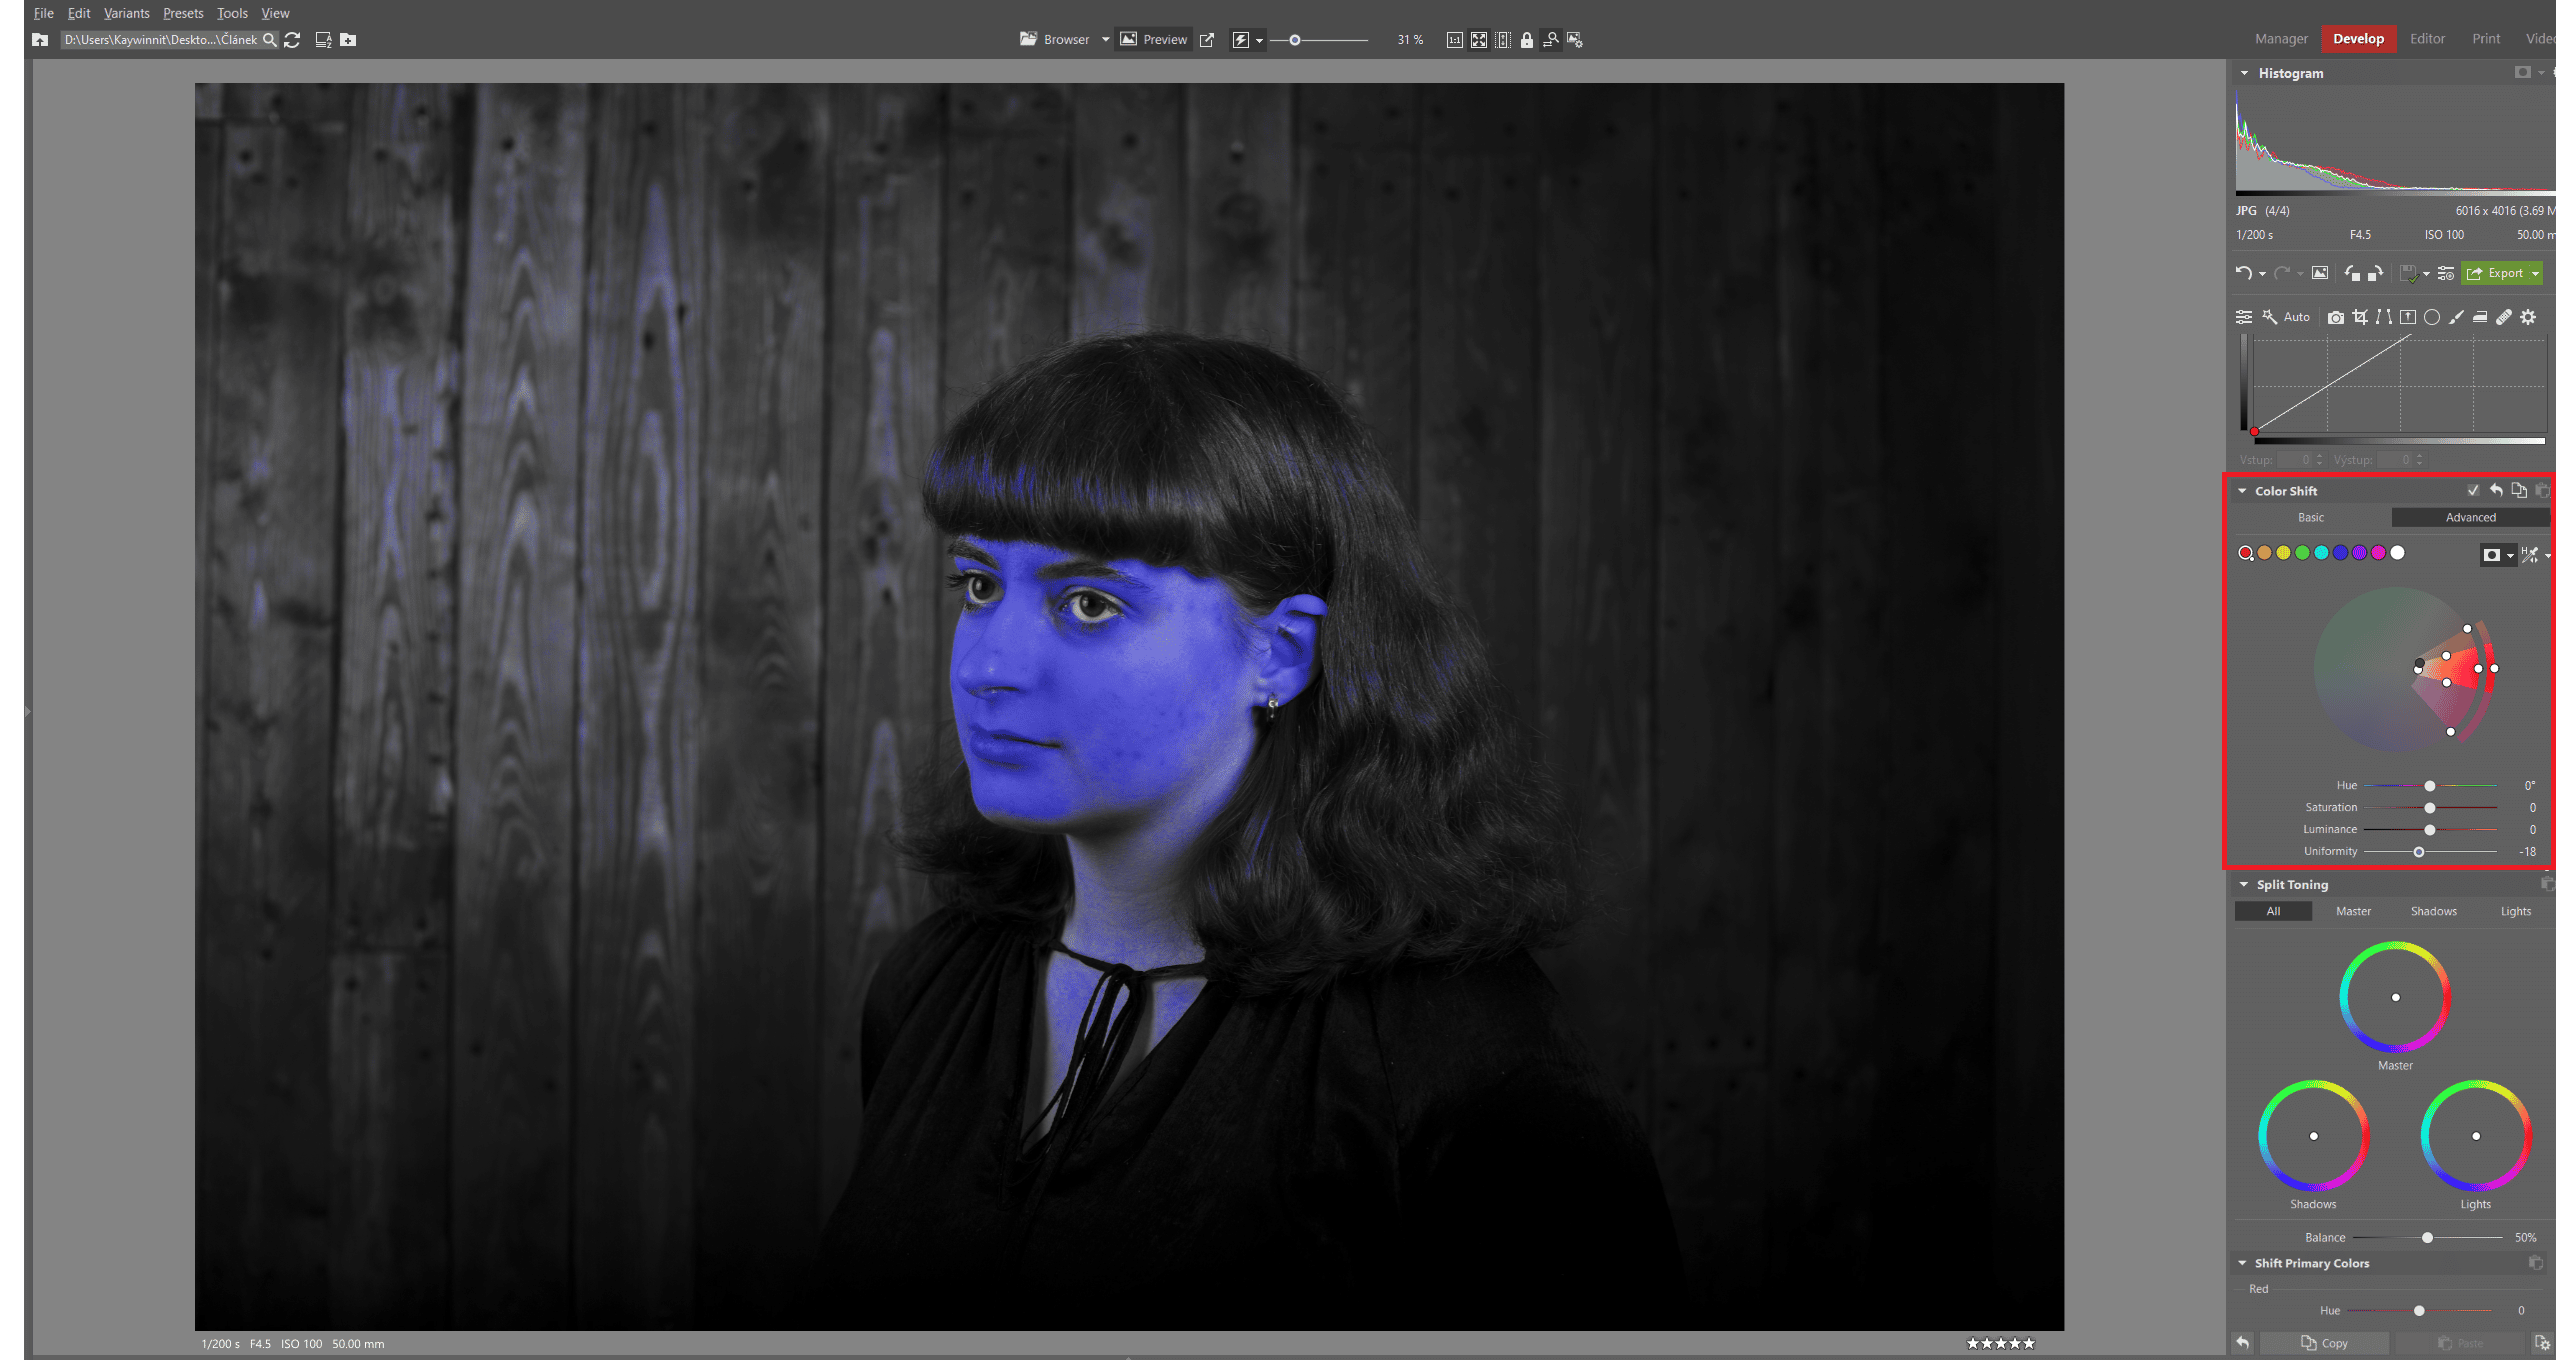
Uniformity affects the new skin tone. That is, the one you are changing the selected color to. Uniformity can unify an entire color range into a single skin tone by removing the edge values from the full color range.
Next up: The Editor module
The Retouching tools in the Editor module give you a bit more control. The Editor module also gives you the ability to work in layers. For this reason, it’s better to do the bulk of your retouching in the Editor module and not in the Develop module.
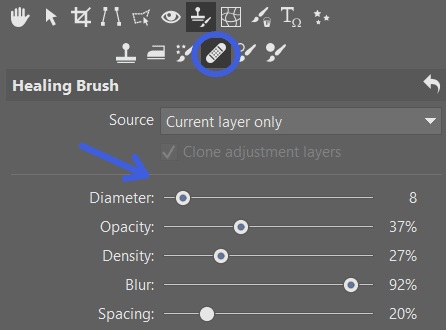
You’ll mainly be working with the Healing Brush (J) and Clone Stamp (S). The difference between these two tools is that the Healing Brush is a smarter tool that tries to incorporate the cloned texture into the area you provide. This may result in problems, especially with darker areas, such as around the eyebrows.
The Clone Stamp, on the other hand, does exactly what you tell it to do. Again this has its pros and cons.
When it comes to retouching, one rule of thumb applies to both tools: use small brush sizes and low values.
While it’s much more work to use a tiny brush with low Density and Opacity, it’s this precision that results in quality retouching.
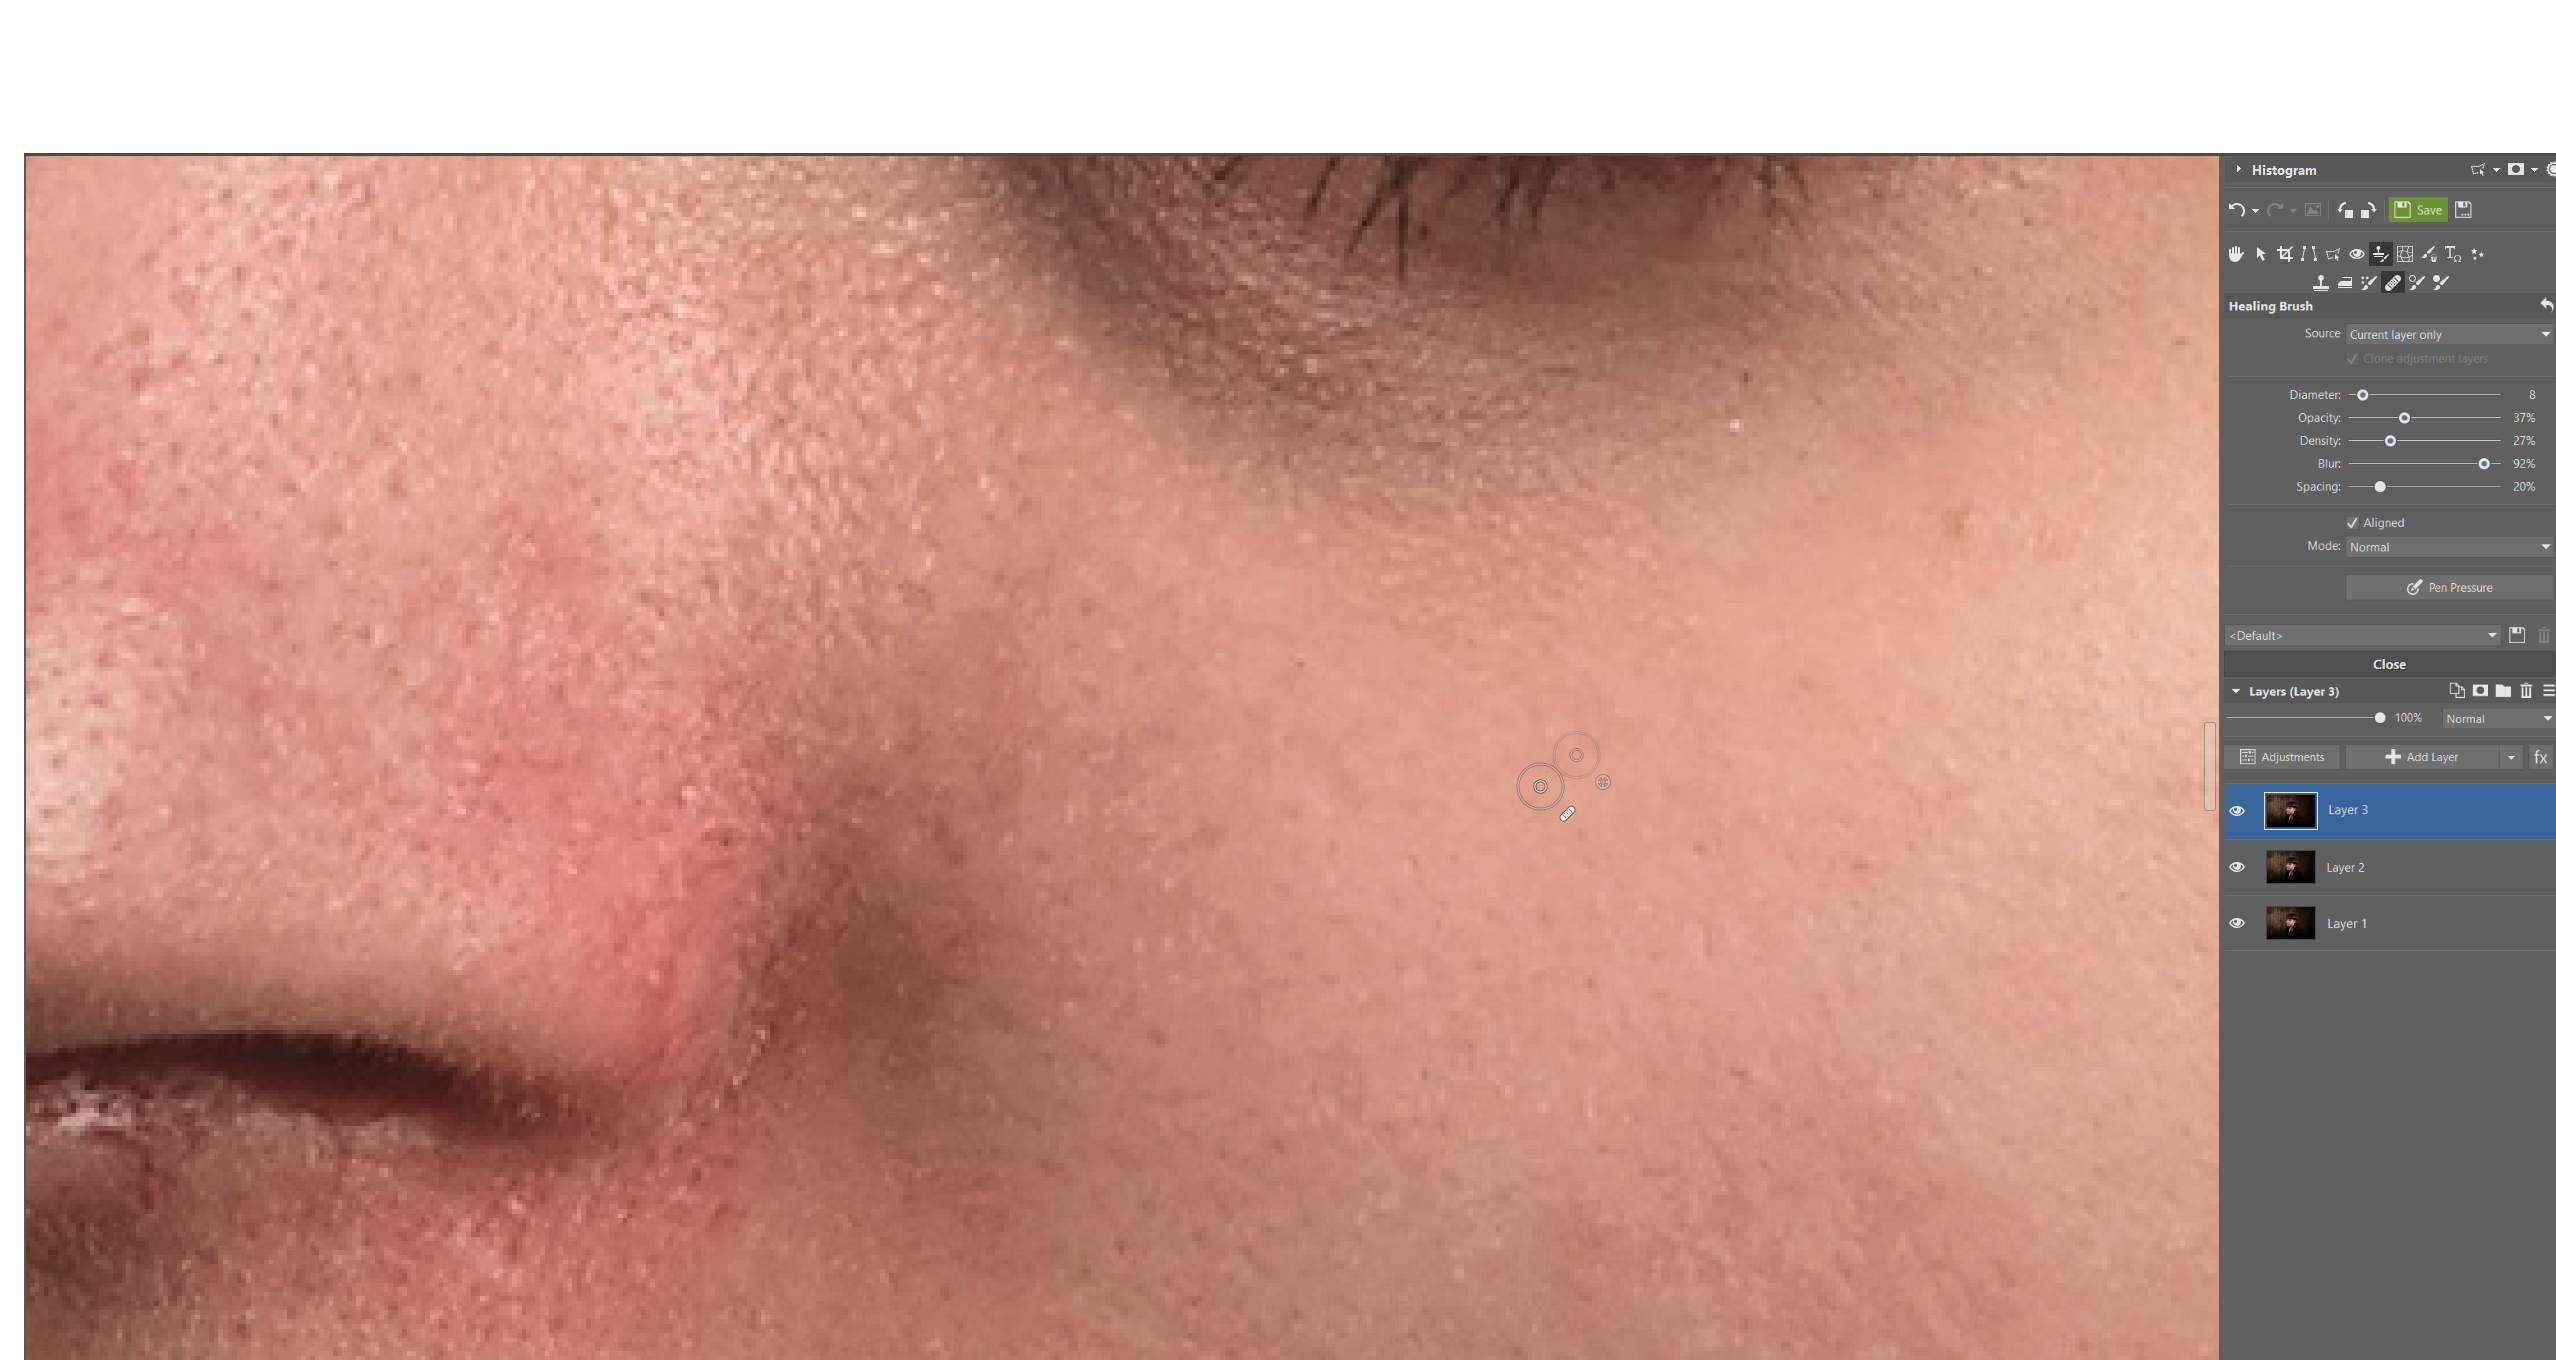
Use the Ctrl key to select the area where you want to clone clear skin. Then, use a mouse or pen on a tablet to begin the process of removing pimples, enlarged pores, and other blemishes.
This process can also be done in layers. Working in layers is a bit more complex, but it’s the precision work in this process that guarantees you’ll preserve the skin’s texture and natural appearance, while at the same time removing the majority of its blemishes.
In closing
Retouching is an integral part of post-processing when shooting portraits. You’ll encounter a variety of personal opinions on how much retouching should be done. Nevertheless, if someone in the photo doesn’t want their skin issues visible, you should do your best to accommodate them. Problematic skin is an issue that can be caused by many factors and it’s understandable that people don’t want it visible in their photos that they want to keep for the rest of their lives.
For this reason, don’t be afraid of retouching. But do use retouching in moderation so the subject doesn’t end up looking like a wax figure. Try to preserve the core of your subject’s personality while using retouching to give them a result that is sure to leave them satisfied and happy.


There are no comments yet.