From Scanning to Retouching: See How to Save Your Old Photographs
Torn, bent, yellowed, and faded. Old photographs are just like that. But fortunately, you can save them and restore their original look and colors. It takes just a few steps—scanning the old photos, cropping them and adjusting contrast, and then retouching them.
Time is merciless and leaves its traces on everything, even your old photos. Pictures are stricken with fading and a loss of contrast, yellowing, and an assortment of rips, scratches, and creases. Moisture, dust, and grime all do their dirty work. Especially if a photograph was poorly stored.
Fortunately, there’s a lot that you can rescue using a scanner and Zoner Studio.
Clean Your Photos and Your Scanner
Before setting forth to scan your old photos, inspect their condition. They may be dirty or stuck together. If they’re not damaged too badly, try cleaning them yourself.
Use an air-blower balloon to remove dust and grime from photos’ surfaces. You can also dust off the remaining surfaces using a soft brush, or wipe them with a soft cotton rag. It’s also used for cleaning optics and negatives.
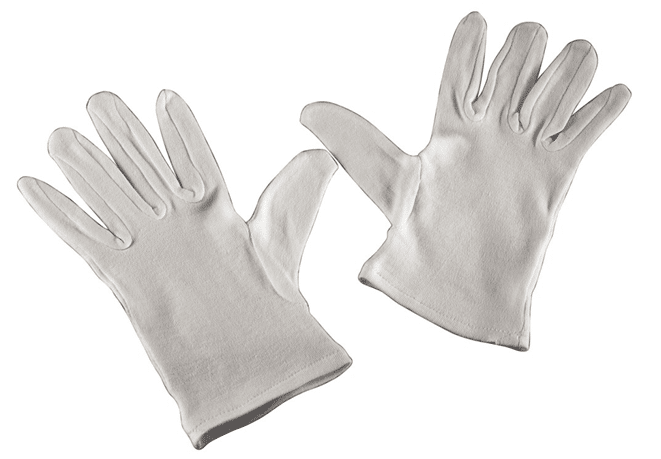
You can also pick up special cotton gloves for work with old photos and negatives. It will keep you from leaving fingerprints and grease on your photos.
Never try to scrape dirt off with a fingernail; you can damage a photo that way.
Don’t tear stuck-together pictures away from each other, as that can destroy them. Instead, soak them in distilled water for about half an hour. That softens the photographs’ surface layers, making them easier to separate. But be careful—soaking can make the ink on the backs of the photographs bleed and can drench their layers.
So if you have very old and rare pictures, then you should entrust stuck-together pictures to expert restorers. By the way, this is always the best solution for photos that are strongly damaged and are meanwhile very valuable for you.
As soon as you have the photos cleaned, clean the dust, fibers, etc. off of your scanner’s glass plate. Then move on to scanning.
Always Scan Your Old Photographs in Color
A classical flatbed scanner is enough for scanning your photographs. But if you want to scan negatives, you’ll need specialized equipment.
No matter whether you’re scanning color photos or black-and-white, treat them as if they were in color. That gives you more flexibility for your edits. After all, converting a color picture to black and white is easy, while the opposite is not.
Set the scanning resolution to at least 300 DPI—although 600 DPI is ideal. The higher the DPI, the more details the scanner will take in. But note this will increase the file size. So use your judgment and choose a compromise between quality and size.
Forget About Scanning to JPEG
Scan your photographs to TIFF format; it lets you preserve a maximum of detail. Meanwhile, avoid scanning to JPEG. That format cuts away certain image data before the digital image is even stored.
If you have the good fortune to have a photo’s negative available, scan it too if you can. Scanning negatives generally gives you more flexibility for your computer editing.

During the scanning itself, leave the picture without further edits. You’ll be doing those in Zoner Studio.
Global Edits Come First
Once you have the picture scanned, open it in Zoner Studio. Start with the global edits that affect the appearance of the whole photograph, and then move gradually towards improving details.
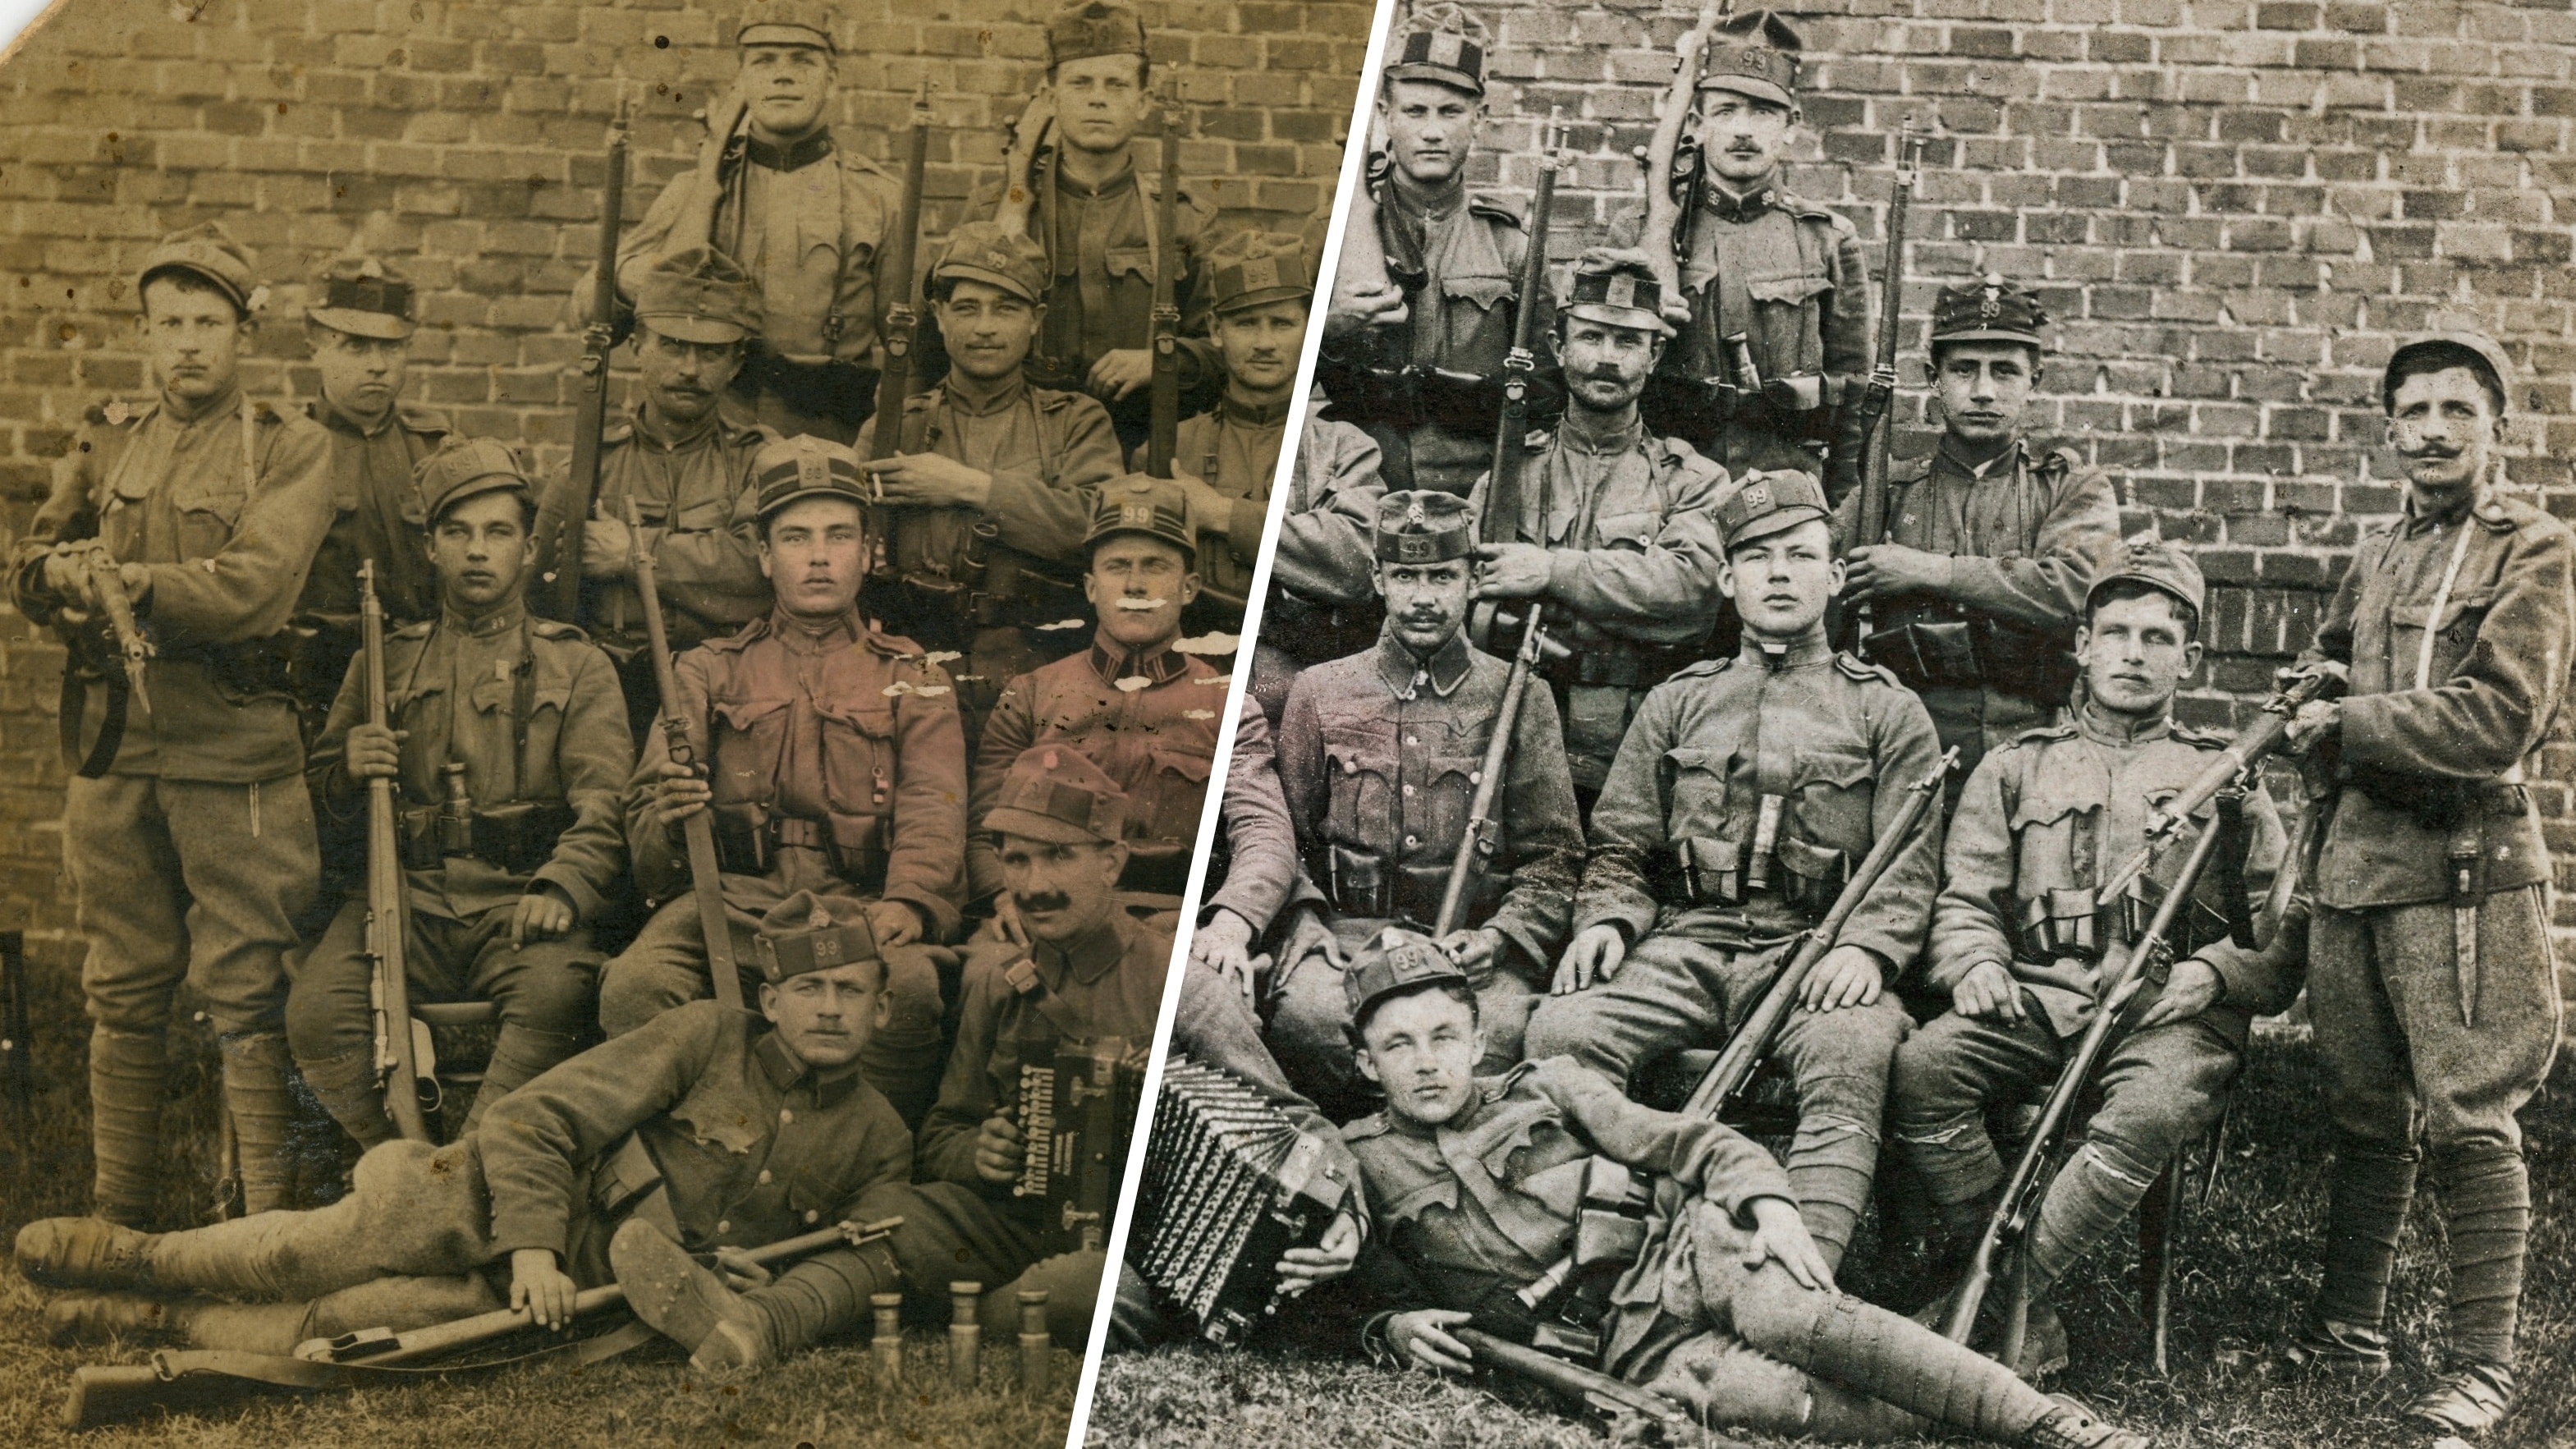
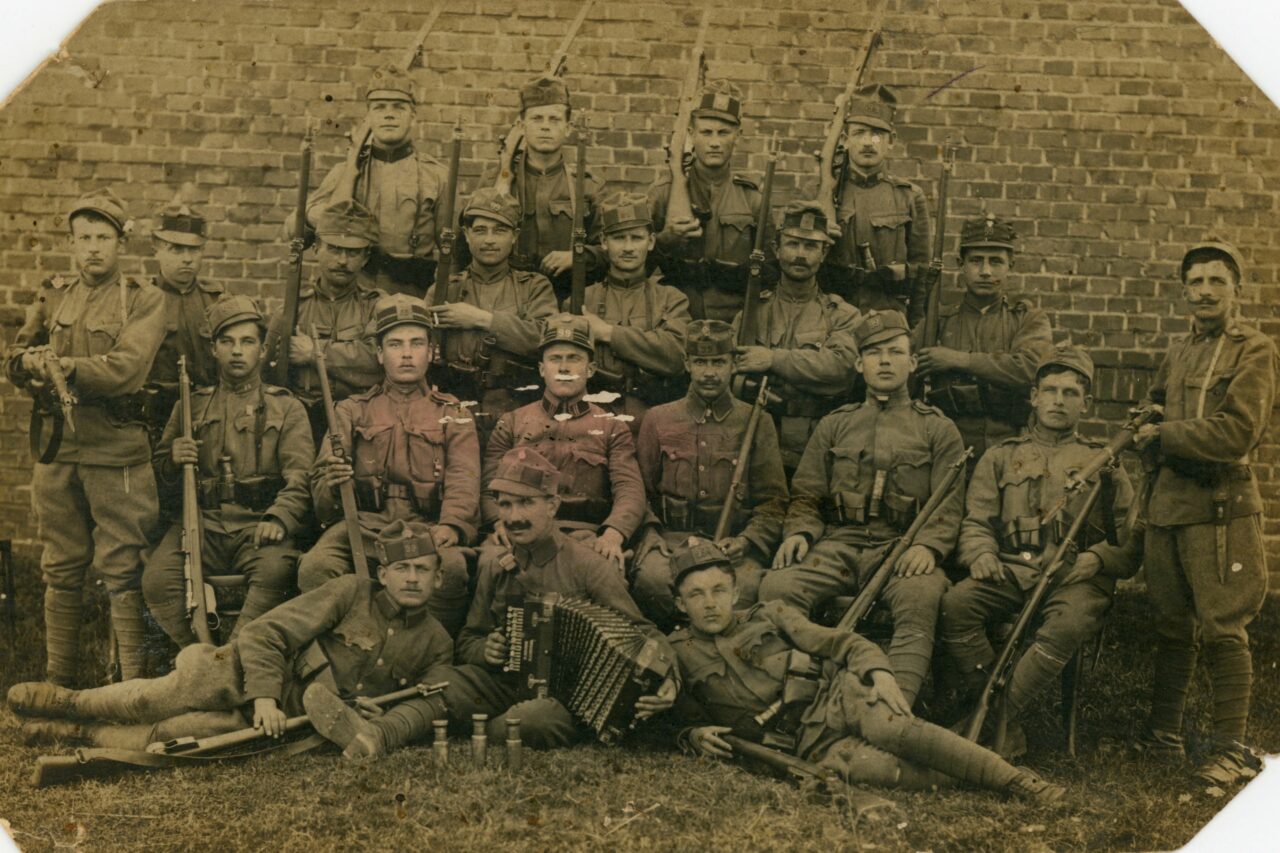
I’ll demonstrate this on an example picture.
It has cut corners and frayed edges, so I’ll be cropping it using Rotate and Crop (C) before any further edits. I’ll still be leaving some missing bits in the corners, because a stronger crop would cut into some of the people. I’ll let this be for now and come back to it later.

Restore the Photo’s Contrast
First fix a picture’s fadedness. There are several ways to do this.
- Using the Exposure sliders in the Develop module. Here you’ll be helped not only by the Exposure slider, but also by raising the Contrast, emphasizing the Lights and Shadows, and for example adding Clarity.
- Using Tone Curve, once again in Develop. An S-shaped curve restores a full palette of tones to a picture, from darkest to lightest.
Experiment with the different possibilities and you’ll learn what approach brings you the best results.

Correct for the Tinted Veil
Old photographs typically suffer from yellowing. However, you can encounter other tinting as well. As part of Exposure adjustments, it’s a good idea to fine-tune the color of the image as well.
The simplest way to get rid of it is to use the White Balance feature in the Develop module. And if necessary, you can fine-tune its intensity by adjusting the Saturation in the Color function.

Retouching Will Help With the Imperfections
Retouching to fix blemishes, missing areas, and other damage is the most demanding part of restoring old photographs. You’ll get the best results by combining the Healing Brush (J) and Clone Stamp (S). You’ll find these tools under both Develop and the Editor.
But what’s actually the difference between them? The Clone Stamp copies the source region exactly as it is, while the Healing Brush copies only that region’s texture, and leave the colors and brightness of the target region untouched.

For both of these tools, you need to set the source region, from which the picture material for covering defects is copied. To set it, hold down Ctrl and click on the spot you need.
Then set the size of the brush or stamp. It should have roughly the same as the defects that you want to fix. For the most natural results, it pays to combine different sizes.
First I’ll get rid of the white areas in the corners. To assist with that, the Retouching Brush can be used. Press the Ctrl key and click the mouse to select the source area, and then simply redraw the individual corners.

A well-chosen Blurring level (e.g. 33%) will make the retouching look more natural as well. It will make the borders of the copied area blend better into the target area.
During retouching, it can also be helpful to enable the option “Seek source region automatically.” This eliminates the need to select the target area manually, as Zoner Studio will find it for you. This is particularly useful for small imperfections like dust particles.
However, it may happen that the color doesn’t always match perfectly, so it’s better to keep an eye on it and, if necessary, select the source area manually.

Watch out for repeating textures when you’re retouching. They can make your retouching obvious.
How perfect your result will be depends of course on how much time you spend on minor edits. You can also convert an originally black-and-white picture back to black and white. On the other hand, doing this can rob you of some of a picture’s old-time patina. So it all depends on which version you prefer.
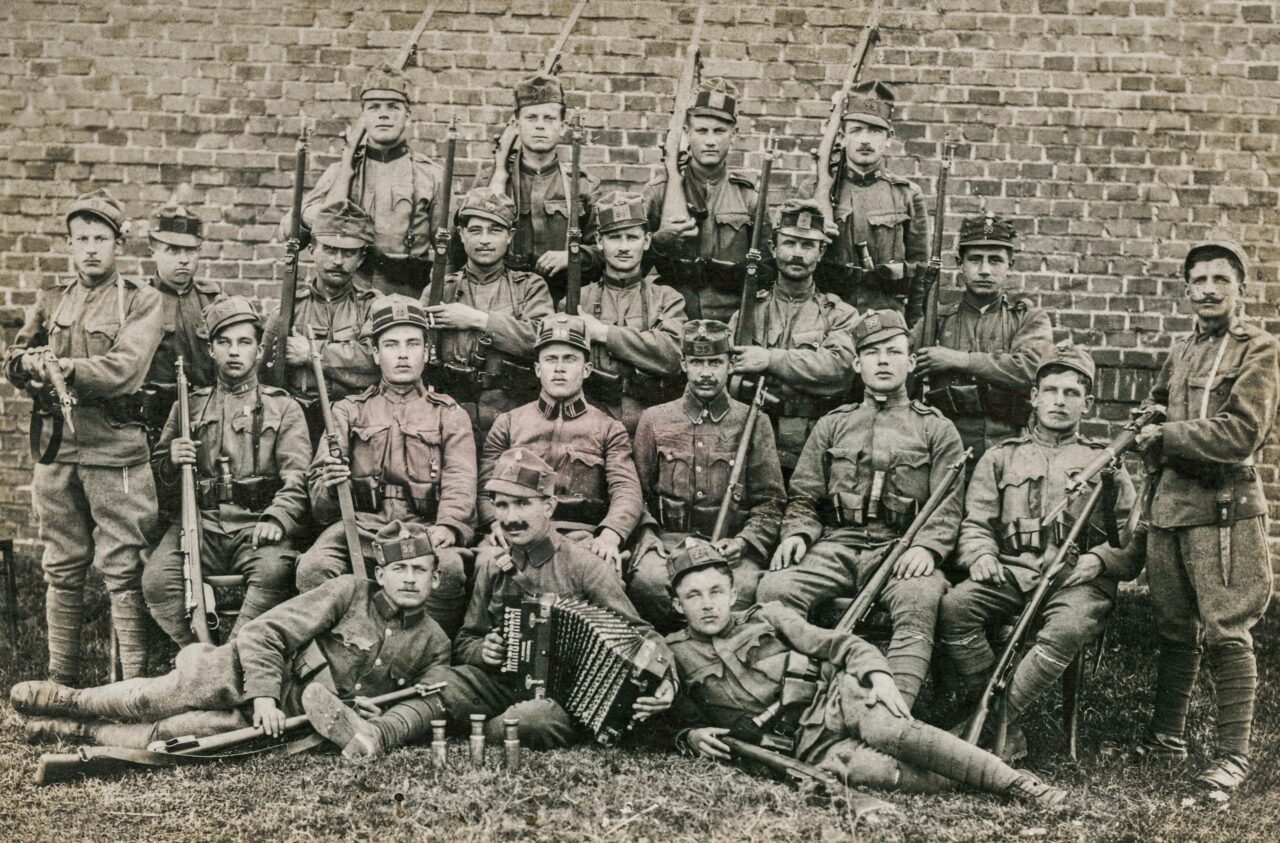
Here’s how the sample photo looks after all my edits. Even though you can still find cosmetic defects, the difference compared to the original photo is significant.
Although rescuing old photographs is a lot of work, it definitely pays off. And you can manage it at home with no special equipment. You just scan in the photos, download Zoner Studio, and get to work editing.
There are no comments yet.