Night Photography—How to Photograph the Stars and the Moon
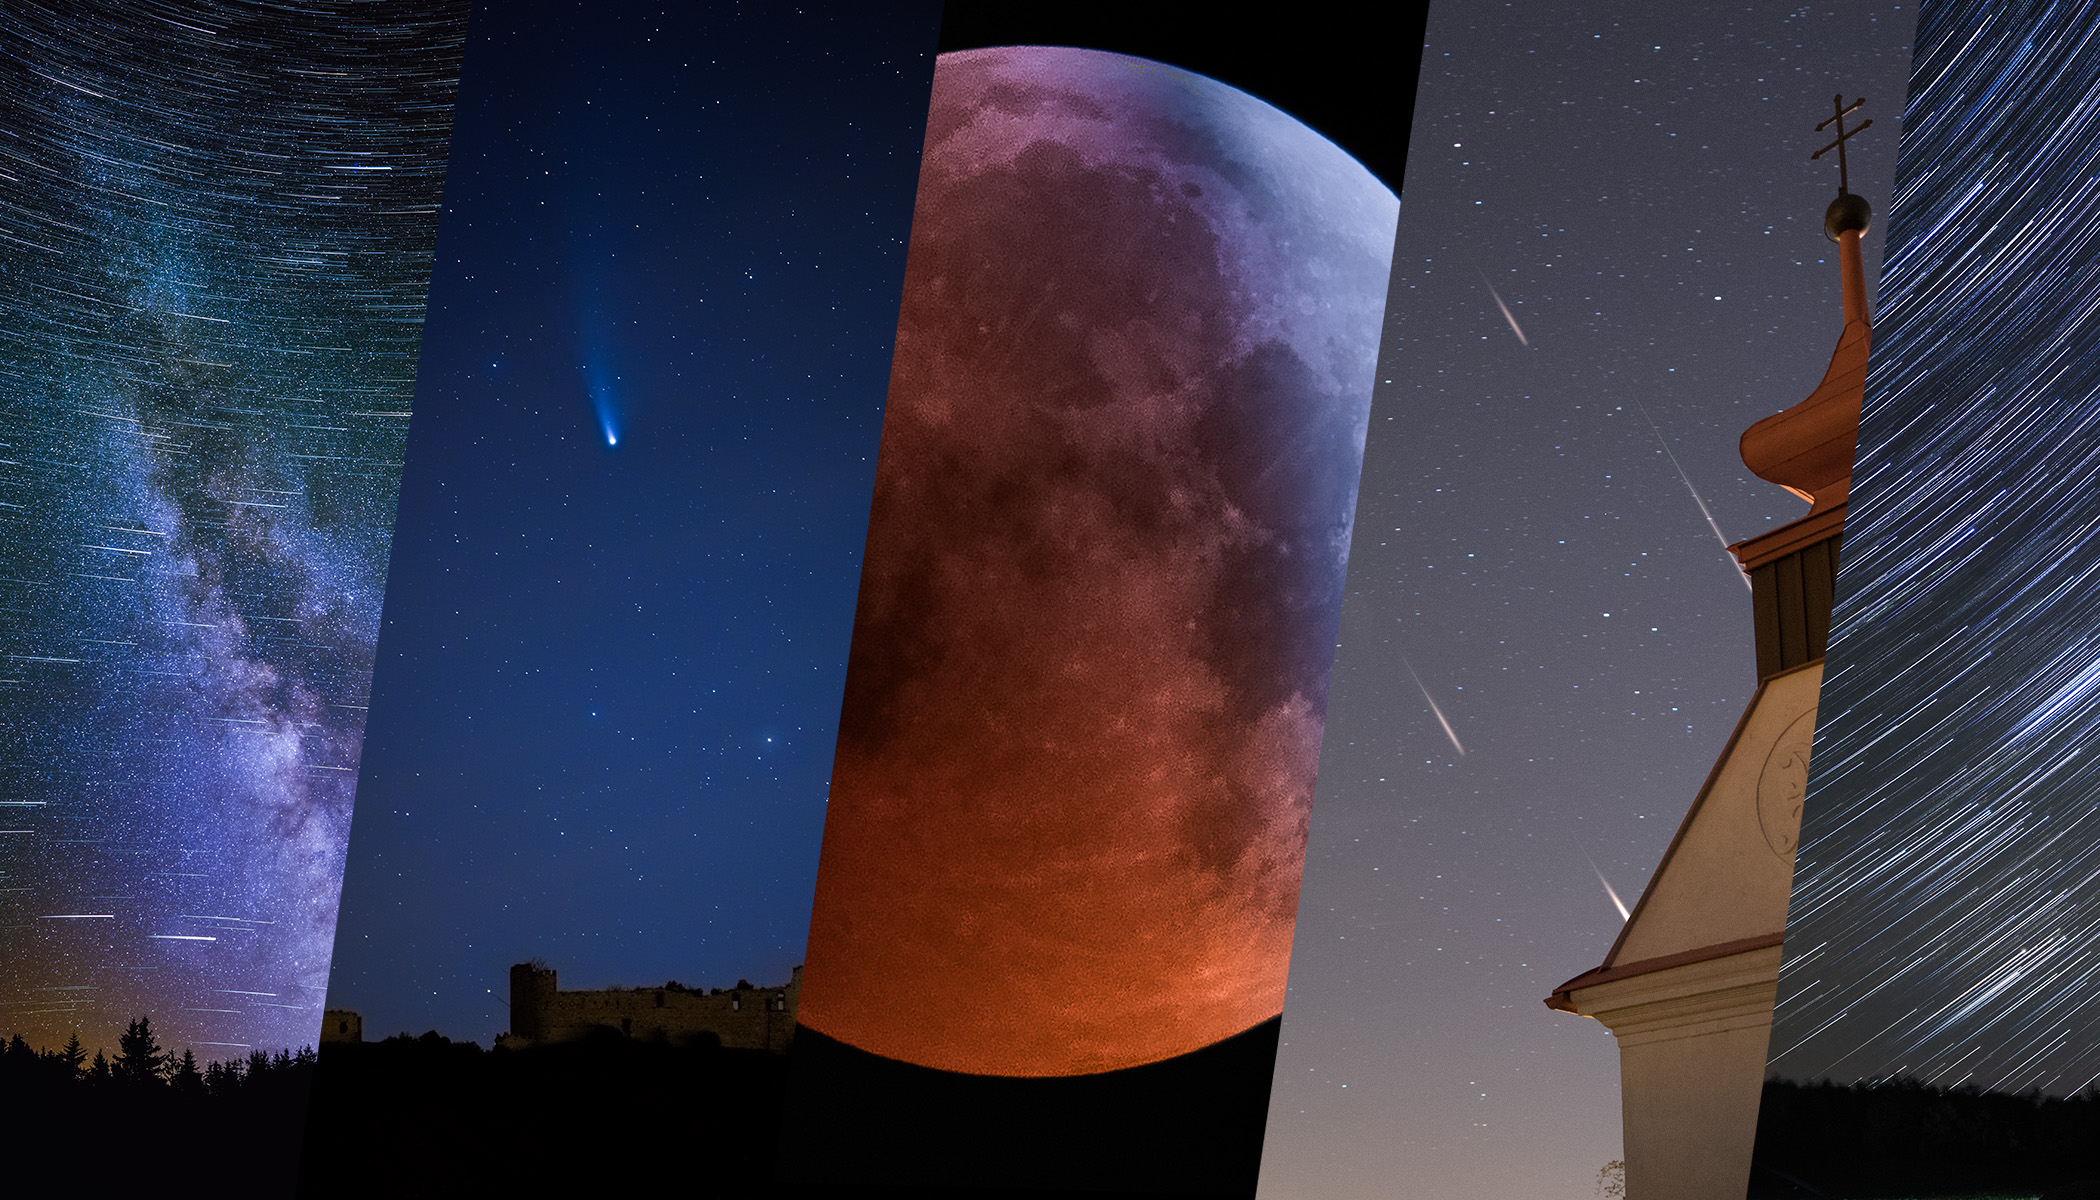
The night sky can be magical. You don’t need special equipment to photograph it, but you need to follow a few steps to get the most out of your night photos. Let’s take a look at the basics of astrophotography—whether that means photographing the Moon, the Milky Way, or a beautiful starry sky.
In this article, we cover:
- how to prepare for night sky photography and how to prepare before you head out.
- what equipment you really need to photograph stars, the Moon, and the Milky Way.
- why stars move in photos and how to adjust your exposure accordingly.
- the difference between aligning the ground and stars when composing images.
- how to stack exposures to reduce noise and capture more detail.
- how to photograph lunar eclipses, meteor showers, and comets.
When shooting at night, you can use a wide range of accessories, from additional physical equipment to specialized software for processing image data. But in this article, I show how you can get solid results even with standard equipment you might normally use for recreational night photography.
Preparing for the shoot
Even with top-notch equipment, you won’t succeed if the sky is covered by clouds. That’s why the first step should always be to check your favorite weather app. I often use Meteoblue, Ventusky, or Sat24 (mainly for current satellite images of cloud cover rather than forecasts).
Websites or apps that show sunrise and sunset times,as well as moonrise and moonset, are also extremely useful. I recommend the Photo Ephemeris website, but I also use a paid app called Sun Surveyor. While everyone knows that stars come out at night and can roughly estimate when, these tools also tell you exactly when the golden hour ends or where to look for the Moon if you want to include it in your composition.
If you have the option, shoot in locations with minimal light pollution. City lights reach surprisingly far, so checking a light pollution map can help. The darker the location, the better your results will be.
Night photography equipment
The equipment you need depends on what you want to photograph. For example, the Moon is so bright that it can easily be photographed handheld. However, a strong telephoto lens is very useful.
However, when photographing the night sky as a whole, a very wide-angle lens and sturdy tripod that can remain still for extended periods of time are essential.
You’ll probably use a tripod for most shots, and once you do, you’ll need a way to trigger the shutter without touching the camera. This can be a self-timer function, remote control, or smartphone app. All of these help minimize camera shake caused by pressing the shutter button.
A camera function for interval shooting—taking photos automatically every few seconds— is also very useful. Some cameras have this built in, while others rely on an external timer (such as the Canon TC-80N3 for older Canon cameras). While a phone can theoretically do the same job, when shooting for tens of minutes, it’s safer to use dedicated hardware and keep your phone free.
The main challenges: Darkness and movement
When photographing a city at night, things are relatively simple. Place the camera on a tripod and choose an appropriate shutter speed. But with the night sky, it’s more complicated because the Earth’s rotation causes stars to move.
Sometimes this movement can create star trails, but often it’s undesirable. In those cases, you need to keep the shutter speed below a certain limit. This limit depends mainly on the lens’s focal length—the longer the focal length, the shorter the exposure must be to avoid blurring details. Sensor resolution and your personal tolerance for star motion also play a role. You can calculate a suitable shutter speed using an online calculator. You’ll probably end up with a number between 1 and 15 seconds.
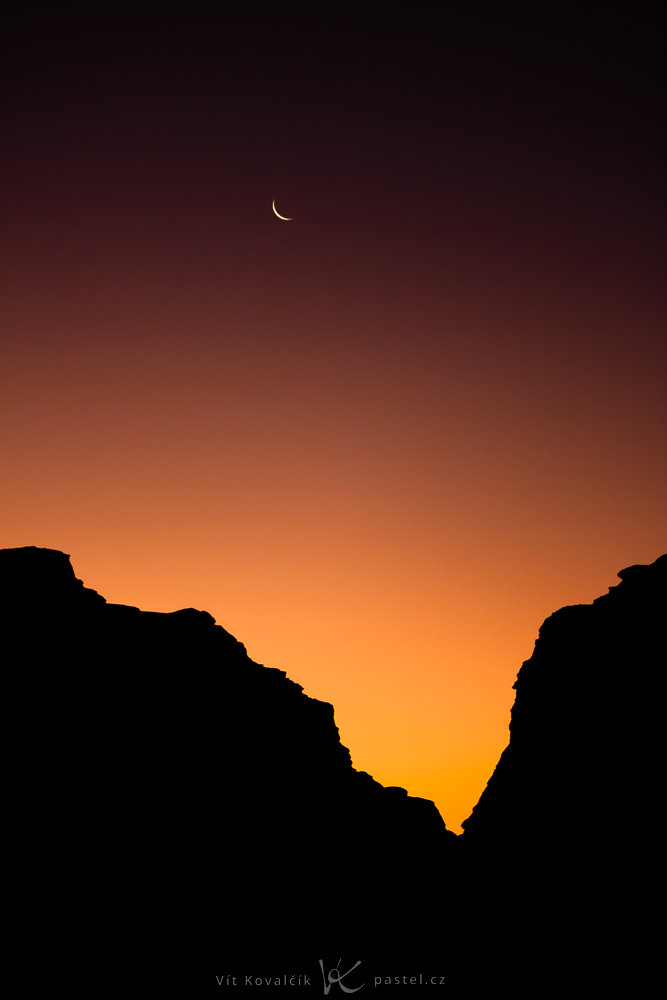
Photographing the Moon is comparatively easy. It reflects so much sunlight that exposure times are usually fractions of a second. It’s also possible to photograph the Moon together with buildings, as long as the Moon is low enough above the horizon. For more information, check out the article on incorporating the Moon in landscape photography.

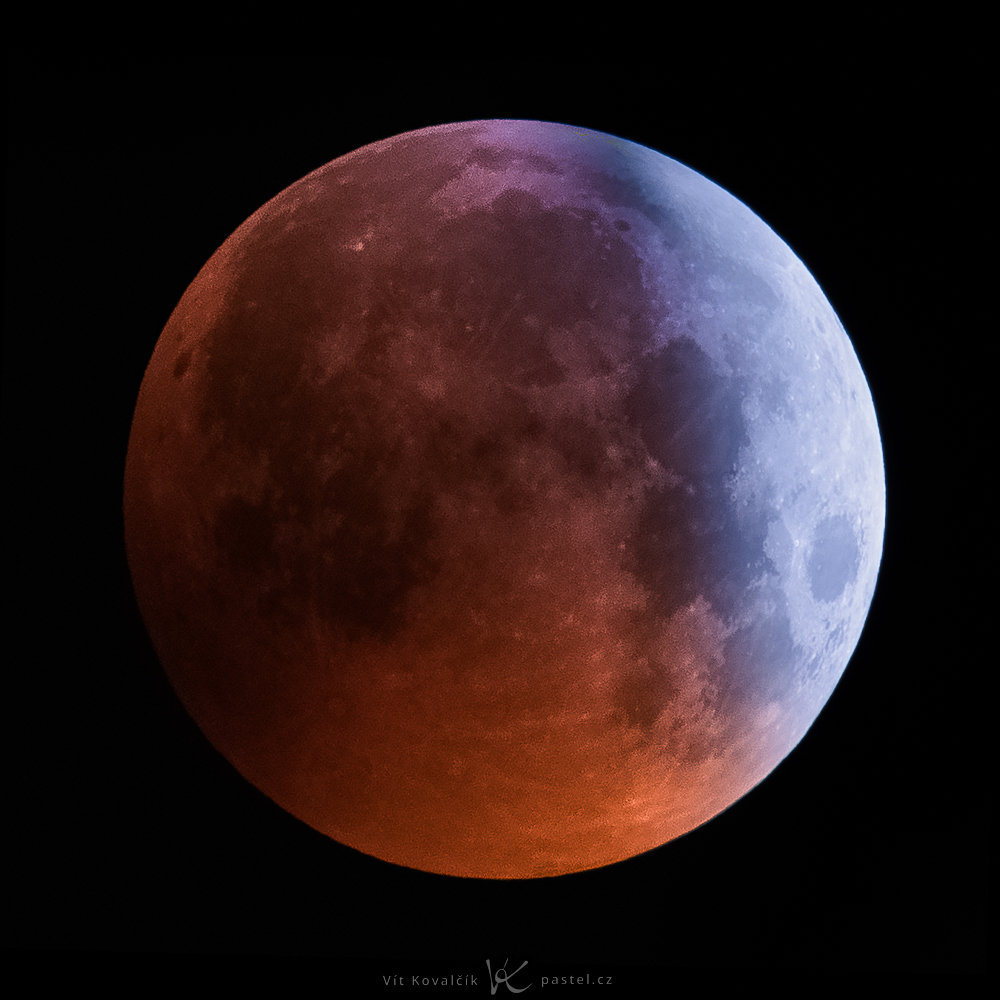
Things become more challenging when photographing a lunar eclipse or the starry sky. We still need short exposures, but using a high ISO significantly reduces image quality. That’s why it’s better to take many shots at ISO ranging from 100 up to 12,800, and then skillfully average them to reduce noise. This can involve hundreds of images, which is why specialized software such as Sequator, StarStaX, AutoStakkert, or DeepSkyStacker is commonly used. After reducing noise, you can process the final image much more aggressively without a major loss of quality.
When stacking, you typically choose between two main approaches:
- Align the ground and let the stars form trails.
- Align the stars, keeping them sharp while the ground appears to move.
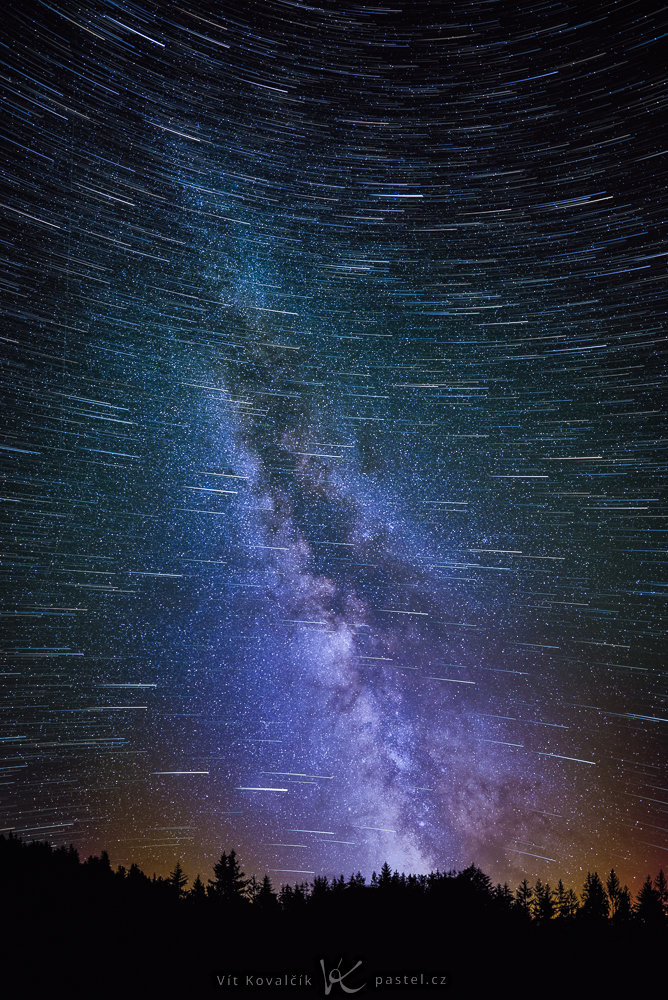
Aligning the ground and creating star trails
Aligning the ground is the simpler option, and the result is similar to a single long exposure.
You might wonder why not just take a long exposure in the first place. There are several reasons. With multiple shots, you can easily remove frames affected by passing airplanes or satellites. Even a car a few hundred meters away can cause problems if its headlights briefly shine into the lens. While deleting photos can create gaps in star trails, many apps can automatically fill them in.
Some software can even compensate for atmospheric turbulence in individual images—something that would blur a single long exposure. For these reasons, winter is often a better time for star trail photography, as these effects are less pronounced.
A nice bonus of working with multiple images is the ability to use so-called comet mode (or a similarly named feature, depending on the app). In this mode, older photos gradually fade, causing the star trails to taper off smoothly instead of ending abruptly. Personally, I prefer this look and find the results more effective.
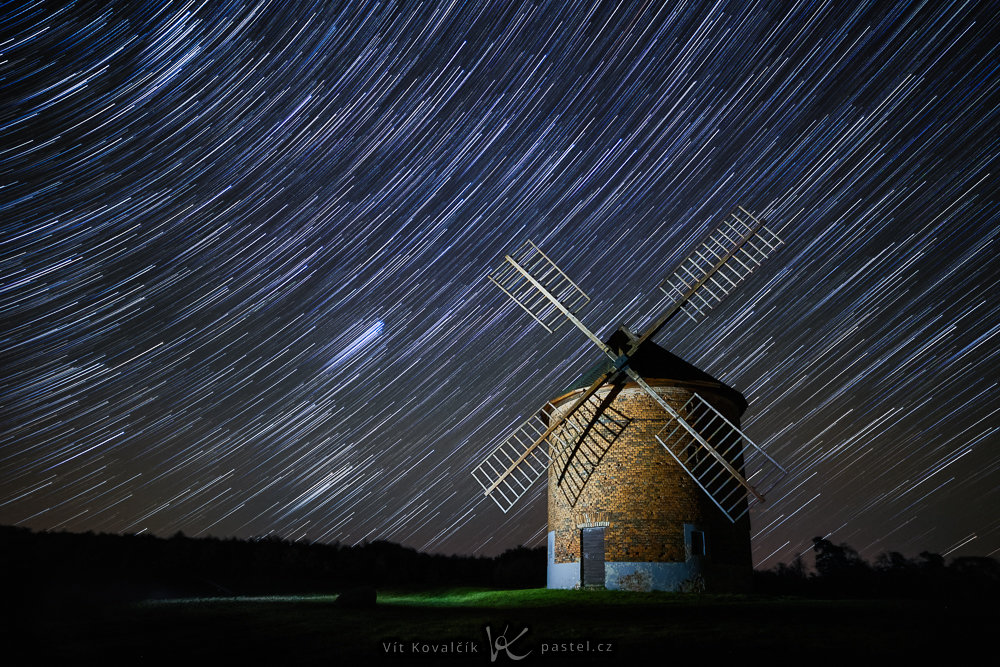
You can find more information about the story behind this photo in the article Photo Story: Windmill with Night Sky.
Aligning the stars
Aligning the stars is great if you want to capture as much detail as possible in a specific area of the sky. You can use this method to photograph the Moon, the Milky Way, or star clusters.
There are a few things to keep in mind: First, the subject must remain within the frame for the entire duration of the exposure, even if it’s moving. When shooting for tens of minutes, this means leaving extra space in the direction of the sky’s movement or occasionally adjusting the camera. Alternatively, you can use a motorized star tracking tripod, but that’s a topic for another article. Also, when aligning photos, they shift relative to each other, which means you’ll lose the outer edges that aren’t present in every frame. This slightly reduces the final image resolution.
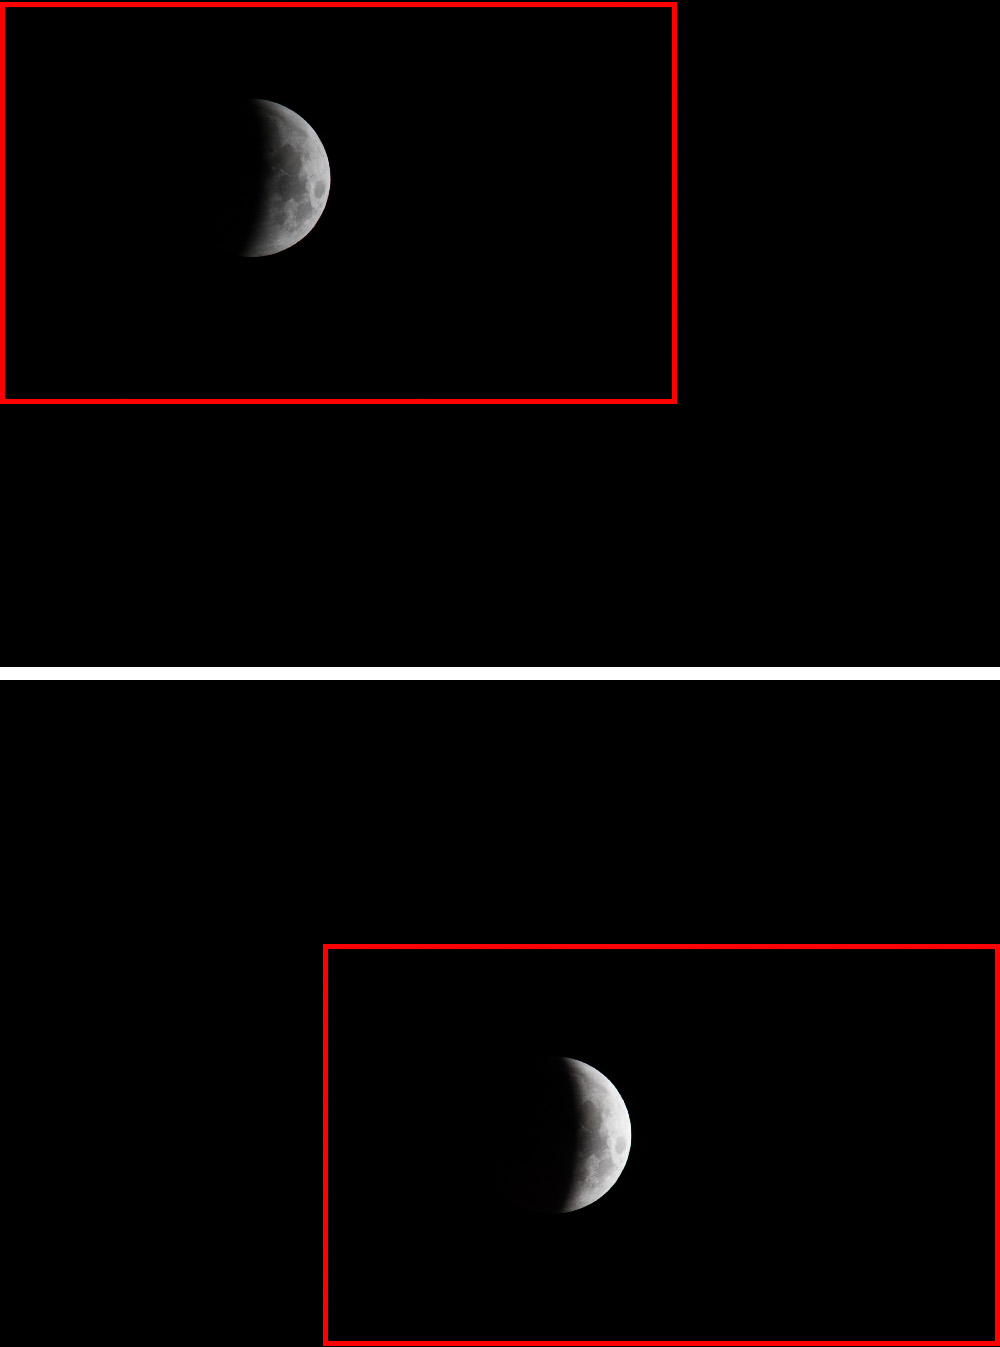
The second trick is to use the ground, if it’s visible in the photo. Due to the alignment of the stars, the terrain appears to move in the image. But there’s another solution: some apps offer a mask feature that divides the image into a section with stars and a section with the ground, which is processed completely differently. The ground then remains sharp.
The example below combines both alignments so that you can see both the Milky Way while keeping the movement of the stars sharp. Discover the details in this photo story about the Milky Way.
More tips
It’s also useful to learn how to operate your camera’s basic functions in the dark and especially practice manual focusing. Autofocus often fails at night, and stars are best focused manually using a magnified live view.
Wind can also take you by surprise. A tripod may not be stable enough, and even the slightest movement becomes visible, particularly at long focal lengths. For maximum stability, I recommend not extending the center column or tripod legs. Just open the collapsed tripod. The entire setup may only be a meter tall, but it’s significantly more stable.
More photo opportunities
In addition to celestial events that happen every month, there are also rarer phenomena that are usually announced in the news.
Sometimes you’re lucky enough to witness a lunar eclipse. The part of the Moon in shadow is typically very dark, so taking many shots helps capture enough image data to brighten the result.
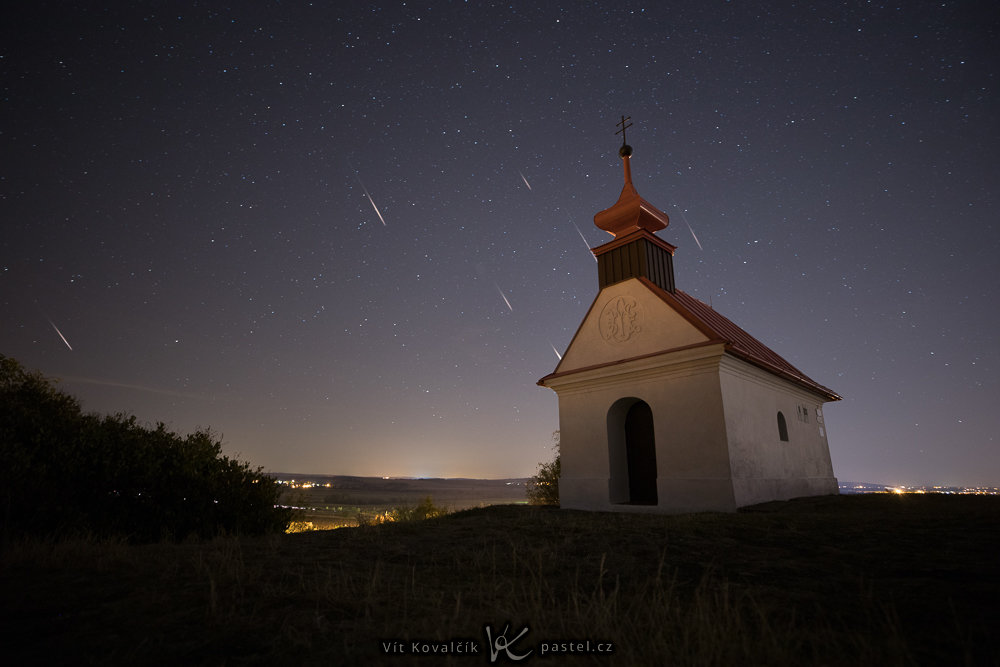
Meteor showers occur every year. In this case, it’s best to let the camera take a series of exposures while you simply watch the sky from a blanket for the full experience. Later, you can select the frames that actually captured meteors at home. Often, this ends up being just one image out of a hundred. These selected images are then aligned and combined into a single photo showing multiple meteors.
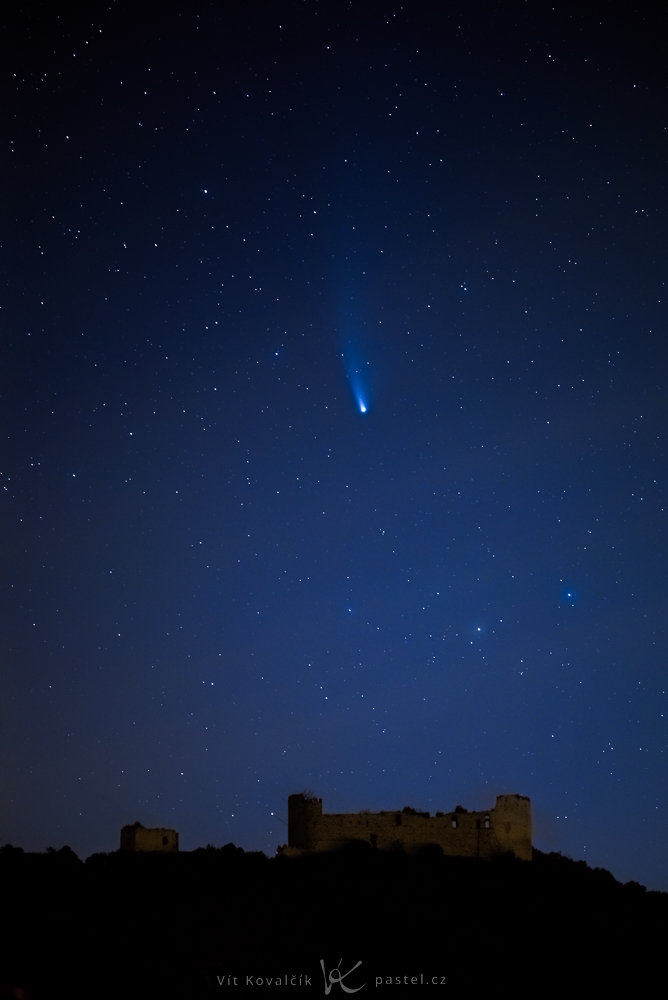
Comets are even rarer. They remain in roughly the same area of the sky for extended periods, and because of the Earth’s rotation, you can plan their position in relation to a foreground object on Earth.
Final thoughts
The hardest part of night photography is getting started. Once you do, it’s surprisingly manageable, and many free tools handle much of the technical work for you. All that’s left to do is add your own artistic touch and create photos that remind you of stargazing in a quiet field.
FAQs
Do I need special equipment to photograph stars? No. For basic night photography, a standard camera, lens, and a stable tripod are sufficient. Special equipment is helpful, but not essential.
How long can I expose an image without stars becoming blurry? It depends on the lens’ focal length, the sensor resolution, and your tolerance for star movement. In most cases, exposure times range from a few seconds to tens of seconds.
Why is it better to take multiple shots instead of one long exposure? Multiple exposures allow you to reduce noise through stacking, remove unwanted elements such as airplanes or cars, and maintain greater control over the final result.
Can I photograph the night sky in cities? Yes, but light pollution significantly reduces the visibility of fainter objects. For photographing the Milky Way, it’s best to travel outside cities.
How do you focus at night when autofocus doesn’t work? It’s best to focus manually using a magnified live view of a bright star or distant light source.
Which objects other than stars can be photographed at night? The Moon, lunar eclipses, meteor showers, comets, and nighttime landscapes that incorporate the sky.
There are no comments yet.