Photography Tips for Newbie Food Bloggers
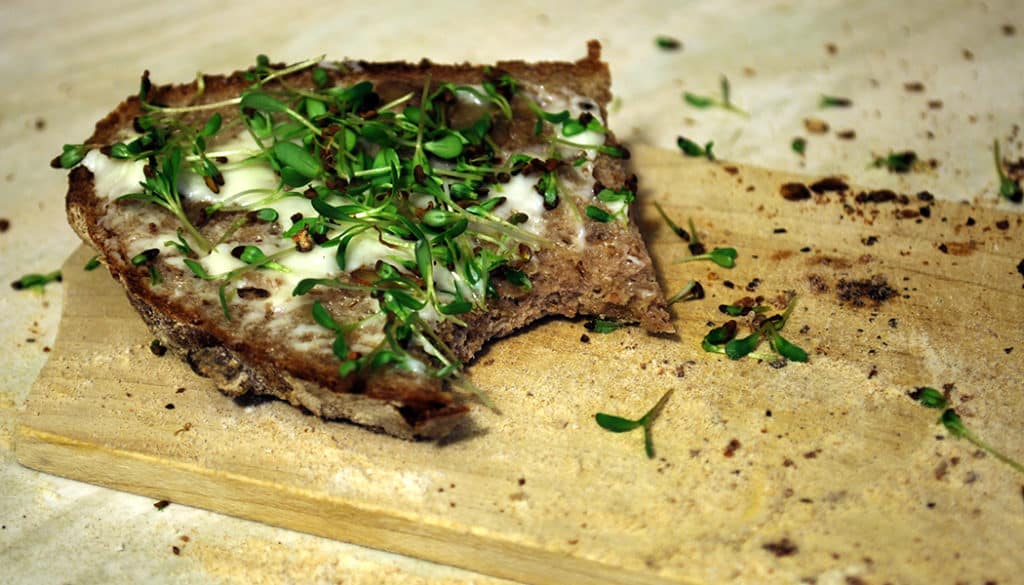
Would you like for readers to pick your food blog, and none other? We can’t tell you how to make your content stand out, but we do know that with bad photos, you’ll go nowhere. You might say: hey, I’m just starting! But if you follow a few basic guidelines, your photos will be tastier right away.
We won’t lie—food photography isn’t easy. Besides taking the shot, you also need to make the food photogenic—“food styling.” Now you can of course take ugly pictures of beautiful food, but if food is ugly when you look at it, then often even the best shot can’t make it look good.
Start Simple
What does it matter if you know how to cook Boeuf Bourguignon, a perfect tenderloin, or exotic phở, when your photos are still like microwave pizza? Use your skills for dinner, and invite over an experienced friend who’ll trade the meal for a shoot. As for you, start with something simple, like cookies or fruit. Avoid salads, soups, and other dishes with lots of visually disparate ingredients that demand more careful arrangement on the plate.
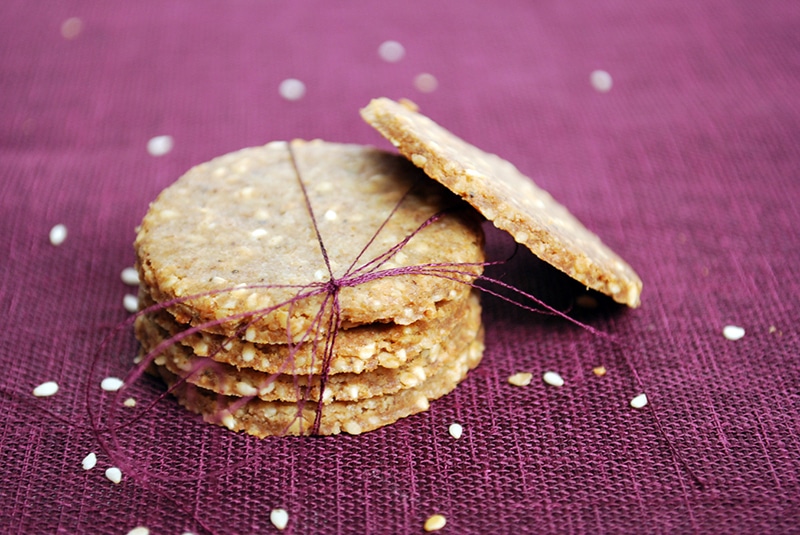
Nikon D60, Nikkor 18-55/3.5–5.6G, 1/20 s, f/5.7, focal length 55 m (35 mm equivalent: 82 mm)
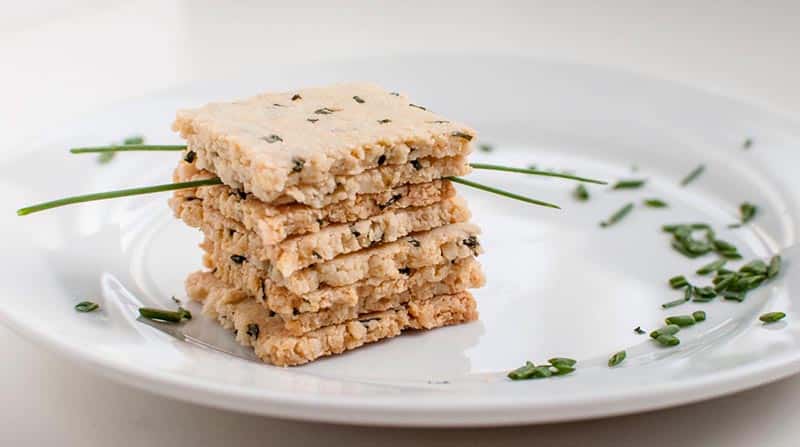
Nikon D60, Nikkor 35 mm/1.8, 1/60 s, f/5.6, focal length 35 mm (35 mm equivalent: 52 mm)
Take Inspiration in Imitation
Find your own photography and food-blogging icons; put some work into finding interesting pictures on the Internet. What is it about them that interests you? Is it the food itself? Is it the styling? The lighting? The story that a whole series tells?
Here’s another tip to getting on the right track towards mouthwatering photos. Try making the recipes you follow a guide not just for cooking, but for your photos too. Now, I’m not saying that your blog has to copy the recipe photos precisely. But trying to imitate good work is great practice for trying out different styles and discovering your own.
Make the Most of Daylight
For food photography, daylight is a gift from the heavens. Literally. It makes food look natural, and ensures that you won’t be short on diffused light. So shoot in the daytime if you can, and stand either by a window or in the shade outdoors. For the “window” option, if you want to soften the contrast between the food’s light and dark sides, use a reflector. Or when you’re just starting out, just use a random piece of polystyrene. It’s cheaper, and easier to set up too.
Set the White Balance Right
You can of course fix white balance in Zoner Studio, especially if you’re photographing food on a white plate, which gives you something to judge by. But doing your white balancing inside the camera will save you time, and nerves as well. That’s because doing it on a computer can unattractively shift foods’ colors, dragging you away from your real goal: making food look tasty.
If you’re shooting under artificial lighting, make sure there’s only one type in the room. For example if you mix incandescent and fluorescent in the same shot, there might be no way to avoid discoloration that will make your food look unappetizing.
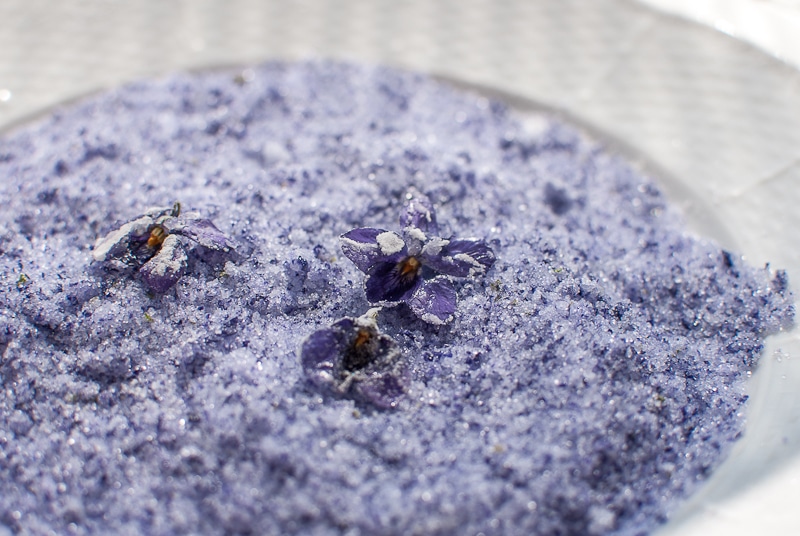
Nikon D60, Nikkor 35 mm/1.8, ISO 100, 1/1000 s, f/4.5, focal length 35 mm
Choose the Right Angle
There are several basic angles that are good for food photography, but here too there are no hard-and-fast rules. The most common angle is 45°, i.e. roughly the same angle you’d look down at your own dinner plate. It’s not as good, however, when you want to emphasize a dish’s layers or structure. For these, lower your camera.
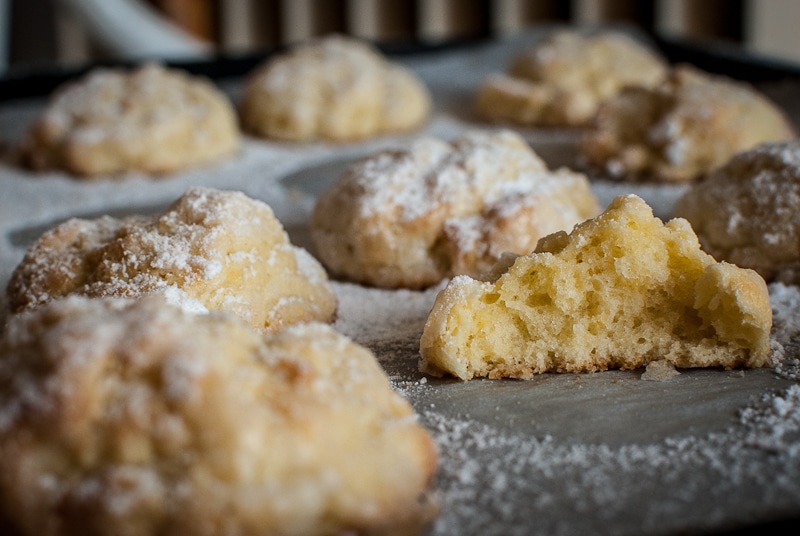
Nikon D60, Nikkor 35 mm/1.8, ISO 400, 1/250 s, f/6.3, focal length 35 mm
Many people can’t resist the temptation to take top-down food photos. And yet, these are usually pretty tasteless! They distort the food, making it unclear what’s actually on the plate. Do use them, though, when you want to show all the ingredients needed for a dish, or as a compositionally interesting photo to go with your article.
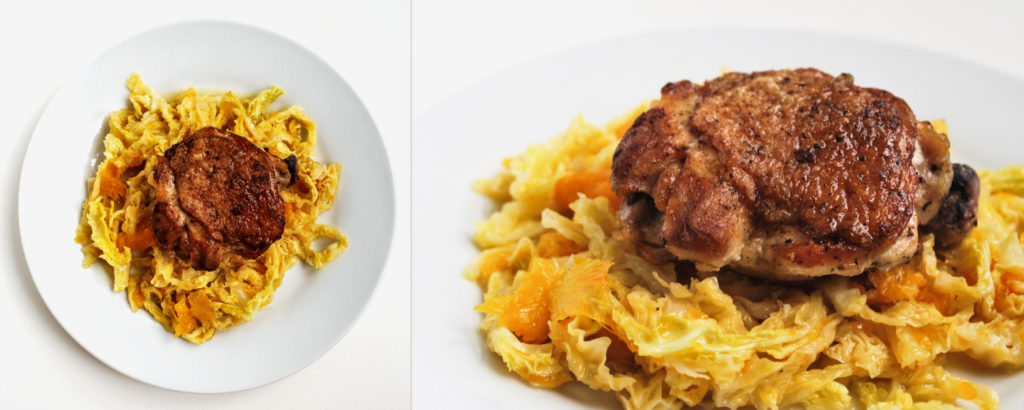
top shot: Nikon D60, Nikkor 18-55/3.5–5.6G, ISO 400, 1/50 s, f/10, focal length 22 mm
side shot: Nikon D60, Nikkor 18-55/3.5–5.6G, ISO 400, 1/50 s, f/10, focal length 42 mm
In any case, experiment and you’ll find the ideal angle for every food. Just like with any other genre, sometimes you need to break all the rules.
White Backgrounds: Functional, but Boring
Use a white background if you must. Use a nice wood table, or at least a beautiful breadboard, if you can. If you don’t have either, then round up some place mats and fabrics and find one that fits the food you’re photographing. But watch out for flashy patterns that might outshine the food in question.
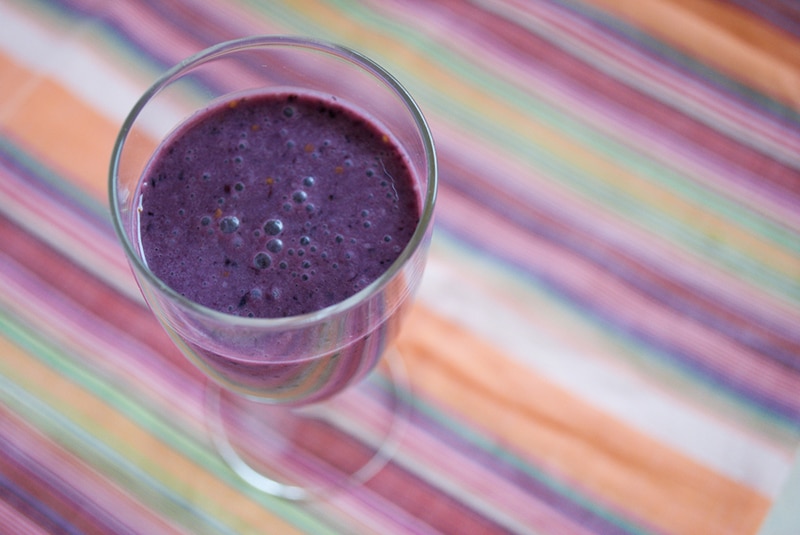
Nikon D60, Nikkor 18-55/3.5–5.6G, ISO unknown, 1/200 s, f/6.3, focal length unknown
Work with the Aperture and Focus Well
When you want to show off tasty food, don’t take your f-stop too low. If you do, you might get impressive photos—but your main job is to show how the food looks so that someone else can make it the same way as you. In my experience the best f-stop is around 3.5–6. That still gives impressive background blurring, without blurring your food.
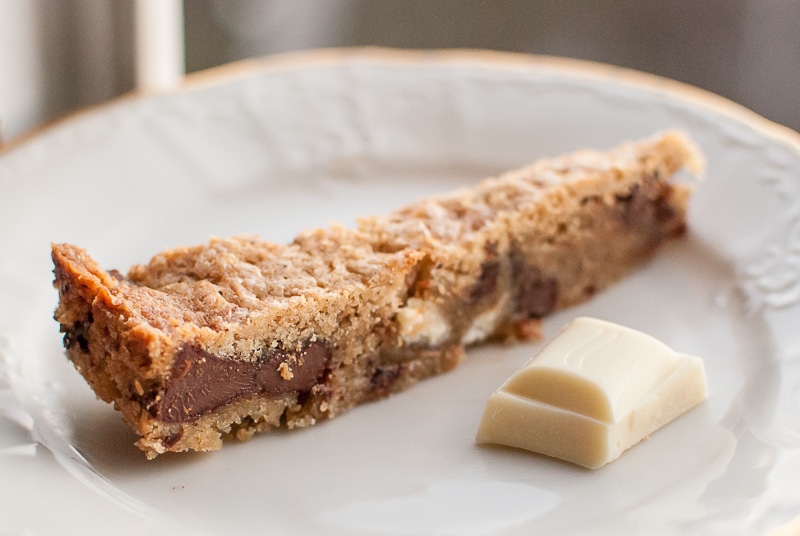
Nikon D60, Nikkor 35 mm/1.8, ISO 800, 1/100 s, f/3.5, focal length 35 mm
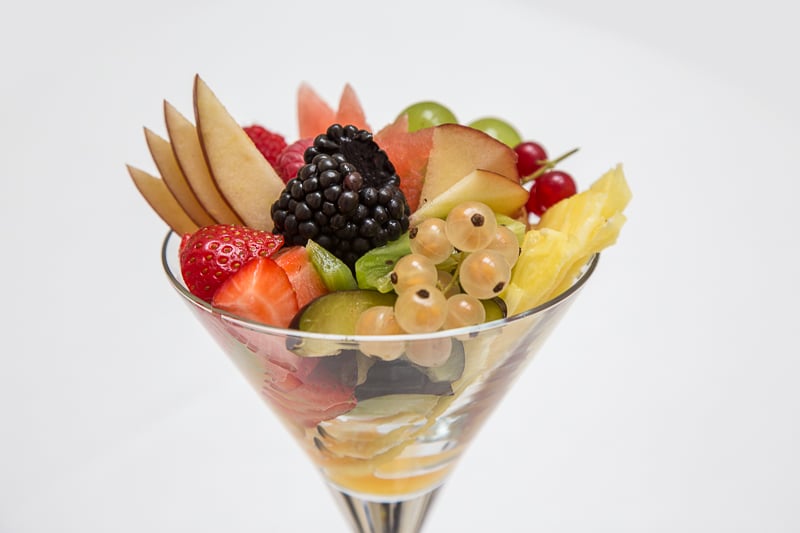
Canon EOS 6D, Canon EF 24-105 mm/4L, ISO 400, 1/40 s, f/6.3, focal length 92 mm
Tripods Actually Aren’t for Beginners
Now it’s true that a tripod will free up your hands and let you rearrange the scene however you want. It makes manual focusing easier too. But it also makes it harder for you to experiment with shot angles. So wait to use one until you have some experience, or at least until you’ve taken some “draft” pictures by hand. Always use a tripod, however, if you don’t have enough light.
Tell a Story
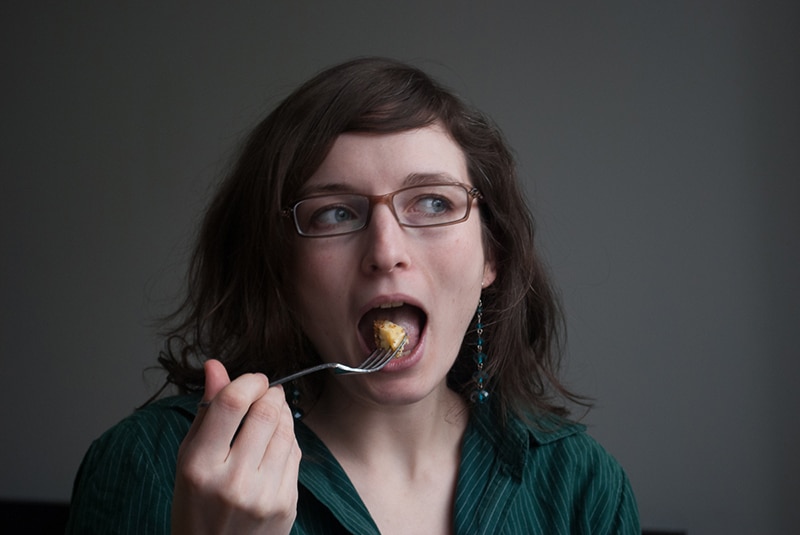
A recipe, a photo, and that’s it. Or not? Will your recipe come with a story about spice-market shopping, a lemon icing that flopped, or a memory of your very first chocolate kiss? Photos, too, can tell a story, and it’s all up to you what that story is—maybe about preparation, maybe about a cake disappearing into someone’s stomach.

Nikon D60, Nikkor 35 mm/1.8, ISO 200, 1/320 s, f/4.3, focal length 35 mm
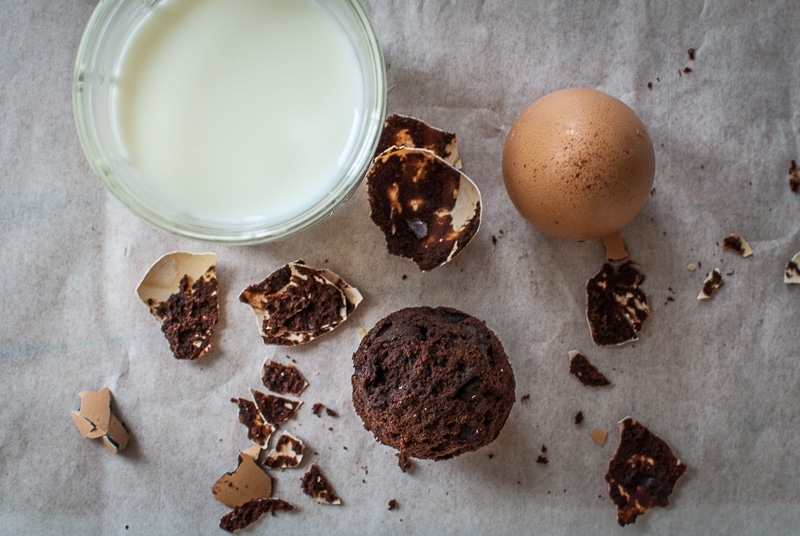
Nikon D60, Nikkor 35 mm/1.8, ISO 400, 1/30 s, f/6.3, focal length 35 mm
If you really want to improve, then think about your photos, take notes, and try taking new and better versions of your old shots. And if your photo doesn’t turn out? Don’t hang your head—you can still eat the food!
There are no comments yet.