Playful Macro Photography: How to Shoot Close-ups of Flowers, Insects, and Textures Without the Expensive Equipment
Do you want to try macro photography and capture fascinating close-ups of flowers, insects, and plants? You don’t need to spend a fortune on pricey gear! Learn how to use everyday camera equipment, light, and a few creative tricks to get stunning macro shots of nature and discover the magic of close-ups in your garden, the woods, or a meadow.
Have you ever tried to see the world through the eyes of an ant? Macro photography opens the door to a fascinating microcosm, where a simple dewdrop can hold an entire universe and the texture of a leaf looks like an alien landscape. The best part is you don’t need an expensive macro lens to start. All it takes is a bit of creativity and a playful approach.
Where to find macro photography subjects
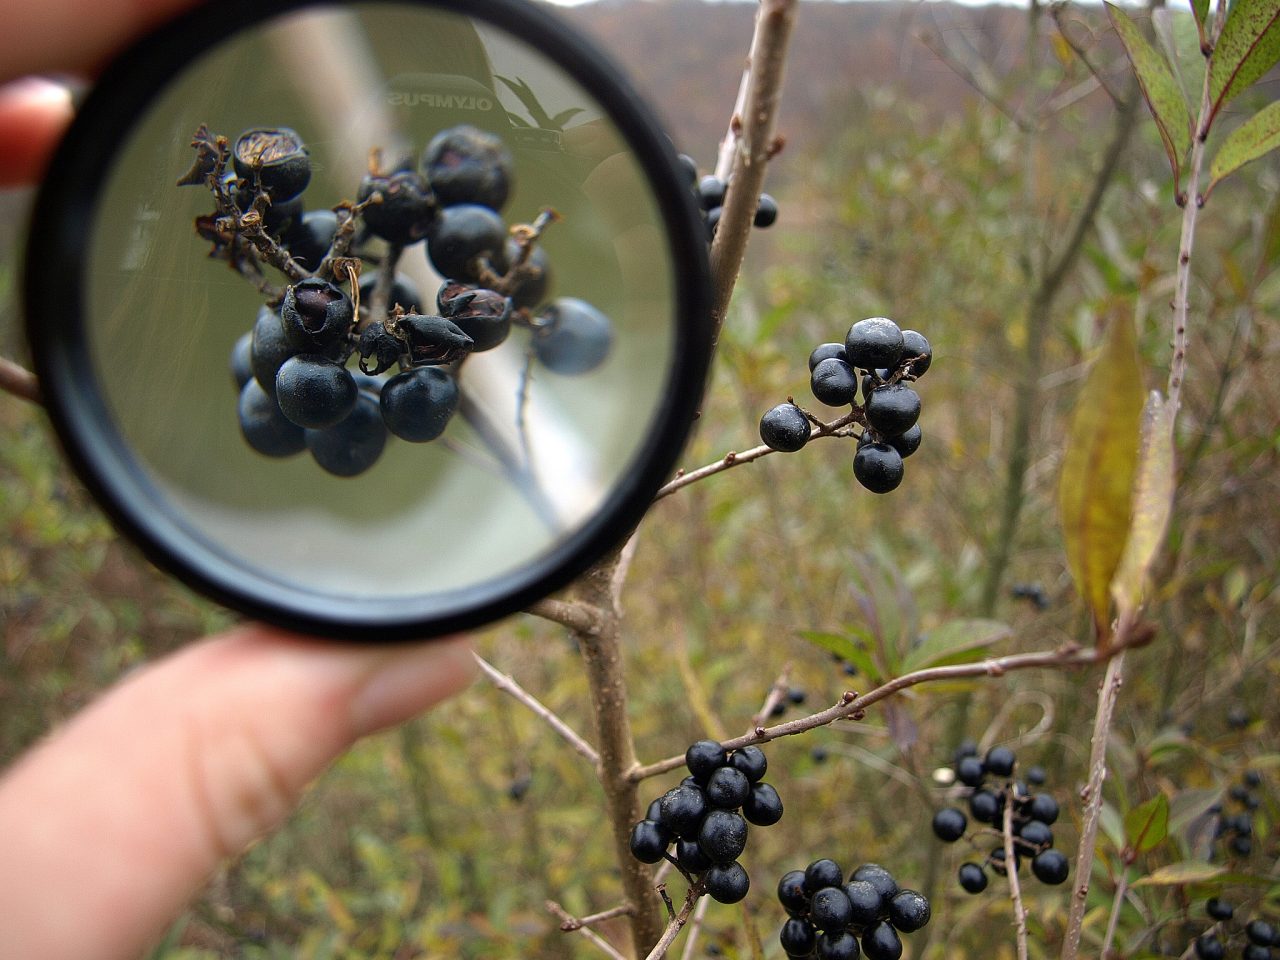
Where can you explore nature with your camera? Just look around the garden, park, or woods. Morning dew acts like a natural magnifying glass, magnifying the world inside the drop and turning it inside out. You can easily recreate dewdrops using a spray bottle.
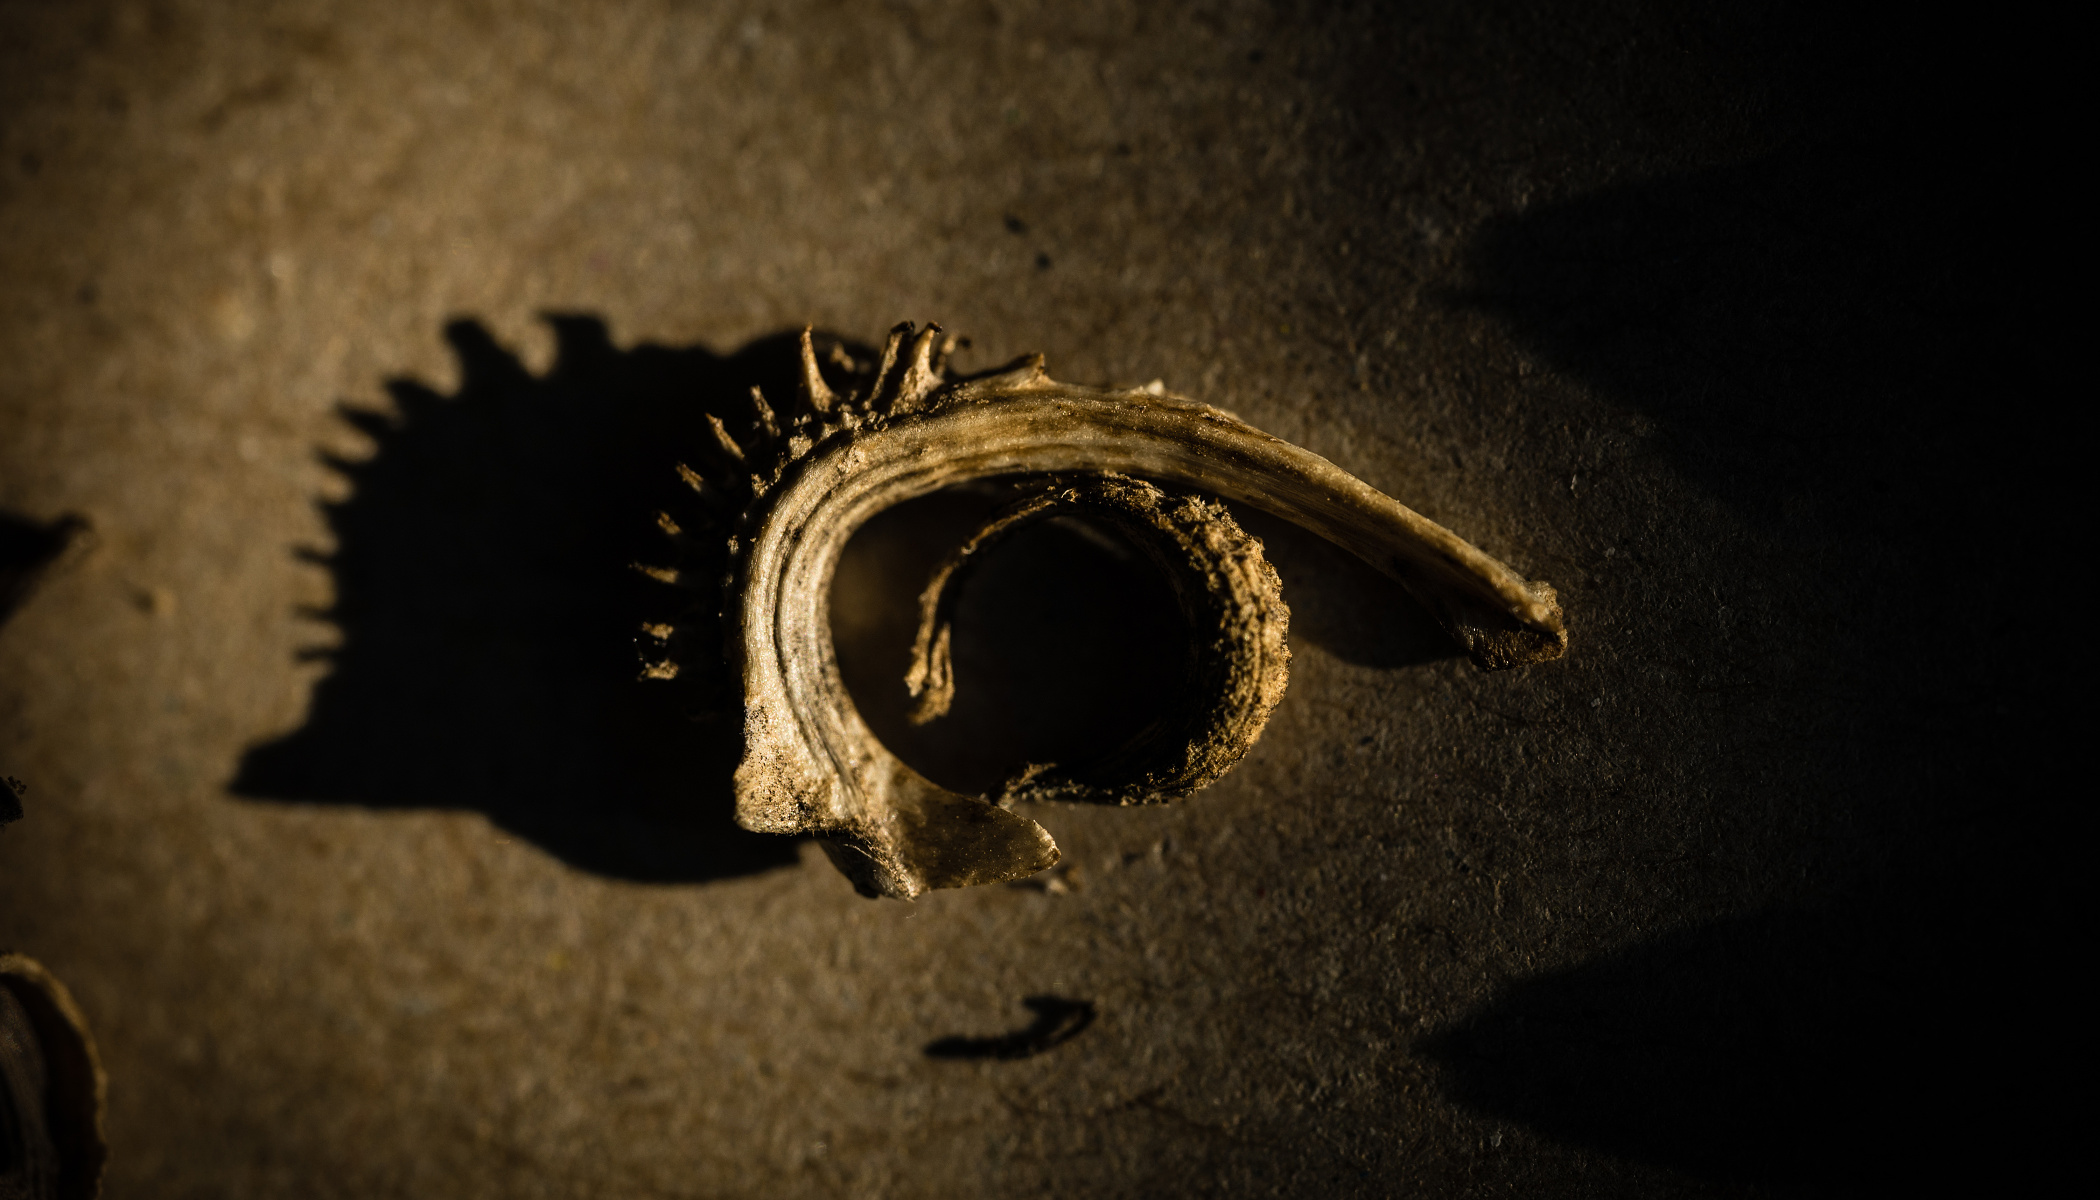
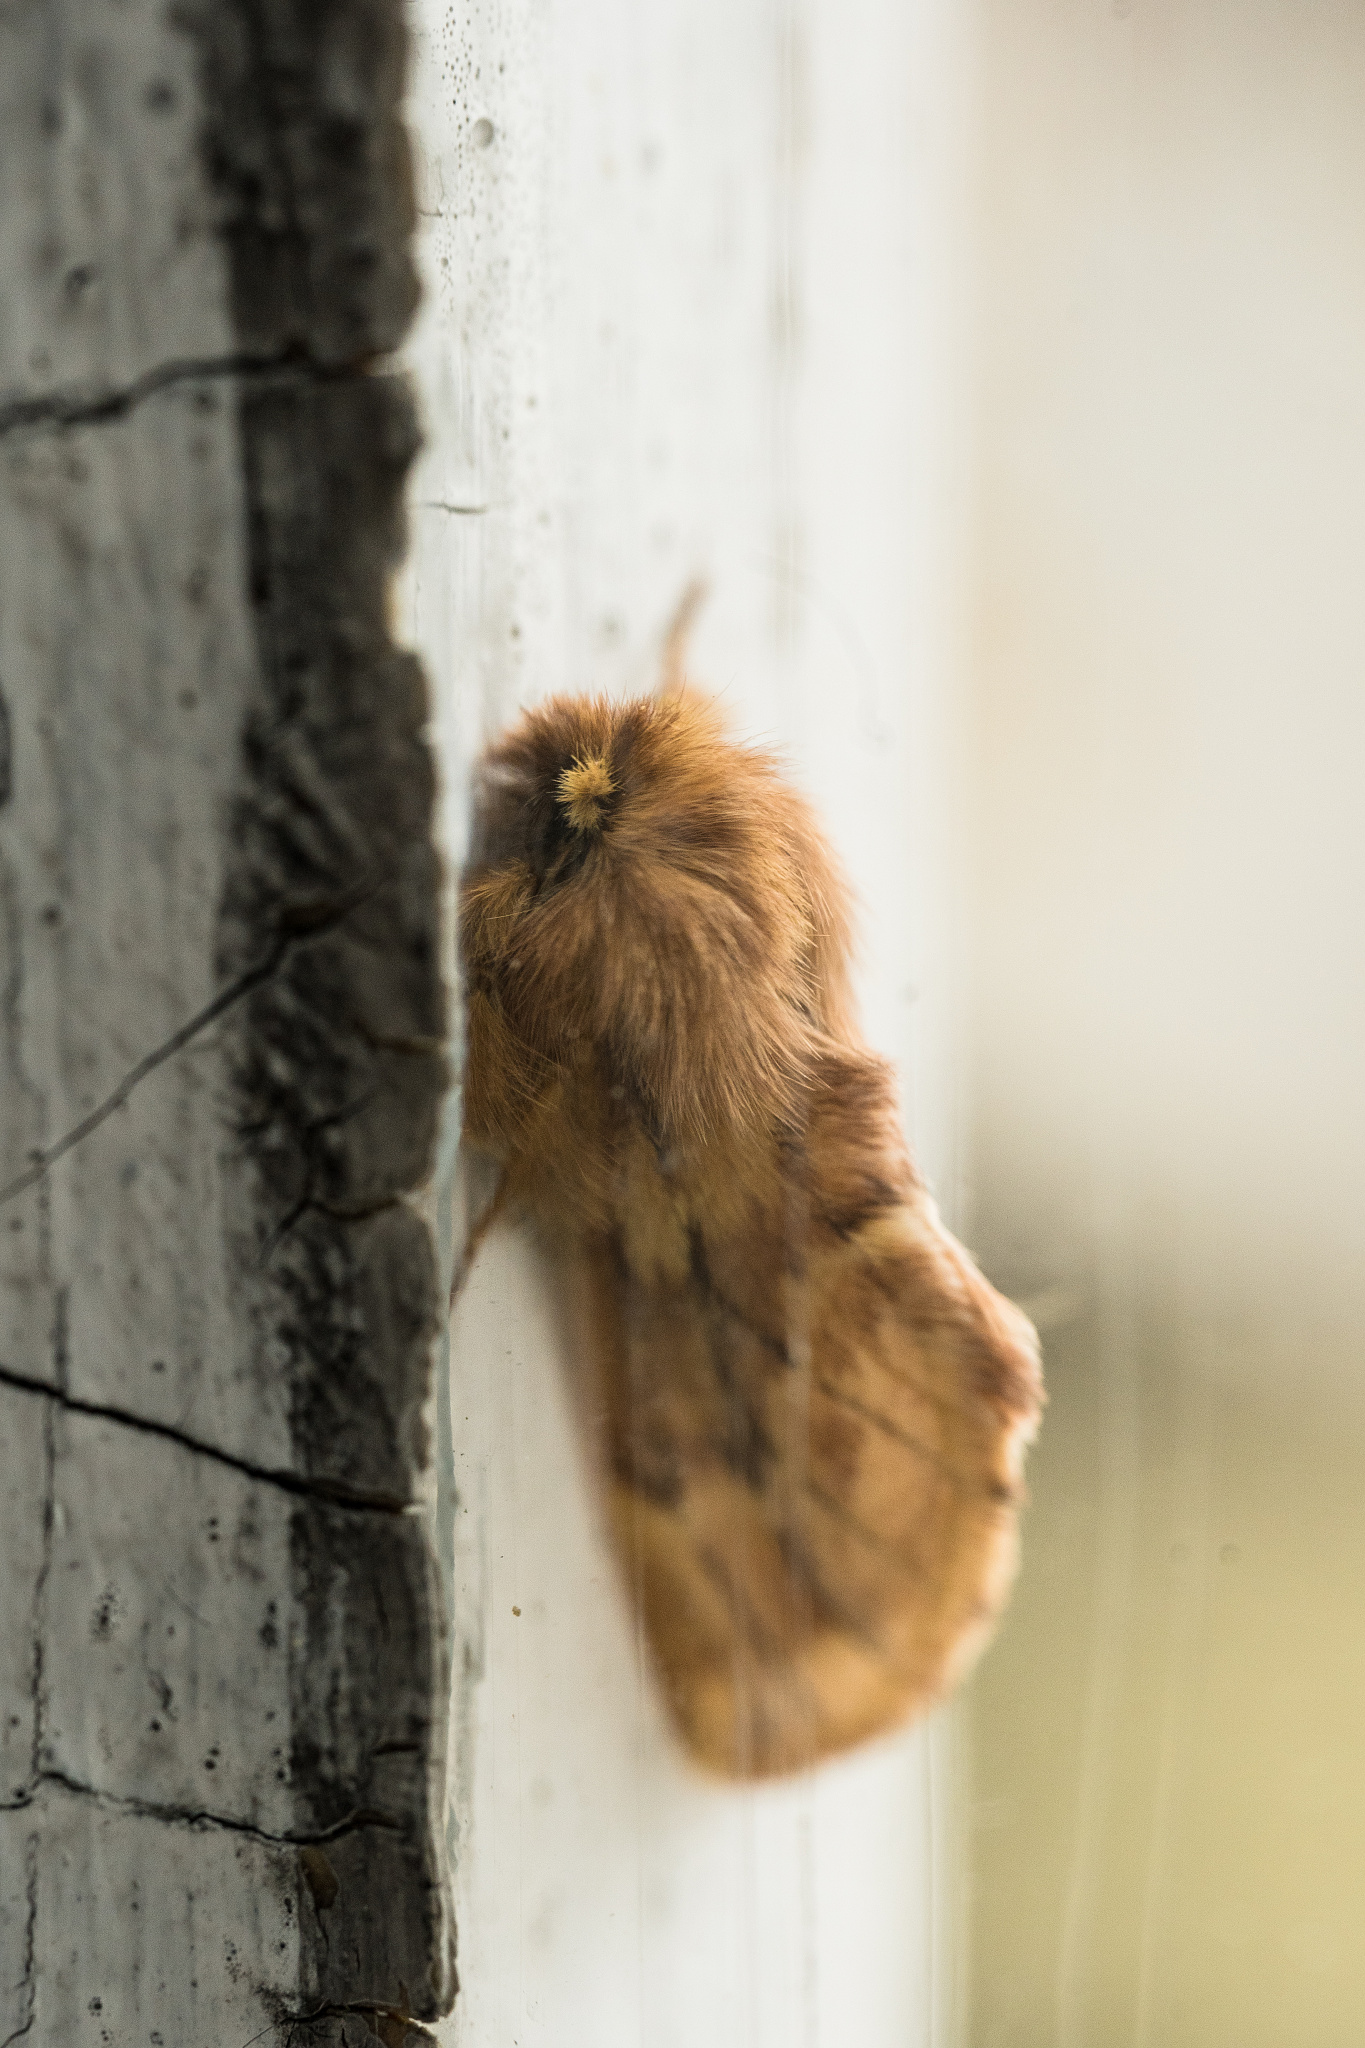
The textures of leaves, moss, or tree bark offer fascinating patterns that stand out even more with different angles and lighting. If you’re photographing insects and small creatures, head out to the garden or meadow early in the morning when butterflies and bugs are just waking up.

Composition in macro photography
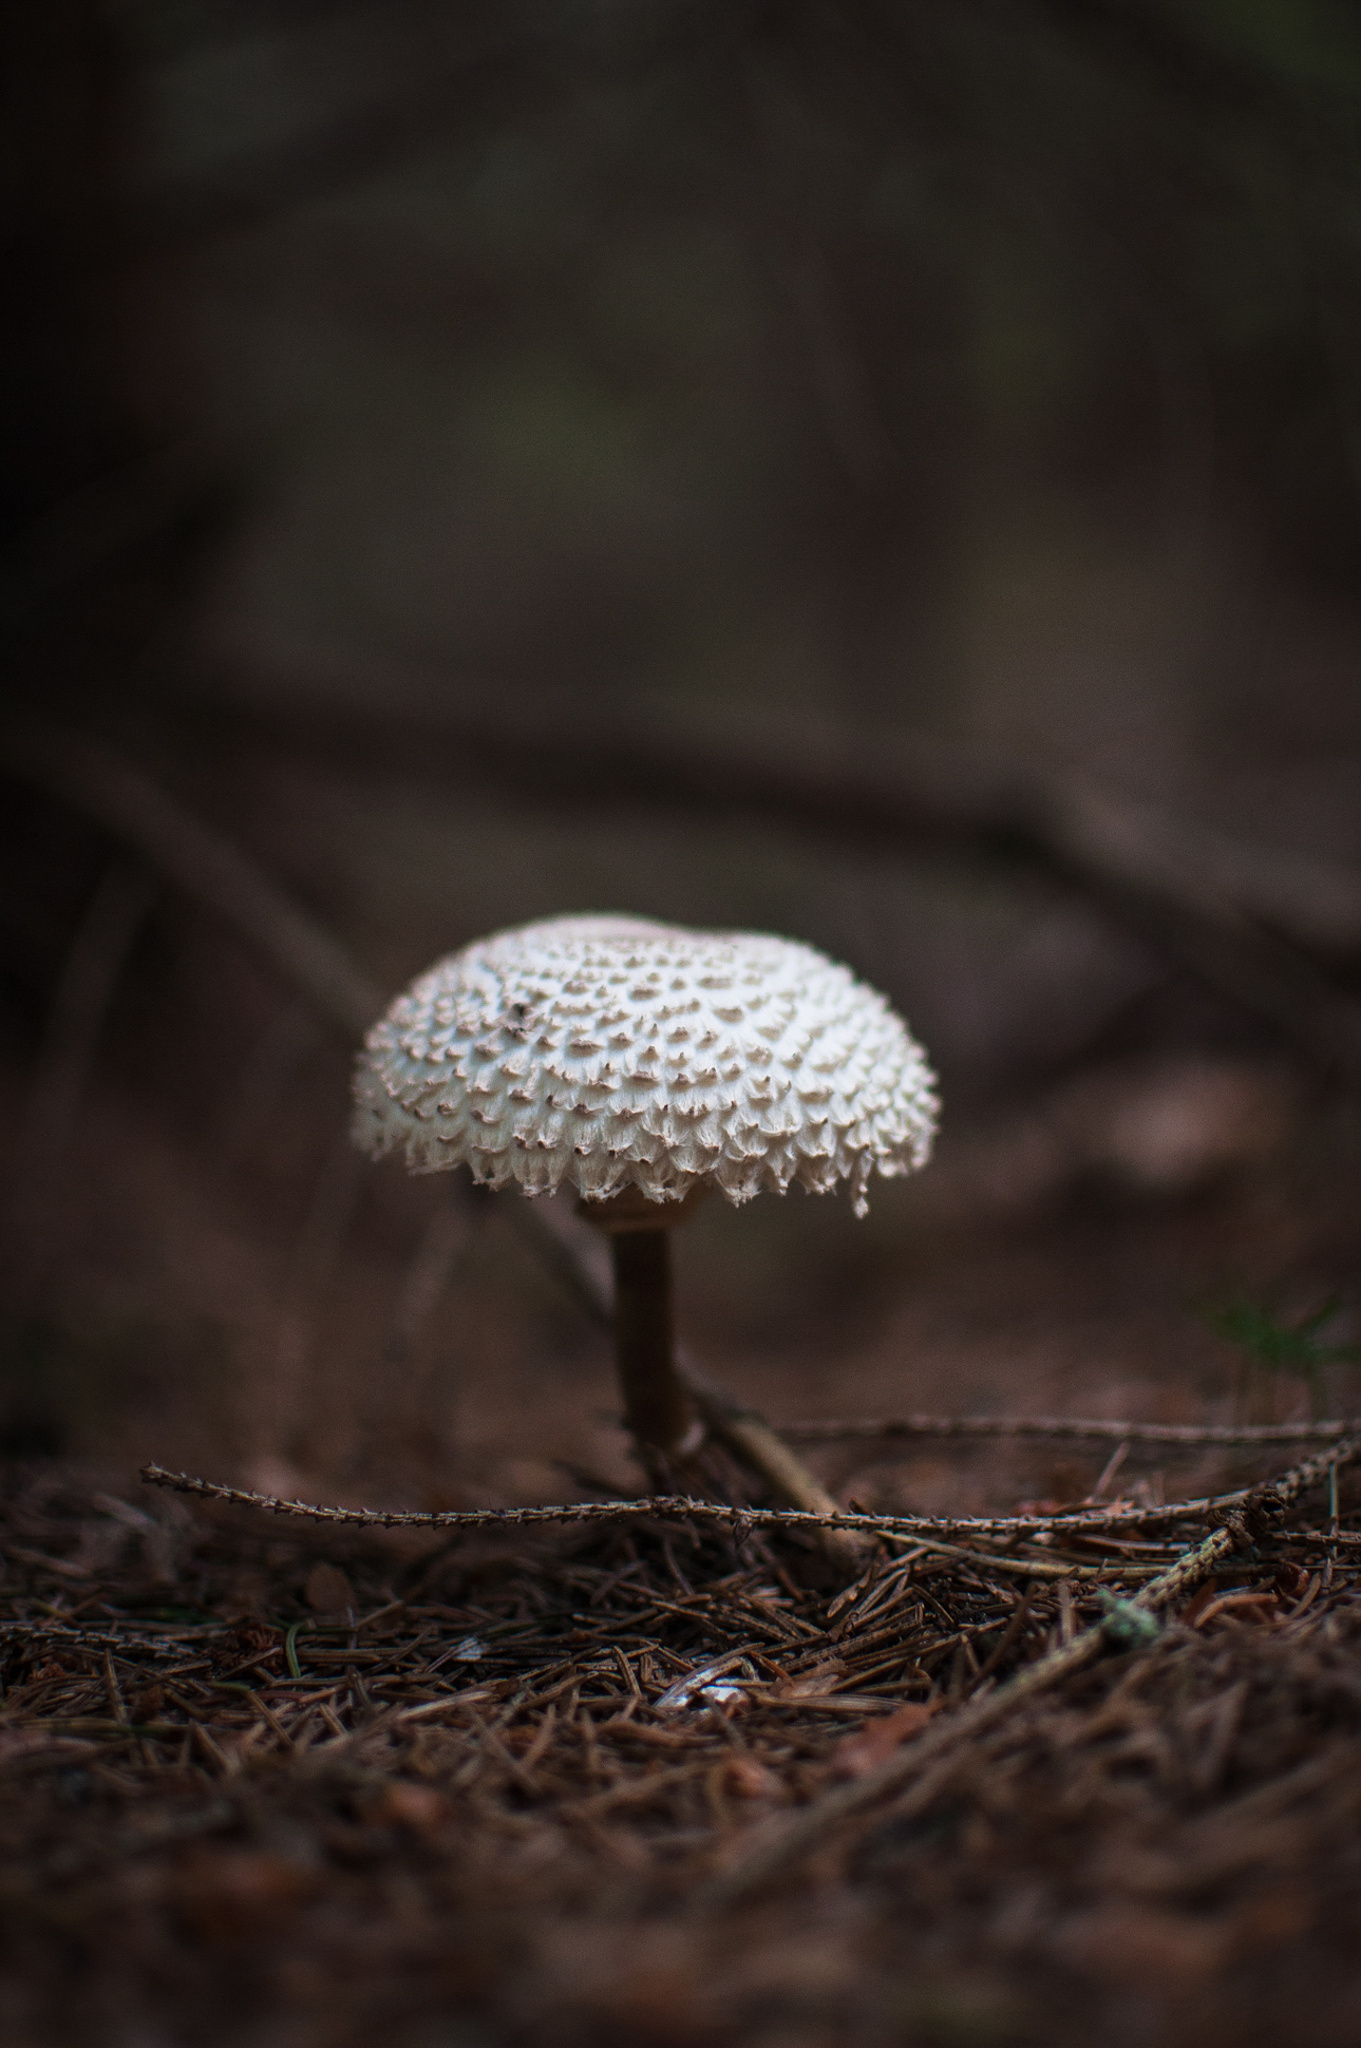
The right composition can turn an ordinary macro photo into a work of art. One of the simplest approaches is central composition, where the main subject sits in the very center of the frame. This composition works especially well for symmetrical subjects like flowers, mushrooms, trees, or spider webs.
Another go-to method is the rule of thirds, where you imagine your image divided into a grid of nine equal parts using two horizontal and two vertical lines. Placing your subject at one of the intersections creates a more visually appealing composition. This is great for close-ups of insects or plants.

You can also get an interesting effect using a diagonal composition, where the main line of the image, like the stem of a flower or the wing of a butterfly, cuts across the frame at an angle. This composition adds energy and helps guide the viewer’s eye through the photo.

If you want to add depth to your image, try framing. Framing is where you leave blurry leaves or branches in the foreground and the main subject is sharp in the background.
Working with light
Backlighting can create dreamy silhouettes or highlight the fine fuzz on leaves. If you need to balance the light and shadows, DIY reflectors, like a sheet of white paper or tin foil, can help balance things out. Just angle it so the rays bounce off and illuminate the shadowed parts of the image.


The leaves around the main subject create a blurry frame. I’m also working with the light that permeates the flower. This photograph is perfect for converting to black and white. 1/125s, f/6,3, ISO 100, 70mm
Control your depth of field
One of the biggest challenges in macro photography is get the focus just right. You might try to shoot a dewdrop or the edge of a leaf, but end up with a blurry result. That’s because depth of field, or how much of the image appears sharp, is often razor-thin in macro shots.
When shooting close-ups, the depth of field can be very shallow, sometimes only a millimeter section of the scene is sharp, while the rest is blurred into a subtle bokeh. This can be great for bringing out a specific detail, like the eyes of an insect or a flower’s texture. But it is also challenging when composing an image. How can you influence depth of field?
The simplest way is by adjusting your aperture (f-number). Lower f-numbers like f/2.8 give you a shallower depth of field and more pronounced background blur. But if you want more of the scene in focus, stop down to f/8 or f/16. Just keep in mind that smaller apertures let in less light, so you may need to increase your ISO or slow down your shutter speed.
Another factor is the focal length of the lens—the longer the focal length, the shallower depth of field. A 100mm macro lens will blur more than a wide-angle. And the closer you are to your subject, the shallower the depth of field becomes.

Watch out for wind and motion
Even if you have depth of field under control, movement can still ruin a shot. Whether it’s a breeze or your own hands, small shifts in movement can throw focus off. Try to shoot on calm days or find shelter from the wind. You can also use your body, a backpack, or a piece of cardboard to block wind.
If you’re shooting handheld, rest your elbow on something stable or use a monopod. For maximum sharpness, use a tripod. You can also increase ISO and raise shutter speed to reduce blur from movement.

Manual or autofocus?
Autofocus can struggle with macro photography and often locks in on the wrong place. Manual focus gives you full control over what’s sharp. Instead of adjusting with the focus ring alone, try gently moving it back and forth to help find the best plane of focus. This is especially helpful in extreme close-ups, where the slightest movement changes everything.
If, despite your best efforts, focus is still off, try looking for high-contrast areas. For example, the edge of a leaf against a dark background or a drop of water in bright light. Cameras focus more easily on subjects with strong contrast.

Macro on a budget
If you’re excited about macro photography, but don’t have an expensive macro lens, don’t worry. Macro converters, small lenses that you attach to your main lens, let you get closer to your subject. Another option is extension tubes, which fit between the lens and the camera and allow for better magnification without sacrificing image quality. If you want to experiment, try reversing a standard lens with a reverse adapter for a DIY macro lens.
If you’re using a compact camera or phone, you’re almost there. Many have a macro mode that lets you focus close-up. The key is to use what you have available and not be afraid to improvise.

Don’t be afraid to experiment
Macro photography isn’t just about sharpness and settings. It’s also a playground for creative effects. For example, try transparent sheets, colored sheets, or even candy wrappers in front of your lens. Get interesting color gradients and a unique atmosphere. A glass sphere can act as a natural magnifying glass, creating a magical “inverted world.” Water drops can act like tiny lenses, refracting light and reflecting the surroundings.

If you want to experiment some more, try lighting the scene with your mobile phone or small flashlight. The side light brings out texture and creates dramatic shadows. DIY reflectors using foil or paper can also be used.

If you want to take your macro photography even further, try building tiny scenes. For example, place a glass bead on a droplet of water or use plastic film with a pattern in front of the lens. Macro photography is all about attention to detail and curiosity. Some of the best shots happen when you dare to try something new. So take a look around and find your very first tiny subject to explore.
There are no comments yet.