Want Perfect Landscape Compositions? A Little Geometry Can Help
Geometry isn’t just for schoolbooks! For example in landscape photography, it can help you get some great compositions. Don’t worry, you won’t need a protractor or a compass. You’ll just need to recognize and utilize a few basic geometric shapes in landscapes. You can use them to guide your audience’s eyes straight where you want them, emphasize specific spots, or give a photo just the right touch of motion. How? Read on and find out!
There are some basic guidelines to follow when you’re photographing landscapes. Most of them only come into play after you’ve found an important spot in a scene and want to fit it in. Here I won’t be talking about the search for these spots, but instead for whole patterns that you can grab viewers’ attention with.
A Little Shift Makes Sense
One way to improve a photo’s composition and patterns is to stand in the right place. For subjects near your camera, even shifting them just one meter will cause significant differences. But even when the scene covers hundreds or thousands of meters, your position plays a role. Sometimes you can shift that position as needed just by continuing down your already-planned path. Because that path can give you several angles on the same object and show it surrounded with different aspects of the landscape. Just check every hundred meters or so whether or not the view has improved and it’s time to take another shot.
A Simple Curve
This brings us to the first type of geometric object that’s good to seek out in landscapes. And that’s a simple curved line resembling half an ellipse.
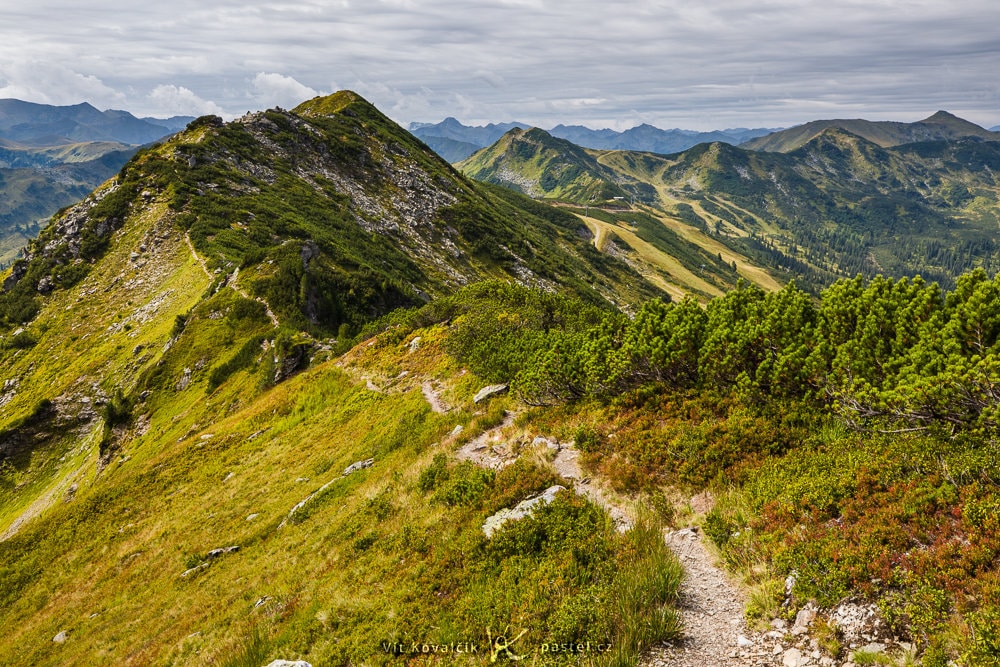
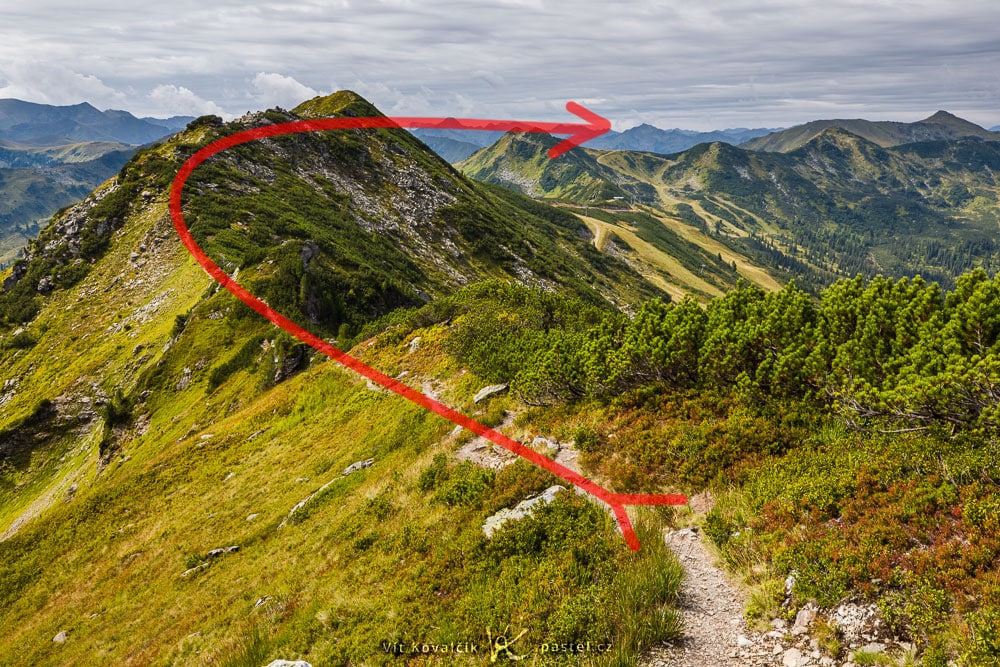
Curves draw attention in general, and if they’re easily recognizable, they literally force anyone viewing your picture to run their eyes over them. Try this experiment: look at the following picture, and follow what your eyes do. They’ll likely start at the light part of the path and continue down it to the left. And where the path leaves off, they’ll shift to the mountaintops at the top right.
A simple curve made up of a path and a horizon that continues on from it. Viewers will tend to look straight at the photo’s brightest spot—the start of the path—and continue up and left.Canon 5D Mark IV, Canon EF 16-35/2.8 III, 1/40 s, f/14, ISO 200, focal length 30 mm.
Just like the other shapes below, simple curves in a landscape are often man-made. They’re most often roads, trodden paths, and fences.
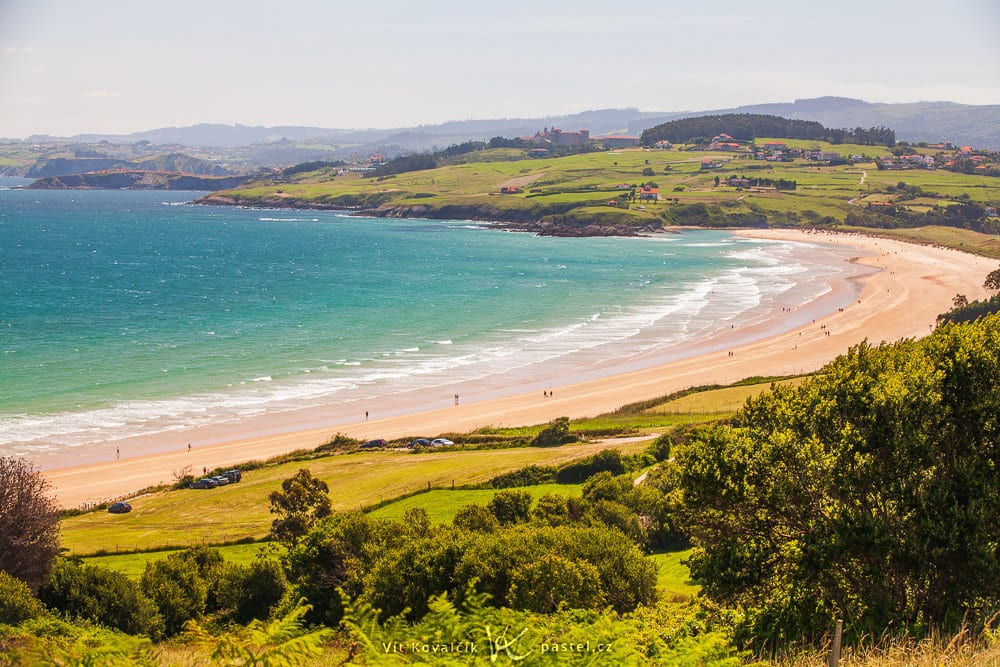
But there are also purely natural variants such as seashores, streams, and lines of hills.
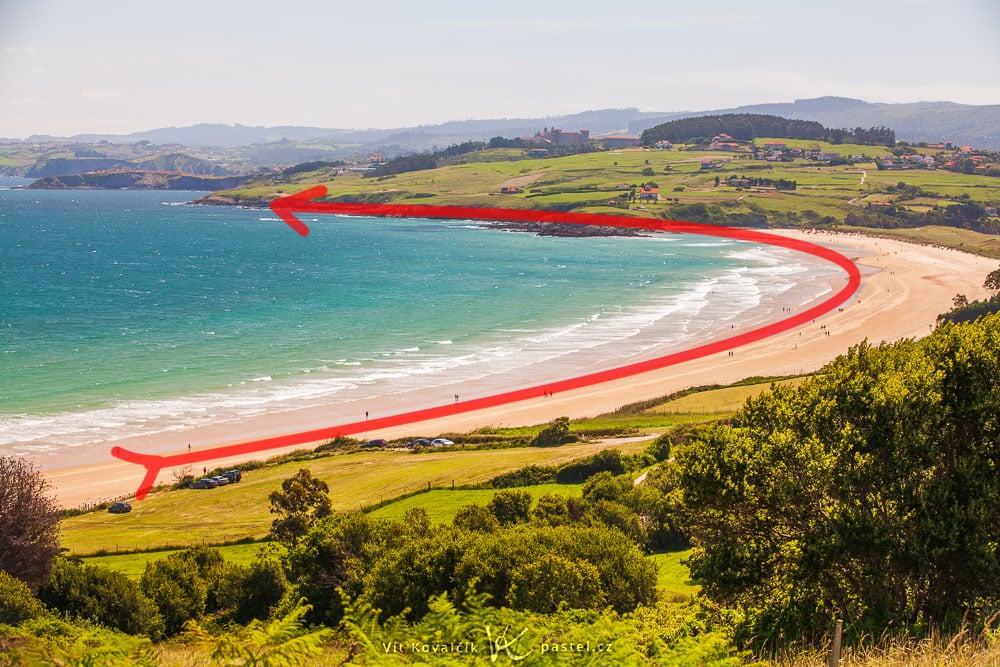
Here the seashore forms a striking arc. With this one your eyes will likely start from the middle, since the brightest spot is there. Only after exploring the top of the photo will they jump to the bottom half.Canon 5D Mark II, Canon EF 70-200/2.8 IS II, 1/50 s, f/8, ISO 100, focal length 80 mm.
S-curves
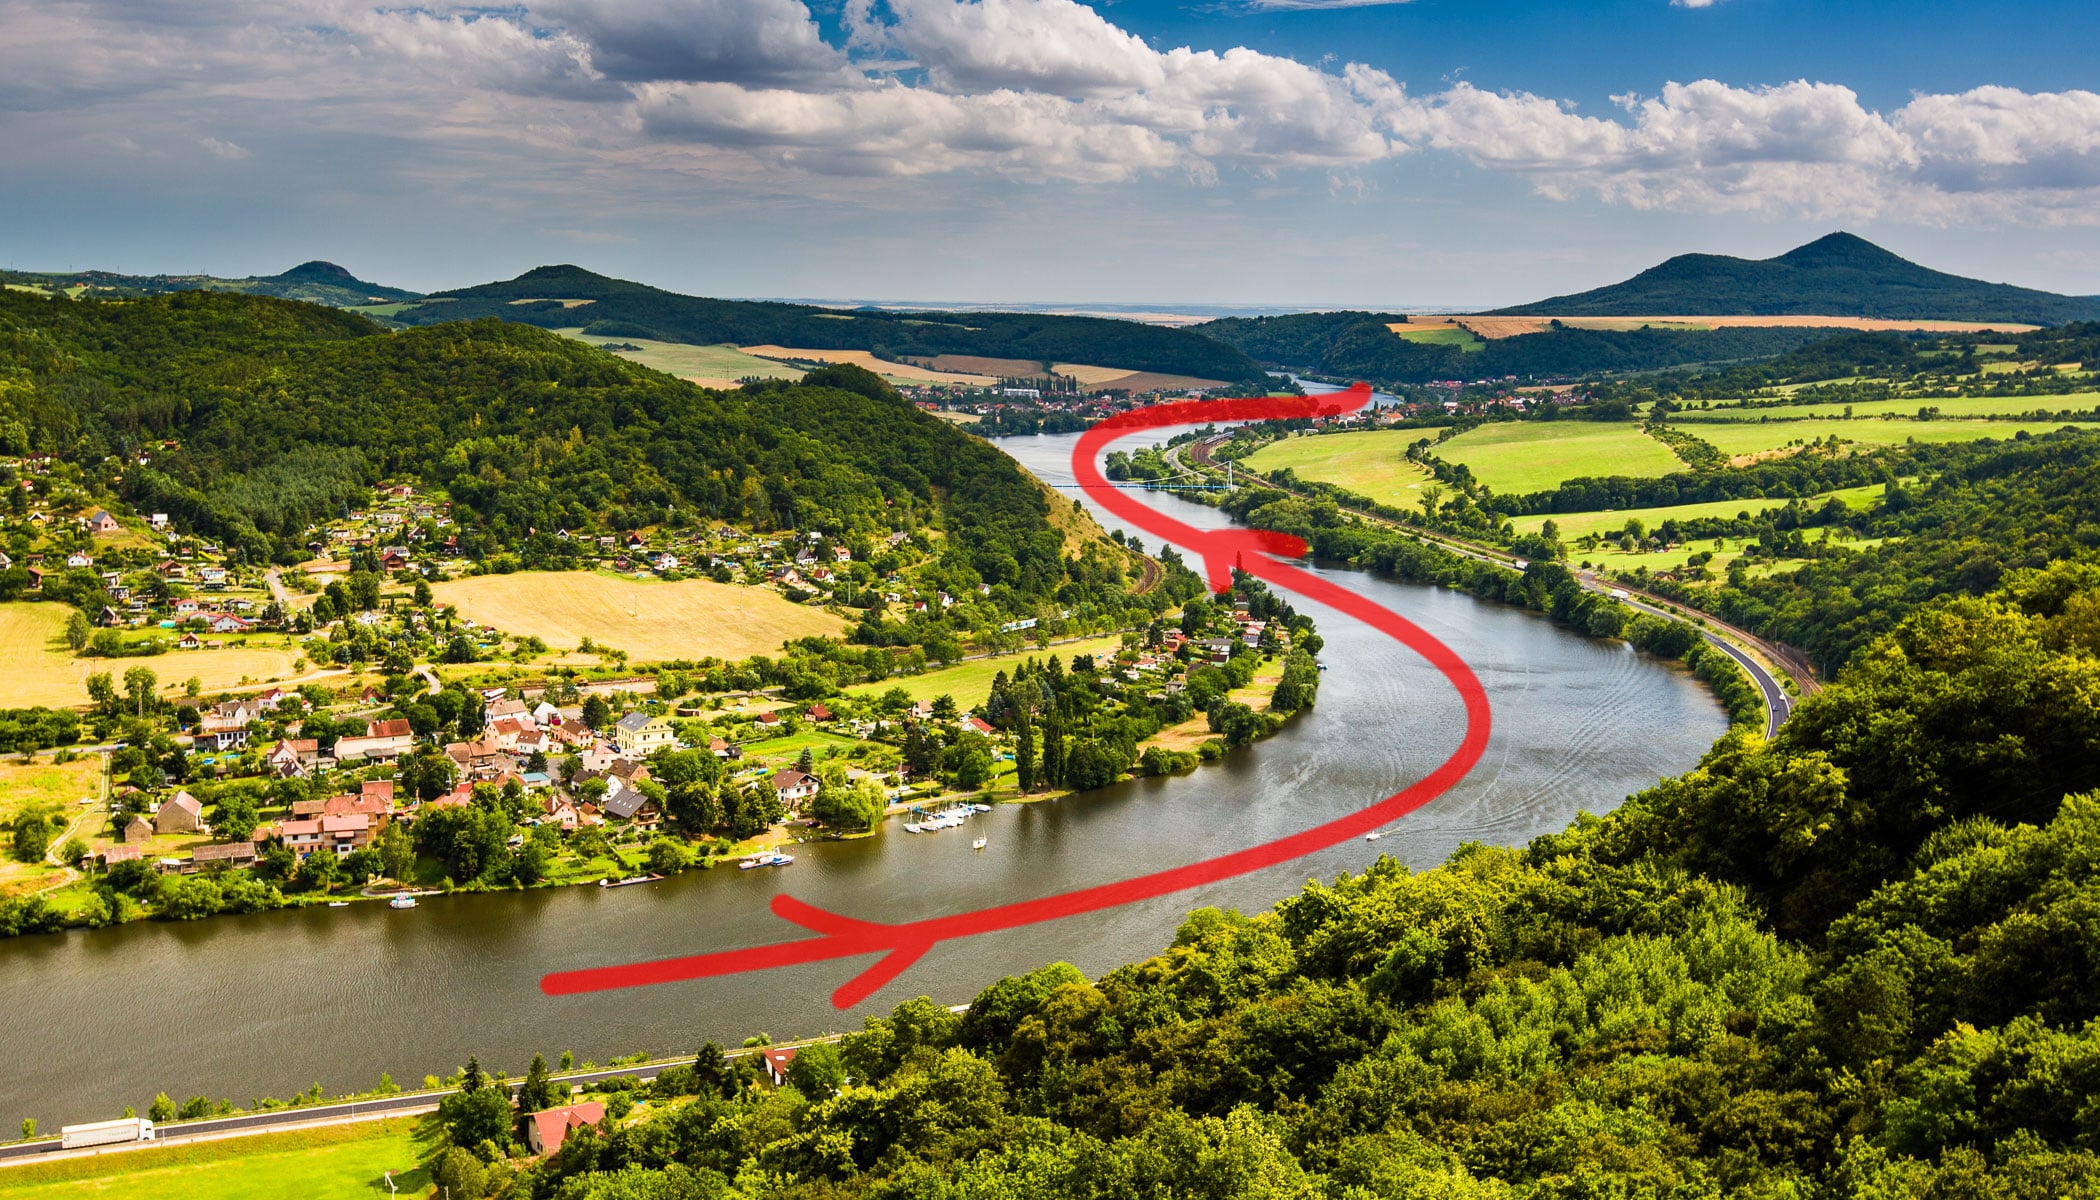
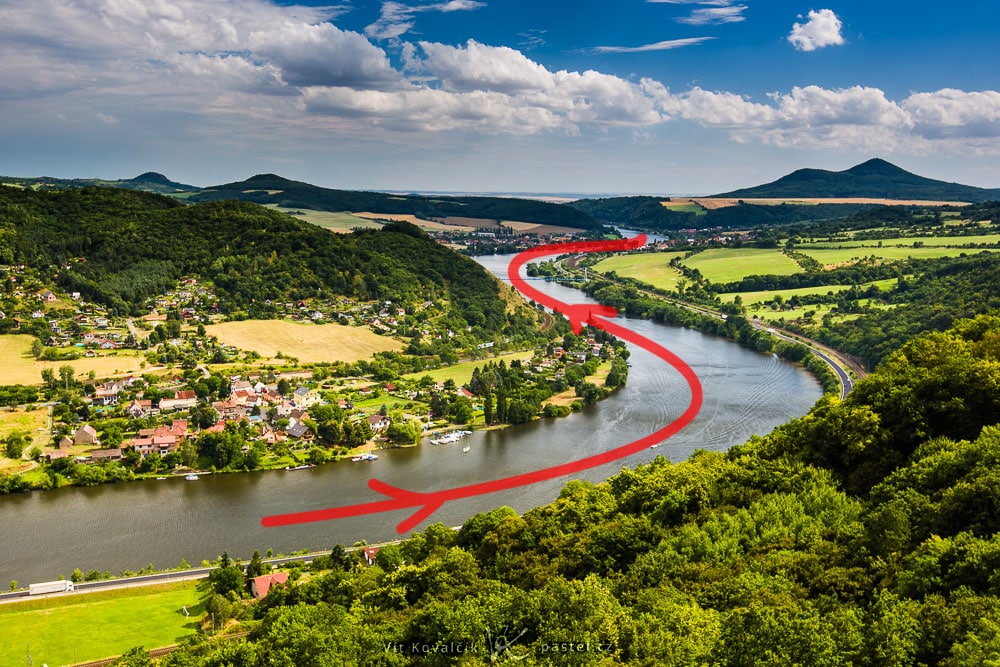
The next step up in complexity is an “S” curve, that is, a curve bent towards one side and then the other. Once again effectively leading a viewer’s eyes.
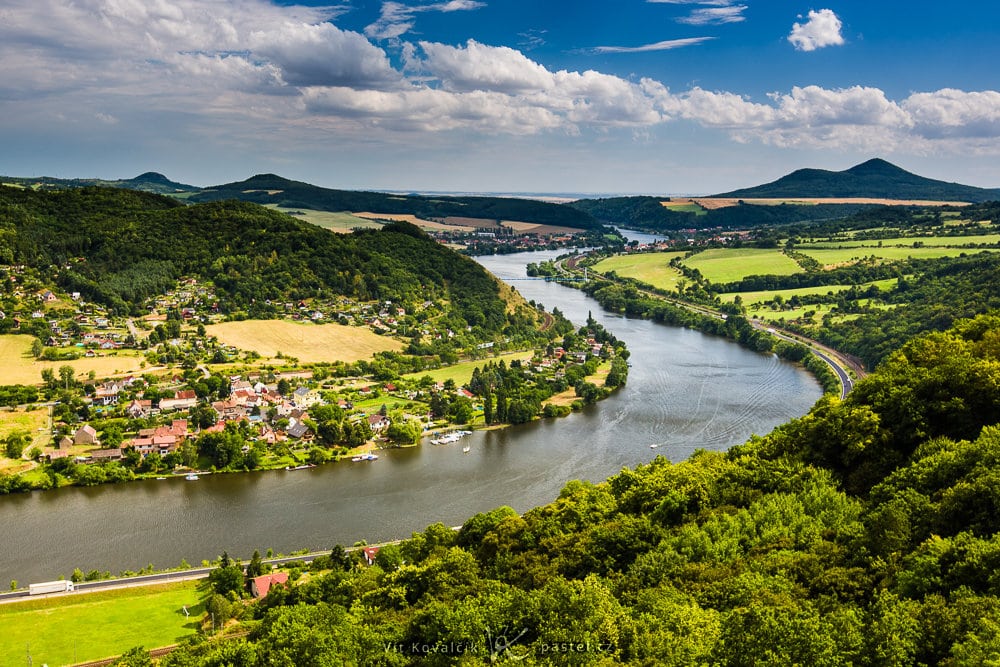
An S-curve shape in a view of the Elbe riverbed.Canon 5D Mark III, Canon EF 16-35/2.8 II, 1/80 s, f/7.1, ISO 100, focal length 29 mm.
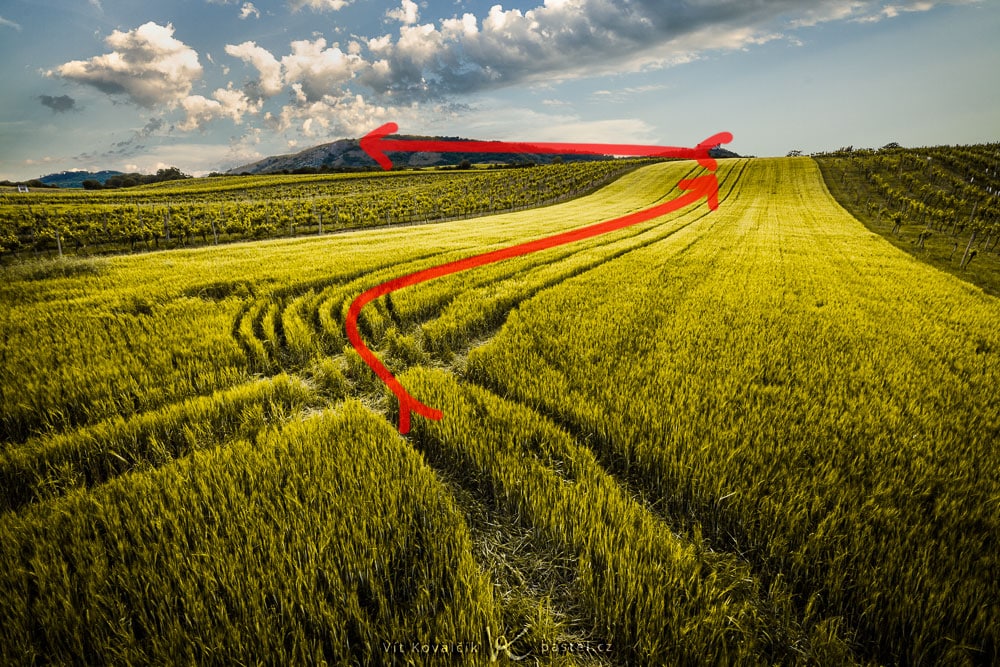
And—just like a simple curve—an S-curve doesn’t have to be made of just one object; it can contain several segments of different types instead.
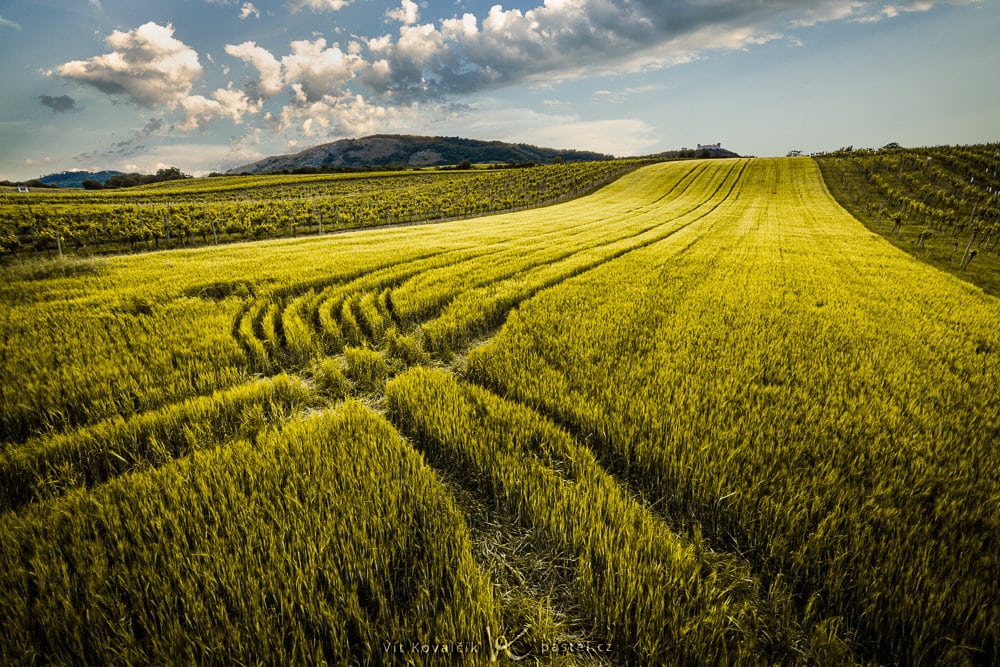
Here the S-curve is made up of two parts: heavy-machinery tracks in the wheat, and the horizon that directly continues from them.Canon 5D Mark IV, Canon EF 16-35/2.8 II, 1/200 s, f/13, ISO 100, focal length 16 mm.
TIP: To make the curves stand out more, this photo was shot from higher up than usual. But how do you do that? If you have a tripod, it’s enough to just hold it fully telescoped out above your head, bringing your camera to a height of 3–4 meters. Getting the shot right after that is just a matter of taking a few tries.
Complex Curves
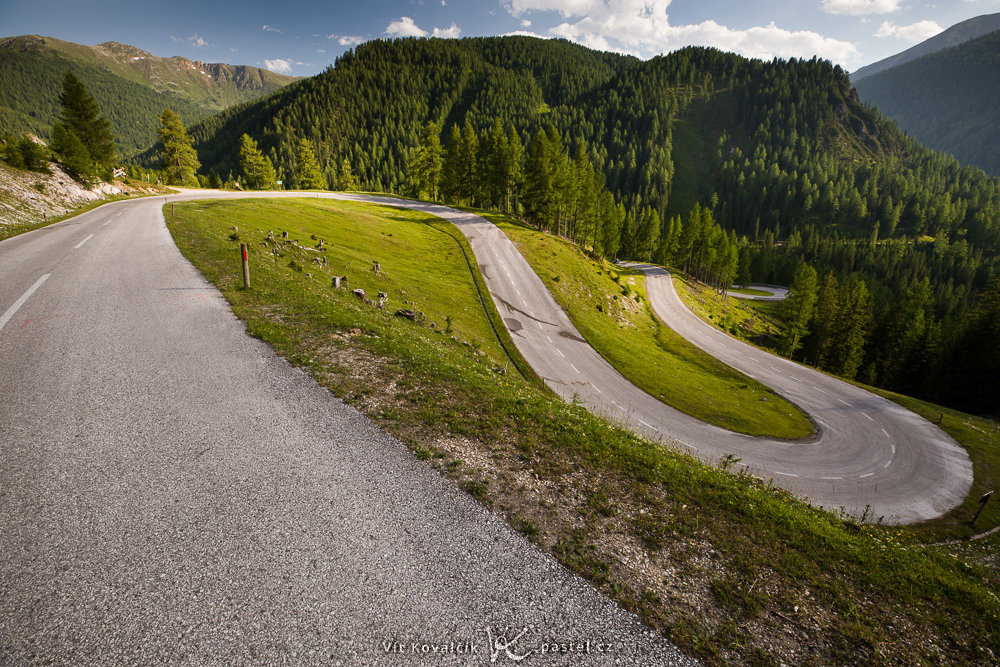
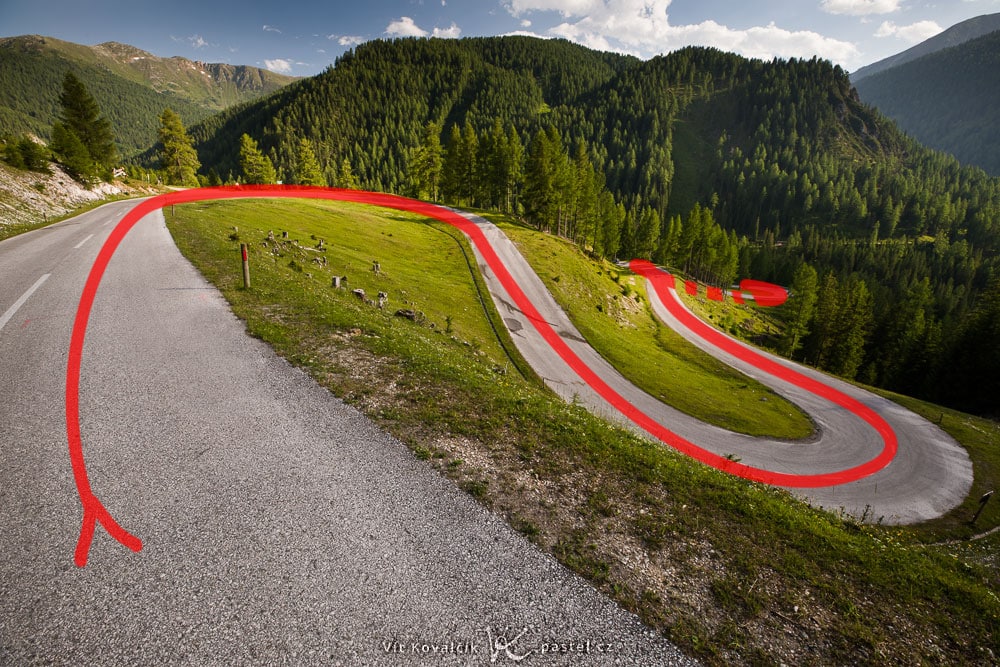
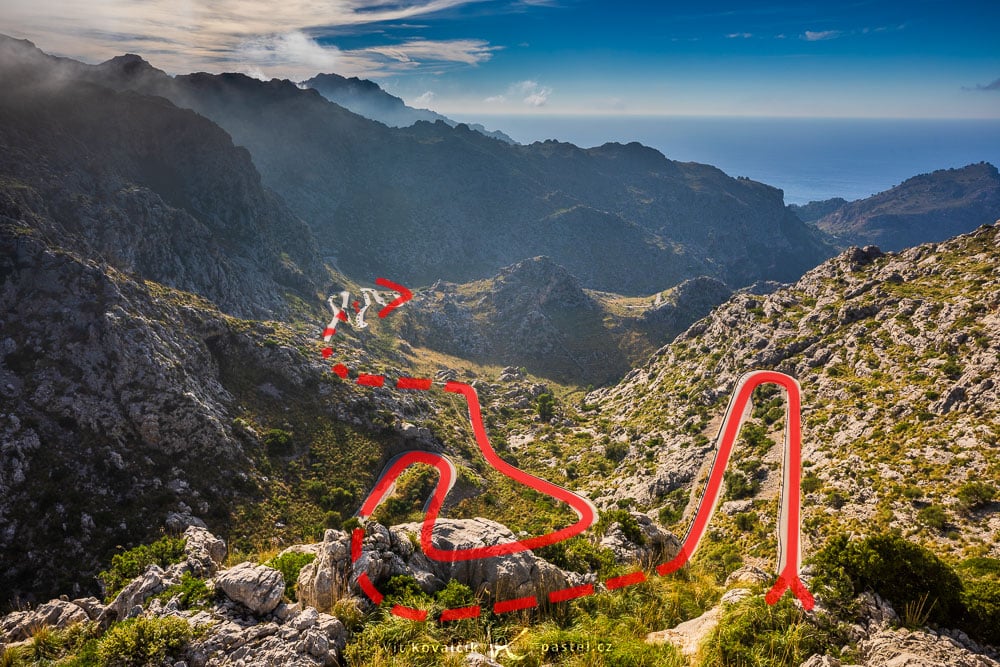
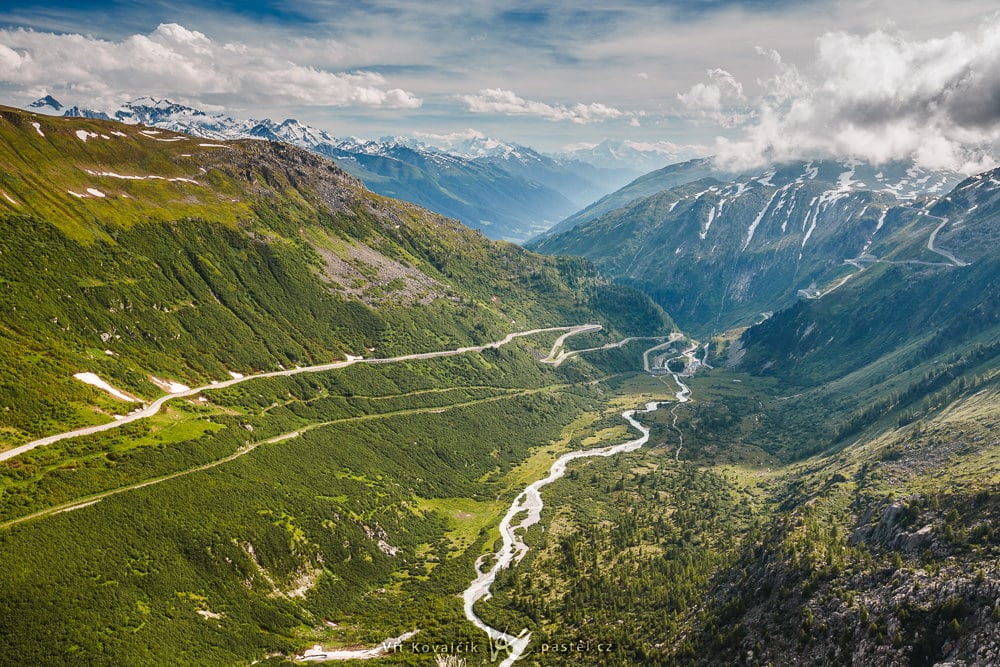
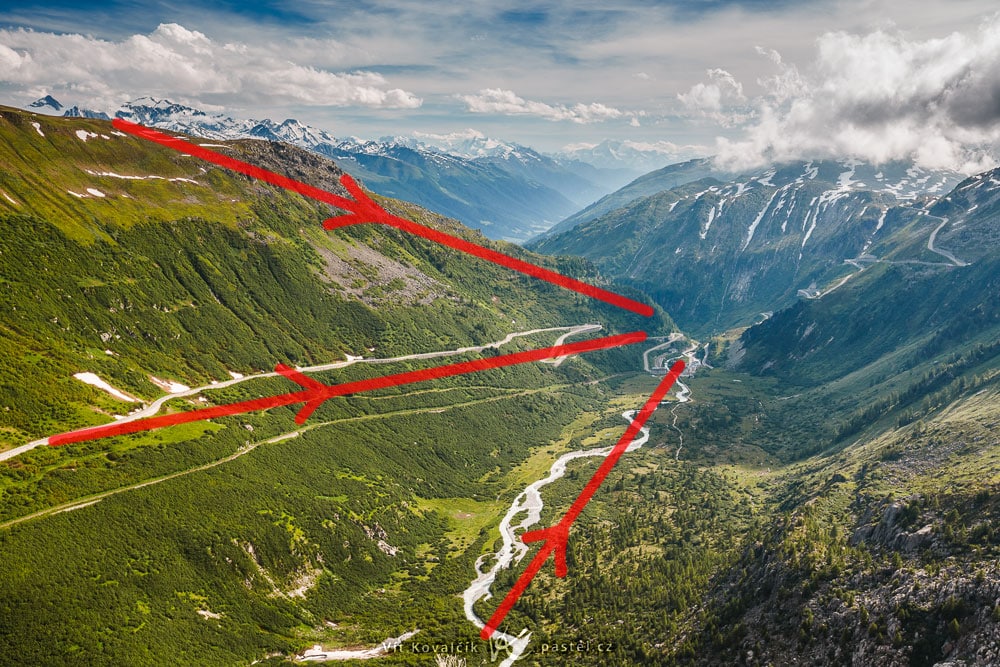
These are the domain of mountain roads, which carve highly visible shapes in the landscape. Depending on the situation, you can either once again use one of these curves as a guideline through the photo, or include it in the elements that produce the image overall.
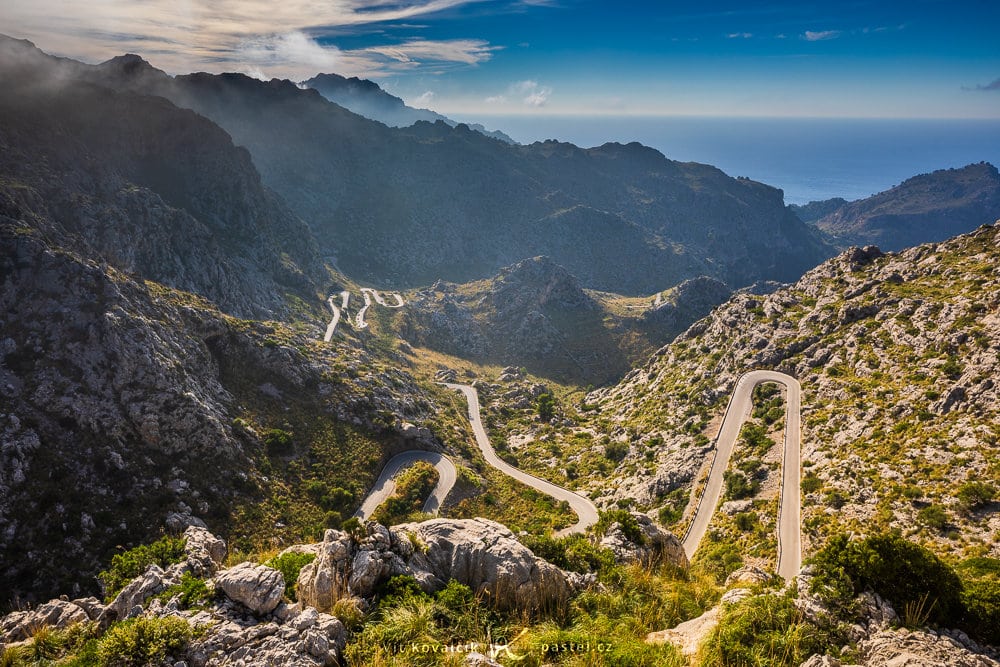
A more complicated curve taking up nearly the whole photo.Canon 5D Mark IV, Canon EF 16-35/2.8 III, 1/40 s, f/11, ISO 100, focal length 16 mm. Even though this road is much curvier, it’s just used as a minor element, complemented by the surrounding mountains.
Canon 5D Mark IV, Canon EF 16-35/2.8 III, 1/160 s, f/13, ISO 100, focal length 23 mm.
Diagonals
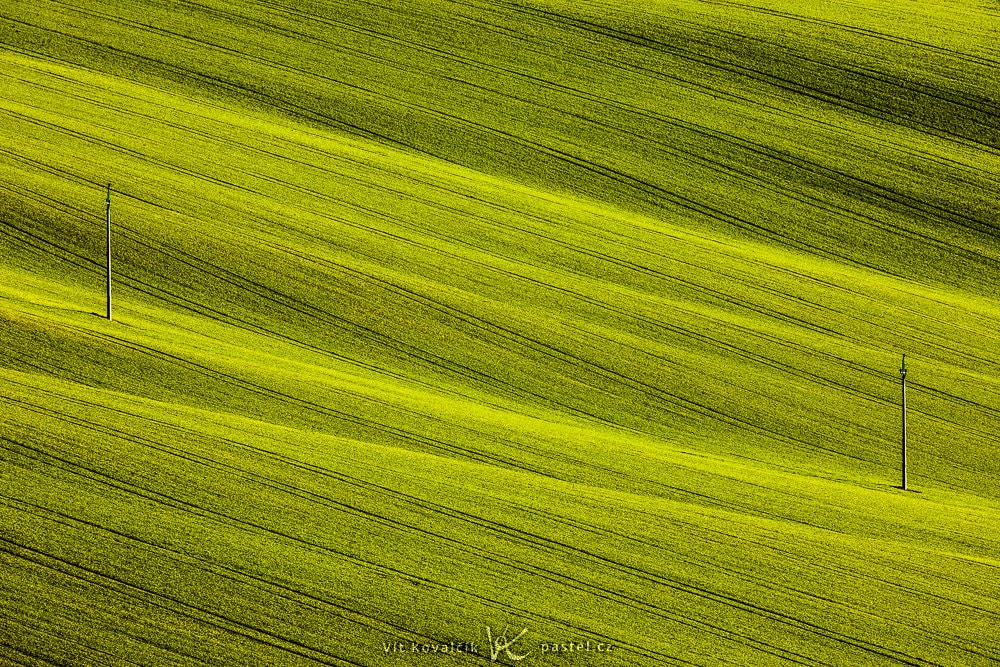
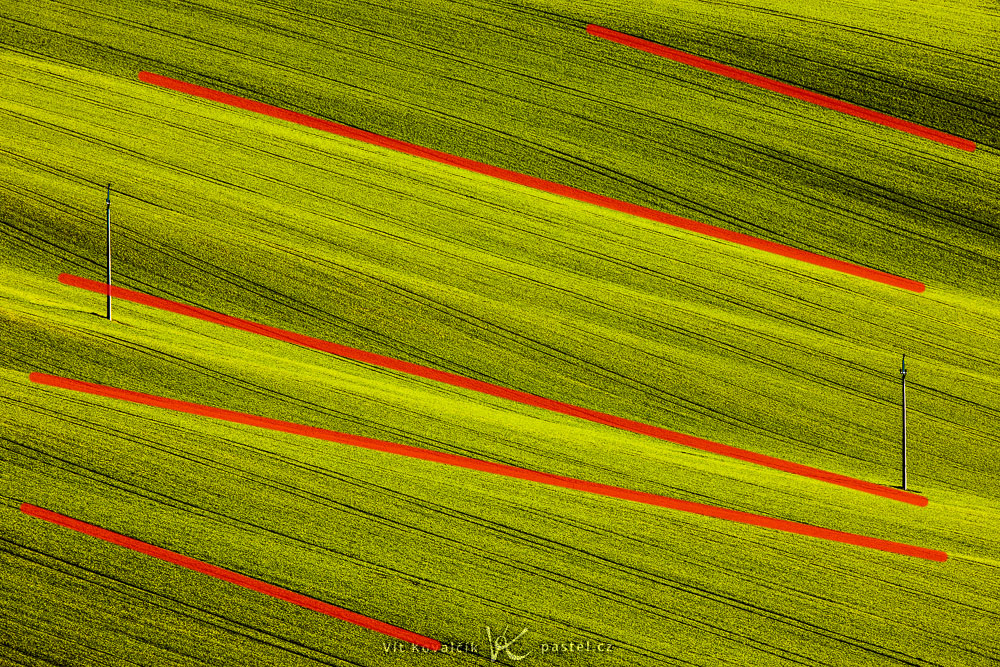
Diagonals play a different role than curves do. While our previous shapes led the viewer’s eyes from one spot to another, diagonals’ overall effect on a picture is to make it more dynamic. At least compared to how that picture would look if those same lines were horizontal.
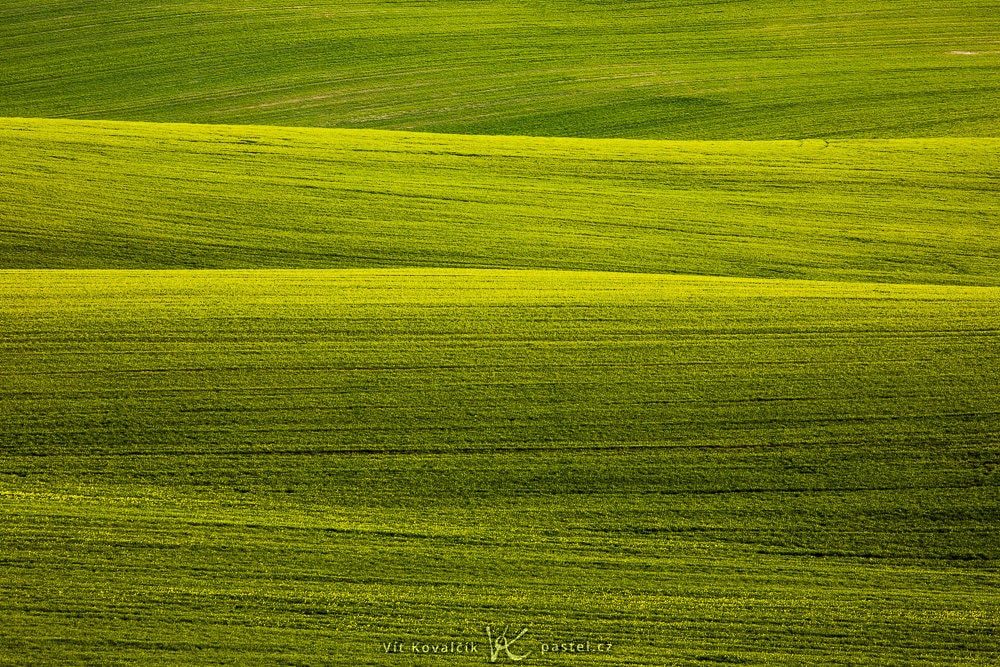
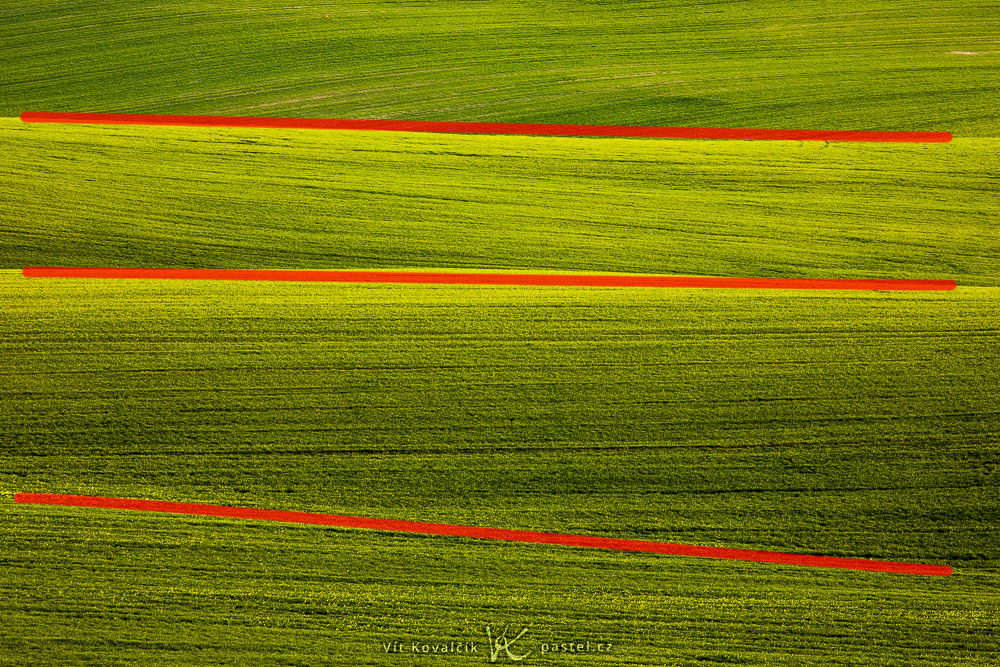
Compare these two shots of similar fields with different compositions:
(Nearly) straight lines feel calm.Canon 5D Mark IV, Canon EF 70-300/4-5.6L IS, 1 s, f/13, ISO 100, focal length 300 mm. Diagonal lines, meanwhile, add dynamism. Here the diagonals are made up partly of unevenness in the terrain, but also partly of tractor trails.
Canon 5D Mark IV, Canon EF 70-200/2.8. IS II + 2xTC, 1/160 s, f/9, ISO 100, focal length 400 mm.
Both options can be useful; just keep in mind that the first photo is calmer, while the second one feels more “action-packed.”
Converging Lines
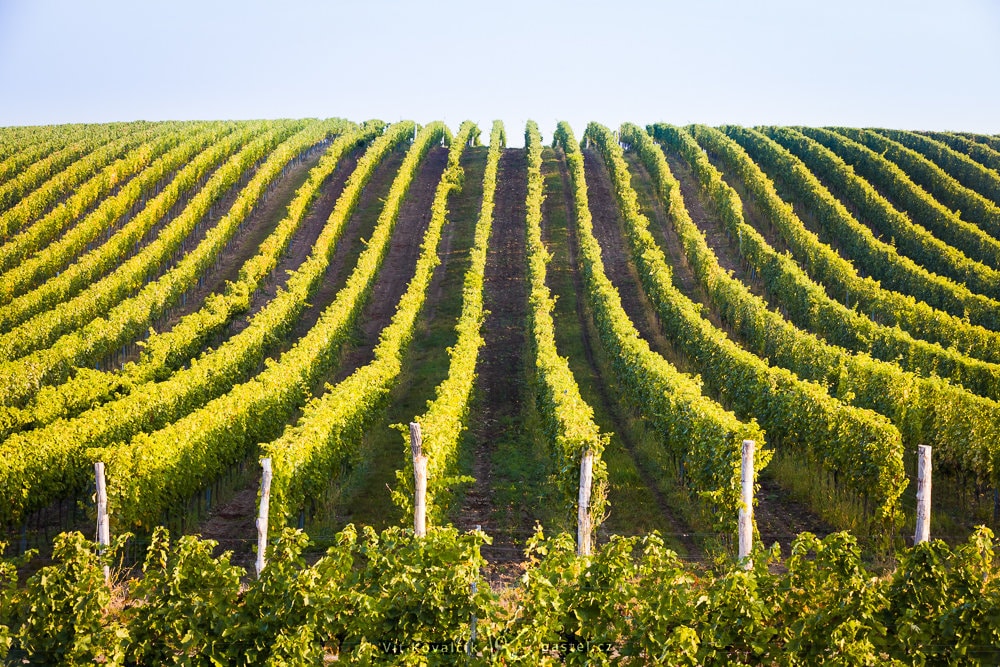
Lines converging in perspective are often found alongside diagonals, but they can also occur on their own. Instead of guiding the eyes, they tend more to provoke an immediate glance at the point of convergence.
Here converging lines are emphasizing the hills’ perspective and outlines. If we were to count out the peak and have the horizon there instead, all the lines would converge farther away, way back at the start of the sky.Canon 5D Mark III, Canon EF 16-35/2.8 II, 1/160 s, f/8, ISO 160, focal length 35 mm.
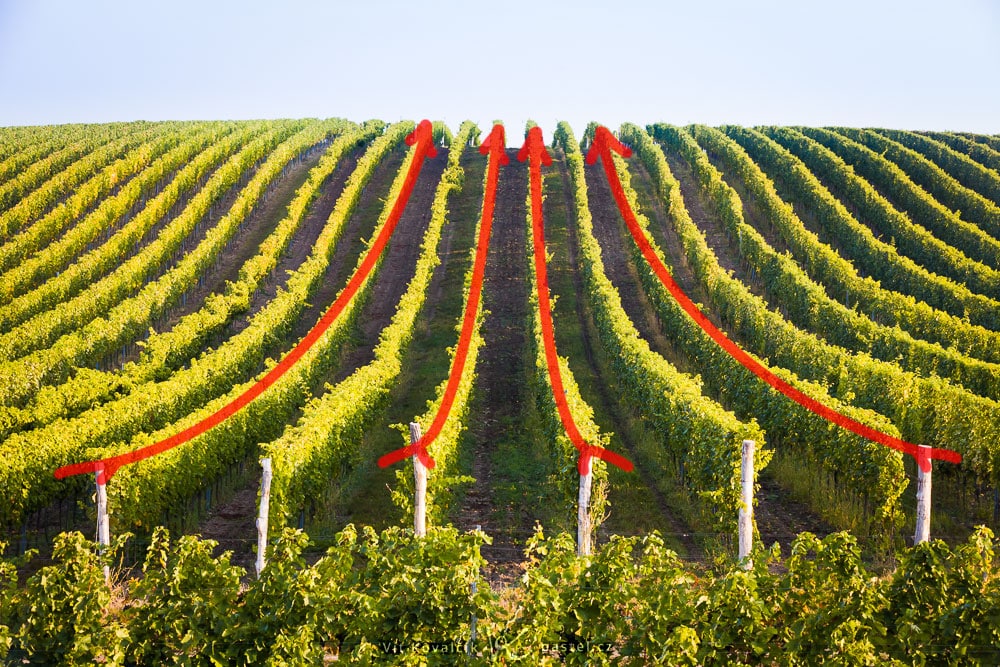
Even though it’s easier to get converging lines with ultra-wide lenses, they’re still achievable with telephotos. And in fact in the next picture, I picked up lines at a focal length of 88 mm.
Converging lines captured with a telephoto lens. One thing that helped here was placing myself fairly close to the posts to get a strong perspective effect.Canon 5D Mark II, Canon EF 70-200/2.8 II, 1/50 s, f/10, ISO 800, focal length 88 mm.
Nature Has Order Too
While it may not be apparent at first sight, there are a lot of regular shapes in landscapes that can add impact to your photographs. Their curves can serve. Either to guide your viewer’s eyes around a picture or simply as interesting harmonic elements in their own right. It generally pays to try several versions of each picture and take a few steps back if needed, to get the most out of any natural geometry you find.
And if you take an interest in shooting outdoors, you might want to refresh your knowledge of the rules of composition for landscape photography.

There are no comments yet.