10 Tips for Better Photos with Your Phone

Do you take pictures on your phone and want to improve their quality? Try these tips to make the most of your mobile phone photography. From properly setting up your phone, how to hold your phone, composition, to photo editing – learn how to take sharp, professional-looking, and stunning photos using just your phone.
Pulling out your phone to snap a picture has become a normal part of most people’s day. We do it so automatically that you’d expect most photos to be flawless and impressive. Yet, the results often don’t turn out as we imagined. We’ve put together 10 tips to help you improve the quality of your mobile phone photos.
1. Set up your phone before taking pictures
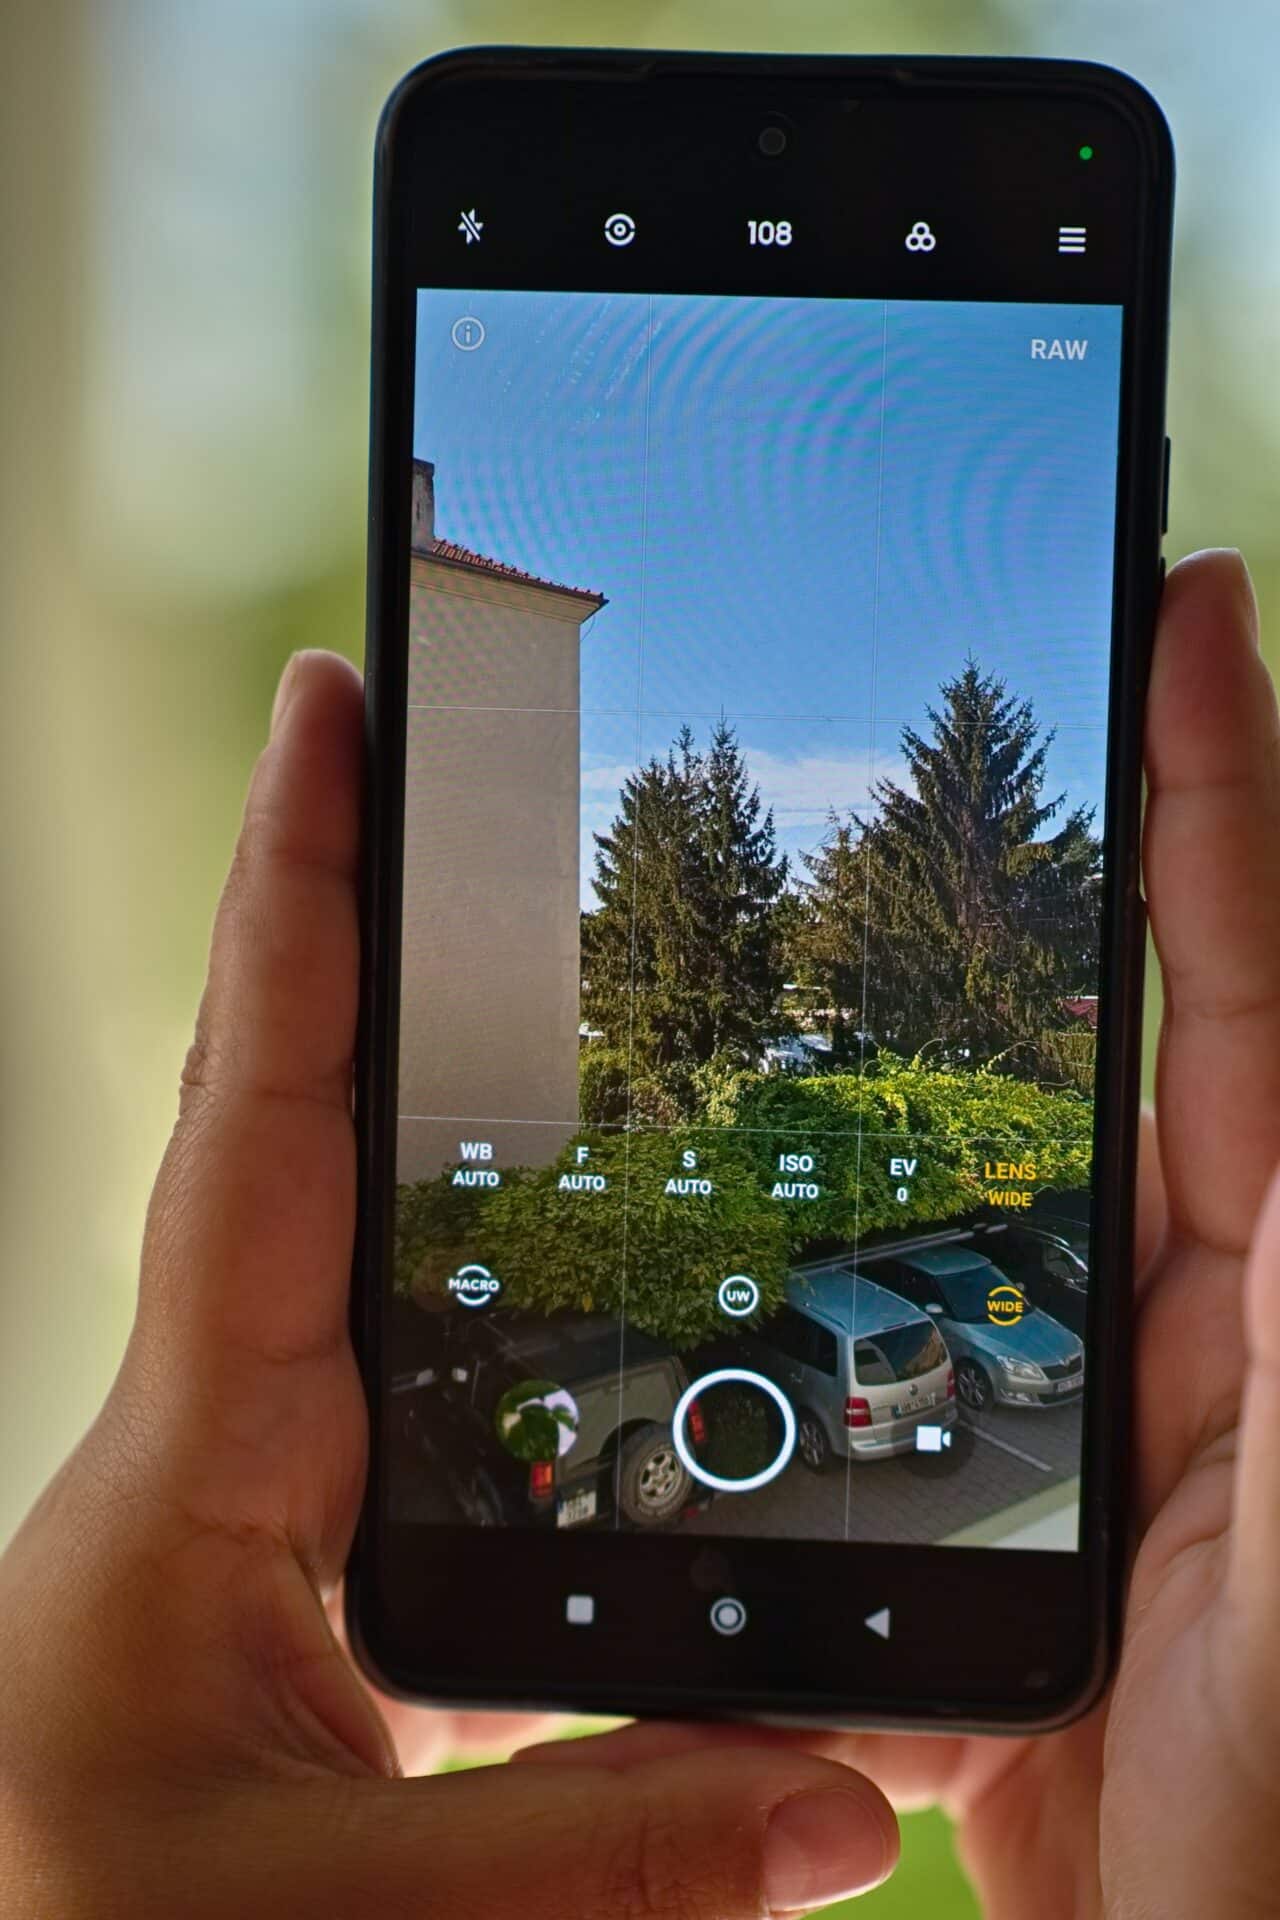
Before you start taking pictures, take a moment to make sure your phone is set up properly. If your phone allows shooting in RAW format, make sure to use it. RAW format retains much more image information than standard JPEG, providing greater flexibility for post-processing.
Enabling HDR (High Dynamic Range) is also a great way to enhance the quality of your photos. HDR captures more details in both the highlights and shadows, ensuring your photos look just like what you saw when you took the picture.

You can edit HDR photos with Zoner Studio in high quality. The Gain Map feature allows you to share photos even with those who don’t have devices that support HDR display.
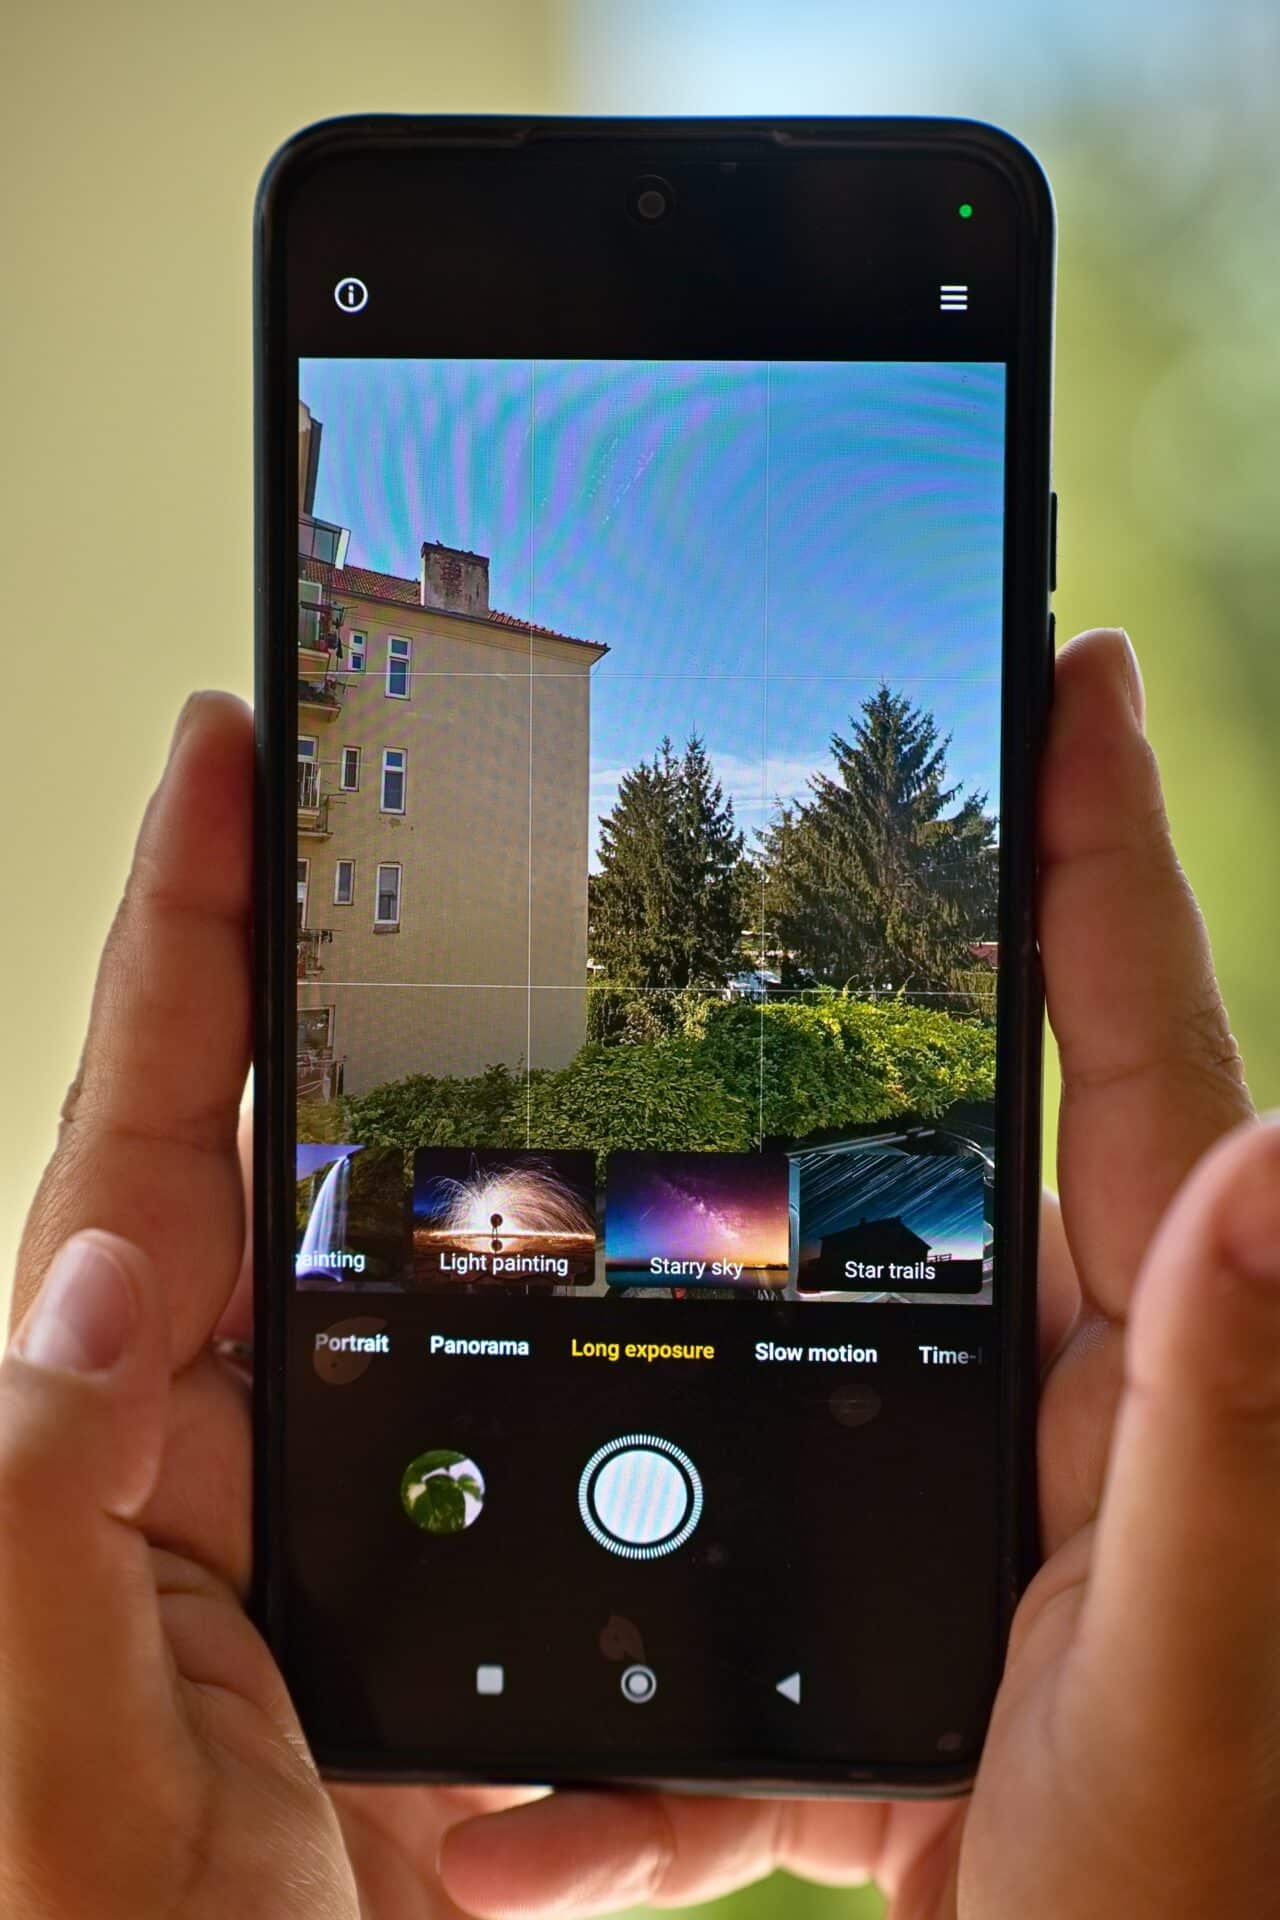
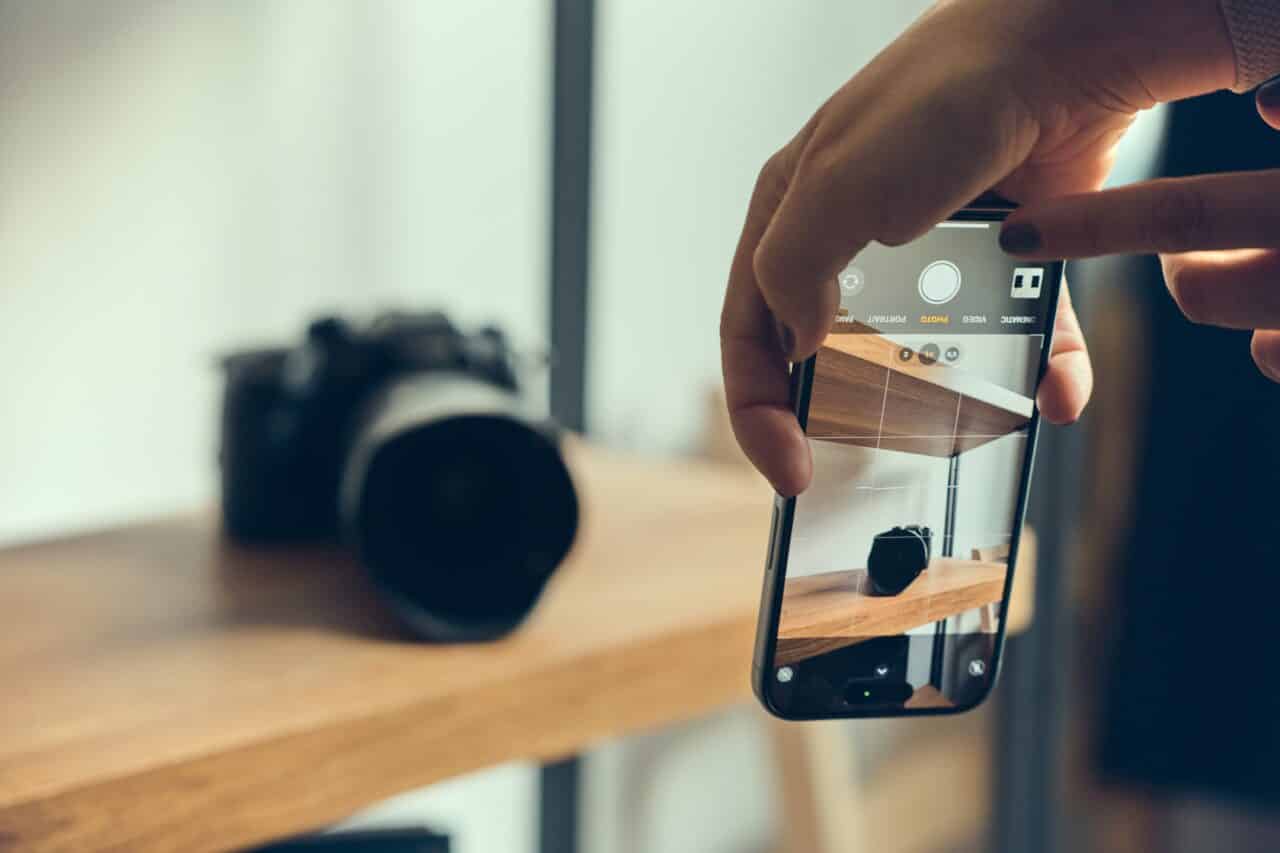
Another useful feature is the grid display, which helps you better work with composition. Most phones offer this feature directly in the camera settings or in photography apps.
Use PRO mode. Most modern phones have a PRO mode in the camera, which works like manual mode on a classic camera. You can adjust white balance, shutter speed, aperture, ISO, and sometimes even the lens setting.
If you like experimenting with long exposures, check if your phone has this option. Long exposure may be further divided into specific categories based on themes.
2. Clean your lens
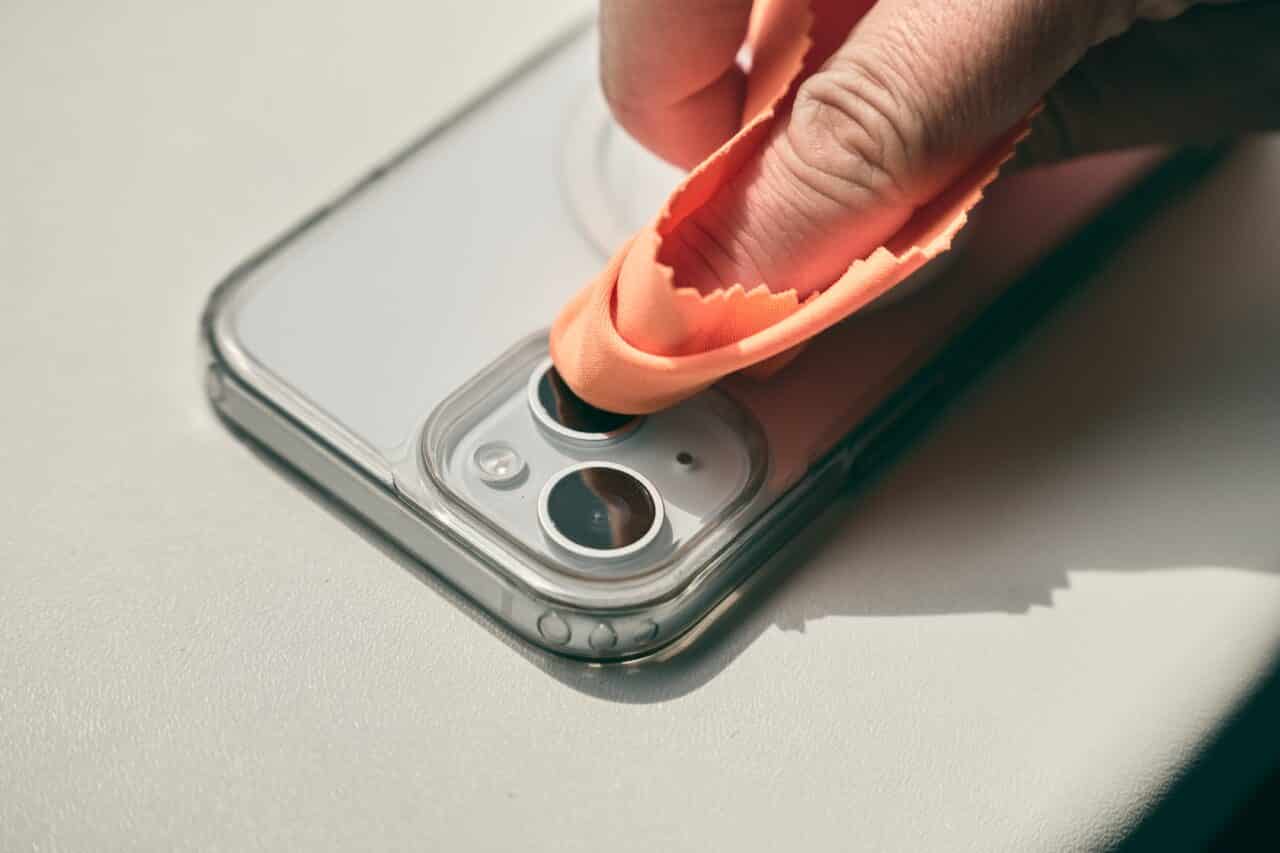
If your photos seem dull, hazy, or lackluster, it may be due to a dirty lens. This imperfection is common in many photos, even if you are very careful. Fortunately, most phone camera lenses are flat, making them easy to clean.
TIP: A clean lens helps avoid cloudy photos.
Use special cloths, like microfiber cloths, for cleaning your phone’s lenses. You can also buy cleaning wipes specifically designed for such small surfaces.

If you don’t have a cloth, wipe the lens with a dry, ideally cotton, fabric—a t-shirt or sweatshirt works great.
Forgot to clean your lens in a rush? Reduce unwanted haze using the Dehaze feature in the Develop module of Zoner Studio.
3. Hold your phone correctly
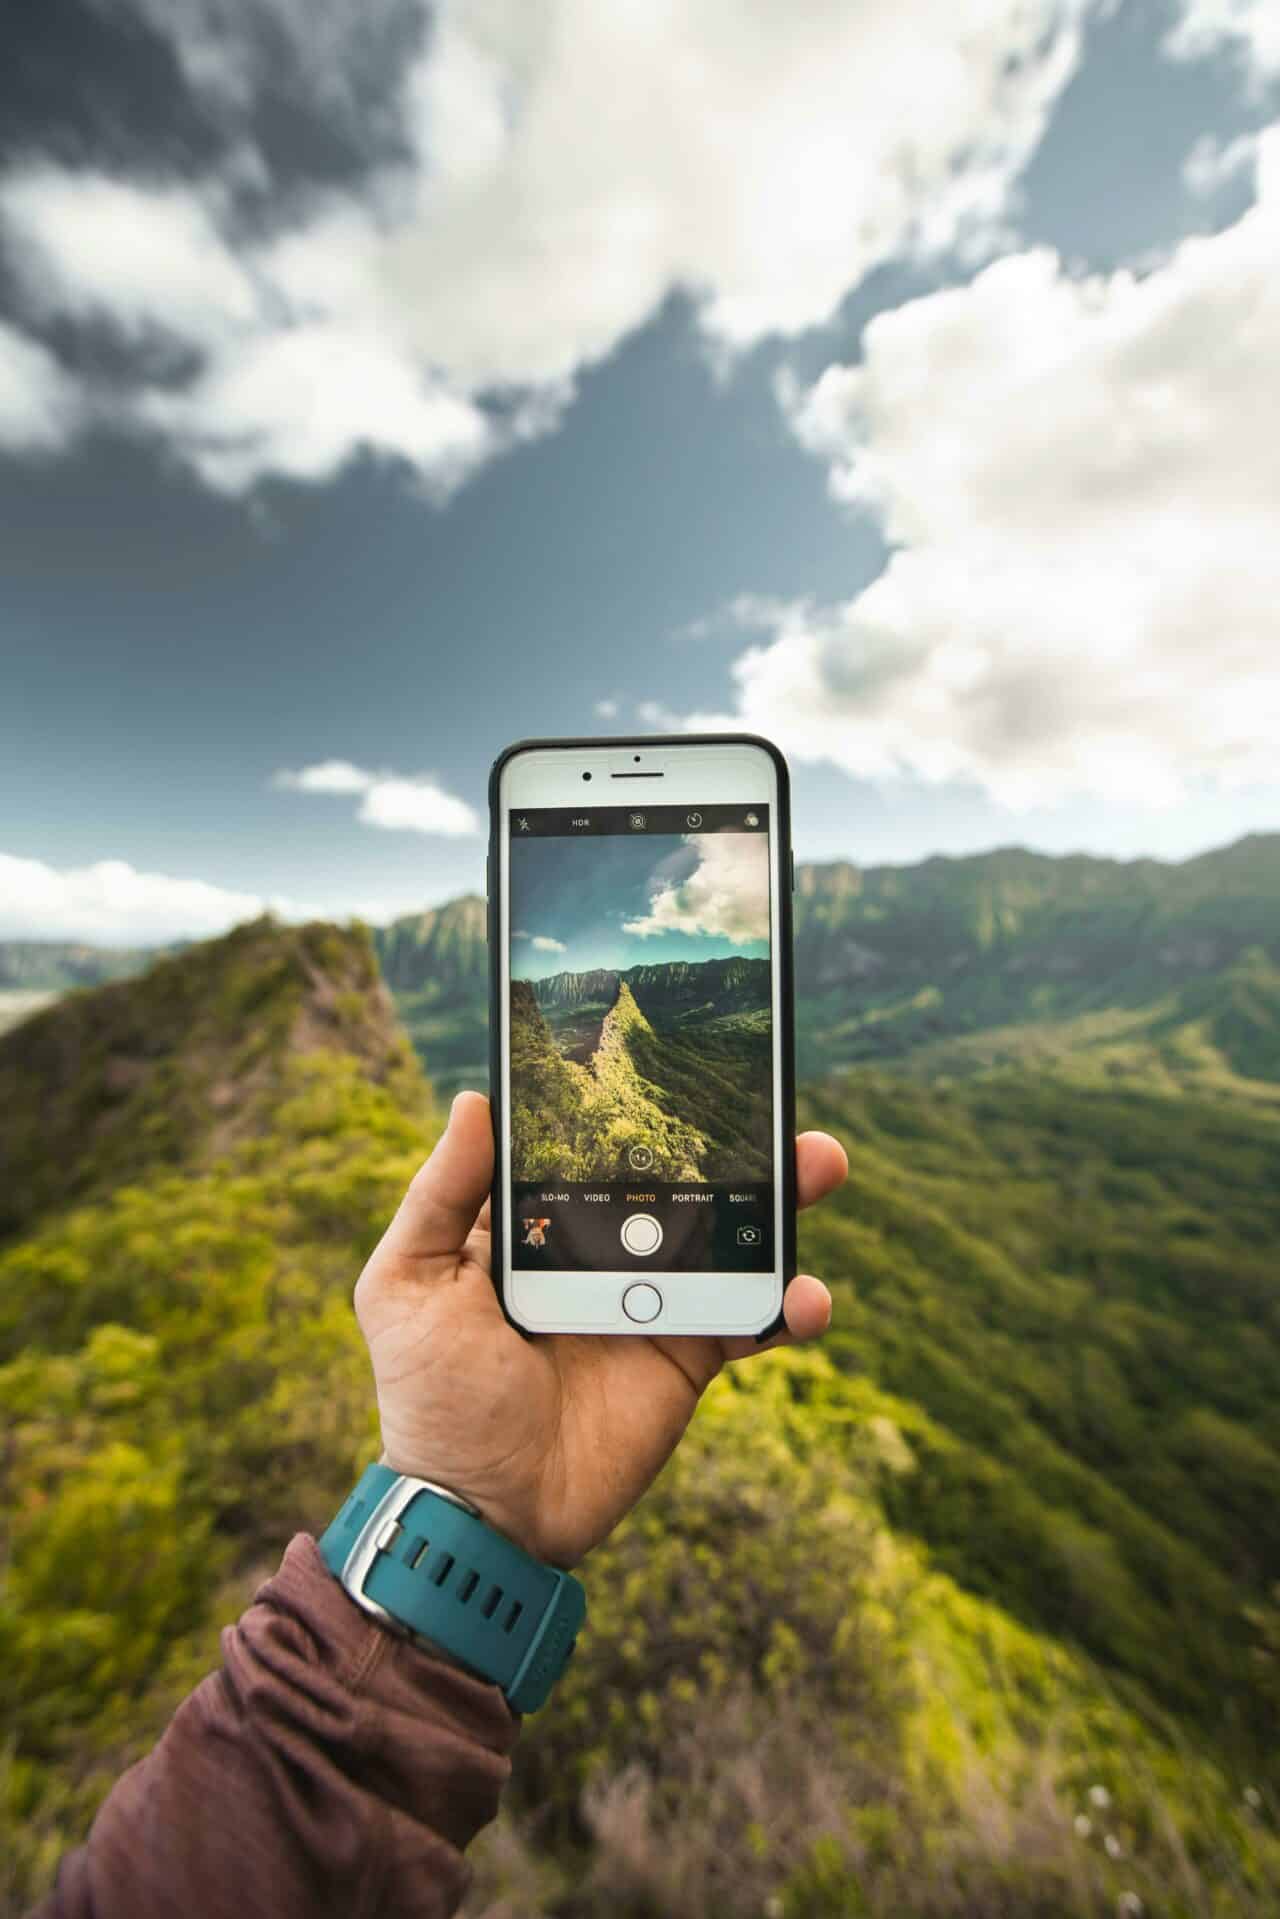
Properly holding your phone can be tricky when taking photos. Some smartphones are quite large, making them harder to grip. Be sure to hold your phone with both hands to ensure stability and avoid dropping it.
TIP: Get a wrist strap for your phone. It will give you peace of mind that your phone won’t slip out of your hands while shooting.
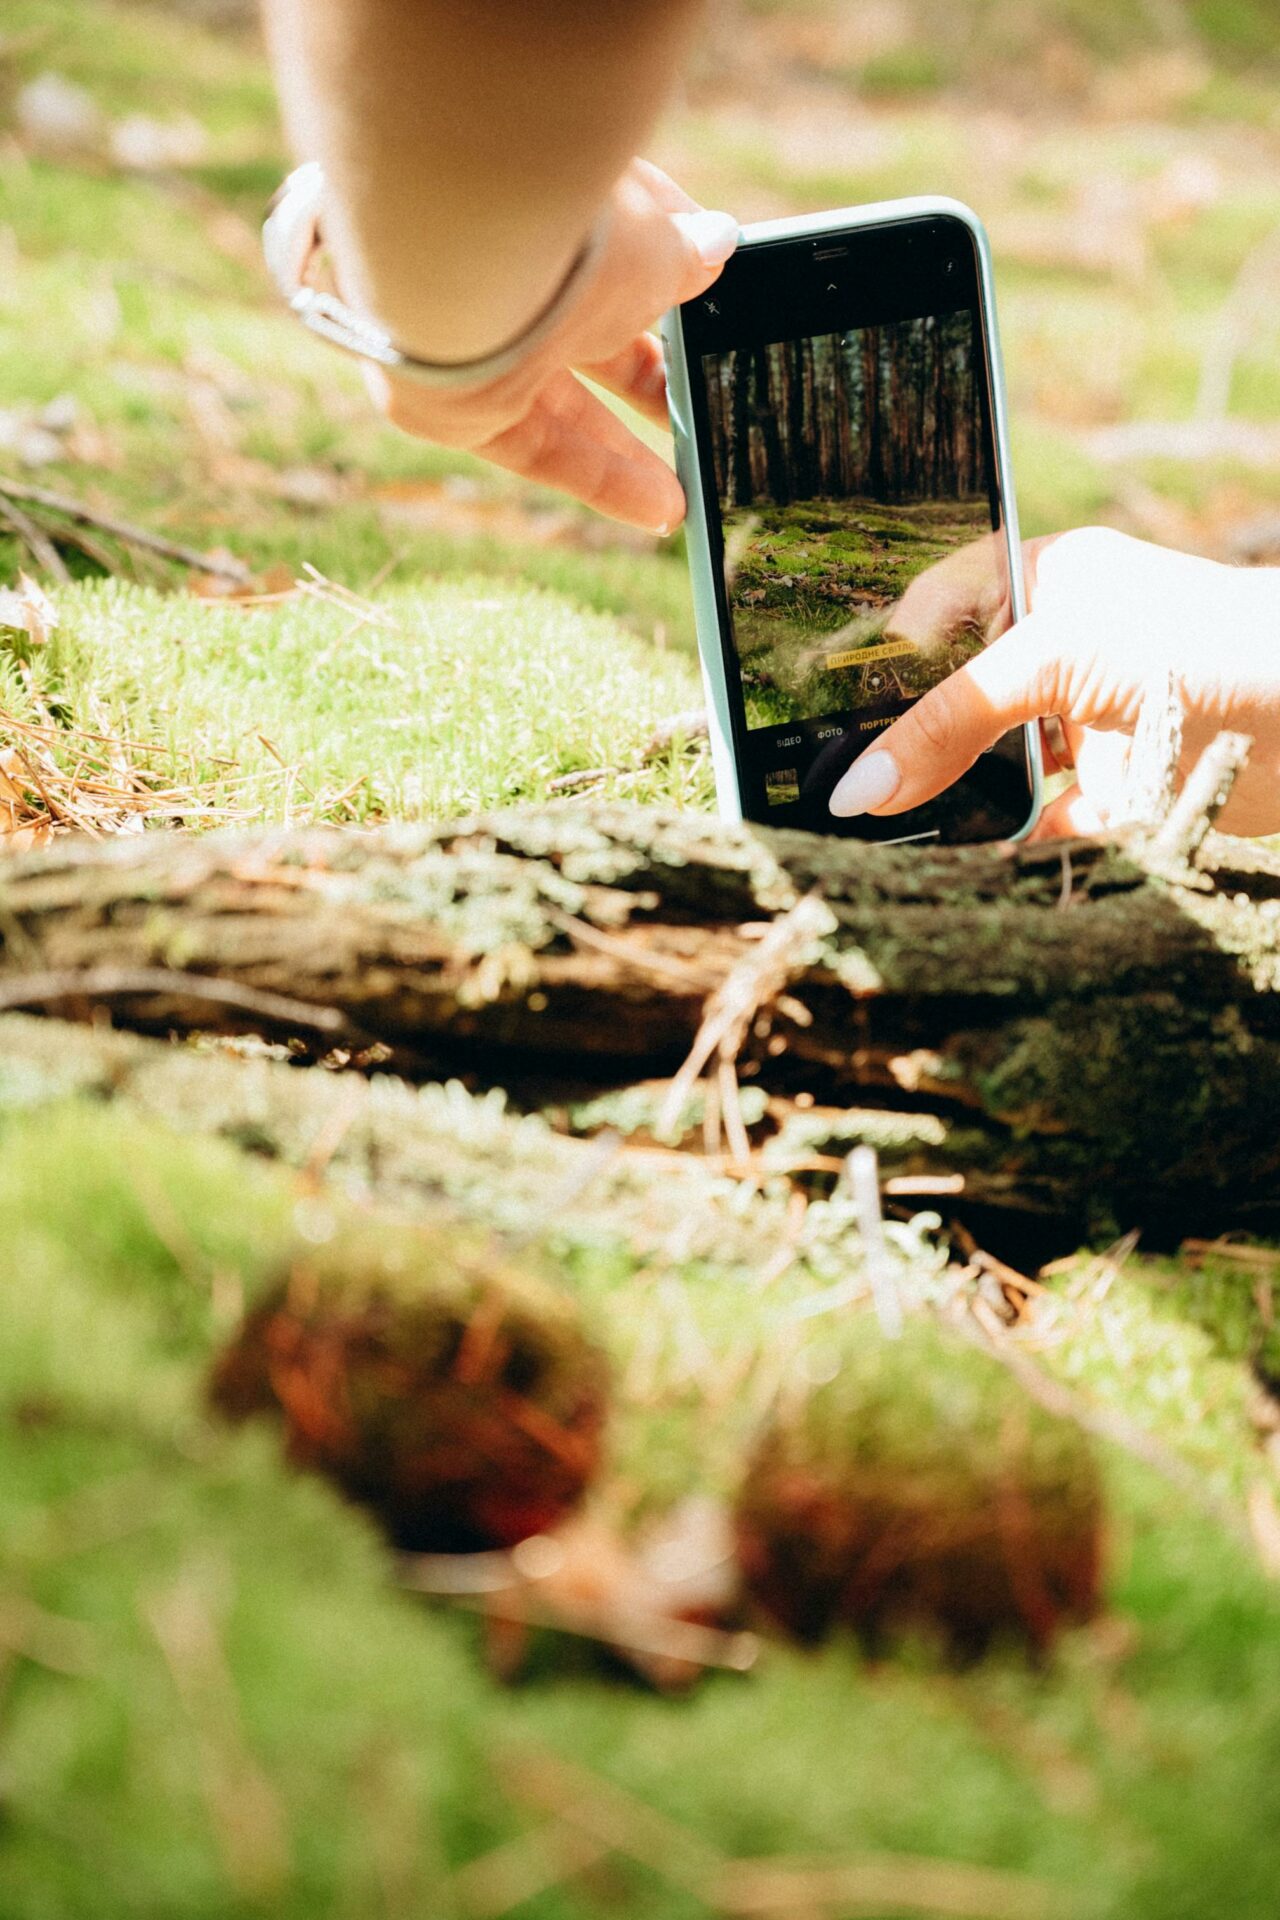
When taking vertical shots, a great trick is to hold the phone upside down, with the lens at the bottom. This way, you can achieve better angles and more interesting perspectives, such as when shooting from the ground.
Speaking of safety, if you’re shooting near bodies of water, it’s a good idea to get a waterproof case for your phone. This way, you won’t risk accidentally dropping it in the water.
4. Stabilize your phone
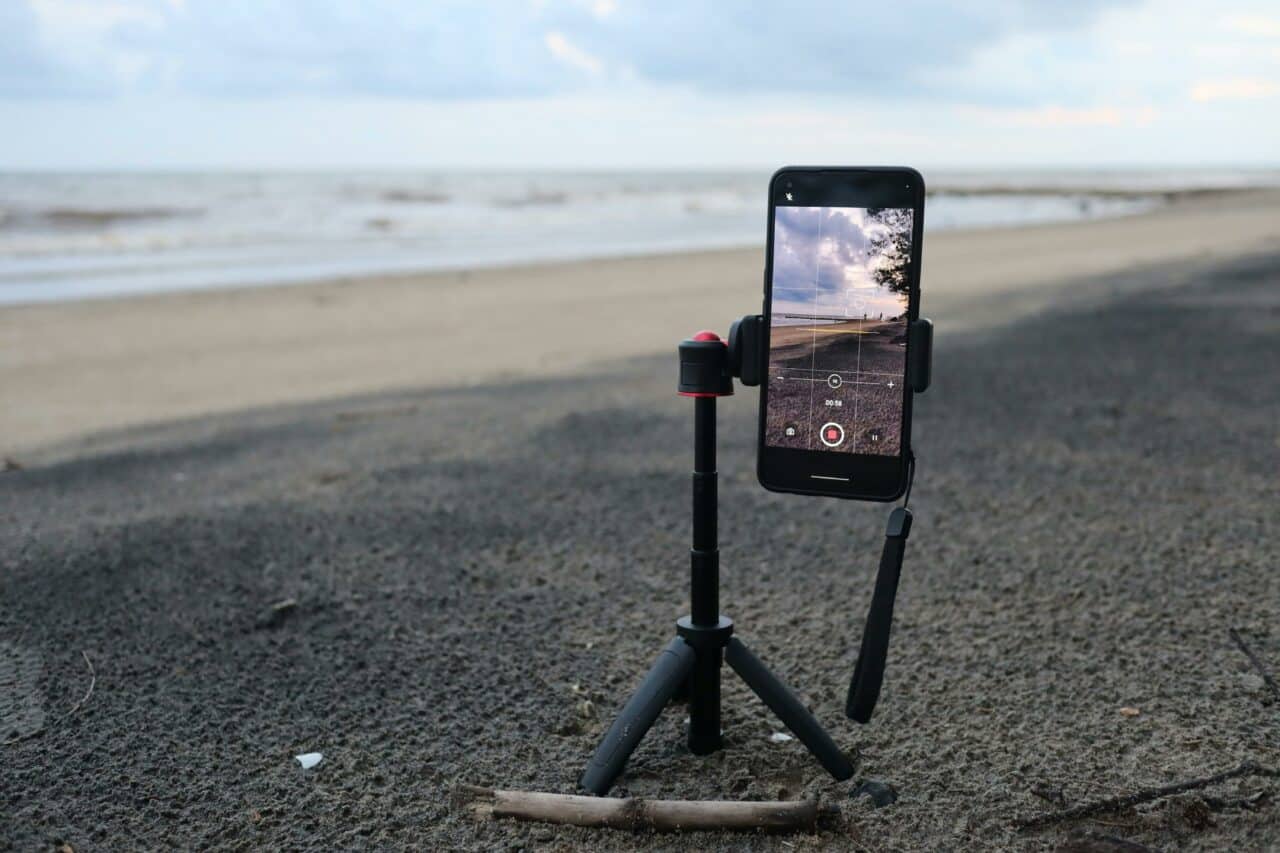
Stability is key to sharp photos. Always hold your phone with both hands. You might also consider investing in a small tripod for mobile phones or a selfie stick with a tripod.
Make use of the timer or remote shutter. This eliminates camera shake and reduces the risk of blurry photos.

Take a deep breath, exhale, and then press the shutter button. You’re more relaxed and less shaky after exhaling.
5. Use natural light
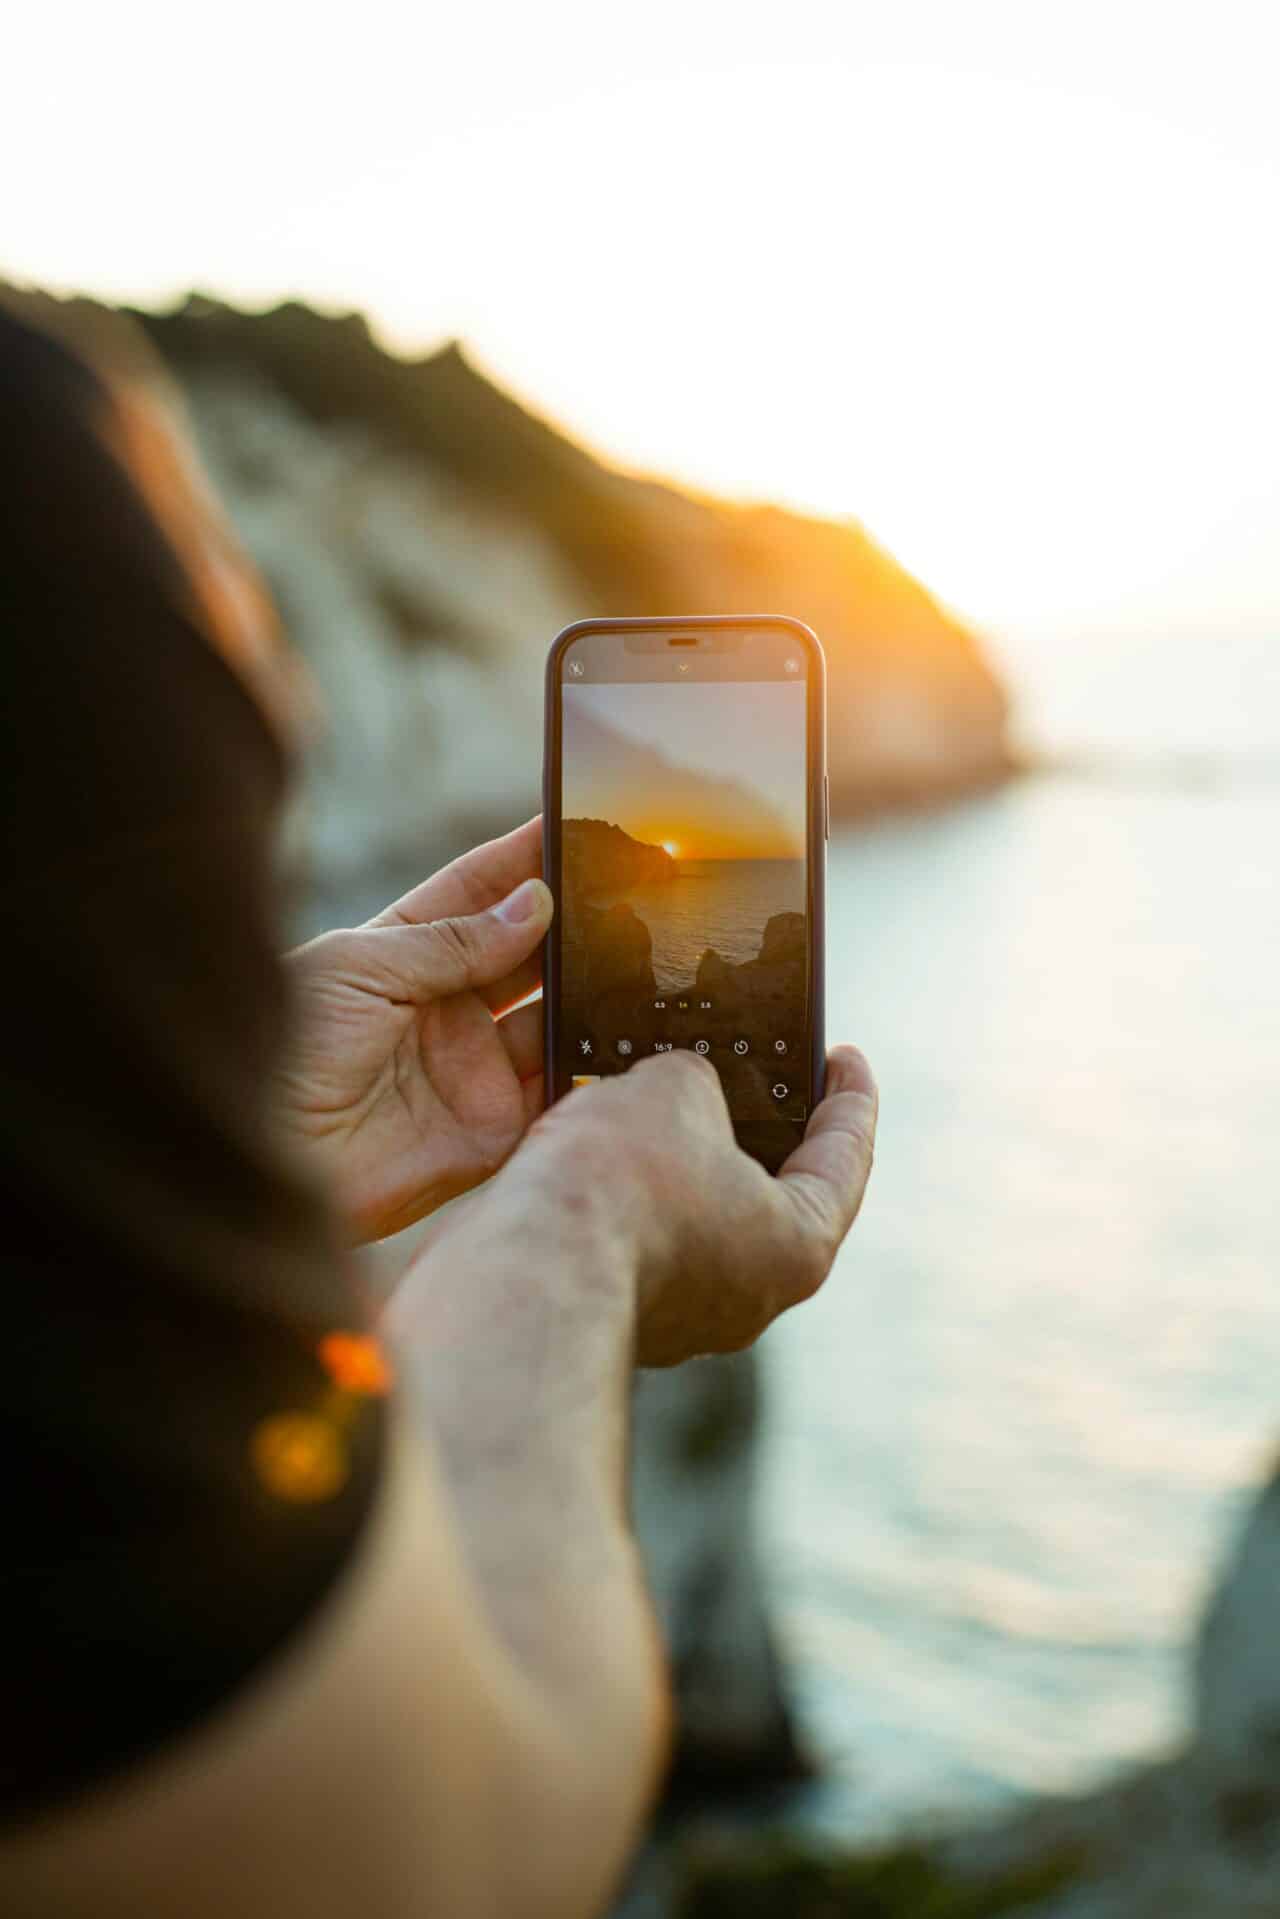
When taking photos with your phone, try to use as much natural light as possible. Artificial lighting can cause color distortions and harsh shadows. Shoot near windows or outdoors during the golden hour (one hour after sunrise or one hour before sunset) when the light is soft and warm.
If you’re shooting on a bright day, avoid direct sunlight, which can create harsh shadows and overexposure. Use the shadows of trees or buildings for softer lighting. Natural light gives photos a vibrancy and realism that artificial lighting often can’t replicate.
6. Use the rule of thirds
The rule of thirds is a basic composition rule that makes your photos more balanced and visually interesting. The image is divided into a grid of nine rectangles (3×3). The foreground is placed in the bottom third, the main subject of your photo is in the center, and the background is usually in the top third.

Enable grid display on your phone. It will help you compose your image according to the rule of thirds.
7. Look for lines
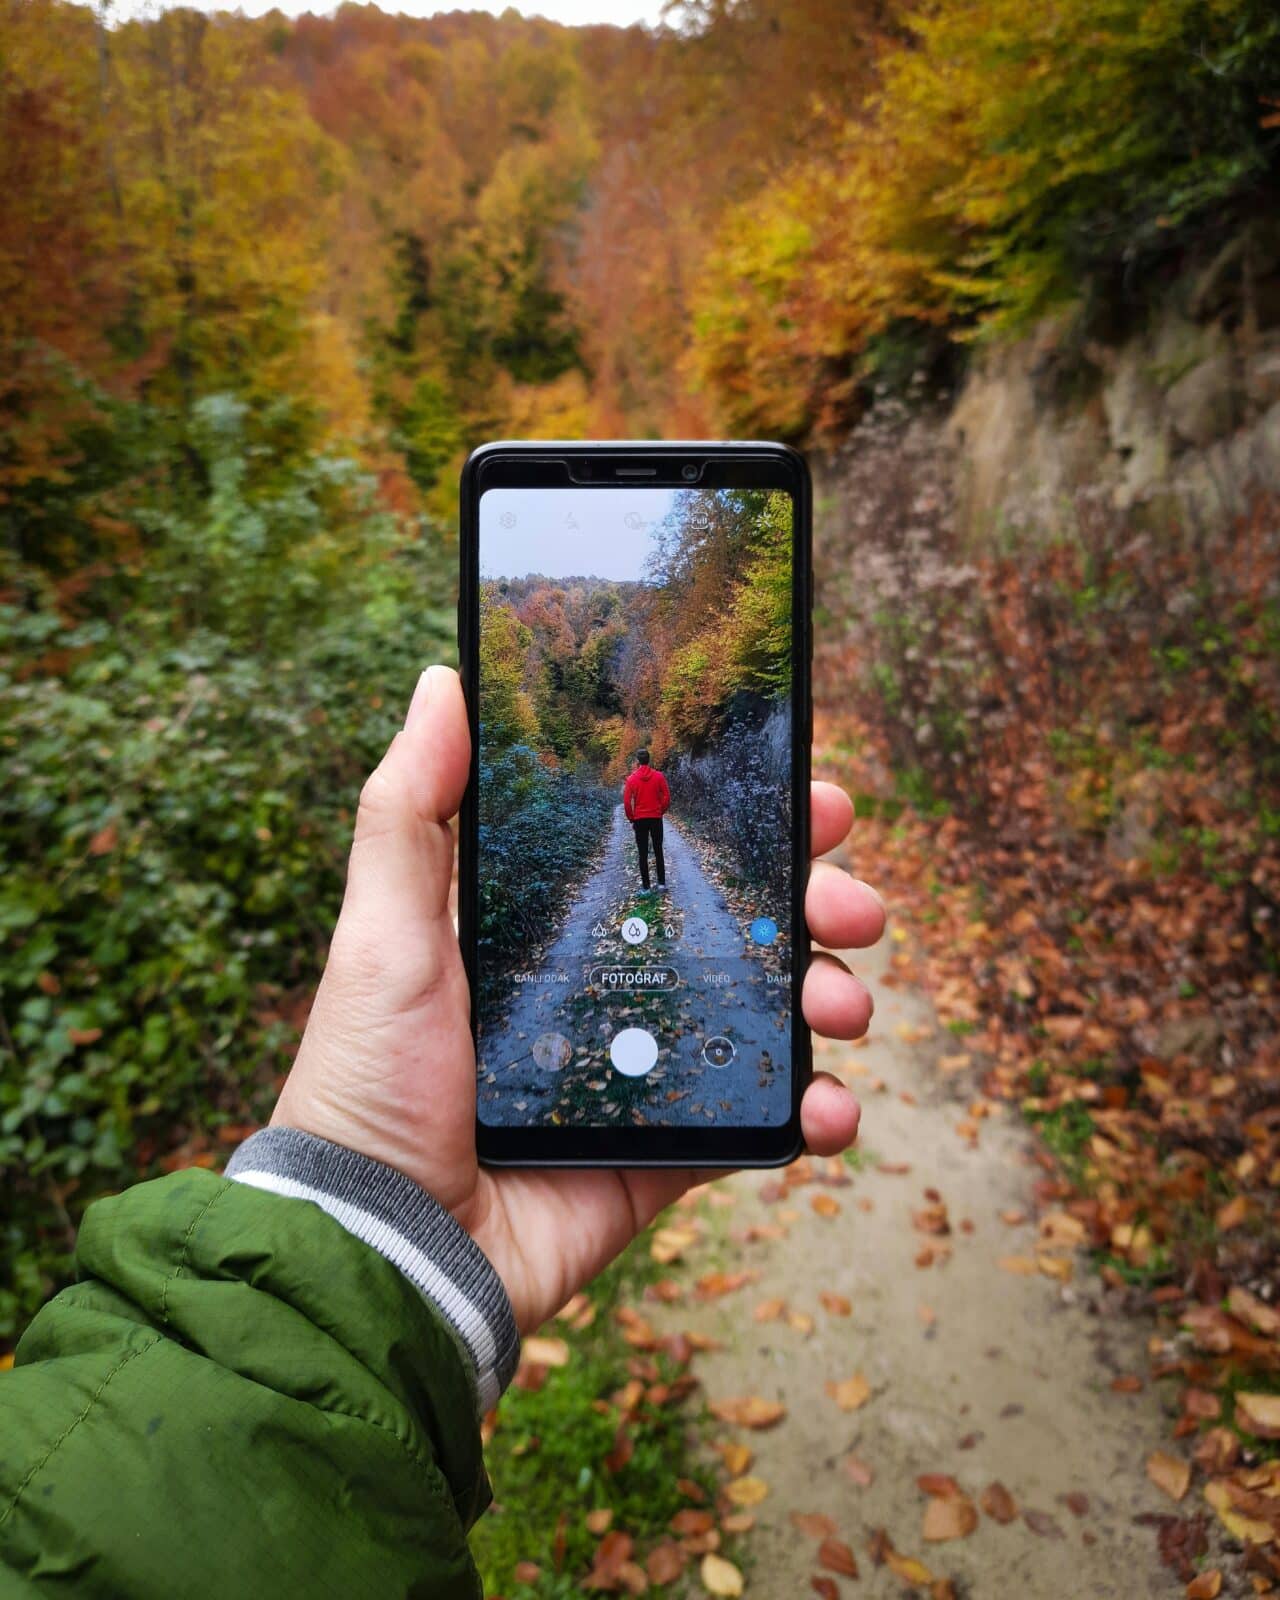
Lines can work wonders for your photos, especially in landscape photos. They guide the viewer’s eye and add depth and space to the image. Photos without lines are often flat and less interesting. Try incorporating natural lines like paths, rivers, or rows of trees into your composition.
If you can’t find lines, look for ways to spice up the photo with other elements, such as a person or an interesting object.
8. Use optical zoom for close-ups
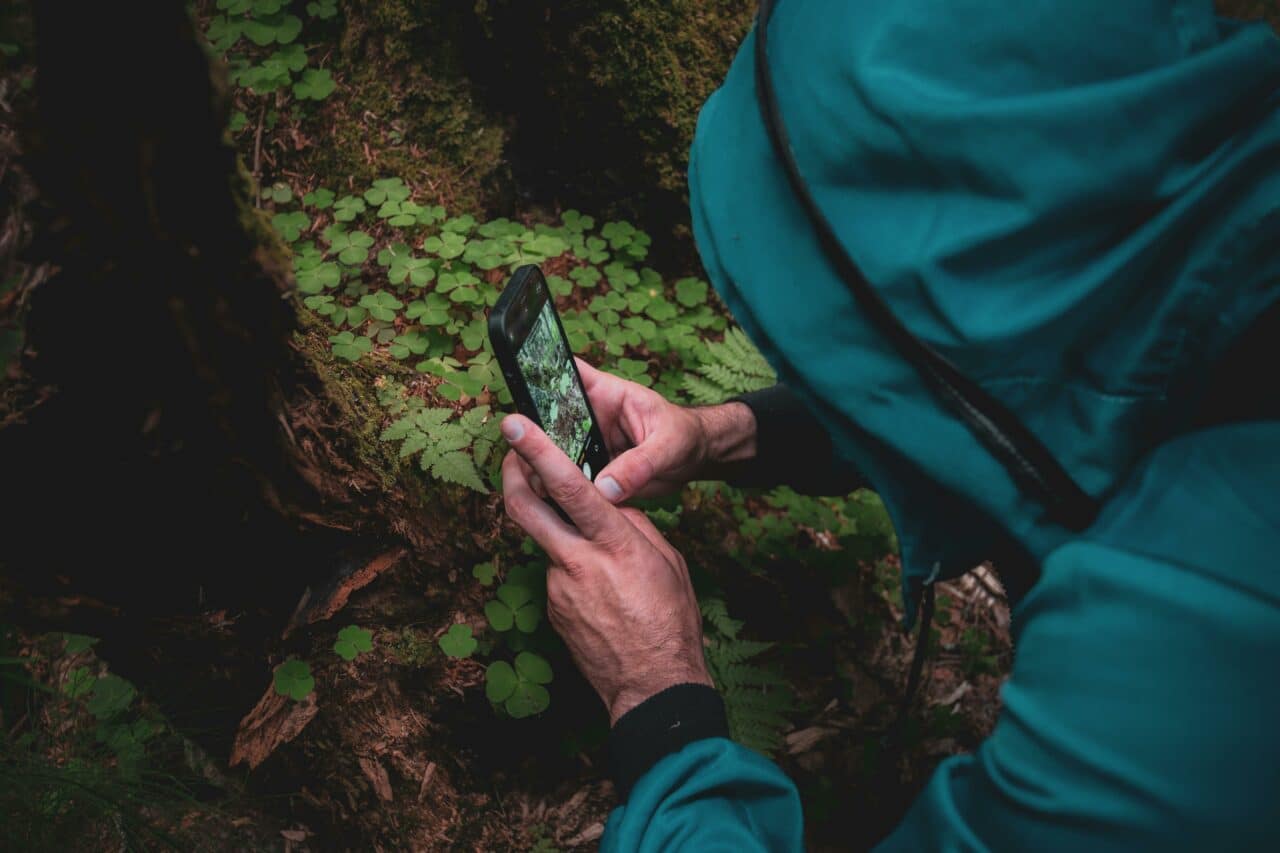
For close-up photography, prioritize optical zoom over digital zoom if your phone offers it. Optical zoom maintains image quality, whereas digital zoom often results in a loss of detail and quality.
If you don’t have optical zoom, get closer to your subject. This helps you preserve as many details as possible. If you use macro mode, the result will be even more interesting.
9. Experiment with angles
Don’t limit yourself to eye-level photos. Experimenting with perspective can add dynamism to your shots. For example, try shooting from below for a dramatic effect, or from above to capture a wider view.
10. Capture portraits effectively and stylishly
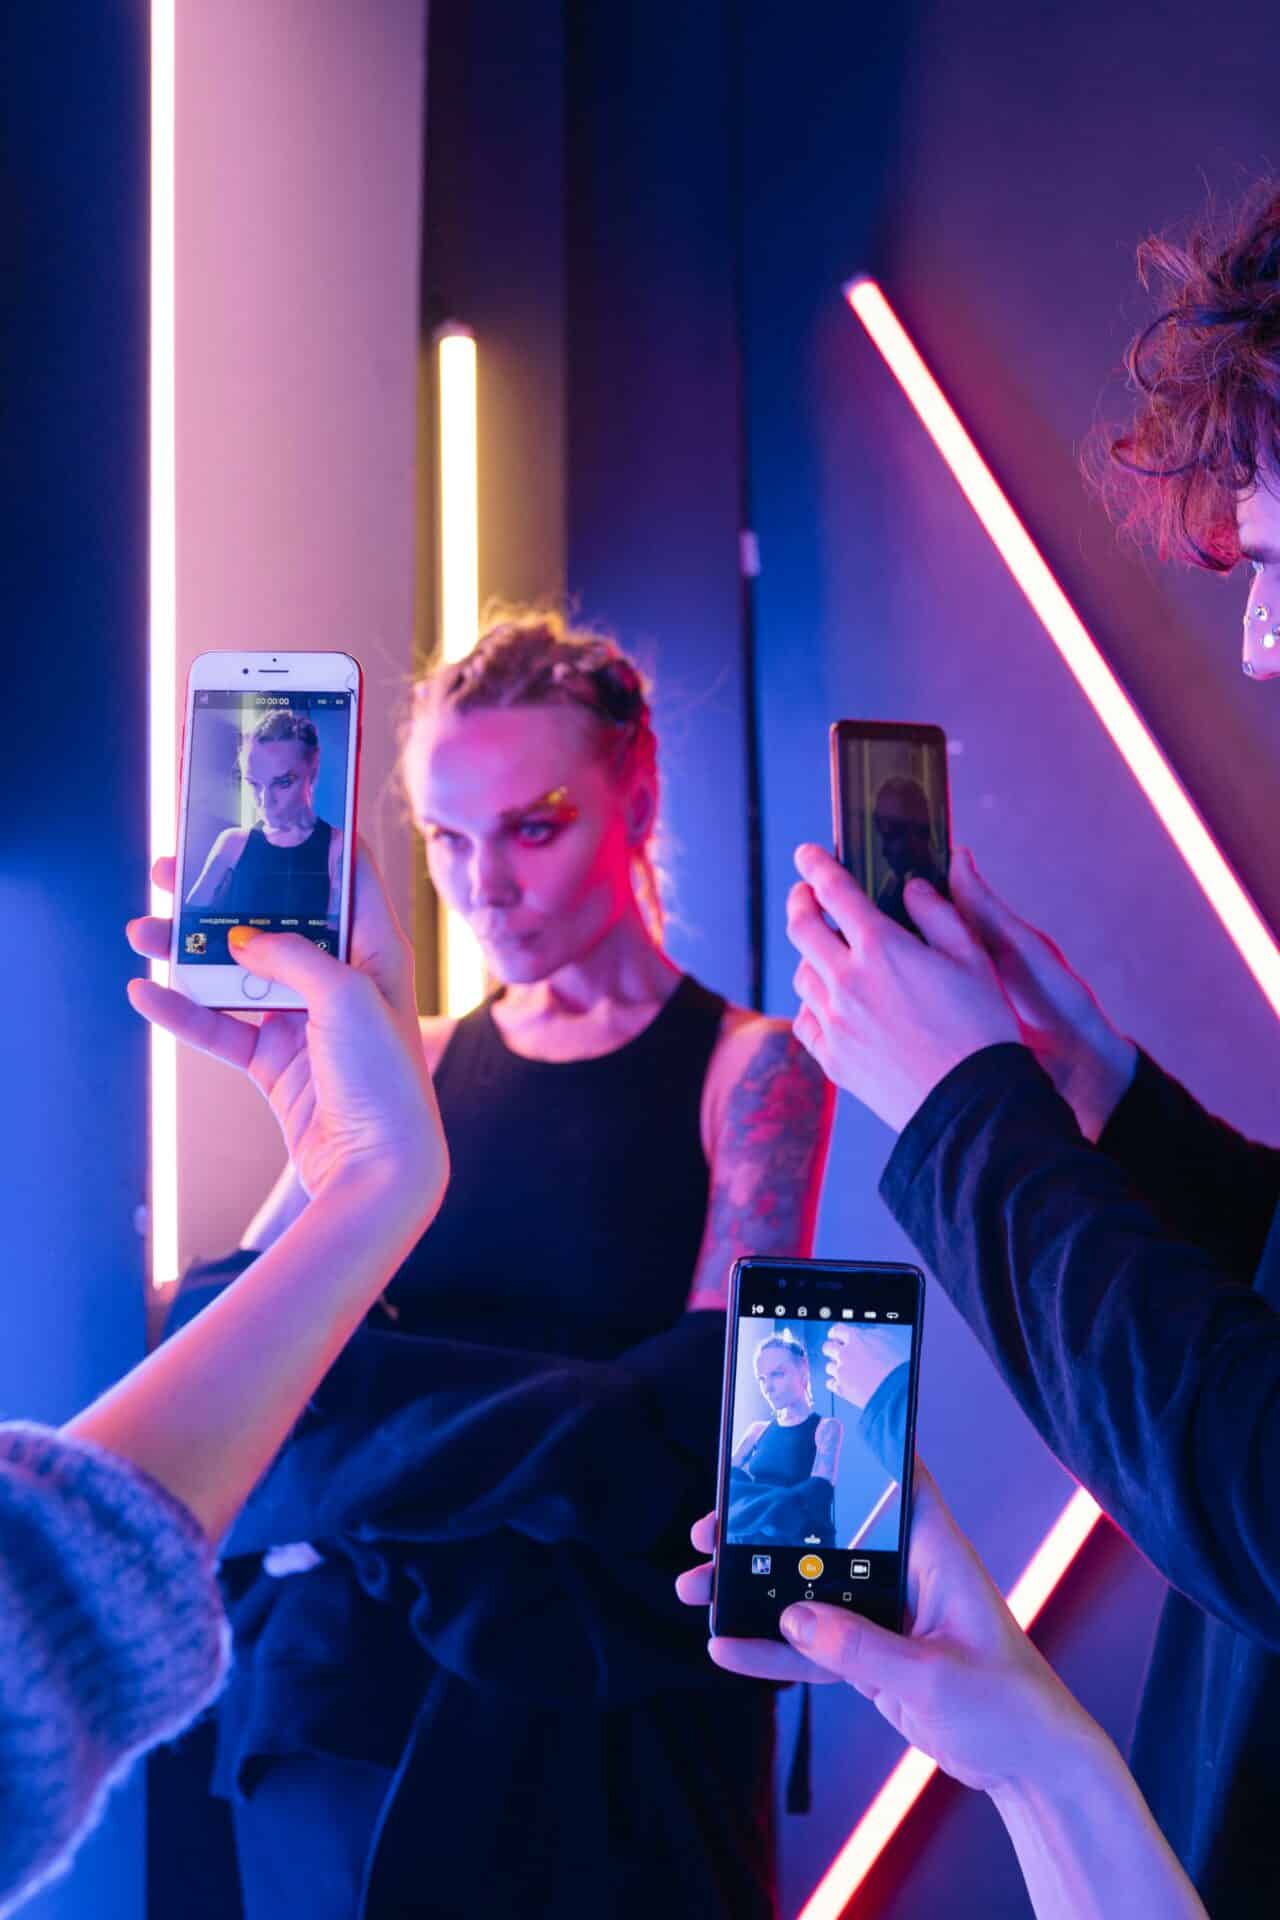
Portrait photography is its own category. Modern smartphones offer various features and modes that can help you achieve better results. Portrait mode blurs the background, adding depth of field to your photos. This emphasizes the subject and gives portraits a professional look. If your phone has a portrait mode, be sure to use it.

Be cautious with skin-enhancement features like Beautify—use them rarely. You’ll achieve a more natural result and avoid the “wax figure” effect.
If the portrait mode is not available, try experimenting with different angles and lighting. Remember, naturalness is key to good portraits.
For full-body shots, try using wide-angle zoom. The subject will appear smaller, and you capture wider surroundings. Be careful with edge distortion, though. This mode isn’t ideal for larger groups of people or selfies.

Proper posing is a major factor for success. Learn practical posing tips from photographers.
Editing your photos
Taking photos is just half the fun. You can quickly and easily edit your photos using Zoner Studio or other mobile apps. In the Develop module, you can fine-tune exposure, contrast, colors, and many other settings. You can also edit out unwanted objects or add presets to achieve a uniform or specific look.
Learn the basics of editing, such as cropping, straightening the horizon, and adjusting brightness. This way, you can turn even an average shot into a great photo.
Photography with a phone isn‘t everyone’s cup of tea, but even when shooting with a camera, it’s useful to have your phone handy. You can use it for various apps that will come in handy on your photography adventures.


There are no comments yet.