9 Tips for Getting Creative with Exposure Time
With a smart choice of exposure time and camera settings, you can give photos a bit more of yourself, and make your pictures flavorful and exceptional. Gone are the days when photos had to be perfectly sharp.
For many readers of this blog, the definition of a photograph as a static image capturing a short moment of the events around us is certainly nothing new. This is true no matter whether you use a DSLR, a compact, or even a cellphone camera. In creative photography, it’s a plus when the picture hints at what happened before and after the photographer pressed the trigger. Creative use of exposure time is a great way to include a “bonus” like this in your photos.
Time Is Relative
You can’t just divide shutter times into long, short, and normal. Unlike the rules surrounding depth of focus, there is no universal counsel here, no guaranteed guide. I can only offer general recommendations, as exposure times are always tied to the specific situation they’re used in. In any case, stick to these principles: the resulting pictures should be properly exposed, and their histogram should be well-balanced. Combining exposure time, aperture, and ISO sensitivity gives us freedom of movement, but only within the “boundaries” of under- and overexposure.
Time-savers
Photographing moving objects with a static camera leads to motion blur. How much blur depends on the exposure time and the object’s speed and direction of movement. Imagine you are shooting a road with cars at night. The light meter says it will use a 10 second exposure for an F16 aperture. That’s long enough for several cars to go by. Sounds all right.
The aperture opens, exposure starts, the headlights go by, the sensor cells accumulate light rays going through the lens. When the shutter “clicks” the second time, the exposure’s over and the photo shows on the display. We see the evening street and taillight lines, but the cars have seemingly disappeared. Why? Because they were moving, and the light they reflected was not bright enough for it to register on the sensor. The important lesson here regarding digital image capture: Images’ brightness goes down as their motion speeds up.
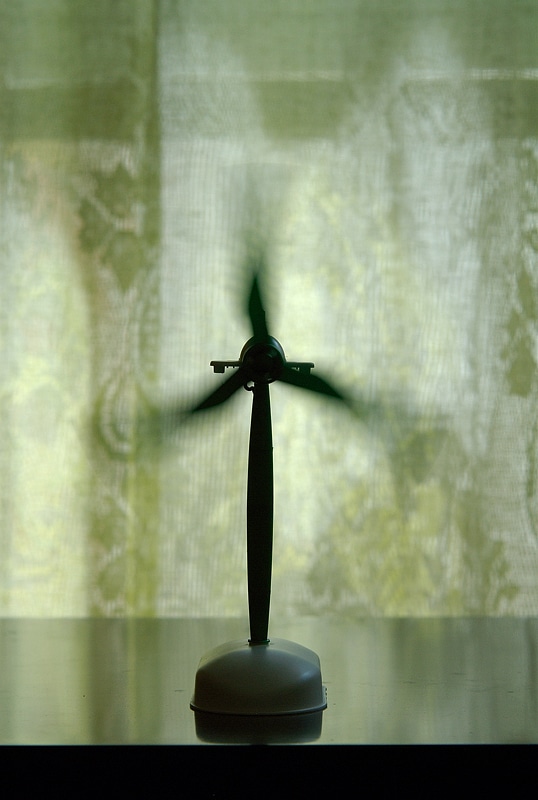
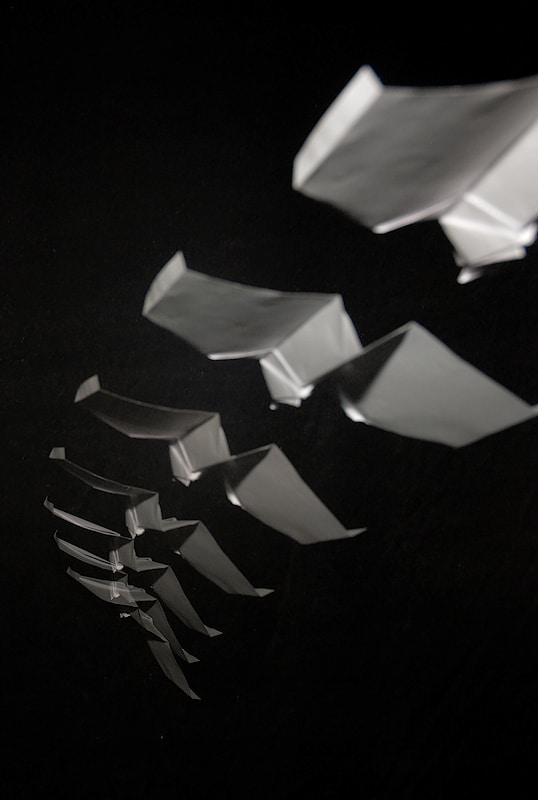
For our next illustration, here’s a set of photos of pinwheels, taken with various exposure times.


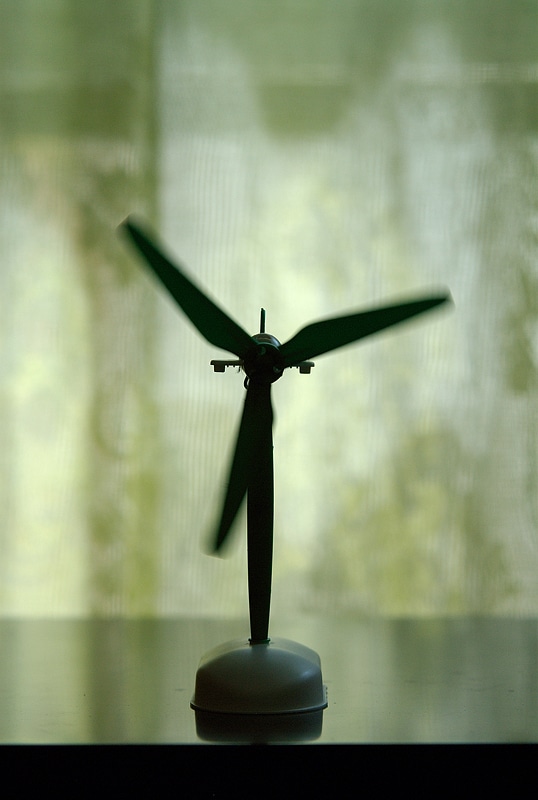
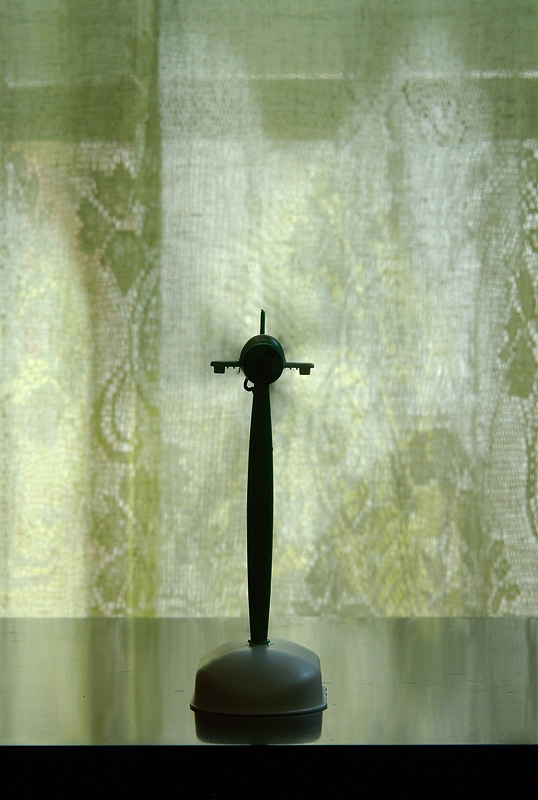
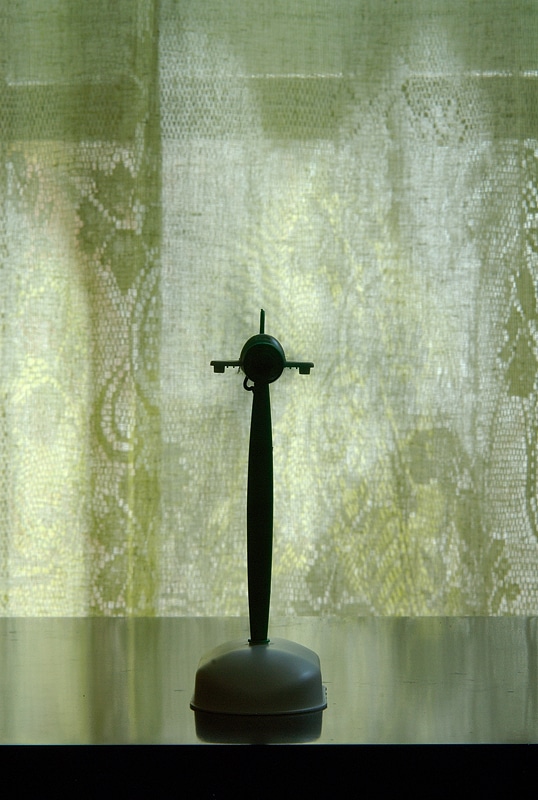
As you can see, the theory here isn’t complicated. The practice isn’t either, but it has many branches. For this reason I’ll group them into several simple tricks that you can try out based on your taste and imagination.
1) Stopping Time
Here the exposure is extremely short, and no motion blur appears. The whole photograph is in focus (if you’ve set focus right). Stopping time like this is frequent in sports photography. I’m sure you’ve seen photos of swimmers up to the surface to catch their breath. If you’re no sports fan, this route still has plenty of uses, like stopping drops of water, flying insects, or fidgety children (only in pictures, sadly).
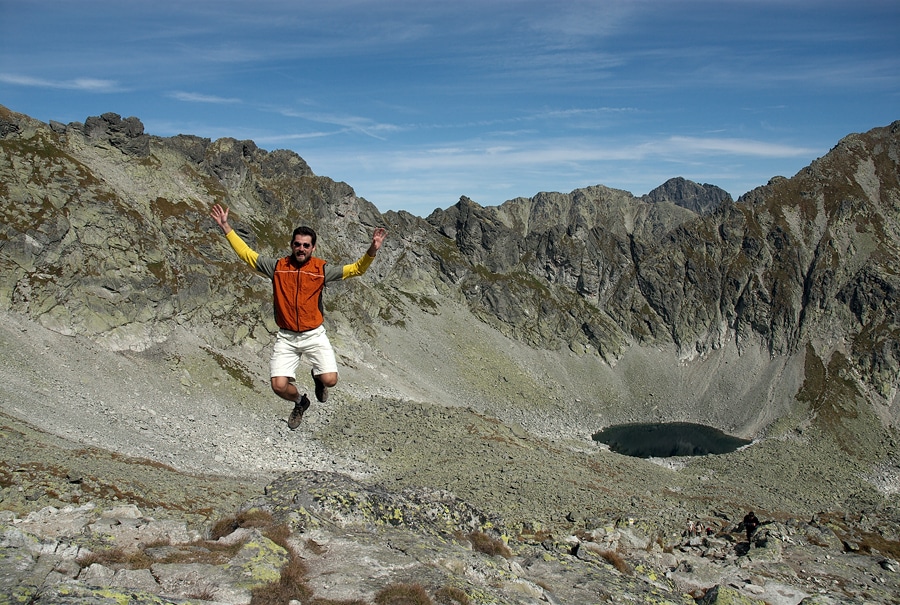
Nikon D200, Nikkor 18–70 mm F3.5–4.5G ED-IF AF-S DX, 1/800 s, F6.3, ISO 100, focus 27 mm. Photo: Ivo Prümmer
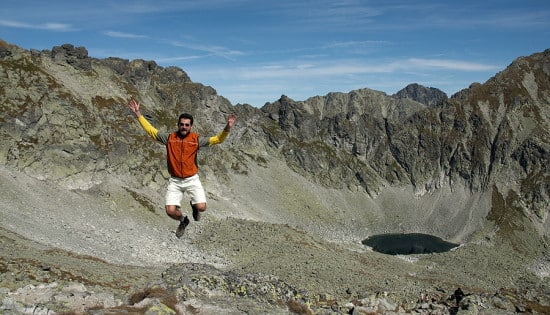
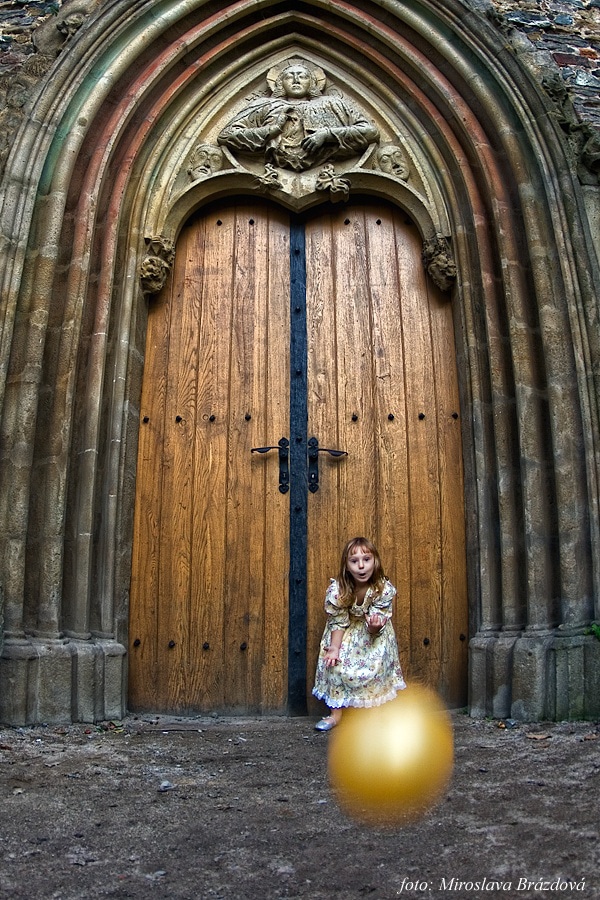
2) Indicating Motion
Here the exposure time is “longer than usual.” Before a static background, some object is moving. In the final picture it hasn’t lost its original shape. Meanwhile there’s some partial motion blur emphasizing the action. There are many uses for this method. For example many theatre and dance photos use it to emphasize actors’ actions or the grace of a ballet dancer’s motion.
3) Panning
This photographic technique is typical for sports photography. In panning, the photographer tries to follow e.g. a motorcycle in motion precisely in the viewfinder. If they’re lucky, the background will be blurred, and the motorcycle perfectly sharp. Another classic example is wildlife photography. I actually can’t even imagine a diving eagle anymore without a blurred background.

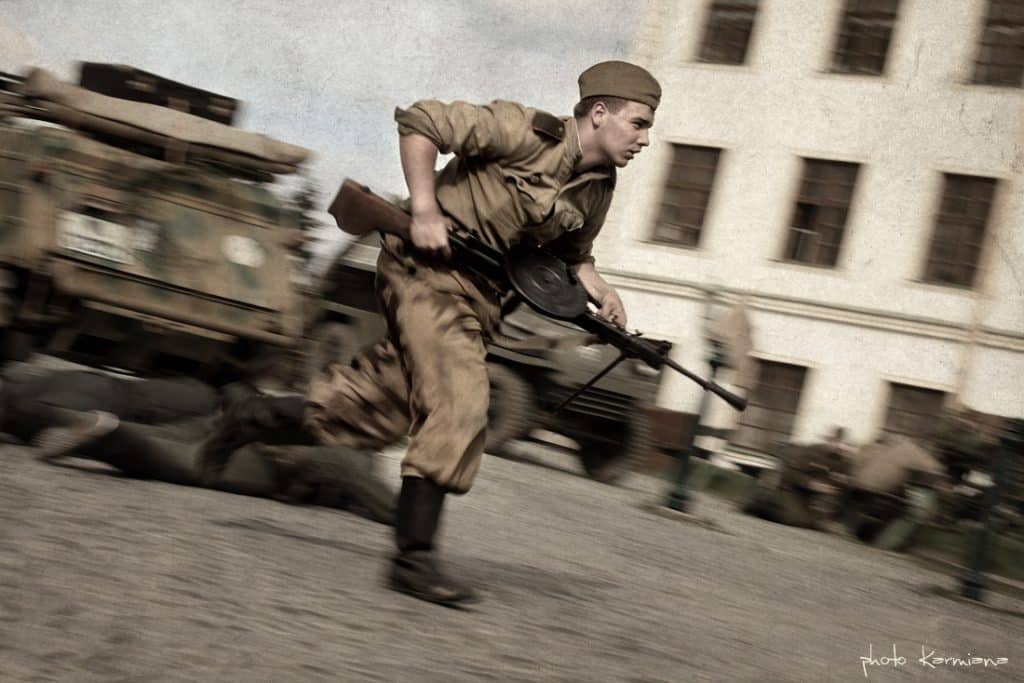
Canon Mark II 5D, Canon 70–200 mm F2.8, 1/50 s, F9, ISO 125, focus 80 mm.
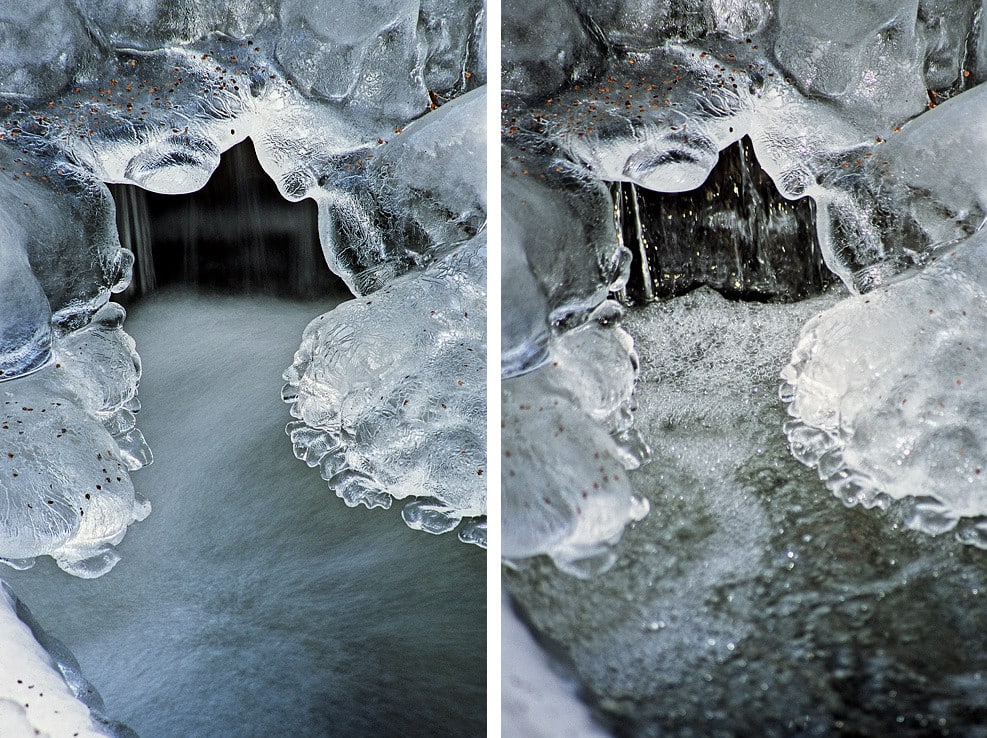
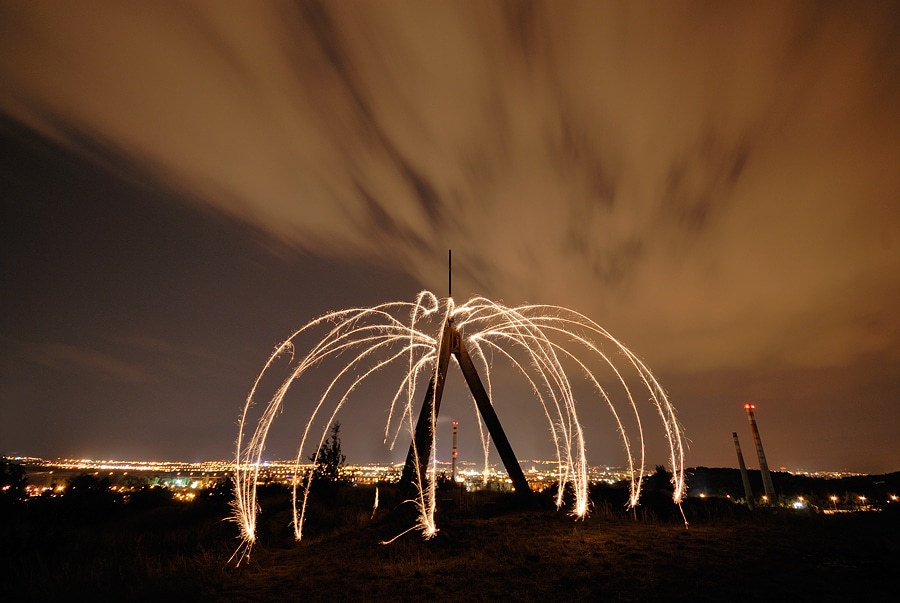
4) Very Long Exposure Times
Taking pictures with a fixed camera and an exposure time ranging from several dozens of seconds to minutes requires a tripod and low light conditions. Such long times lead to complete blurring, where it’s not clear from the photo what object was actually photographed. And that’s why photographers use these exposures to capture not objects, but paths of motion. The results are refreshing. Such as a picture from a multi-hour exposure of the night sky, with the stars becoming a series of rings around the North Star. Our next illustrative photo is another frequent example:

5) Supplemental Flash
You can give moving objects within range of your flash extra light on purpose. You can do this because flashes fire extremely briefly, and they help “separate” an object from its background while retaining motion blur. Most cameras offer synchronization between the flash and the first or second shutter blade. Those are some other options for making use of a supplemental flash.
6) Stroboscopic Effect
If you own an advanced system flash, you can also try simulating sequential shooting. Using the flashes one after the next gives a single photograph precisely phased motion.
7) Luminography
While this term isn’t widespread in English, it’s a natural word to describe what it is: painting with light. Long exposure times and moving lighted objects are its foundation. The camera and the scene are at rest, while the photographer creates the picture using, for example, a flashlight. Luminography makes full use of the fact that anything dark and quick-moving isn’t visible in the picture.
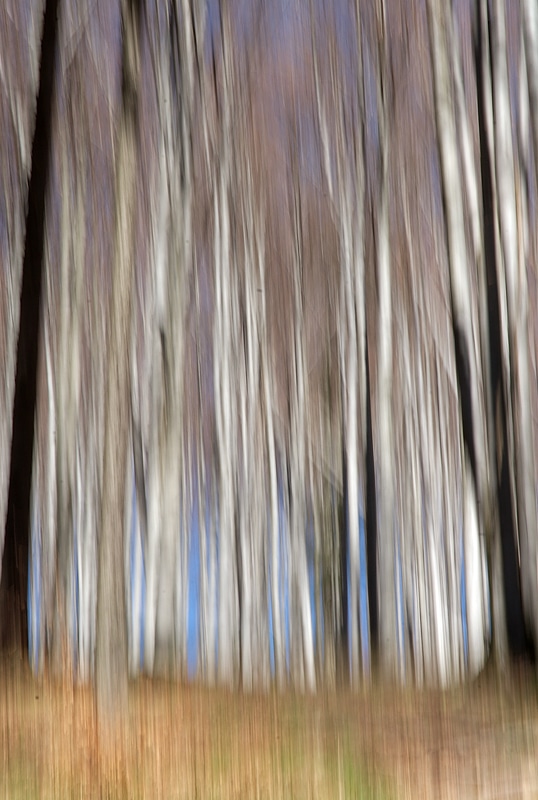
8) Rotation And Zooming
With this technique, we’re at the border between pictures of the world, and sheer abstraction. By moving the camera during the exposure, we can put simply anything into motion. But remember, even when your photo’s interesting and impressive, you still shouldn’t forget to give it something to say. The same applies with turning the lens ring, which controls focal length.

9) Complete Blurring
Complete blurring is a tricky beast. With some luck you can turn a photo of a real scene into a world of fantasy. There’s a wealth of options, but don’t get carried away. Even if you are convinced that you have just Touched Art, your audience may think that you just Tripped on a Log.
As you can see, there are more than enough ways out there to get creative with exposure time. Technology and light conditions place certain limits on us, but there’s always a solution. Motion blur is like salt. It’s an important way to add some flavor… and no cookbook tells you how much to use in a pinch. I wish you all few flavorless photos, and no over-salted ones!
There are no comments yet.