Adapt Your Photography to Natural Light
Your basic light for photography—available to you free of charge—is natural light. But when you’re using that light, you usually don’t have many ways to fully control it, and so you’ll often have to adapt your exposure and your scene to the light. You’ll learn to perceive light and take advantage of its characteristics with some practice…
Natural Light
Natural light is any light that’s available in a scene with no effort by the photographer. Generally, natural light is taken to be the same as light from the sun. That is, direct sunlight in the daytime, and sunlight reflected from the moon in the nighttime. The light from the stars is also counted into this.
Some artificial light sources can also be considered natural light, specifically the ones you can’t directly influence—streetlights and the lighting of historical buildings and landmarks. If this kind of light is present on the scene and you can’t turn it off, then you’ll have to work with it like you’d work with natural light, even though it’s an artificial light source.
Natural light happens to be one of the things that beginning photographers struggle with. Meanwhile, most textbooks, books, and articles on exposure assume that you’re using natural light.
Work with artificial light sources—especially flashes—is considered an advanced photographic technique. If you reach straight for your camera’s built-in flash the moment there’s not enough natural light in a scene, that can’t be thought of as creative photography. A thoughtlessly-used flash is good for “recording images”—and that’s about it.
The Characteristics of Natural Light
In a previous article about light, you could read about the four basic characteristics we can distinguish in light—intensity, quality, color, and direction.
Even though the Sun is huge compared to the Earth, it’s so far away that it functions as a very compact light source. Sunlight’s normal characteristics come into play for photography in open landscapes—and in interiors, if its characteristics haven’t been altered by the interior’s layout.
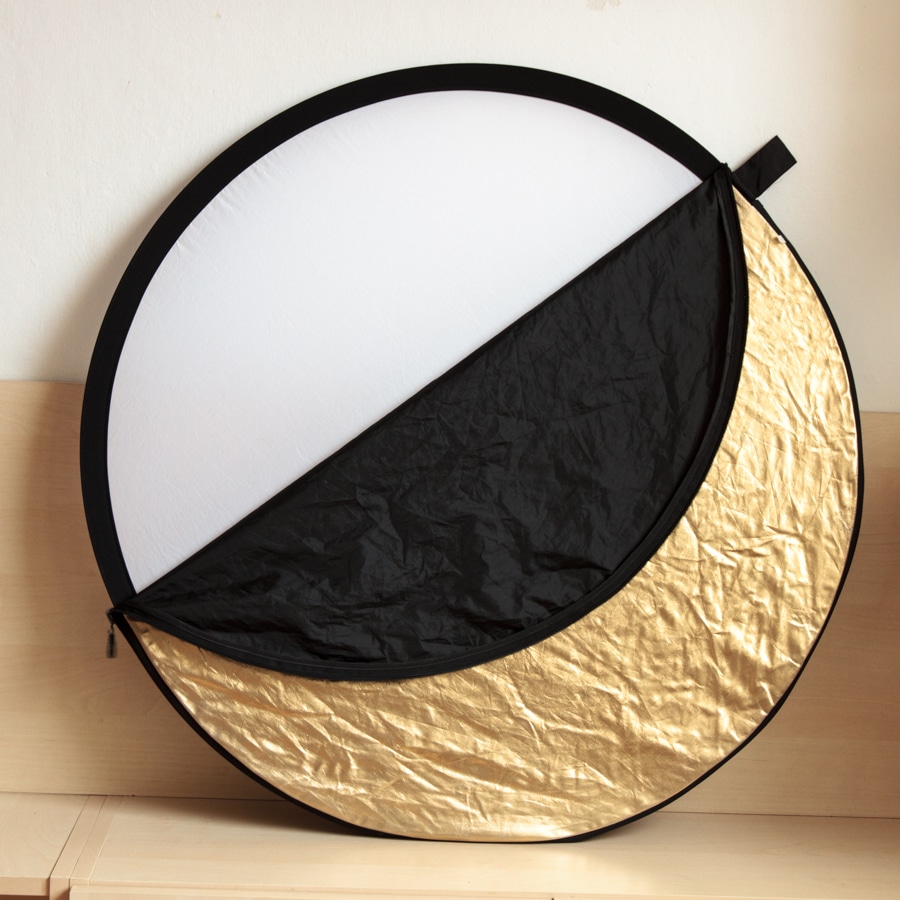
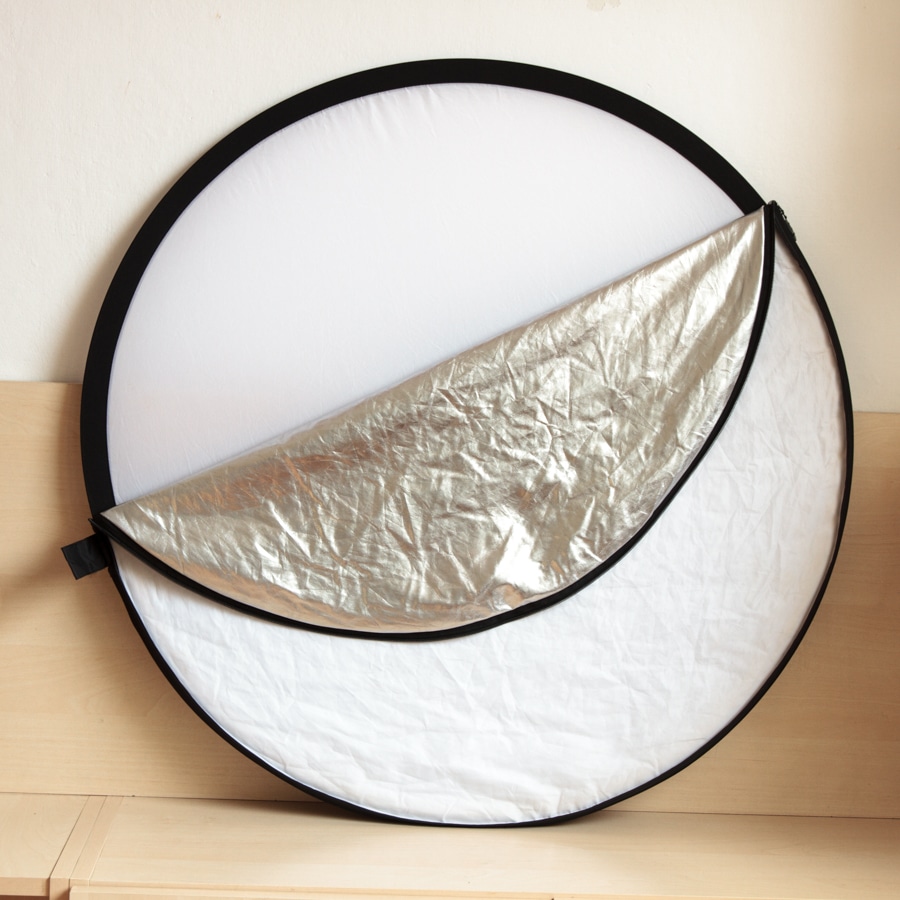
Your number one ally for adjusting the characteristics of light is a reflector. These are generally sold in kits, with gold, silver, and white reflective surfaces, black surfaces for shading, and diffusion surfaces for softening the light.
Sunlight’s Intensity—Your Guideline for Exposure
Sunlight’s intensity is a fundamental characteristic for determining exposure. You can’t directly control the intensity of sunlight, and to a large extent, you have to adapt to the amount of natural light in the scene.
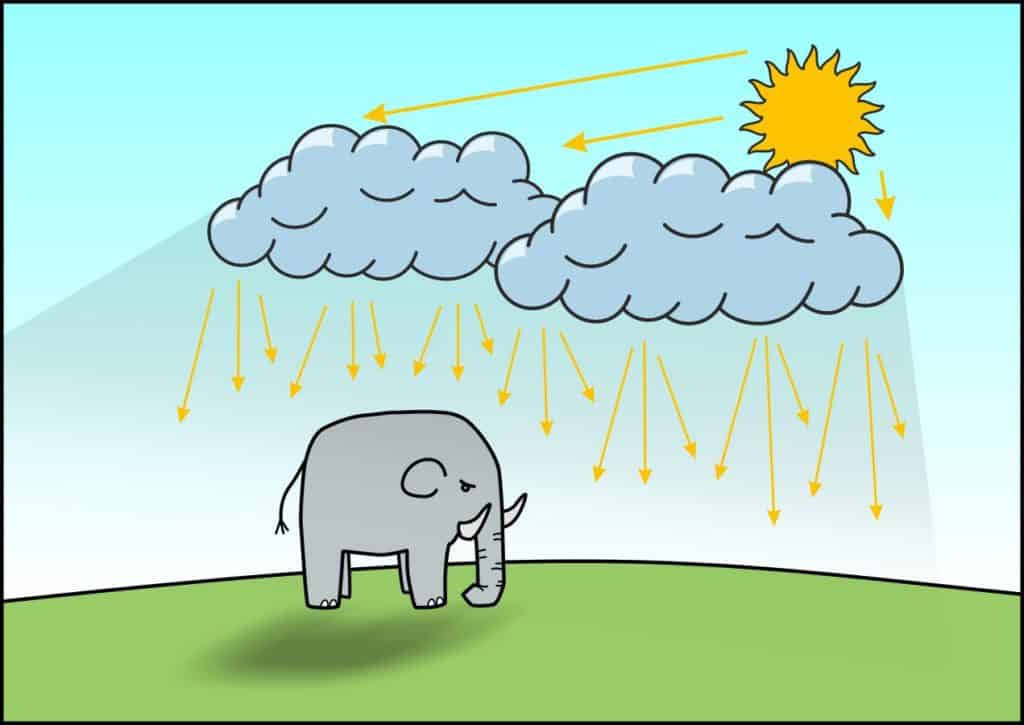
Sunlight is at its most intense at noon when it’s directly overhead. In the evening sunlight’s intensity weakens, because as the sun sets and becomes more distant, its light must travel farther through the atmosphere, where part of it is absorbed. After sunset, the sun no longer shines on the scene directly, but a part of the sunlight is still available. Light also behaves like this before and during the sunrise.
Sunlight’s Quality—Sharp or Diffuse?
Since direct sunlight is a compact light source, it produces very sharp, hard light. This is good for architectural photography or striking fashion portraits, but it’s an awful fit for other photographic genres.
That’s why most photographers stay home at noon and instead head out to shoot either around dawn or in the afternoon or early evening. At those times, instead of being directly overhead, the sun’s much lower, and so it shines through a thick layer of atmosphere that works like a giant diffuser.
The sunlight takes on a diffuse quality at these times of day, making it good for portraits, landscapes, and other photographic genres. Along with light’s quality, its color temperature also changes throughout the day.

Overcast days, when the sun is hidden behind the clouds, are the exception to this. The cloudiness diffuses the light, enabling you to take portraits and similar pictures.
The Color of Sunlight
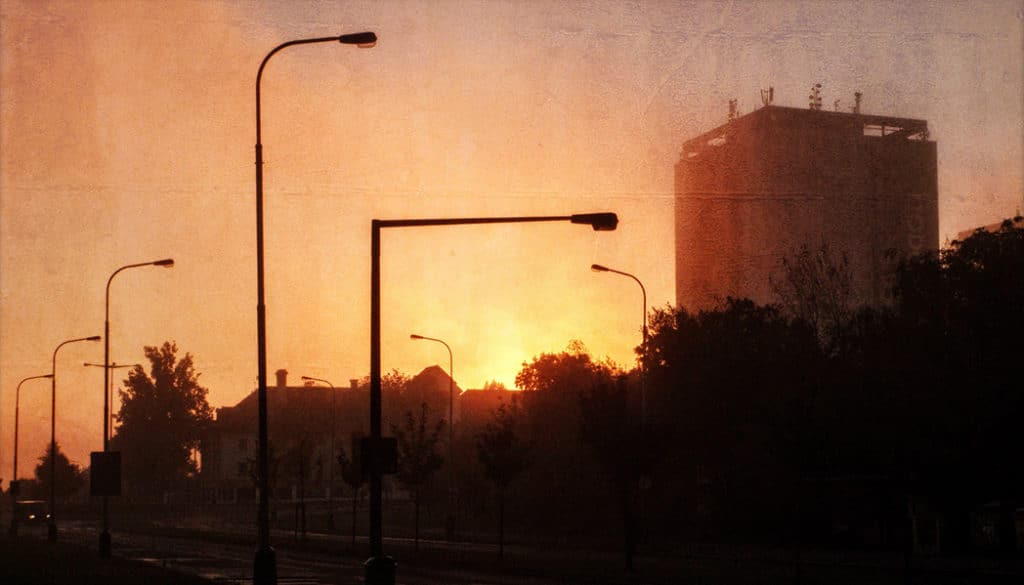
Neutrally colored light is daylight (5000K to 5500K). The closer you are in time to the sunrise or sunset, the lower the color temperature and the brighter the colors. Therefore, photos taken in the early morning and in the evening are pleasant to look at, not only because they contain more pleasing color tones, but also because there’s much higher-quality light at these times of a day. Just after the sunset, when it’s not yet entirely dark, the light can reach color temperatures of up to 10000K. This is a dark blue tint that works great for night architecture shots and cityscapes.

Canon EOS 7D, EF-S 15-85/3.5-5.6 IS USM, 5 s, f/11, ISO 100, focal length 15 mm (24 mm equiv.)
The Direction of the Sunlight
In the daytime, the sun travels from east to west along the south side of the sky (in the northern hemisphere). In the summer, it lights a larger part of your hemisphere (the days are longer); in the winter, it shines on a smaller part of your hemisphere (the days are shorter).
That’s why the windows in photo studios typically point away from the Equator (that is, from the north in the northern hemisphere and from the south in the southern hemisphere), since the Sun shines in that direction for only a few days per year, and thus windows pointing away from the Equator bring in only indirect, diffuse, higher-quality light.
Learn to See Light
In an upcoming article, we’ll focus on techniques for taking pictures in natural light. Until then, keep up your awareness of light quality, which depends on the characteristics described above. For natural daylight, you can easily see its changing quality over the course of the day. While noontime light is hard and its color temperature is uninteresting, in the evening and around dawn you can observe soft, detail-friendly light with distinctively attractive colors.
Do you want to know more about the light? Continue reading one of these articles:
Discover the Power of Artificial Light in Photography
5 Techniques for Shooting in Natural Light
Light in Photography? Light Is Photography
There are no comments yet.