5 Techniques for Shooting in Natural Light
Work with natural light has simpler equipment demands than work with artificial light, but on the other hand, you don’t have the light fully under your control. But you can still direct and enhance the light, using reflectors and diffusion panels.
We’ve discussed the properties of natural light in a previous article. This time we’ll instead be focusing on the actual process of taking pictures in natural light, and on techniques that will help you to take better photos.
Natural Light
When you’re shooting in natural light, in many situations you’ll just have to adapt to the light on the scene, but methods do exist that let you at least partially influence the quality of natural light.
Taking pictures in natural light takes less technical knowledge than working with flashes, but on the other hand, it demands technical perfection.
To experience the effect of natural light on a picture, you can try the following exercise: periodically photograph the same outdoor scene at various times of the day and year. This will give you a very diverse series of pictures; some of them will be utterly boring, others attractive. By doing this, you can learn to see light.
Techniques for Shooting in Natural Light
1. Finding the Best Light
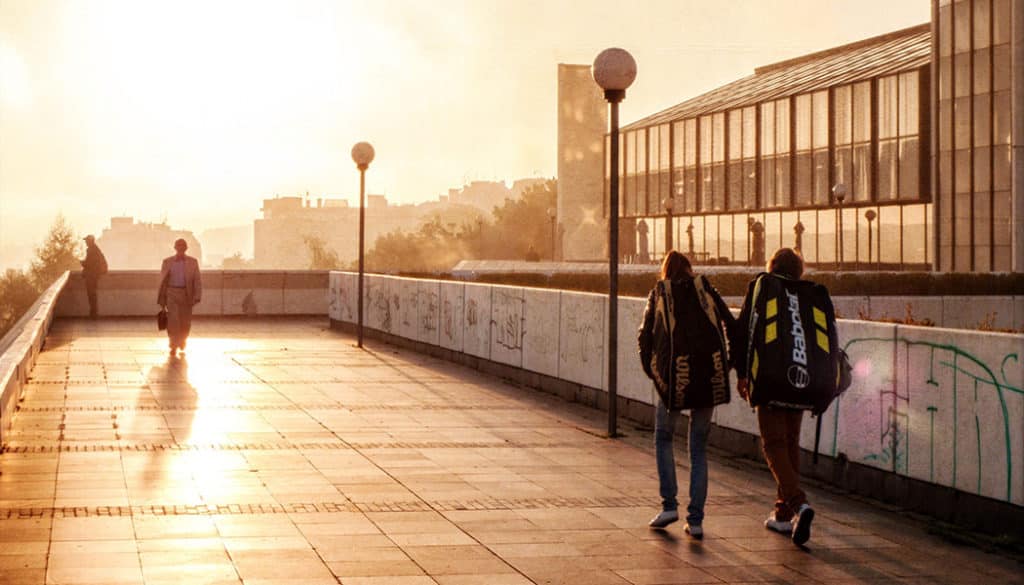
When taking pictures in natural light, you have only limited control over its properties, so ultimately you simply have to deal with them. If you’re shooting a large outdoor scene, then you’ll have to actively look for the best time to start the shoot, because the properties of sunlight are completely dependent on the time of the day and year.
If you are taking pictures of a motif that you can relocate, then you can work by finding the place (indoors or outdoors) with the highest-quality light, and create your scene there. This mainly applies for photographing people and small objects. For these motifs, you also have access to tools with which you can alter the properties of light. This is the most useful when the spot with the best light has ugly or inappropriate surroundings.
Canon EOS 7D, EF-S 15-85/3.5-5.6 IS USM, 1/30 s, f/11, ISO 100, focal length 15 mm (24 mm equiv.)
2. How to Influence the Intensity of Natural Light
The simplest way to influence the intensity of natural light is to put a neutral density filter on your lens. Although this doesn’t reduce the amount of light falling onto the scene, it does reduce the amount of light that makes it through onto the light-sensitive cells of the camera’s sensor.
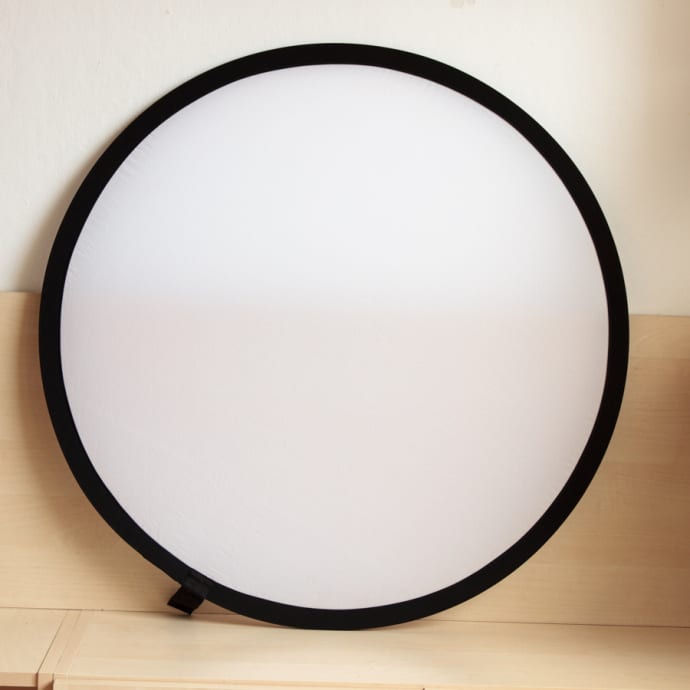
You can directly influence light intensity using reflectors. Use these to direct light and concentrate it where you want it. You can also use dark boards to darken the scene. You can also limit the amount of light by shading your light source with a diffuser. Reflectors and diffusers don’t just change light intensity. They also change its quality—in fact, that’s their main effect.
In any case, you can adjust the intensity and direction of natural light using a reflector. In our illustration for example, the subject is located in open shadow, and so the natural light is significantly less intense. But thanks to the diffusion effect, the light is higher-quality. With a reflector, you increase the local intensity of light, and meanwhile you can also influence the direction from which the light arrives.

3. How to Influence the Quality of Natural Light
Your main tools for influencing light quality are reflectors and diffusers. You can use a reflector (either silver or gold) to concentrate light and give it a somewhat harder character. This is especially useful when taking pictures in weak, diffuse light.
To brighten shadows without strongly altering light quality, use a white reflector. Directing light with a reflector also increases its intensity. You’ll especially appreciate a reflector for portrait photographs and small scenes. To get good results, your reflector must be larger than the scene.
If you have to do portrait or macro photography under hard light, you can use a diffusion sheet to soften (diffuse) the light.
4. How to Influence the Color of Natural Light
One common tool for adjusting the color of natural light is the white balance setting in your camera (or in a digital darkroom, if you’re developing from RAW). To get a warmer color temperature, especially in portrait photography, people often use gold reflectors, which can simulate the warm hue of the setting sun when it’s actually daytime.

Colored gels also influence the color of light—despite their name, these are actually colored translucent sheets, similar to cellophane. Gels are rarely used outdoors, as quite large gels would be needed in that environment. They’re more commonly used indoors—to cover over the window through which light comes into a room. They’re actually not used too frequently in photography overall; you commonly encounter them in cinematography.
5. How to Influence the Direction of Natural Light
When photographing wide scenes such as landscapes and architecture, you have no choice but to adapt your exposure time to the sunlight. There are many specialized applications available today that can tell you the sun’s position within a scene based on the time, date, and location that you enter. When you’re photographing small motifs, once again a reflector is the solution for directing the light.

6. Choosing an Exposure
In general, when taking pictures in natural light, you can’t significantly how much light there is. Because of this, your exposure settings must fully respect the light. So working in natural light is always about finding a compromise between your creative goals and how much (or usually: how little) light you have.
Also, the better the photographic equipment you have available, the smaller the compromises you’ll have to make. Faster lenses enable you to set shorter exposure times, while a larger and more modern sensor chip will enable you to take noise-free pictures at higher ISOs.
Carefully Choose When and Where to Shoot
When photographing wide scenes, carefully choose the time and date of your shoot. When photographing small motifs, find the shot site with the best light available and adapt your scene to that site. To change the properties of light, use reflectors and diffusion sheets. If you can’t adapt the scene to the light (e.g. reportage photography), then at least let the light determine where you stand. Learn to work flexibly with exposure, because when you’re shooting in natural light, you have to adapt yourself to the light, and not vice-versa.
Do you want to know more about the light? Continue reading one of these articles:
Discover the Power of Artificial Light in Photography
Light in Photography? Light Is Photography
Adapt Your Photography to Natural Light
There are no comments yet.