Taking Pictures in Artificial Light
By mastering work with artificial light sources, and especially flashes, you break free of several exposure limitations that hold you back when you’re taking pictures in natural light. Using flashes also gives you much sharper pictures, because the flash is so short that it eliminates motion blur.
Exposure and Artificial Light Sources
Taking pictures with an artificial light source works differently than taking pictures in natural light. While you can use the same techniques with constant artificial light sources as with natural light, the approach for work with flashes is the exact opposite.
With constant light, you have a certain intensity (which you can adjust a little) and you adjust your exposure settings accordingly. With studio flashes, you choose exposure settings to precisely meet your goals and then adjust the light intensity to those exposure settings. That means that you don’t have to make exposure compromises, and you can produce a perfect photo.
To determine the exposure, you use flash meters; these tell you the aperture that corresponds to your chosen intensity. If you want to shoot with a different aperture, then you change the intensity of the light, and keep measuring and changing until the flash meter shows your desired aperture.
How to Regulate Light Intensity
Your first option for regulating light intensity is to do it directly, using the intensity controls on your studio flash and by choosing the wattage of the incandescent and fluorescent bulbs used in your permanent lights. With this approach, you only influence the intensity of the light, without influencing its other properties.
The second option is to move the light relative to the scene you’re photographing. By moving a light source closer to or farther from the scene, you influence both its intensity and its quality. When you move a light source, keep in mind the inverse square law. This law states that light’s intensity drops with the square of its distance from the source. This means that at two meters from the source, the light intensity is at one quarter of what it is at one meter from the source.
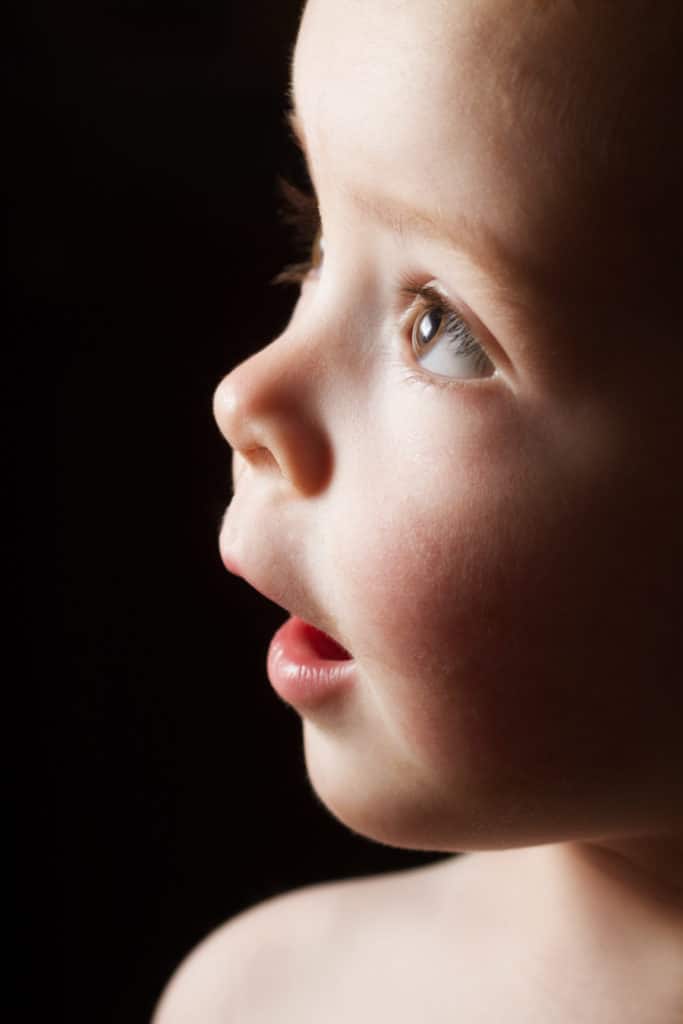
Let’s demonstrate this law through the example of a portrait photo. For optimal light quality, we want to place the source as close to the subject as possible. So we place the source a half-meter away from the subject and set its intensity so that the subject is lighted just the way we want. But that means that even just a half-meter behind the subject, the light intensity is at quarter-strength—two EV lower. A meter behind the subject, the light intensity is four EV lower (one sixteenth). In practice, this means complete darkness with no details.
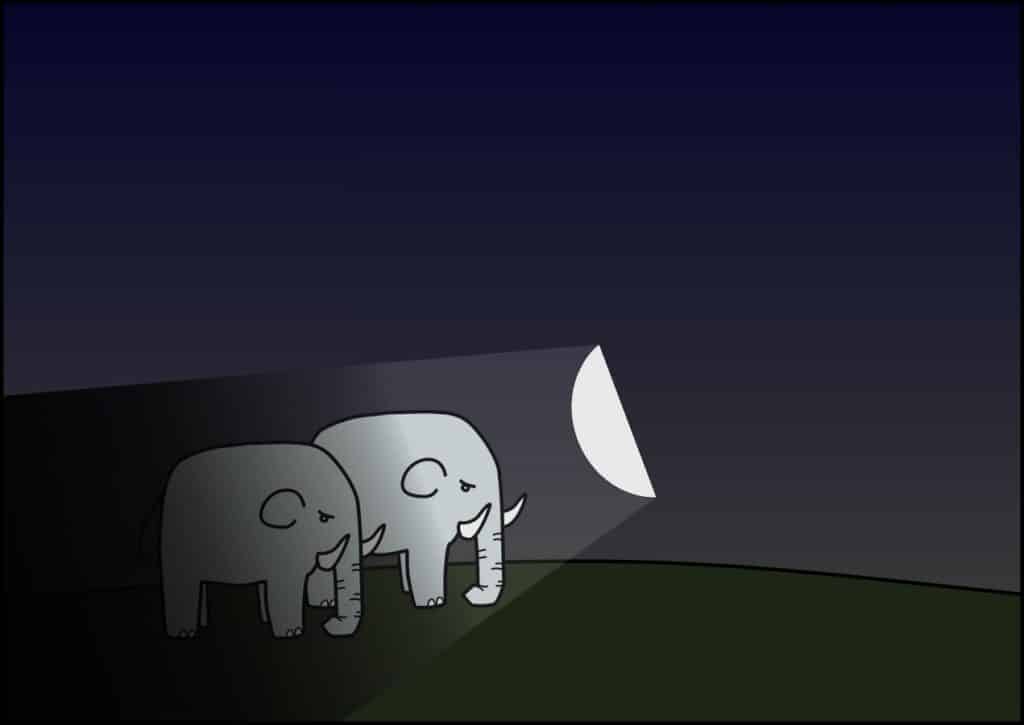
From this, it should be clear that with this kind of distance between the light source and the scene, photographing a couple would be impossible. The person farther from the light would be very underexposed. Because of this, in group photography, you need to place the light source farther away. Although this will force you to use a more powerful flash, your lighting will be more even.

How to Adjust Light Quality
To adjust light’s quality, you adjust its distance from the scene—the closer it is, the larger its relative size, and thus the higher its quality. You can also get even tighter control via various light-shaping attachments. That is, the endless variety of reflectors, barn doors (flaps), softboxes in all shapes and sizes, photographic umbrellas, diffusion surfaces, and various reflective boards. But even just bouncing the light off a wall can help too.
Compared to when you’re taking pictures in natural light, there are almost no restrictions on how you can influence the light quality. This has led to a growing love of shooting with daylight bulbs: they imitate sunlight, but can be fine-tuned using accessories for studio flashes.
How to Adjust Light Color
For coloring artificial light sources, colored gels (and sheets) are used. When shooting with flashguns for example, the sheets don’t need to be especially large; business-card size is enough. In other words, precisely the size in the sample books from the companies that offer these colored sheets. You can also replace these special sheets with cellophane that’s been folded over several times. You just have to watch out for the light source’s heat; otherwise, you could end up with a melted sheet.

How to Adjust Light Direction
You can influence light direction mainly by turning the light source, but also using light-shaping accessories. While a reflector or a snoot with a honeycomb will let you create a very concentrated beam of light, a translucent photographic umbrella lights your whole space. Softboxes are a favorite compromise; with these, you light the scene but avoid unnecessarily lighting a distracting background.
Learn to Master Artificial Light Sources
The ability to work with artificial light sources (and especially flashes) will open up many photographic possibilities for you. You’ll be able to start photographing topics that would otherwise be closed off to you. You’ll also gain much more control over topics you’ve already photographed, ones where using natural light has forced compromises in your creative goals.
Want to Learn More About Light? Read our other articles on this topic:
Discover the Power of Artificial Light in Photography
5 Techniques for Shooting in Natural Light
Light in Photography? Light Is Photography
There are no comments yet.