Create a Web Gallery with Zonerama
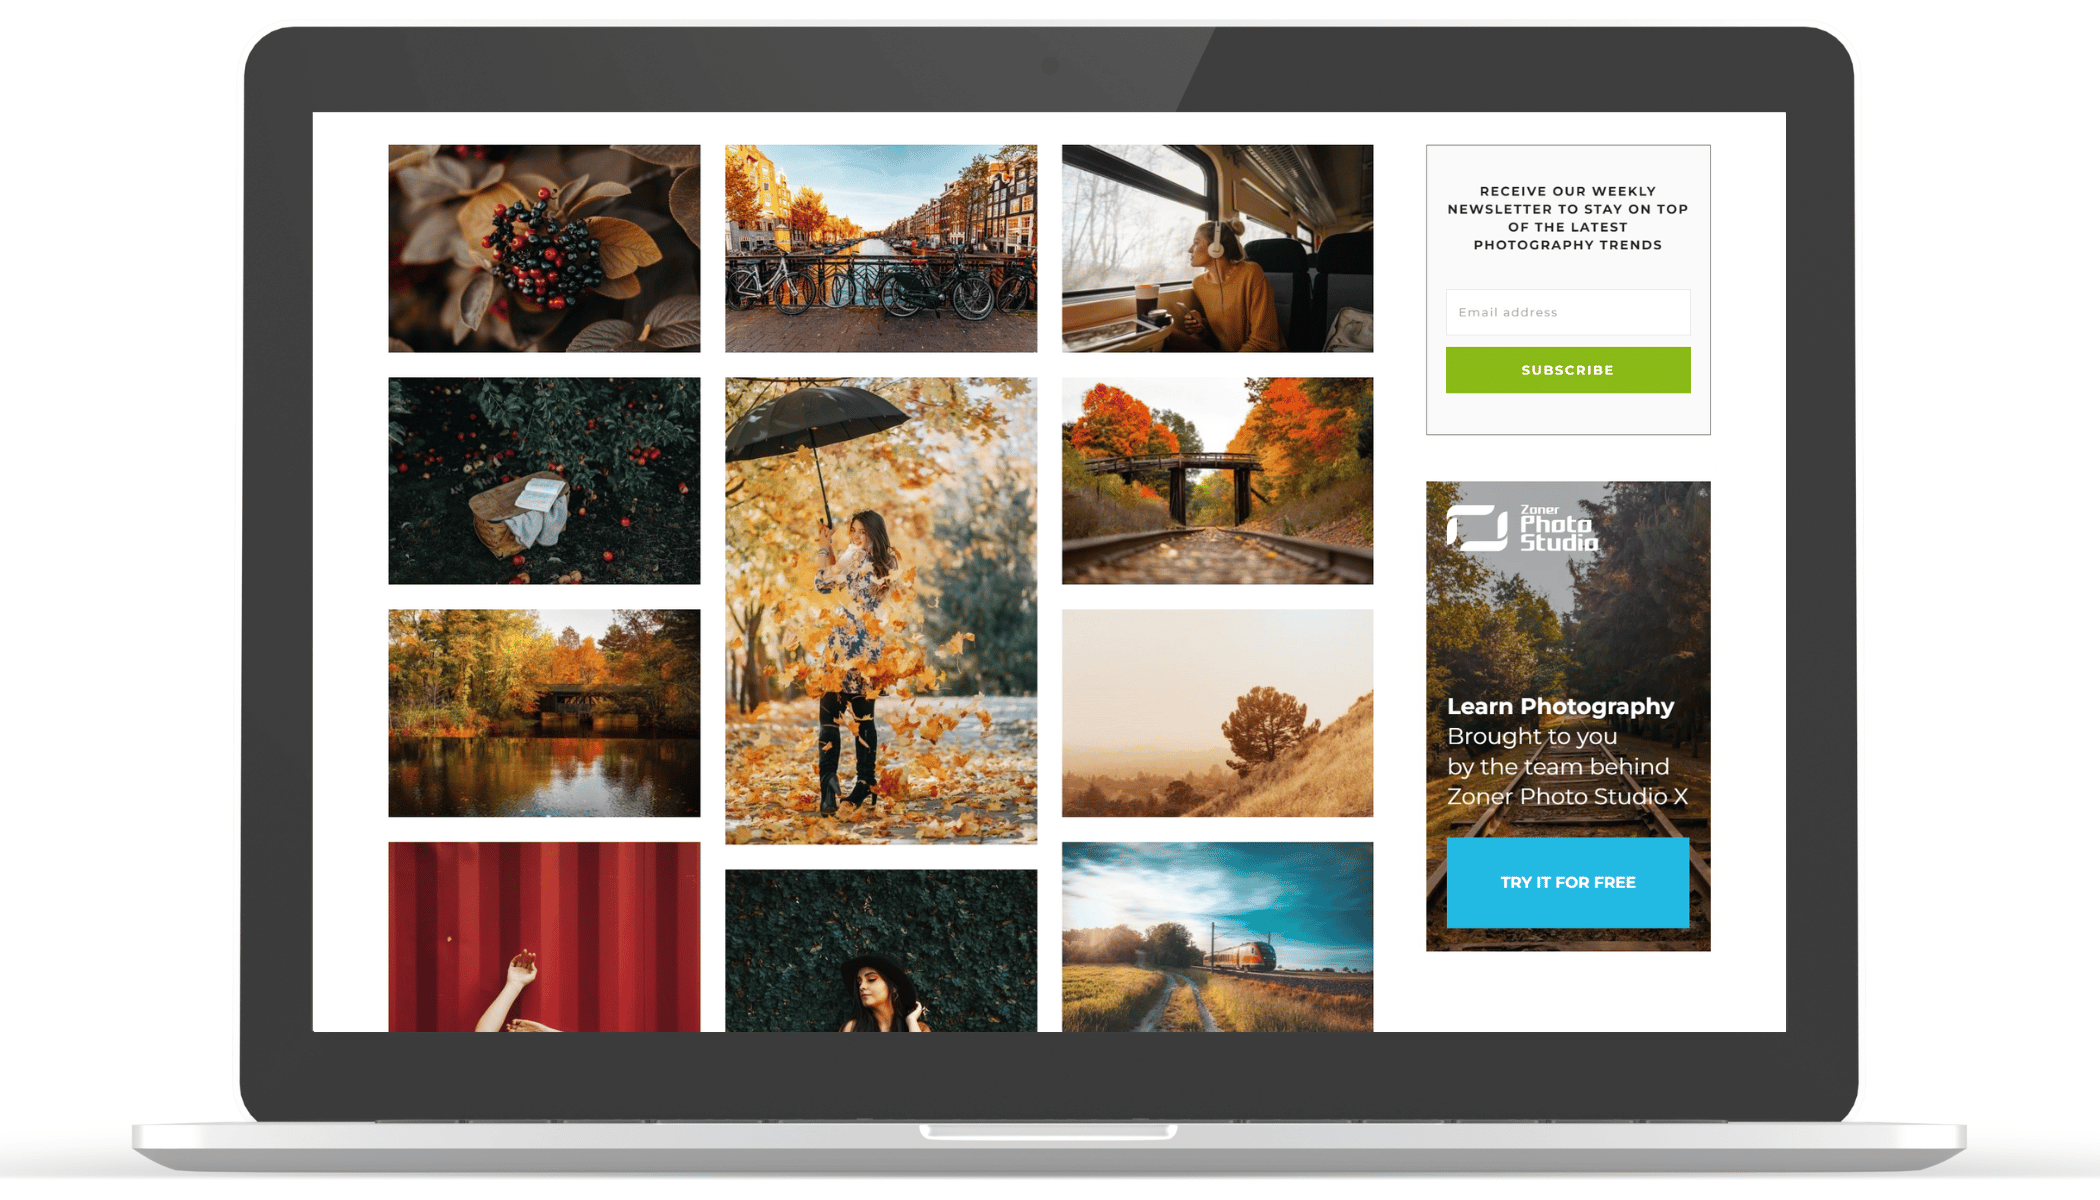
A photo gallery is an important part of almost any website. Creating a photo gallery takes a lot of time for even experienced programmers and can be a major challenge for those of us with less experience. Zonerama saves you time and extra work and the results are worth it. Create a web gallery like a pro in a matter of just a few clicks.
Visual content on your website is important for reaching out to your visitors. With one of Zonerama’s shared gallery functions (for Zoner Photo Studio X or Zonerama Premium license users), you can quickly and easily add a modern and attractive element to your website. All you need is Ctrl+c, Ctrl+v, and some minor settings adjustments using toggle switches.
HTML code
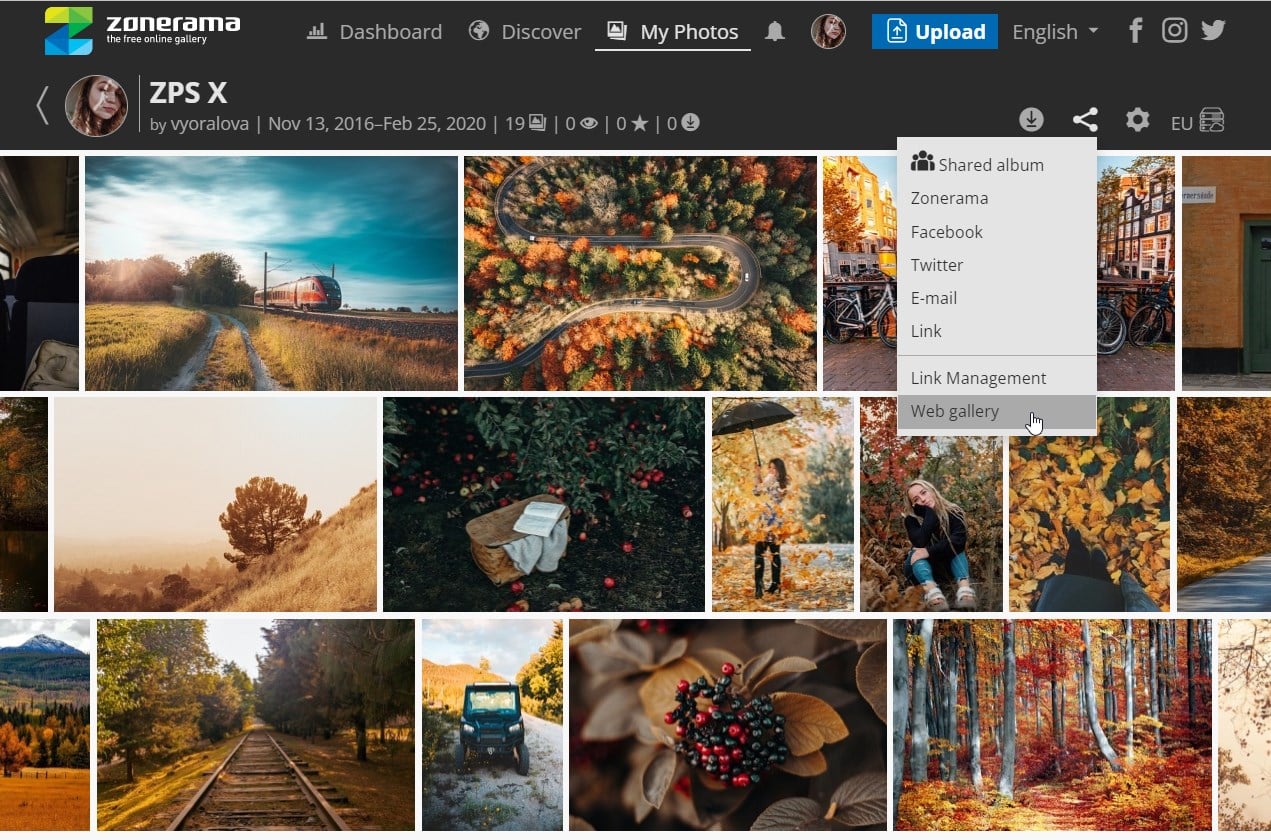
Are you the owner of a website and need to enhance it with a photo gallery? Click the share icon in the top right corner of the album and select Web gallery.
A window opens with a unique code that is generated for the selected album. Copy this code to your clipboard using the button to the right of the text box. You can also select the code and copy using Ctrl+c.
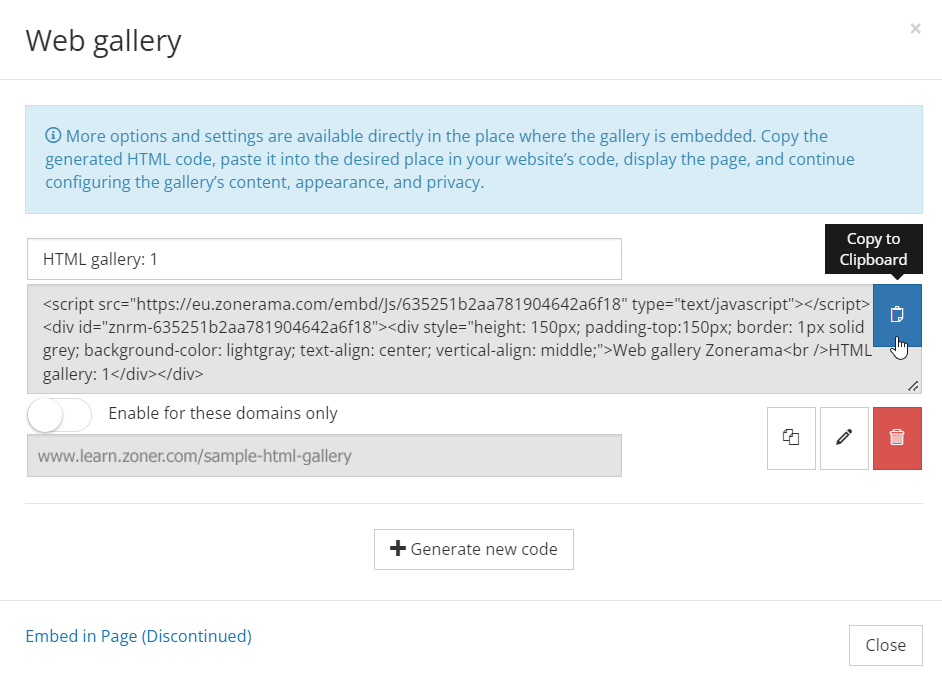
You can add this generated code to any website, but if you want to protect it from misuse, enable the Enable for these domains only option. This option is a security measure that ensures the code will only work on the domains you enter.
Managing your website
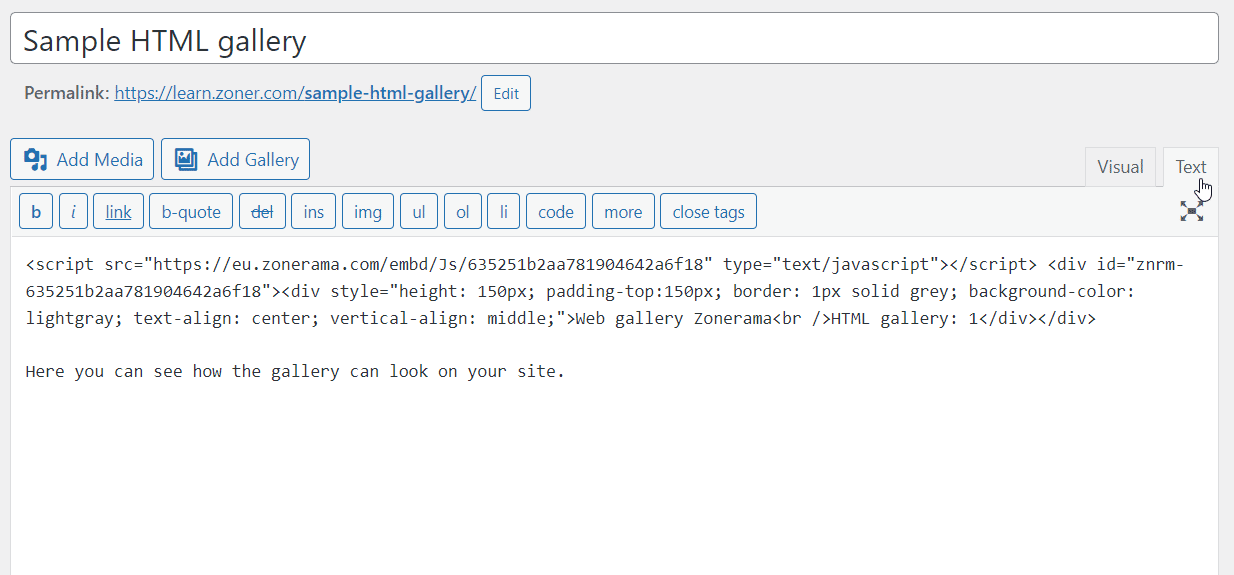
For managing your website, you’ll need to use an HTML editor. Usually this is text accompanied by code that determine how the web page will look in real life.
Paste the copied code from the clipboard using Ctrl+v and you’re done.
Display settings
By default, the album displays all the photos on the website. You can now customize how it looks.
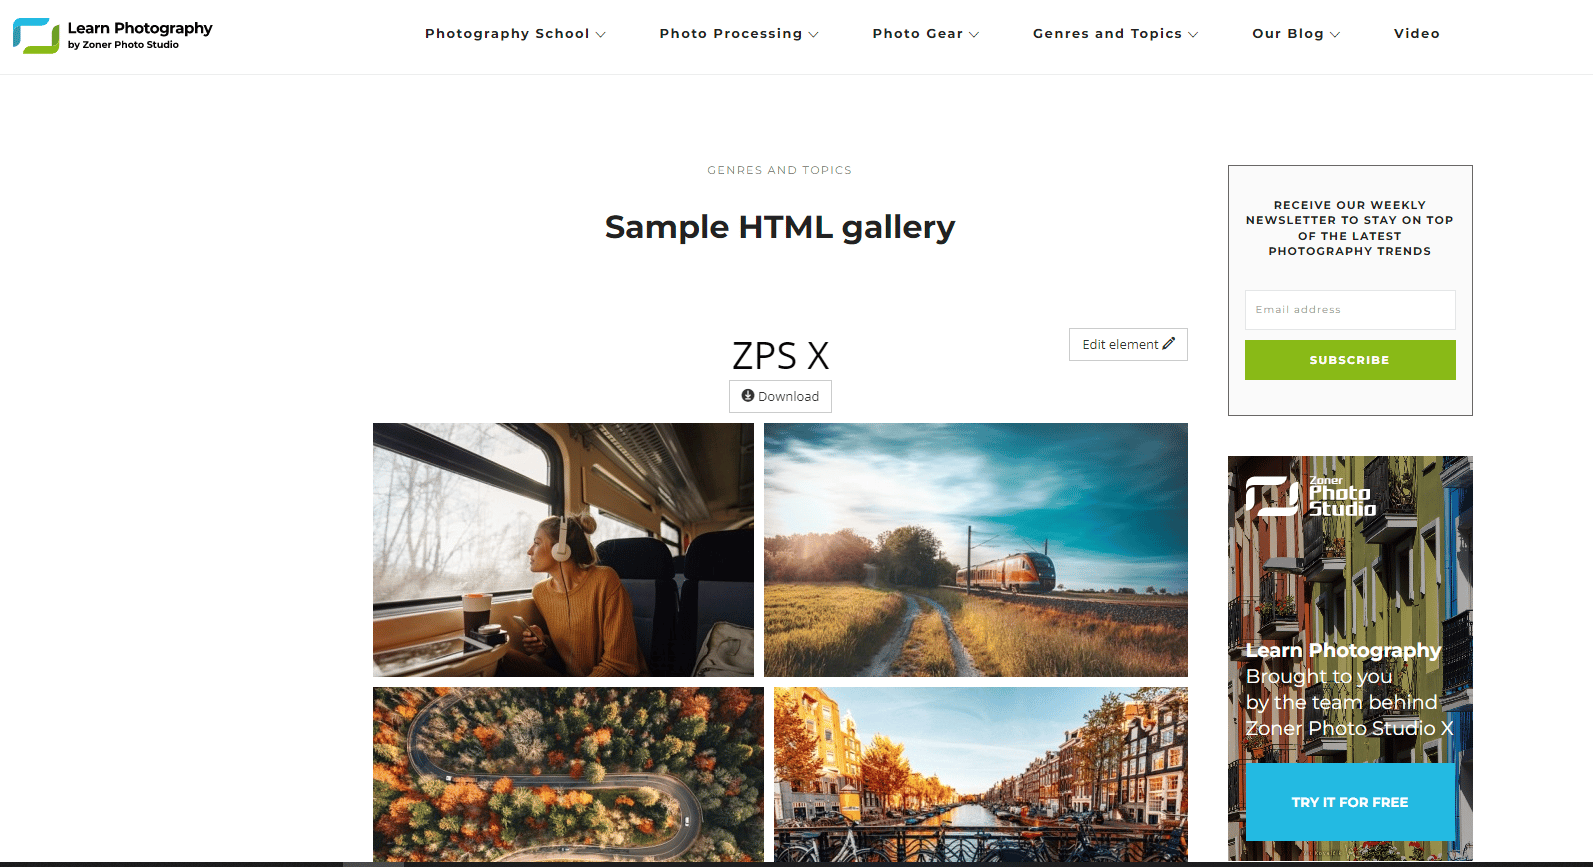
Click the Edit element button in the top right above the gallery. Choose HTML gallery options from the drop-down menu.
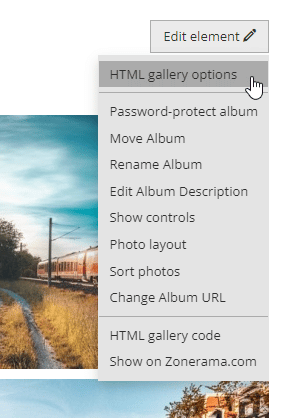
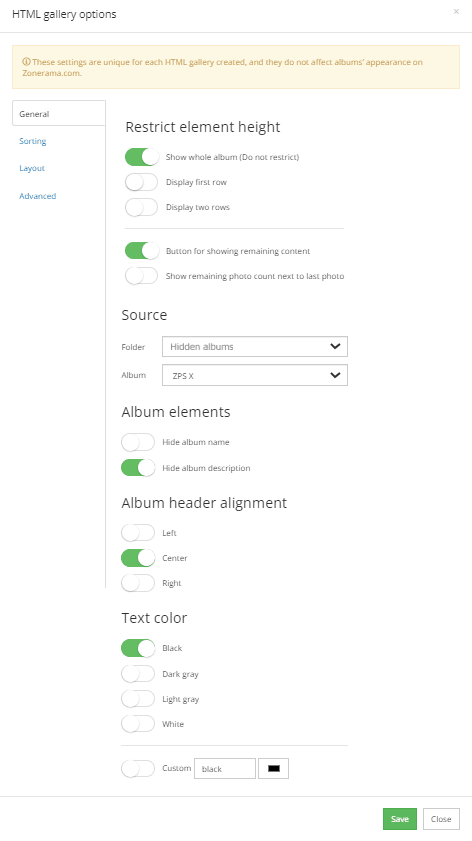
A window with four tabs opens.
- In the General tab, you can set basic display settings such as element height, folder from which the photos will be uploaded, alignment, text color, etc.
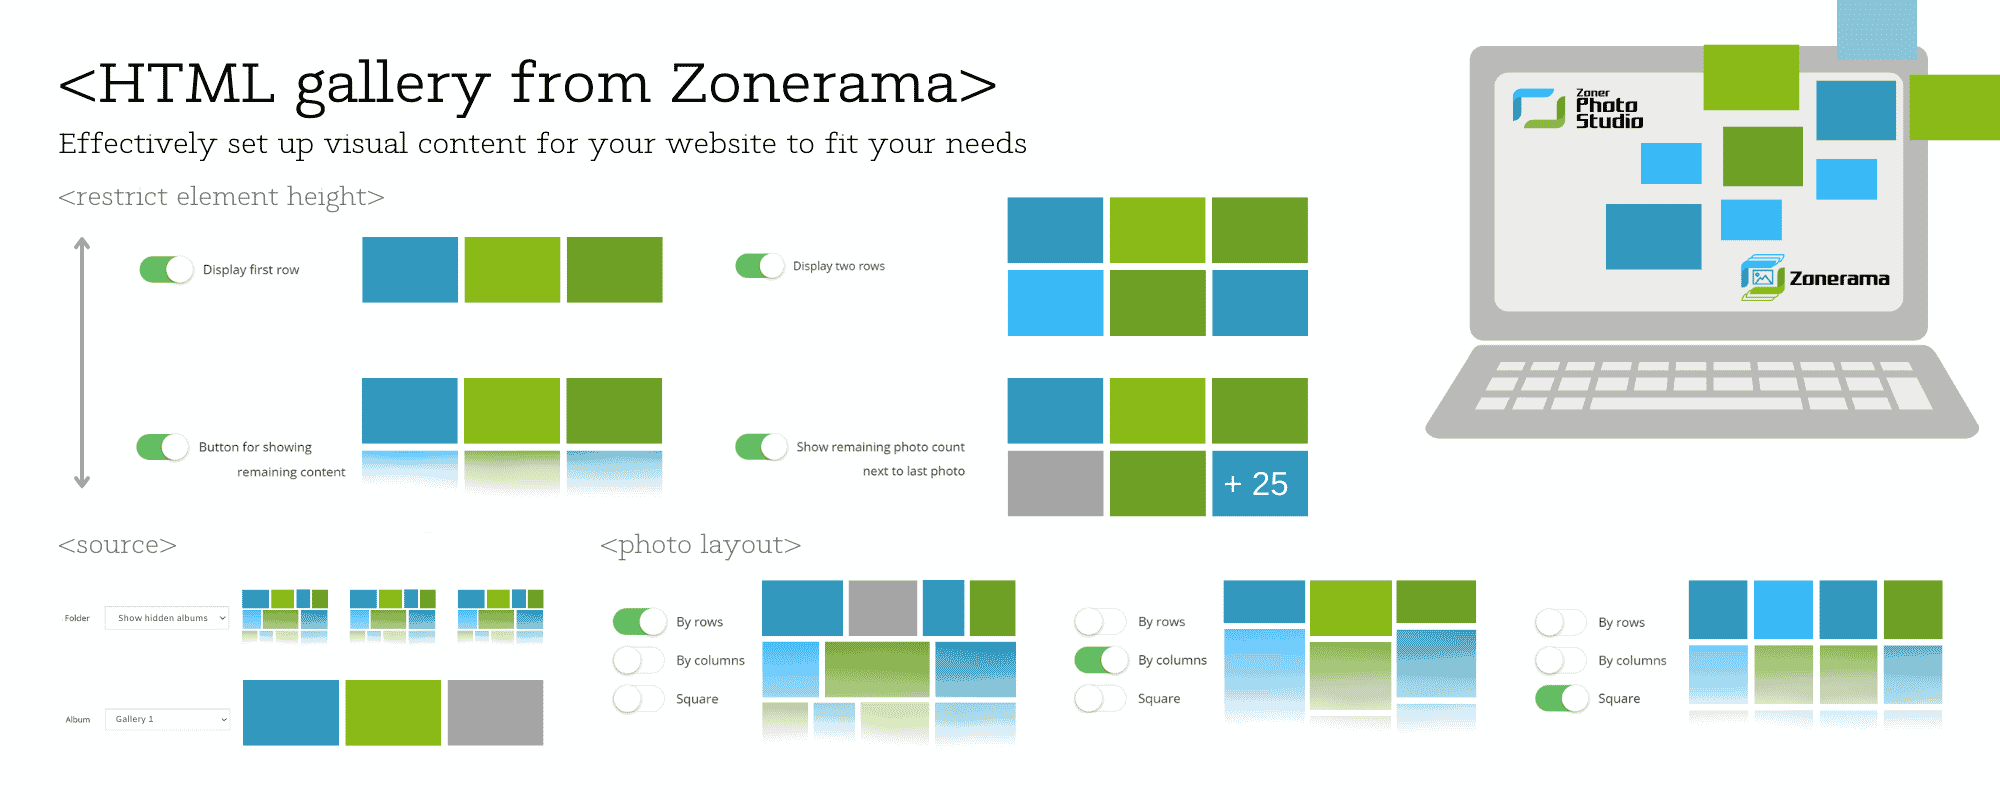
The display options you choose are up to you. We’ve made a cheat sheet to show you how your website can look with specific settings.
- Set how your album or photos are displayed using the Sorting tab. You can choose the same sorting as Zonerama albums, or Custom and sort by Album name, Date of creation, Date of change, or Date taken, ascending or descending.
The options for sorting photos are the same.
- Use the Layout tab to set your photo layout and display photos in rows, columns, or as small squares. You can also set photo size or indentation between photos. You can also set how controls are displayed, including options for download, filtering, and metadata. Finally, you can add a watermark to the photos for copyright purposes.

- You can set the option to Log in In the Advanced tab, but be careful with this option. If you hide the login button and you want to change the settings of the embedded gallery, you must be logged in to your Zonerama album in the same browser. You can also change the language, frame size, or set the URL.
If something goes wrong, don’t worry. Just generate the code again (see the reference photo Window with the generated code for the gallery) and try again. You can easily create your Zonerama album online or using the photo editing software, Zoner Photo Studio X. You can try Zoner Photo Studio free for 7 days with full support for all features.
There are no comments yet.