Fire Station Photo Story: Hoping Your Subjects Aren’t Called into Action
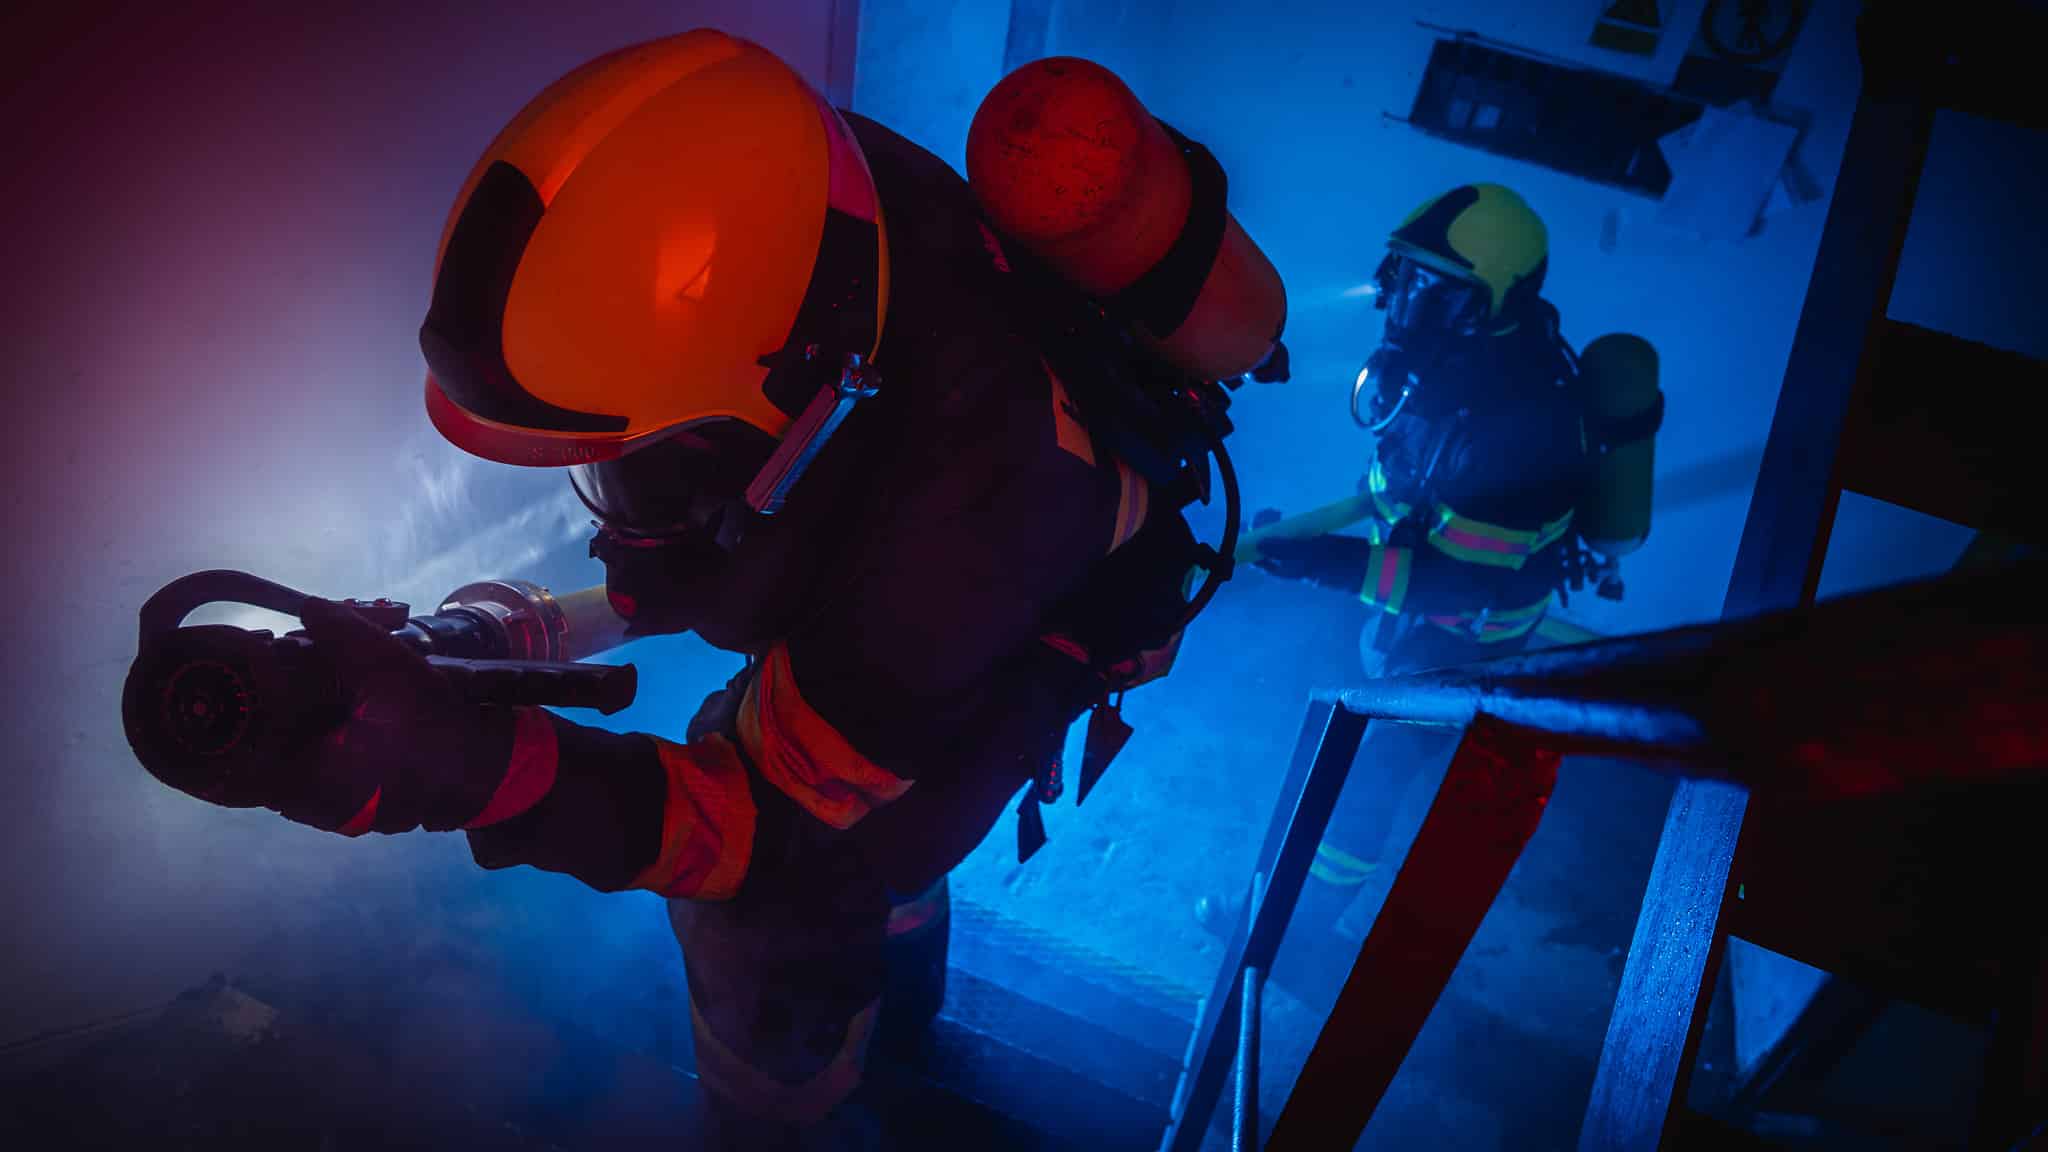
Doing an extensive photoshoot at the fire station requires more preparation than an ordinary shoot. I normally shoot firefighters in action using a more reportage style right at the scene or during training. This time, I wanted a more planned photoshoot with greater control over the results. At the same time, I wanted to experiment with different types of lighting, because light is fundamental to the theme of fire prevention.
Before the actual shoot, I prepared myself both practically and theoretically. I researched the right camera equipment I could use in the field and spent time looking for inspiration. Using different web platforms such as Behance, Pinterest, Google images, and ArtStation, I found several firefighter photos for inspiration.
Browsing through the work of other photographers is an important part of a photographer’s work. Interesting moments from different pictures often stick in our visual memory—the setting, the type of lighting, atmosphere of the shot. And from this visual brainstorming comes new ideas and creative concepts for the next shoot.
Part of my preparation also includes drawing a few simple sketches, or putting together a storyboard, to serve as a jumping off point for the shoot. When the photographer on location knows what they want, it speeds up the job. But I’m not going to claim that I only stick to these sketches. There are new ideas that come up on the spot that I implement.
Even though I went into my first photoshoot somewhat blind, for the next shoot, I knew exactly what I wanted. However, the problem with taking pictures of firefighters is that you never know when they’re going to be called into action. Multiple times I had all the equipment in place, the men were ready for the shoot, and all of a sudden, the alarm went off. There was nothing we could do. I waited for them to come back, and we continued.
Setting up a dramatic scene
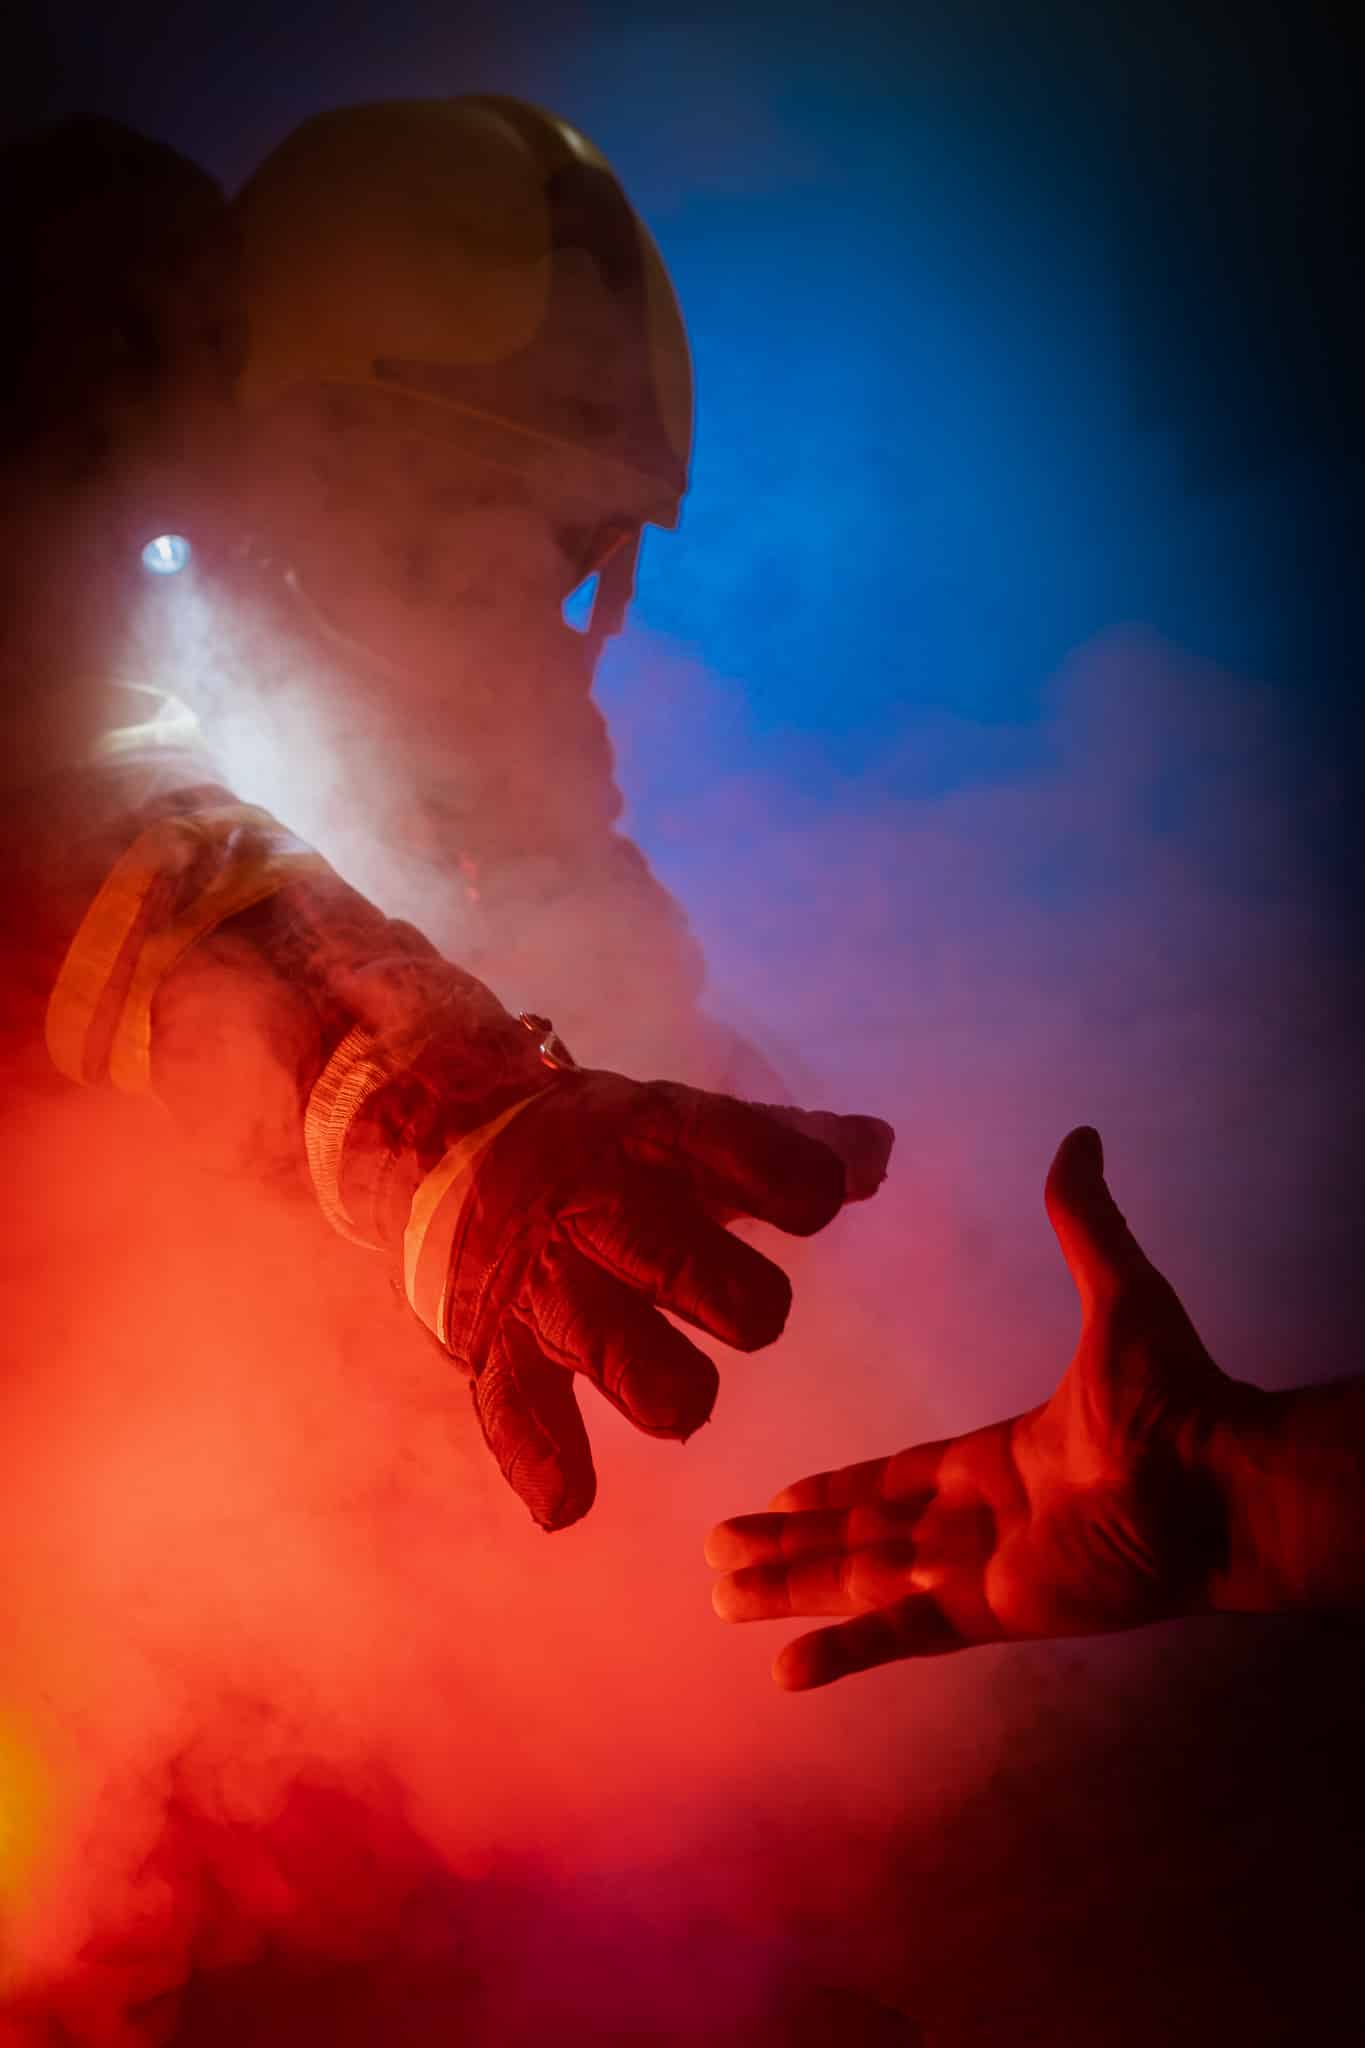
For posed photos, you have the advantage of playing around with everything before to make the result as captivating as possible. This is not possible with reportage photography. I consider the use of a fog machine to be an important part of fire station photography. Smoke and firefighters simply go together.
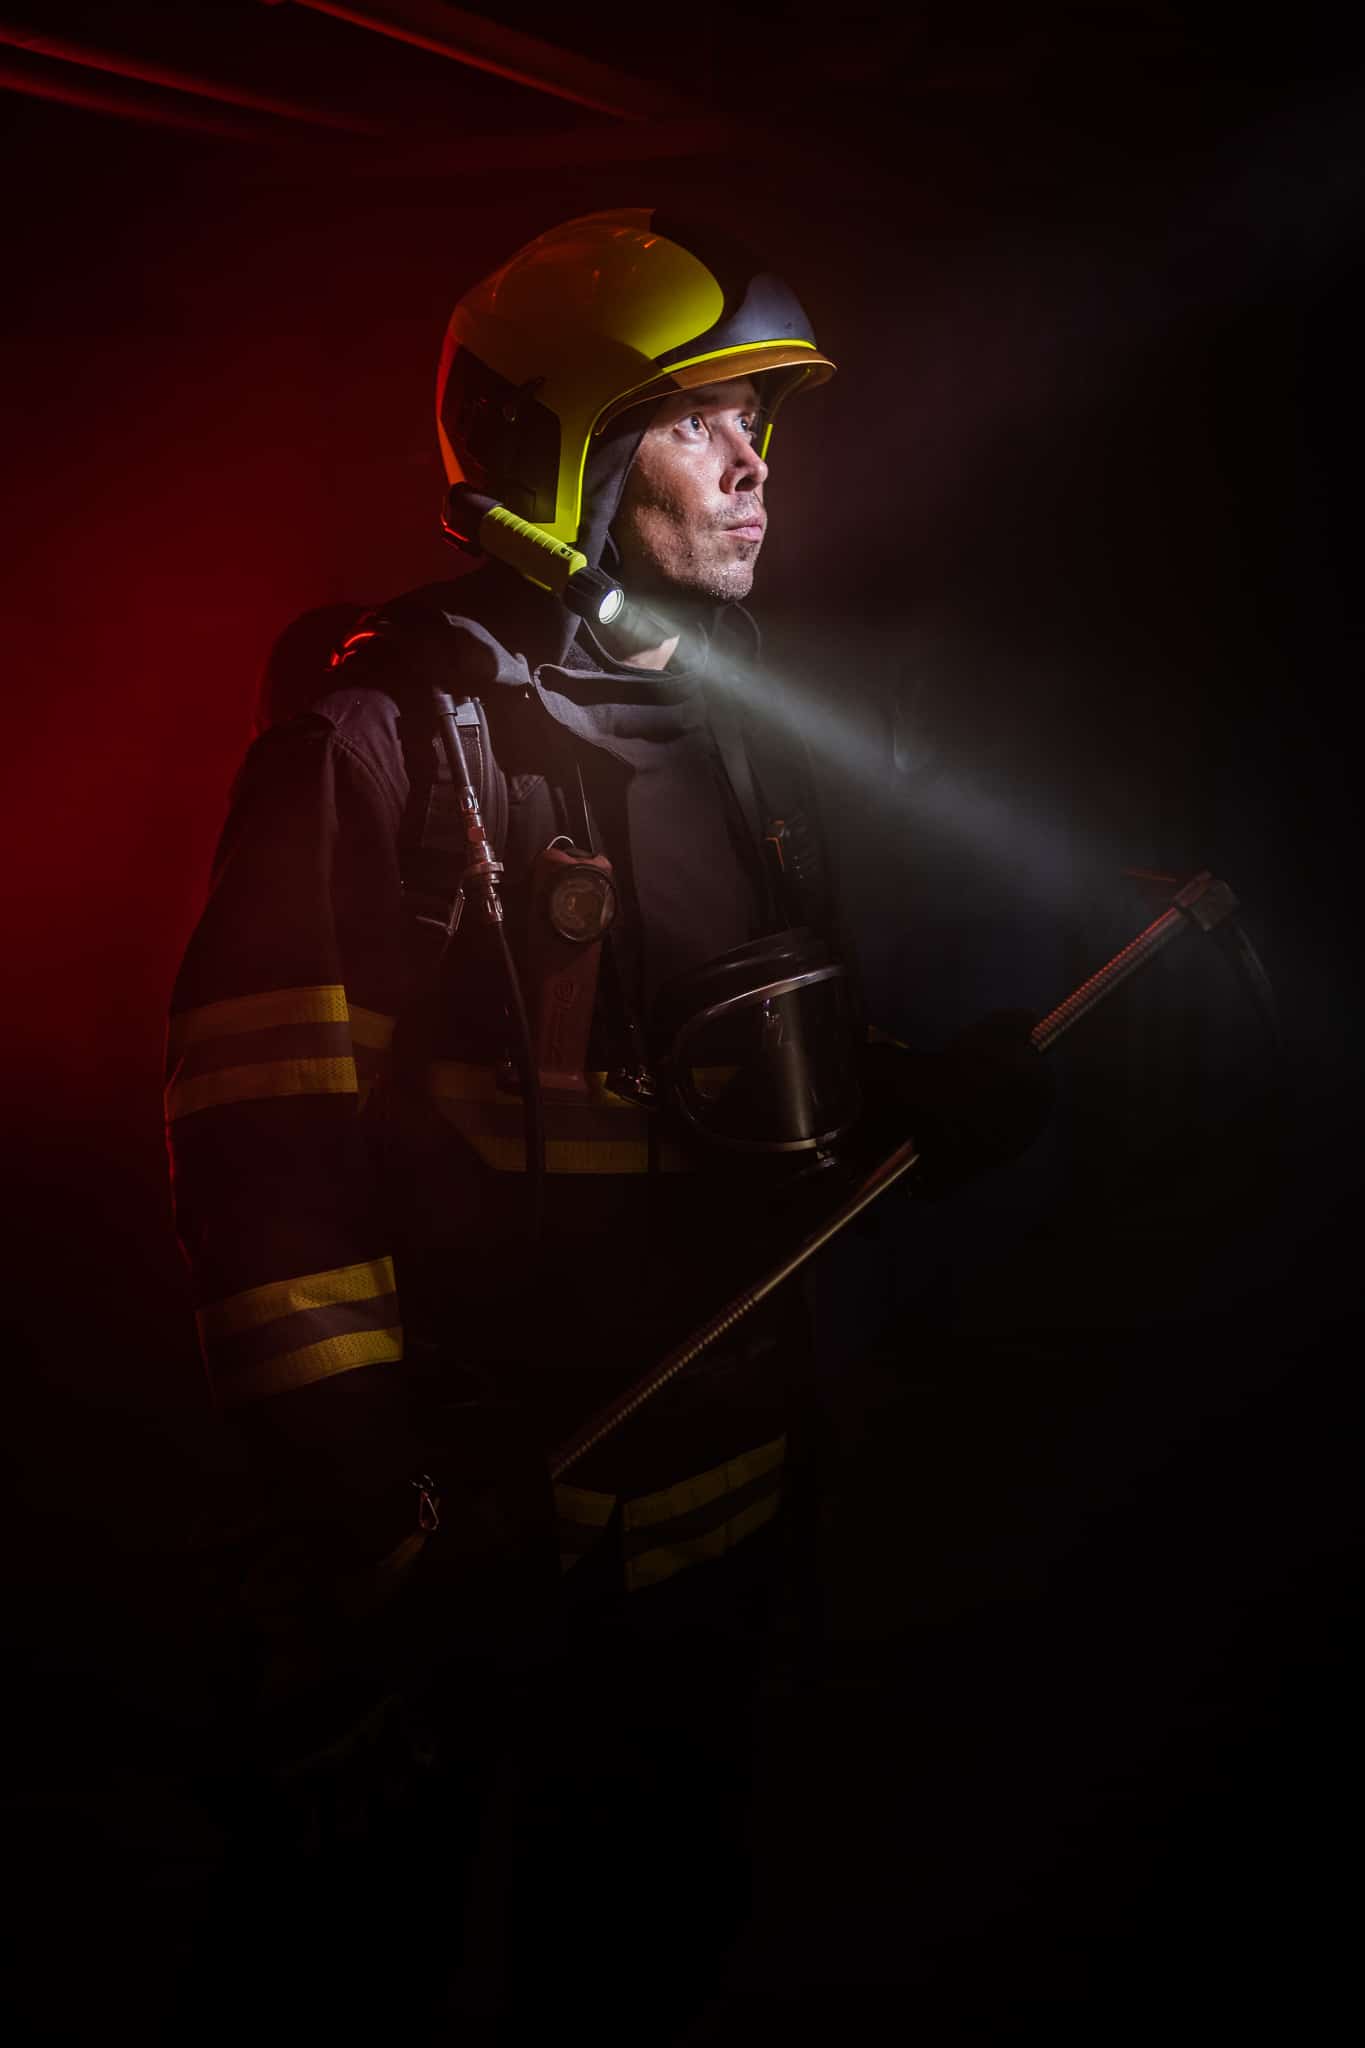
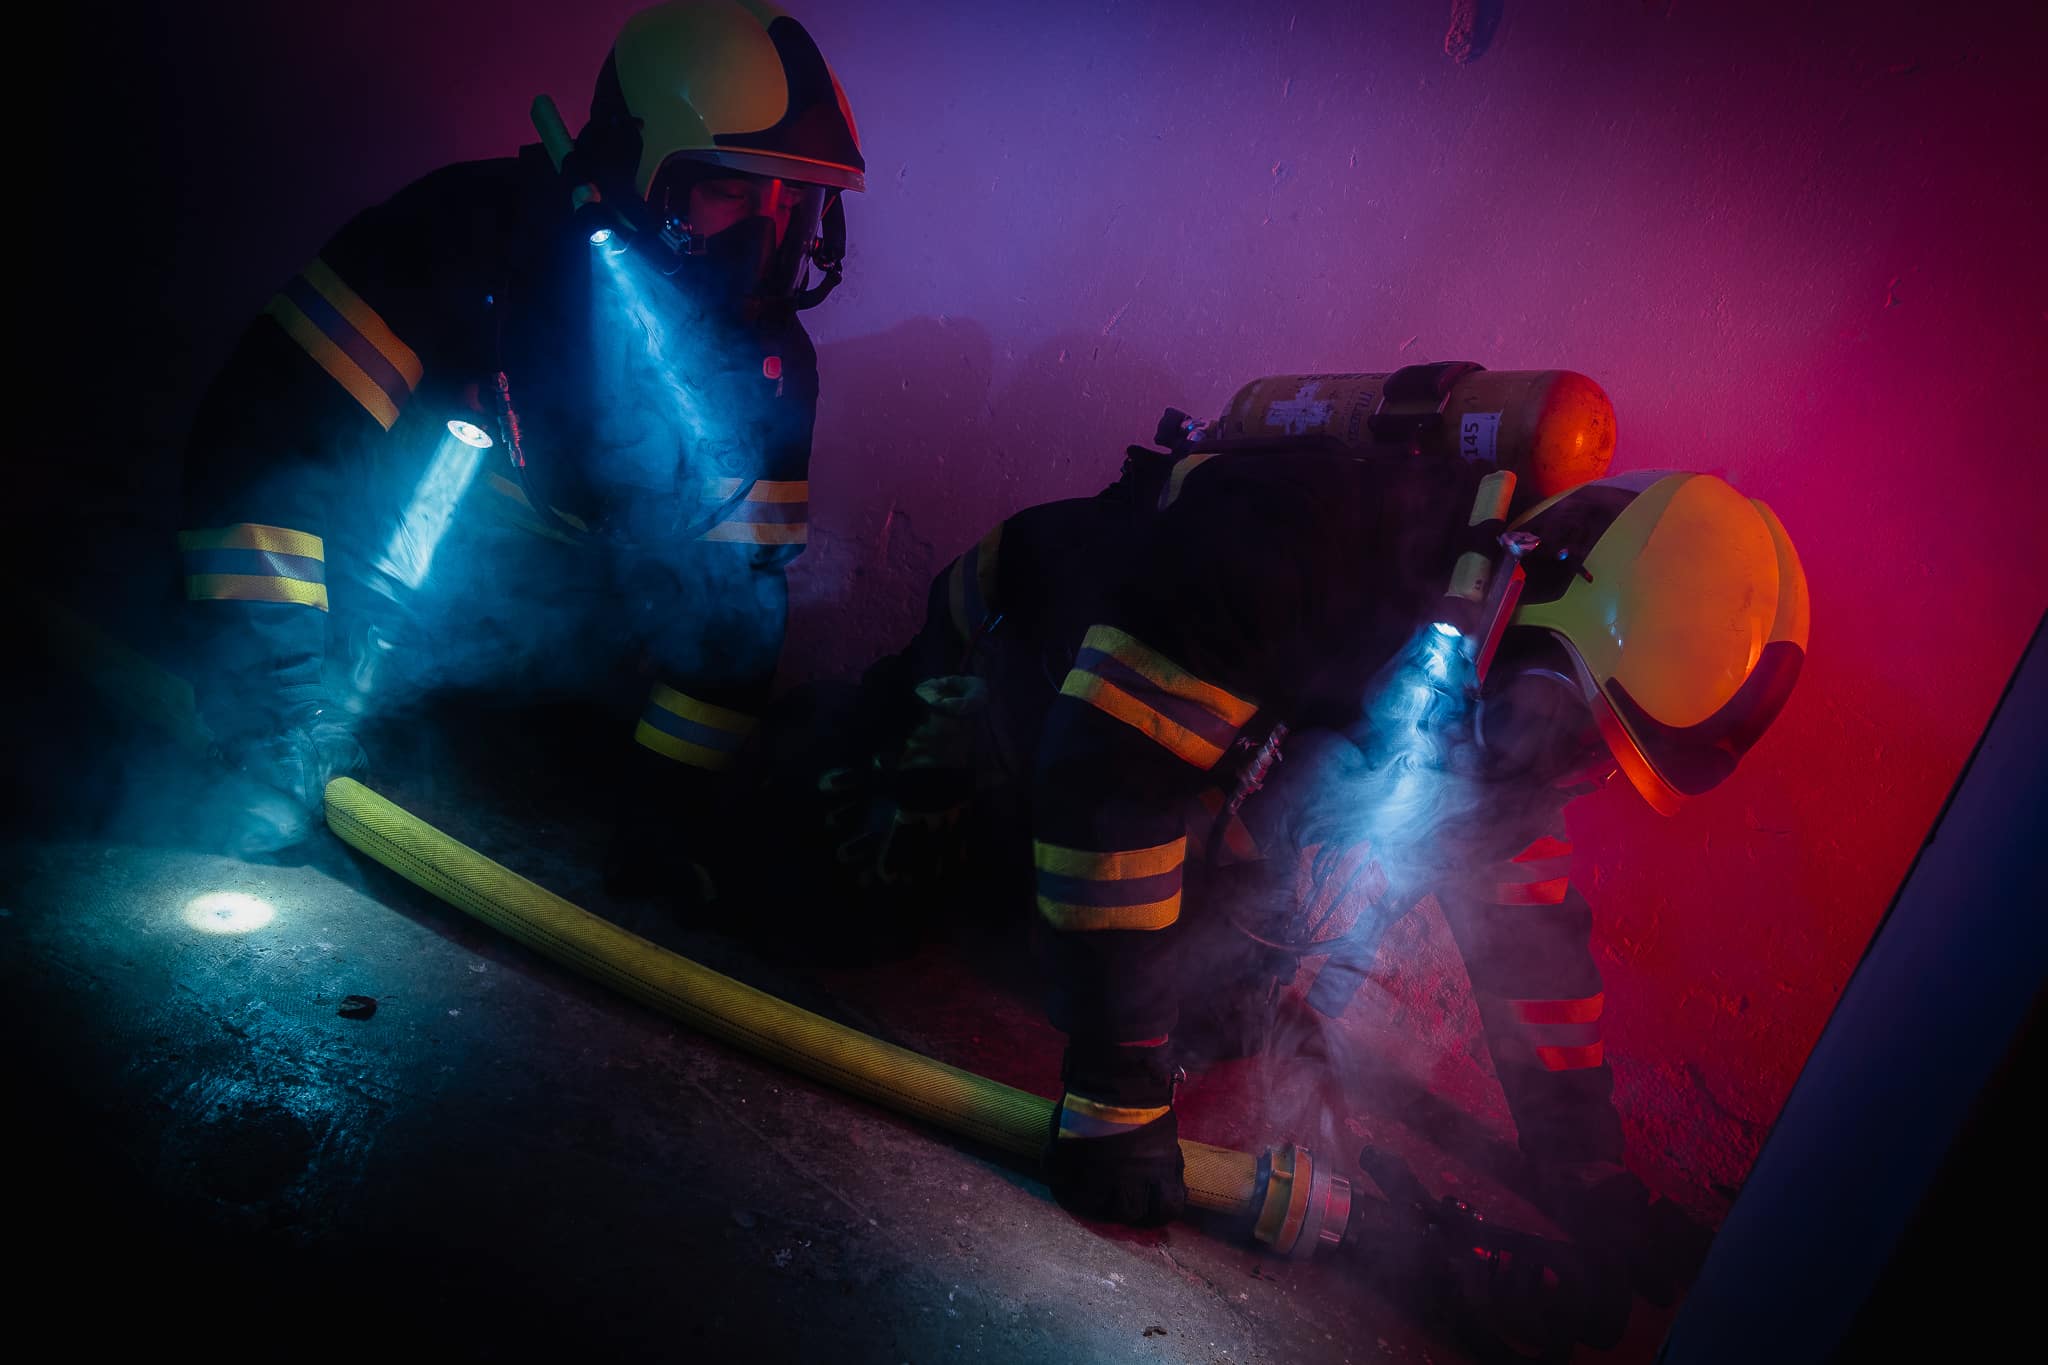
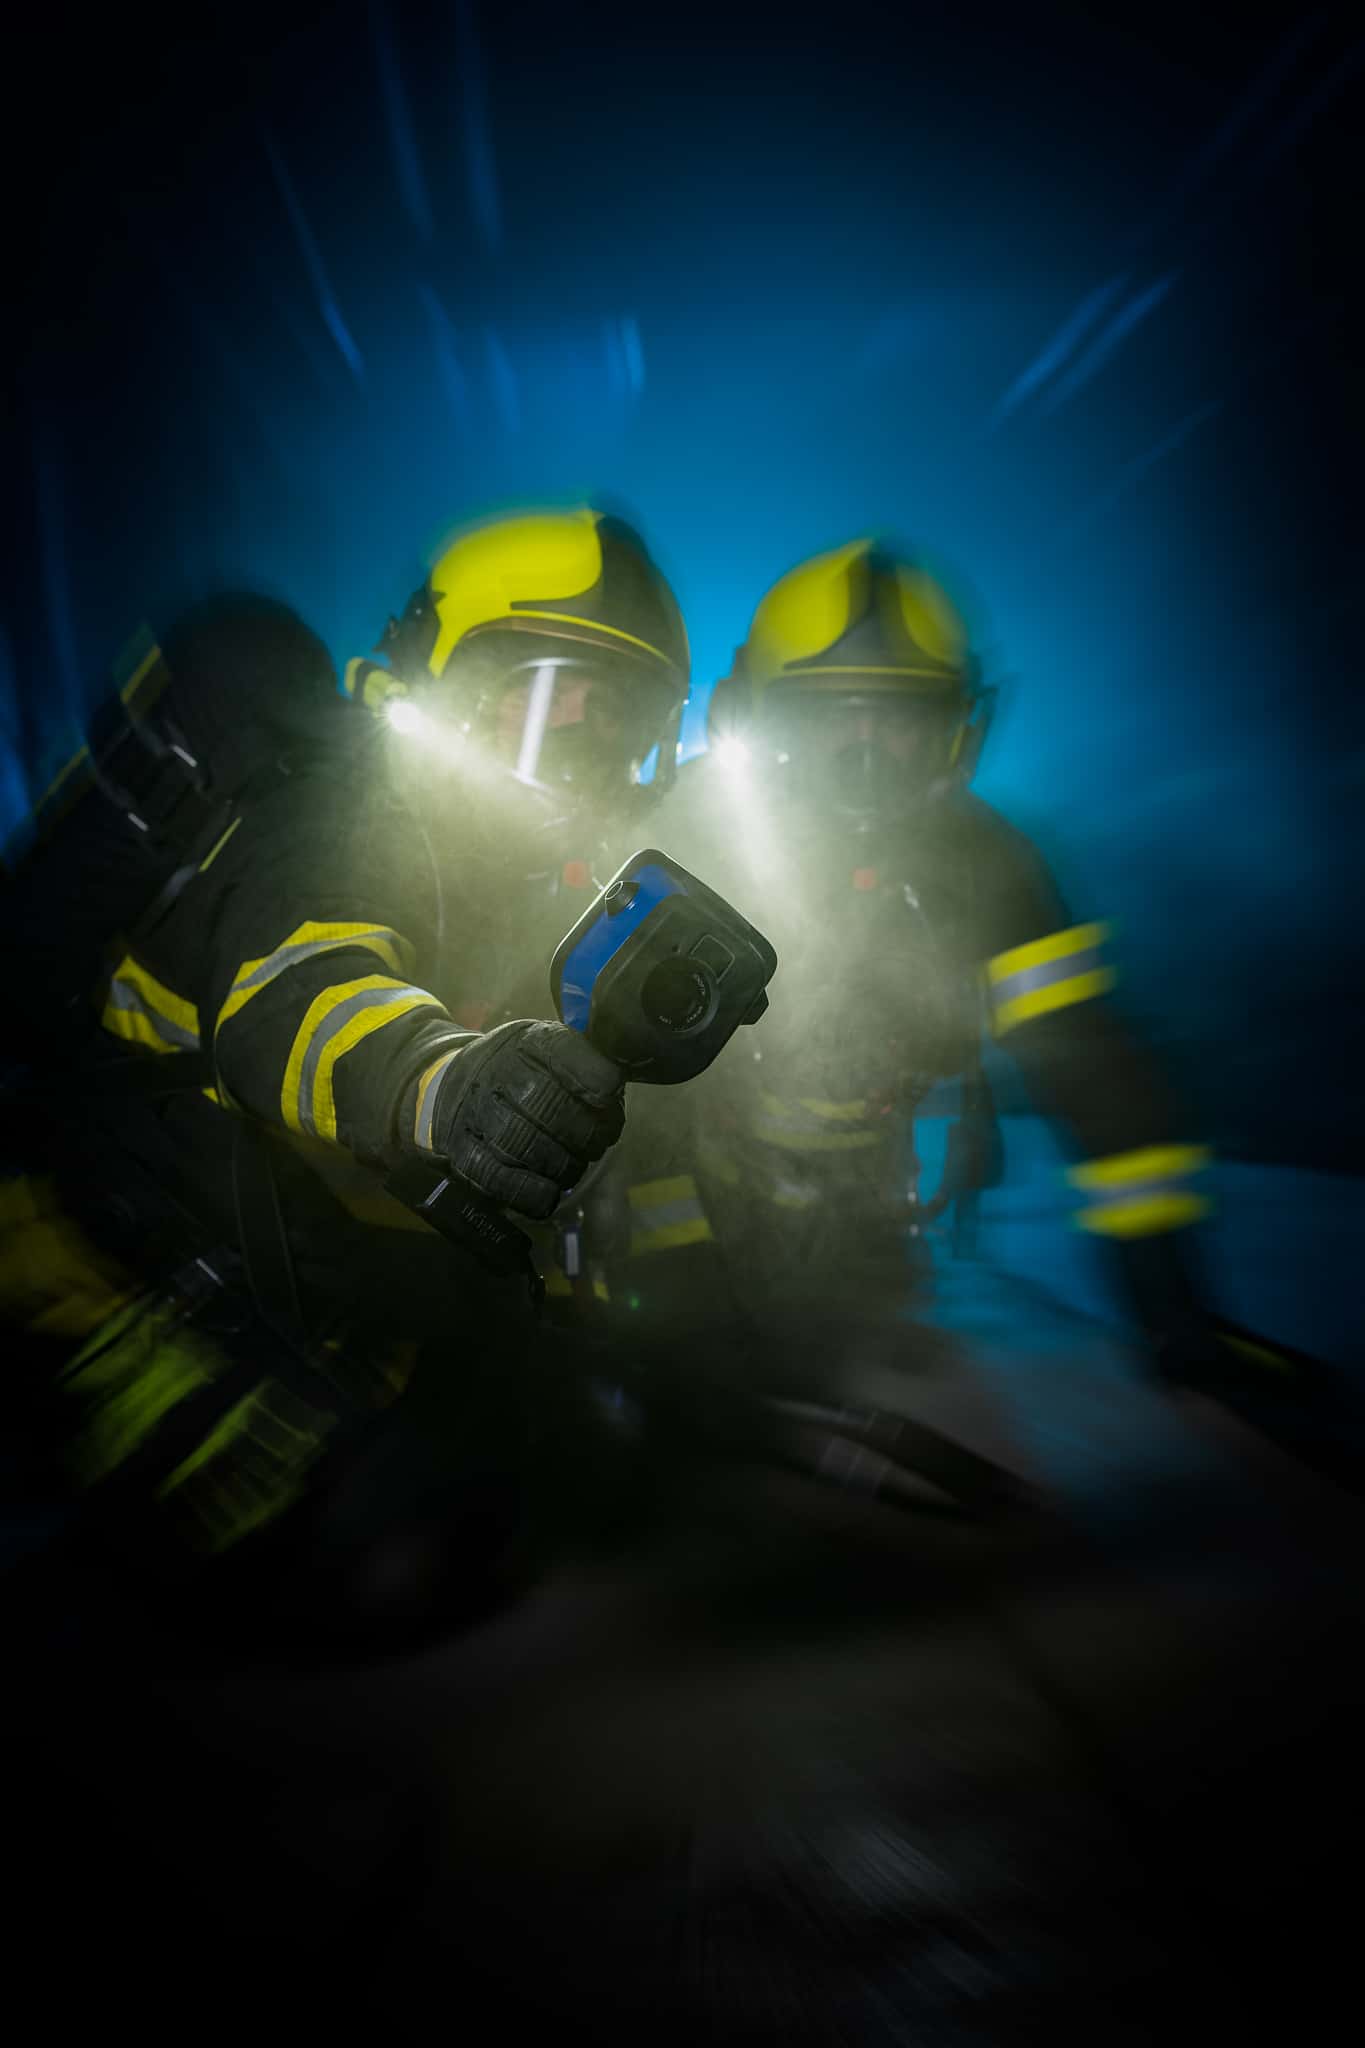
Fog machines are not only for setting the atmosphere but also for capturing the beams of flashlights and lights on their helmets. In this case, all you need is a light and seemingly invisible haze to help bring out the light beams, enhancing the drama of the photos.
The problem with fog machines is that the smoke from them doesn’t behave in the same way as fire and has a different color. So if you want the photos to look authentic, you have to play around with the shot both on location as well as in post-production.

With real fire, warm smoke rises to the ceiling of the room and gradually fills the room from top to bottom. The smoke is thick and dark and forms what’s called a neutral plane, which is a clearly visible partition between the smoke in the upper part of the room and a clear area at ground level. This plane gradually lowers towards the ground. This is also the reason people should keep close to the ground in the event of a fire.
However, this phenomenon does not occur when using the smoke from a fog machine which is why it’s sometimes necessary to move, direct, or “dilute” the fog. A reflector will do the trick. At the same time, it’s important to be sure there is not too much smoke in areas where the photo needs to be sharp. Unfortunately, I failed to do this a few times and I learned my lesson for future shoots.
Lighting takes center stage
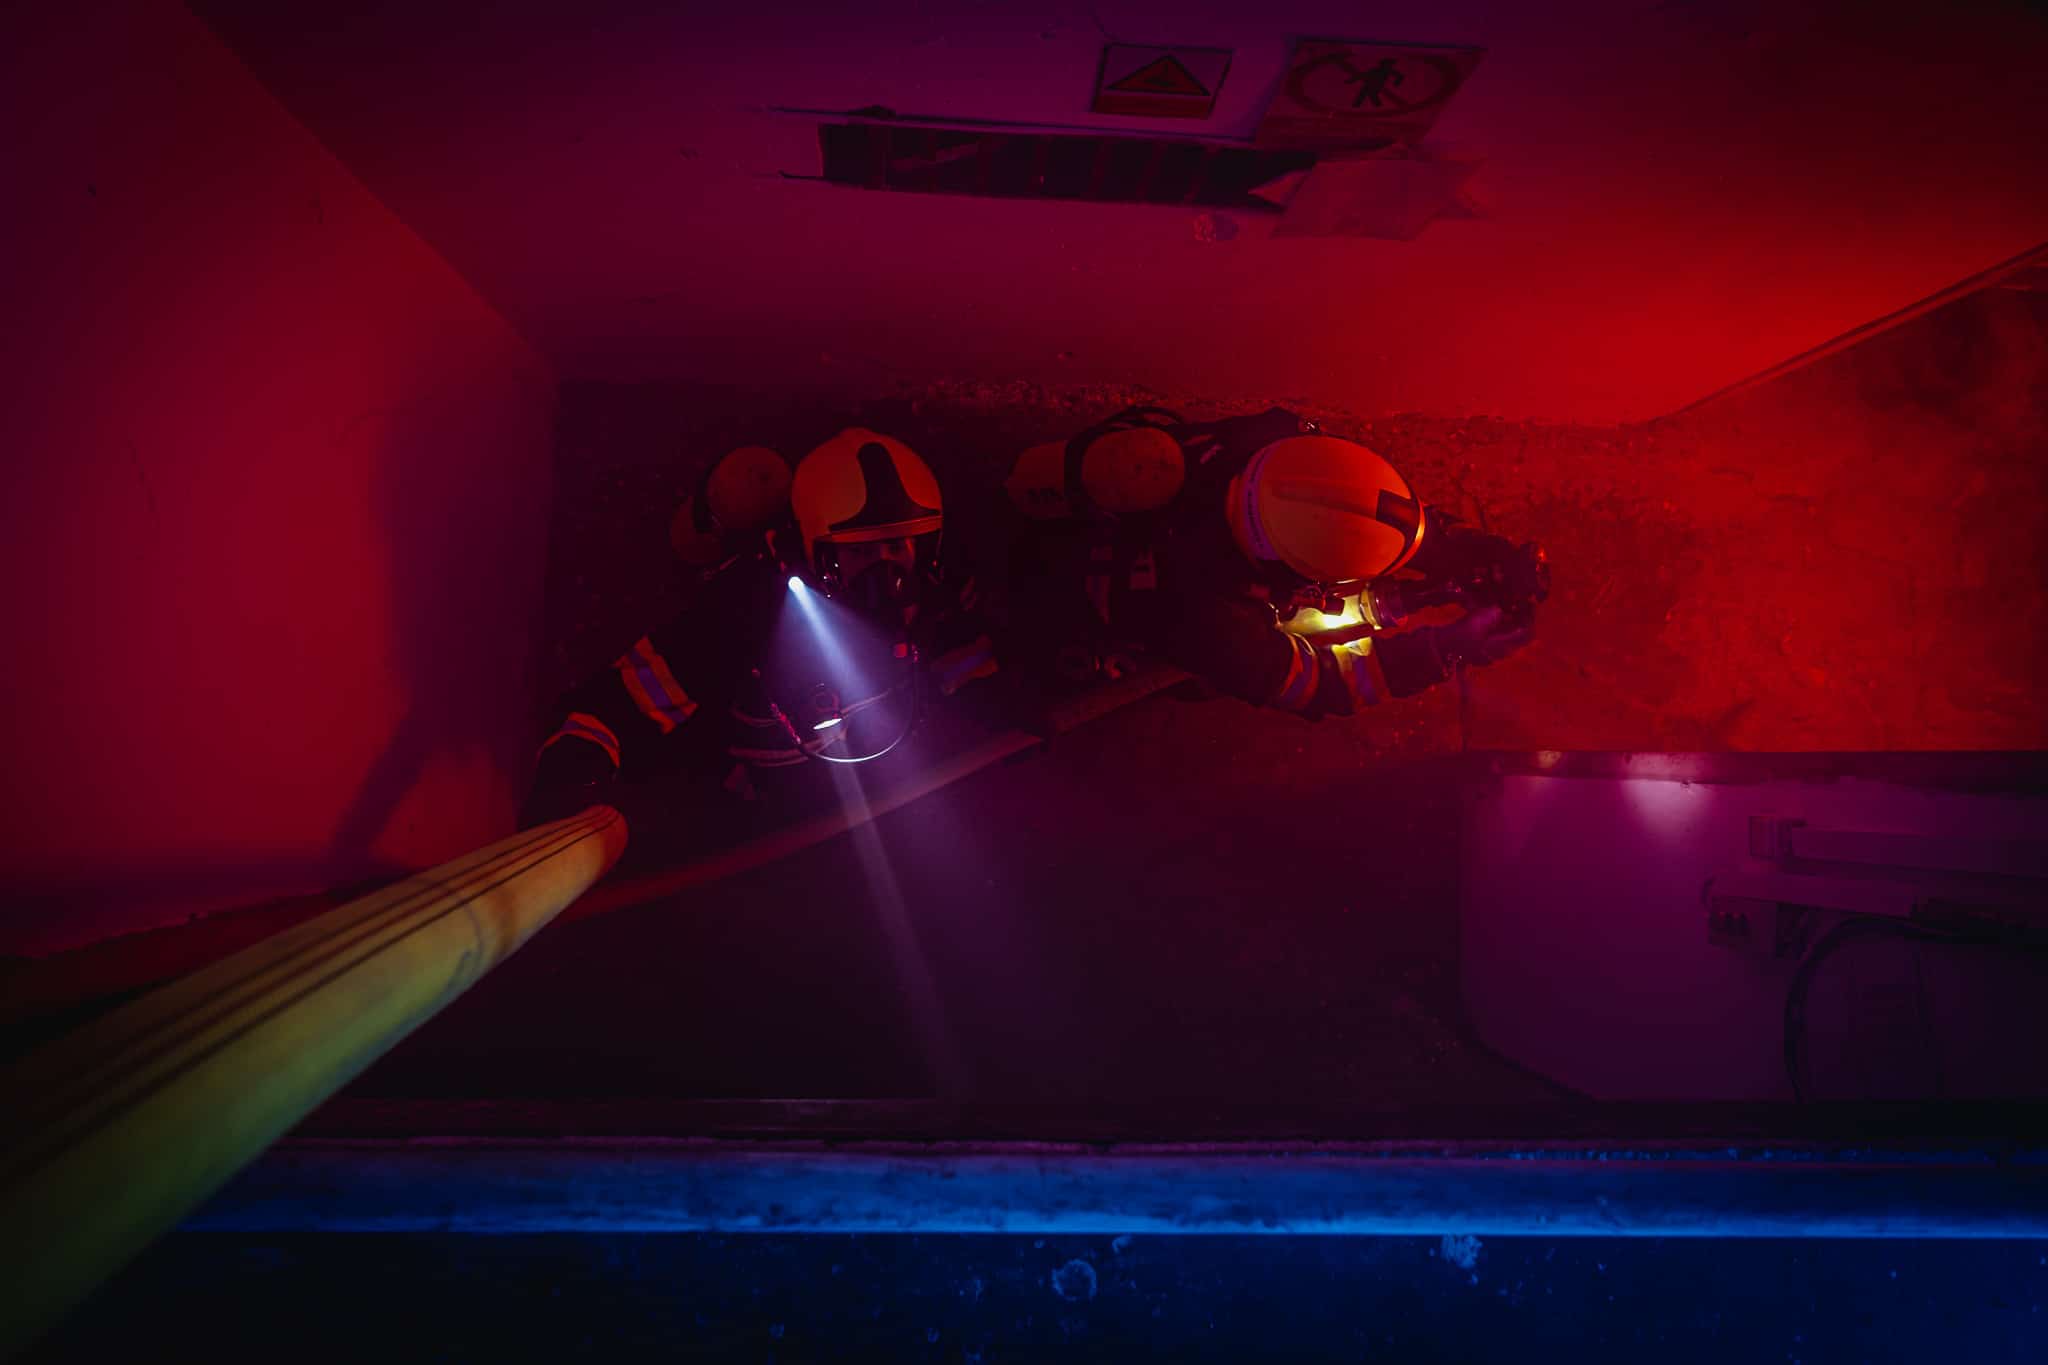
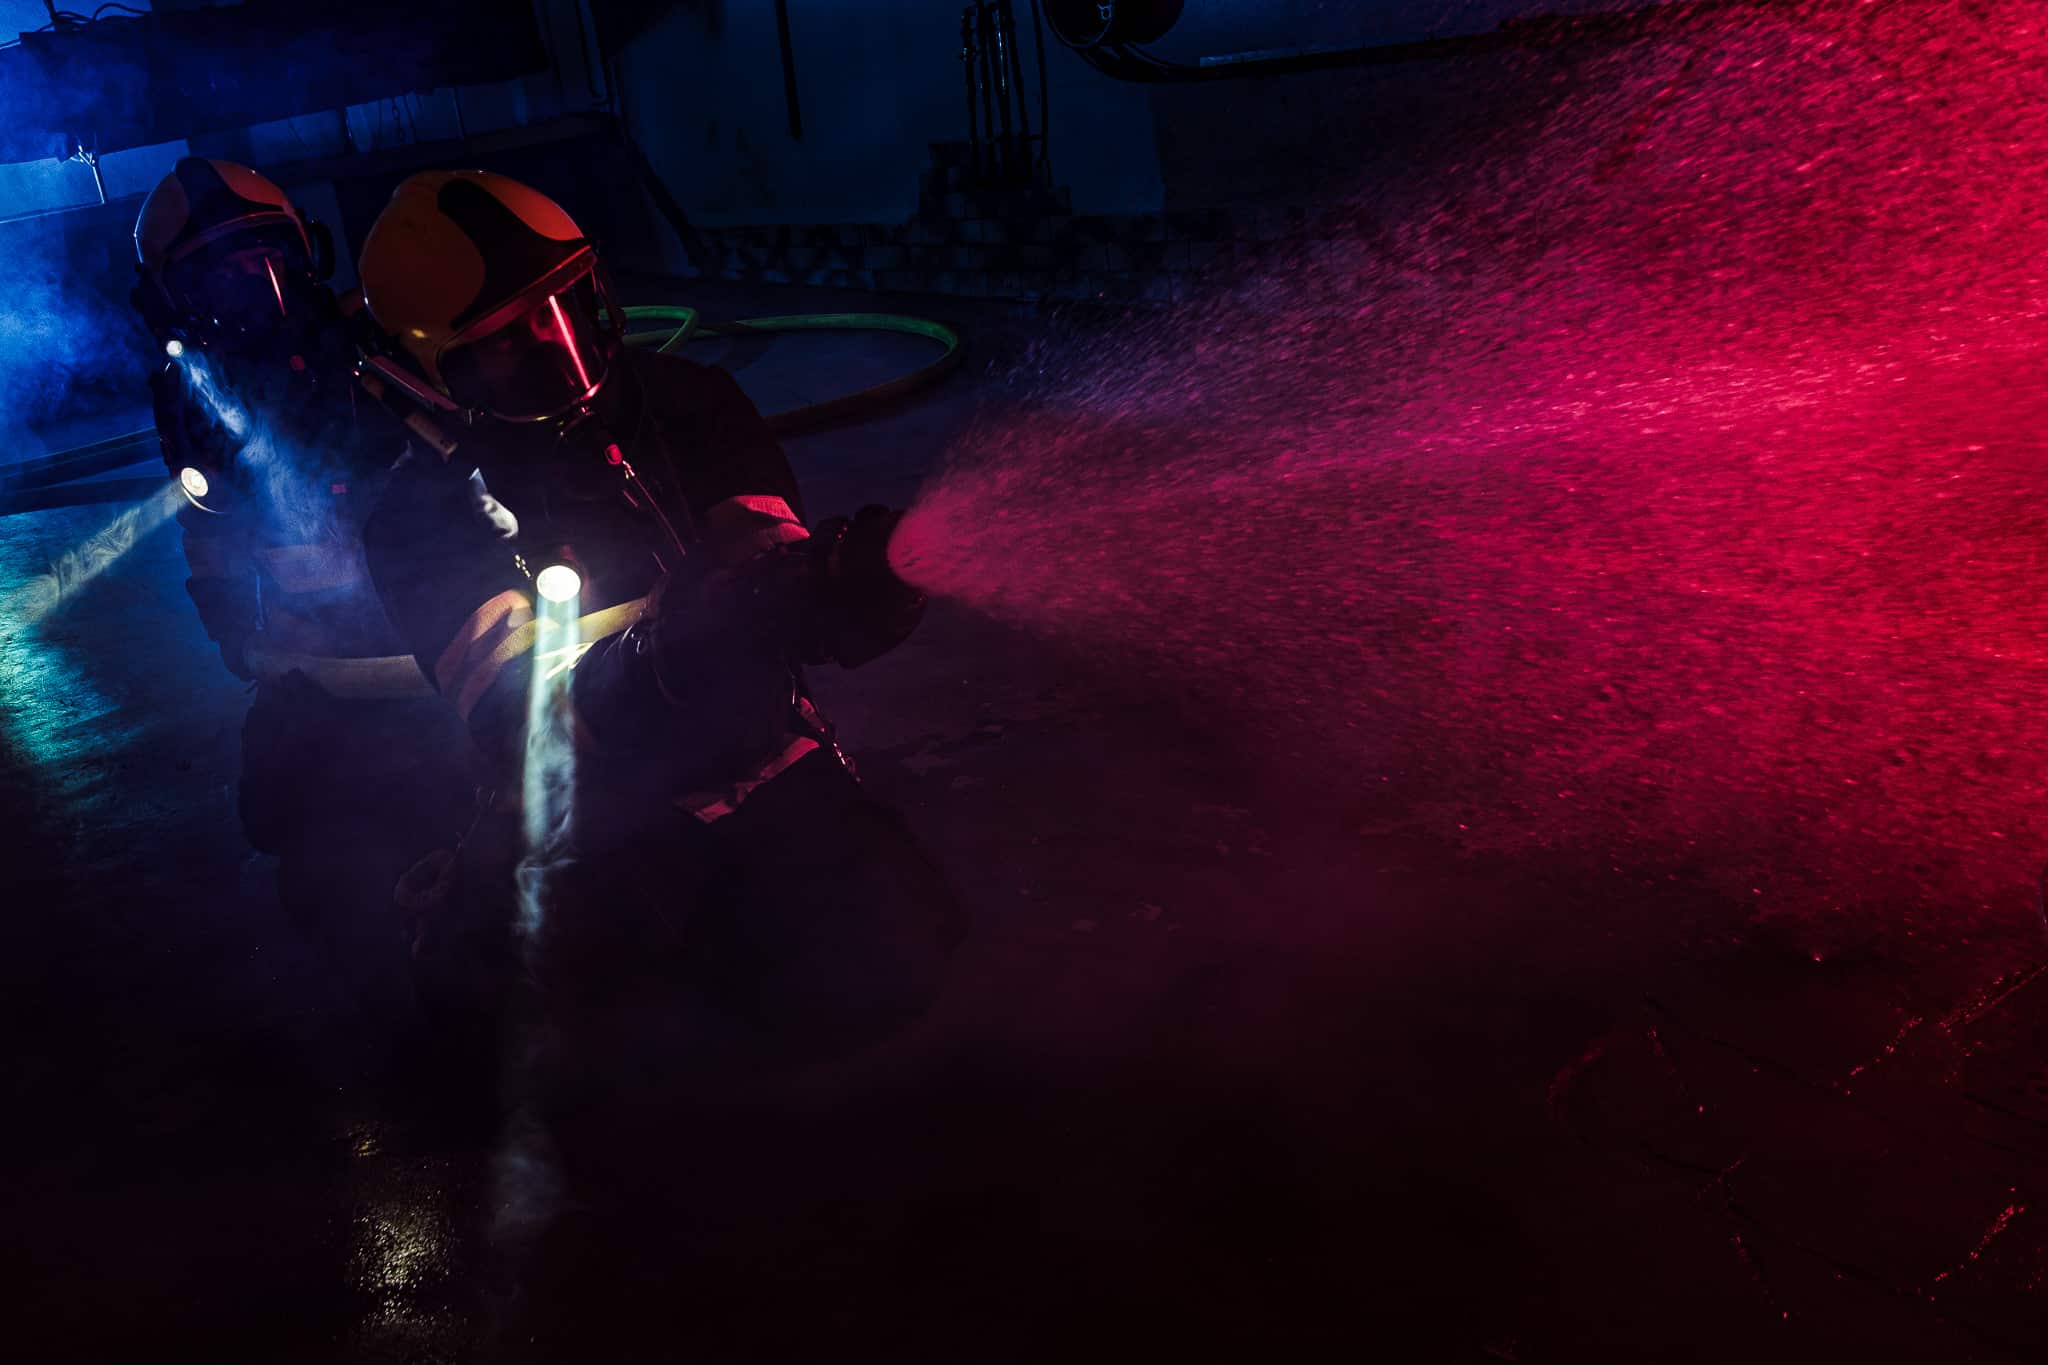
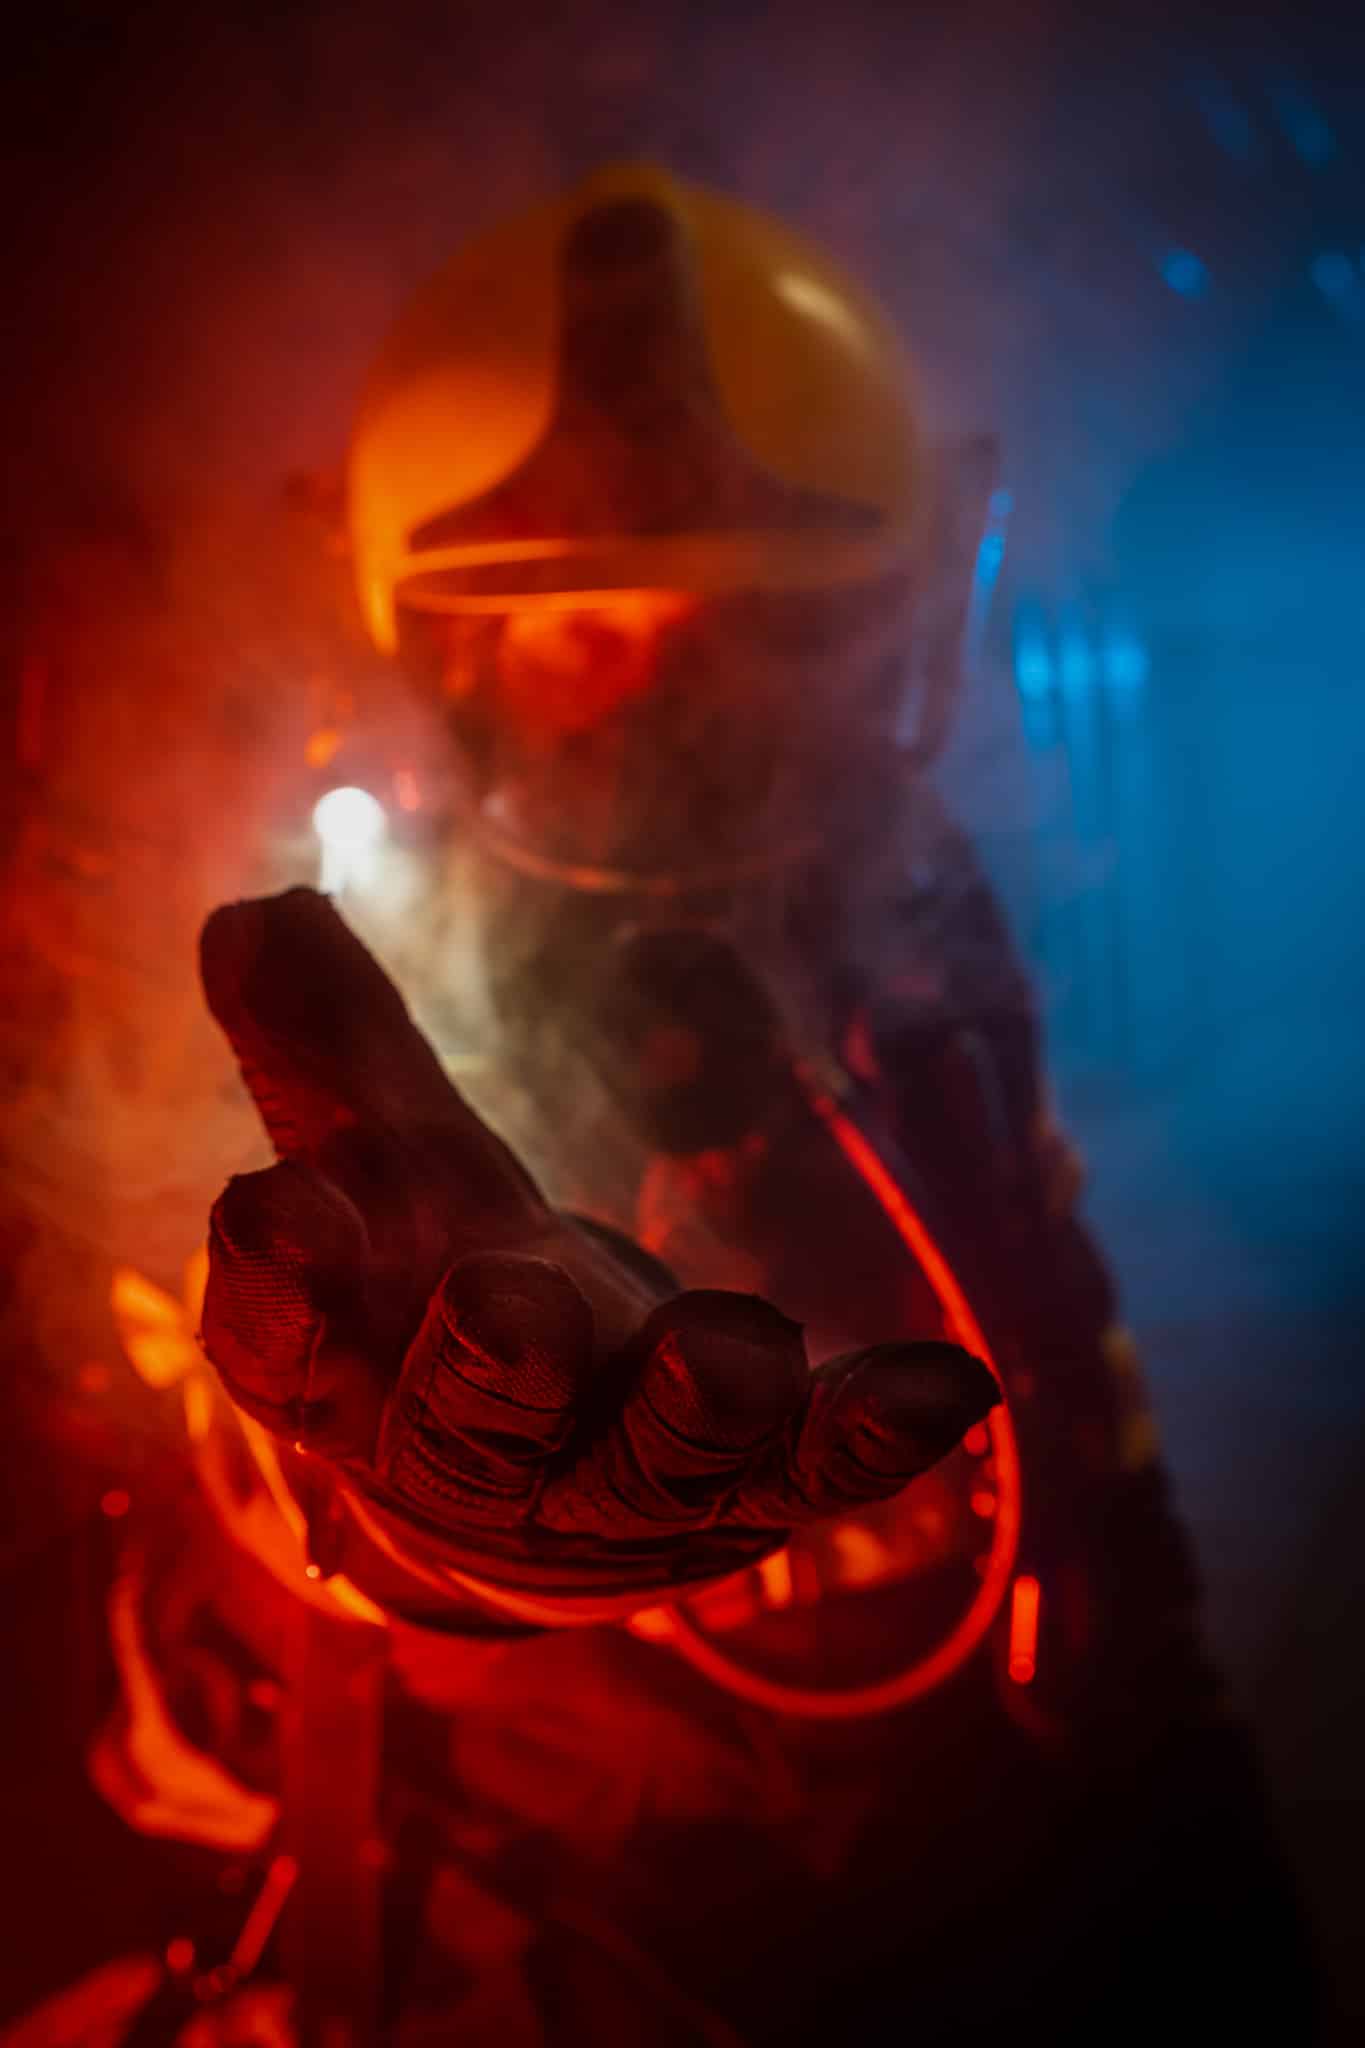
Since I love working with lights during a photoshoot, and also because light creates a unique atmosphere for the picture, I used color filters with two flash systems. One was red and the other was blue. I used the red one as the main light and the blue one as a backlight.
The reason was simple. Firefighters usually go from flashing blue car lights to the red of the fire. For some pictures, I wasn’t afraid to use flash for the scene. In foggy areas, it can look like a beacon light.
I mostly use flashes in combination with a strip box, octabox, or a MagMod diffuser. In case I need to direct light to a specific person and prevent it from spreading to the background, I use a honeycomb grid velcroed to the softbox or strip box. I‘ve also used a snoot which directs light only to the face.
During the shoot, I also made sure the firefighters were properly dressed for the scene. Unfortunately, once I forgot to keep an eye out for this and later had to add their gloves using photo editing software. These things happen. Most of the time, I try to work out as many issues as I can on location and not play catch up later on the computer.
Each of the photoshoots described above took about 3 hours on location, plus several hours of preparation before the shoot and then post-production where I sorted, blurred, and edited the photos. However, generally speaking, these were smaller shoots with no need for a production team or assistant. All it took was two subjects, a relatively small space, two flash systems with modifiers, and experimenting with light and smoke.
Building on the experience from these smaller projects, I have some bigger plans involving constant LED lighting. But that’s for next time.
There are no comments yet.