Give Your Photos That Cinematic Look: Step-by-Step Editing Guide
When you watch a good movie, you probably notice more than just the story. If you’re a photographer, chances are you’re drawn to the film’s color style too. You might wonder how the filmmakers achieved that look and whether you can do something similar with your photos. Color editing can enhance the mood of a photo and draw the viewer into its story, just like in a movie. With the right adjustments, you can give your photos the same atmosphere as your favorite movies!
Keep in mind, there’s no single “cinematic style.” Every movie looks a little different, and there aren’t any hard rules. Still, there are a few common traits that can be applied to photography. Serious films tend to have muted colors, softer contrast between black and white, and subtle color overlays that unify the image. We’ll go through how to apply these adjustments step by step in the Develop module of Zoner Studio.

If you want to try the process yourself, download the free preset and sample photo.
Choose the right photo
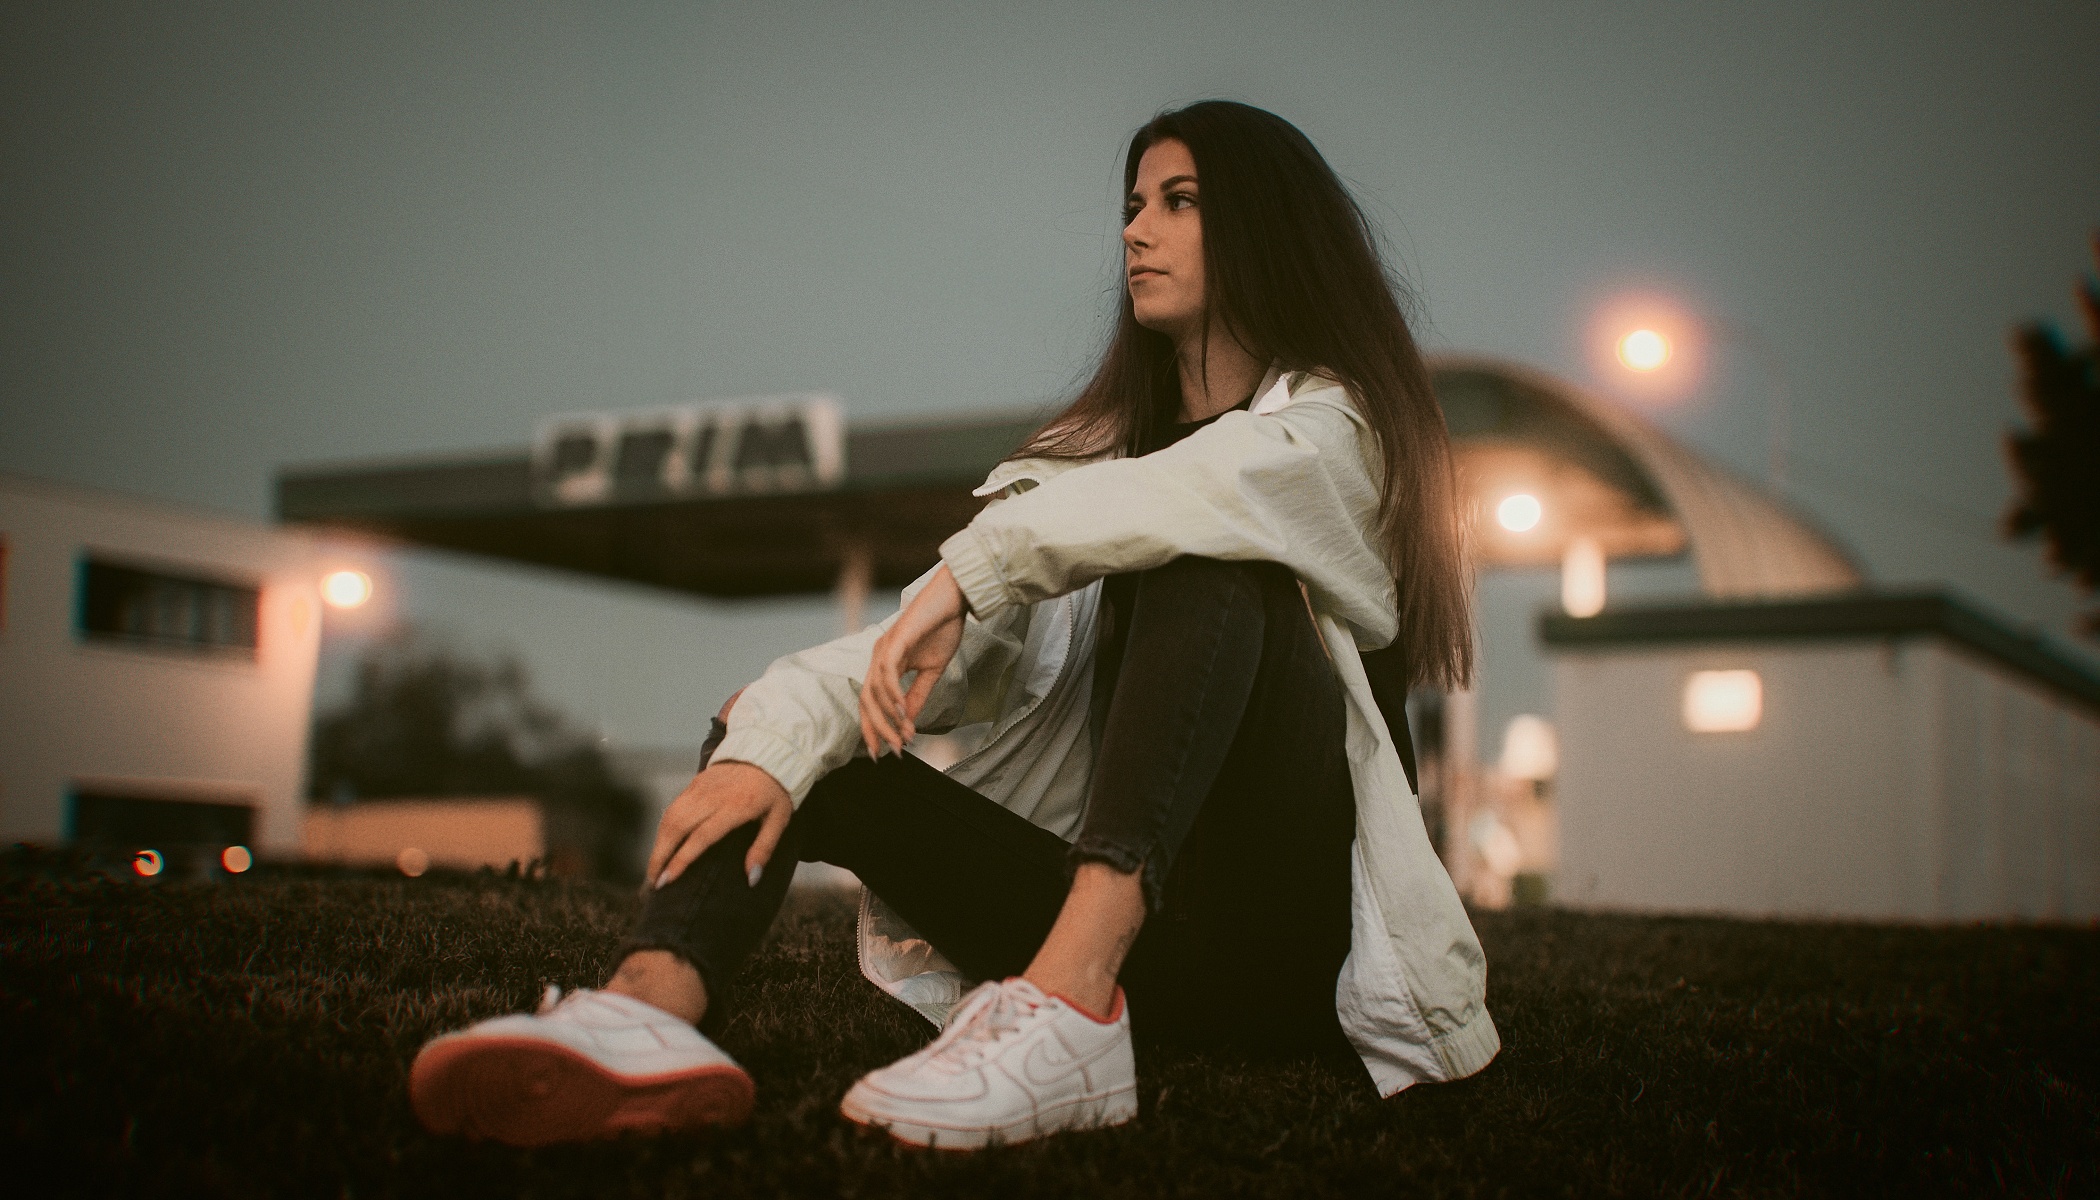
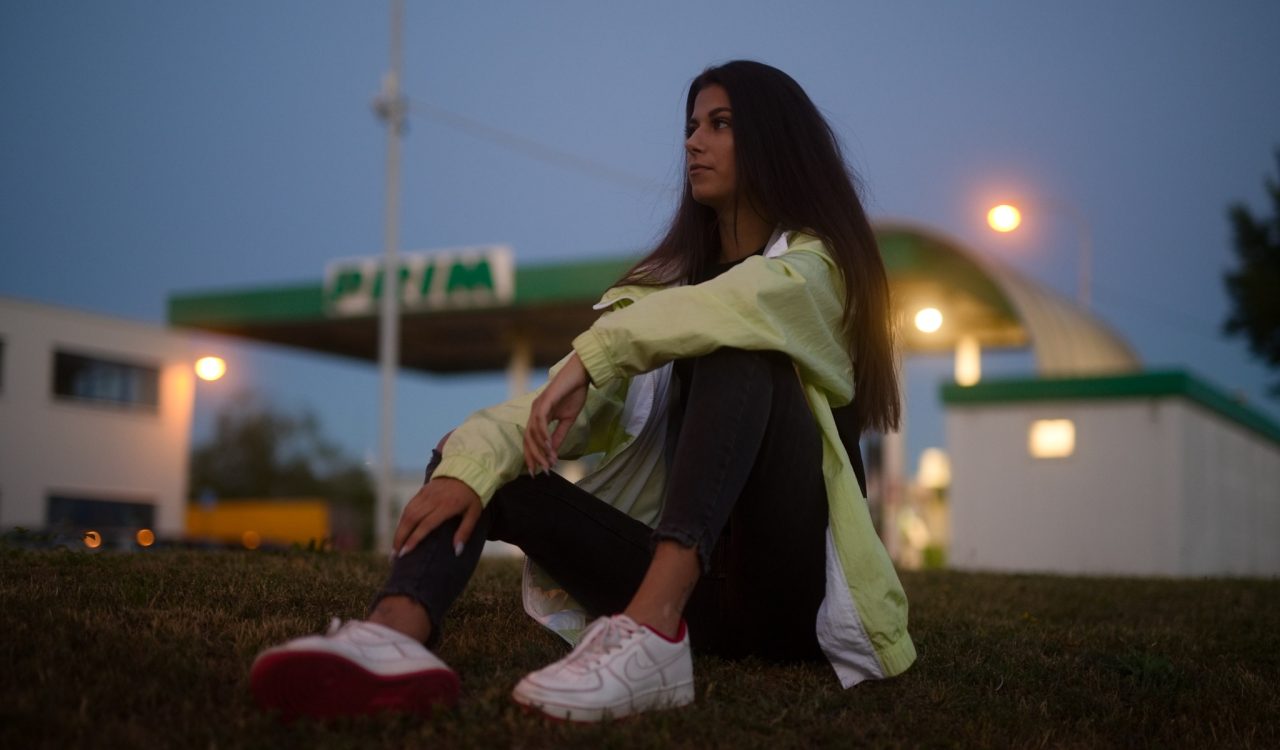
The cinematic look doesn’t work for every image. Avoid cheerful portraits or lighthearted snapshots. Pick something with mood and atmosphere. For this tutorial, I chose a photo of a woman standing at a gas station at night.
This kind of scene may not contain an obvious story, but the viewer can easily fill in the blanks: Why is she there? Who is she waiting for? Where is she looking? The sense of mystery is what makes the photo cinematic.
Before editing, change the aspect ratio to 16:9, which is more commonly used in film than the standard 3:2. If the composition allows, you can even try the ultra-wide 21:9 for an even more dramatic effect.
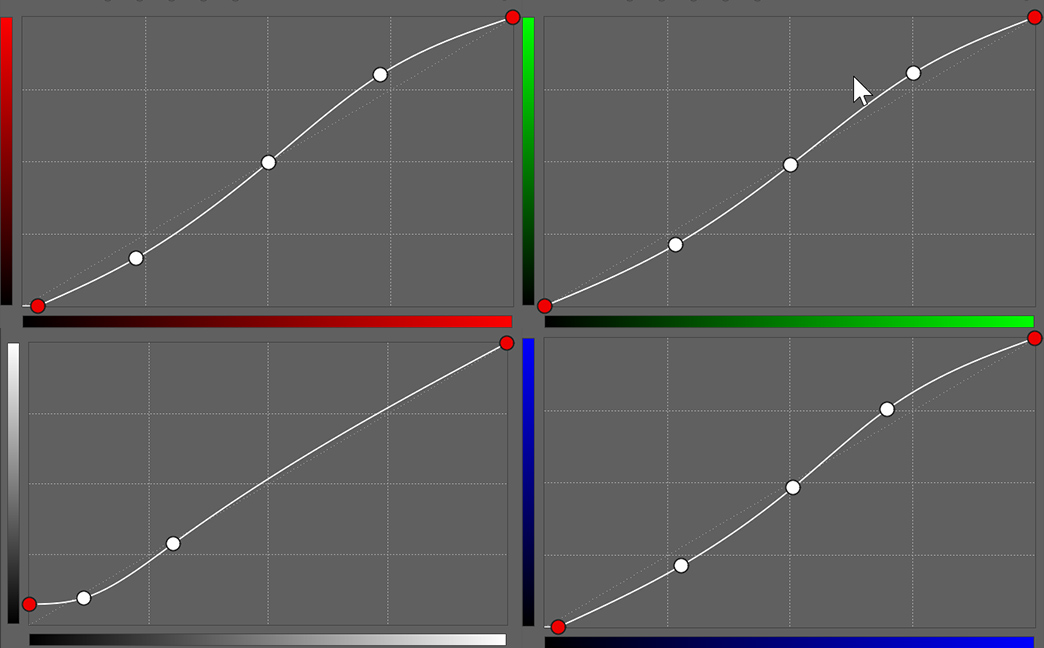
1. Start with curves
You may already be familiar with this basic trick: an S-curve on the Brightness curve boosts contrast. But for a cinematic look, you can achieve a more interesting effect if you tweak the individual color channels too. This adds subtle color contrast that mimics the film aesthetic. To reduce harsh shadows, try lifting the blacks slightly on the Brightness curve.
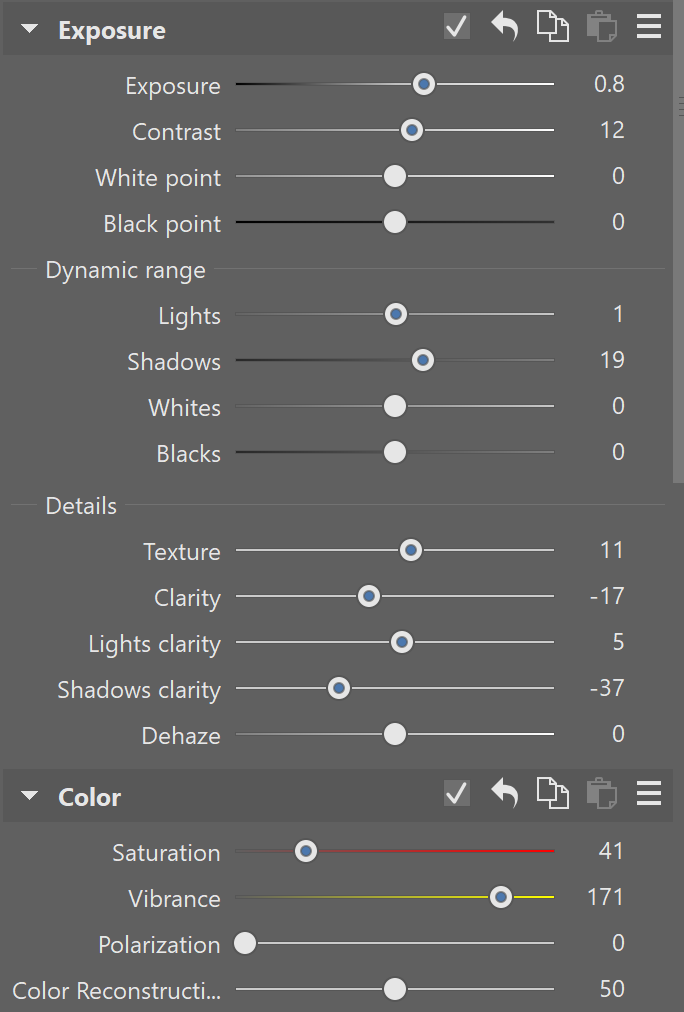
2. Mute the color saturation
In the Exposure section, adjust lights, shadows, and overall exposure as needed. But the key step here is to reduce Saturation and balance it out using Vibrance. Cinematic color palettes tend to be more subdued so the atmosphere can shine through.
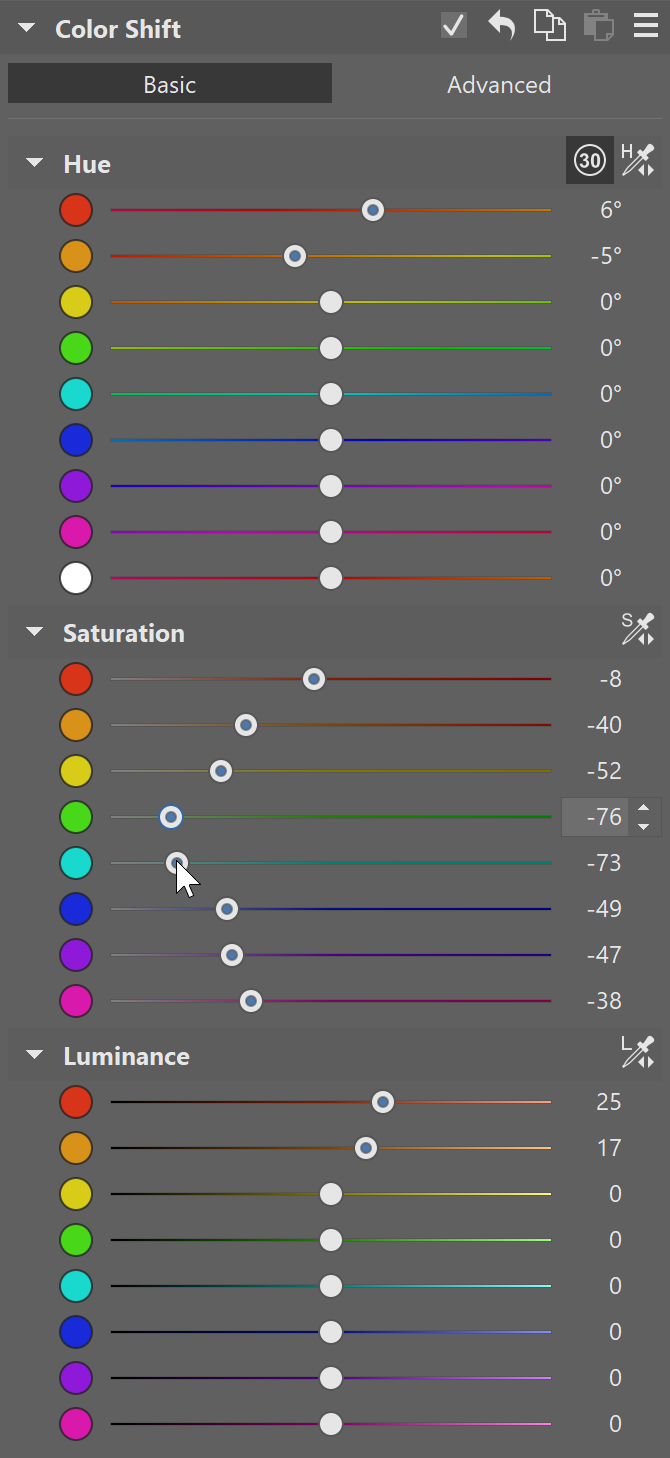
3. Use Color Shift but preserve skin tones
In Color Shift, pull back most colors to mute them further, but keep skin tones natural. You can fine-tune skin tones under Hue for a more realistic look.
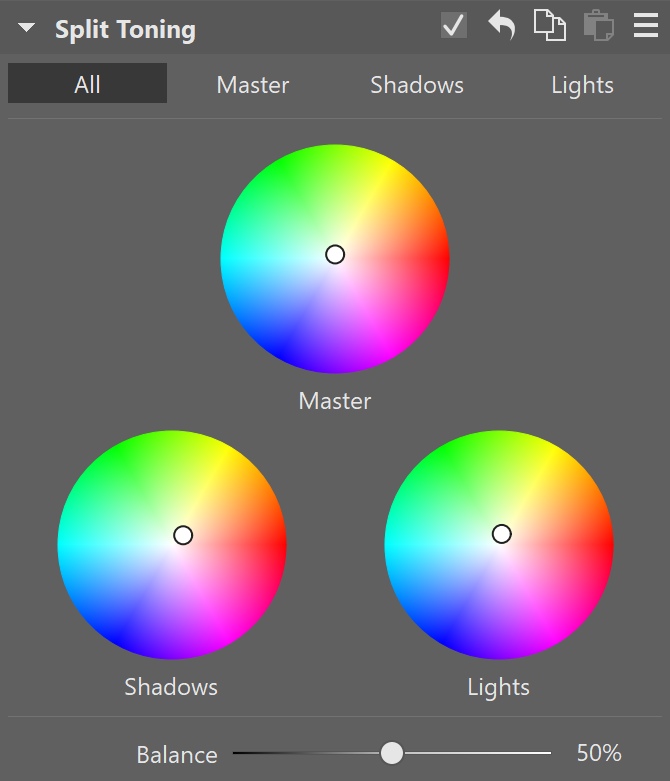
4. Add Split Toning
Under Split Toning, slightly shift the colors toward the yellow-green hues typical for a cinematic look. Use this tool with care—a little goes a long way.
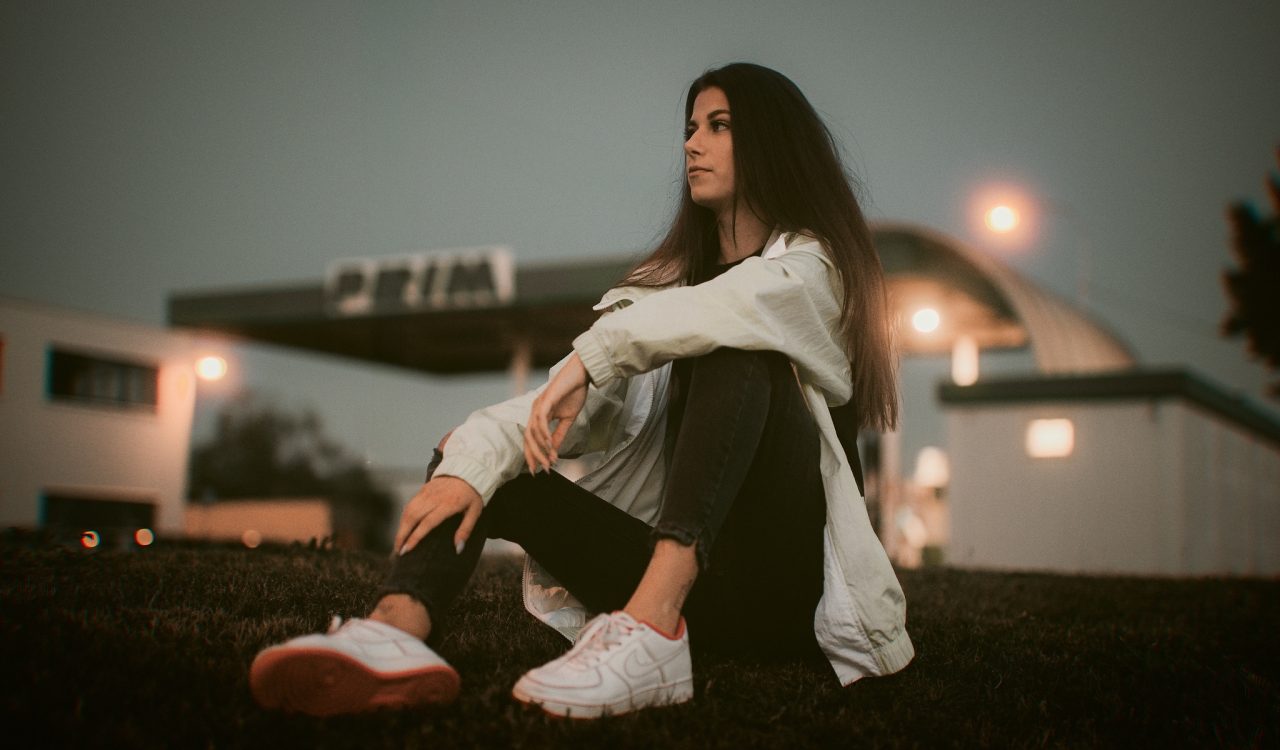
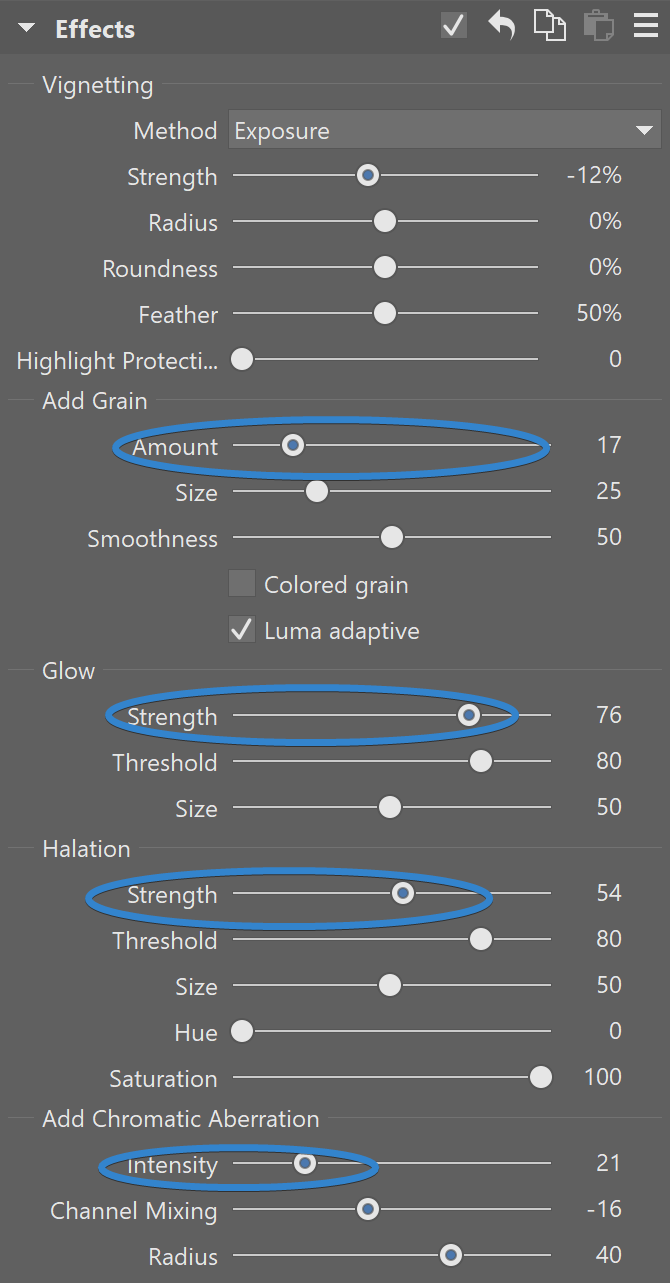
5. Finishing effects for atmosphere
Finally, add a few subtle “imperfections” that help sell the cinematic look. Vignetting, Grain, Glow, Halation, or even Add Chromatic Aberration work great.
Since the main subject is still a bit faded, we use AI Masks to select the background and darken it by lowering Exposure and Lights.


Download Zoner Studio free for 7 days to recreate this cinematic look or explore your own. The options are endless!
There are no comments yet.