How Do You Fix Unhealthy Skin Tone? The Tone Curve Will Help
Having the right skin tone is key for portrait photography. But it often turns out that bad light or color reflections from your subject’s surroundings have given their skin an unhealthy look. You don’t have to throw these photos away, however. You can solve this problem easily using tone curves in Zoner Studio. We’ll show you how.
The Tone Curve in Zoner Studio’s Develop module is a powerful tool for fine-tuning your pictures’ colors. In this article we’ll use the practical example of how to fix bad color in the skin tones in portraits.
Read in the Real Skin Tone
First let’s read in real skin tone in a photo that has correct white balancing.

Then in Zoner Studio, go to the Develop module and run the cursor over the place in the photo that you’re assessing. In our example, it’s the forehead. Then in the histogram section, the current RGB values for the spot under the cursor. These are the values for the Red, Green, and Blue levels that make up the color in that spot.

The standard JPEG format works with a color depth of 8 bits per color channel. That means that at this color depth, these three primary colors can be at any one out of 255 shades. In the example here you can see that the color values are R = 220, G = 183 , and B = 169.

Assessing the Skin Tone
We recommend that you follow these guidelines when assessing the skin tone:
The Red value should be higher than green. The Green value should be higher than blue. This rule is universal for every age and ethnic group.
There should be an appropriate gap among the color channels—at least 5 points. Close or identical RGB values equal gray. So if there’s not a large enough gap among the color channels, the subject’s skin will look grayish.

If the value for the brightest channel exceeds 240, the picture will likely be overexposed. If the darkest channel is below 15, the picture is underexposed.
The picture is very light, but no underexposure has occurred (the highest value, R (220), is below 240, and meanwhile it is still higher than the G value (183). And this, meanwhile, is larger than the B value (169). Meanwhile the difference between R and G is about twice the difference between G and B, which corresponds with Caucasian skin.
Bad Skin Tone? No Problem
Now we’ve covered determining and assessing skin tone, but what do we do with a photo where it’s not ideal?

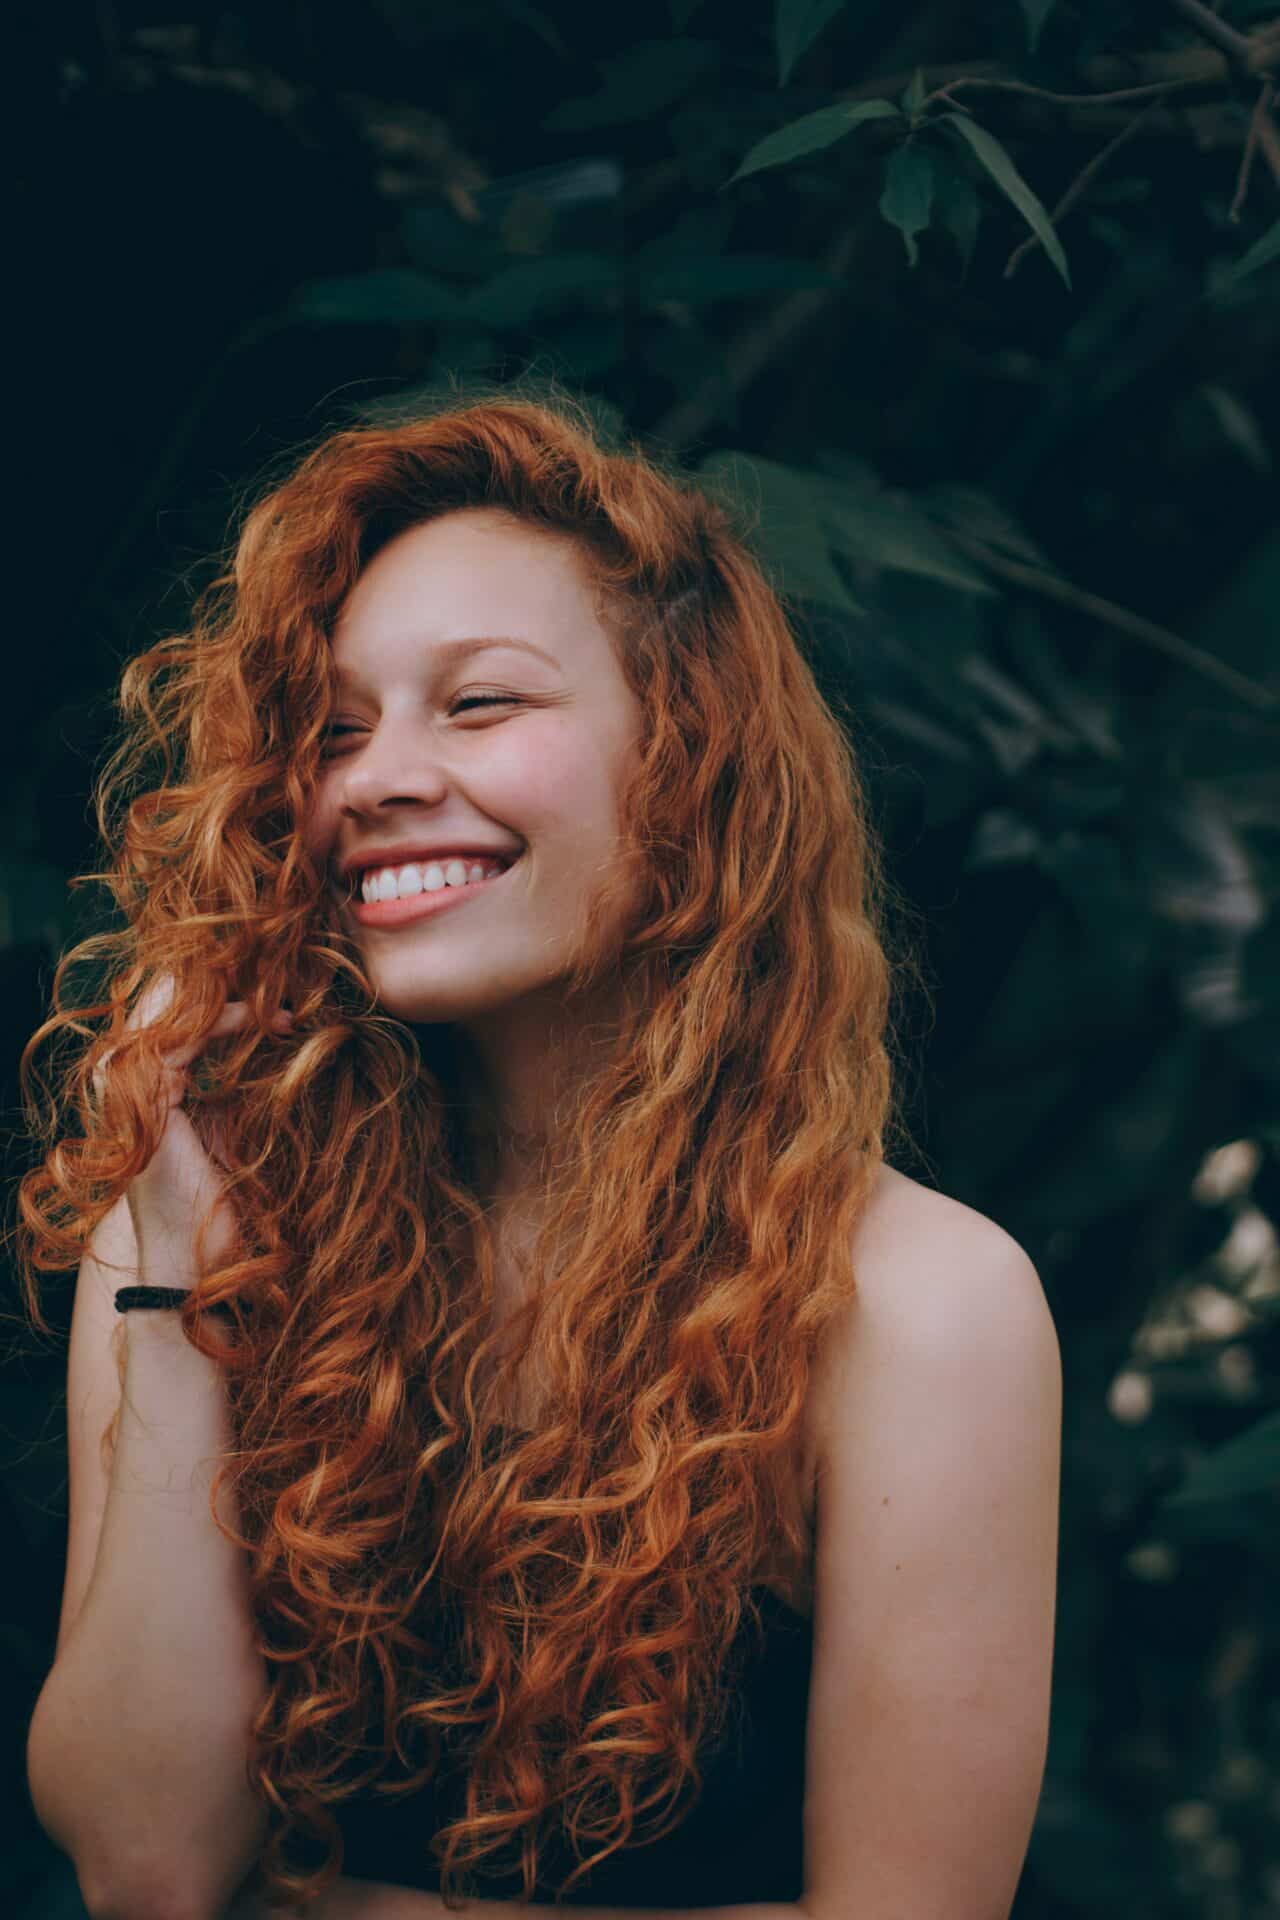
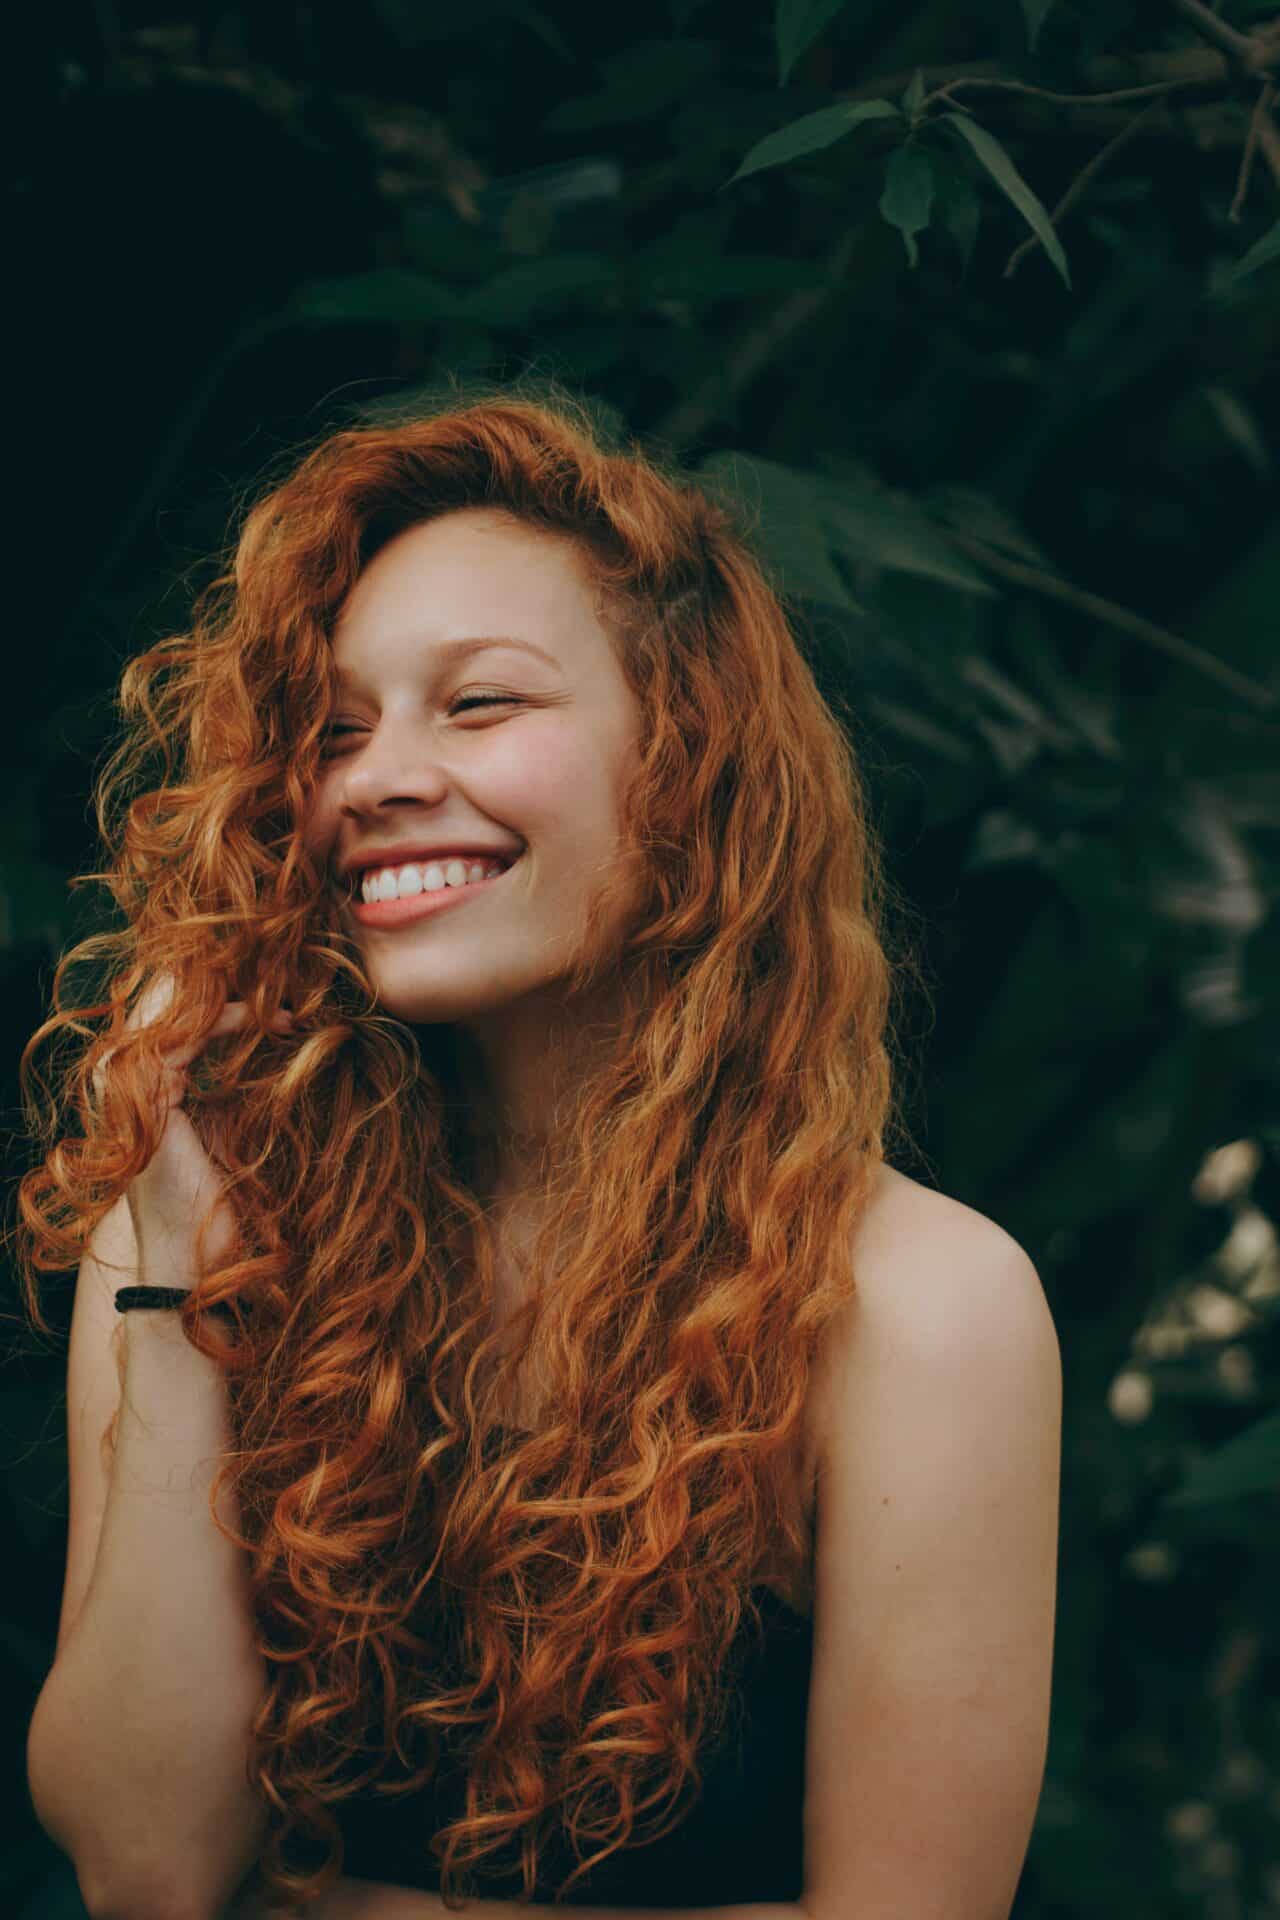
This photograph was taken under beautiful natural light, but you can immediately notice the overall color shift in the skin towards pinkish light tones. This is common in redheads.

The R value (200) is OK, but the G value (174) is lower than the B value (181). We can fix this by either raising the G value or lowering the B value.
Adjusting the Color Channels
Make your adjustments to the individual color channels in Zoner Studio, specifically in the Develop module using the Tone Curve.
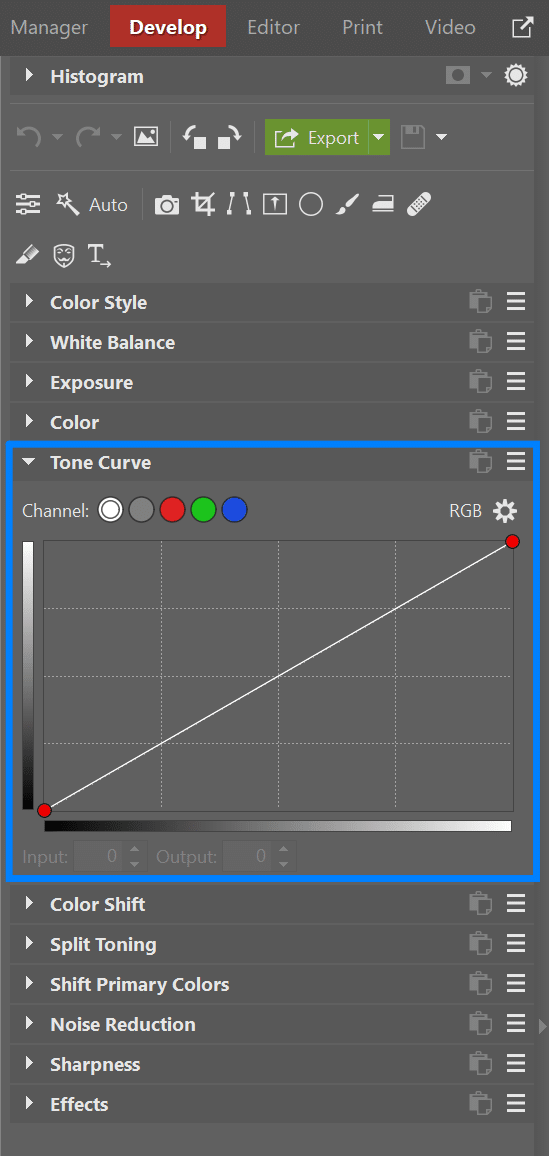
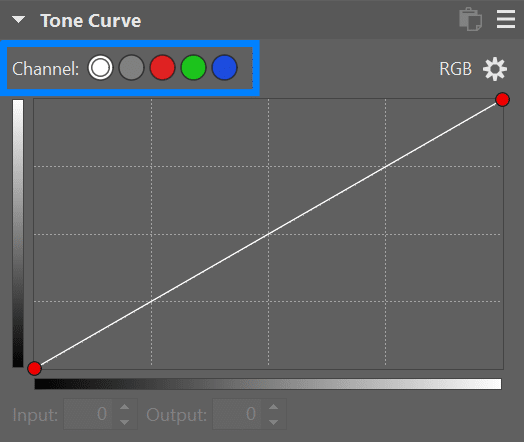
There are four possible channels you can set in the Tone Curve: RGB, Luma, Red, Green, and Blue. The RGB tone curve represents overall brightness (tonality,) and you can use it to adjust how light or dark individual areas in the picture will be based on their current brightness.
Luma does virtually the same thing as RGB, except that it primarily affects exposure instead of color.
However, when you’re adjusting skin tone, you’ll work with the curves for individual color channels.
The values on the Tone Curve graph’s horizontal axis correspond to the values on its vertical axis. If we take for example the central point of the curve, it has the graph coordinates of x = 128 and y = 128. So you can use the curve to change a picture’s brightness and color values. If you move the RGB value of the curve’s central point upwards, you’re assigning a higher value to areas of the picture that have a brightness of 128. This brightens the picture.
You’ll be working similarly with the curves for color channels. Working this way you can e.g. add more green to areas with a certain amount of green. Or instead take green away, through which you add more violet to the picture, as this is the complementary color of green.

After increasing the value for the green channel, we’ve gotten rid of the blue skin tone on the one hand, but on the other hand now the RGB values have gotten so close to each other that the skin is starting to look gray.
So this approach is not exactly the most appropriate. So lets take a look at how the edit with reducing the blue channel turns out.

Lowering the blue-channel value has removed the blue tint from the photo; the subject’s skin now looks saturated and healthy.
Learn Complementary Colors
Photos may not always be shifted only towards red, green, or blue. So for work with the curve it’s also good to know the complementary colors for each of the RGB color channels.
The complementary color space for RGB is the “CMY” color space, which Cyan, Magenta, and (Yellow. In this auxiliary model, cyan complements red, magenta complements green, and yellow complements blue. So if an image contains a shift e.g. towards yellow, increasing the value for the blue channel will serve to fix it.
General Principles for Editing Skin Tone
Always observe several general principles in your edits:
- Every person perceives colors differently. The RGB values given in the article should be taken more as a rough guideline; don’t be afraid to adjust the settings as per your own taste. Naturally you ideally want to be working at a color-calibrated monitor.
- Assess skin tones at place with average exposure; avoid parts of the skin that are in shadow or place where the skin is shiny.
- Under all circumstances, red is always the most strongly present in skin, and blue the least!
- The value for the red channel is most often in the range from 180 to 230. It should not go above 240 or drop below 105.
- The value for the blue channel generally ranges from 80 to 200.
- Even small changes to the curve have a large impact on the overall feel of a picture’s colors. So be careful and work in small steps.
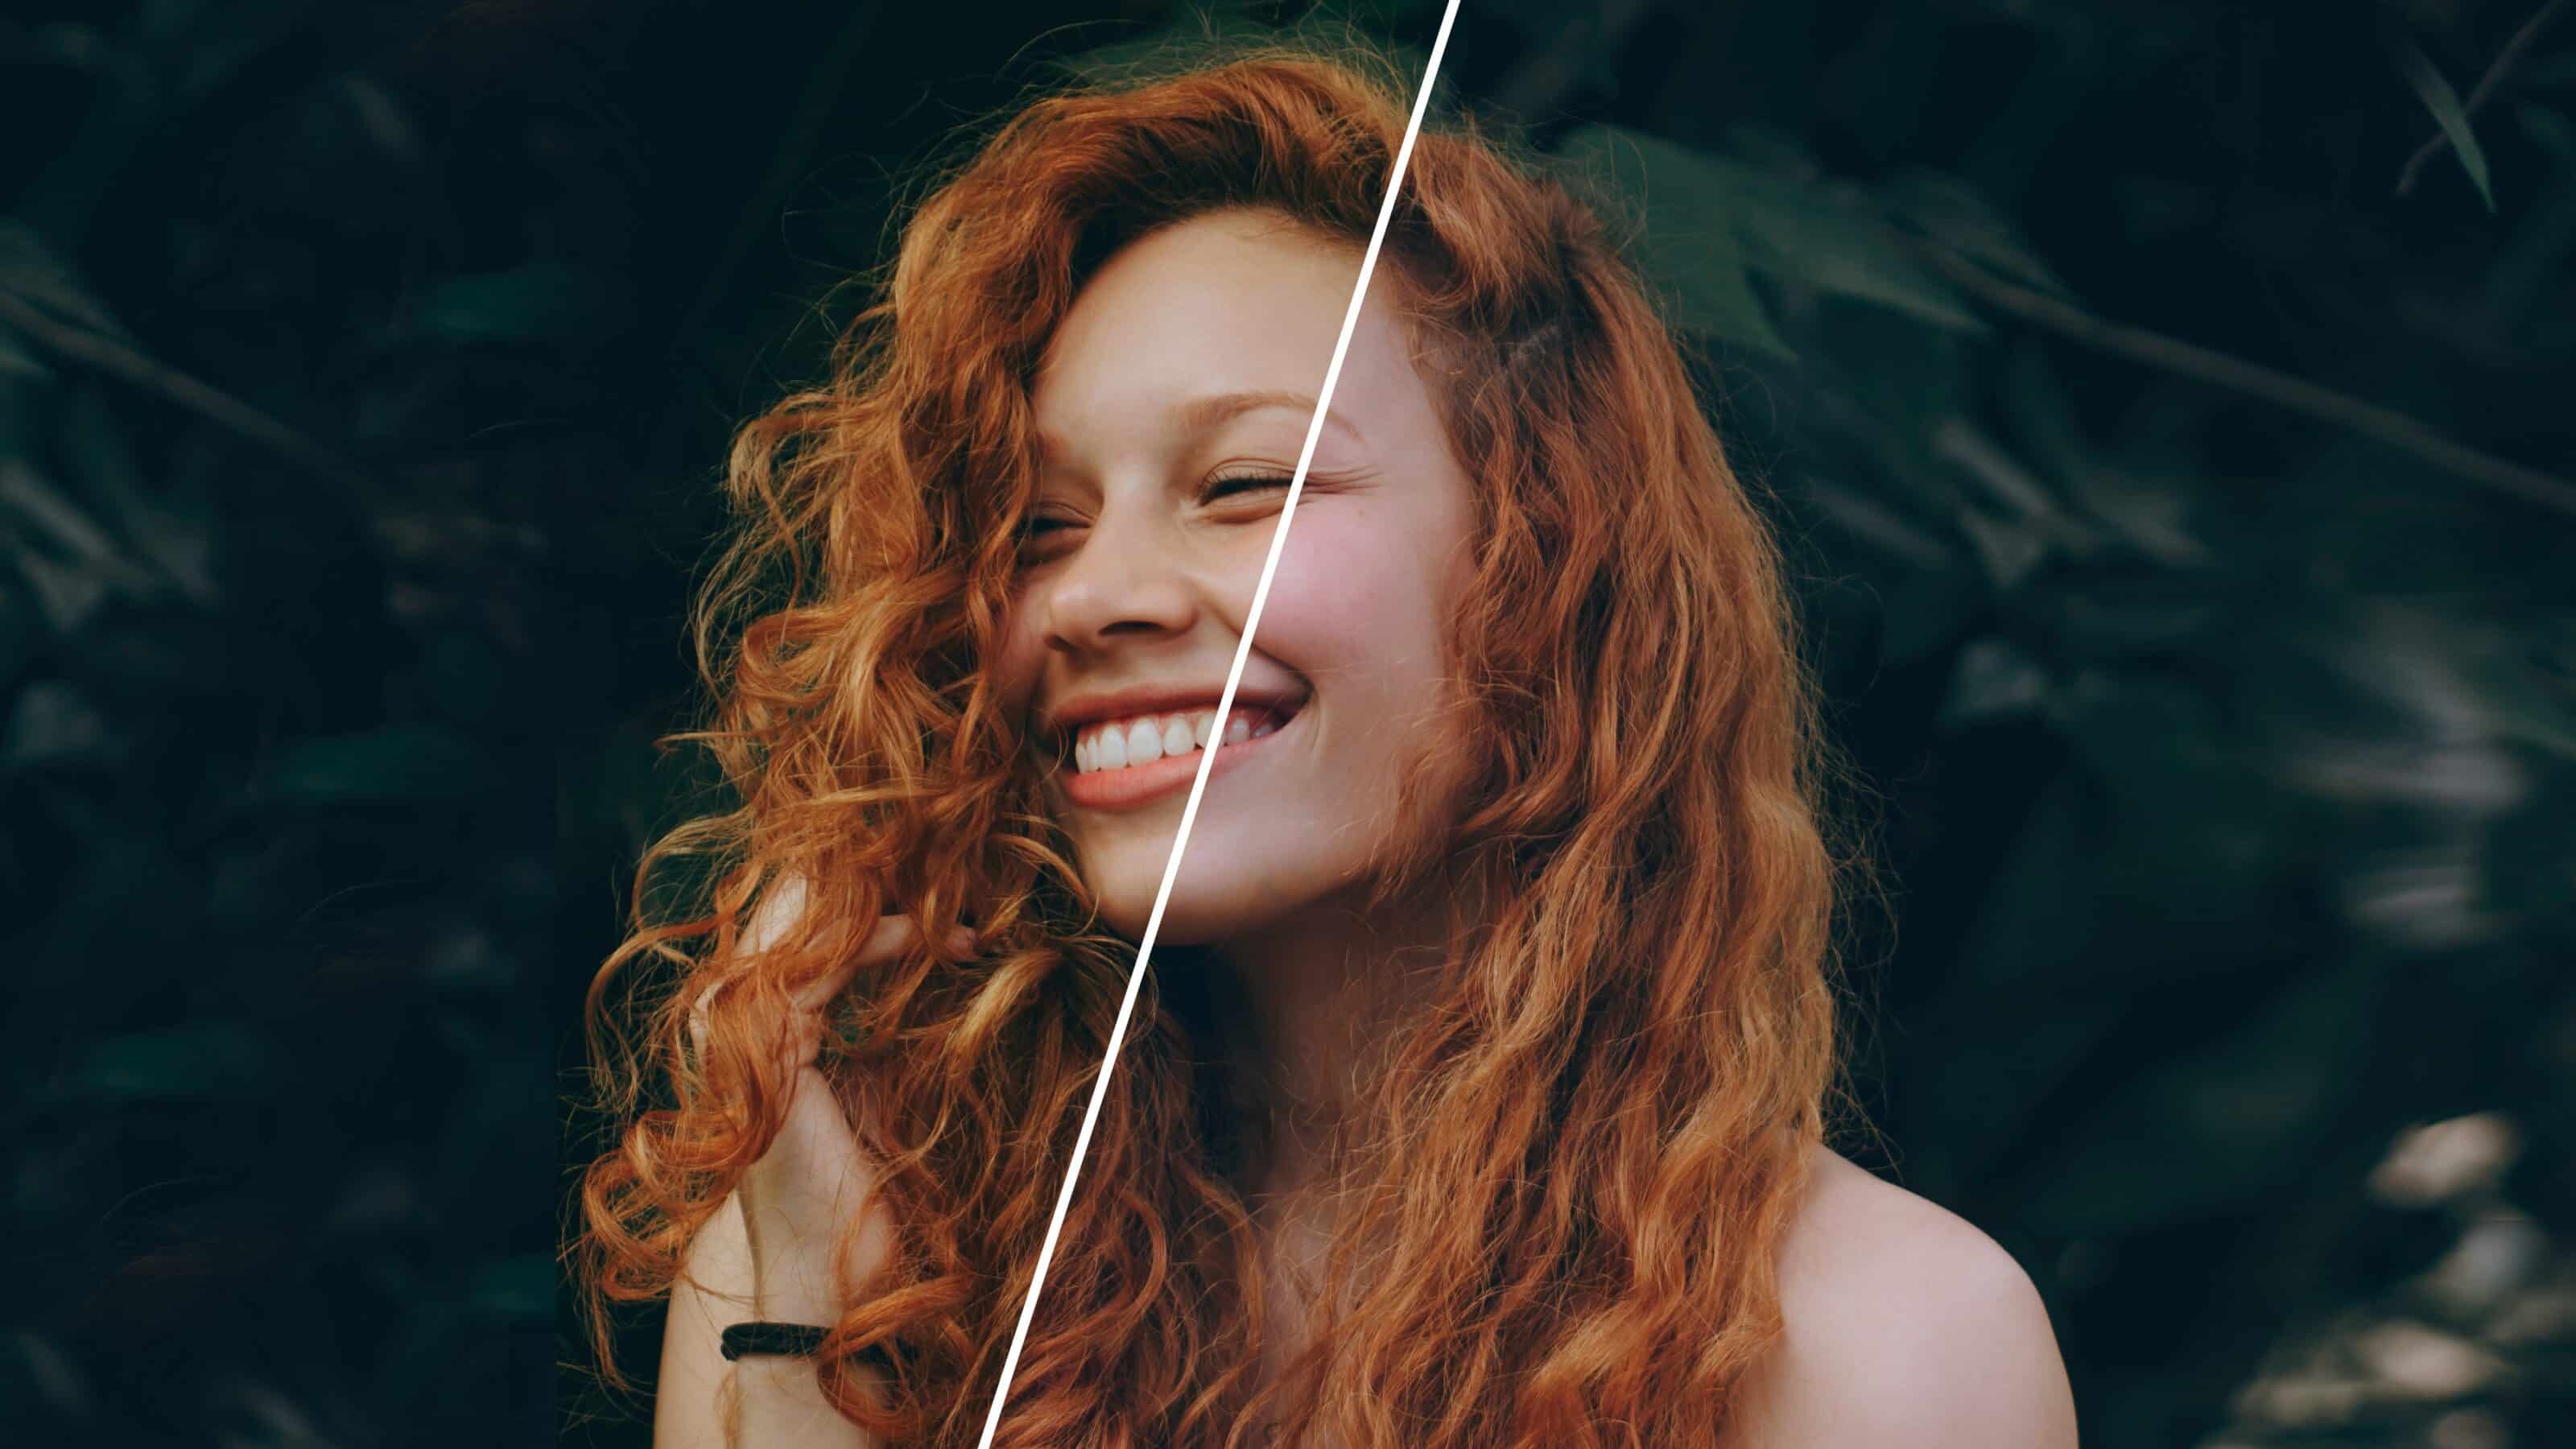
Comparison of the sample photo before and after our edits:
And now that you know how to correct an unhealthy skin tone, download Zoner Studio for a 7-day free trial and try out the adjustments on your own photos.
There are no comments yet.