5 Tips for Taking Pictures from a Plane
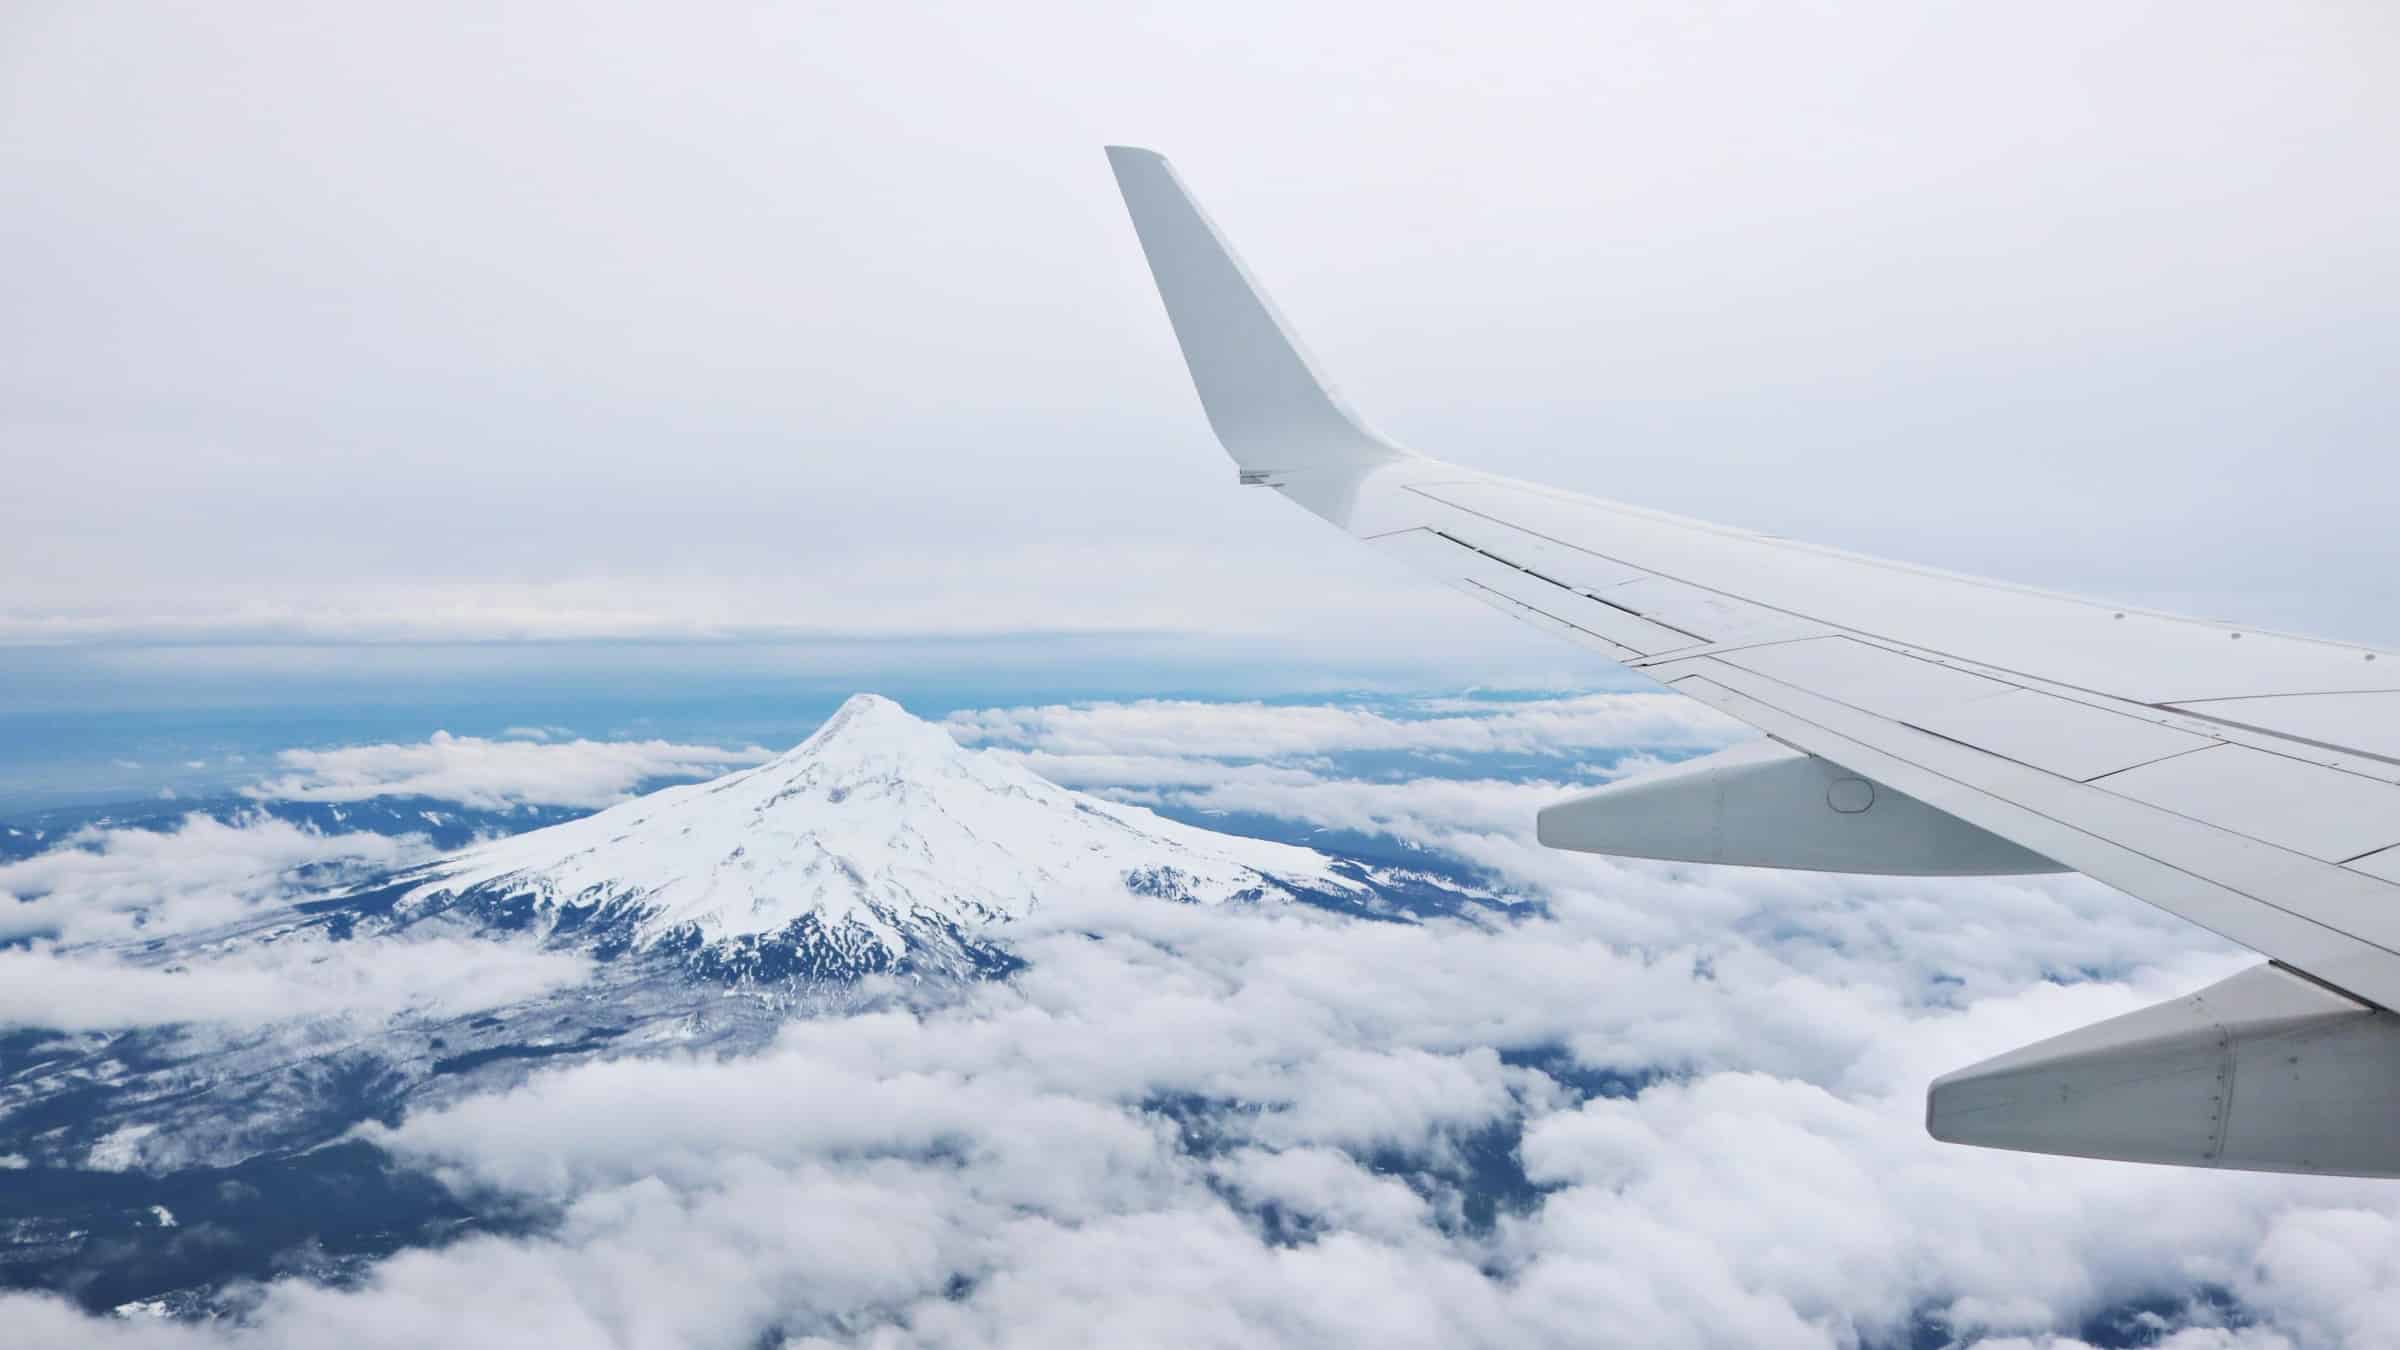
Have a flight coming up? Then you have a chance to take pictures that would be hard to get otherwise. How can you get the most out of this opportunity? And how can you beat the technical problems that come with taking pictures through a plane window?
In our high-speed age, many people fly, for work or for play. If you’re among them and you follow this blog, then it’s very likely that you’ve already tried taking pictures during a flight. Naturally even pictures taken carelessly on automatic have their charm, but if you’re more ambitious than that, here’s a few tips on improving the pictures you take through plane windows.
1) Get a proper seat!
You probably already suspect that you should get a window seat, and one as far away as possible from the wings. Sometimes it makes sense to be first in line boarding the plane—some airlines give seats first come first serve using a chart. The seats in front of the wings are ideal, but few, and the frontmost ones are first class—a paid privilege. If you can choose a seat after boarding the plane, be sure to quickly visually check the windows. Windows are often scratched; skip those seats.
Besides scratches, there are often various smudges on the windows. Meanwhile the panes often freeze over during flights. Look for the cleanest part of your window’s pane. Hold your camera as close to the window as you can. Every centimeter counts, and shooting close will help to blur away dirt on the pane.
2) Have you seen the sun?
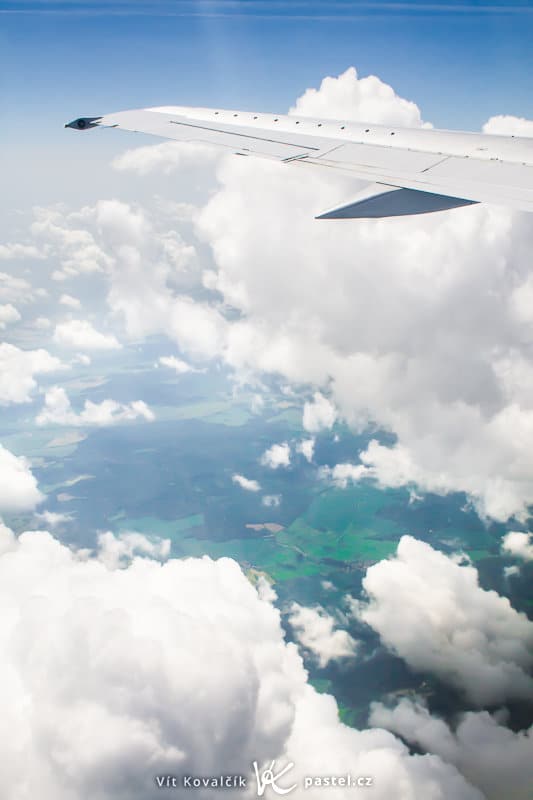
There is one more factor you should consider when choosing a spot—the position of the Sun during the flight. Personally I like to take pictures facing the Sun, but it’s not fun to face the Sun the whole time. Also, you may suffer lens flare, since you probably won’t be using a sun shade (after all, you’re trying to keep the camera close as to the window as possible).
3) Be ready with your equipment
As for equipment, before I sit down, I tend to have already readied a DSLR with a telezoom, with a focal length equivalent of 70 mm or higher, and not need anything more during the flight.
Unfortunately the motion of the plane can easily blur a scene during the shot, especially with long focal lengths. So try to keep exposure lengths shorter than usual. The exact time to use will depend on the focal length, the distance to the photographed object, and random chance. Often 1/300 s is short enough, but I’ve also seen motion blur even with 1/640 s. In any case, there’s no harm in bracketing the shot. The extra takes can always be erased back home, but in the air, time really flies, especially when there’s interesting scenery outside the plane.

4) Don’t forget the rules
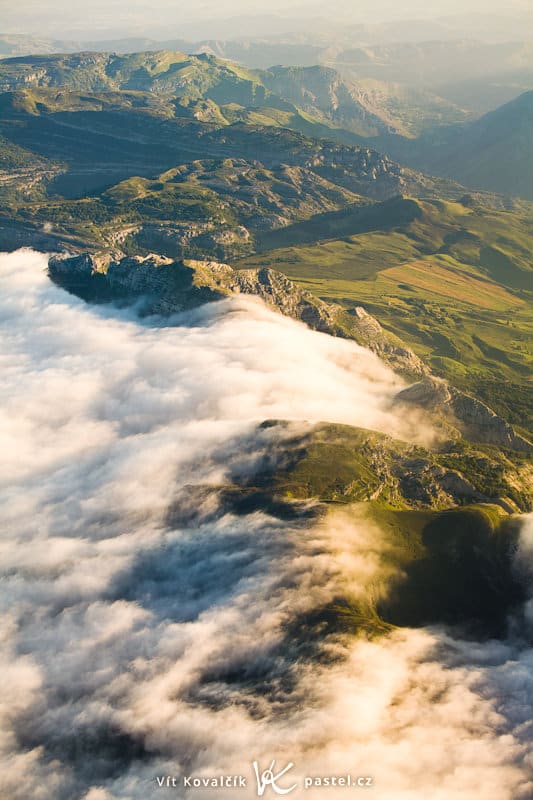
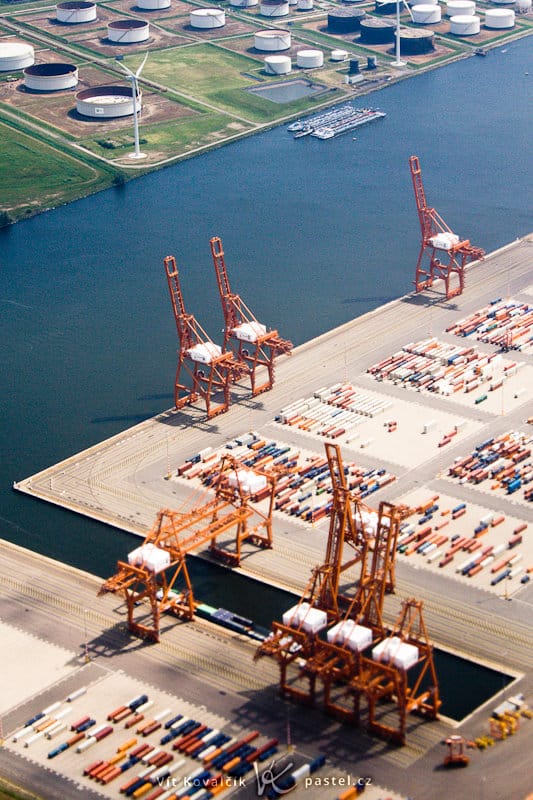
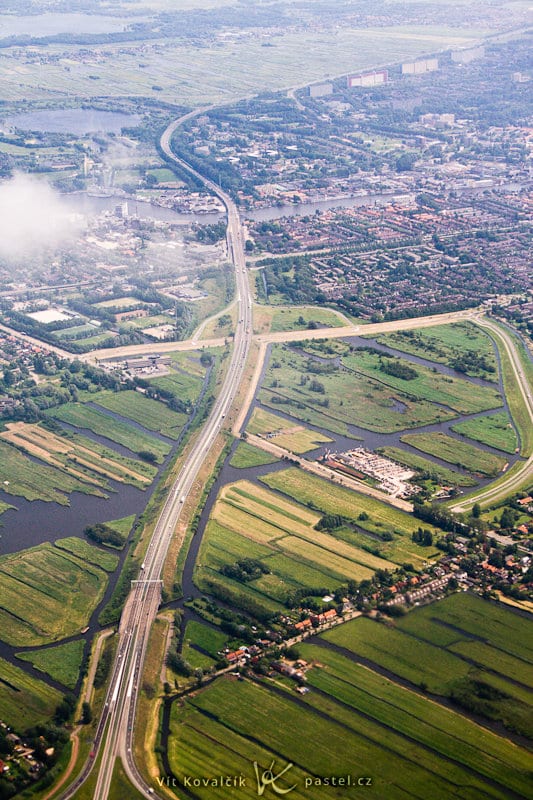
Once you have your settings right, go ahead and photograph everything interesting during the flight. The usual rules of composition apply, so to take more interesting photos, seek out various lines such as rivers and highways to draw the audience into the photo. Likewise, the horizon does not have to be in the middle.
5) Time to adjust Contrast and Colors
But your work (your play!) does not end with the shot. Most plane photos are tinged with gray due to having been taken through glass and the atmosphere. Your computer is the place to correct this, by increasing saturation and contrast. Zoner Studio offers several relevant tools for this in the Enhance menu: Quick Fix, Levels, Curves, and Enhance Colors. There’s also Tone Mapping in the Effects menu. If you want to get really fancy, you can work with selections, especially to darken washed-out skies.

I hope these tips help you on your next trip. I wish you the one thing that you can’t arrange yourself—good weather!
There are no comments yet.