How to Create Blurred Backgrounds for Portraits
A shallow depth of field and blurred background give pictures that extra something, especially for portraits. It adds an element of elegance and can help get rid of unwanted details in the background. Most mobile phones can blur your photo with the press of a button, but the quality is not on par with professional cameras. We’ll show you how to get a blurred background using Zoner Photo Studio X.
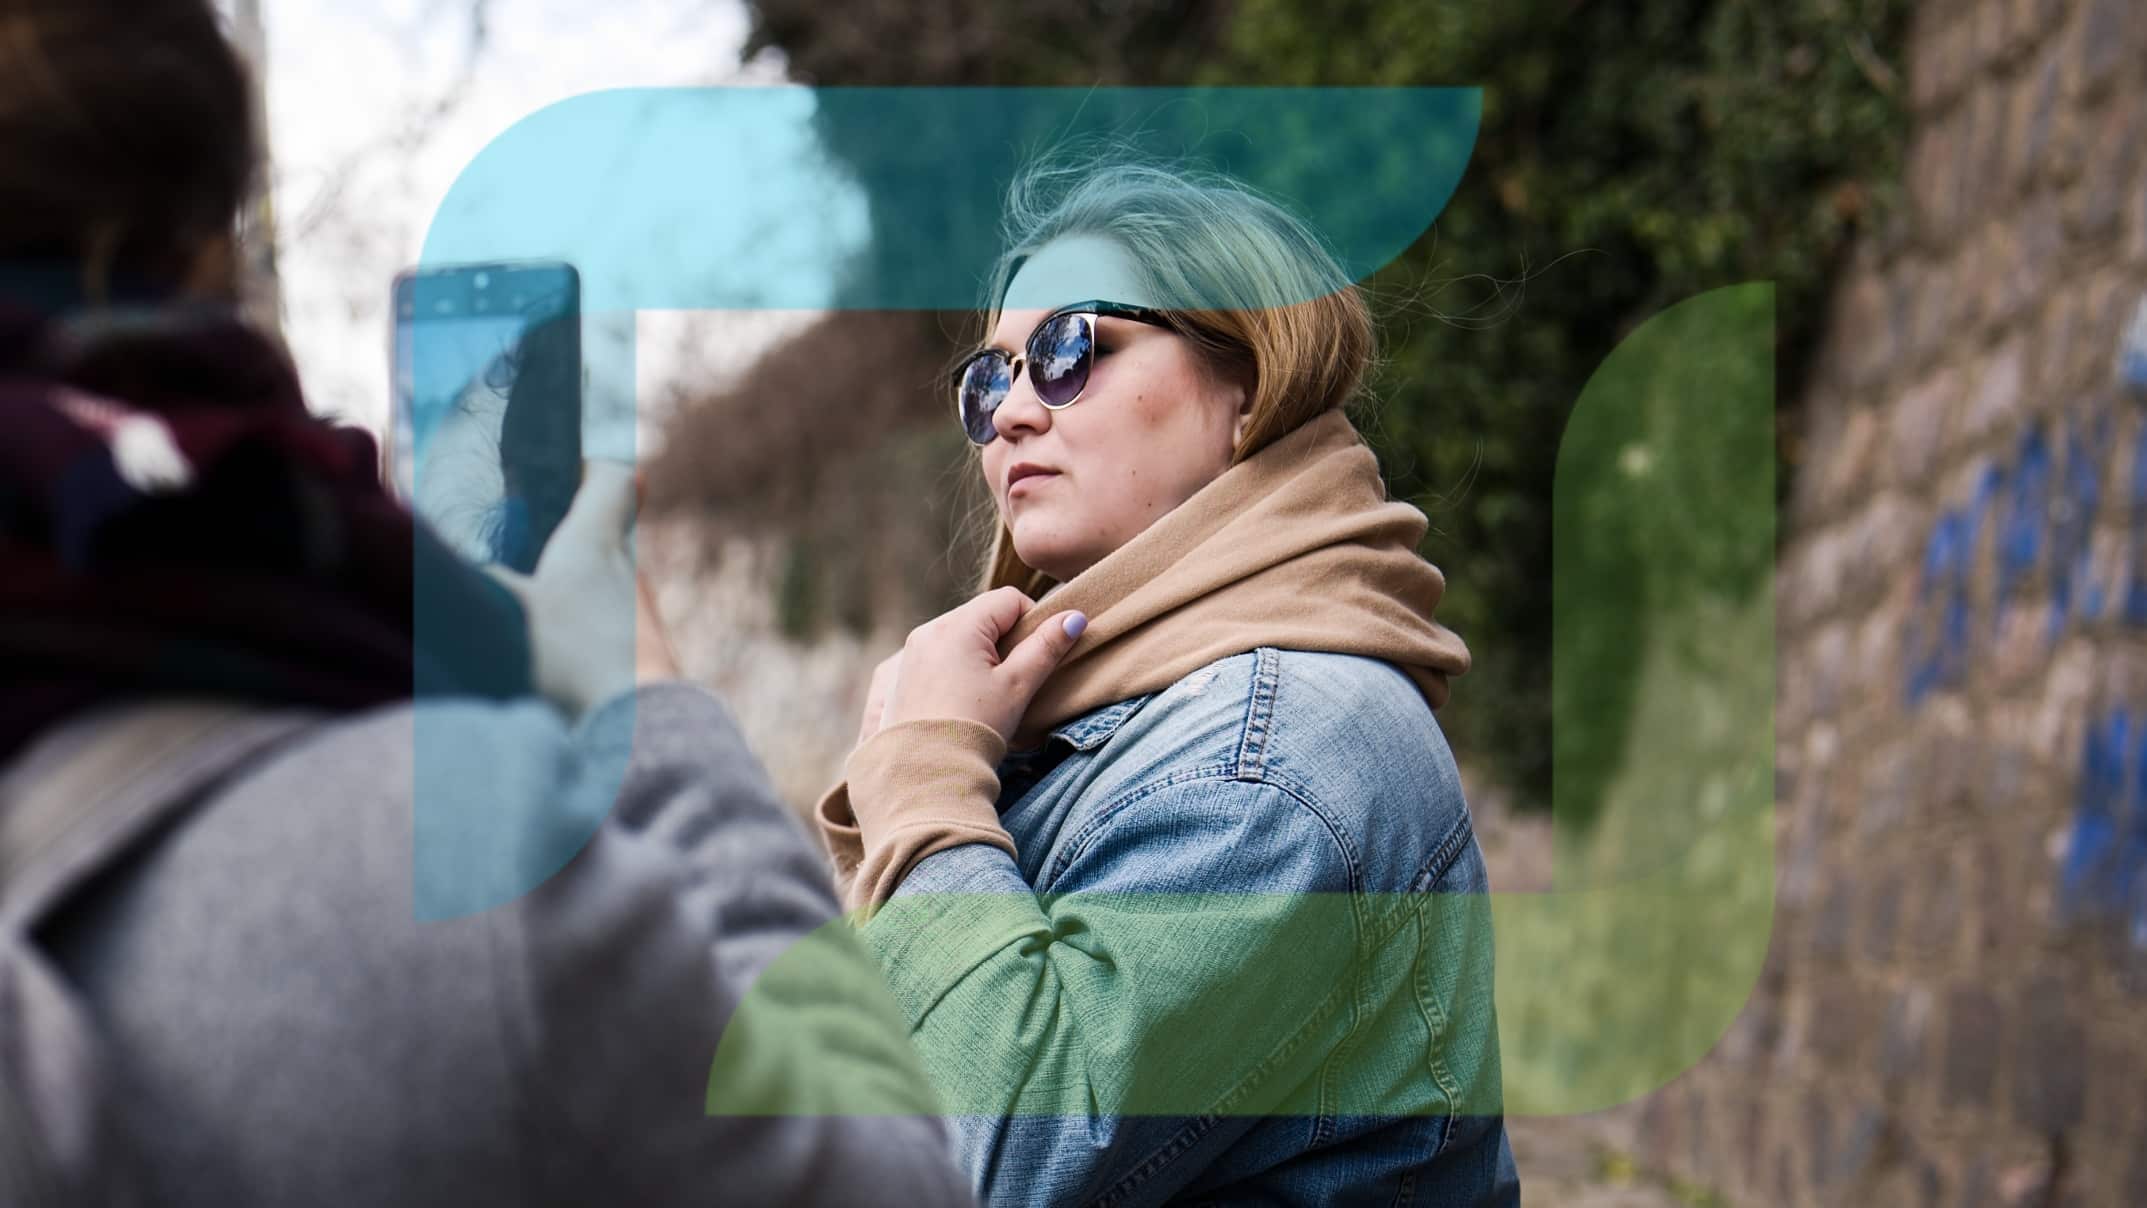
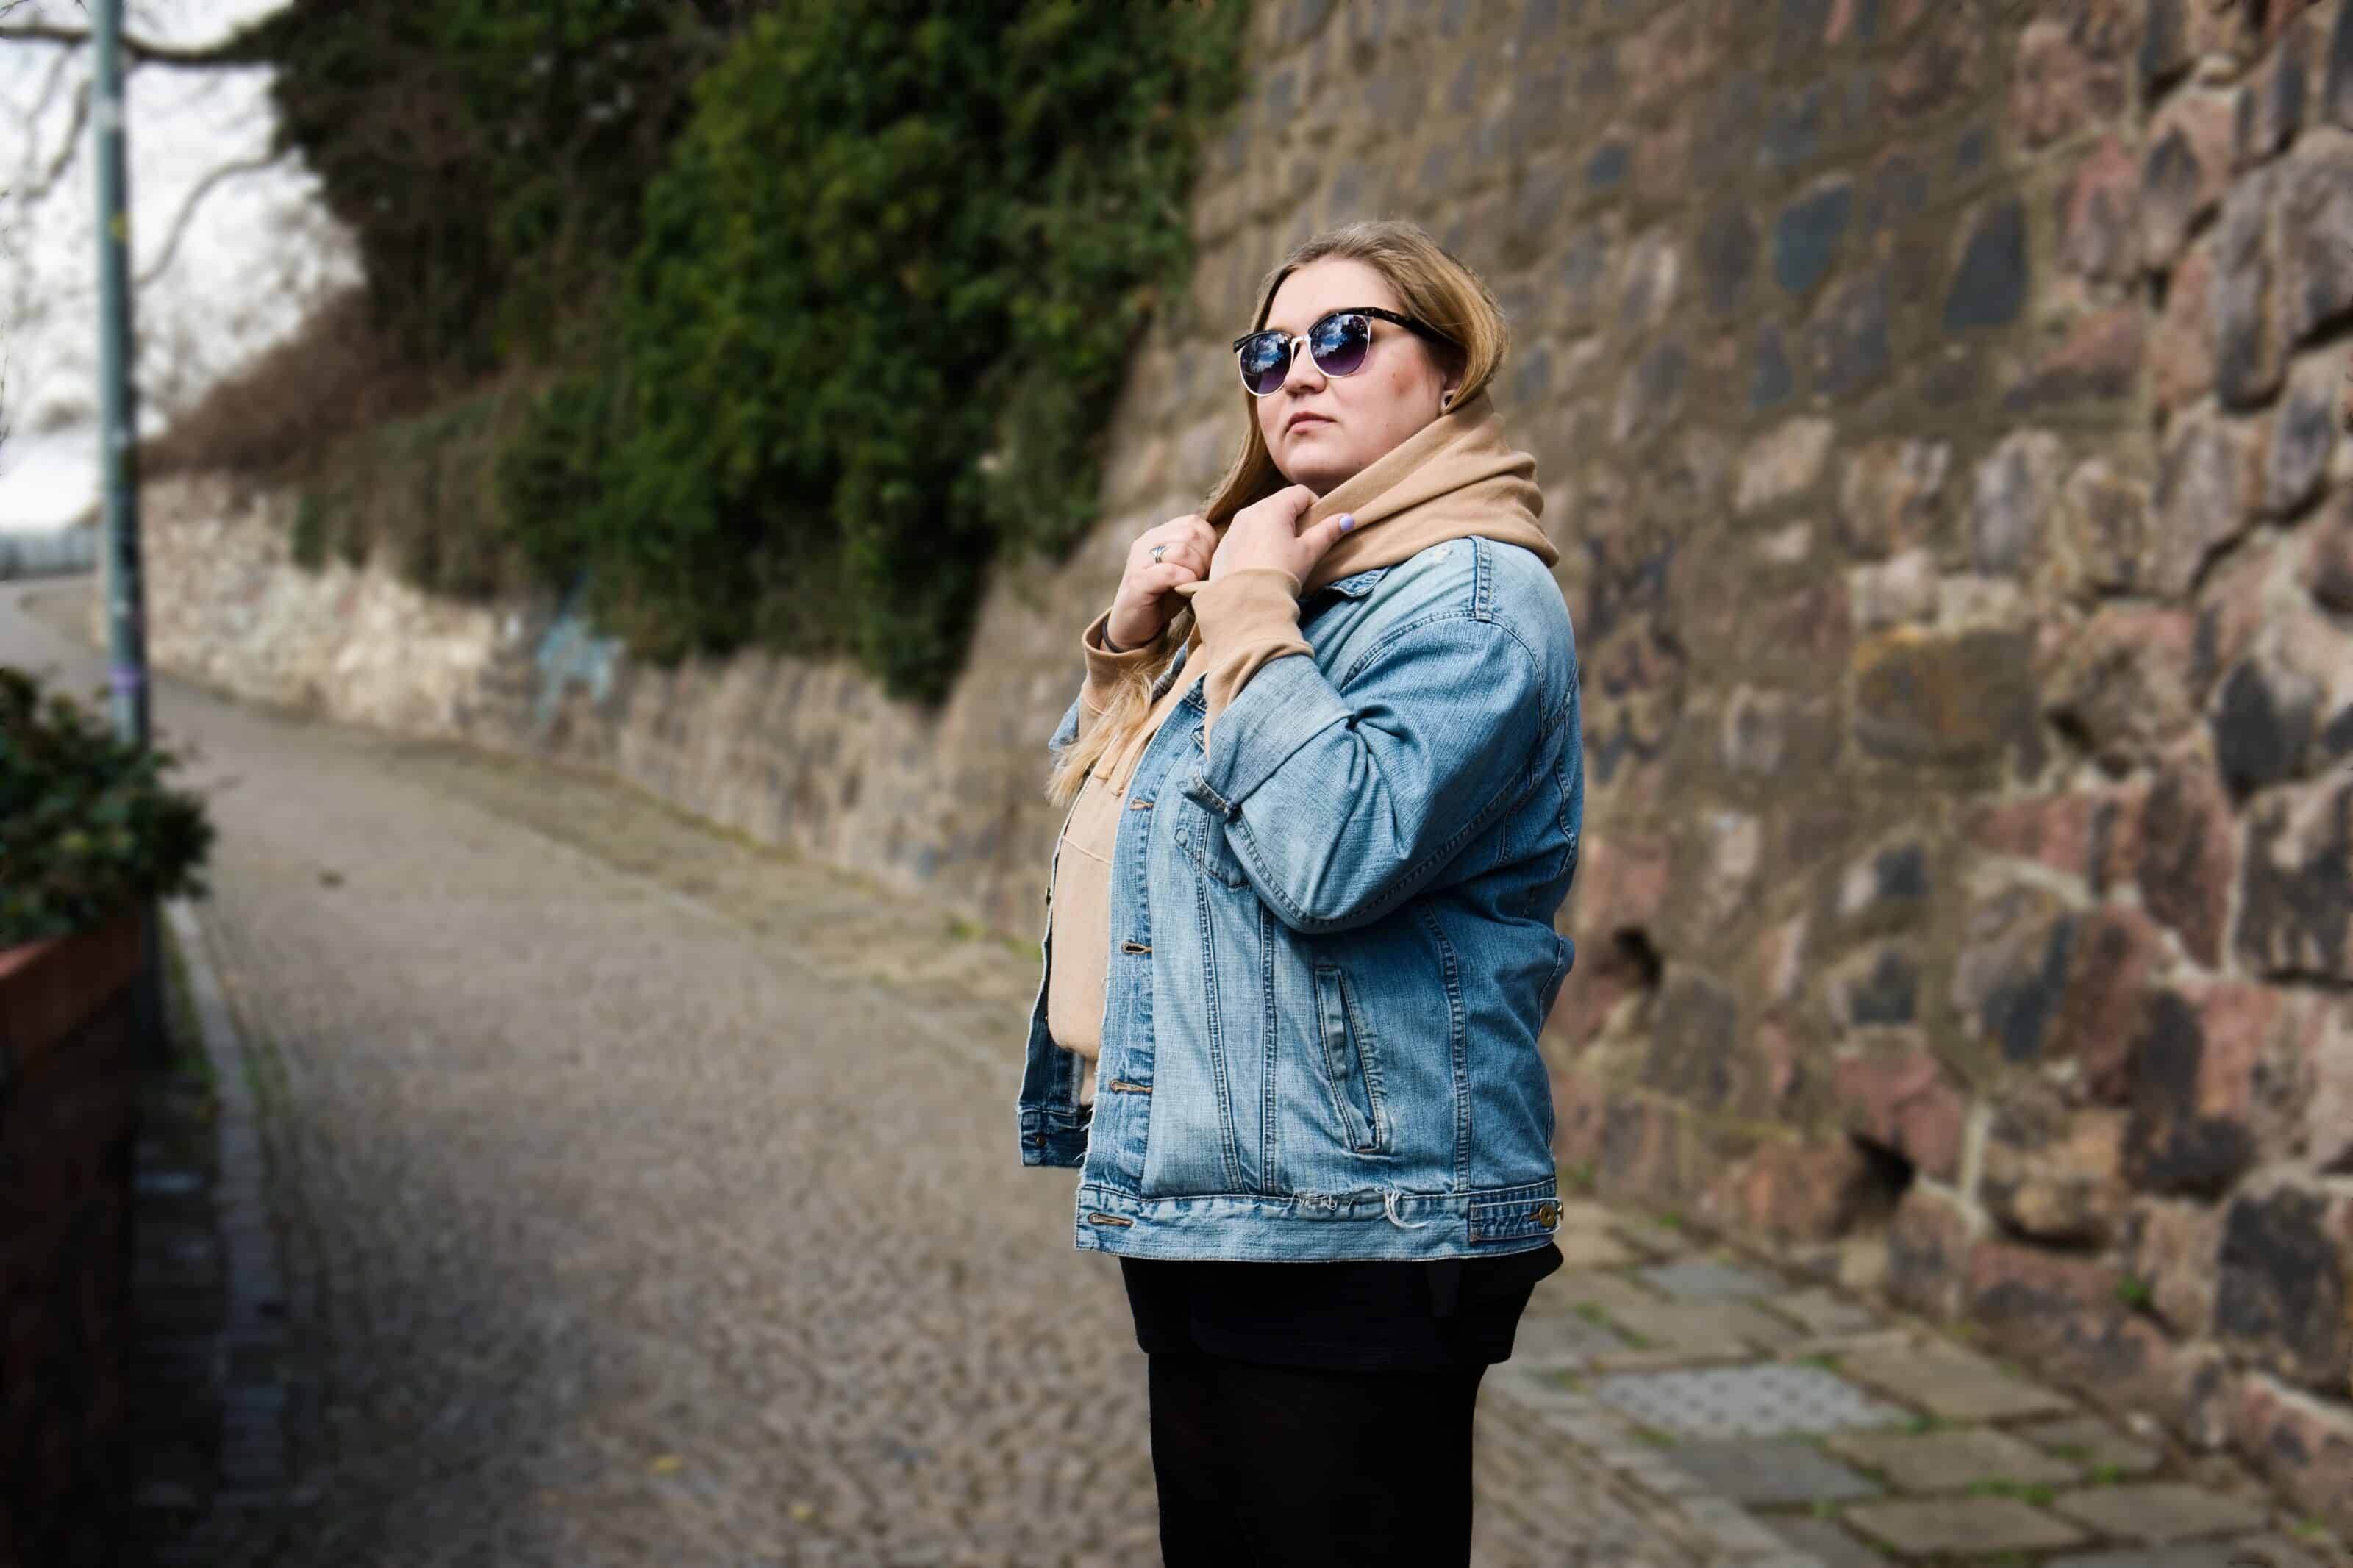
This article will be using a pair of photos, one taken on a Panasonic Lumix DC-S5 and the other, using an iPhone 12 Mini. Here are the two photos for comparison:
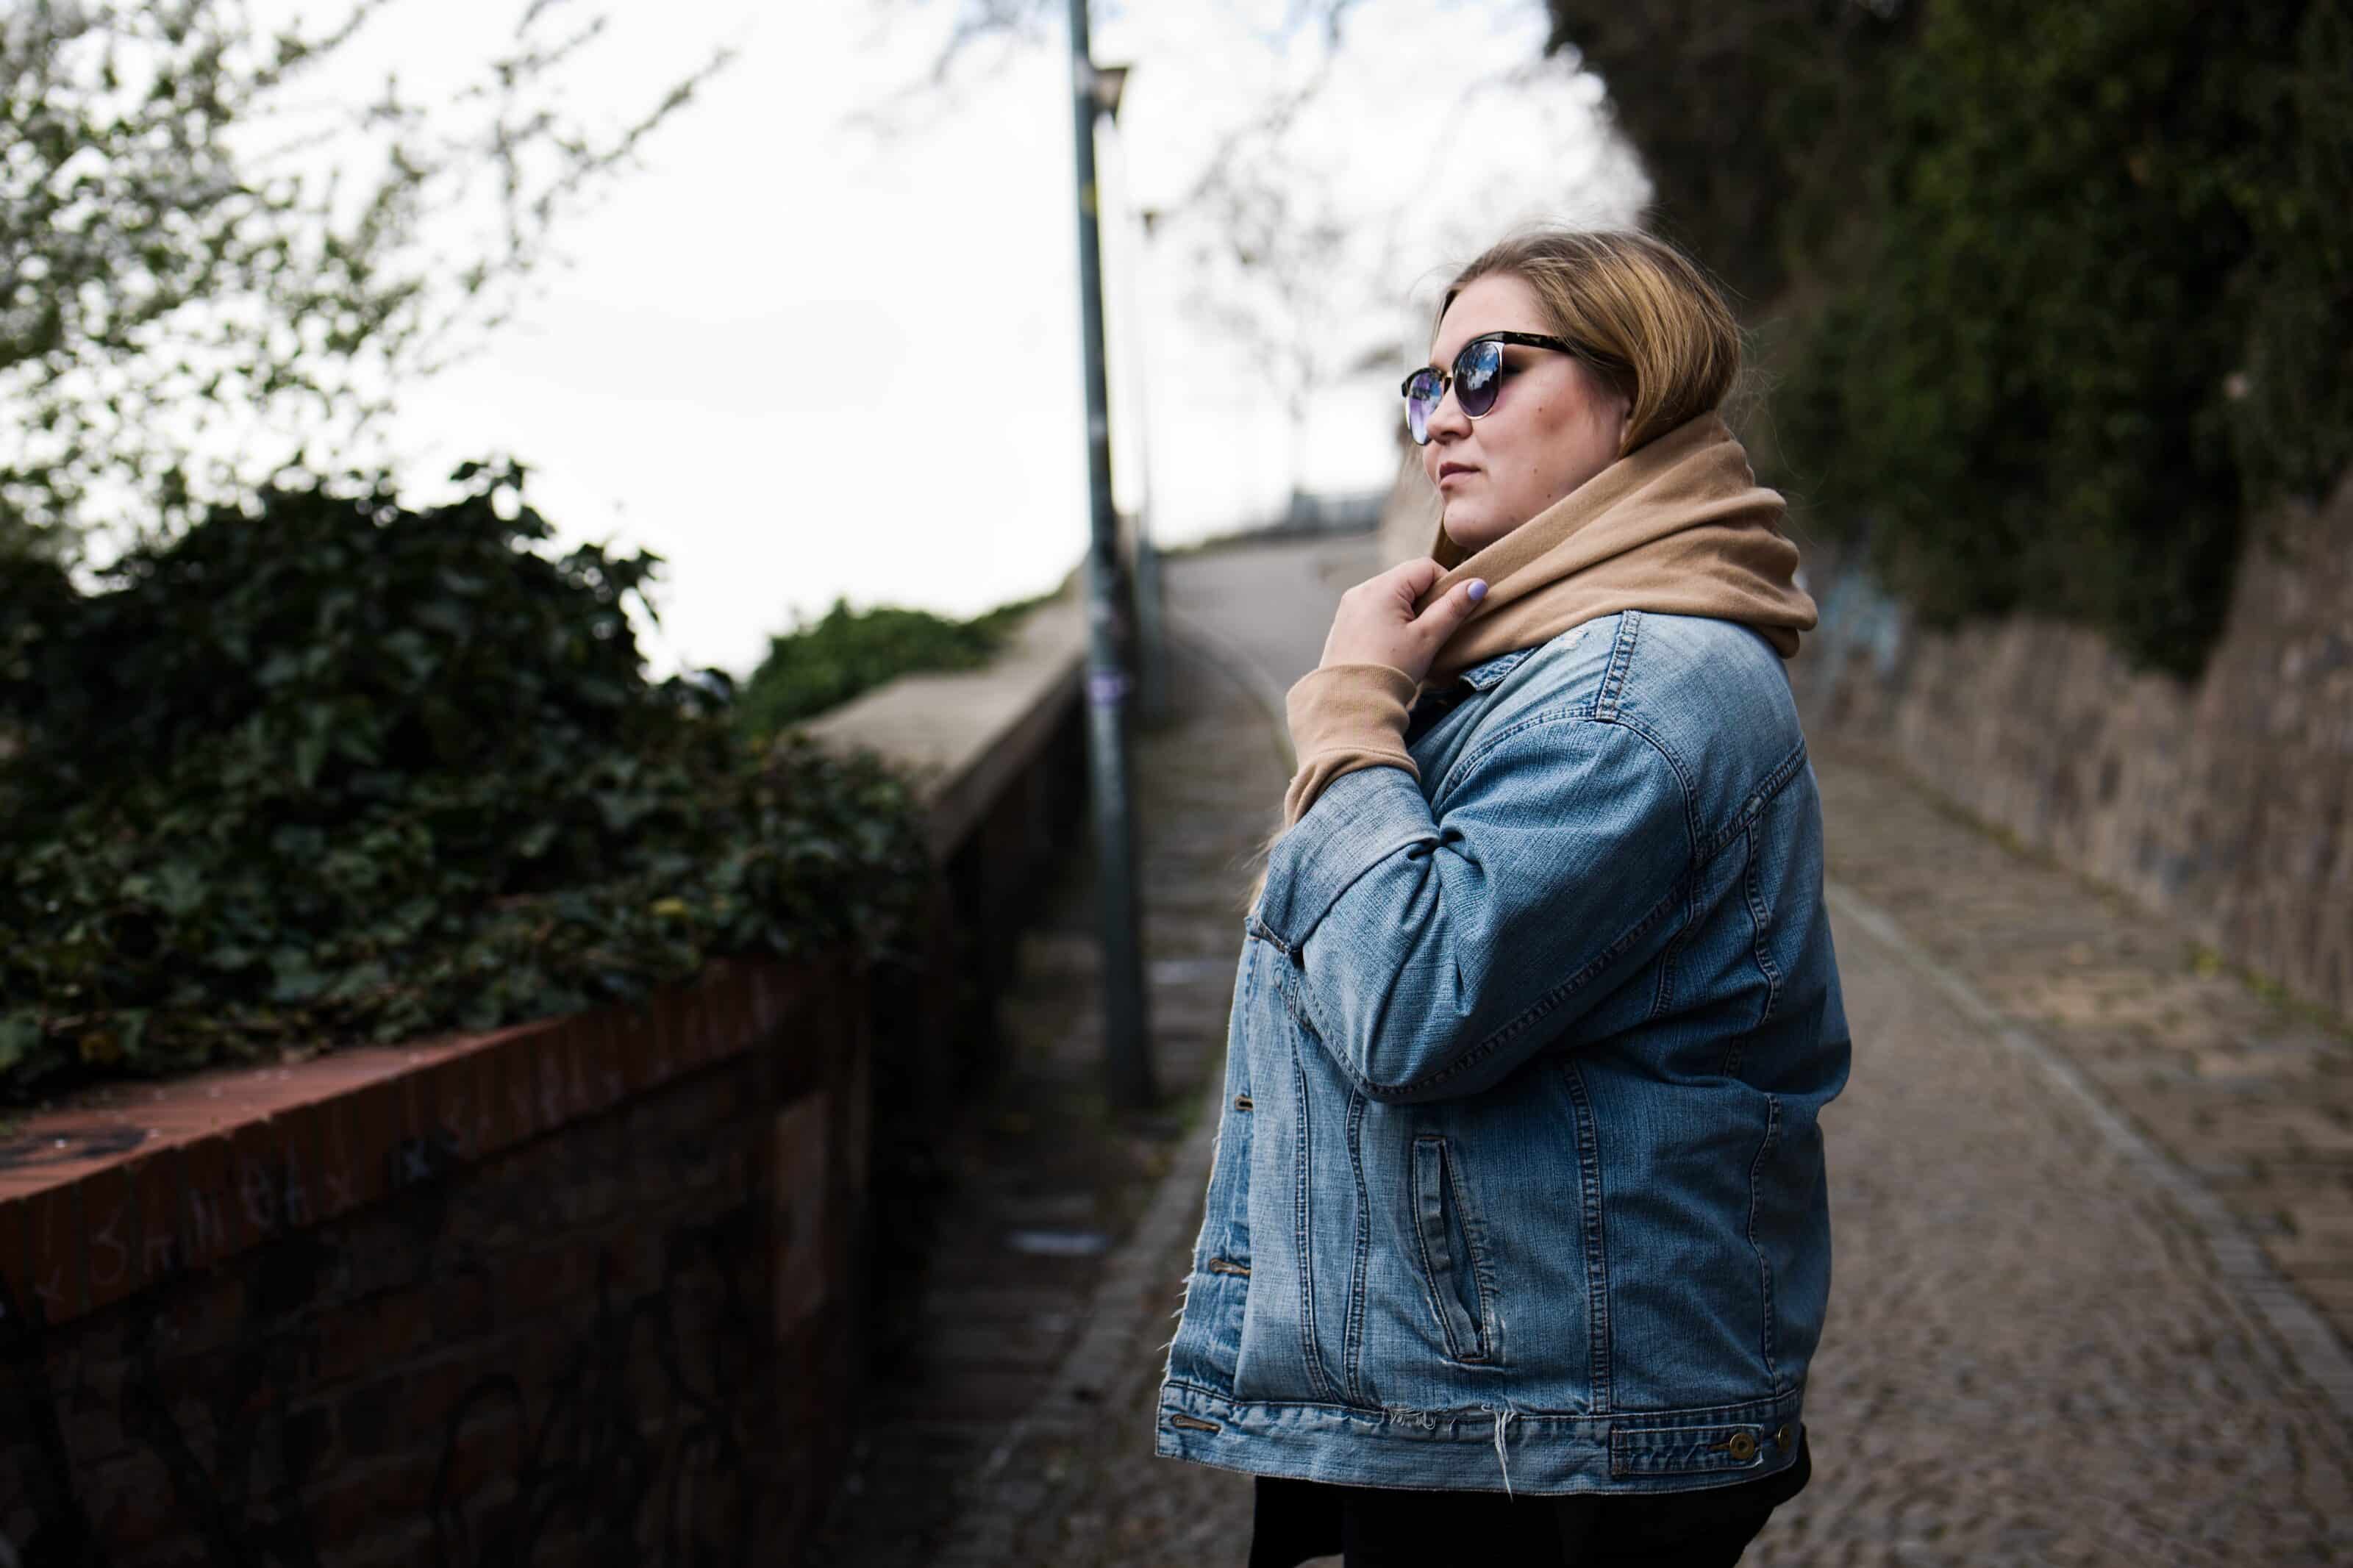
Panasonic Lumix DC-S5, Lumix S 50/F1.8, 1/400s, f/2.8, ISO 100, focal length 50mm
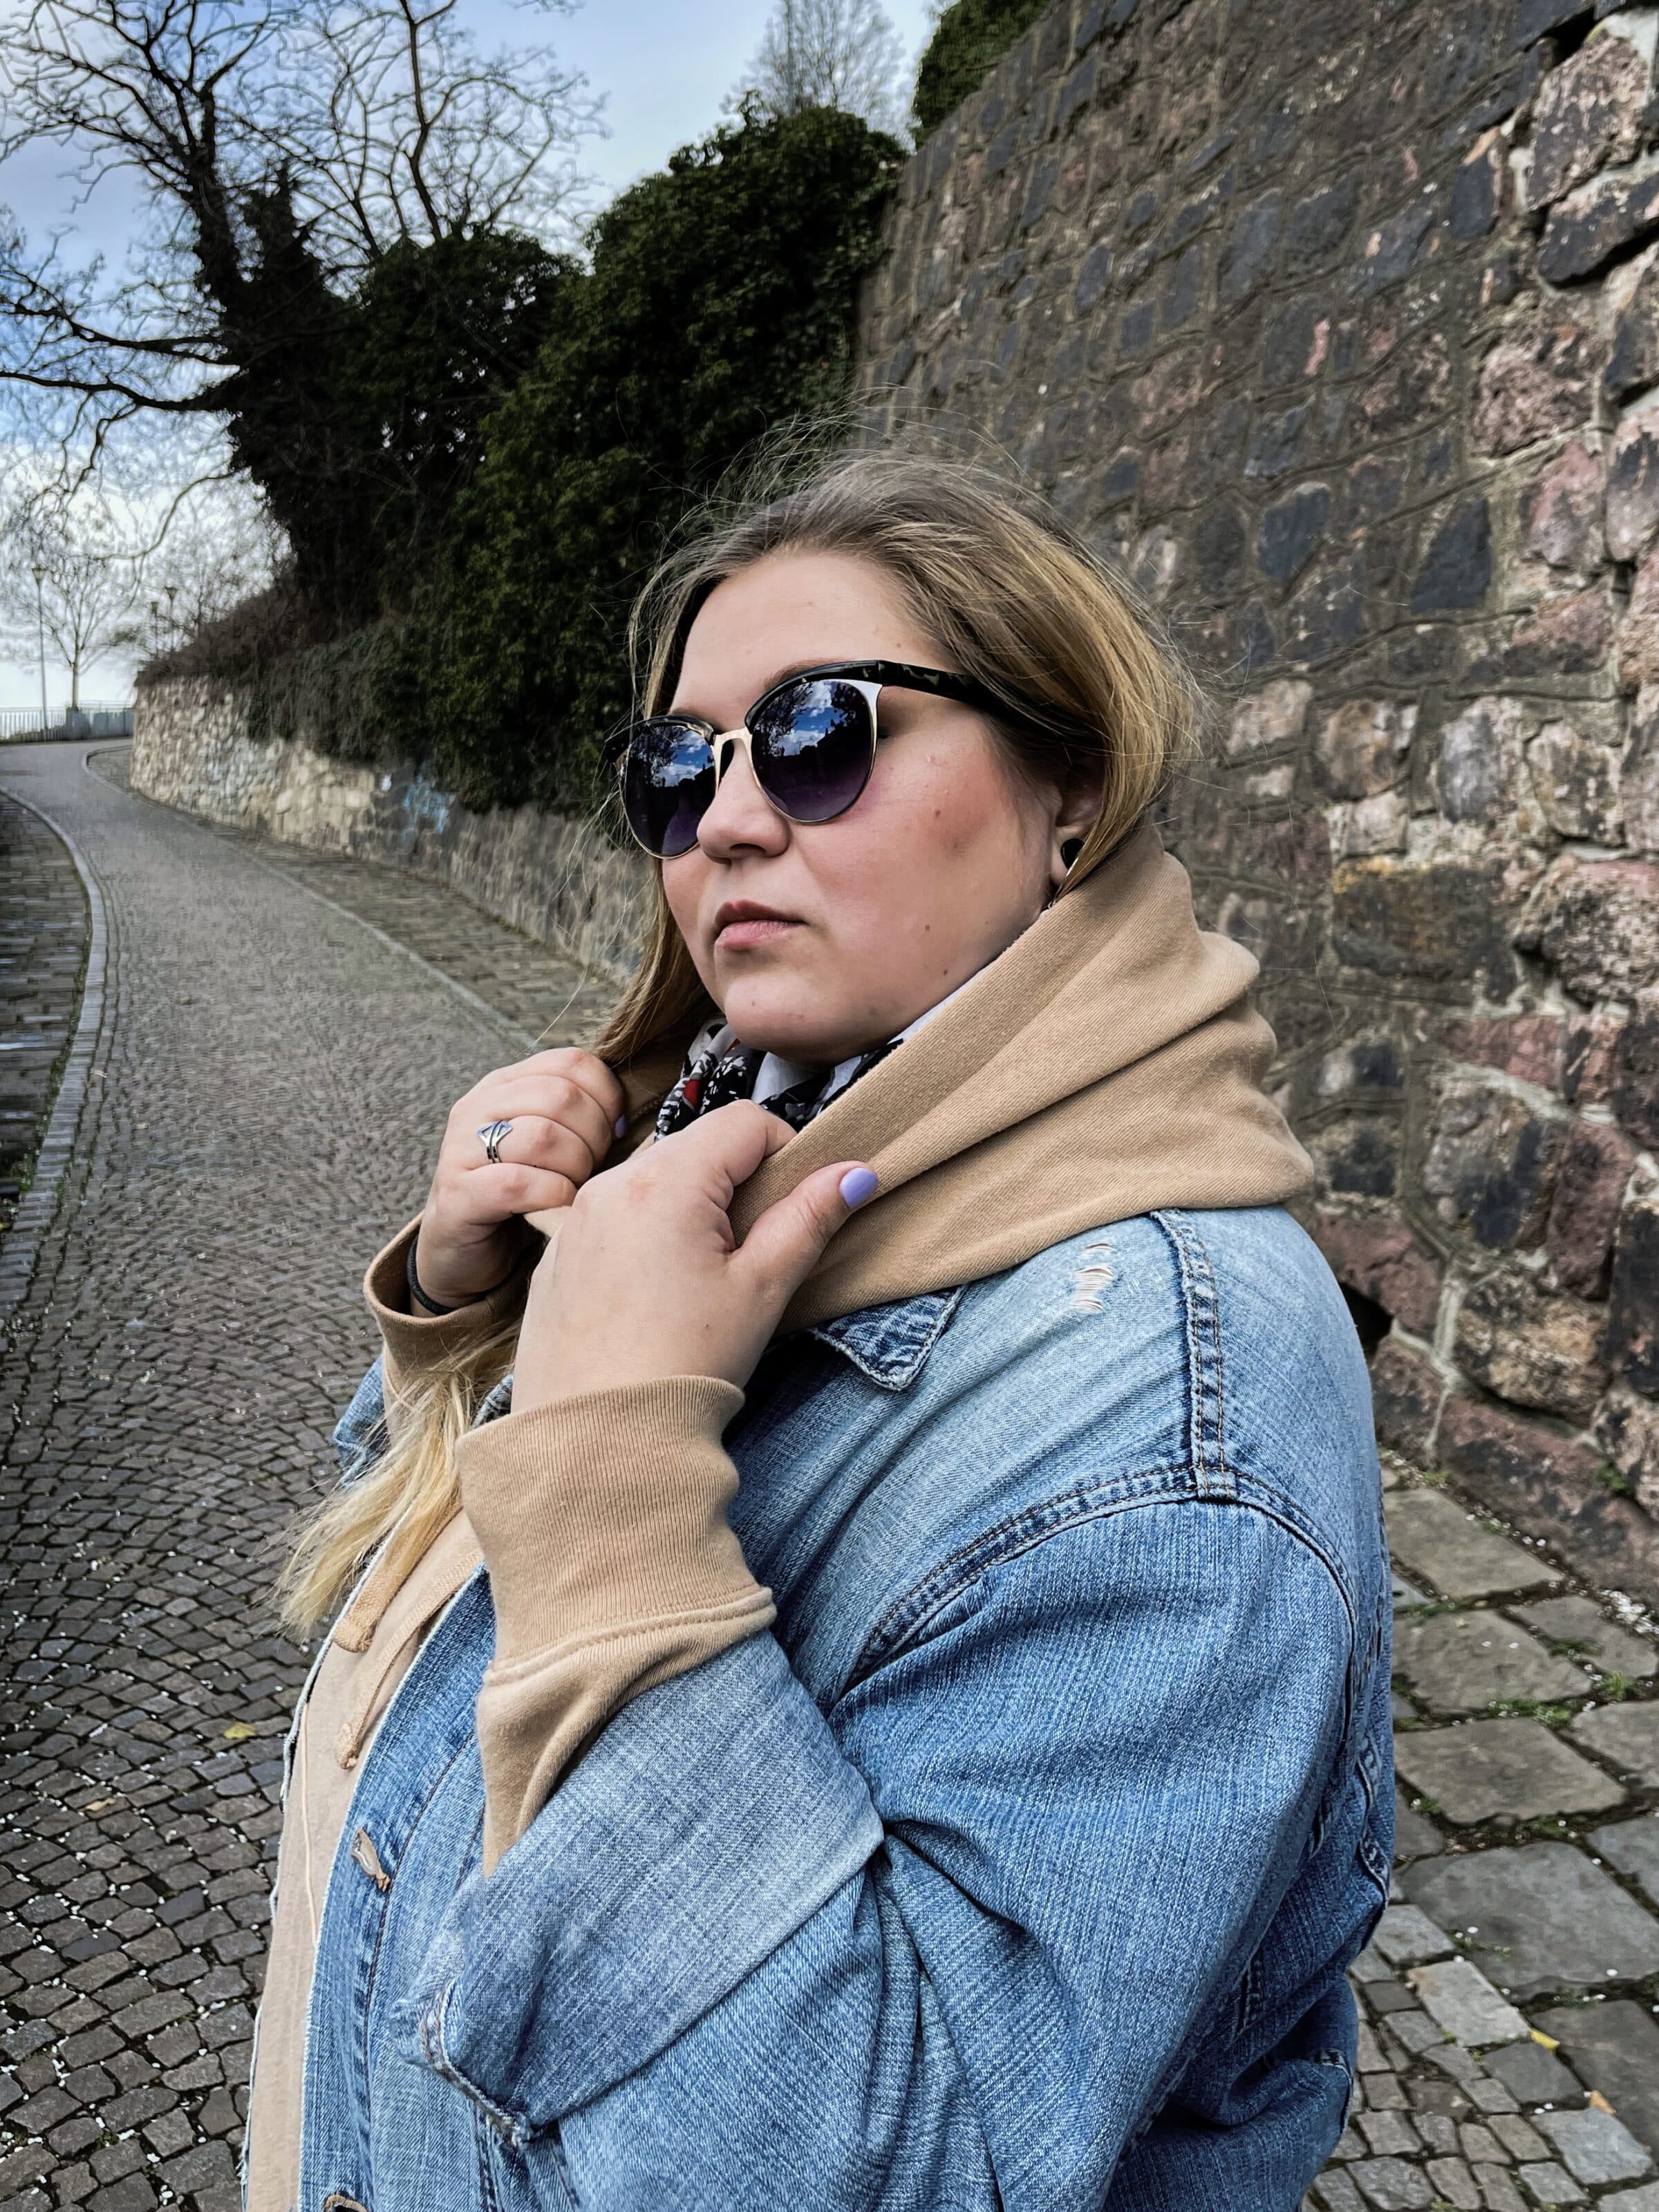
Apple iPhone 12 mini, 1/932s, f/1.6, ISO 32, focal length 4mm
Although the photos are taken from different angles, the difference in depth of field is immediately obvious.
As far as noise and sharpness, mobile phone technology is getting better and better. While the results aren’t bad, they aren’t perfect either. Plus, if something goes wrong after adding blur, we have no way of correcting just one part of the image. If we want the right blur, we have to do it ourselves using Zoner Photo Studio X.
Selecting areas to blur
This is the most important and time-consuming part of the process. The rest of the steps are quick and easy.
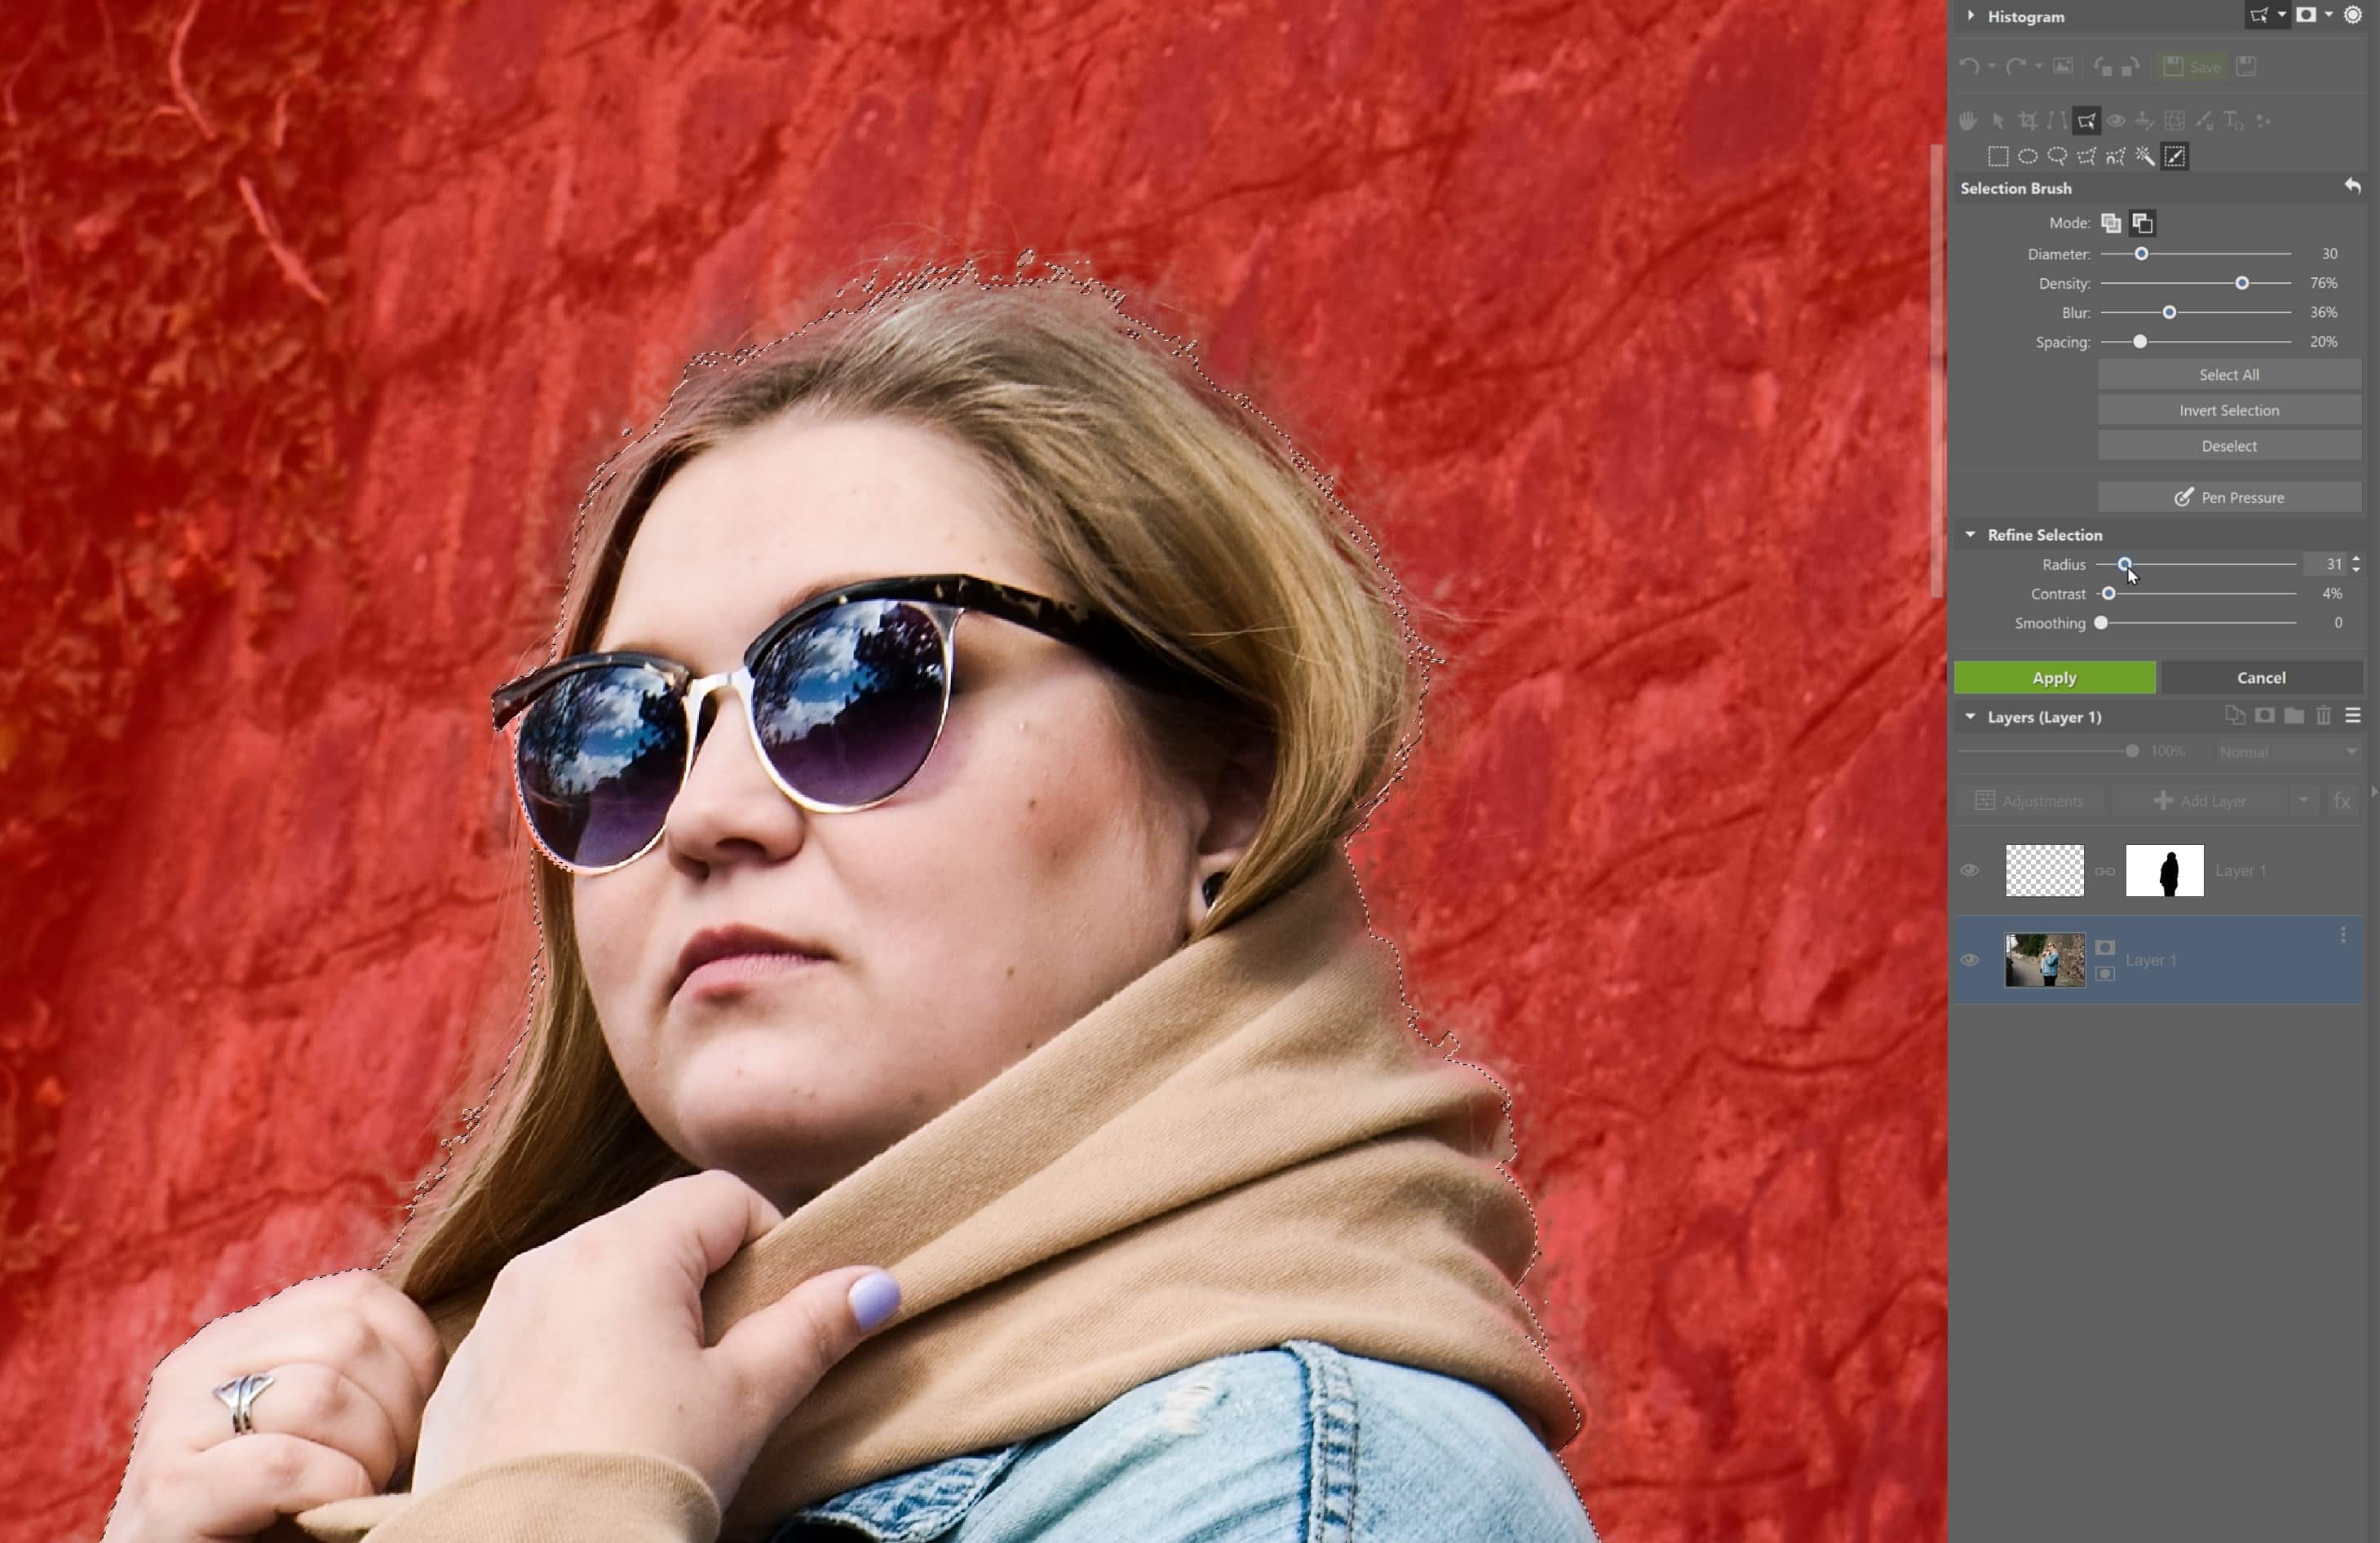
In most cases, it’s easier to select the model instead of the background. Once we’ve made the selection, we simply invert it to have the background selected.
Everything is done in the Editor module, and we start with Selection Tools. Selection Tools give us several options for selecting parts of our image. The most universal and most-used tool is Magnetic Lasso (A).
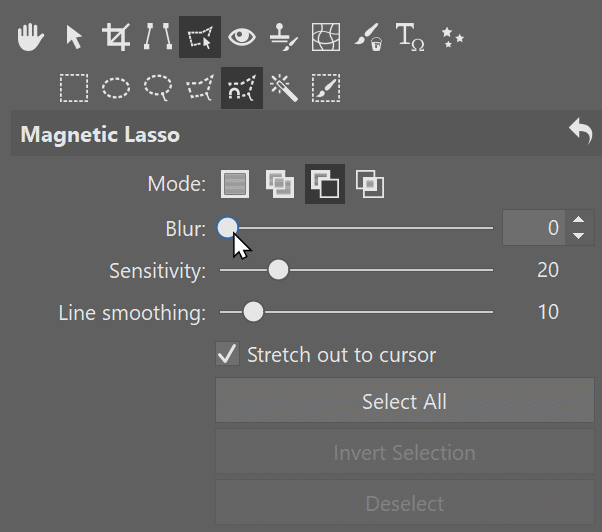
Magnetic lasso is a tool that is used to trace the entire model. It is magnetic in that it tries to automatically attach itself to the contrasting edges of the object. By clicking, you add points to the selection.
If you misclick and select something you don’t want, you can go back using the Delete or Backspace key.
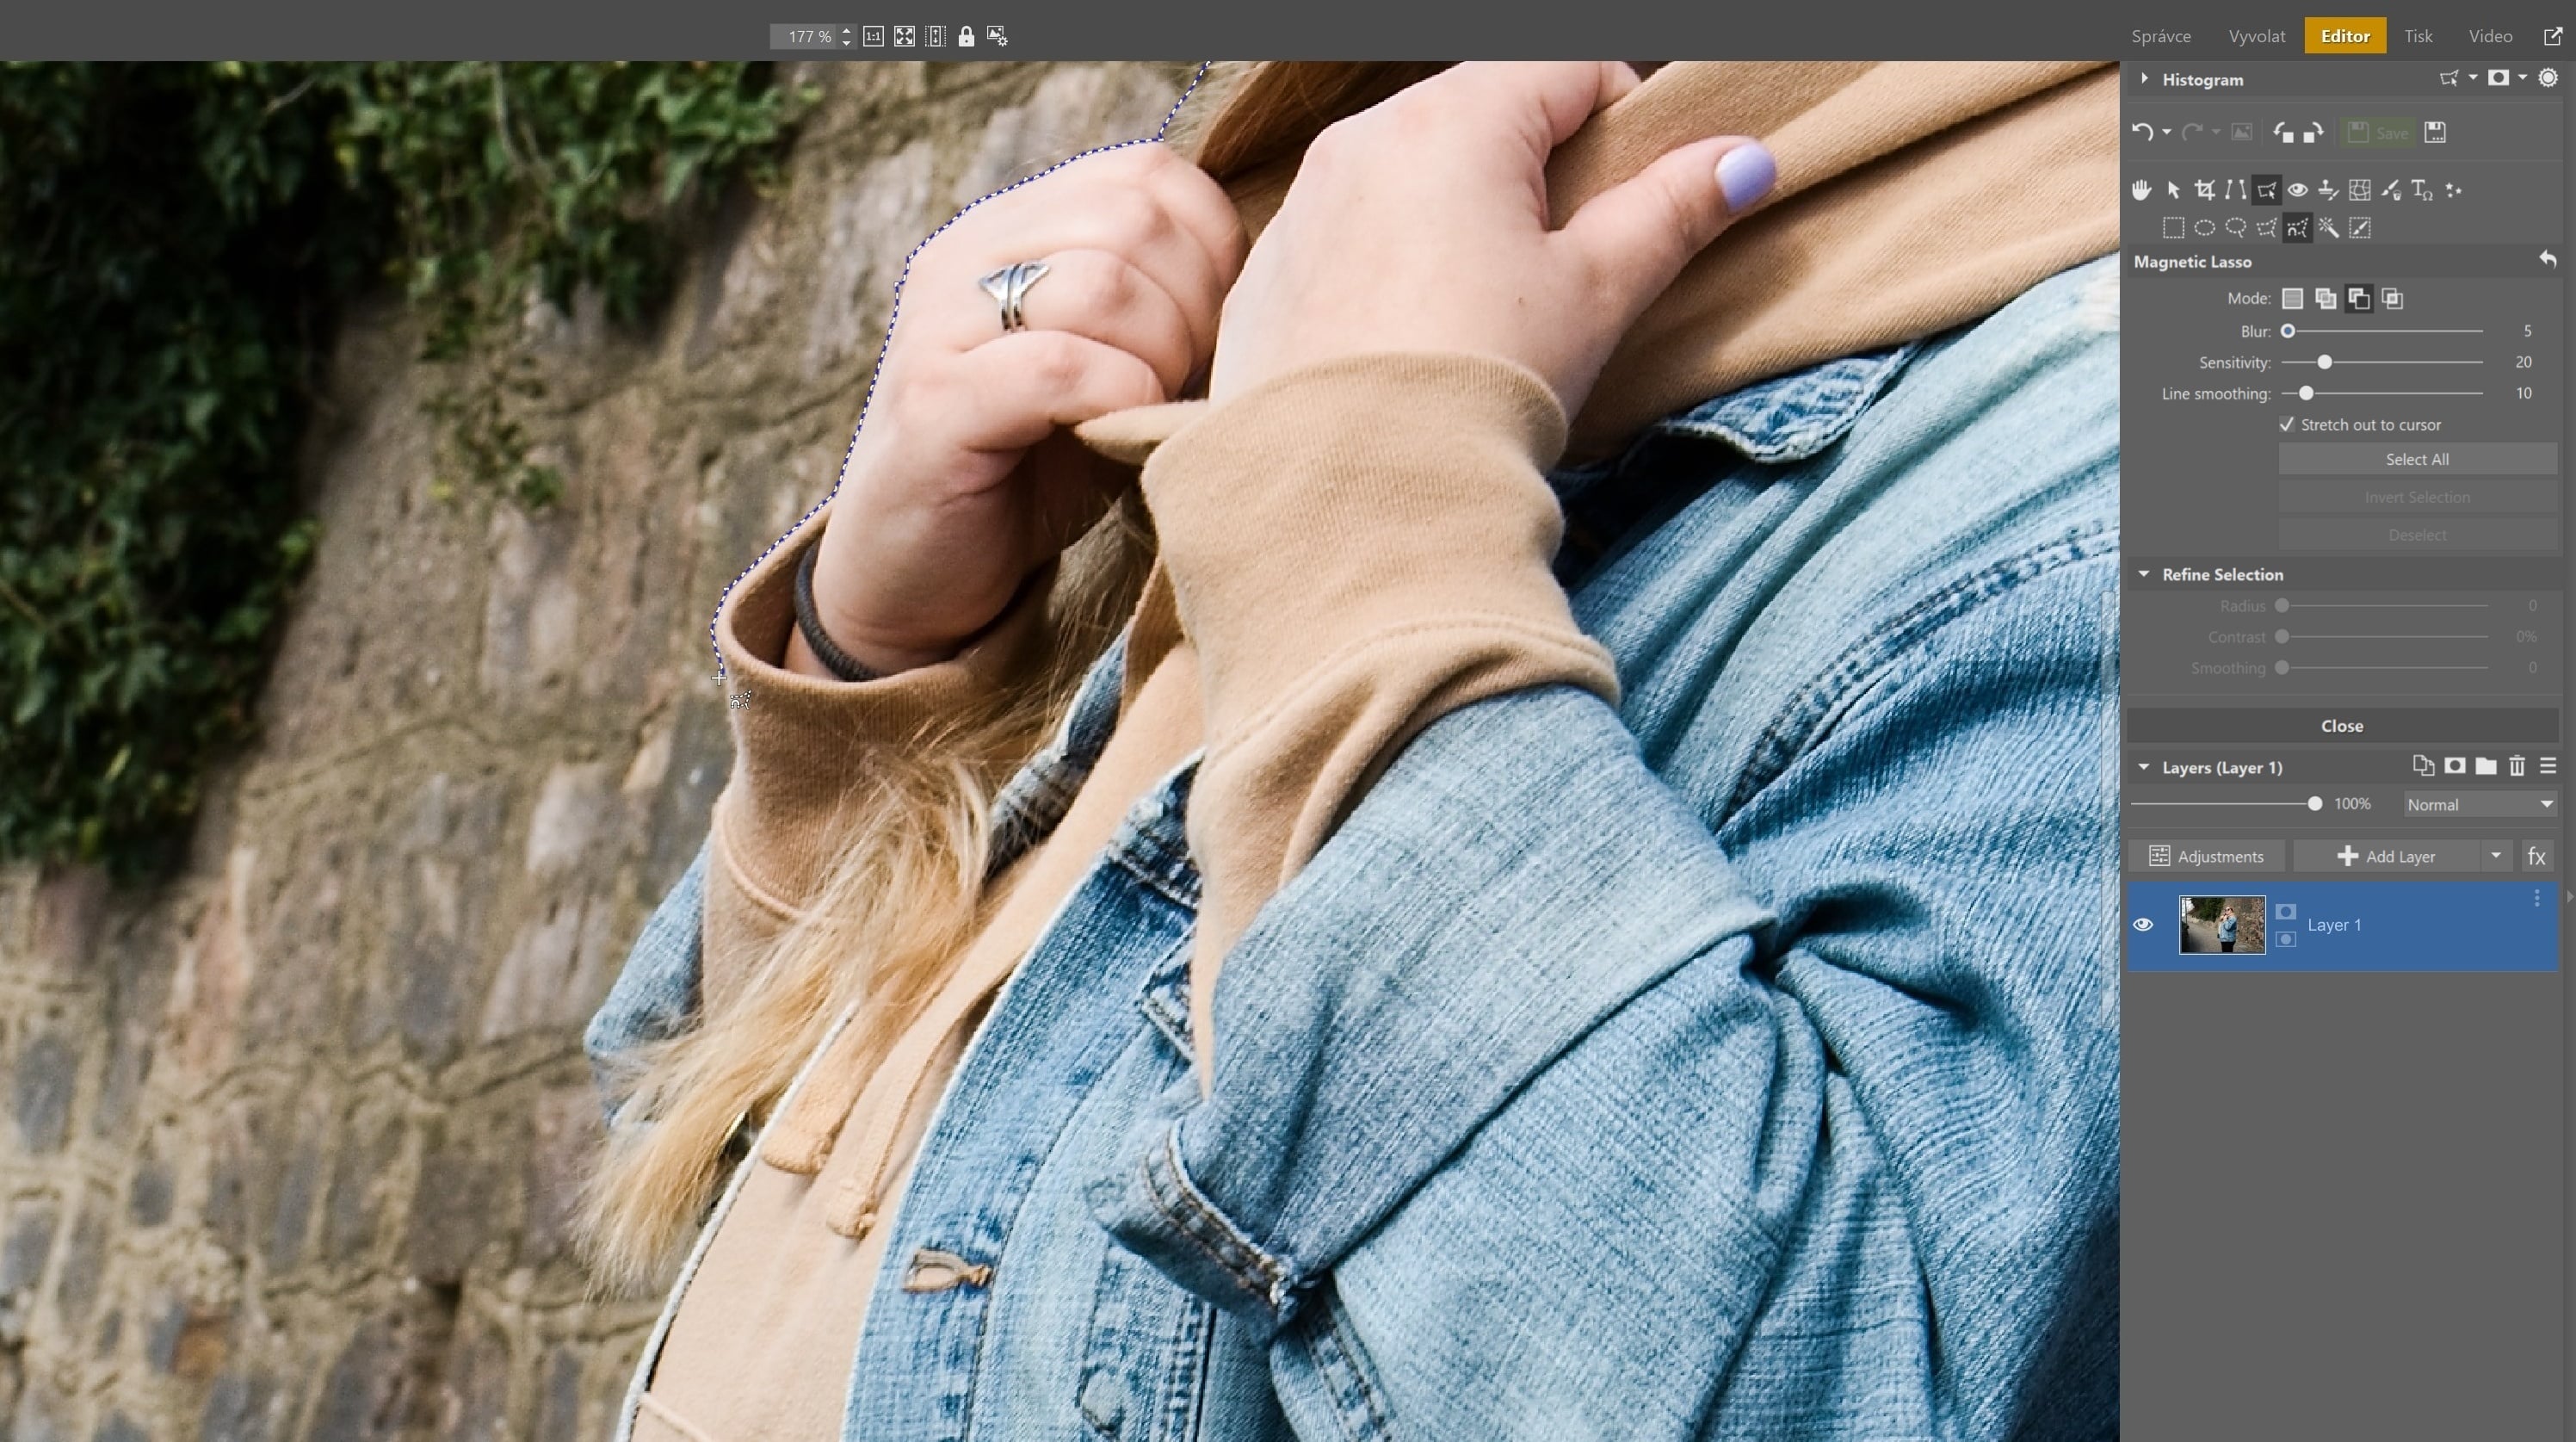
If you find inaccuracies after completing the selection, you can add to the selection using the Selection Brush (Shift + Q) and then use Refine Selection.
You can better display your selection area using the icons for selection display, found above the histogram.
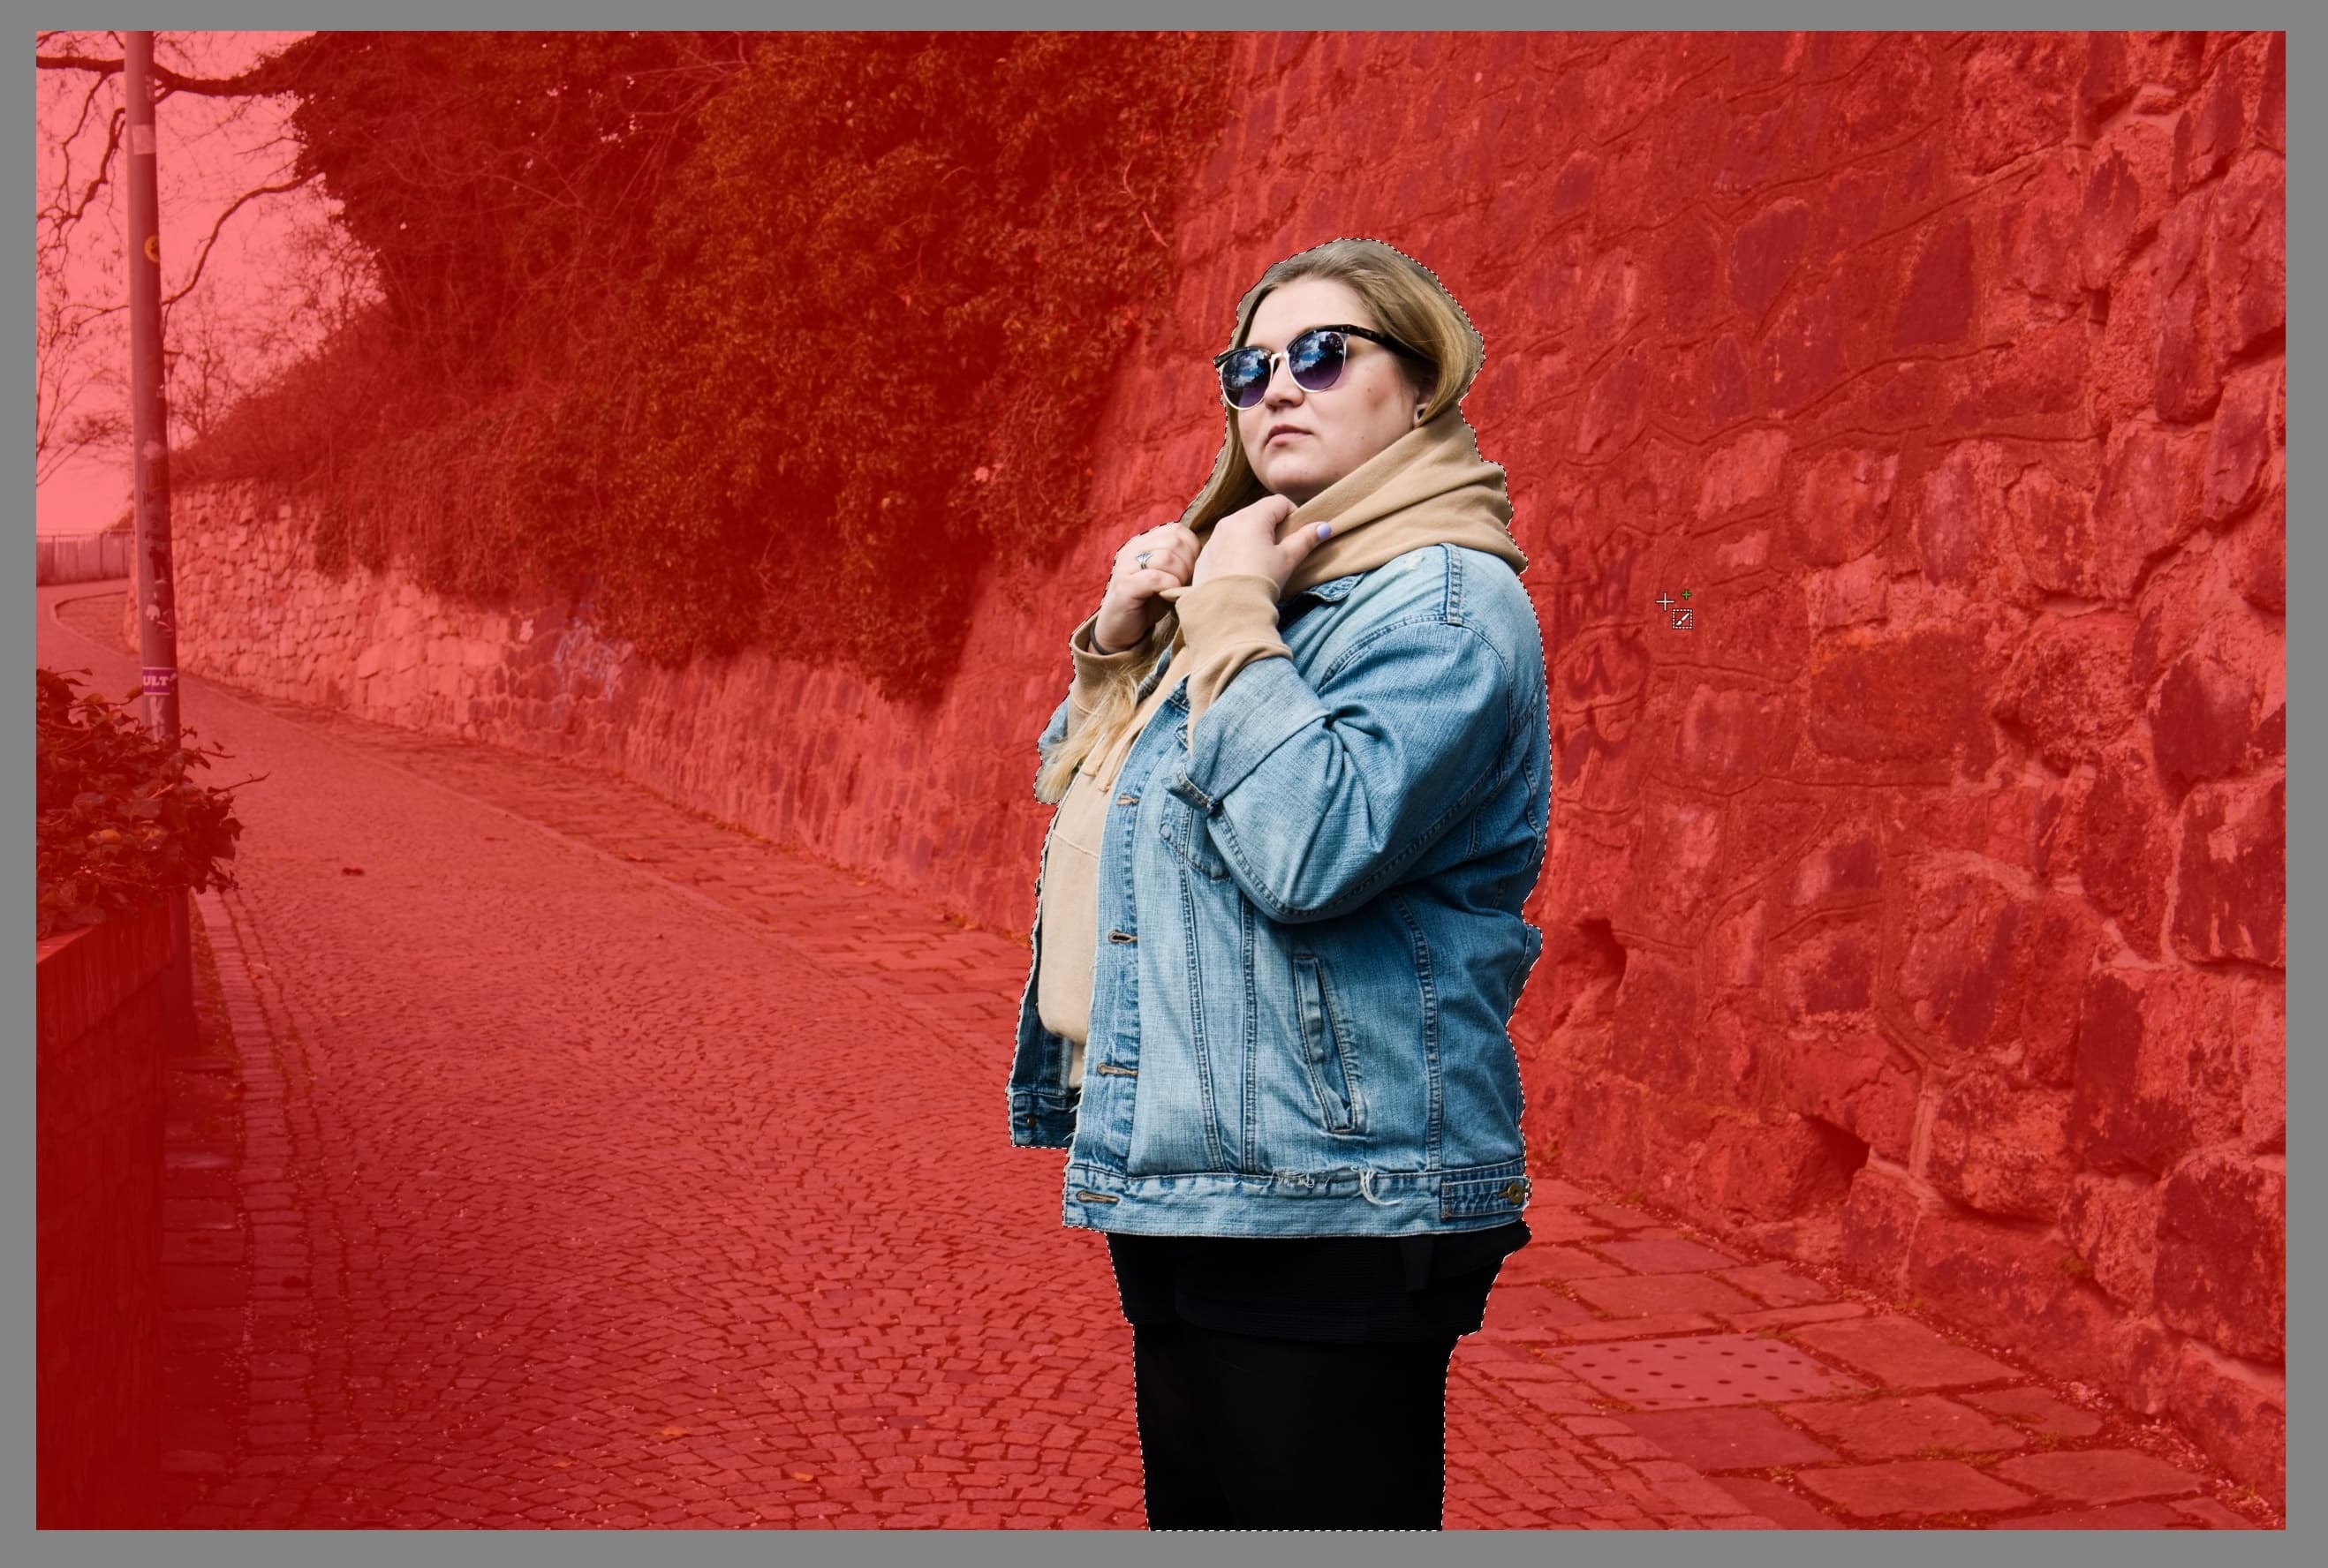
Finally, we’ve been selecting the model this whole time, but want to blur the background. So, we need to invert the selection. Under the Selection menu, choose Invert Selection (Ctrl + Shift + I).
Blurring the background
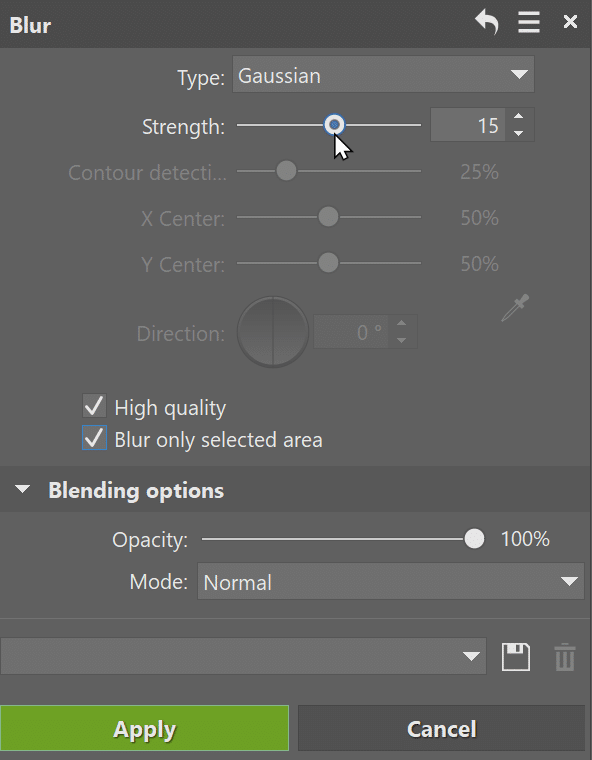
Blurring the background is simple. Above the layers list, click Adjustments and then choose Blur (Ctrl + 6). Choose Gaussian for Type at a strength you deem appropriate.
It’s important to have the Blur only selected area box checked. Otherwise, parts of the model would also be blurred along with the selection, resulting in a cloudy aura around the model.
And that’s all. In this case, we got good results quickly and easily and the effect is very similar to the original picture taken on the mirrorless camera.

Gradual blur
Sometimes applying blur evenly to the entire background is not enough. If there are objects behind the model that are both close and far, blur should be applied at different levels.
Exact simulation can be tricky, but we can get an approximation by using the Tilt-shift Effect in the Effects menu instead of normal blur. The background is selected the same way, but the blur is gradual. It depends on where the “dividing line” is drawn, where everything will be sharp and the blur increases from both sides of the line as you move away from it.
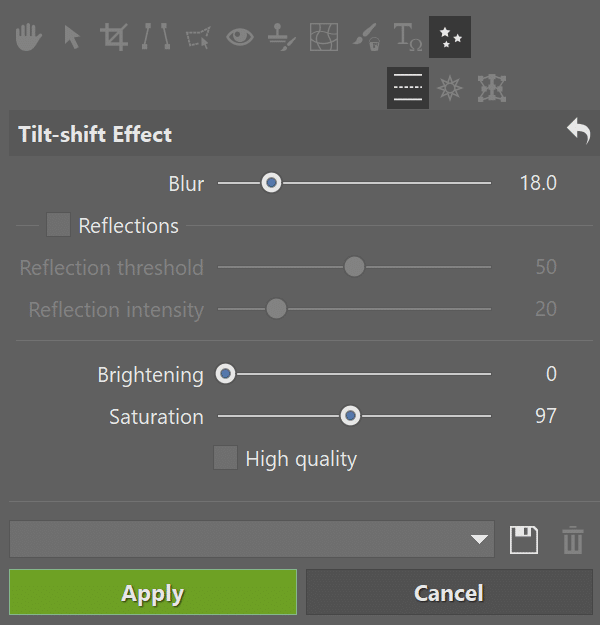
Since the Tilt-shift Effect defaults to higher Brightening and Saturation, I lowered both values.

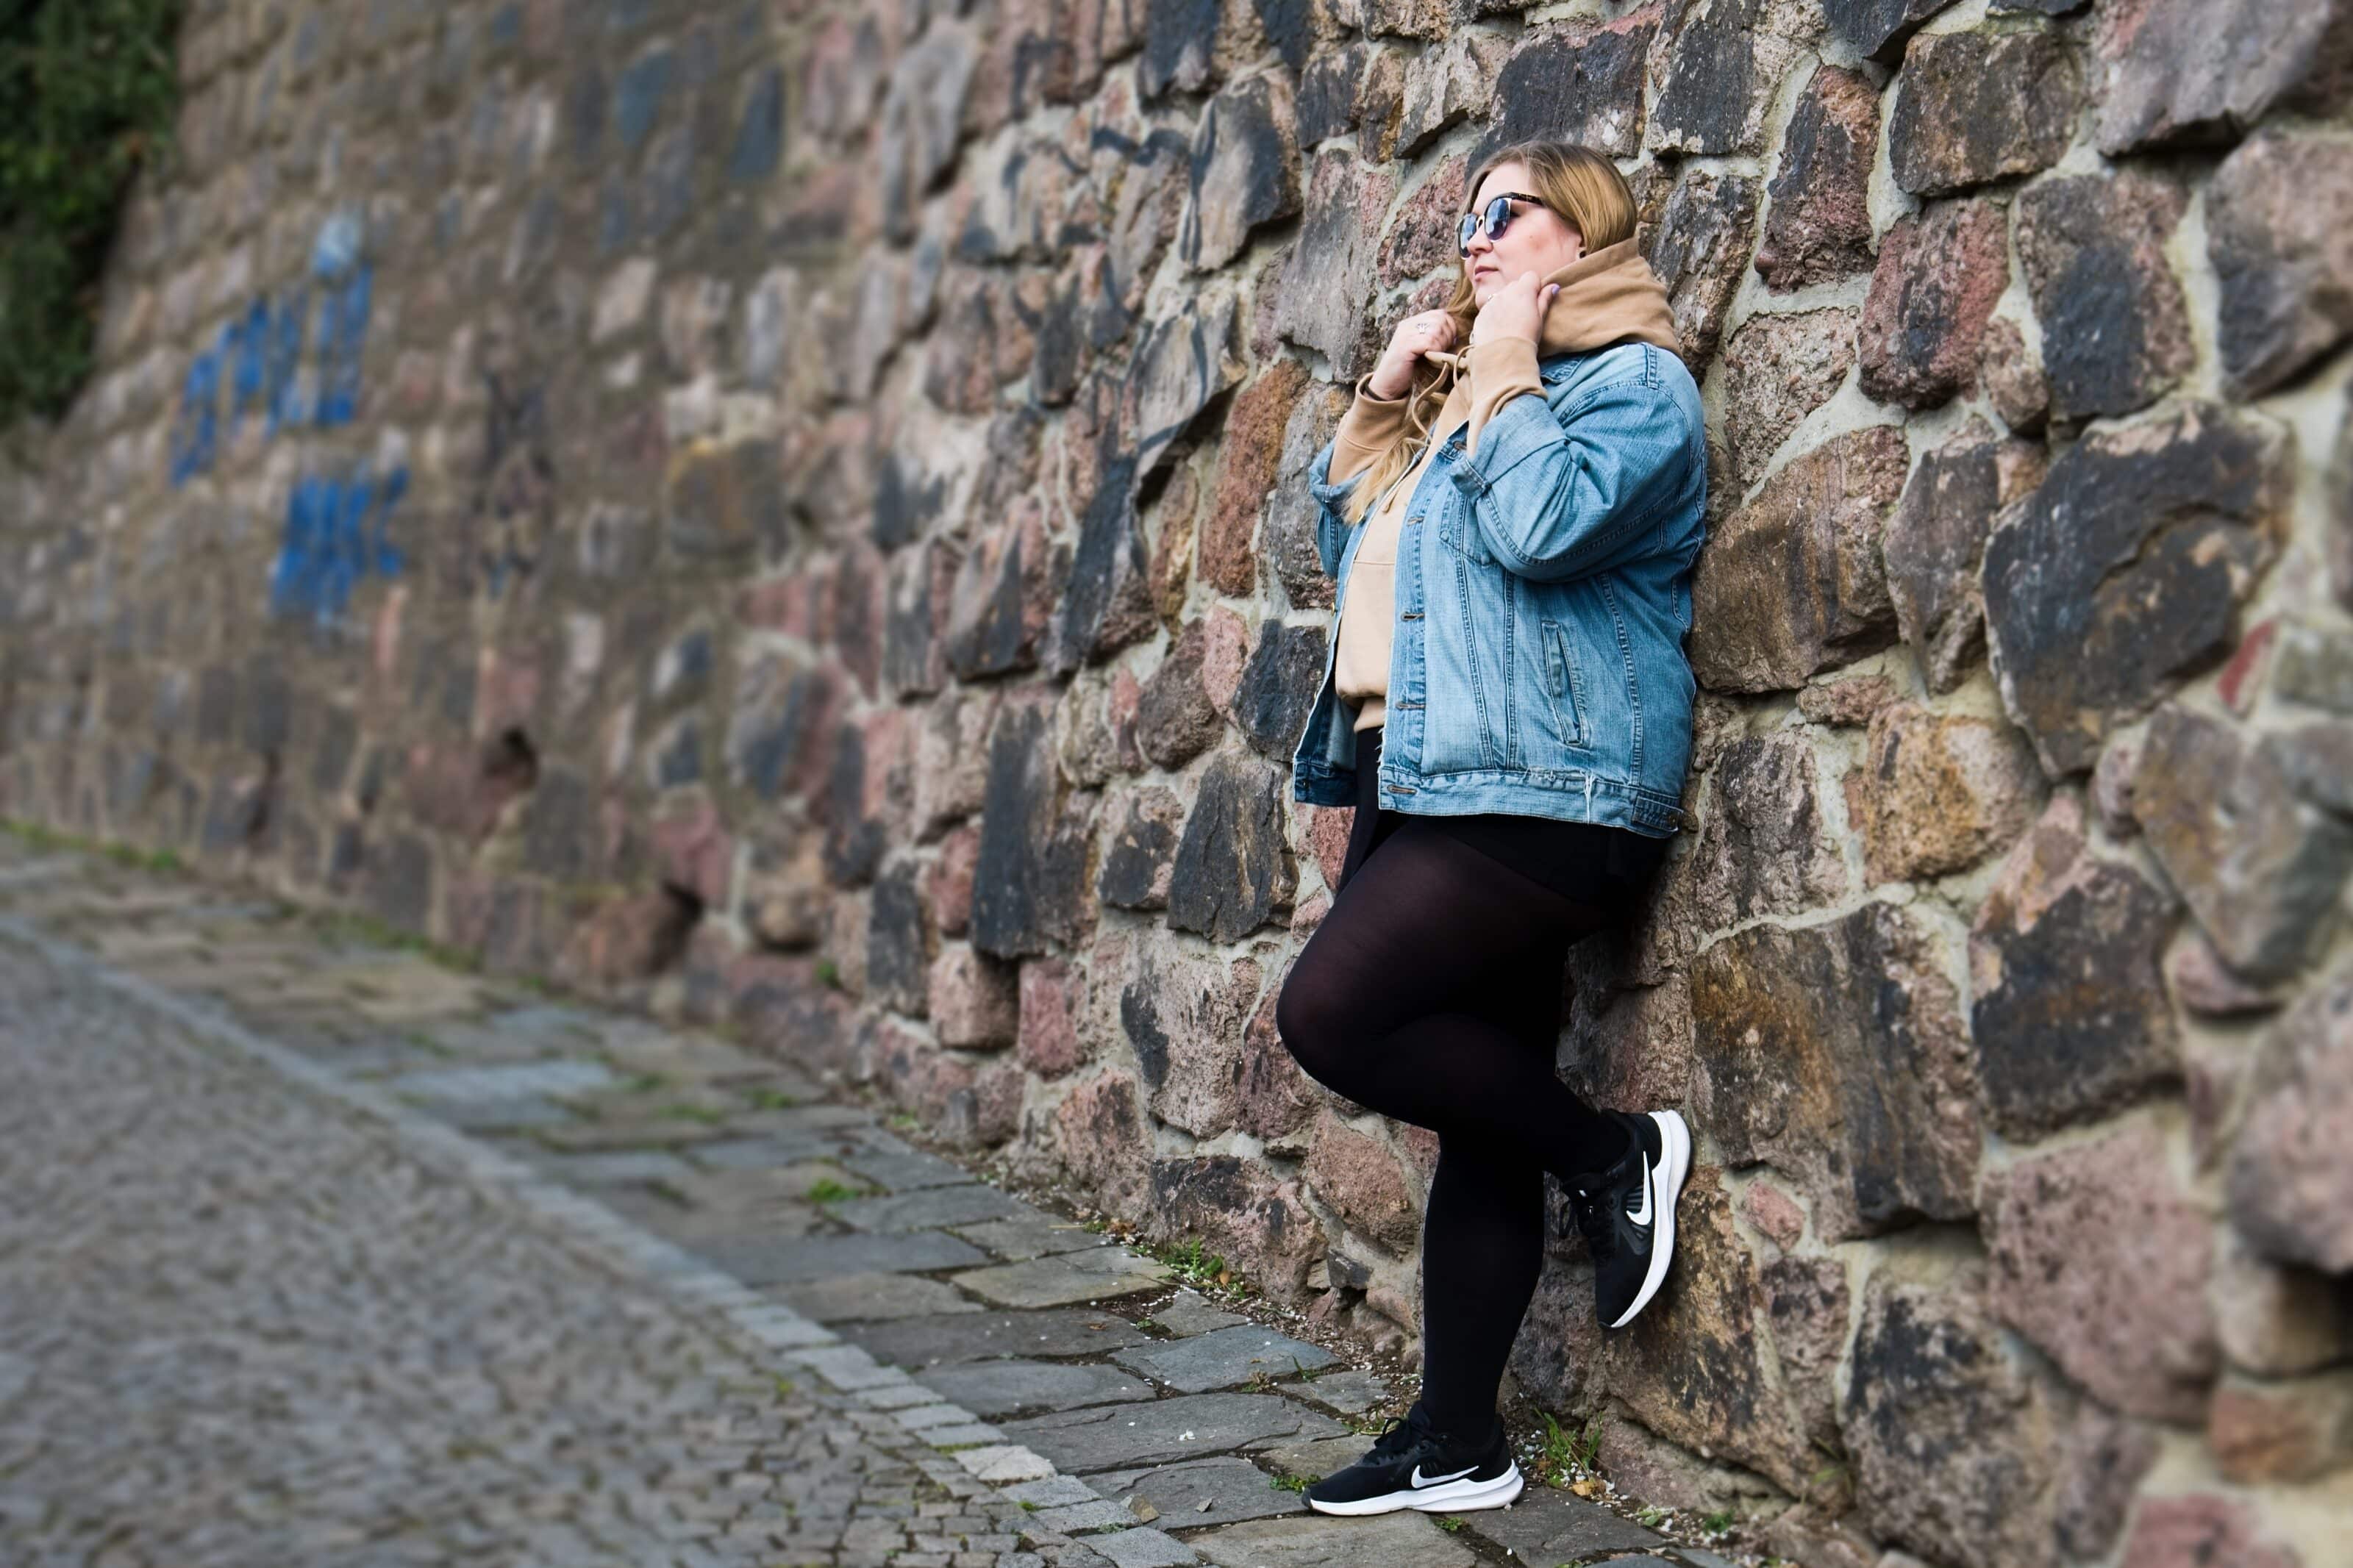
Our original image and edited version using the Tilt-shift Effect.
Go download Zoner Photo Studio X free for 7 days and try blurring your own photos today!
Kadir Muhtar Göğüş
Dear Aja,
I’ll never share the articles like this in my Face Photography pages & groups which I did established them…
…”when the article mentioned Cell-Phones as camera”, and have some ideas about the photos which taken with them!
Because Cell-Phone is not (!) a camera & we are trying to teach to the people;
– “Only Camera shots real Photograph!”
Regards & thanks for all effects.
Have a Good Weekend
Kadir Muhtar Göğüş
Ret. Journalist – Photographer