5 Easy Tips for Getting Dreamy Photos in Zoner Studio

Getting dreamy, soft photos may not work out on the first try, especially if you don’t have the right camera gear. However, you can always create what’s known as the Orton effect in post-processing. We’ll show you how to use this technique on your own photos to create beautifully romantic pictures.
Sometimes everything looks perfect in the viewfinder, but when you press the shutter button, the magic is gone. One of the causes could be a lack of light. The concept behind the dreamy effect of Canadian photographer Michael Orton is the blending two images. One image is correctly exposed and in focus, while the other is slightly overexposed and out of focus.
There are many tools in the Develop and Editor modules of Zoner Studio that can quickly and easily turn a dull photo into a dreamy, romantic photo.

After initial adjustments for camera and lens defects, you’ll probably want to tweak the composition using Crop (C) or Straighten Lines (K). Next, select your Color Style: Black and White, Color, or HDR. Adjust White Balance, Exposure, Shadows, and other details. Now, there are several ways to give your photos that dreamy look.
1. Gradient Filter
This is a very quick and easy tool found in the Develop module. Use the Gradient Filter (G) to get more light into your photo. The light can gradually grow in intensity. The advantage is that you can use any color you want. You can edit the photo to have warm or cool tones.

We used the orange shades of the sunset in this photo. Drag the mouse to add the Gradient Filter to your photo and select the desired color. Set Mode to Screen, which lets the original photo shine through below the filter. Adjust the strength of the gradient using the Intensity slider.

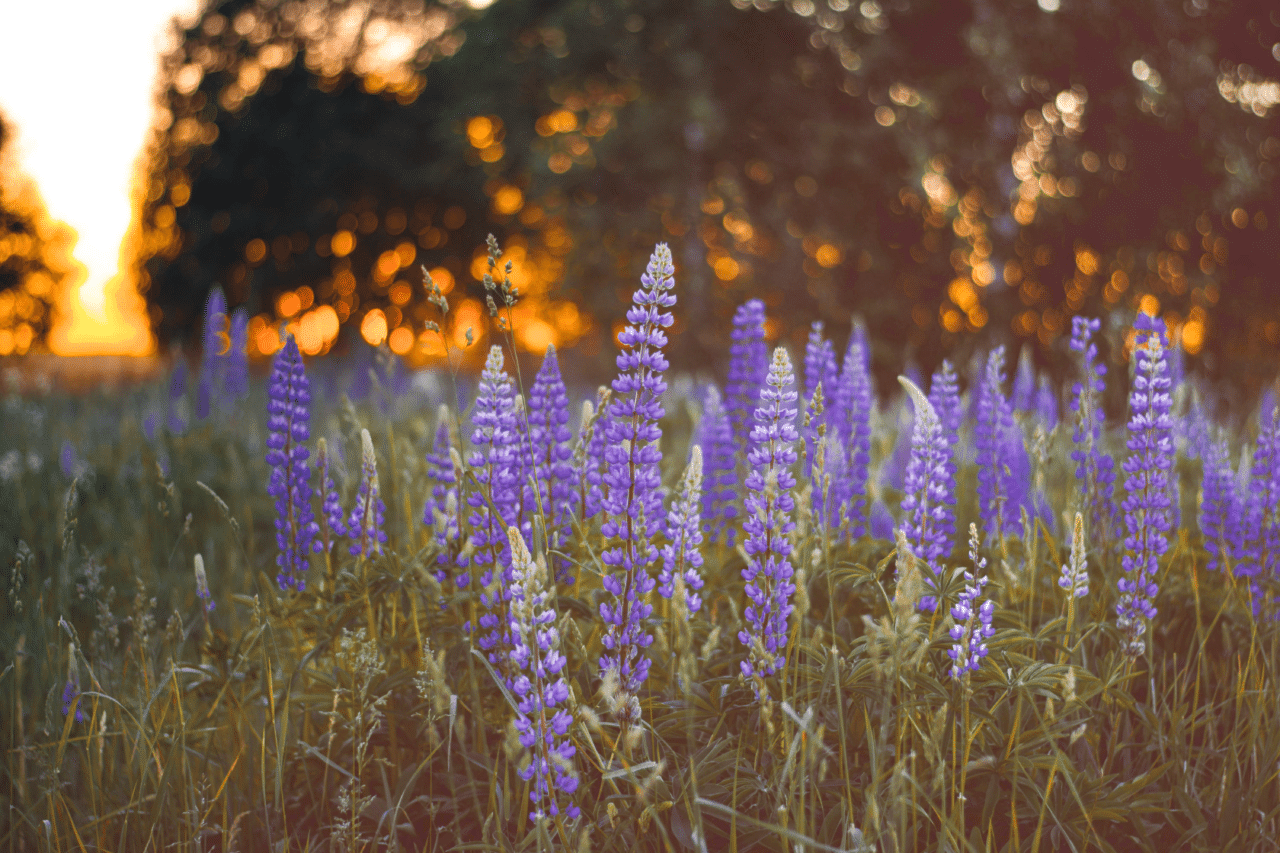
We added a Gradient Filter to the photo with orange and Screen mode. The flowers look softer, as if out of a fairy tale.
Drag the mouse to rotate or change the width of the gradient. Once you’re happy with the effect, click the green Close button.
2. Glow
Another way to give your photos a dreamy look is by using the Glow effect in the Develop module.

This effect works best on photos with light sources or bright areas. It can be your new best friend when editing wedding photos.


3. Dehaze
Dehaze is found in the Exposure section of the Develop module. As the name suggests, you can use it to remove any unwanted fog or haze from your photos.
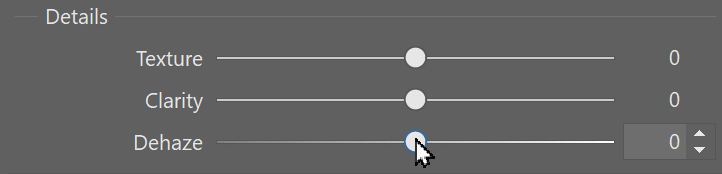
Moving the slider in the opposite direction adds haze to the photo and gives you a dreamy look with the intensity you choose.
4. Tilt-shift effect
You can create this effect using a tilt-shift lens, which isn’t exactly the cheapest option. You can also use the Tilt-shift (Shift+F) tool in the Editor under Effects Tools. It works by partially blurring the image to simulate depth of field. Photographers who don’t have a lens with a low f-number can also appreciate this tool.
Among other effects, you can also use Tilt-shift to create bokeh. Make sure the blur is where you want it and the subject isn’t blurred.

To keep everything looking natural, find where the light is coming from. You’re changing the colors of the original image, but also how the light disperses these colors.

Use the Blur slider to determine how much you want to blur a selected area. The higher the value, the more the light blurs the photo. You can further accentuate this using the Reflection intensity slider.


Use the Tilt-shift Effect to bring out the key moments.
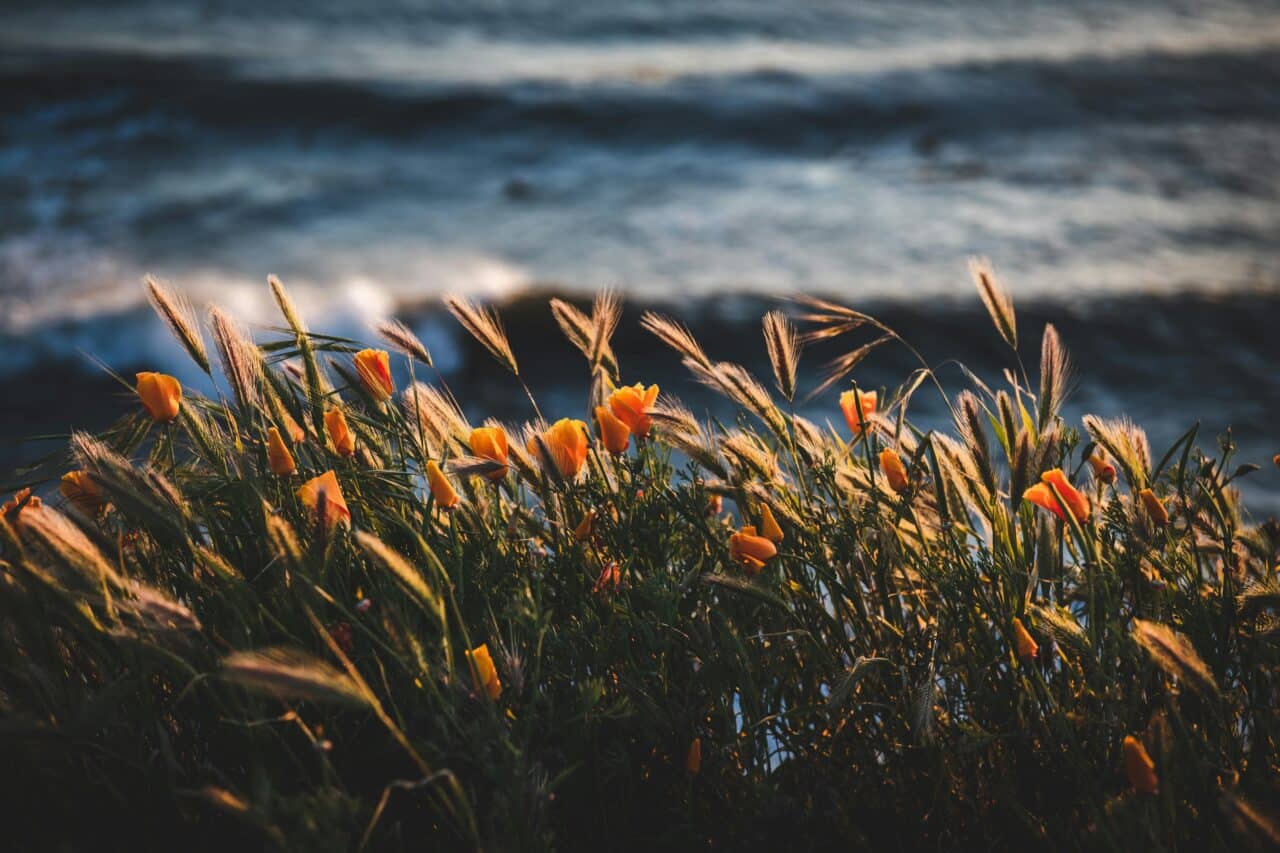
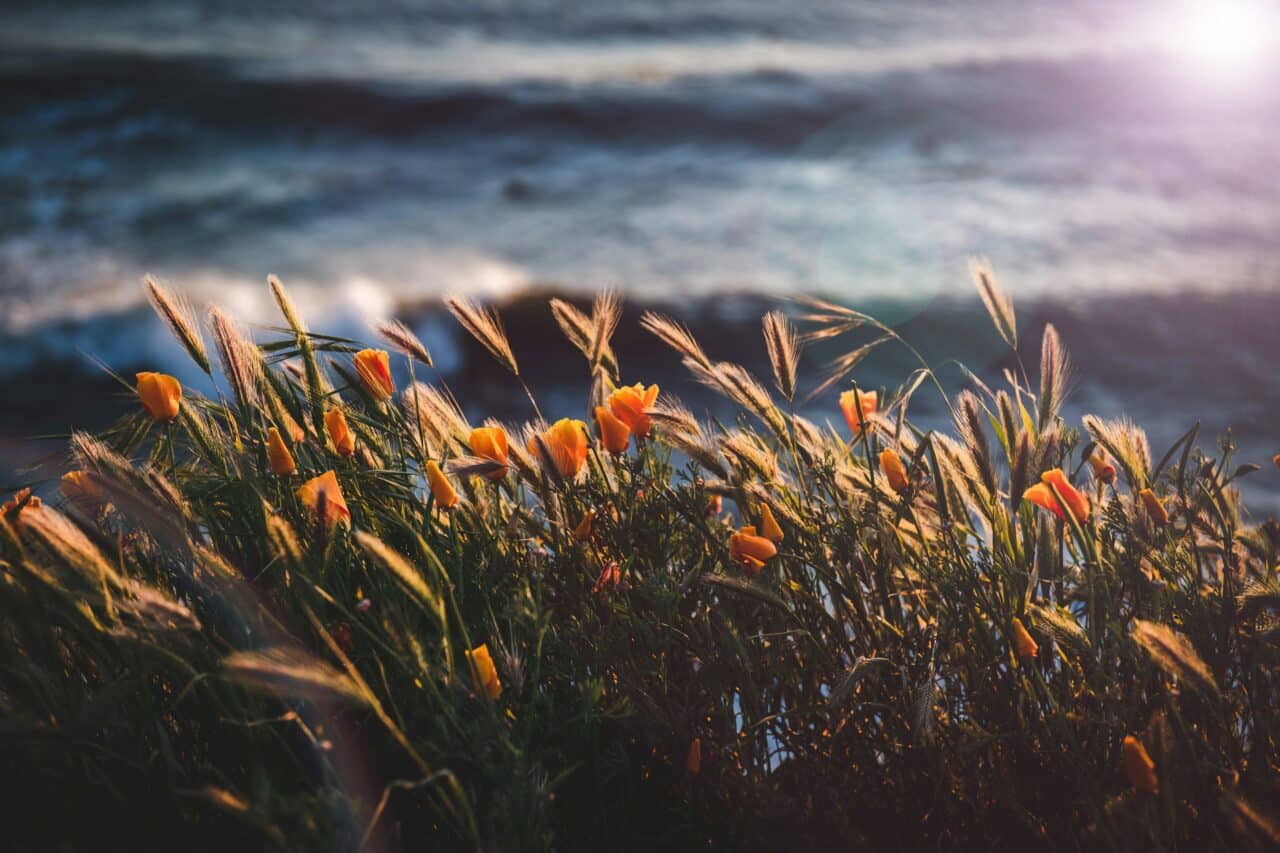
5. Lens Flare
Finally, you can try Lens Flare (Shift+R). It is also found under Effects Tools. It brightens up the photo and gives it a beautifully dreamy look.

There is no direct light source in this photo, but adding Lens Flare gives it the dreamy feel of sunshine. We selected Light spikes, Light spot, Light halo, Rainbow ring, and Additional halos. The types of lens flare you choose to include in your photo are up to you.
Since the shadow is on the left side of the tall grass, we decided to add the light source in the top right corner. We used blue at the edge and purple because it creates nice contrast when combined with the blue background.
There are many ways to get dreamy photos, from shooting through glass to editing in Zoner Studio. Zoner Studio gives you many ways you can play with light and depth of field, adding subtlety to your photos.
Discover more tips for dreamy photos in the video on our YouTube channel.
Ready to try some of these effects on your own photos? Download Zoner Studio free for 7 days with unlimited access to all these features and more. Start editing your photos today!
There are no comments yet.