How to Do At-Home Flower Photography
Nature is obviously best photographed in the great outdoors. However, you may find yourself limited by lighting conditions and surroundings. Also, the occasional wind doesn’t always favor working with details. You may not be able to bring the trees home, but flowers are something you can take home with you and have full control over all factors that can affect your photograph.
There are many methods for photographing flowers. It also depends on what photography equipment you choose to use. For this demonstration, I used a mirrorless camera and a wireless remote flash for lighting. But this was chosen more out of habit and as the saying goes, “If all you have is a hammer, everything looks like a nail.” The use of flash can often be too powerful and moving just a few centimeters with a 2-meter long stand is awkward, so I sometimes regretted that I didn’t use an ordinary flashlight. Nevertheless, every piece of equipment comes with its own pros and cons.
In the article about glass photography, we clearly demonstrated that using a flashlight for lighting and a smartphone as a camera for similar projects can be enough, so don’t let your lack of gear limit you and use whatever equipment you have on hand.
Lighting is critical
The picture of the dandelion shows the result of lighting from many directions. Can you tell which direction the light is coming from in each picture? You’ll find the answer in the paragraph following the picture.

For the top left photo, a light directly above the dandelion was used. A large softbox was added which diffused the light (I also could have used flash to reflect from the ceiling). The result is comparable to daylight outdoors.
For a larger contrast between light and dark areas in the top right photo, I moved the light source further away from the camera. It is still above the flower, but this time it’s also behind it. Parts of the flower that face the photographer are not directly illuminated and therefore, noticeably darker.
It’s not always easy to place a light above an object. For this reason, in the bottom left picture the light is once again behind the dandelion, but this time from the side. The result for this particular flower is similar, only this time the stem is now illuminated. In the previous two pictures, it was in the shadow.
The bottom right picture shows light placed on the table behind the dandelion. When photographing human subjects, this type of lighting would look more frightening but for certain situations, it works. Notice the little green leaves are shining through and so is the stem.
You can combine lighting from different directions. If you’re using a flashlight in a dark room, you can do this easily by using a long exposure and first lighting from one side and then the other. This technique was used in the already mentioned article about glass photography (or more generally, in the article about the technique of light painting).
Background
The previous photos have a white wall about two meters behind the flower. I took advantage of aiming the flash in a way to only light the subject and not the surroundings so that nearly everything could make a black background.
For more discerning photographers, I recommend buying a ream of colored cardstock in A2 size (16.5” x 23.4”). I purchased some a while back and it’s come in handy several times. When using a telephoto lens, you only need to fill a small space behind the flower, so attach the cardstock in any way you can. For the detail shot, cardstock in A4 (8.5”x11”) size or smaller would suffice.

Canon R5, Canon 100/2.8L IS MACRO, 1/200s, f/16, ISO 100, focal length 100mm.
For the blue picture, we used a trick: the background and the flower are lit using two different lights, both of which are aimed at only one point. The whole process consisted of lots of trial and error as I held the flash for the background and hoped that I‘d aimed in the right direction.
By varying the intensity of the background light and focusing it into a narrow beam of light, you will gain more flexibility.

For my final version, I chose a middle of the road solution and also added some light from the side.

Canon R5, Canon 100/2.8L IS MACRO, 1/200s, f/11, ISO 800, focal length 100mm.
Here’s what the setup looked like behind the scenes:

A few suggestions
Throughout the photoshoot, I ran into a few minor issues:
In order for the flowers to stay where I want, I carefully attached them to the vase or glass using adhesive tape.
I used a high f-number for the majority of shots so that everything came out sharp and also to lower the intensity of the powerful flash at such close range.
Sometimes even a high aperture wasn’t enough and 1/128 flash power was still too much. For this reason, I sometimes used a polarizing or ND filter in order to lessen the light. Of course, with weaker lights, this isn’t a concern. On the other hand, with even more powerful studio lighting this could be a problem with no solution.
Detail shots and the larger whole
Keep in mind that good results come from shooting at both longer and shorter distances. The distance you are able to achieve depends on the lens you use. The bluebell detail shot requires the use of a macro lens.

Canon R5, Canon 100/2.8L IS MACRO, 1/200s, f/7.1, ISO 100, focal length 100mm.
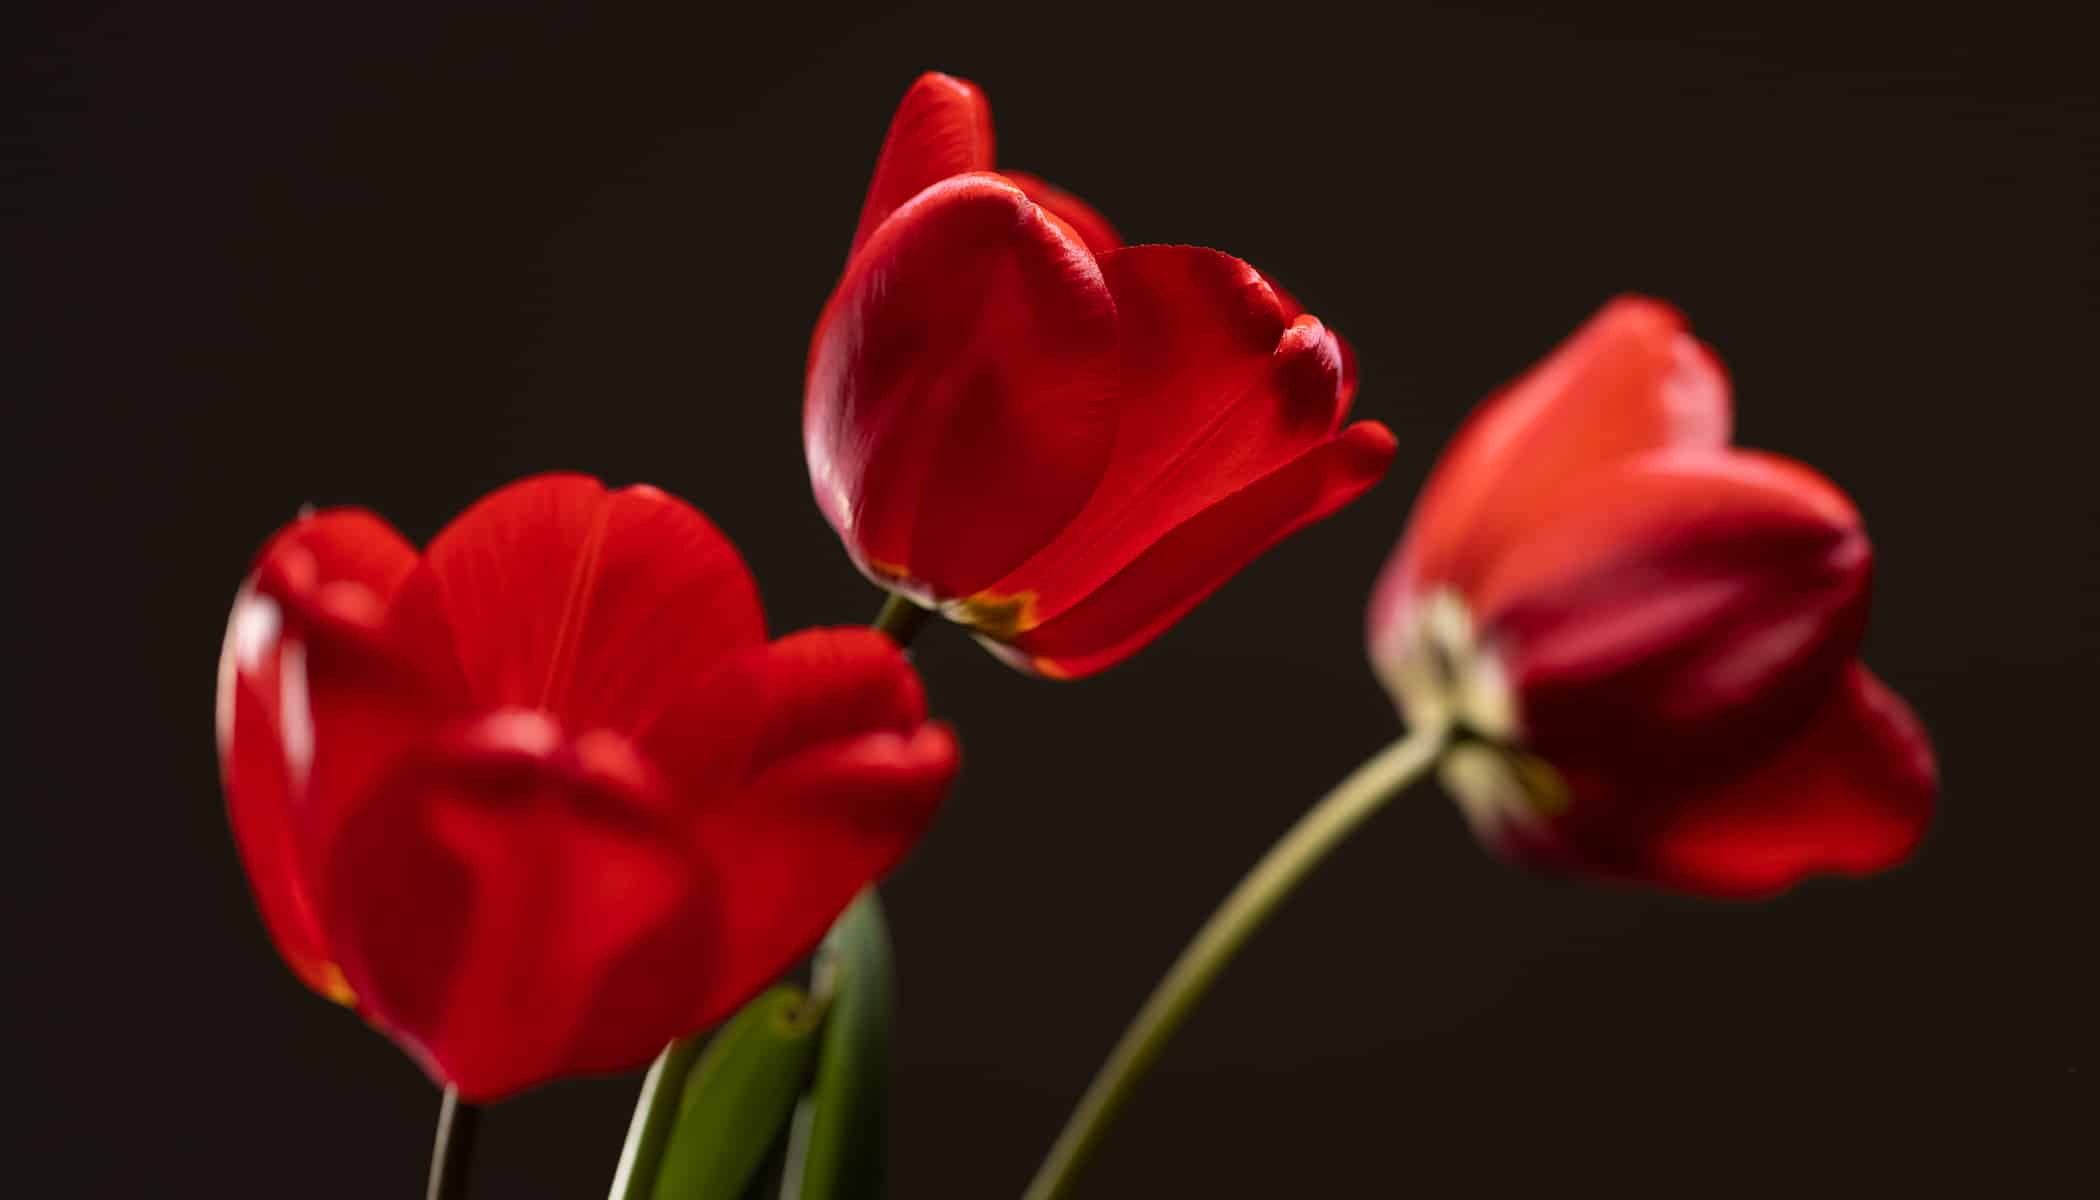
The tulip, on the other hand, is much larger and even a basic lens shouldn’t be a problem.

Canon R5, Canon 100/2.8L IS MACRO, 1/200s, f/2.8, ISO 100, focal length 100mm.
Tulips in particular look spectacular when they are photographed in a vase. Unfortunately, I didn’t have a better one on hand.

Canon R5, Canon 100/2.8L IS MACRO, 1/200s, f/8, ISO 100, focal length 100mm.
Further options
When you start getting bored of “traditional” shots, try the popular flat lay style where you shoot straight down. The flowers don’t always have to lie scattered about on an empty table. Adding another background is also very effective.

Canon R5, Canon 100/2.8L IS MACRO, 1/200s, f/11, ISO 100, focal length 100mm.
After setting up my scene, I tried another idea and placed transparent stones on glass above the flower. The whole thing looks artistic, though you can’t really tell what it is.

Canon R5, Canon 100/2.8L IS MACRO, 1/200s, f/11, ISO 100, focal length 100mm.
For demonstration purposes this is how the whole scene looked behind the scene:

The final experiment was again looking through another object. This time, that something was a glass of water where the image of the tulip was refracted.

Canon R5, Canon 100/2.8L IS MACRO, 1/200s, f/4, ISO 100, focal length 100mm.
Seize the opportunity
Flower photography is not complicated and essentially only requires the flowers themselves. In season, they can easily be found outdoors or make use of special occasion flowers you have at home. Be careful and they’ll remain unharmed throughout the photoshoot. All you need to do is seize the opportunity and put together the right composition. I have a feeling you’ll have fun with this photoshoot!
There are no comments yet.