How to Edit Nude Photography
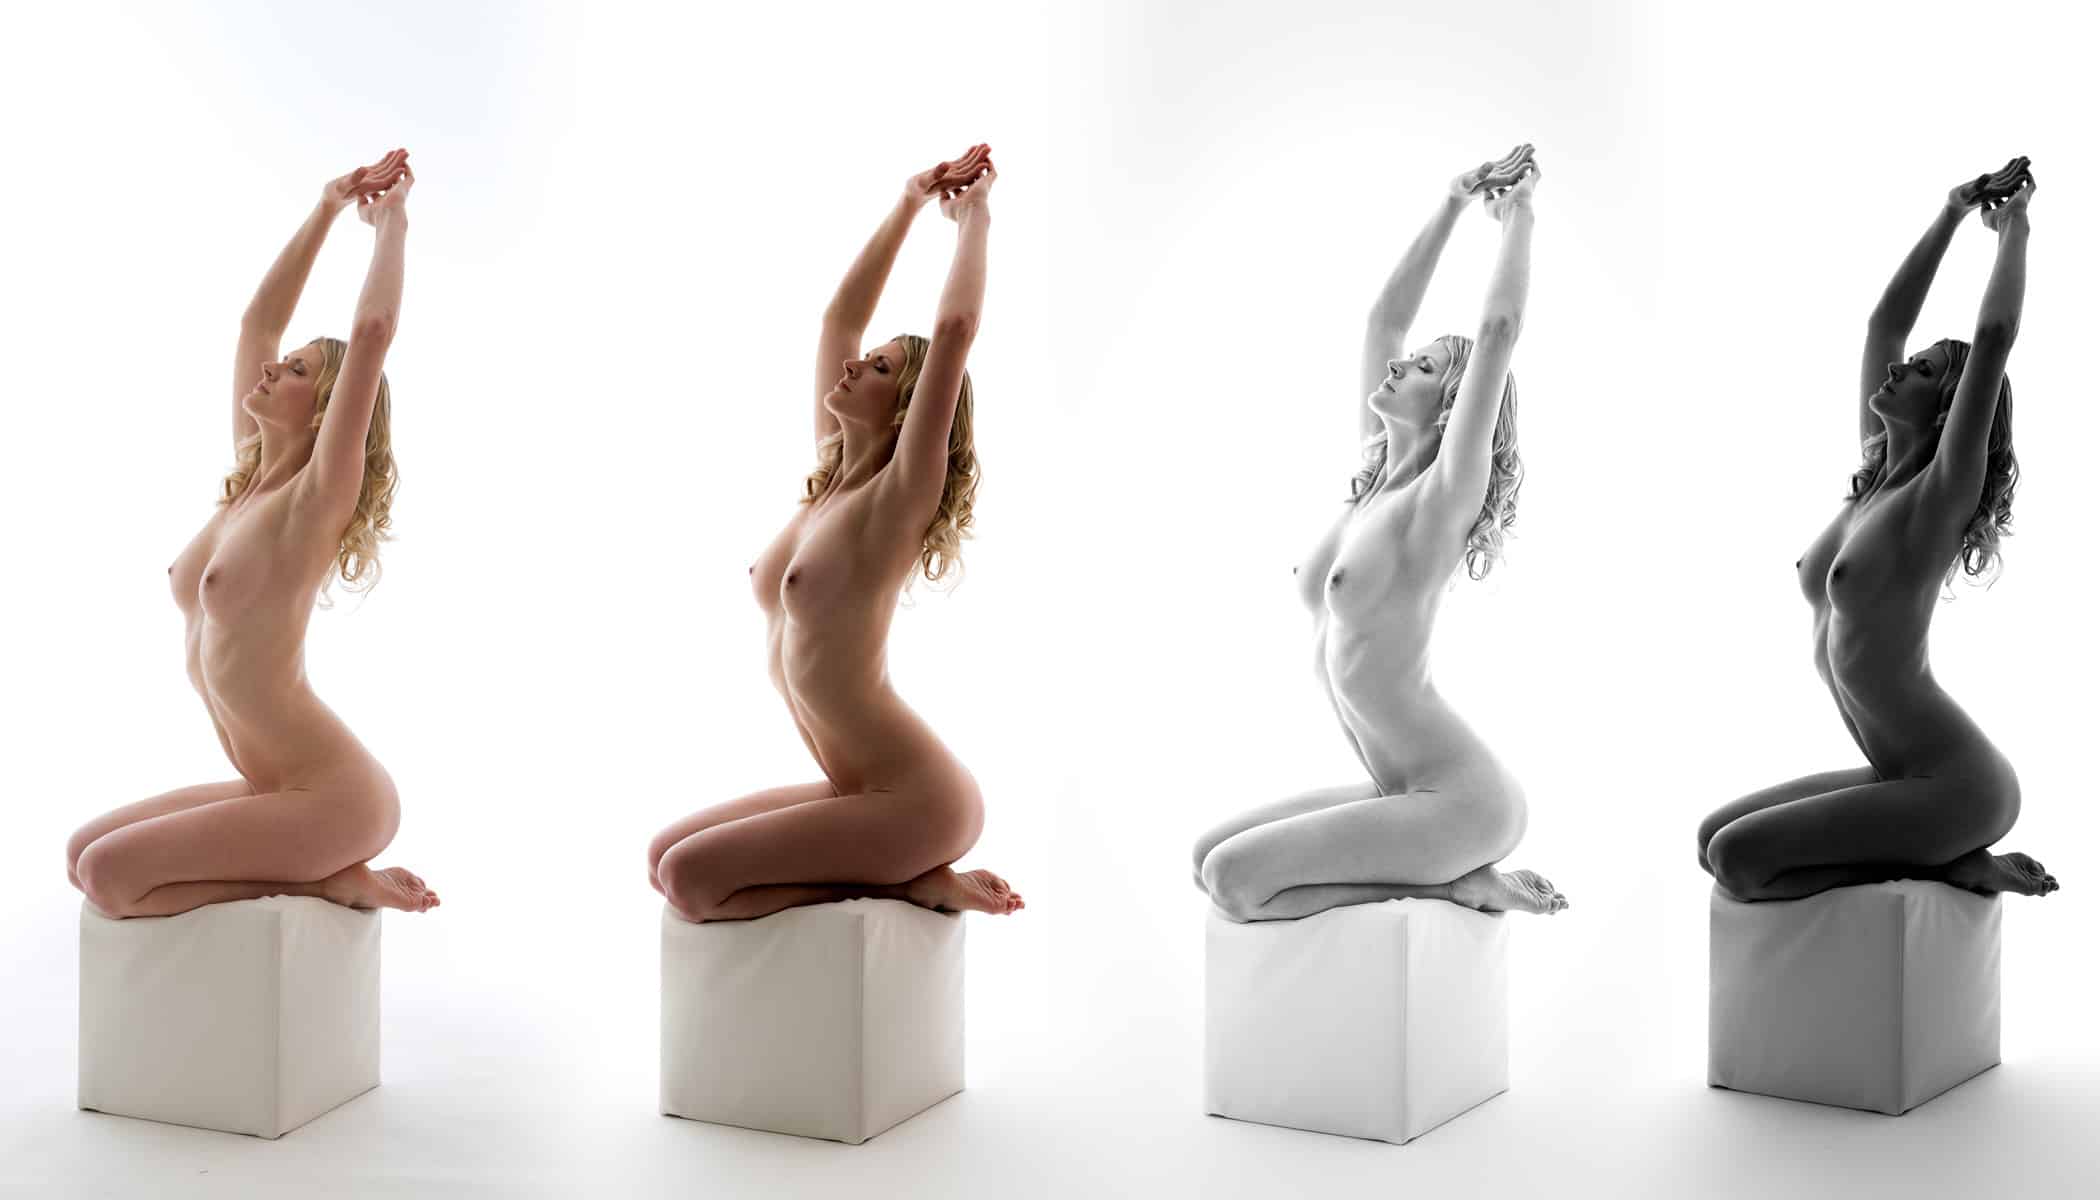
Nude photography is an art form that captures the beauty of the human body. It places an emphasis on aesthetics, emotion, and light. The way you edit these images plays a key role in emphasizing the details, tonality, and atmosphere without losing the naturalness. In this article, I’ll introduce different ways you can edit nude photos while preserving their artistic value and authenticity.
When editing nude photography, it’s important to strike a balance between having a photo that’s technically perfect and preserving the natural beauty of the human form. The correct adjustments to exposure, contrast, and color tones can enhance emotions and details that make each image unique.
Adjustment 1: Retouch skin tones and complexion
Blemishes or skin imperfections are perfectly common, but it’s a good idea to minimize them in nude photography. With these adjustments, the photo will have greater impact and the viewer won’t focus on the details, but rather on the image as a whole.

One of my favorite techniques is frequency separation. Frequency separation separates the color and texture information from your image.
Clothing imprints are normal, but they can be easily removed if they are distracting.
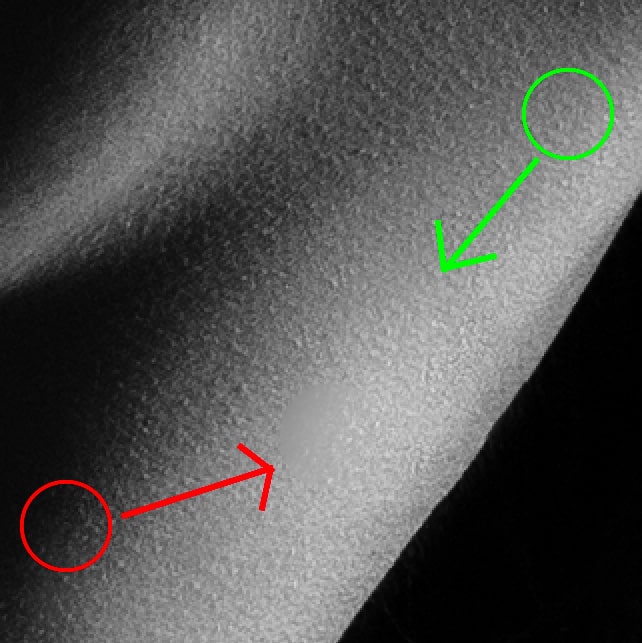
Frequency separation may seem like an easy way to retouch nude photos, but this is only true for dimly lit portraits. Dramatic nudes are a bit trickier for using this technique. This is because you have to take into account the amount of light and choose a similar source location when copying texture. You can’t sample from a fully lit or dark area and copy to a shadowy area.

Differently lit skin results in different textures.
Adjustment 2: Edit the paper background
Nude Photography is often done in a studio. If you have a dark background, there’s no need to change it. Many photographers take nude photos using a paper background. These backgrounds aren’t always in perfect shape and may be damaged or partially missing from the shot. In this case, the background needs to be filled in and you need to edit out scratches or tears in the paper.
The original image before and after editing the paper background. I might have reduced the shadow too much, but only the sharpest eyes will notice.
Use common retouching tools like the Clone Stamp or Healing Brush, or the frequency separation technique. But what if more adjustments need to be made? I often use multiple solutions at once. One of them is to blur the background while keeping the model in focus. It’s also a good idea to keep the shadow in focus, even though no one will notice if it’s blurrier than how it came out of the camera.
The process is a bit more complicated. The steps are as follows:
- Select the model and objects you don’t want blurred.
- Save the selection to a mask of a new layer (Layer->Mask->Reveal Selection).
- Slightly stretch the selection (Selection->Modify Selection->Stretch).
- Invert the selection (Selection->Invert Selection).
- Copy the original image with the selection and paste as a new layer (Ctrl+C, Ctrl+V).
- Blur the layer you pasted (Adjust->Blur).
- Add grain (Effects->Add Grain).
- Load the saved selection (Layer->Mask->Set Mask as Selection), invert it, and save it as a mask for the blurred layer (Layer->Mask->Reveal Selection).
This gives you a new layer with a mask of the model and blurred background. Painting in the mask can further reduce the blur effect, like when reconstructing an interesting shadow.

When blurring your photo, the natural noise of the photo disappears, which I later add back.
Adjustment 3: Increase contrast
Nude photos with dramatic lighting are very popular. The interplay of light and shadow hints at something the viewer must decipher. The complexity of the photoshoot and post-processing depends on the space you are shooting in.
The color of the walls and the size of the room are important. White walls reflect light and illuminate the model from all sides, including where it’s not intended. The smaller the room, the more intense this effect is. This is all amplified when using a white background, which reflects even more light around the model.
You can prevent this from happening during the shoot by using light reflectors. If covered in black, they can be used as light blockers. You can also have greater control over the light using what are known as honeycomb grids mounted on softboxes. You can also change the color of the wall.
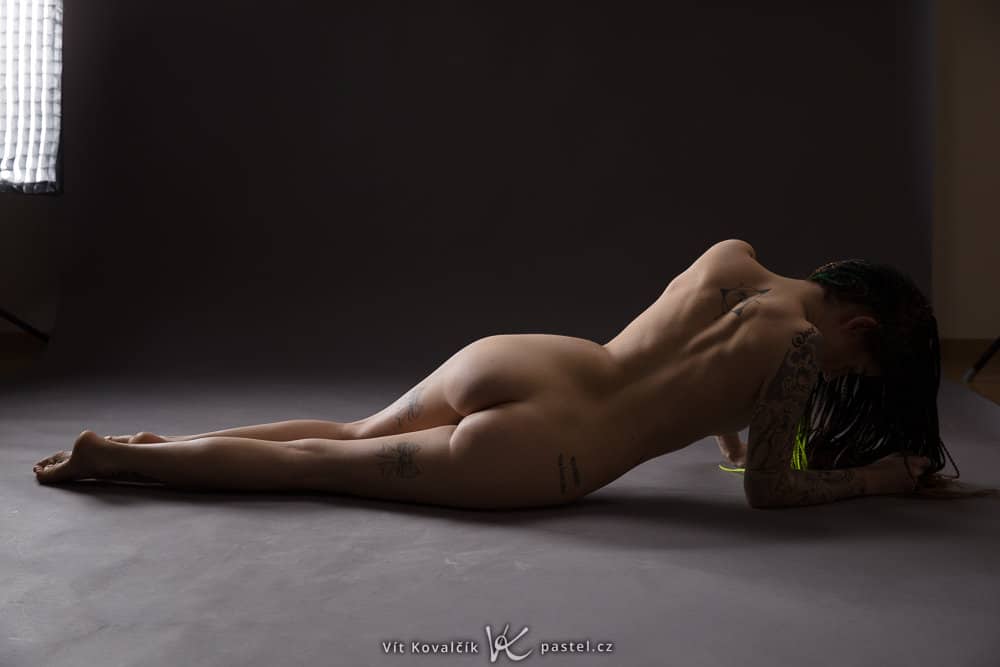
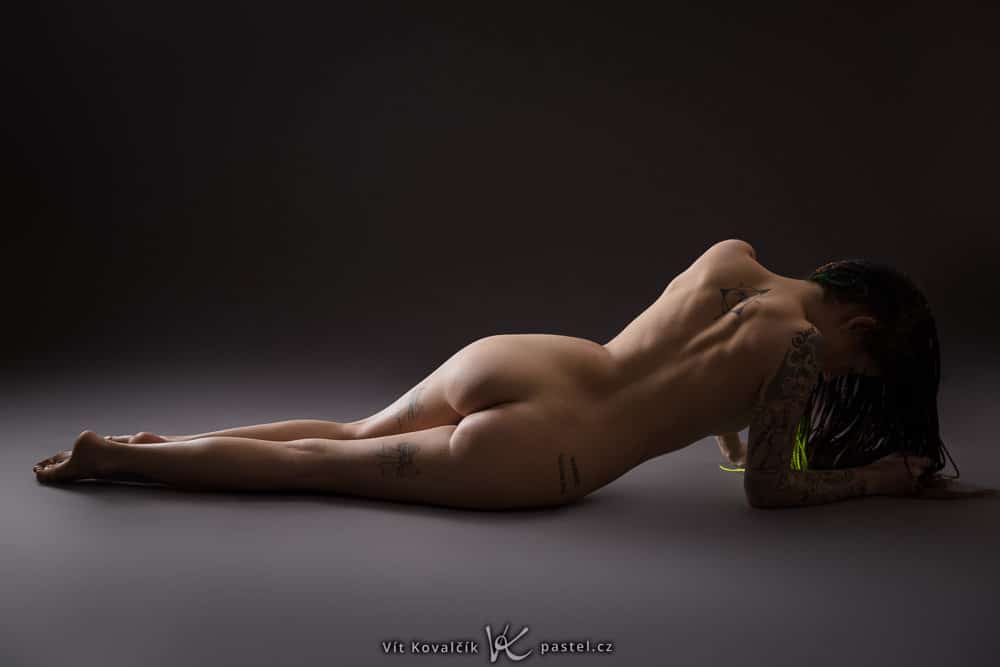
However, you can’t always reduce the light. That’s when editing software like Zoner Studio comes in handy. The original image below has shadows that are too bright and need to be darkened.
The original image before and after darkening overly bright areas in the shadows.
The following global adjustments can be made in both the Develop and Editor modules:
- Darken Black Point
- Increase Contrast
- Adjust using Curves or Levels
All of these options increase contrast in their own way, but you need to be careful. With minor adjustments to contrast, you won’t notice anything. But major adjustments could make the color increasingly more saturated, to the point of being unnatural. One solution is to reduce Saturation even more.
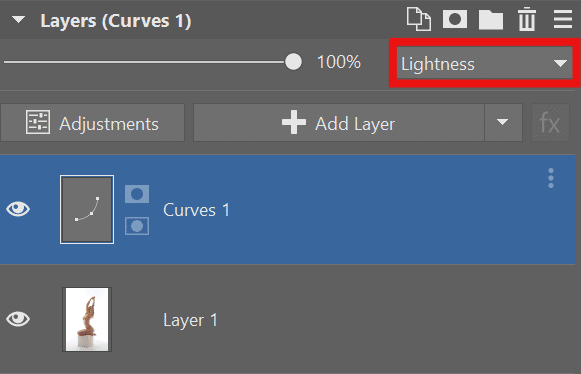
Or, if you’re working in the Editor module, there’s a trick where you can adjust just the lightness of your image. Add a new Effects layer for adjusting Contrast (Layer-> Add Layer->Curves, Exposure, or Levels) and change the Blending Mode for this layer from Normal to Lightness. After doing so, adjustments to contrast stop affecting color saturation.
Adjustment 4: Convert to black and white
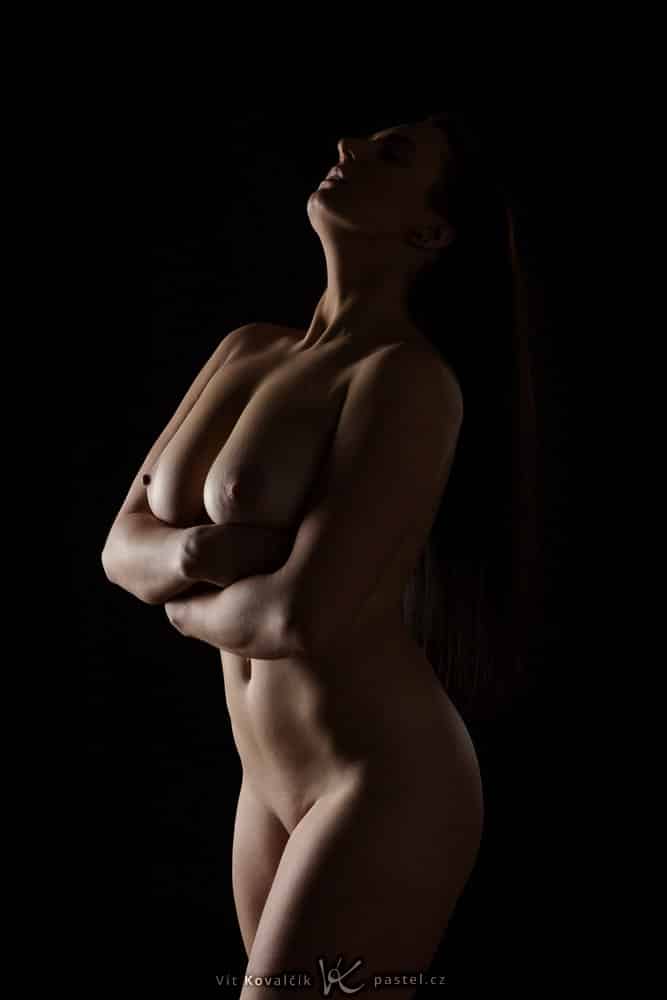
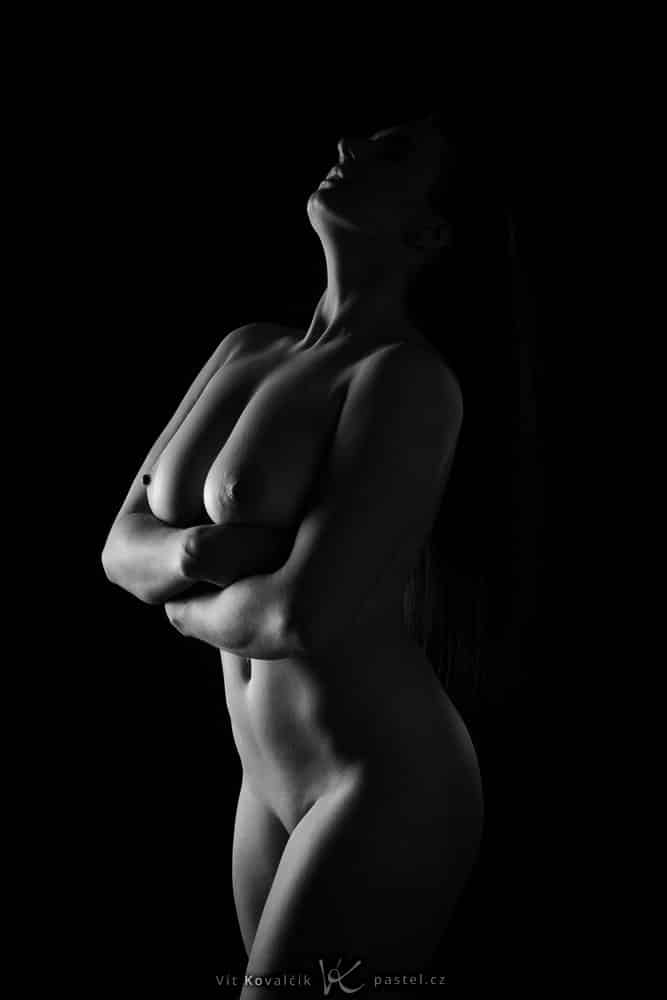
The last basic adjustment is to convert photos to black and white. The majority of my nude photography is in both color and black and white. Only after comparing both versions do I decide which to publish. Sometimes I choose to use both versions.
In some cases, the difference between the color and black and white versions is small to begin with, since there is not much color in the photo due to the outline of light.
For images covered in shadows, the black and white version differs little from the color versions.
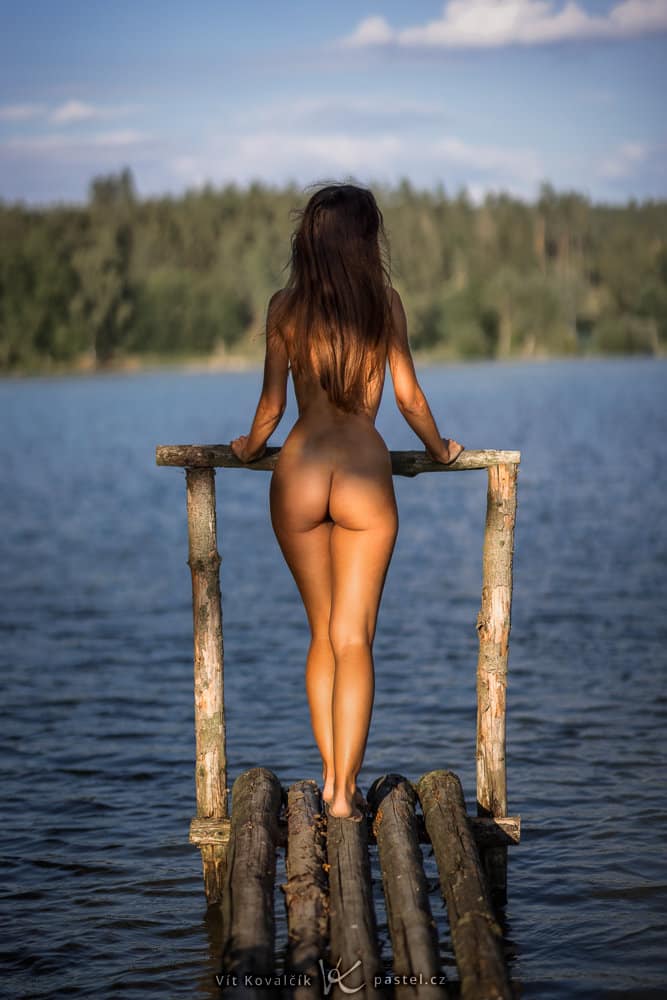
Other times the difference is greater, especially if the image was not taken with a black studio background and was shot in natural surroundings, either indoors or outdoors.
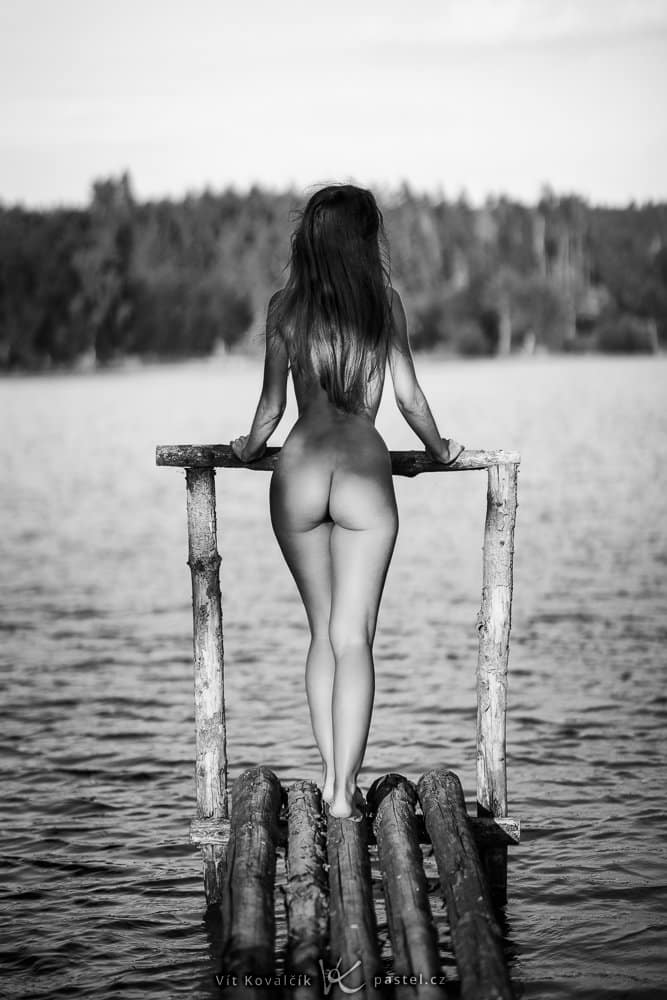
For outdoor photos, the difference between versions is more noticeable.
There are many ways you can convert photos to black and white. In addition to classic black and white editing, you can also try low-key editing which is very flattering for nude photos.
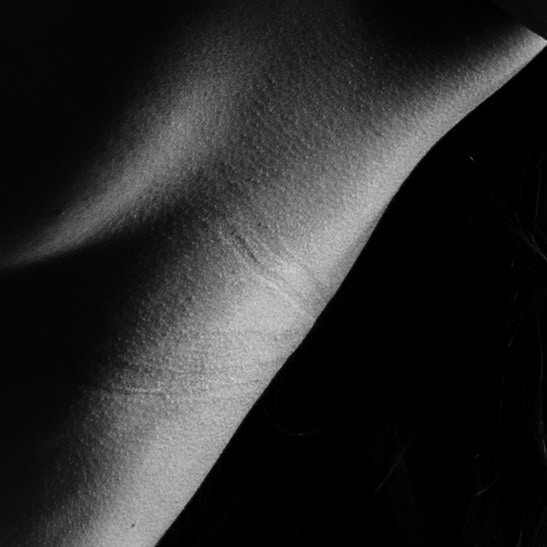
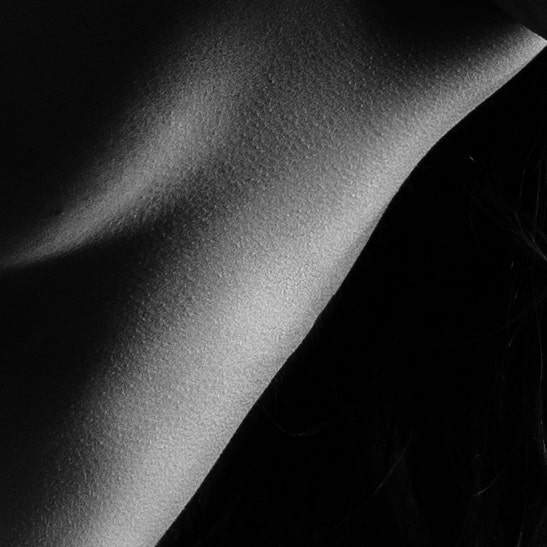
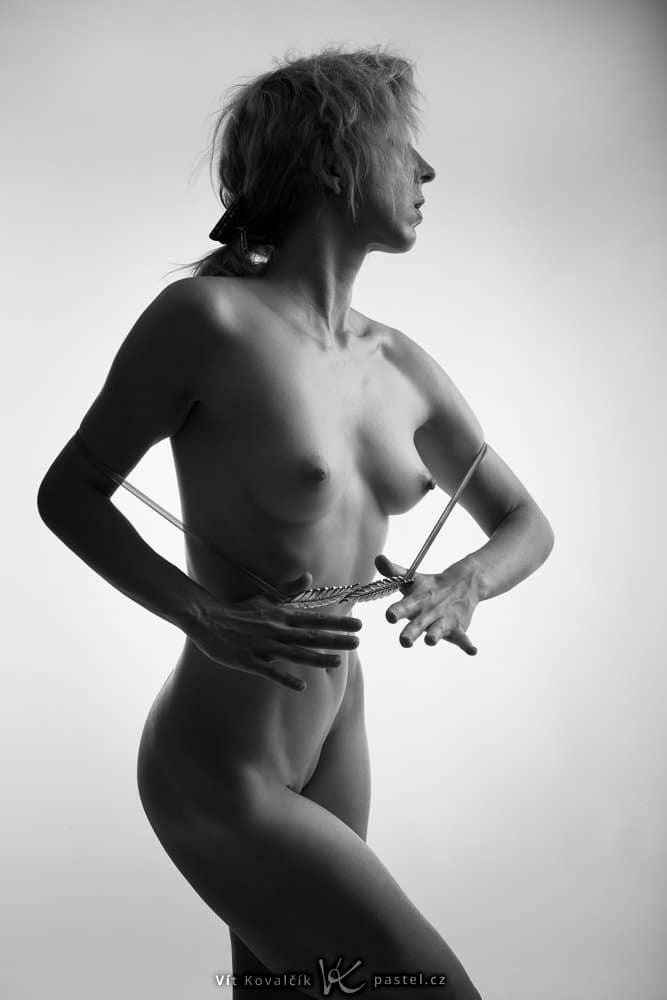
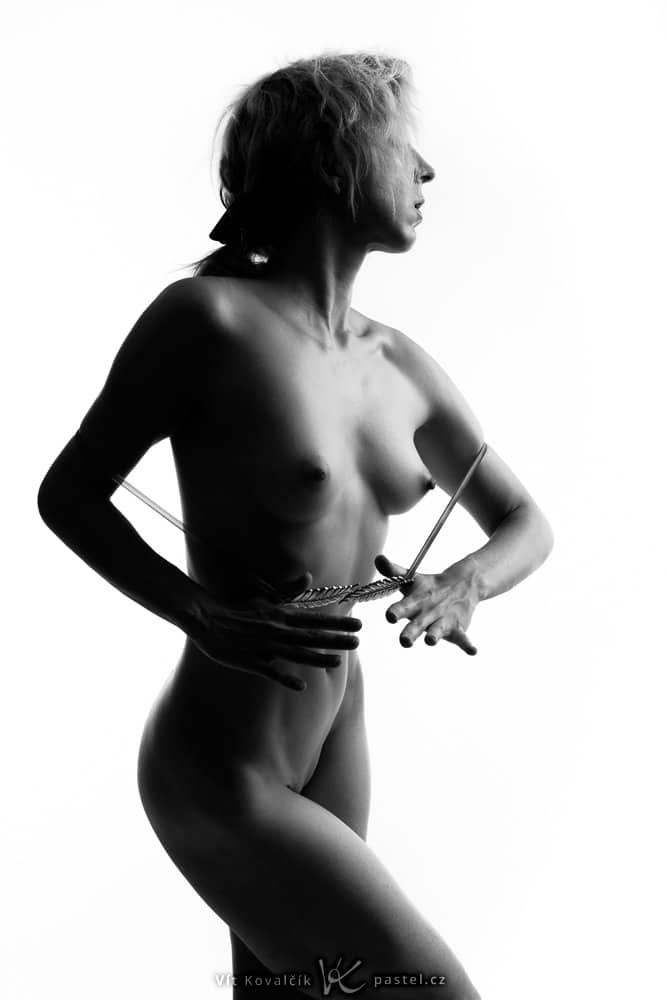
There are more options for adjusting contrast for black and white photos. Extremely high contrast doesn’t look good on color photos, but black and white processing is much more forgiving. The way you choose to edit your photos is up to you. Some photographers prefer subtle transitions between the highlights and shadows, while others prefer sharper edges and more contrast.
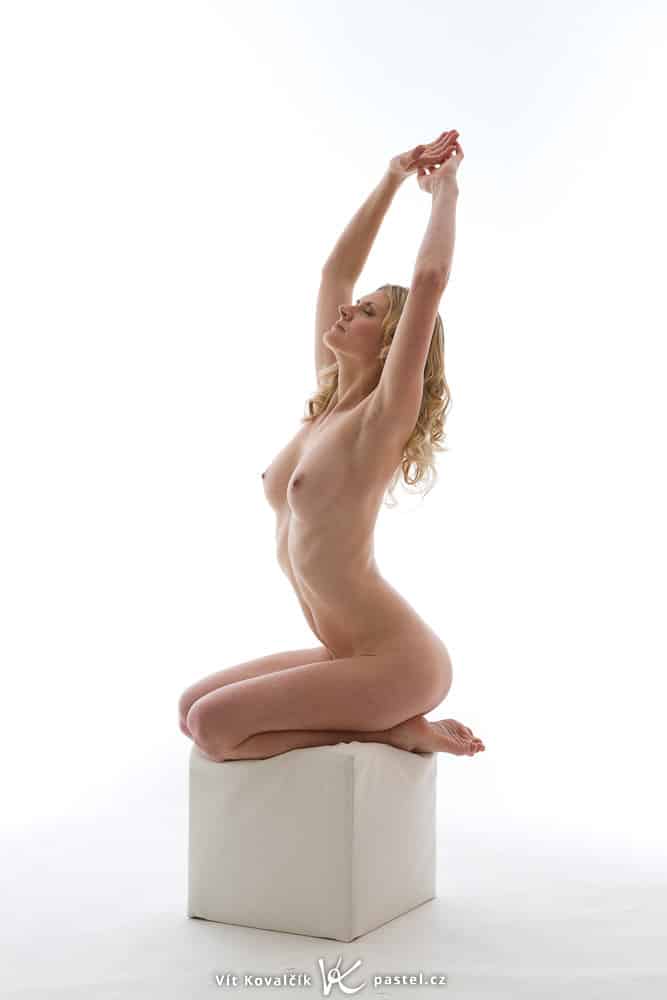
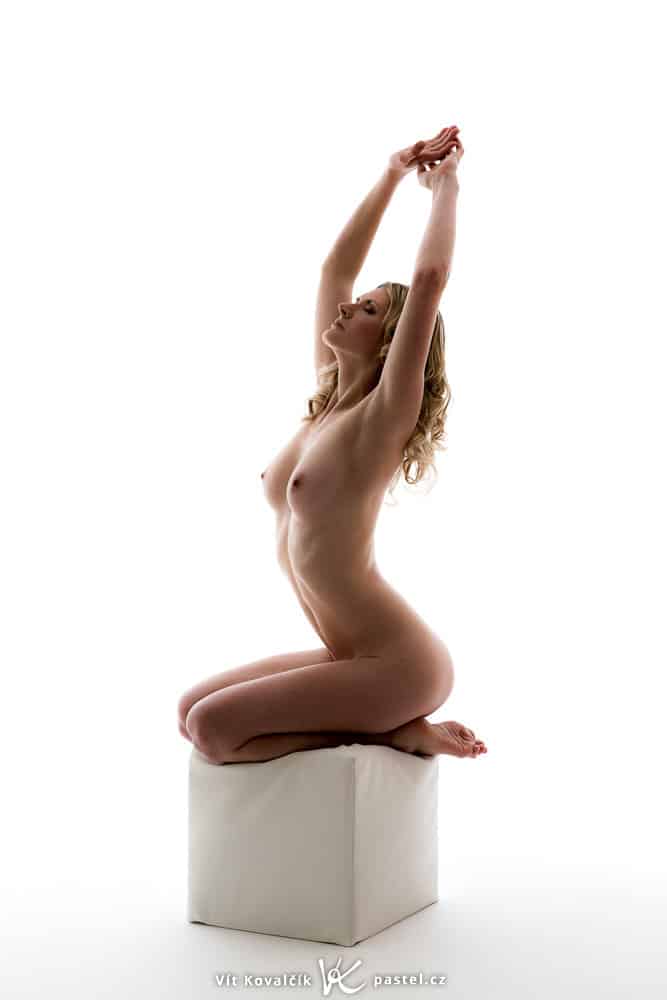
Two different interpretations of the same photo.
Pick and choose the adjustments that work for you
The adjustments described here are some of the most common for nude photography, but nothing is stopping you from using additional adjustments or avoiding some of the ones mentioned. Some photographers are known for their signature editing styles. Don’t be afraid to experiment and you just might develop a completely new style of editing your images.
Interested in editing nude photography? Download Zoner Studio free for 7 days and try these adjustments on your own photos today!
Towfik blog
Nice
David
Good