How to photograph in the sports hall: dress appropriately and cover your camera
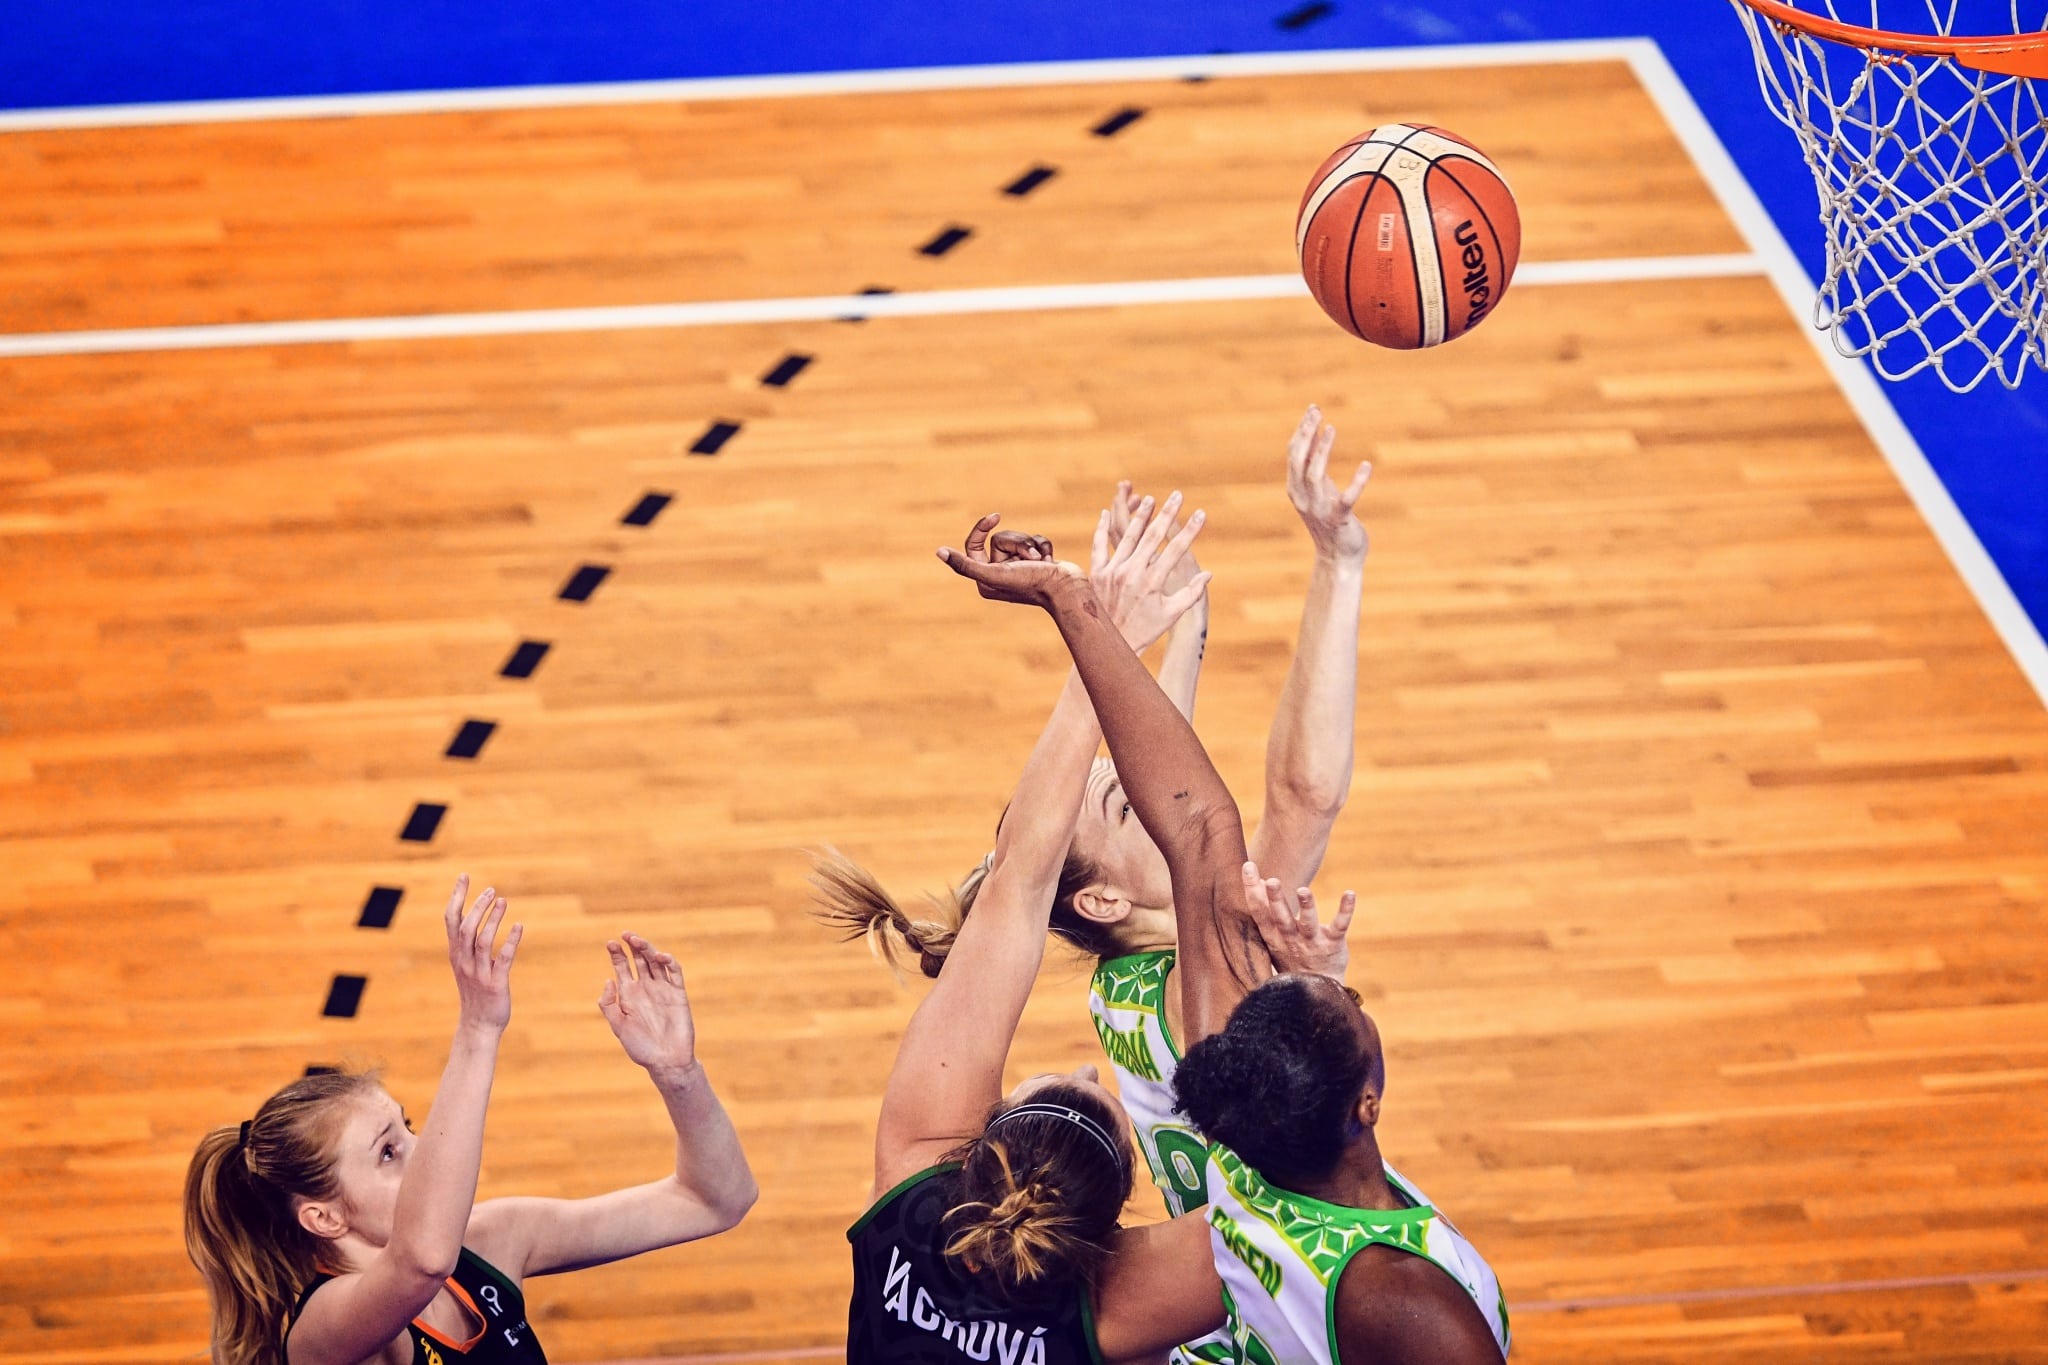
If you’re ready to do sports photography and want to be well-prepared, then this article is for you. We’ll discuss the best way to do indoor sports photography so you can walk away with some great shots. There’s nothing to fear, so let’s get started!
If you’re preparing to take pictures of a game at a stadium or indoor sports venue, first find out if accreditation is required and where you can get it. If you’re attending an amateur sporting event, accreditation is often not needed, or at least it’s easy to get.
Accreditation and the right clothing are key
To get accreditation, it’s a good idea to contact the organization that is hosting the game. This can be a sports association or club. It’s best to contact the organization’s public relations directly or the head of the association or club. Alternatively, you can try a more general contact, but it is always better to contact someone specific. In any case, someone should know that you will be photographing the sporting event, if only because you won’t have to pay the entrance fee.
It may sound silly, but proper attire is essential. There are two things you should think about. Proper and clean footwear and a reflective vest when necessary. You can’t take any pictures if you get kicked out for wearing the wrong attire. Or, you may find yourself running around the stadium in your socks. I’ve never had anyone check my footwear. However if you’re dragging pieces of mud onto the court, you’ll be kicked out.
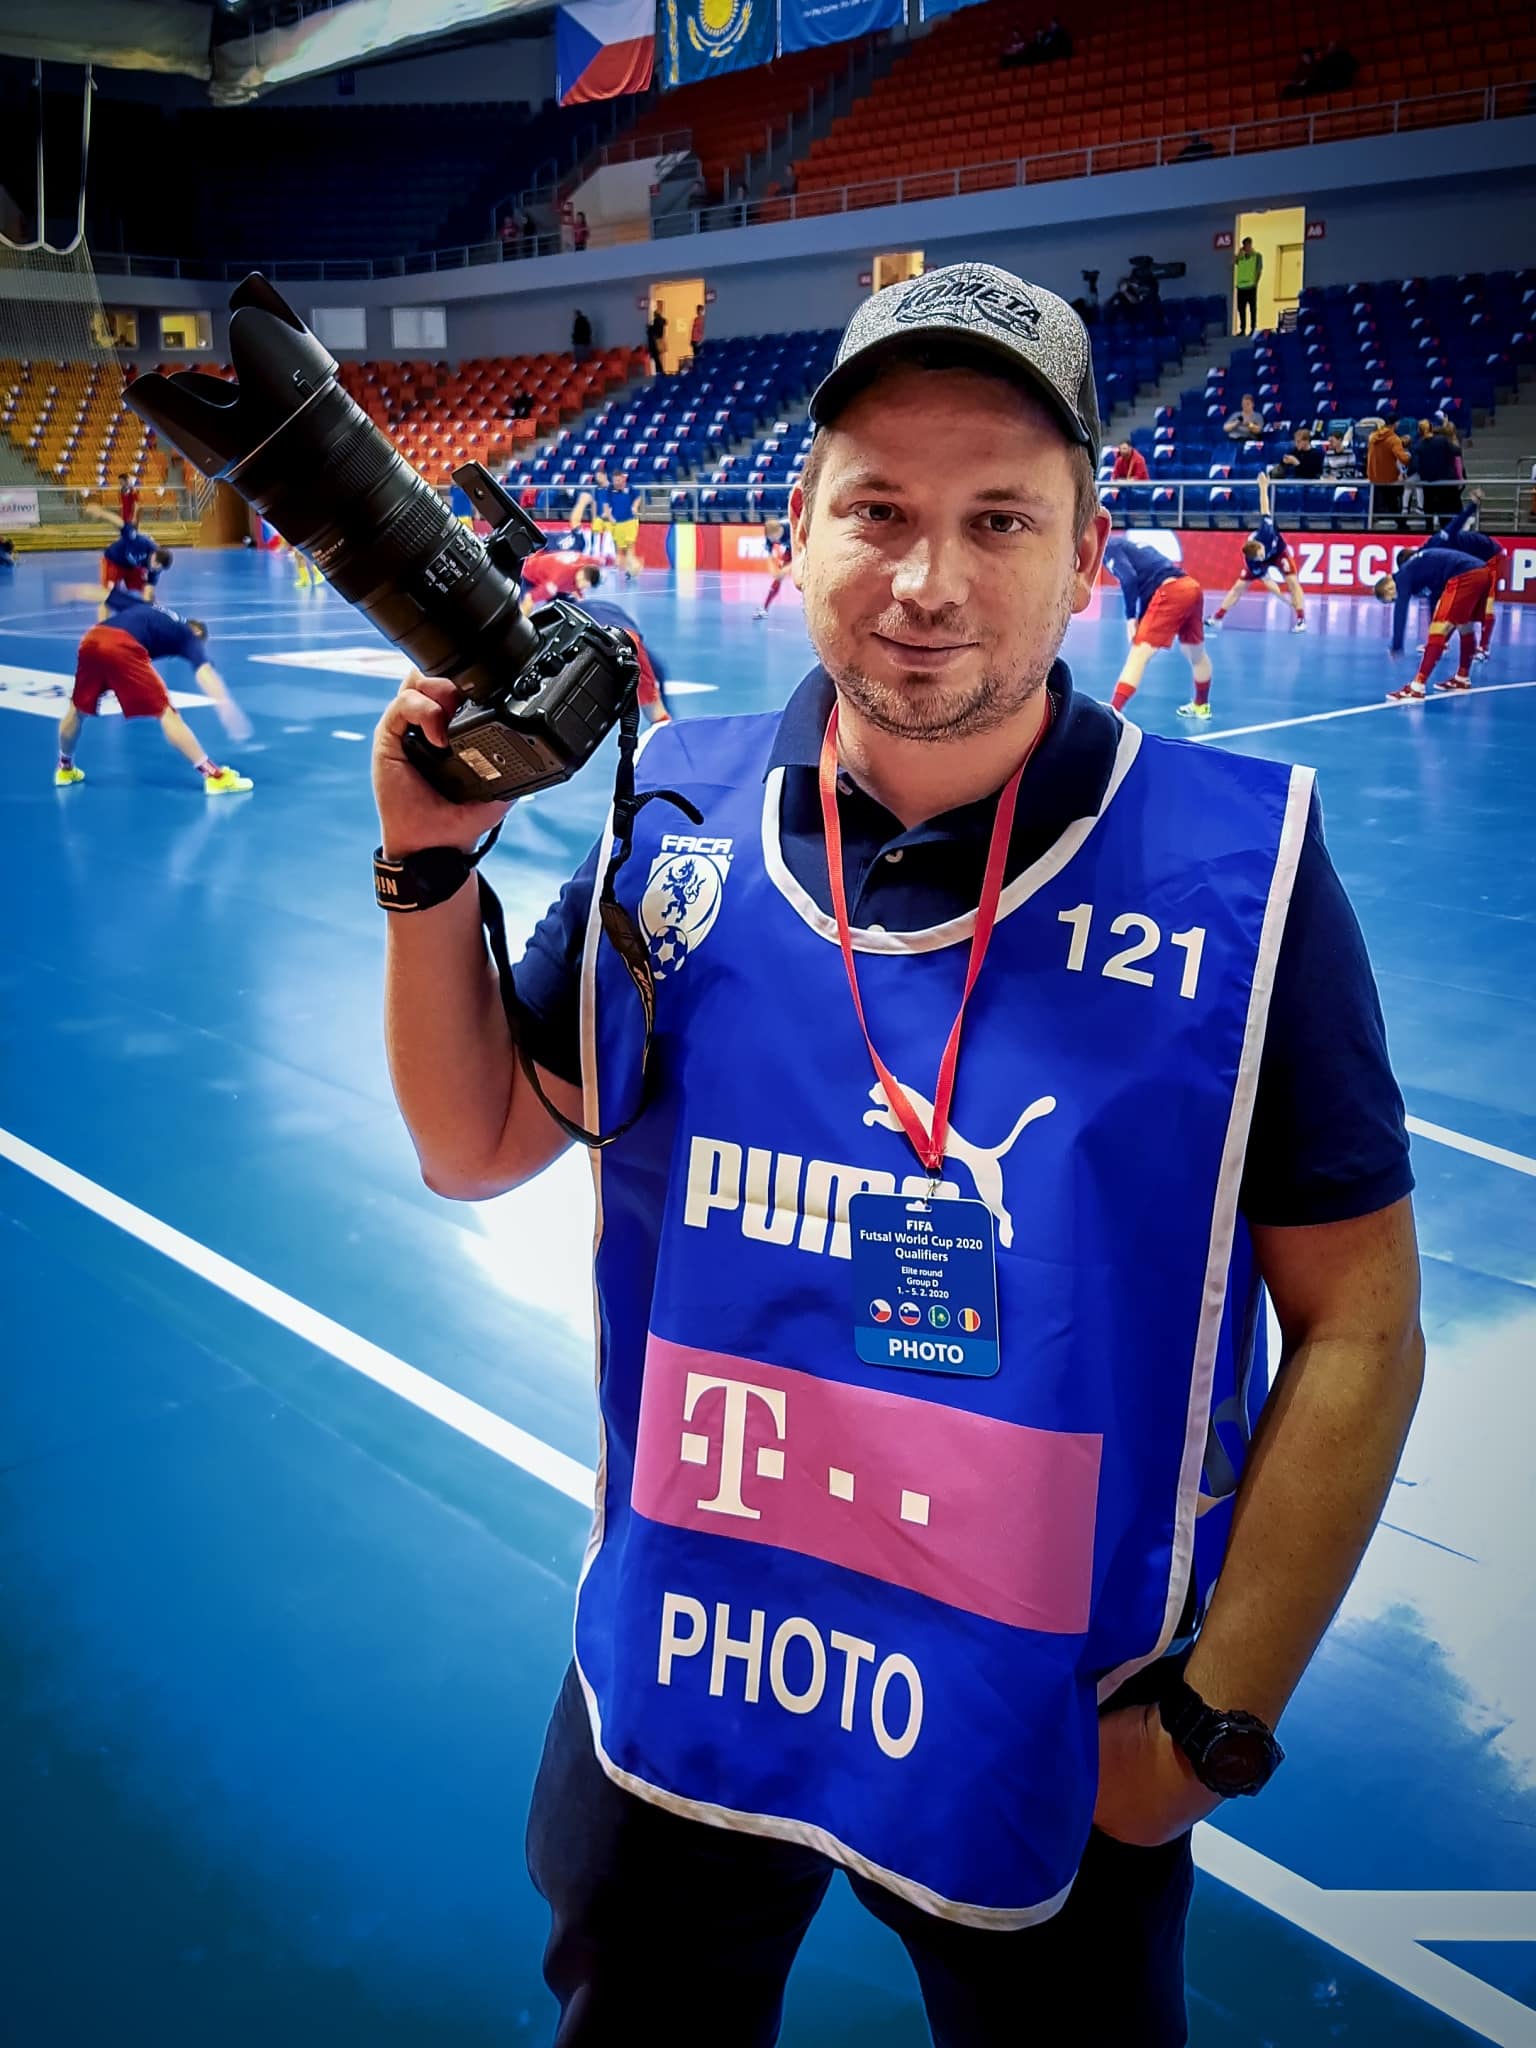
For games where you need to wear a reflective vest, find out if any reflective vest is suitable, like the one in your car. Or, if you need to get an official organization vest, which they usually lend you when you get your accreditation.
Pros and cons of indoor photography
We have our accreditation, vest, and clean footwear, so we can enter the stadium. The first time you shoot in a stadium, you may be surprised to find yourself almost in the field of play. While you are right in the heart of the action, there are some drawbacks.
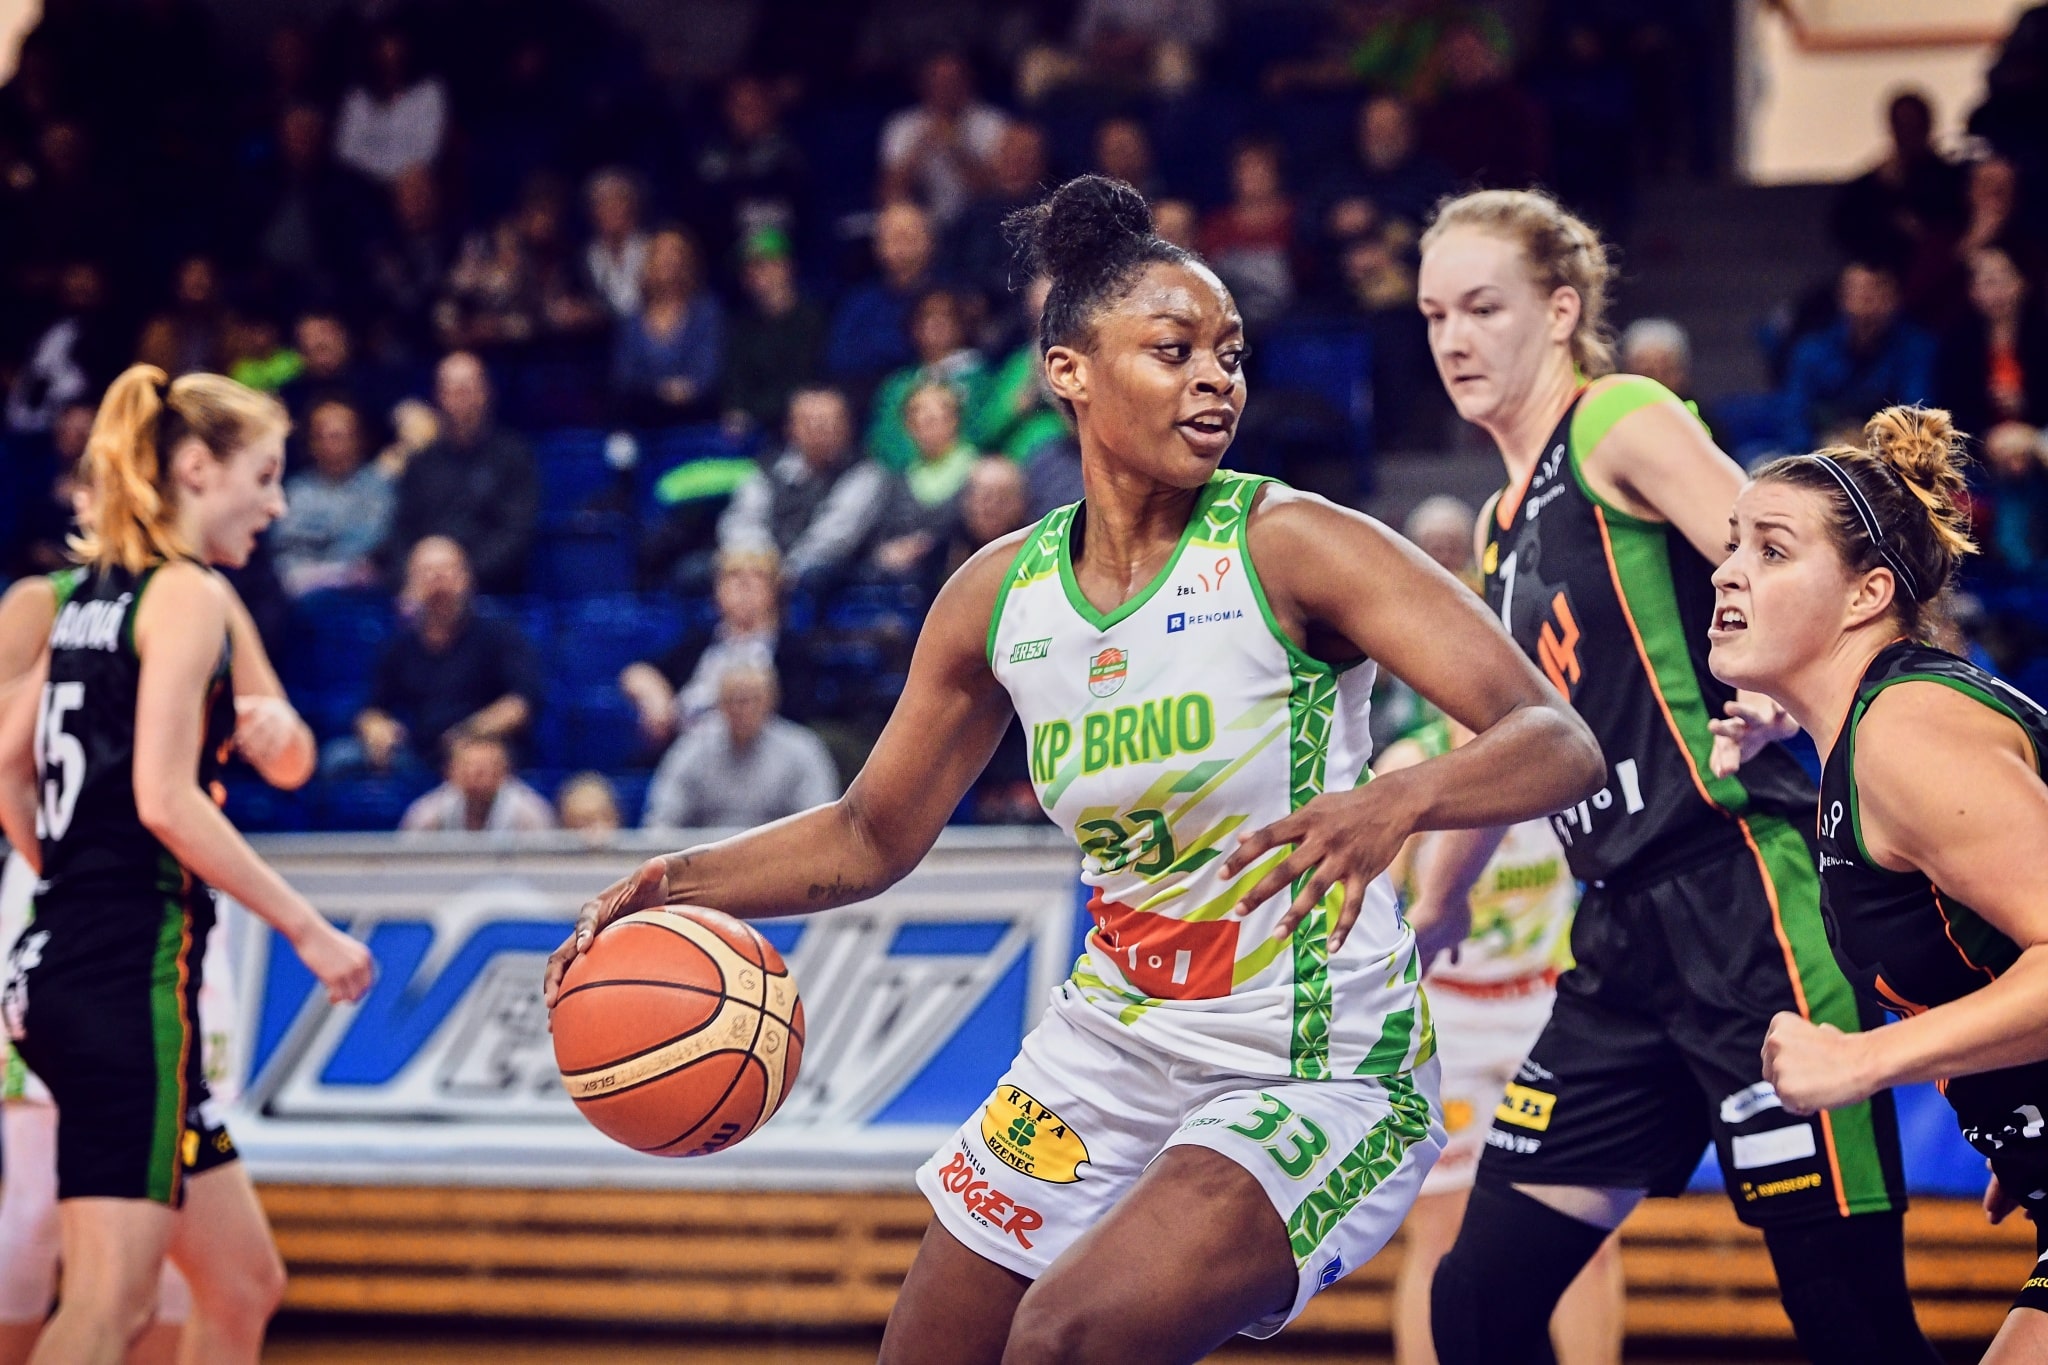
One of the downsides can be the small amount of space, often reduced to a designated area of the court by the organizer. When there are multiple photographers at a game, it can be a problem to find enough space to take pictures. A typical example is ice hockey, where one of the best places to take pictures is between the stands, where it is usually very crowded.
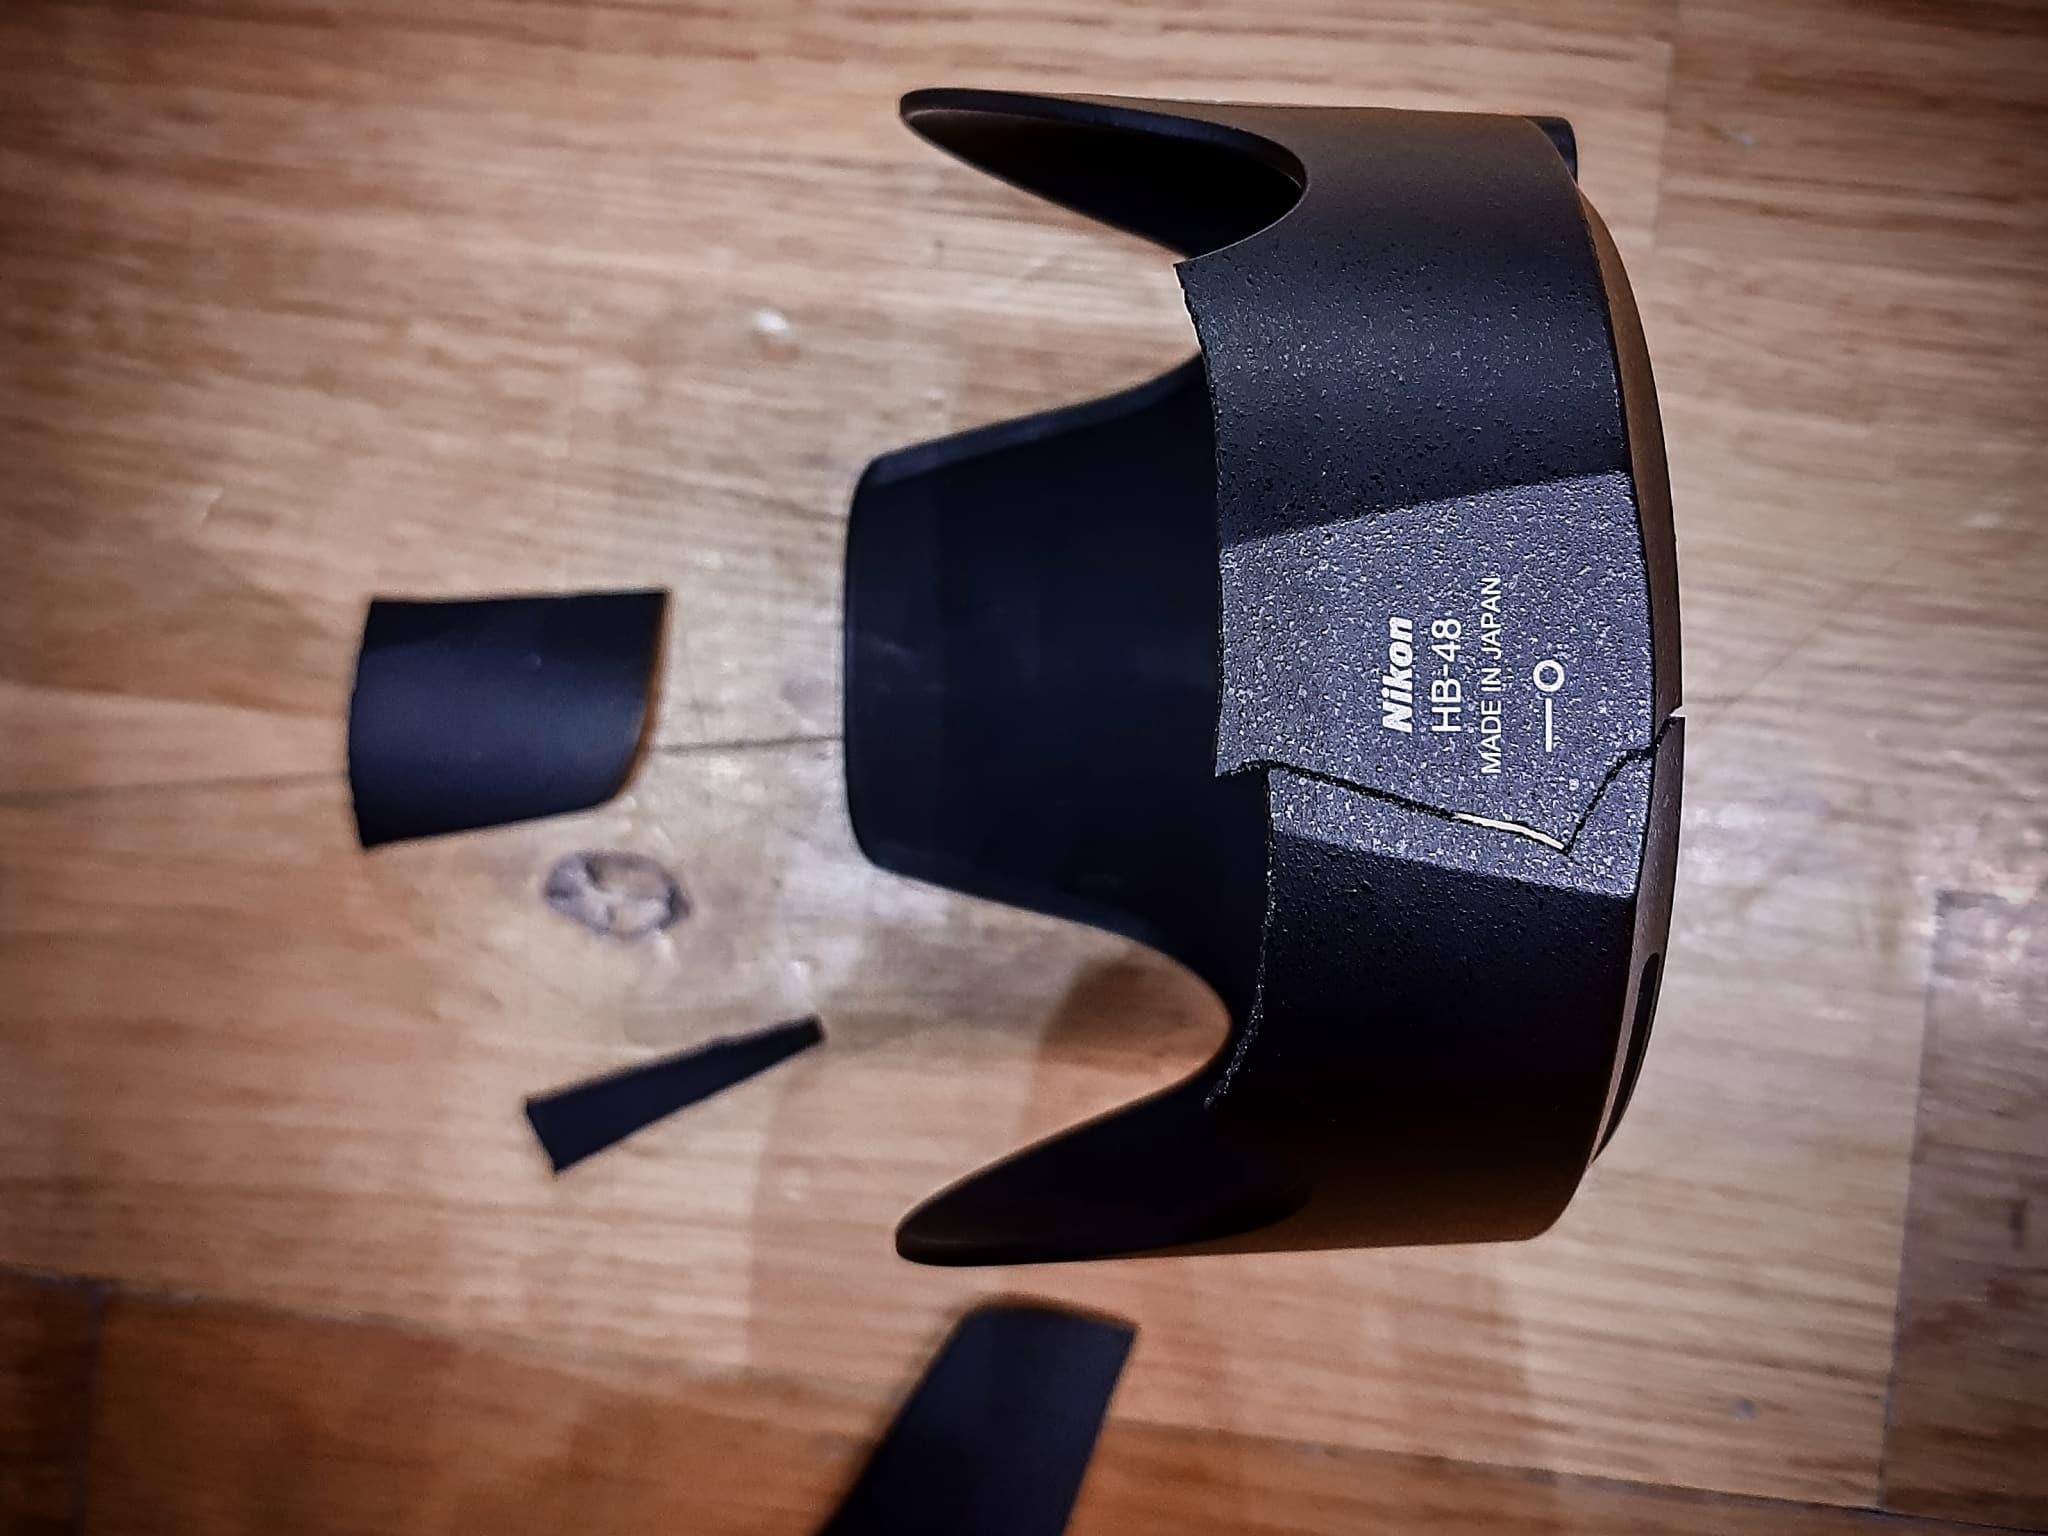
The other negative of being close to the game is, of course, safety. You have to keep your eye on the players, balls, and pucks. You’ll get a lot of practice dodging balls and players. Sometimes a collision is so unexpected that it can’t be avoided. I speak from experience.
On the other hand, the upside of being close to the action is that you usually don’t need a long and expensive telephoto lens. As a rule of thumb, you can get by with lenses with focal lengths of up to 200mm.
In any case, don’t limit yourself to photos only from the playing field and explore the stadium. You’ll find out where you can shoot from and you’ll find some non-traditional views that will make your album unique.
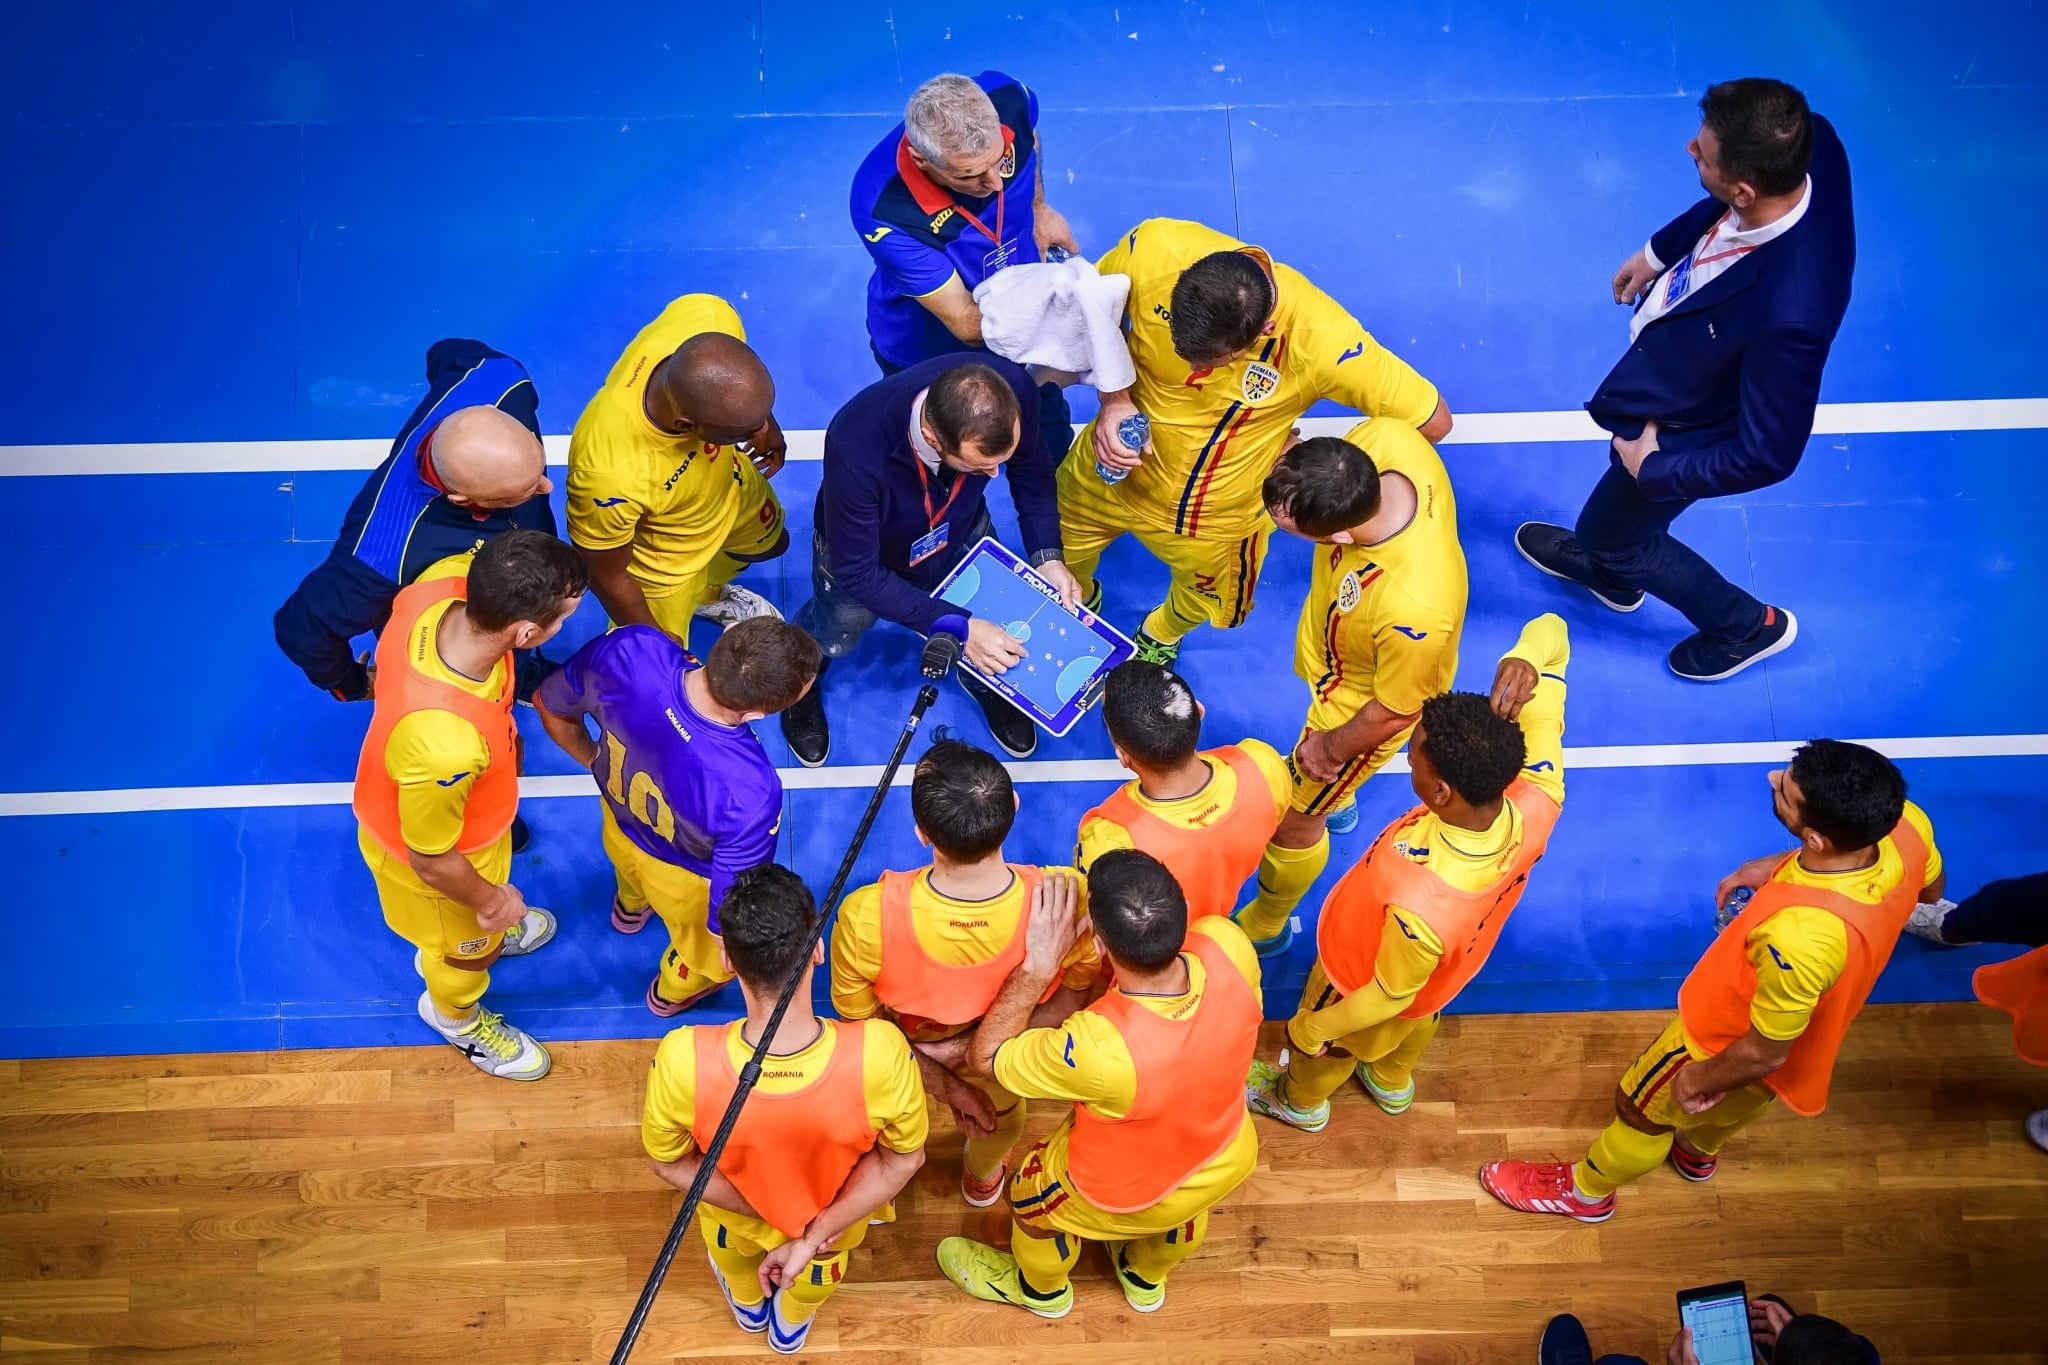
Lighting is probably the biggest disadvantage of shooting in a stadium. The lighting varies in color temperature, can include multiple types of fluorescent lights, bulbs, etc., and is often insufficient. You will probably have no other choice than to resolve lighting issues later using Zoner Photo Studio X.
What kind of equipment do you need for indoor sports photography?
A big advantage of shooting indoors is the consistent amount of lighting for the entirety of the game. You don’t have to worry about protection against rain, dust, dirt, or time of day. This also decides the type of equipment you take with. The constant conditions make it easier not only to choose your shots, but also to edit your photos.
Unsure which camera to use for sports photography?

Read the article Choosing Sports Photography Gear I: Picking a Camera.
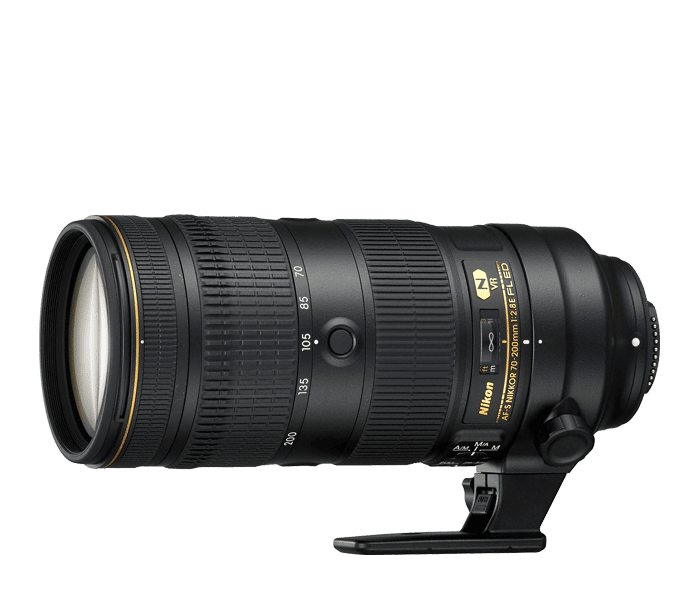
When choosing a lens, light level plays a major role. Also, don’t forget about auto-focus speed. Since stadiums are usually not very well-lit, you will need the lowest possible f-number. I recommend lenses with apertures of f/2.8 and higher. Sometimes I increase the f-number a bit, but no more than f/3.5.

Further reading: Choosing Sports Photography Gear II: Picking a Lens
Of course, there are exceptions and there are stadiums with excellent lighting. For example, in Brno, the DRFG Arena where the Kometa Hockey Club plays is one of these rare stadiums with excellent lighting. As far as focal length is concerned, I make do with one wide-angle lens in the 18-35mm range (the Sigma 18-35mm f/1.8 DC HSM ART) and one universal f/2.8 70-200mm telephoto lens.
What else to prepare for
While some photographers may disagree, the auto ISO function is very useful when shooting indoors. The ISO value is normally in the range of 1600-6400, which is a range of 2 EV. This is why auto ISO is a very useful tool.
that is, within the 2 EV range. That’s why auto ISO is a really good helper.
The biggest difference in the exposure value is caused by the stands with the spectators, which usually aren’t well-lit. Getting the right exposure settings can be a challenge when shooting hockey games. Here, a large part of the photo is taken up by the ice, so adjust the exposure correction to positive values. If you don’t, your photos will be too dark. Your camera’s metering system with an emphasis on the center can also help get the right exposure.
The last issue is shooting in stadiums that are designed for multiple types of sports. When editing photos from these types of stadiums, you’ll find that you get different skin tones and white balance due to the differently colored playing area. The differently colored seats don’t help. For example, in Brno, in the Vodova Stadium, one half is blue and the other half orange.
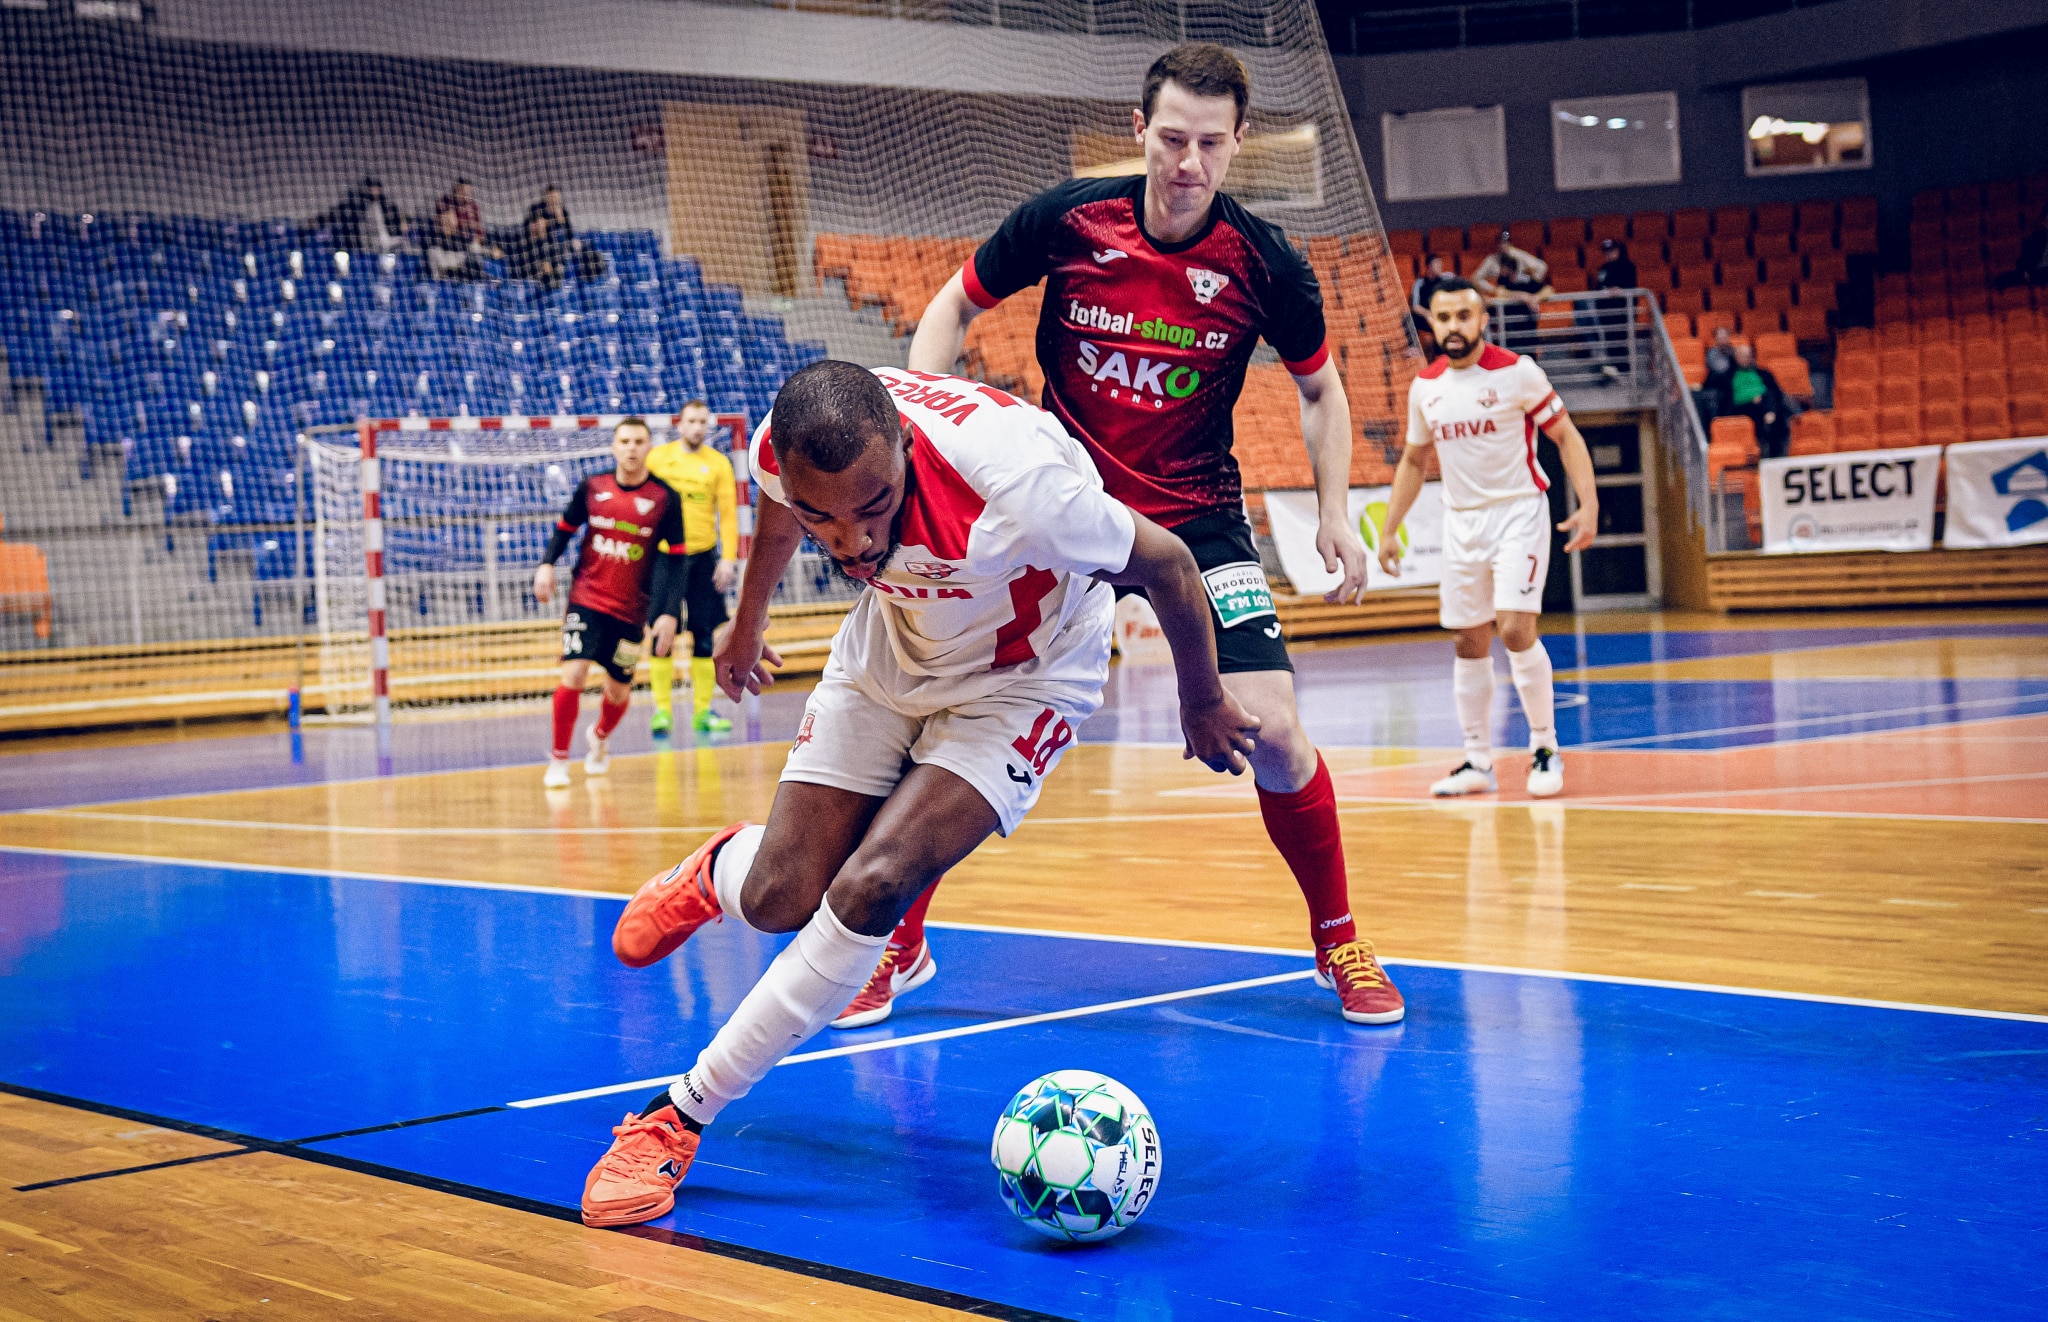
However, when you take multiple shots in one stadium, you can easily deal with this issue in post-processing. In some stadiums, it may be useful to measure the white balance first and then permanently change the settings. I don’t do this much and tend to use auto white balance and then correct the photos using Zoner Photo Studio X.
If you have any of your own tips, insights, or advice for indoor sports photography that you didn’t find mentioned here, be sure to add it to the comments!
There are no comments yet.