How to Photograph Landscapes with a Phone? Discover Your Phone Camera’s Built-in Features
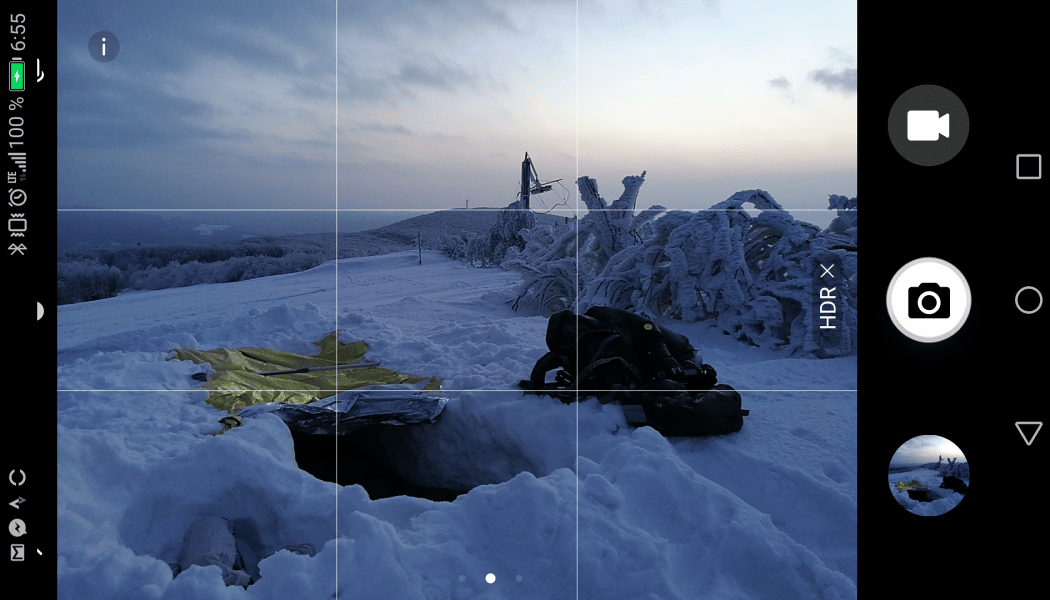
Just about all of us have headed out on a trip without our camera before. But what if along the way, you run into an interesting landscape that you want to photograph? Fortunately you can just reach for your phone. After all, it can take beautiful pictures too. You just have to keep in mind a few basic rules for photographing landscapes with phones.
Before you get started, it’s good to check what features your phone’s camera app offers. Does it have a feature for HDR? For panoramas? Does it let you shoot to RAW? Or maybe even use manual mode for certain settings? If so, then don’t be afraid to take advantage of all that.
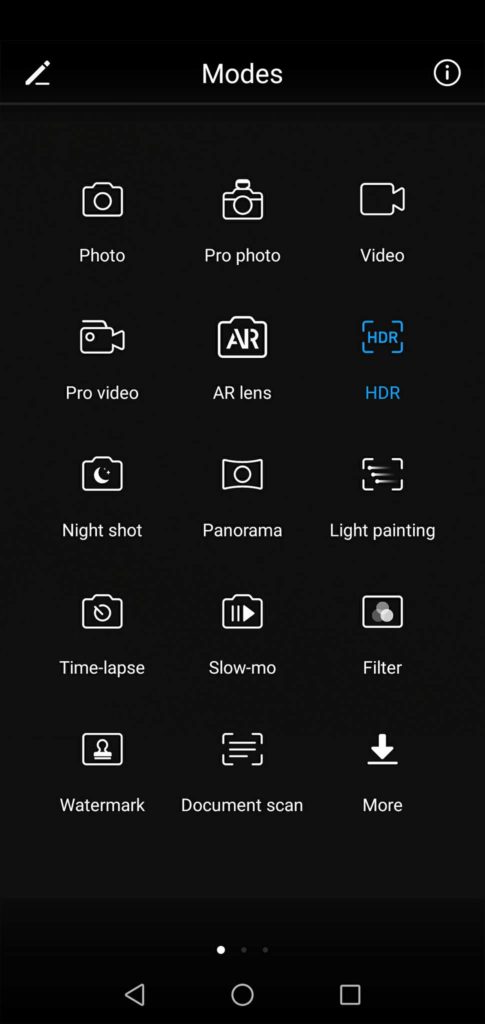
Landscapes on a Phone? Try HDR
When you’re photographing landscapes with a phone, it’s good to give built-in features like HDR a try. But first test how your phone’s HDR works. That way you can be sure it won’t turn your photos into coloring-book pictures rather than photos with a balanced ratio of shadows and lights.
Once you’re sure that the HDR feature is giving you natural-looking pictures, use it on a high-contrast scene. One where, if you used a normal shot, you’d overexpose the sky or underexpose the bottom half.
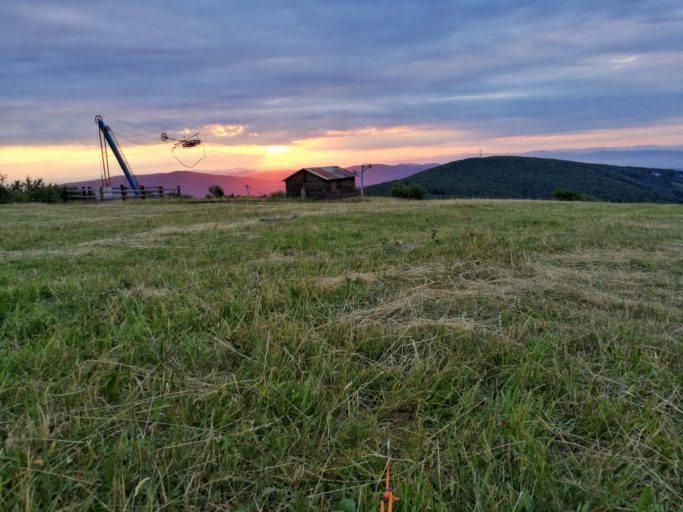
Give Panoramas a Try Too
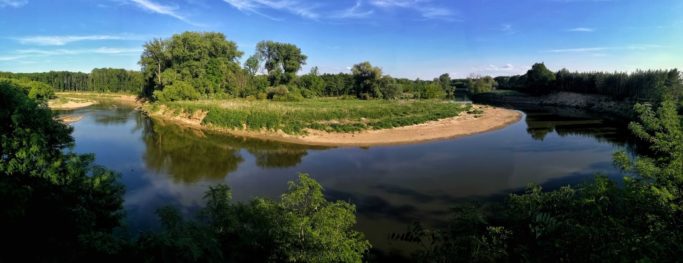
It likewise pays to play with panoramas. They’ll let you capture a wider area than a traditional photo would.
Here as well you’ll want to first check and see how well your phone’s panorama function works. If it only enables horizontal shots, then steer clear of it. All you’d get are stringy panoramic noodles. But if it can shoot panoramas vertically, then definitely use it.
Four to six shots are usually a reasonable number for getting an engaging panorama. Panorama shots taken with the strategy “I’ll shoot it all from left to right, so it’s all in there” aren’t really ideal. The panorama you’d get typically isn’t eye-catching.
Use Manual Settings for Your Landscapes
One of the very best possibilities for photographing landscapes is shooting to RAW with manual settings. If your phone lets you configure exposure metering, shutter speed, ISO, and maybe even the aperture, then you’ve almost got a true small and compact camera right at hand. That’s because you can adjust exposure yourself however you need.
When you’re photographing landscapes with your phone, try to keep your ISO as low as possible. Phones handle noise poorly at high ISOs. Even though you can cut back on noise in Zoner Studio, you’ll still do better to stick to an ISO of 200 or less.
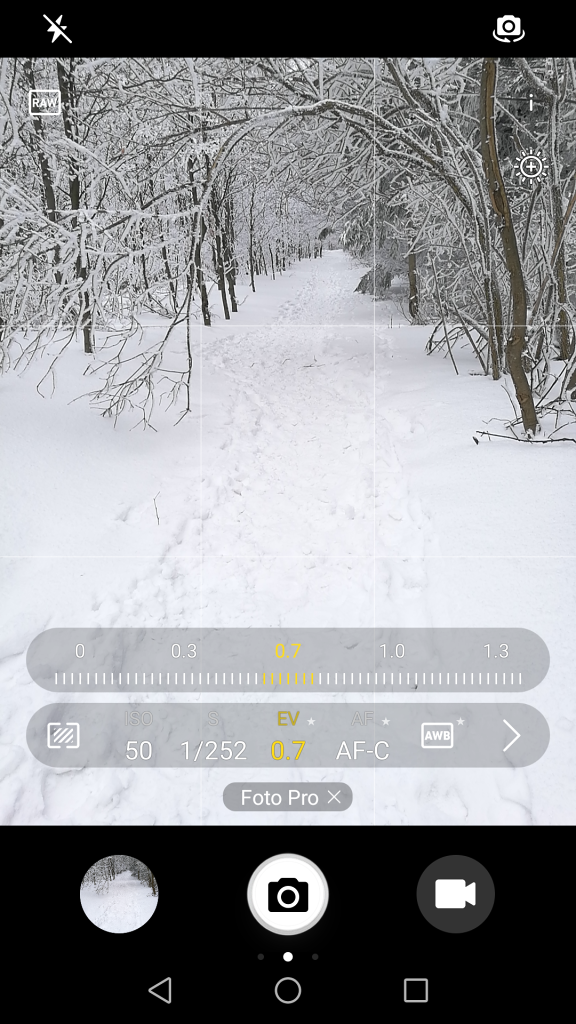
At ISOs this low, your phone’s camera may set slow shutter speeds, so hold your phone firmly in your hands, or support it well. You can also use a selfie stick to attach your phone to a tripod, to reduce the risk of blurry pictures.
Superb Features Don’t Guarantee a Good Picture
The features we’ve discussed here make photographing landscapes with a phone easier than you might think. But only you yourself can guarantee a good picture. You still have to keep in mind that a high-quality picture has to grab attention and should harness the rules of composition.
Don’t forget that landscape photos are usually divided up into a foreground, middle, and background. All three of these should be attention-getters, or at least contain lines that lead the viewer through the picture.
Want to learn more about taking pictures with your phone? Check out these articles too:
If your phone has a waterproofing certification such as IP68, then use that to include water in your pictures. You can even dip your phone into water (if it’s certified against more than just rain droplets). That will give you a fresh view of the world.
There are no comments yet.