How to Photograph the Eye Close Up
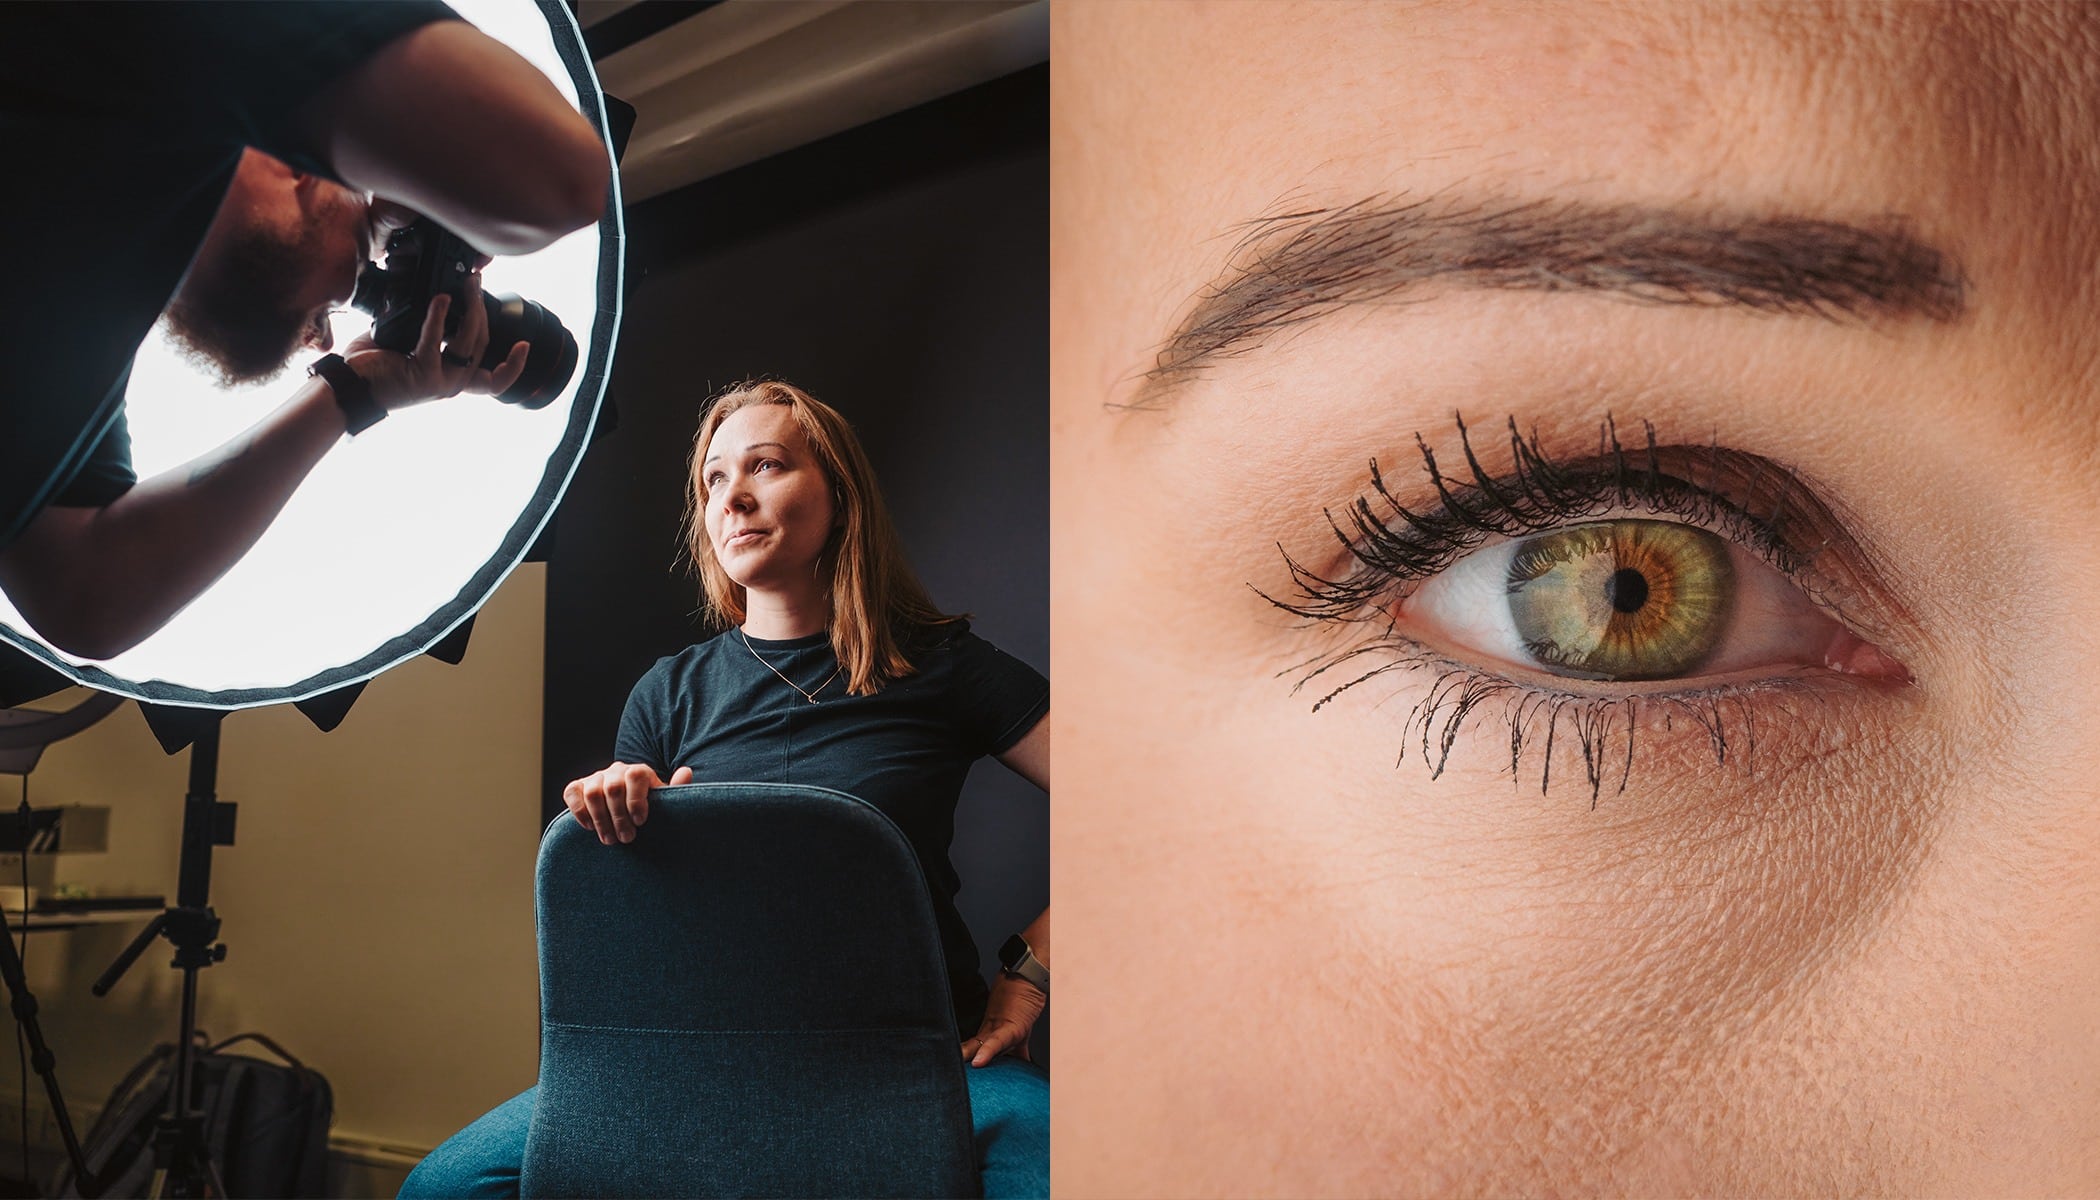
The human eye is fascinating, not only because of its uniqueness, but also because it’s a very important aspect of what photographers focus on. The first rule of thumb when shooting a portrait is that the eyes must be sharp. But what if we skip the portrait entirely and go straight to shooting a close-up of the eye itself. This article explores the many options for doing just that.
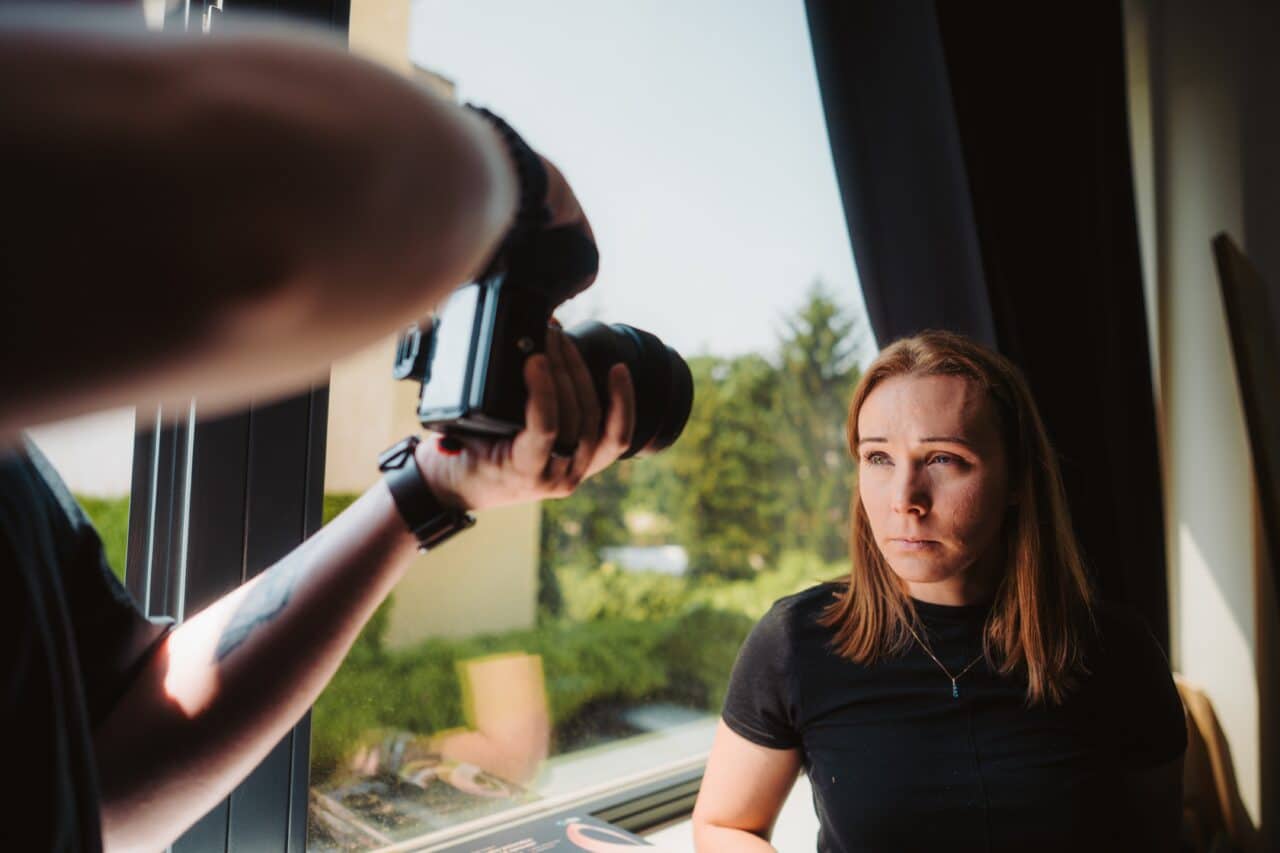
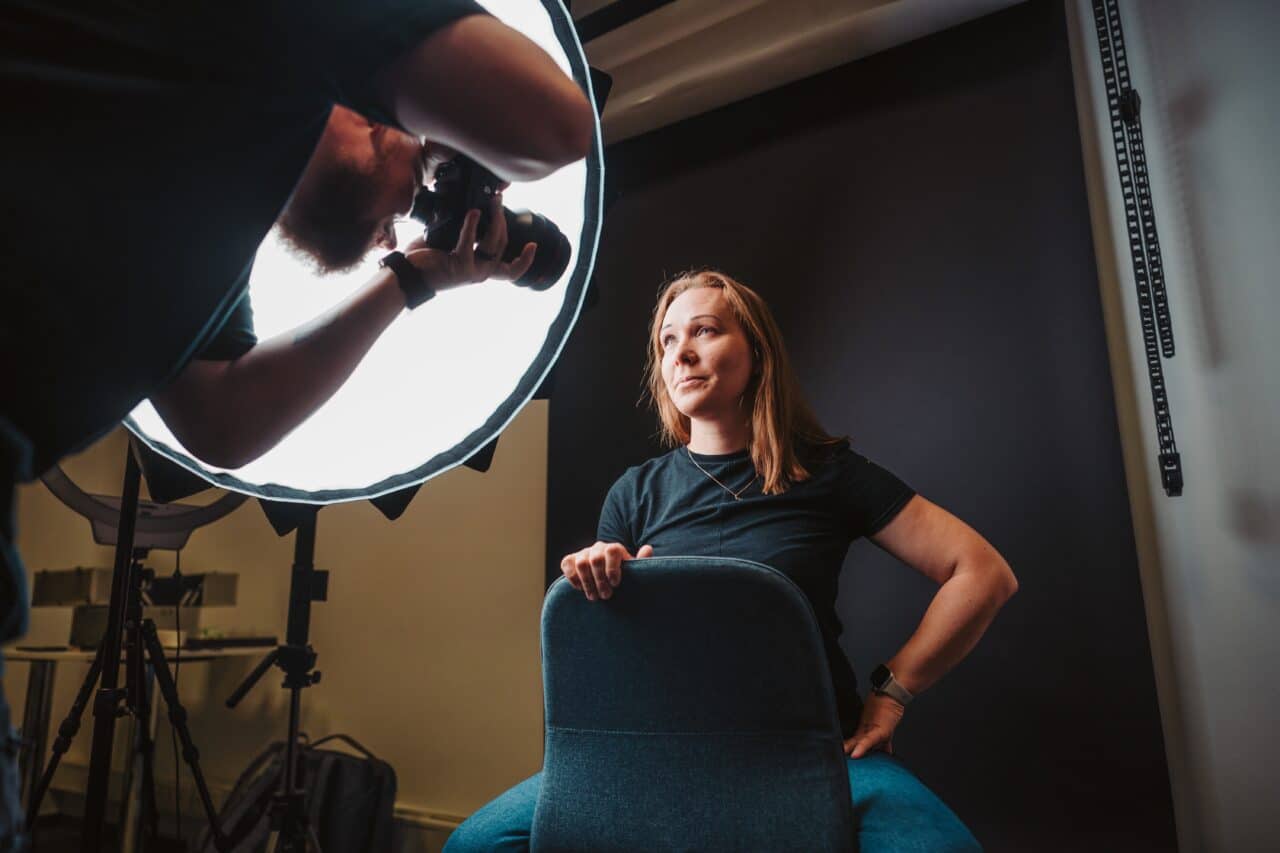
Whether it’s an assignment for a cosmetic salon, or documenting the work of a makeup artist at a wedding, the eyes must stand out, with or without makeup. We tried several techniques and have put together some tips from our photoshoot for lighting the eyes and eye photography.
Equipment
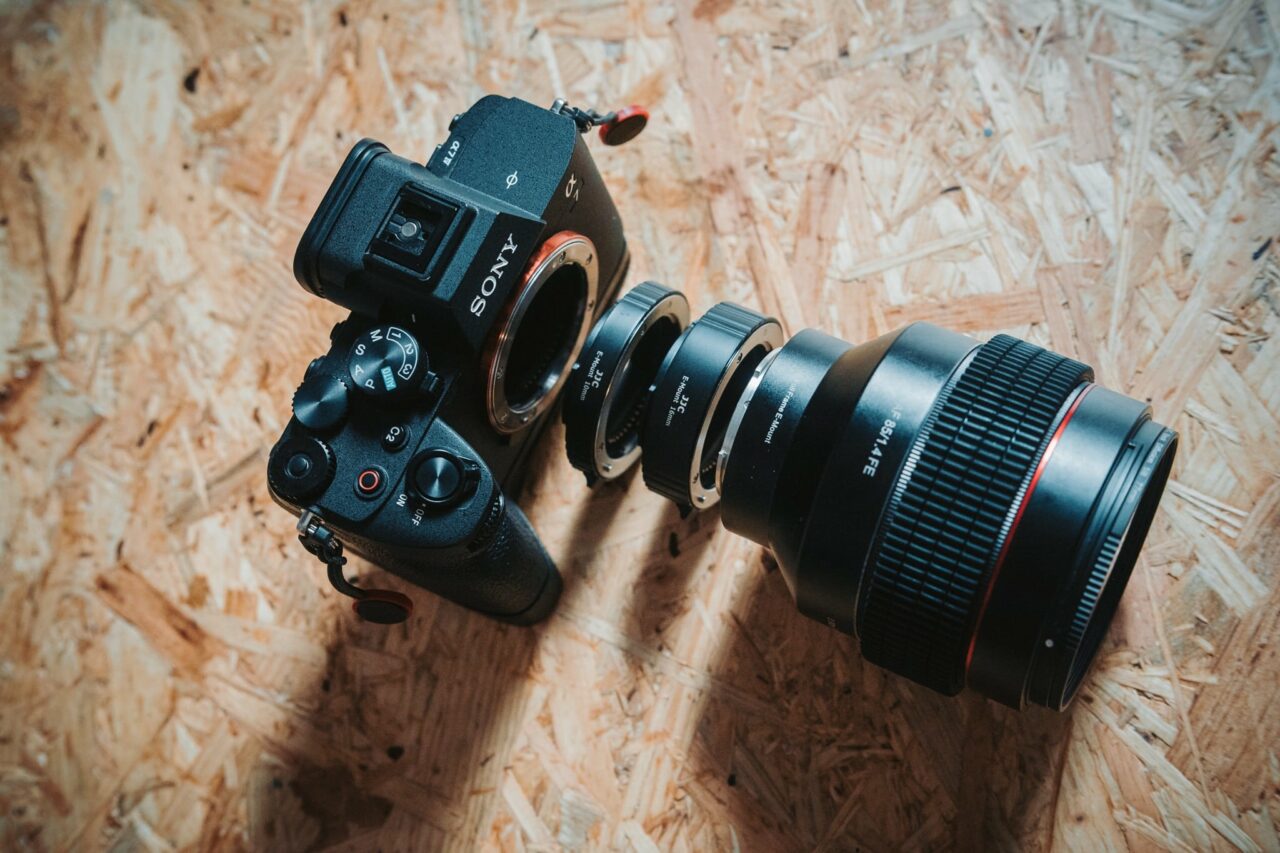
In order to capture the eye so that it takes up a majority of the photo, you need to get very close. You have two options—use a macro lens, or use macro extension tubes. A macro lens is probably the more reliable solution. You can use it again if you regularly do this type of photography.
Macro extension tubes are cheaper. They extend the distance between the lens and the camera sensor and allow you to shoot objects at a closer range. This is the solution we decided to use.
Lighting
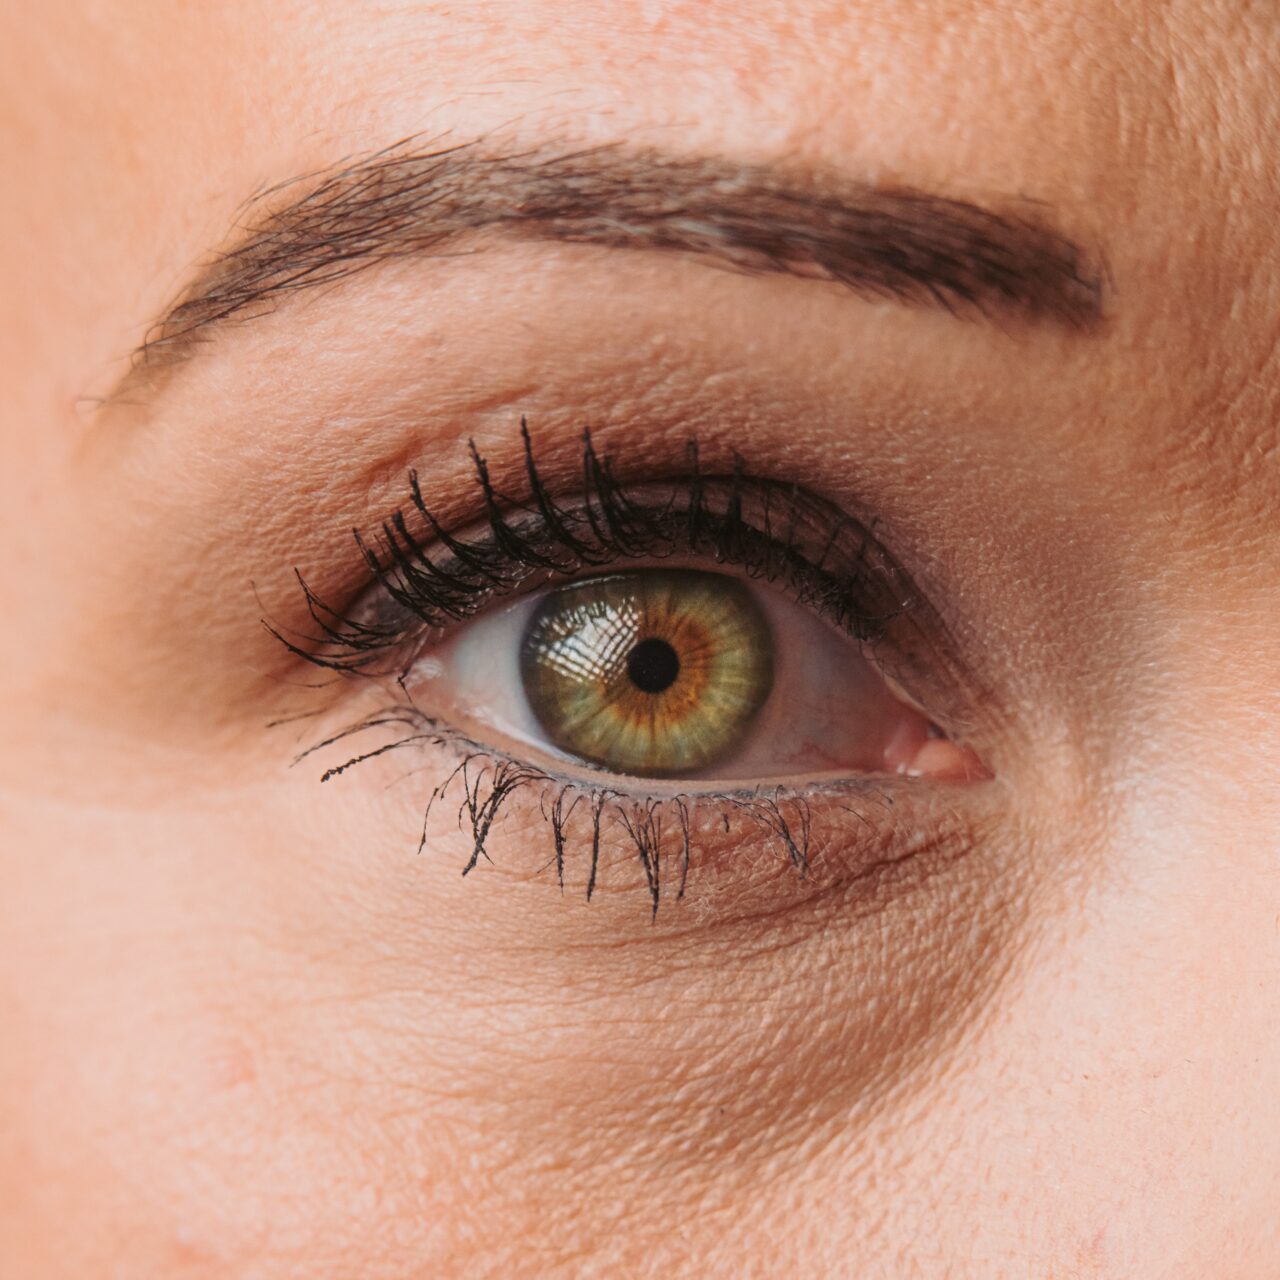
The rest of this article is about lighting. Lighting is important in close-up eye photography because the eye acts like a circular mirror that reflects everything. Not only do you have to account for the reflection of light, but also your own reflection because the photographer is often reflected as well.
To review:
- When shooting close-ups of the face, the same rules apply as when shooting portraits in general. Light that is soft or diffused looks best.
- Turn off everything that illuminates the eye except your lighting. If the photographer is not illuminated, they won’t be visible in the reflection.
We tried a few different types of lighting that we’ll go through one by one, starting with the worst for close-up eye photography to the best.
No lighting? Use the window
The easiest option, but with unpredictable results, is to shoot using natural light. The biggest disadvantage is that you can actually see all the differently-shaped light sources in the eye’s reflection.
The reflection of the window in the eye can tell its own story and be an advantage. However, in this case, it is rather distracting because it is not regular in shape and distorts the patterns of the iris.
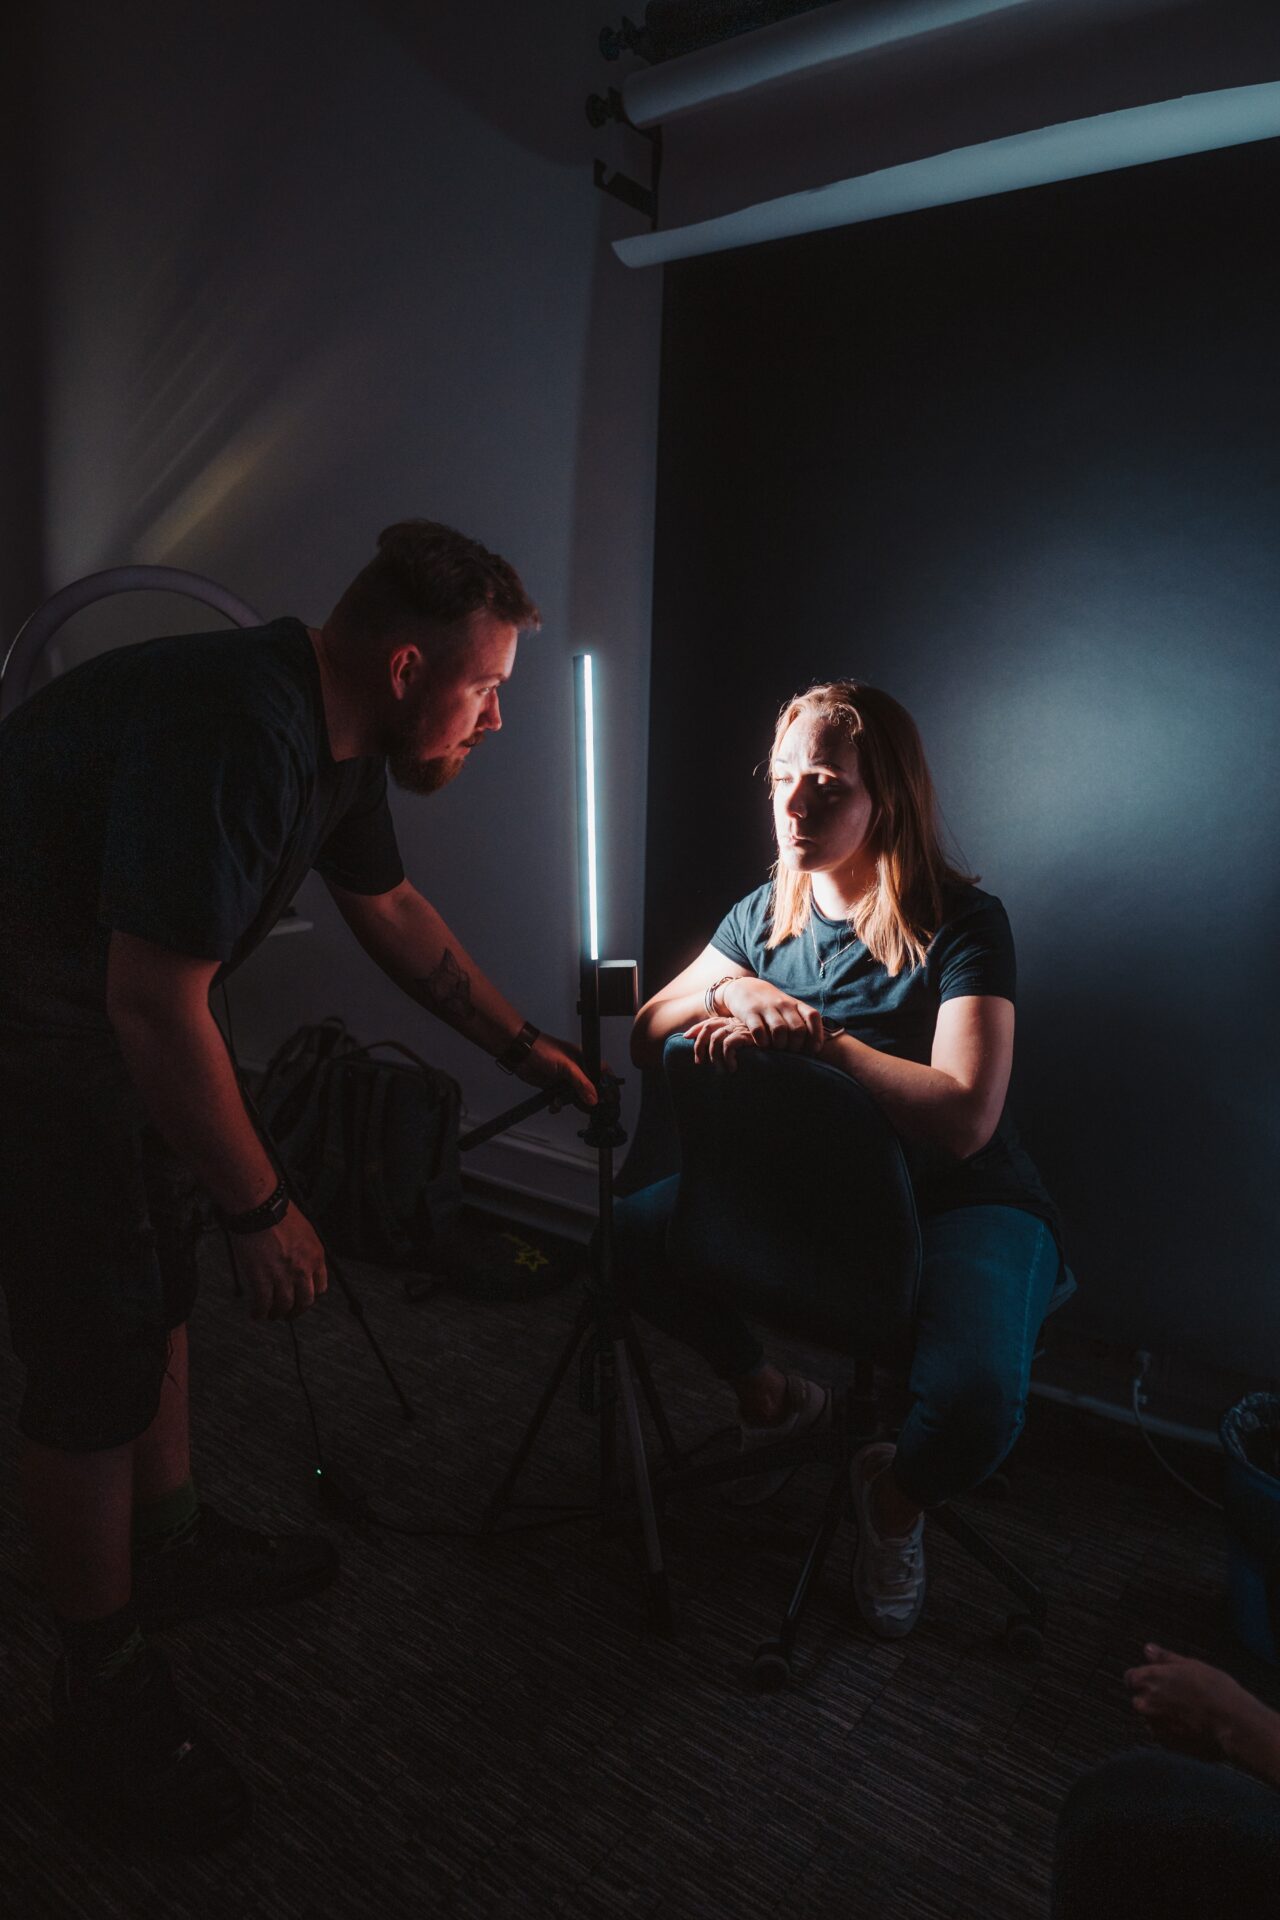
Single-point light source
In our first experiment with artificial light, we used a small portable light similar to a small reading light or when you use the flashlight on your phone.
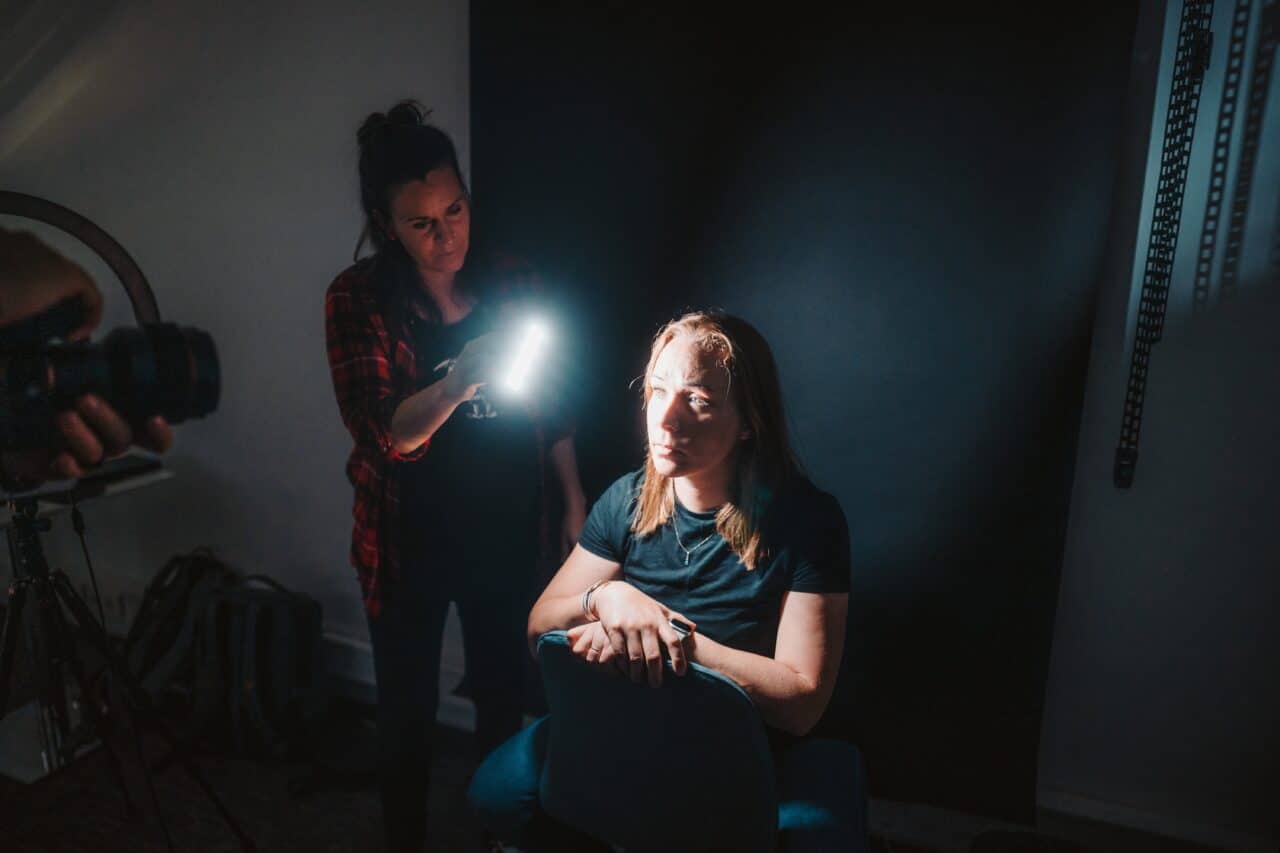
This result is the weakest from the artificial lighting. Due to the relatively harsh light, you end up emphasizing all the skin’s pores and other distracting details.
Light sticks
The next test utilized light sticks. Light sticks are one of my favorite types of lighting because it’s a travel-friendly compromise between flat light and compact light. It gives off soft light in only one direction. But equal to the size of just one side of a softbox, it’s much smaller and more compact.
The results are much better, and the skin is better illuminated. On the other hand, the reflection of the light in the eye is strange and it’s not exactly what we want.
We even tried using light sticks to light the eye from below, but it looks scary more than anything. It’s a far cry from a fashion photo.
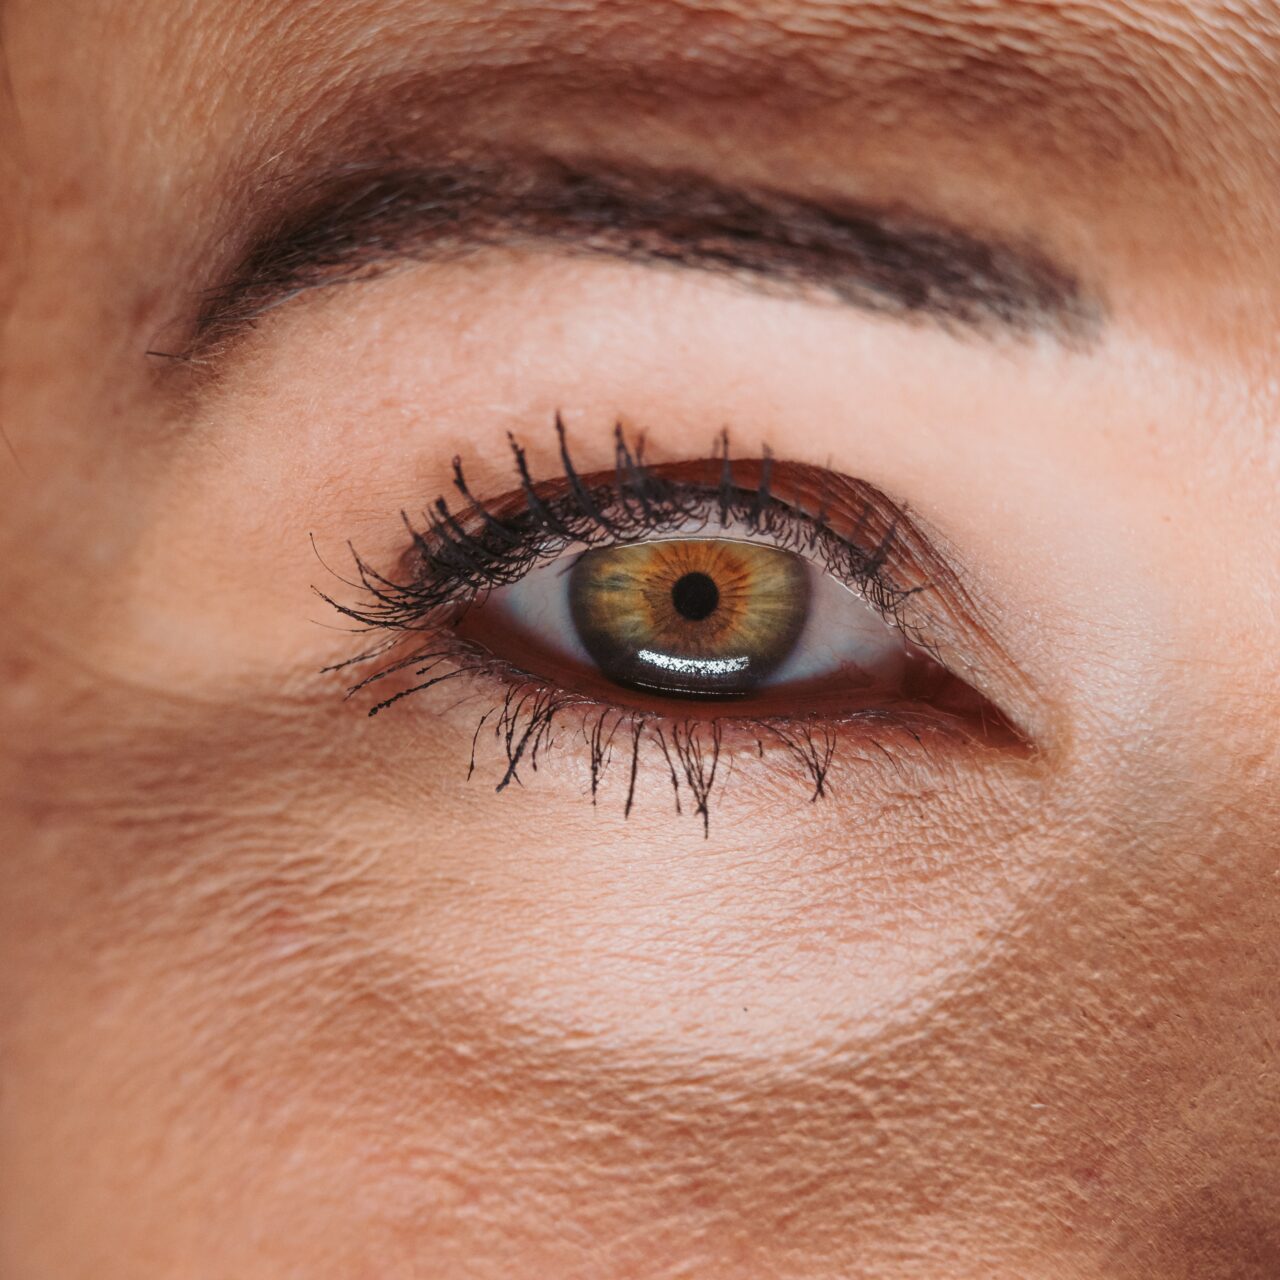
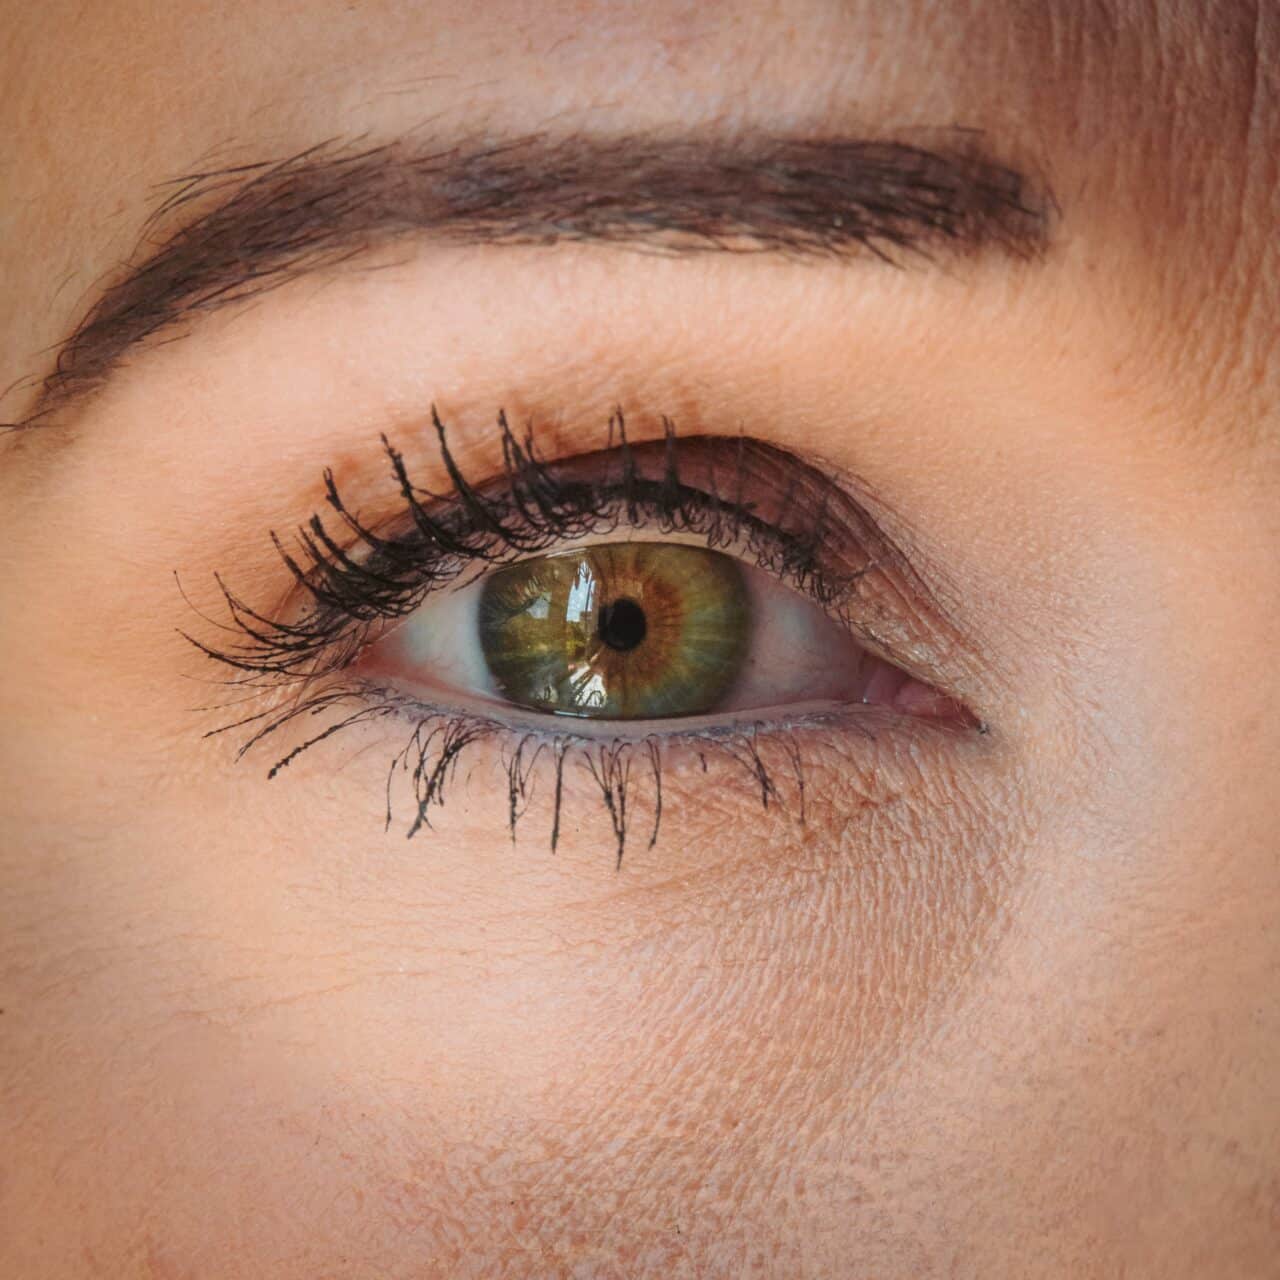
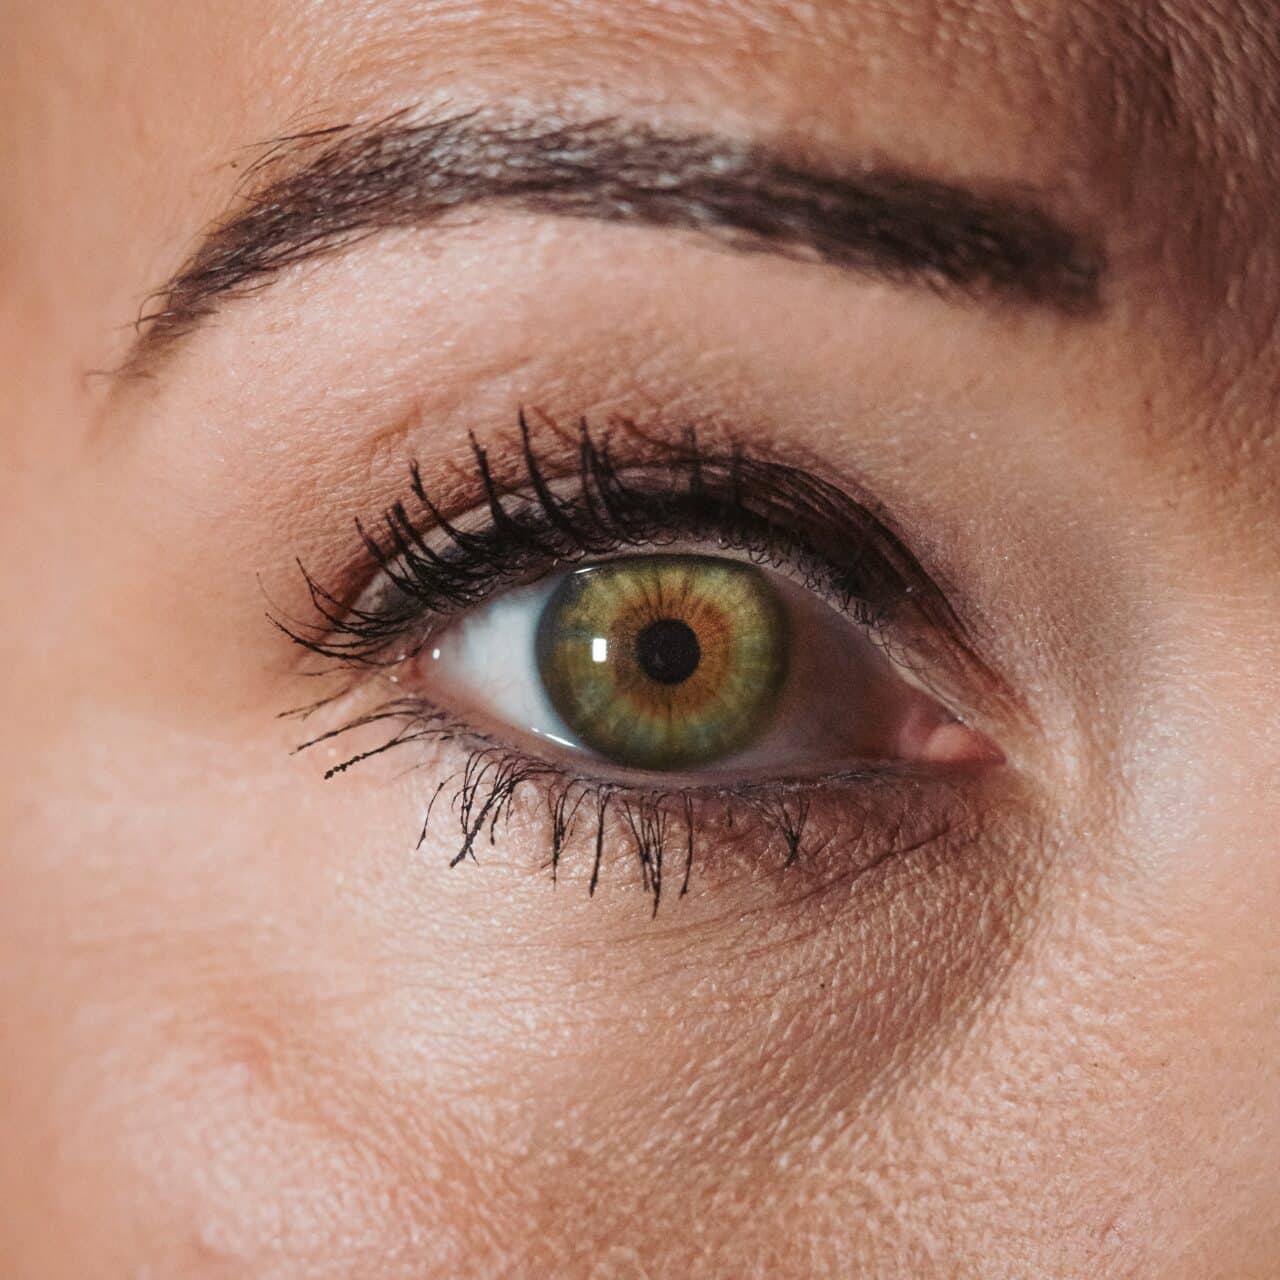
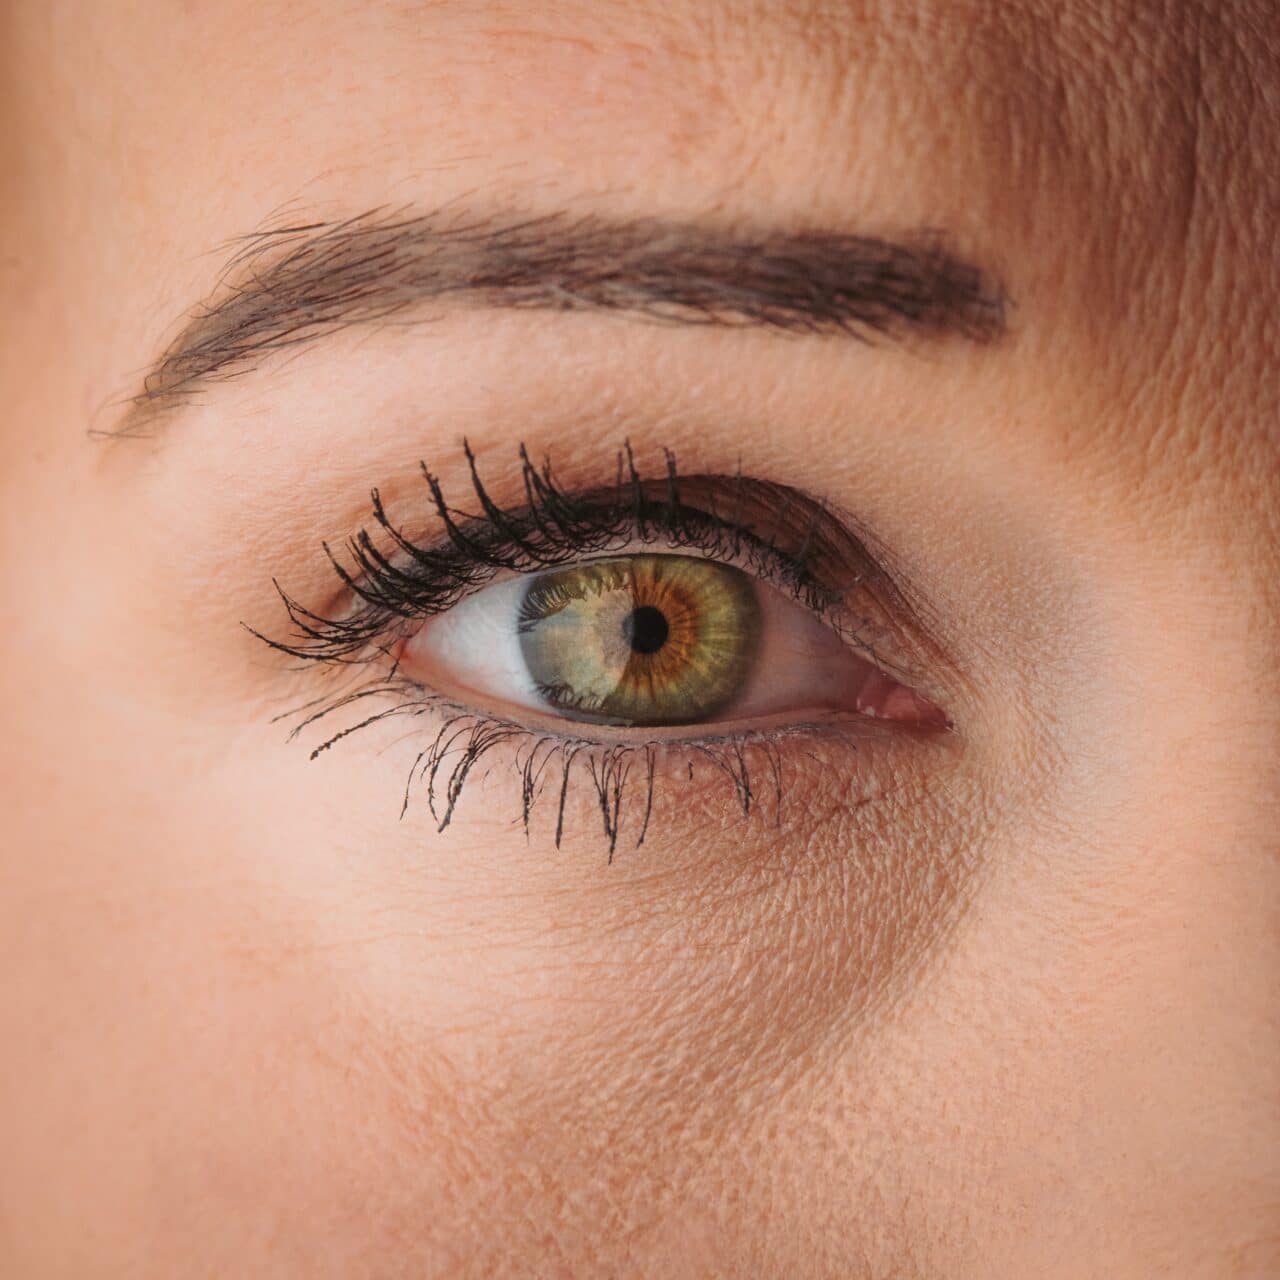
Ring light
Ring lights have become very popular in recent years, whether in beauty salons or for creating videos for social media. The reason is simple—it is still a relatively compact light that produces the effect of soft lighting.
You may notice the skin is lit from all sides, making the eye fully illuminated with a smooth texture.
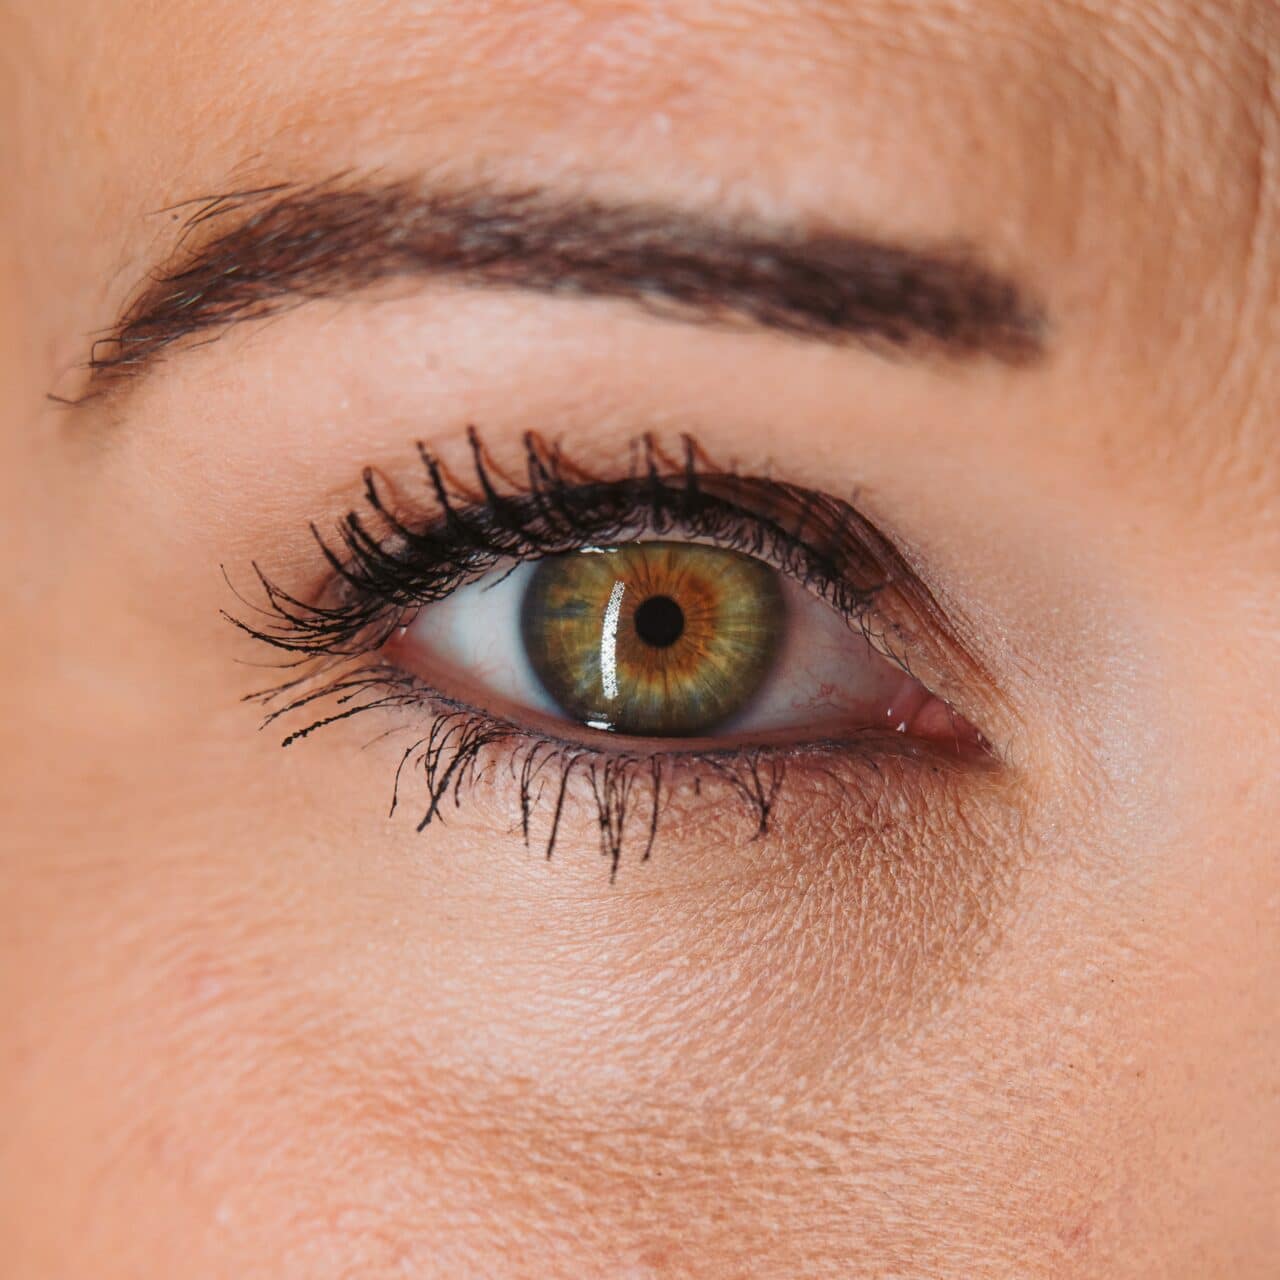
We also recommend you try placing the ring light from the eye at different distances. In the previous example, the reflection of the ring light covered the iris, but if you move the light a bit further away, it can outline the pupil.

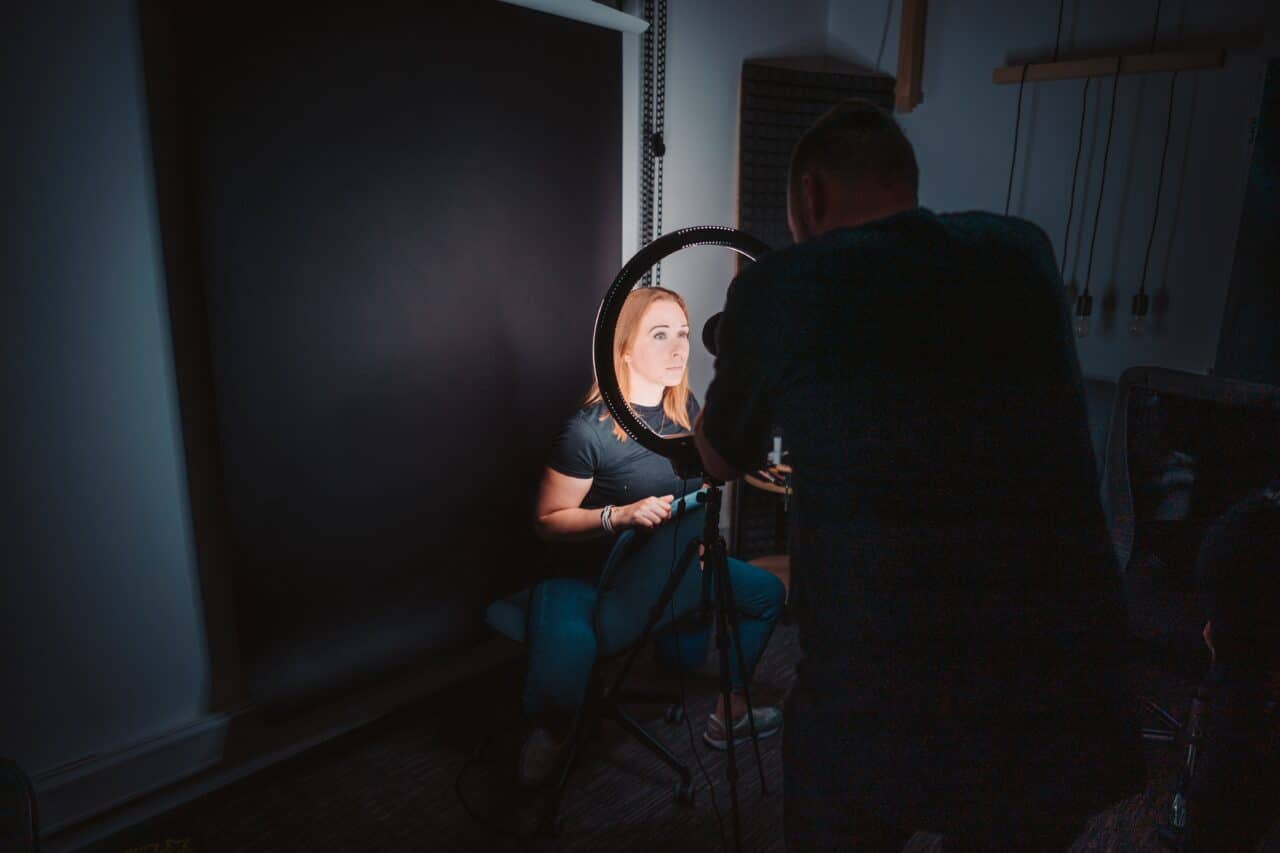
Soft light using a Softbox
The last and most complicated option is a classic LED light with a bayonet on a modifier with an octabox on top. Unlike the previous options, where you just place them on a tripod and turn them on, this option involves some unfolding, screwing, and dealing with larger dimensions of the entire setup.
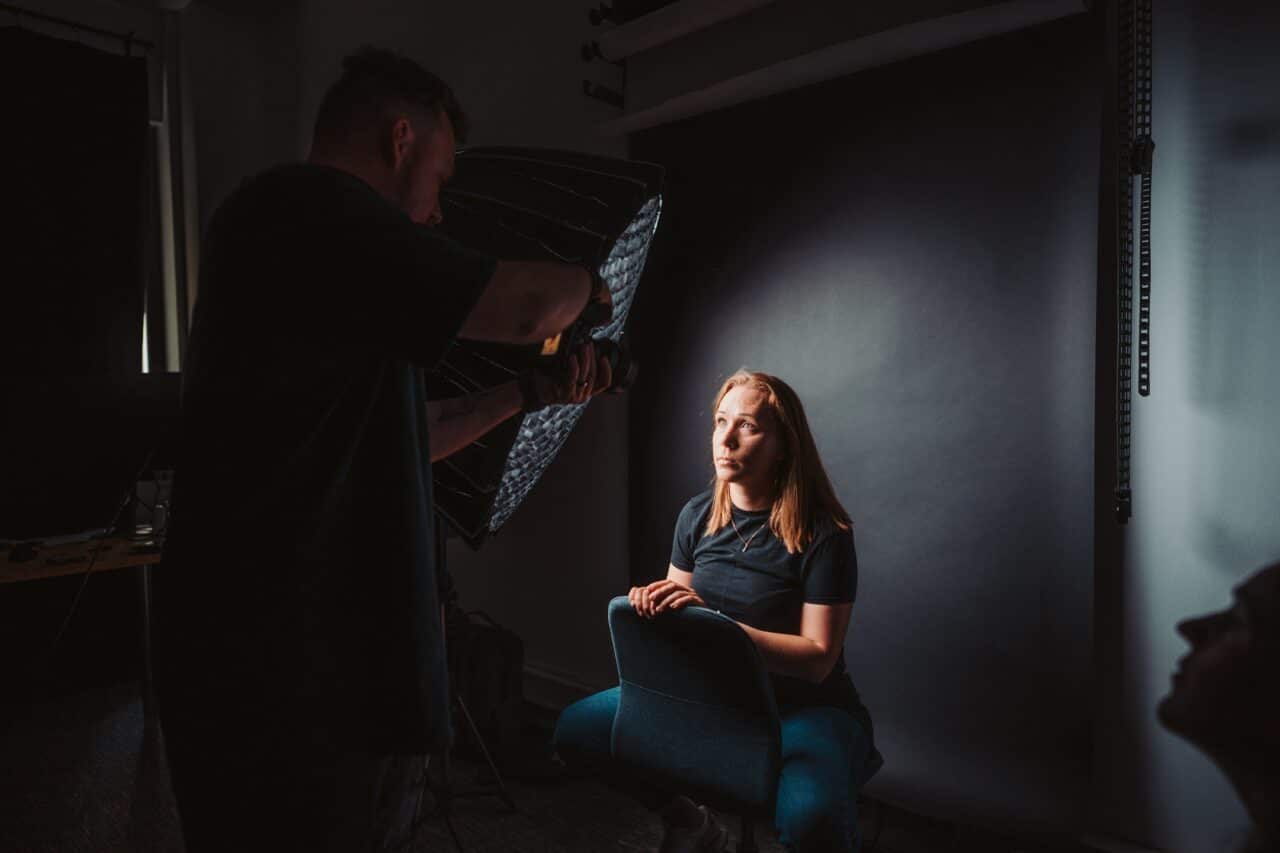
Our first attempt where the octabox has a honeycomb grid mounted and visible in the iris‘ reflection.
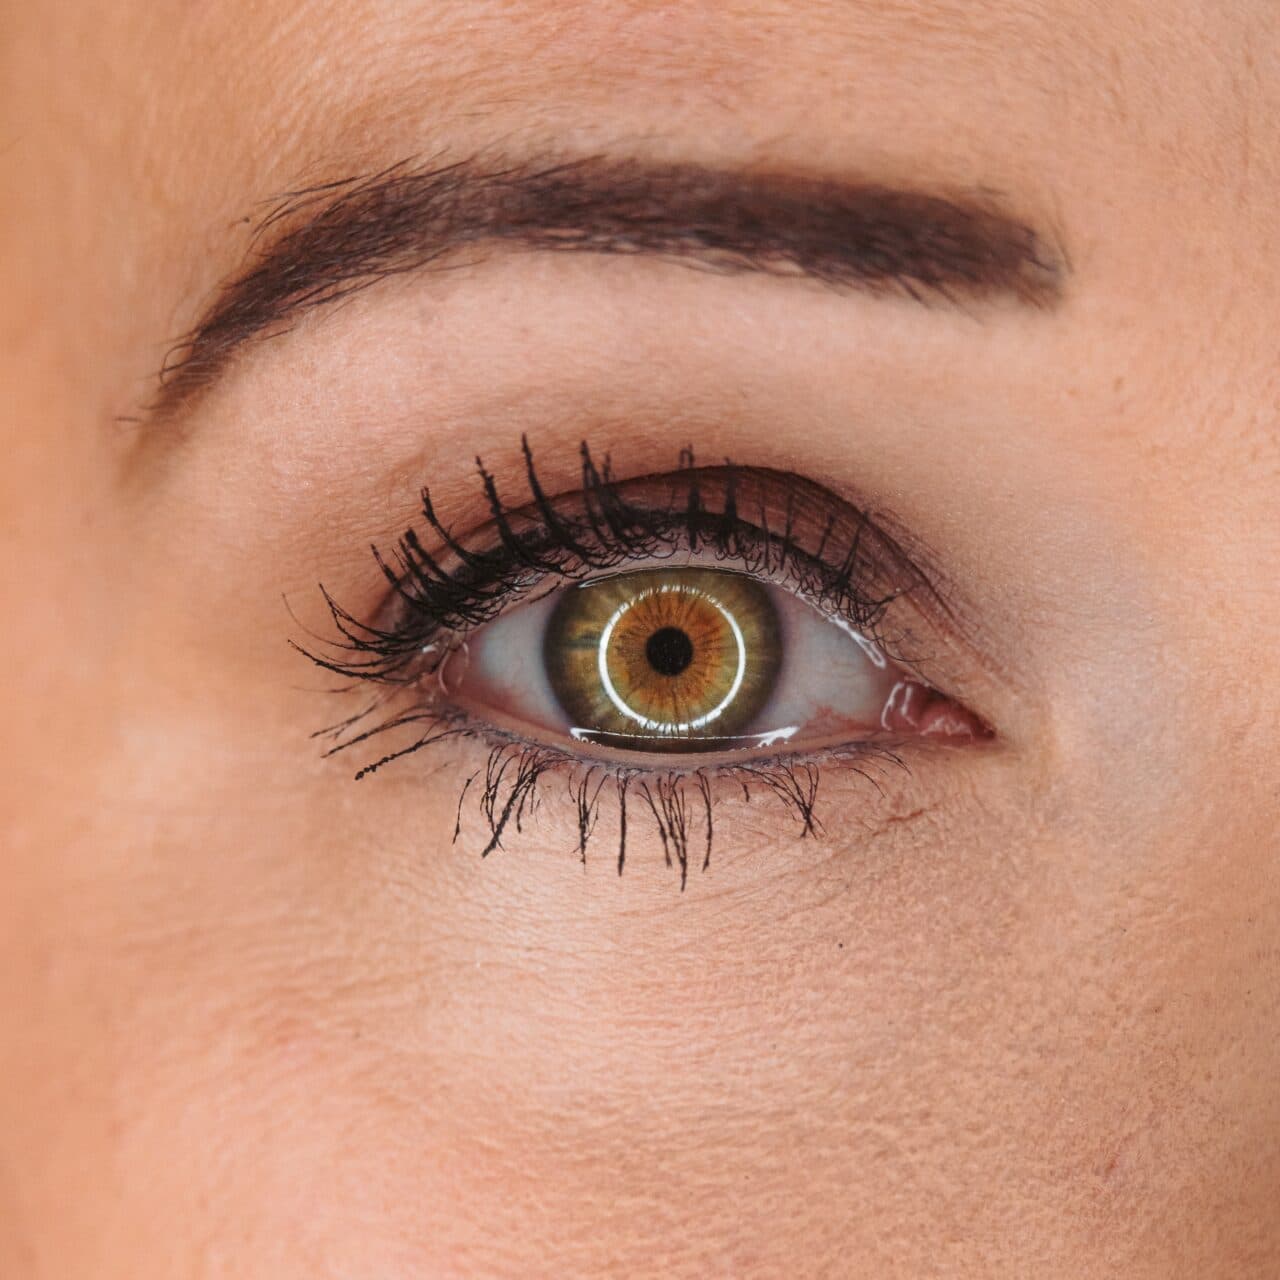
After removing the honeycomb grid that directs the light, make sure the octabox is shining only on the model and not on you. Otherwise, you’ll be visible in the reflection of the eye.
After removing the honeycomb grid, we get the least distracting and softest reflection yet. The details of the iris are still visible even beneath the reflection.
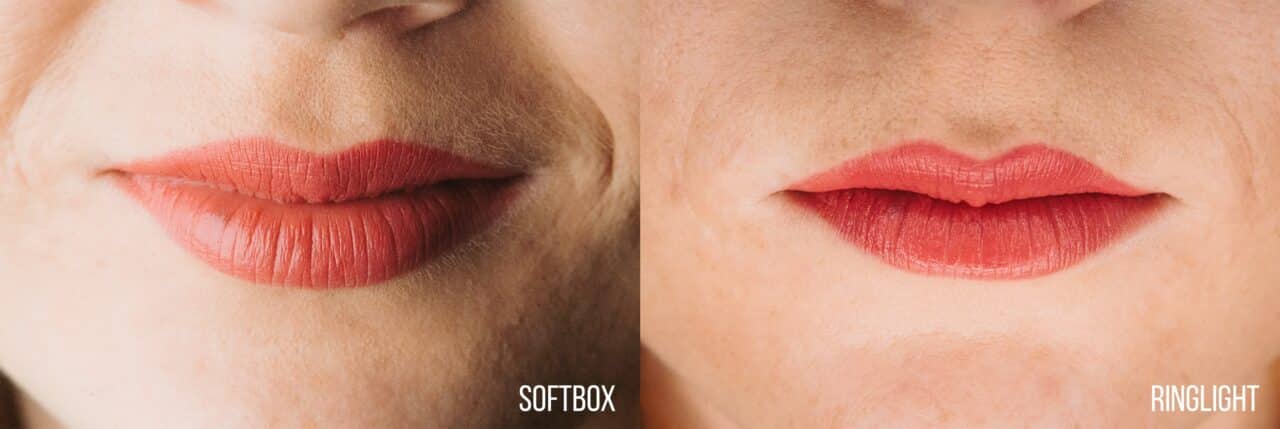
What about lips?
If you’re photographing makeup, eyes probably aren’t the only thing you’re worried about. That’s why we gave lips a try too. Here’s a comparison of the two best lighting options we found. The results are very distinct.
Give close-up photography of the eyes and lips a try yourself! Download Zoner Studio free for 7 days and start editing your photos right away limit-free with all program features.
There are no comments yet.