How to Resize Images
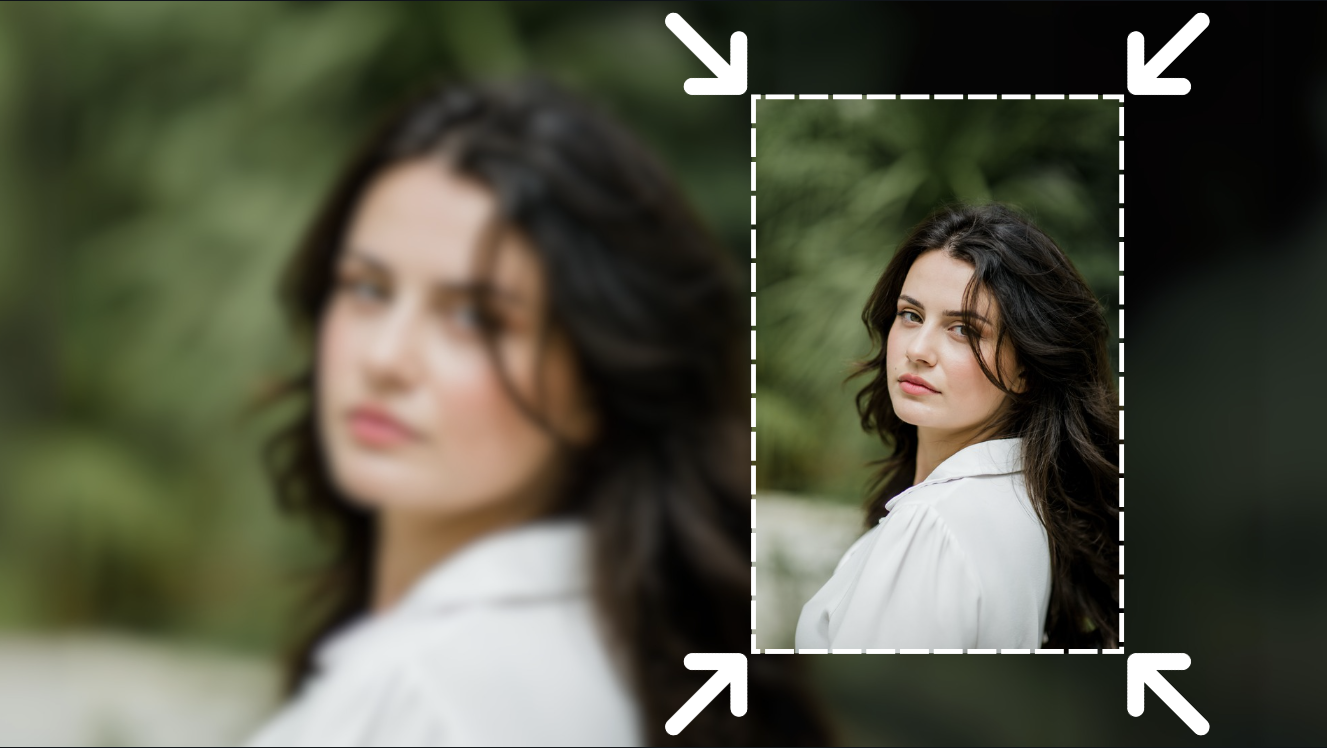
Zoner Studio is the perfect tool for resizing your photos—whether you want to resize one photo, or several hundred at a time. The size of photos may be too large and shrinking them can save space on your computer or speed up your workflow when posting and sharing online.
You can resize one photo or hundreds at once. This saves you space and time when uploading and sharing.

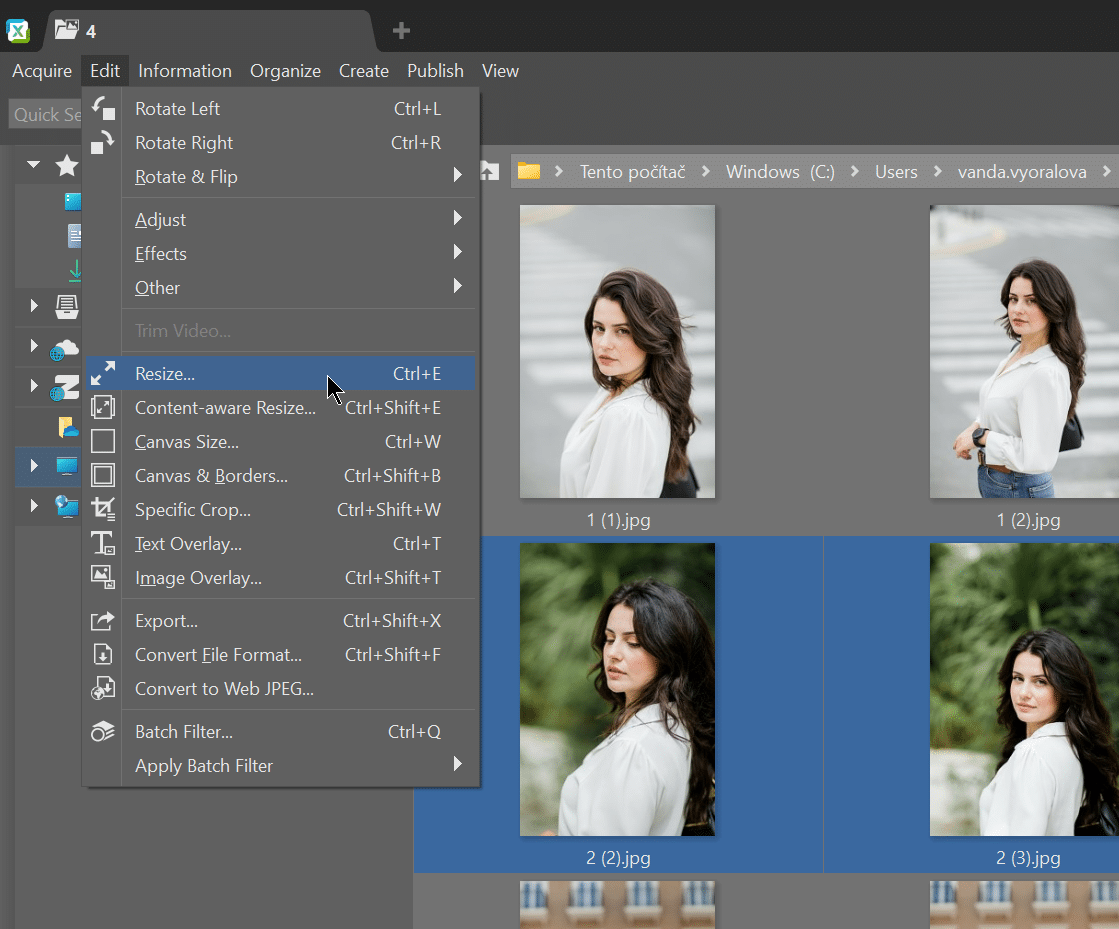
1) Choose your photos
Choose the photos you want to resize in the Browser. You can select multiple photos by holding the Ctrl key. Go to Resize using the keyboard shortcut Ctrl+E. You can also go to Menu > Edit > Resize.
2) Choose your dimensions
A window opens with all the selected photos in the left panel. Click through them to see the adjustments on all photos. You can compare the original and edited photo in the middle. The right panel is for choosing the resize settings. You can choose dimensions for sharing on social media.

3) Confirm changes
You can resize all photos to the same dimensions and click Apply to All or adjust the dimensions for each photo separately and click Apply.


Want to learn more ways to resize your photos? Read our article and learn 3 ways to resize your photos.
Resizing is one of the dozens of features you can find in Zoner Studio. It makes the job easier and saves you space on your computer or cloud storage.
Get the best out of your photos and download Zoner Studio free for 7 days with full access to all these features and more!
There are no comments yet.