Learn to Take Reflection-free Pictures Through Glass
Glass—a photographer’s worst enemy. It’s usually best to just avoid it. But what if you want to immortalize your favorite fish in an aquarium? Or photograph your brother with a tiger behind glass at the zoo? There are loads of situations like this. They all force you to learn to work with glass materials.
Glass throws reflections, which you can approach in two ways: You can either use them in your photos, and end up making them part of the composition, or try to take your pictures in a way that hides the fact that they were taken through glass. With a few basic tactics, you can suppress reflections very effectively and get high-quality photos even without special equipment.
Here are a few tips on how to get rid of unwanted reflections in pictures taken through glass.
Start Manually
On your camera, set either full manual mode (M), or aperture priority (A or Av), where you manually set the aperture and it automatically sets the exposure. Make sure to also switch to manual focus, because the automatic one might focus on things like smudges on the glass.
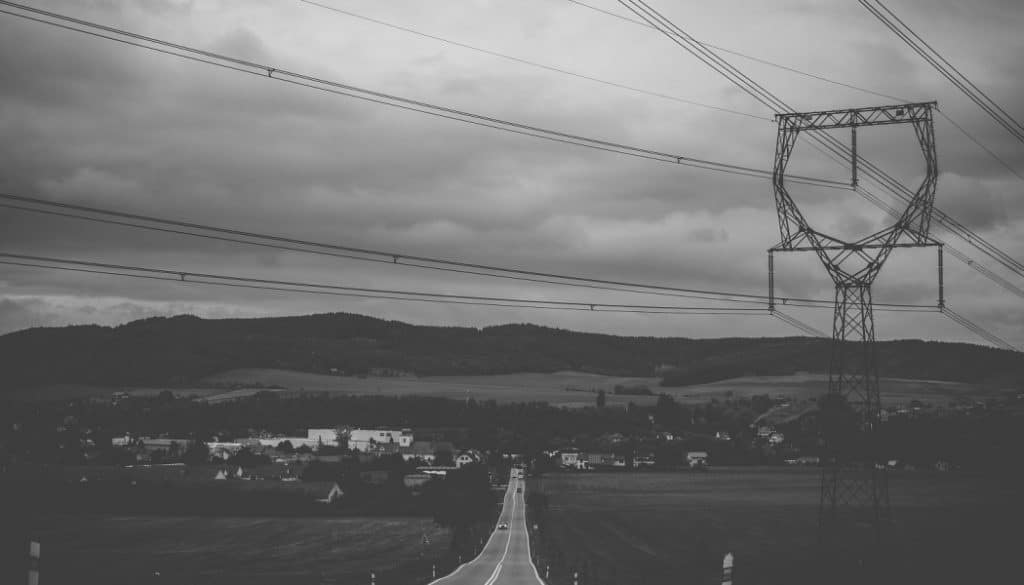
It’s all about light. So choose an ISO that meets your needs. I recommend a value from 100 to 200, to prevent noisy photos. But if you’re photographing the city at night, and the light conditions don’t let you use a low ISO, then feel free to raise it. Test for yourself to find the highest ISO your camera can manage. You might be able to reduce the ISO after lowering the f-stop, but that’s not always a good idea.

Nikon D3300, AF-S NIKKOR 18-55 mm 1:3.5-5.6 G II, 1/60 s, f/5.6, ISO 400, focal length 55 mm
And it’s good to keep a high f-stop anyway. The lower the f-stop, the more light shines through into the main lens, and the more background blurring you get. That makes all kinds of reflections stand out. So to reduce reflections, try to keep your photos as sharp as possible throughout. To do that, raise the f-stop up to the range of 3.5–5.6.
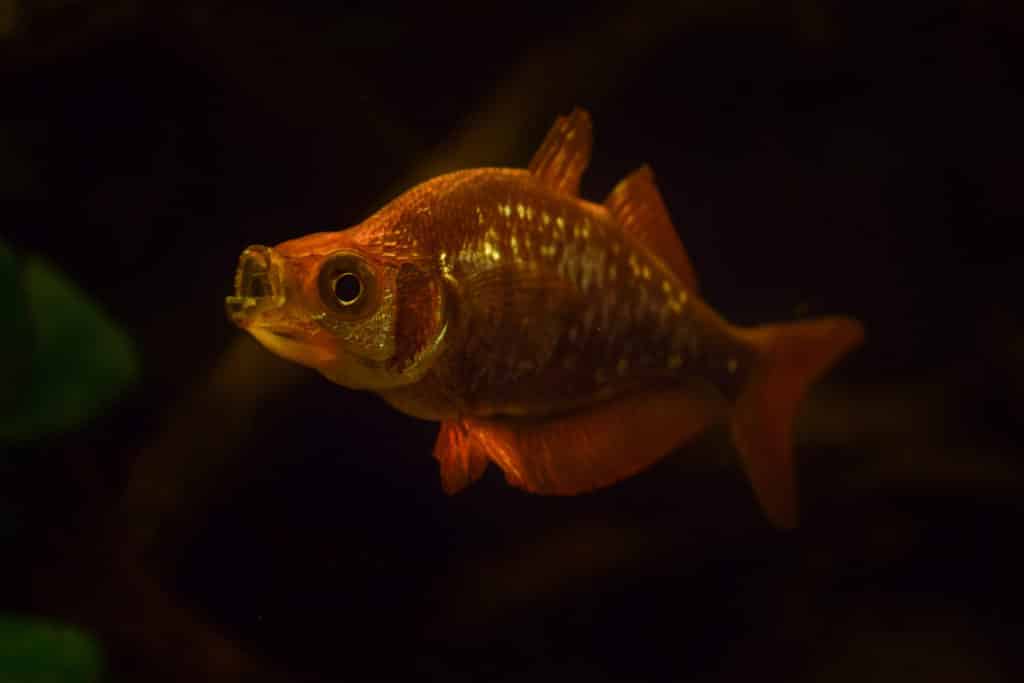
Nikon D3300, AF-S NIKKOR 18-55 mm 1:3.5-5.6 G II, 1/100 s, f/5.6, ISO 200, focal length 48 mm
Try It Without a Flash
Don’t use a flash. Artificial or excessive lighting throws ugly reflections in glass. Chandeliers, incandescents, and fluorescents all create white smears and stripes in photos.
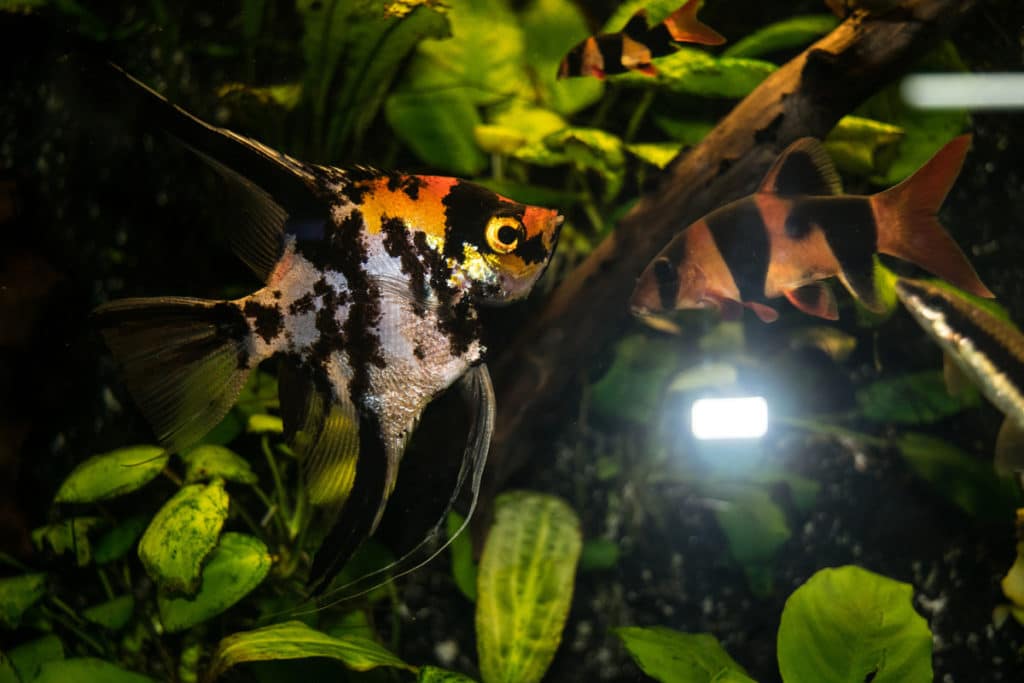
AF-S NIKKOR 18-55 mm 1:3.5-5.6 G II, 1/60 s, f/4.5, ISO 200, focal length 34 mm

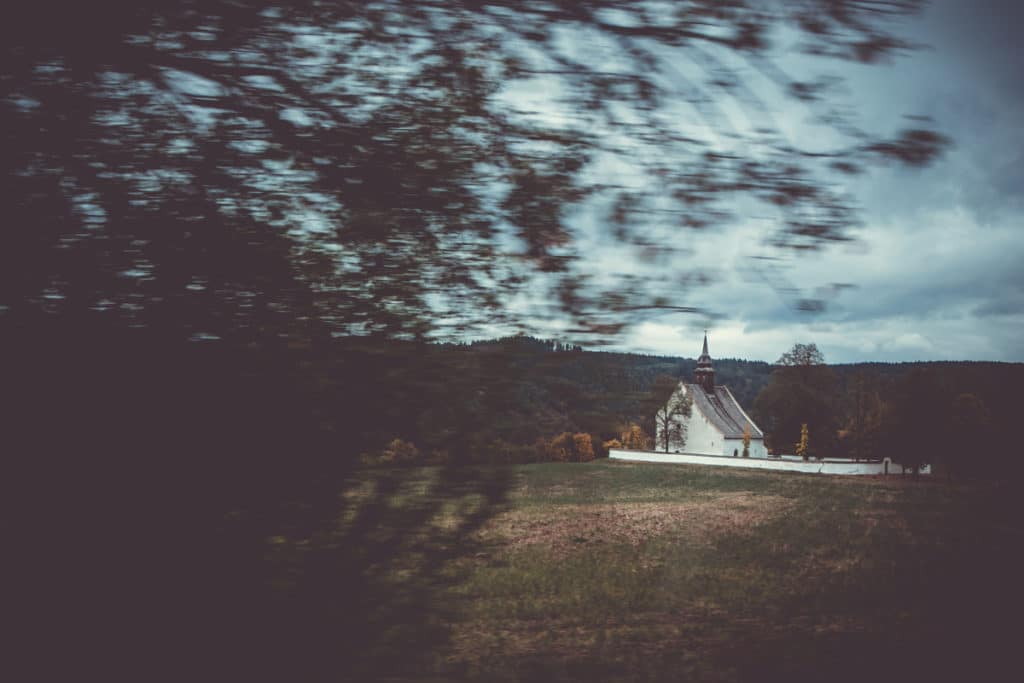
Nikon D3300, AF-S NIKKOR 18-55 mm 1:3.5-5.6 G II, 1/125 s, f/5.6, ISO 2500, focal length 52 mm
Nikon D3300, AF-S NIKKOR 18-55 mm 1:3.5-5.6 G II, 1/10 s, f/5, ISO 200, focal length 45
Straight at the Glass This Time
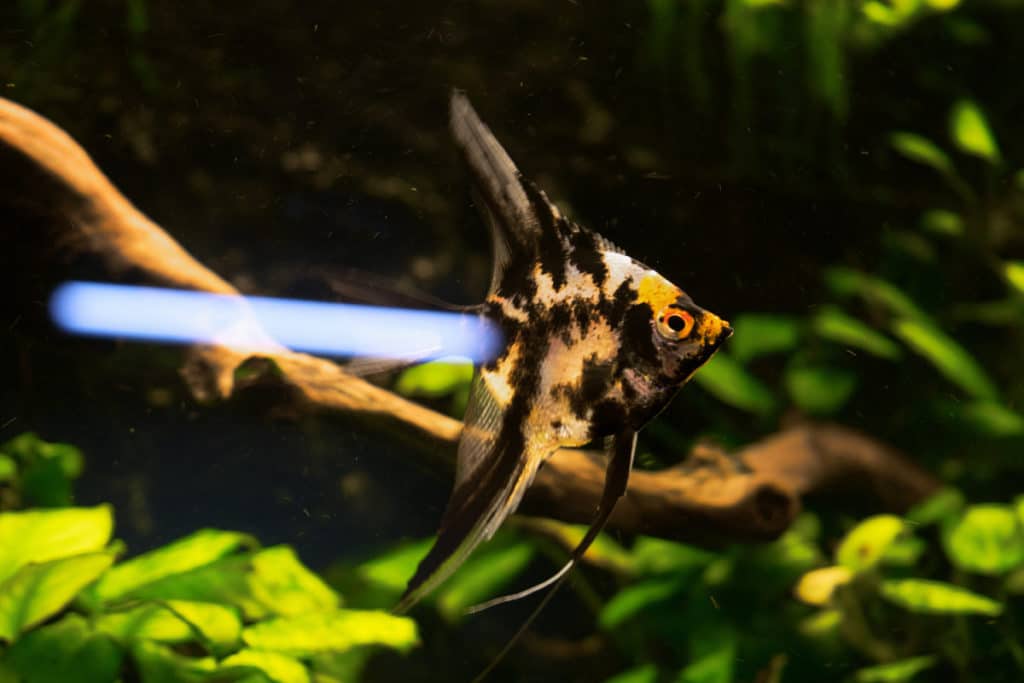
For my article on using reflections in glass I took almost all of my shots at an angle. That’s because I wanted to harness the light at my back, which was represented in the glass through various reflections. But this time I want to eliminate reflections completely. So I hold my camera precisely at a right angle to the glass.
Always pick the cleanest spot on the glass. And if you’re photographing motionless objects, don’t be afraid to place your camera against the glass. But for fish photos, this tactic doesn’t work. The camera—an unknown object—scares the fish and sets them swimming even faster.
If you own a lens hood, attach it to the camera and press it up to the glass. That eliminates unwanted reflections. If you don’t own one, try shielding the surroundings with the palm of your hand, or maybe a black t-shirt.

Nikon D3300, AF-S NIKKOR 18-55 mm 1:3.5-5.6 G II, 1/640 s, f/4.5, ISO 200, focal length 18 mm
Inside out or Outside in?
When shooting in rooms where you can approach glass from either the outside or the inside, I strongly recommend trying both sides. Usually one side reflects much more light. Trying both sides tells you which side that is. In my last article, I photographed a friend from the outside of a shop window, where there was bright light that gave me lots of reflections. When we traded places and I shot from inside, where it was mostly dark, those reflections practically melted away.

Nikon D3300, AF-S NIKKOR 18-55 mm 1:3.5-5.6 G II, 1/125 s, f/3.5, ISO 100, focal length 18 mm
Polarizing Filters
The last major tool I should name is polarizing filters. Some people can’t imagine photography through glass without one. Others say there’s no big difference. The purpose of a polarizing filter is to help you to capture colors more faithfully by making them more saturated and vibrant. It eliminates haze and reflections and darkens very bright places overall. It’s placed directly on a camera’s lens. So think about getting one if you have a DSLR.
However, you don’t always need special equipment. Often all you need for good picture is a camera, a few tricks, and a little thought. I hope that at least some of the tips above have helped you. Don’t forget to show off your photos once you’re done!
D Cobley
Put the camera with its lens housing directly onto the glass surface. The glass then becomes a clear filter.