Macro Photography: Proper hardware you will need
Thanks to modern technology, the tiny world of plants, animals and even machines can be now easily captured like you’ve never seen it before. Macro photography is becoming more and more popular as a genre and people will always be fascinated by realms that are missed at first glance.
To enjoy macro photos that will impress you and your friends, you need to keep a few well-established rules.
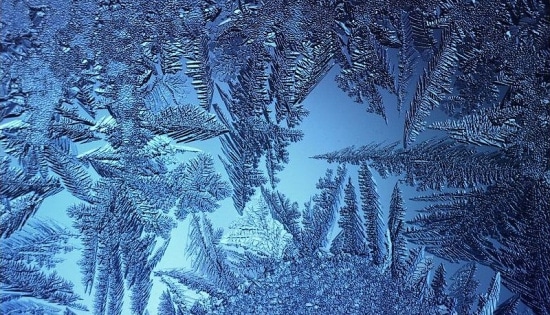
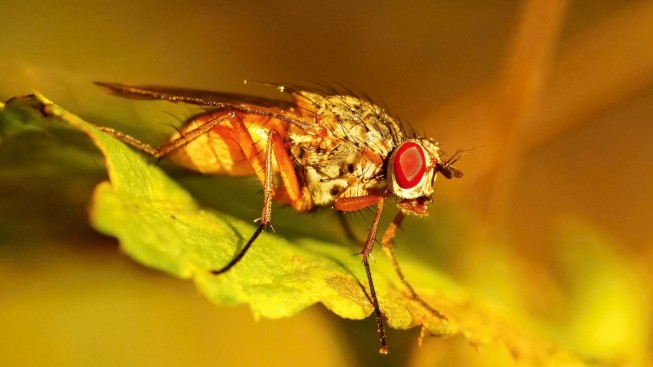
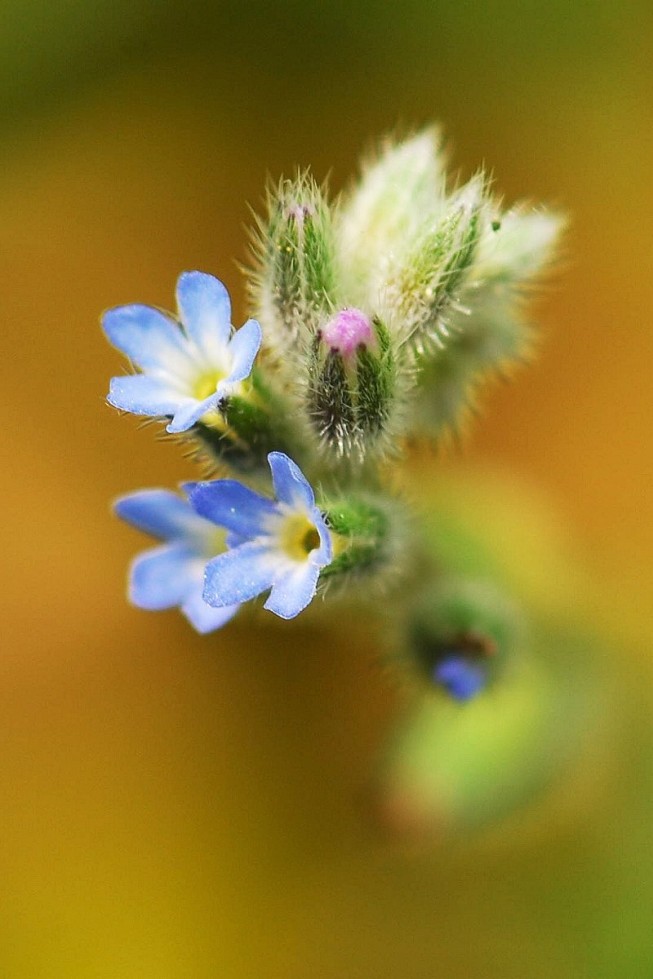
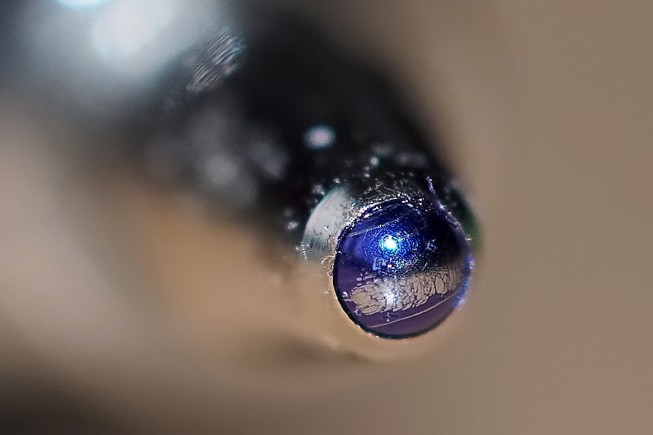
Macro photography shows small objects magnified by about ten times, and enables viewers to take a look at well-known plants and animals in an entirely new light. It is the magic of the unknown that is making macro photography attractive and ever more popular even for amateur photographers. Even everyday objects can look interesting when viewed from close up.
Lenses build for macro
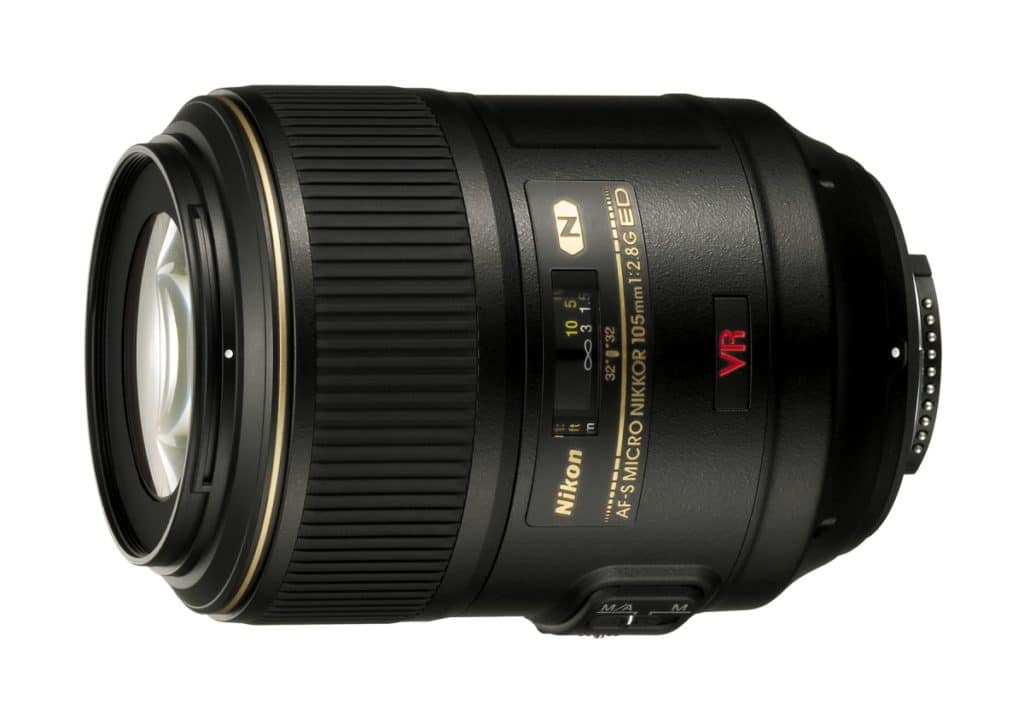
It really does not matter what kind of camera you have, because many modern compacts have a preset created precisely to support macro photography, able to handle distances as small as a centimeter. But of course the ideal equipment is still a DSLR with a suitable macro lens or lens attachment. Still, there’s nothing stopping you from getting great results on a shoestring.
Lenses made specially for macro photography are not exactly cheap, and thus we see out their macro attachments and extension tubes. The former are attached to a lens just like you’d attach a filter: by screwing them onto the front, where they actually work like a magnifying glass and enable focusing to a shorter distance than the lens would on its own.
Extension tubes are placed between the camera body and the lens, pushing the lens plane away from the sensor plane and once again enabling one to focus to a shorter distance. The disadvantage of extension tubes is that they reduce the lens speed of the system overall, as well as amplifying any defects the lens may have.
Macro converters work on a similar principle; these are essentially extension tubes with an optical element included, which doubles the lens’s focal length while also reducing the shortest focal length available to the lens.
But you need more than just a good camera. You also need enough light. Considering the importance of sufficient light for macro photography, a tripod is a welcome aid. It’s also welcome because you are photographing an object from extremely close up, yet you still want as always a well-composed shot. That’s difficult to achieve when holding the camera by hand.
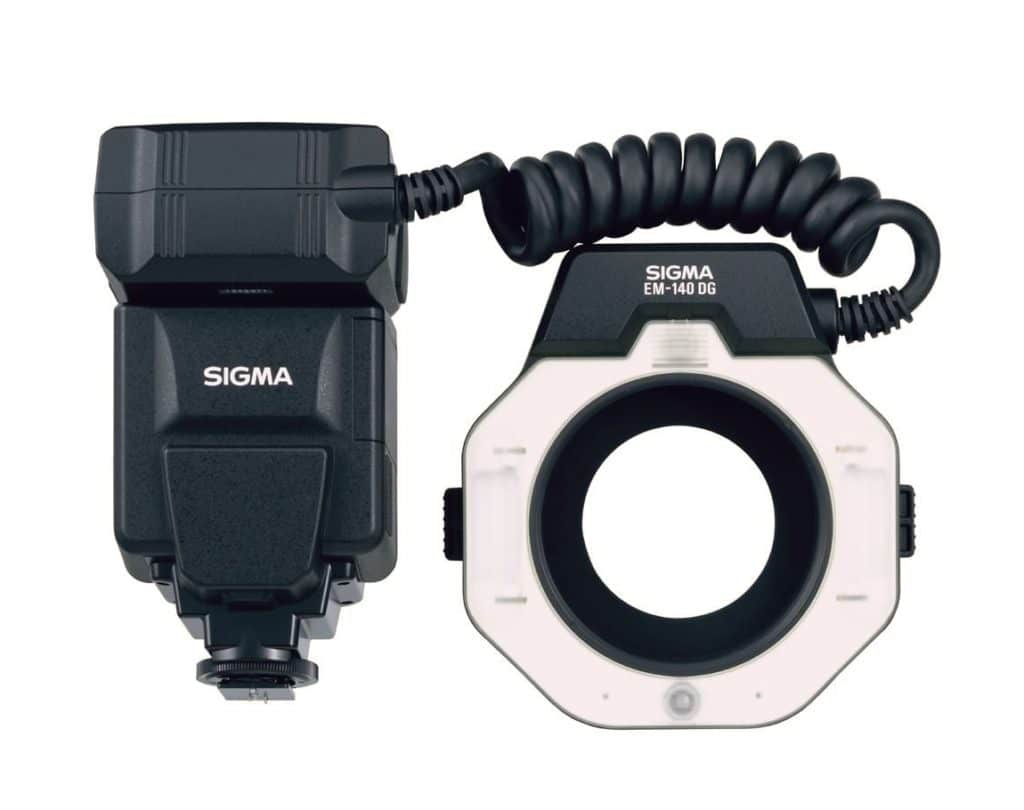
The use of a flash is highly appropriate for macro. There are special flashes for DSLR cameras – “ring flashes” specifically for macro. These illuminate the subject from all sides, eliminating problem shadows. You can also, of course, use a classical flash set. Place it above the object to be photographed and activate it remotely. Naturally you cannot use a built-in camera flash: it’s badly placed relative to the lens and the subject, and it’s also too intense.
You are often just an inch away from your subject during macro shots, so seriously, watch out for shadows, both from you and from your camera lens. One very effective way to eliminate shadows is by changing the camera angle. When using outdoor light for macro, shoot in the morning or the evening. Do this because daylight is sharp light and throws hard shadows.
Stay Indoor or Go Outside?
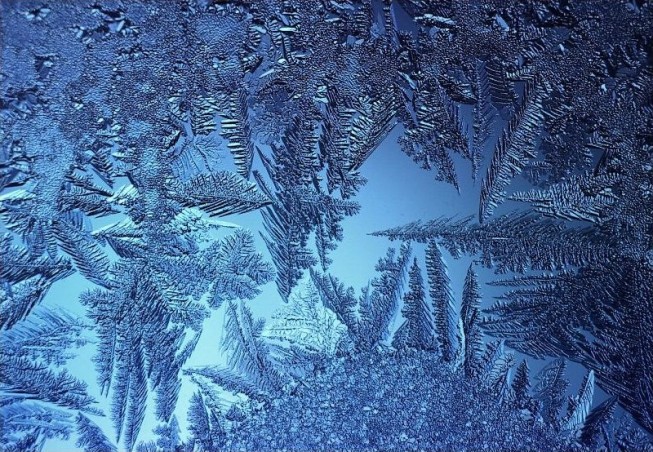
When first starting out with macro, shoot indoors. You can even just use a desk lamp and start shooting. Of course there are a lot more interesting subjects awaiting outdoors. The best subjects have a visible structure; examples here are spiderwebs, dewdrops on leaves, dandelion flowers, etc. A good transition area for moving from inside macro to outside macro is greenhouses, where you can find interesting subjects without having to worry about the weather. (The wind is not your friend.)
Whith a little help from a good friend
Reflectors are a very practical aid for outdoor photography. You can use them to light a scene. Silver reflectors are a trusted classic, as they reflect more light and do not tint like gold reflectors do. Neutral backgrounds are very important for macro photography. This is because they allow you to “unpin” the photographed object from the background and focus the viewer’s attention on it.
But nature does not always provide for the kind of composition that gets you a neutral background. For this reason you should carry a square of white paper or several pieces of colored paper to use as shot backgrounds.
Sharpness First
Sharpness is fundamental for macro photography. The object you’re photographing must be perfectly sharp in order to catch the viewer’s attention. You also need to consider the fact that you don’t want a sharp background. Thus a well-chosen depth of focus is the way to go, and that means configuring the shutter. For macro photography, classical depth of focus is on the order of a few centimeters, so think carefully about where you are focusing.

If you want a whole dandelion flower to be sharp, try focusing slightly in front of the center of the flower. If you want the center of the flower, with the seeds, to be sharp, then focus on the seeds—ideally on the closest one.
During computer editing you can fix minor sharpness problems, but you cannot count on the editor to work miracles. Incidentally, besides sharpness, you should also digitally adjust brightness and contrast to maximize the picture’s attractiveness.
There are no comments yet.