Manual Mode—Different Settings for Different Situations
Learn how to set your aperture, shutter speed, and ISO for a variety of shooting situations—from landscapes and portraits to sports and macro. You’ll gain confidence in handling your camera’s settings so you’re ready for just about anything. Manual mode gives photographers the most control. It’s not the easiest option, but it helps you understand the rules of photography so you can better decide when it makes sense to use manual mode and when another mode might serve you better.
One of the biggest advantages of full manual mode is its consistency. All the photos in a series will have the same brightness, and you’ll keep the same level of noise and depth of field. Of course, you won’t want to use it in rapidly changing light, like when the sun keeps ducking in and out of clouds.
Different types of photography call for different priorities, so it’s a good idea to adapt your settings accordingly. Here’s how to approach typical situations and set your camera for the following types of photography:
- Landscapes
- Sports and action
- Animals
- Portraits
- Groups
- Family events
- Product photography
- Macro
Landscape photography
In landscape photography, a higher f-number is essential to keep everything, from the foreground to the horizon, as sharp as possible.
It’s standard to keep your ISO as low as possible, which works well in broad daylight, even with a higher f-number. But, that combination can mean slower shutter speeds of several seconds during the early morning or late evening hours. A tripod, or at least very good image stabilization, can help.

However, there’s an exception—In strong wind, you need to keep a reasonable shutter speed so that everything doesn’t turn out blurry. Similarly, a powerful telephoto lens can amplify motion blur caused by air movement. With longer exposures, you’ll wonder why the image looks so out of focus.
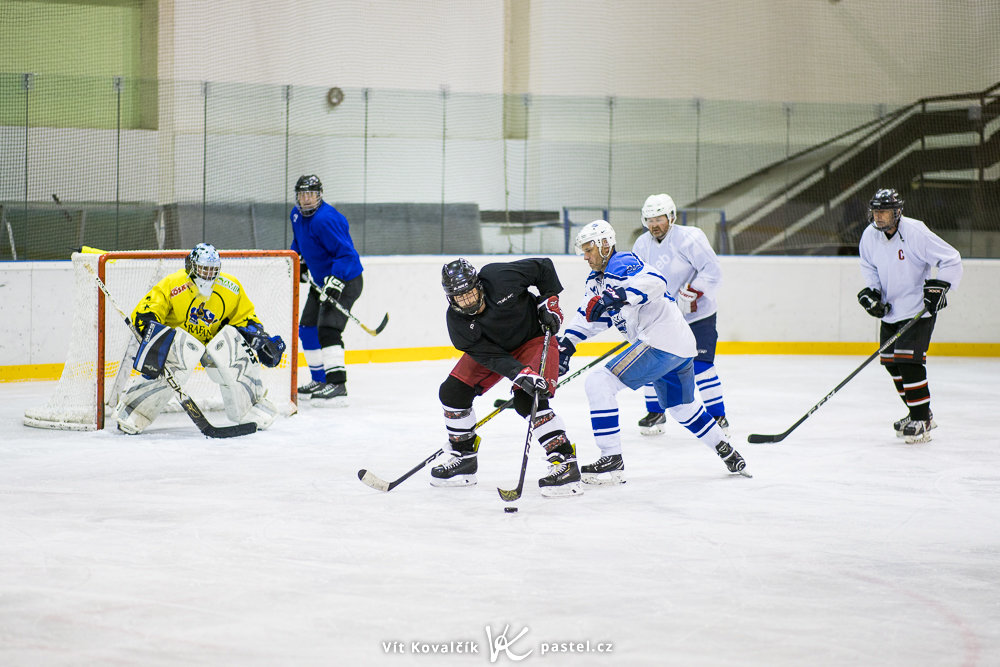
Sports and action photography
At the other end of the spectrum are sporting events, dance shows, and even fast-moving toddlers.
The most important thing is very fast shutter speeds. I’d start with at least 1/250s, but you can easily get into the 1/1000 – 1/2000s range, depending on the type of movement and how much of the frame it fills.
You’ll probably need to increase ISO much more than you’re used to. That’s just the price of freezing motion.
Setting the right aperture can be tricky. While it’s best to use the lowest f-number possible to let in the most light and keep ISO down, it also demands precise focusing. In team sports, you may want more than one player in focus. So slightly stopping down (using a higher f-number) can help.
Canon R5, Canon EF 85/1.4, 1/640s, f/1.4, ISO 320, focal length 85mm
Animal photography
Anyone with a good telephoto lens has probably tried photographing animals, whether at the zoo or in the wild.
The settings you use depend on the situation, but you’ll often use a low f-number and fast shutter speeds. If you’re photographing a resting animal, slower shutter speeds are fine, but for action shots, aim for at least 1/500s or faster, if possible.
Animal photography usually happens during the day, so keeping ISO low isn’t a problem. However, the situation changes during sunrise or sunset, when you’ll need to bump ISO up.
Canon R5, Sigma 150-600/5-6.3, 1/1250s, f/6.3, ISO 3200, focal length 484mm
Portraits
Portrait settings vary, but the classic portrait look comes from using a low f-number for a beautifully blurred background. Fortunately, your subject is usually cooperative enough to stay still, so a shutter speed of around 1/100s or faster is enough. Set the ISO to a lower value accordingly so the image has the proper brightness.
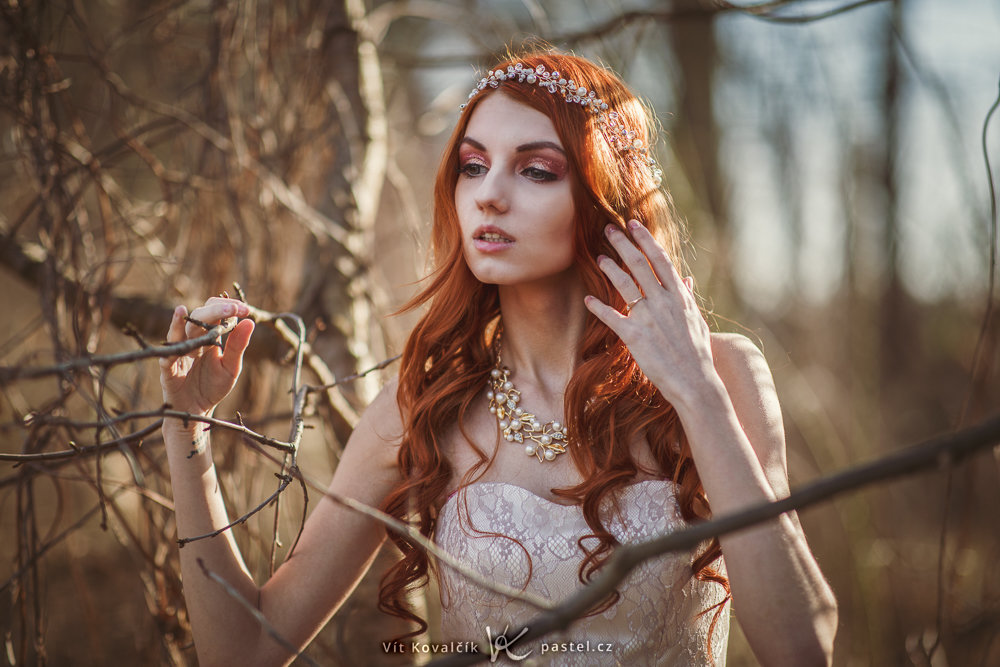
Canon 5D Mark IV, Canon 85/1.4, 1/3200s, f/1.4, ISO 100, focal length 85mm
Paradoxically, too much light can be a problem, especially with fast lenses (f/1.4 or f/1.2). Many cameras top out at 1/8000s or 1/4000s, and even that can be too long on a bright day, leading to overexposed shots. The solution depends on the equipment you use. Generally, an ND filter can help, but it’s not always available. Try searching your camera’s menu first to see if you can enable the use of a faster electronic shutter. Worst case scenario, you’ll have to give up on the extremely low f-numbers or move into the shade.
Groups of people
Compared to single portraits, group photos require greater depth of field. Otherwise, the people in the back rows may end up blurry.
Try to line people up in a row at a similar distance from the camera. If that’s not possible, increase the f-number. But that may mean longer shutter speeds or higher ISO.
Outdoors in daylight, that’s no big deal. But for indoor settings, like a dim restaurant where everyone is sitting around a table, it’s much trickier. A flash can help but preferably directed at the ceiling. Otherwise, your subjects will be unevenly lit. Without additional lighting, you’ll have to raise ISO significantly.
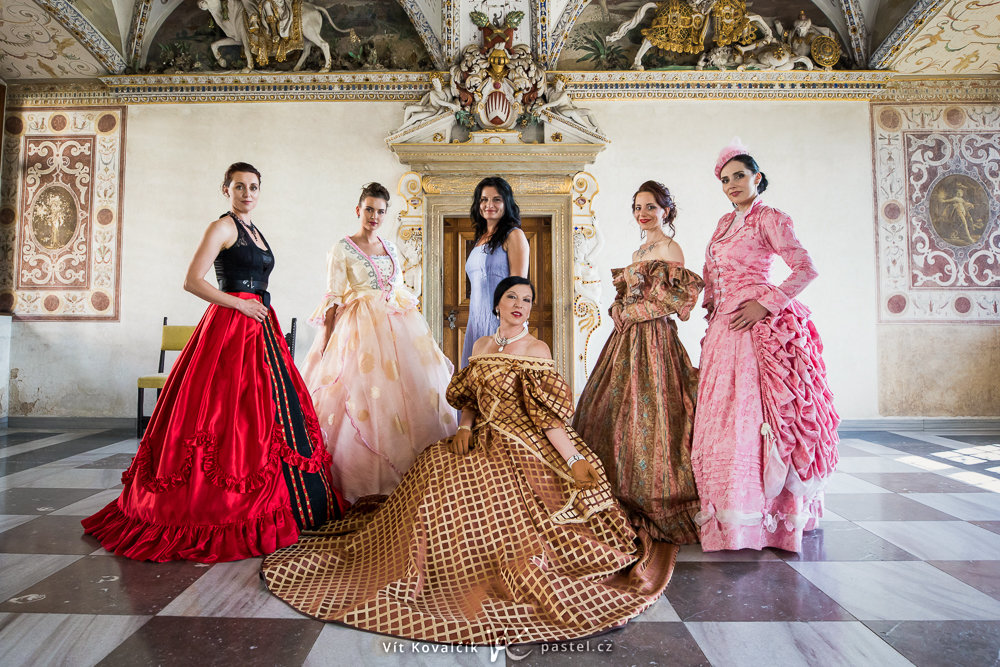
Canon 5D Mark IV, Canon 16-35/2.8 III, 1/160s, approx. f/5.6, ISO 800, approx. 25mm
Family events
Family events usually mean switching between the two situations described above.
Fortunately, many photos will be portraits, which means low f-numbers and hopefully tolerable ISO. But for group photos, raise your f-number as needed.
When your camera doesn’t get the color temperature right, it’s a good idea to step in and manually adjust the white balance to suit the conditions. Alternatively, shoot in RAW format so you can fine-tune any color issues later.
Product photography/items for sale
Another opportunity to pull out the camera is when you’re preparing items for sale. Of course, it depends on what you’re selling. But if the item fits on a table, using a higher f-number is a good idea. This way, potential buyers can see the entire item in focus, not just the front.
To avoid using high ISO, shoot near a window rather than in the depths of your apartment where there’s only a dim light bulb. Another way to achieve natural-looking shots is with the flash pointed at the ceiling, but not everyone has a flash handy.
Sony A7R V, Tamron 35-150/2-2.8, 1/200s, f/10, ISO 400, approx. 93mm
Macro photography
Macro photography can be thought of as an extreme version of product photography. You need a high f-number, and even then, it still may not be enough. Experienced photographers solve this by taking a series of shots at different focus points on a tripod and stacking them later. But I’m digressing, and for the average photographer, it’s easier to just find a well-lit spot, ideally outside. This way, you won’t need to raise ISO unnecessarily, resulting in lower image quality.
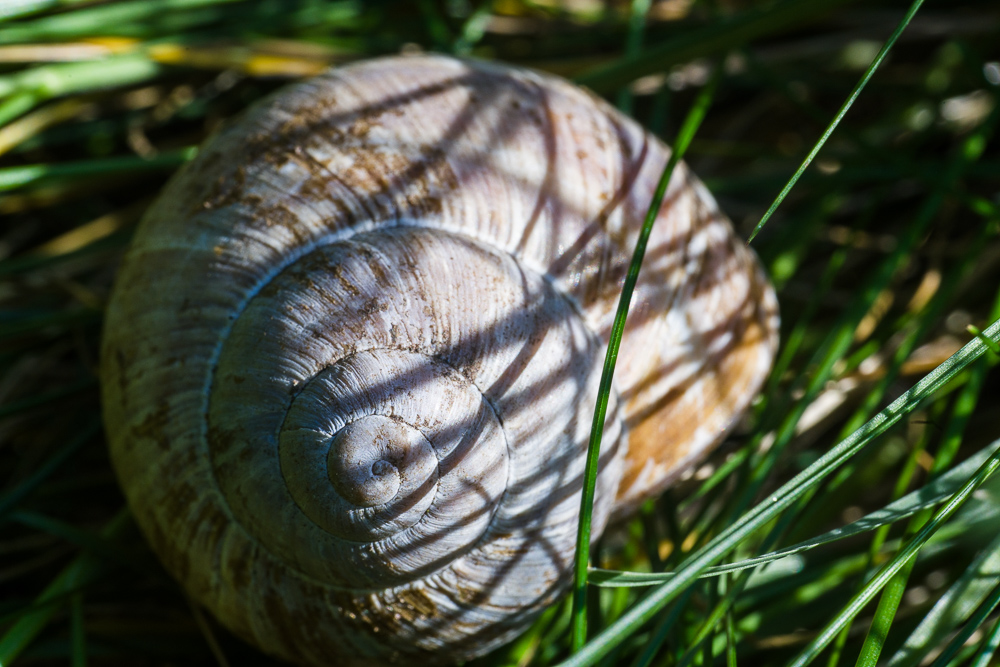
Sony A7R V, TTArtisan 100/2.8 Macro, 1/125s, f/16, ISO 640, focal length 100mm
Manual mode as a photography exercise
We’ve only scratched the surface, but hopefully you now have a clearer picture of how manual mode works in various settings. You don’t always have to use it, but it’s handy to have it mastered because it’s reliable and prevents the camera from changing any settings without your knowledge.
Manual mode is also great practice. It teaches you how aperture, shutter speed, and ISO work together. Then, you can switch to semi-automatic modes and evaluate how well your camera is making decisions for you and whether there is room for improvement with a few manual tweaks.
There are no comments yet.