Photo Cropping: The Simple Trick for Better Composition and Easier Printing
Improving composition and removing distractions from a picture’s edges. Or taking your first step towards prints. Cropping can amount to all of this. Besides improving composition, you can also use cropping to give a photo a precise ratio of sides. And that can be essential when you’re printing.
A sheet of paper has just one specific ratio of width to height, and if you ignore it, your printer will do a blind, automatic crop in your name, so your photo prints may not look very good. And the same goes for the big photo websites. Meanwhile, these ratios differ for different paper formats… and differ even more among websites.
So it’s good to have quick access to a few common ratios of sides for cropping, plus the ability to add more. You’ll find exactly that in the Crop and Rotate tool (C) available in Zoner Studio, inside the Develop and Editor modules. It works nearly the same in both of them, but its use in practice differs.
Cropping Photos in Develop
In the Develop module, you’re working with non-destructive edits. Until you export the picture after you’re done, your crop is just a temporary edit that’s only visible in Zoner Studio.
Because of this, you’ll only really want to use cropping in Develop if you don’t want to overwrite the original photo. You’ll mainly make use of it when editing photos that you shot to RAW.
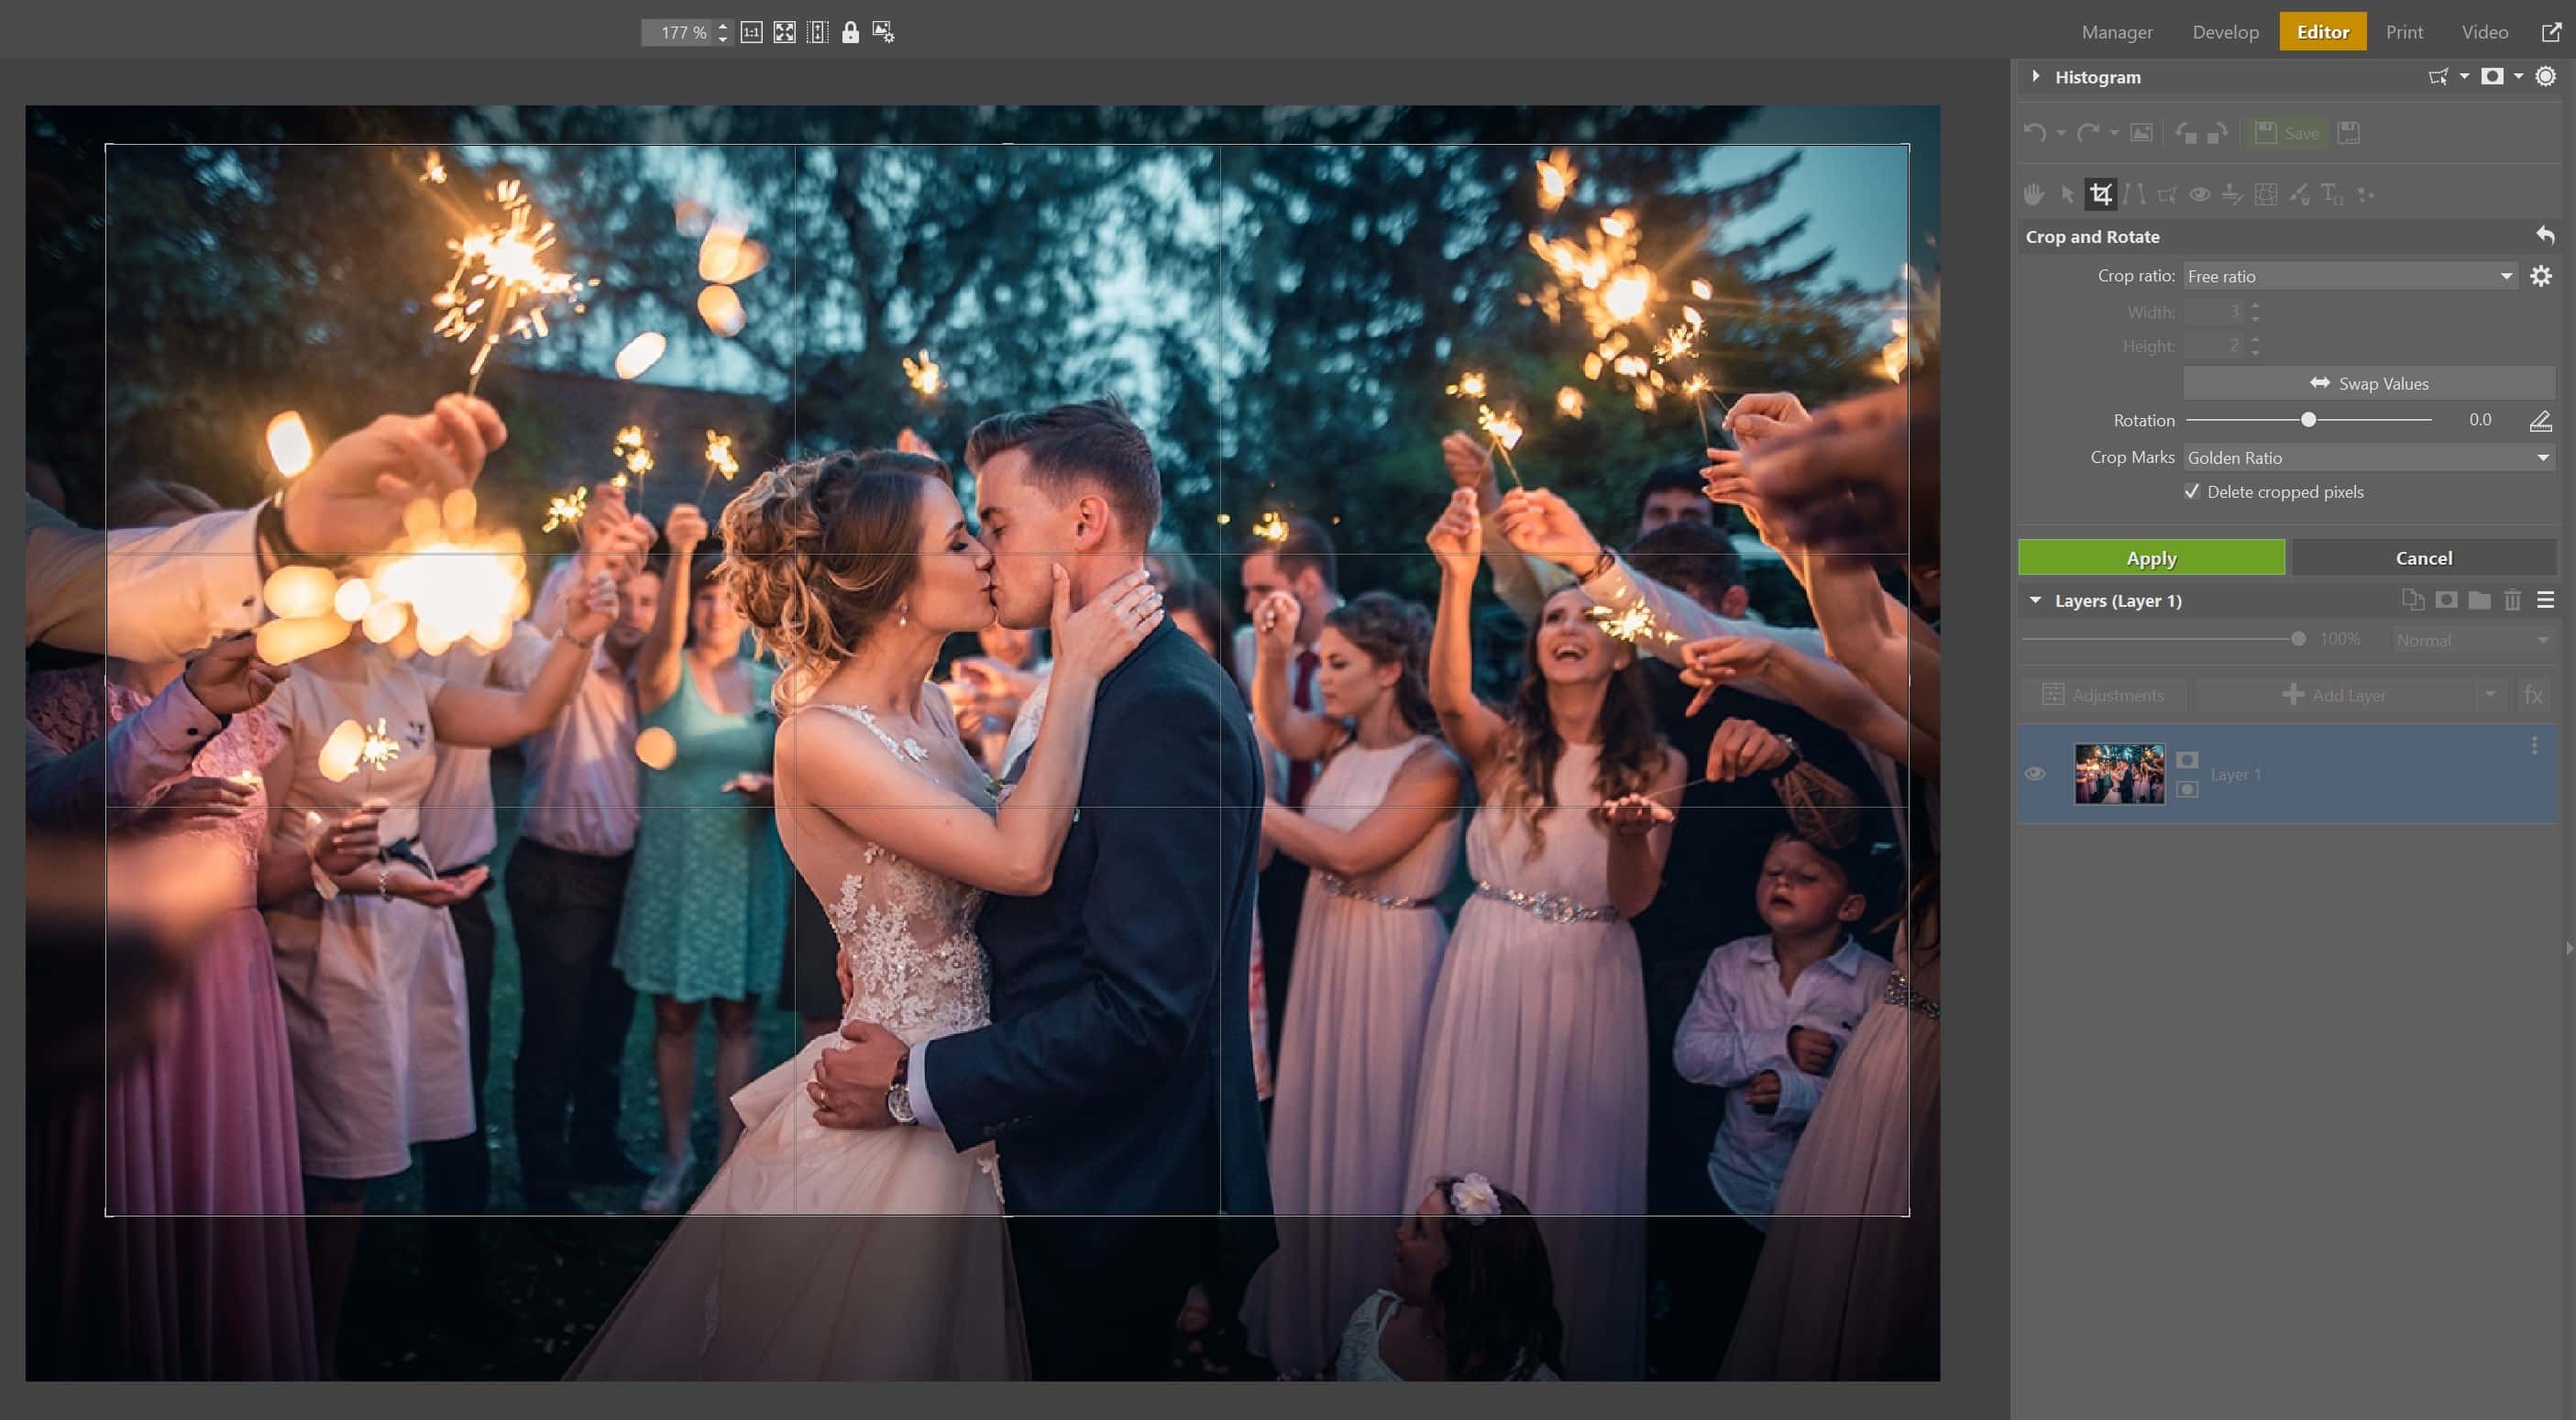
First, activate the Rotate and Crop (C) tool. Then click and drag in the photo to set the area crop.
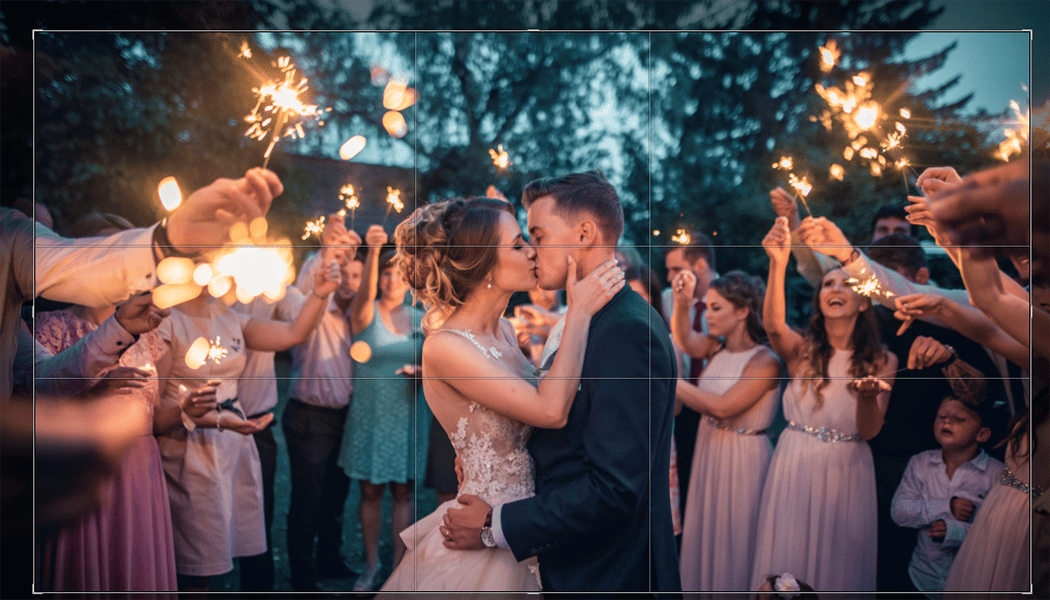
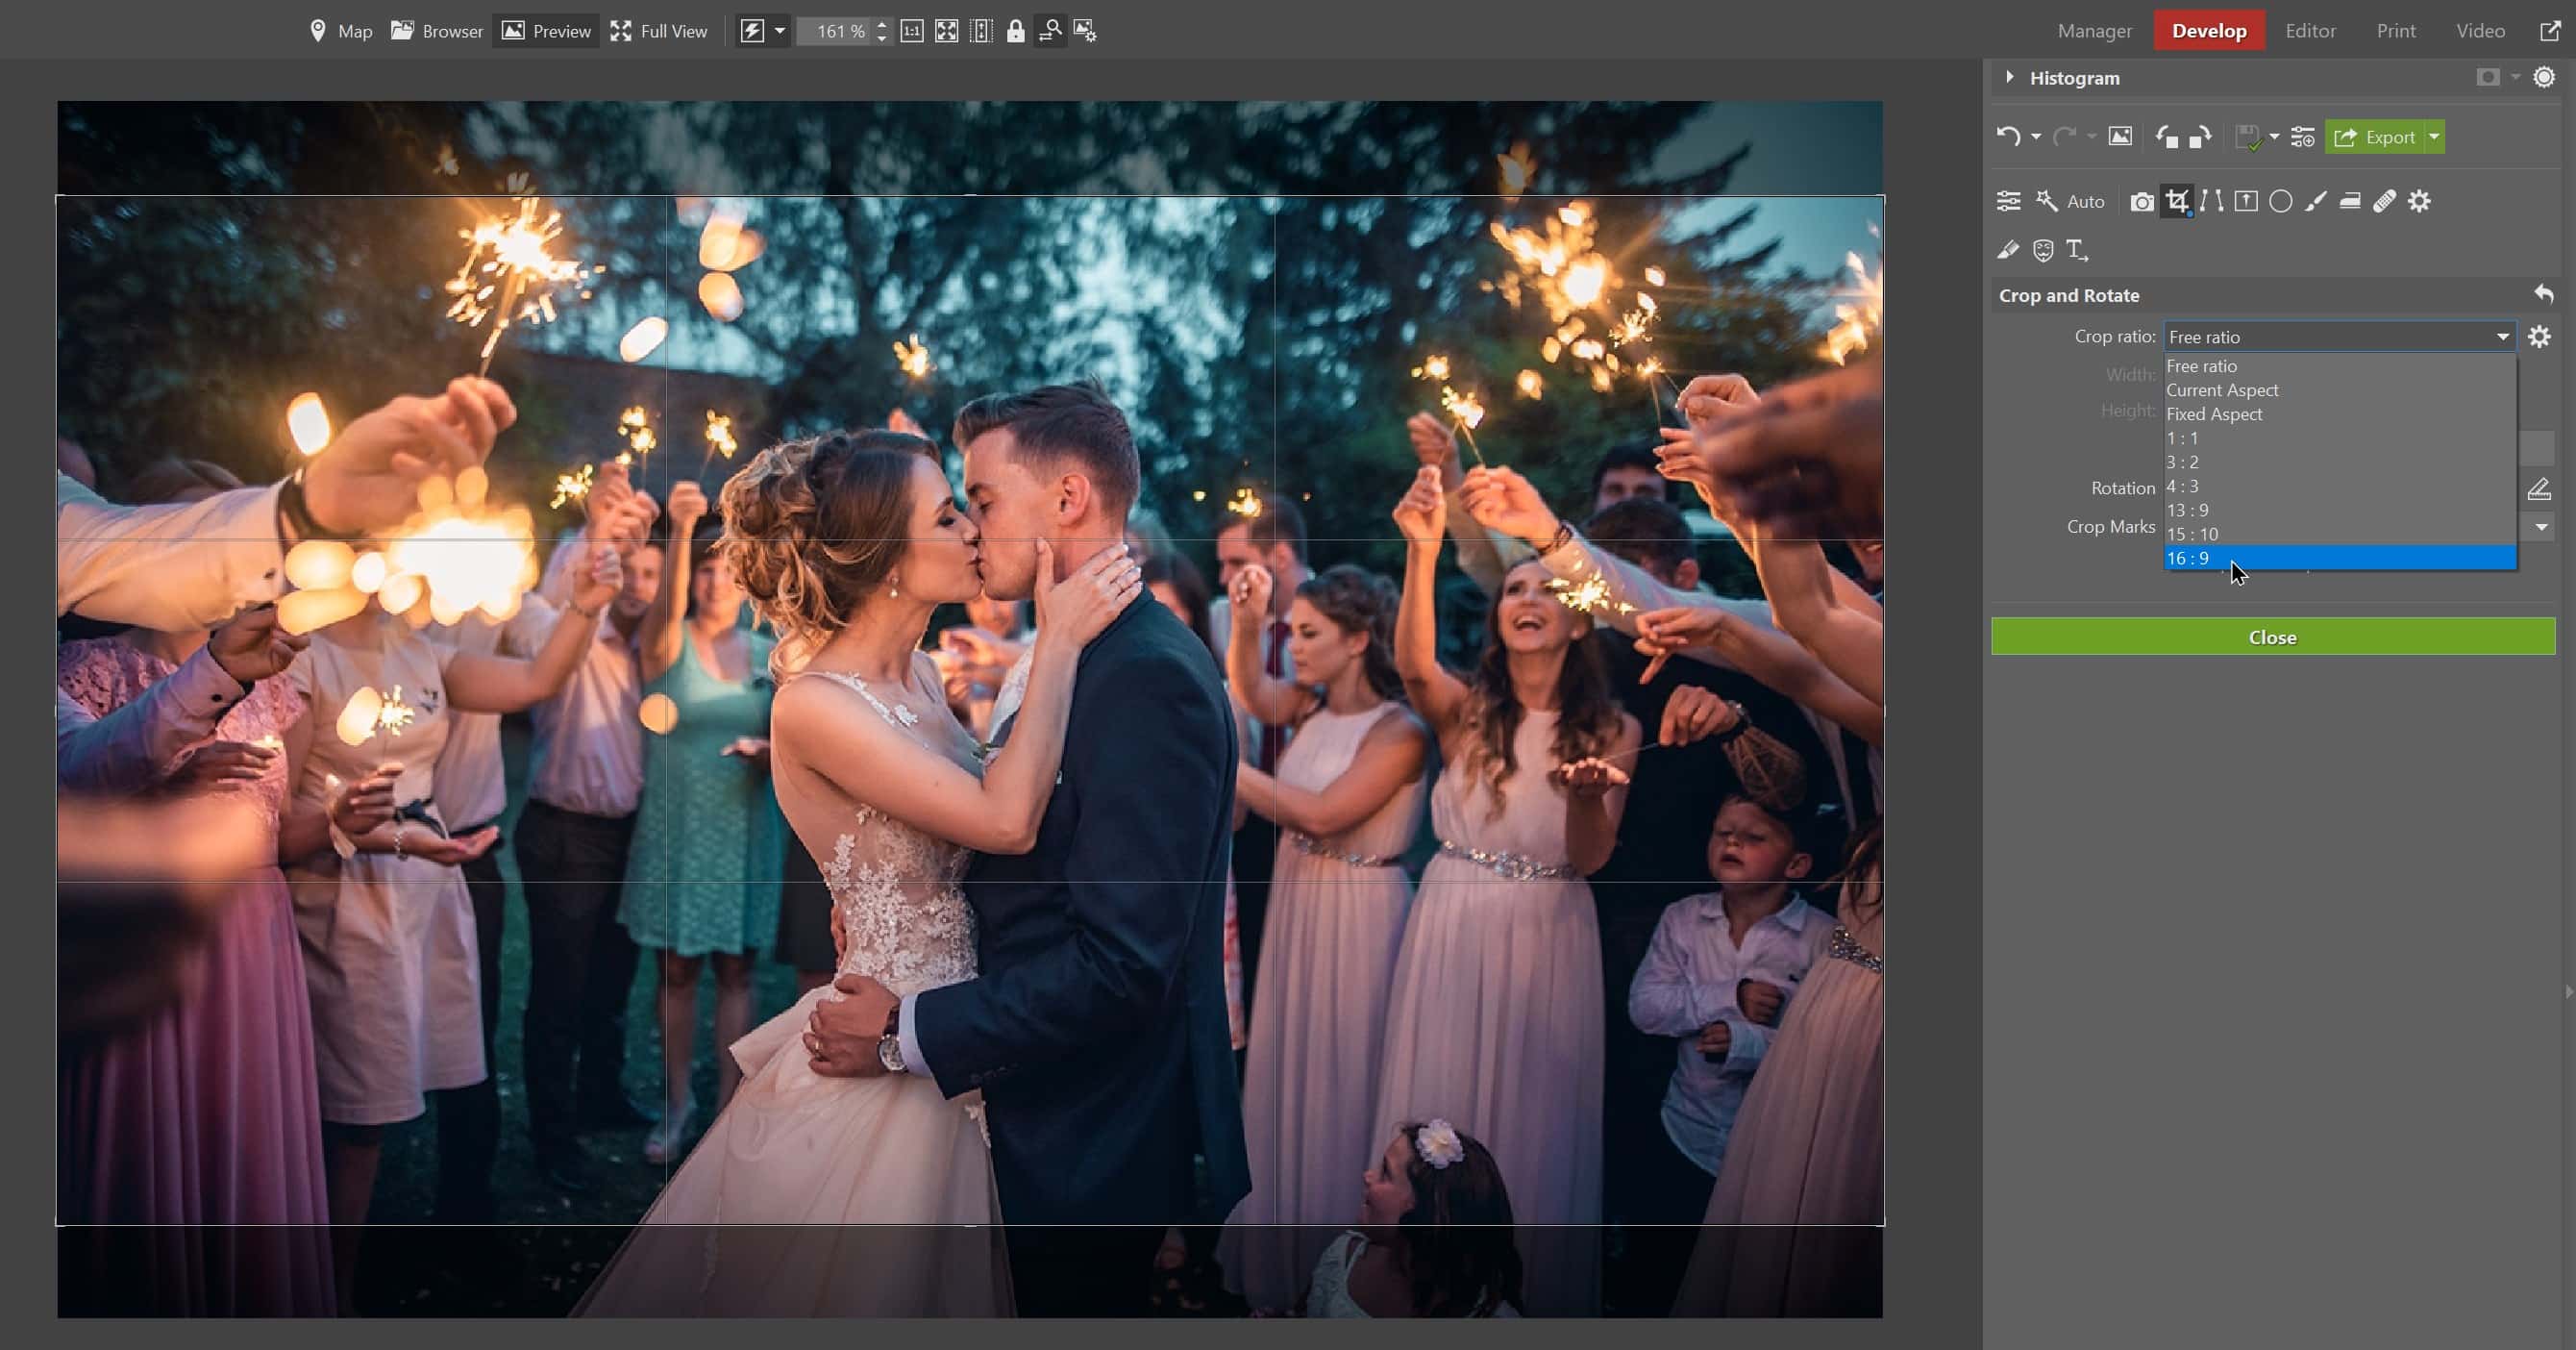
In the right panel, you both set the ratio of sides for the crop (which can be the current ratio, various preset ratios, or also any ratio you want) and choose cropping marks. Your choices for the marks are:
- Golden Ratio,
- Thirds,
- Quarters,
- and Grid.
Choosing well here will make your photo cropping absolutely precise. And that will let you precisely adjust your final composition.
This tool’s ability to rotate a photo also has its role in adjusting the composition. Make use of it when a photo needs to be straightened. Just click outside of the selection frame and rotate the picture with the mouse. For fine-tuning and/or more precise straightening, you can use the Rotation slider in the right panel.
Once you’re satisfied, just click Apply.
Cropping Photos in the Editor
When you need to make a permanent crop to an already-developed photo, use the Editor module. It’s faster, and you don’t have to export the photo afterward. These tools look and work the same in both modules.
Waiting to crop until after you’ve developed and done it in the Editor can make a lot of sense. After all, when you’re about to publish a photo, you usually can’t just go with what you developed. You’ll need to crop for one specific website or paper format out of the many formats out there.
So do exactly that, using a fixed ratio—either one from the built-in list or one you’ve added. That way you can be sure that your photo will use the whole sheet of paper or website photo frame, and you’ll save yourself trouble later.
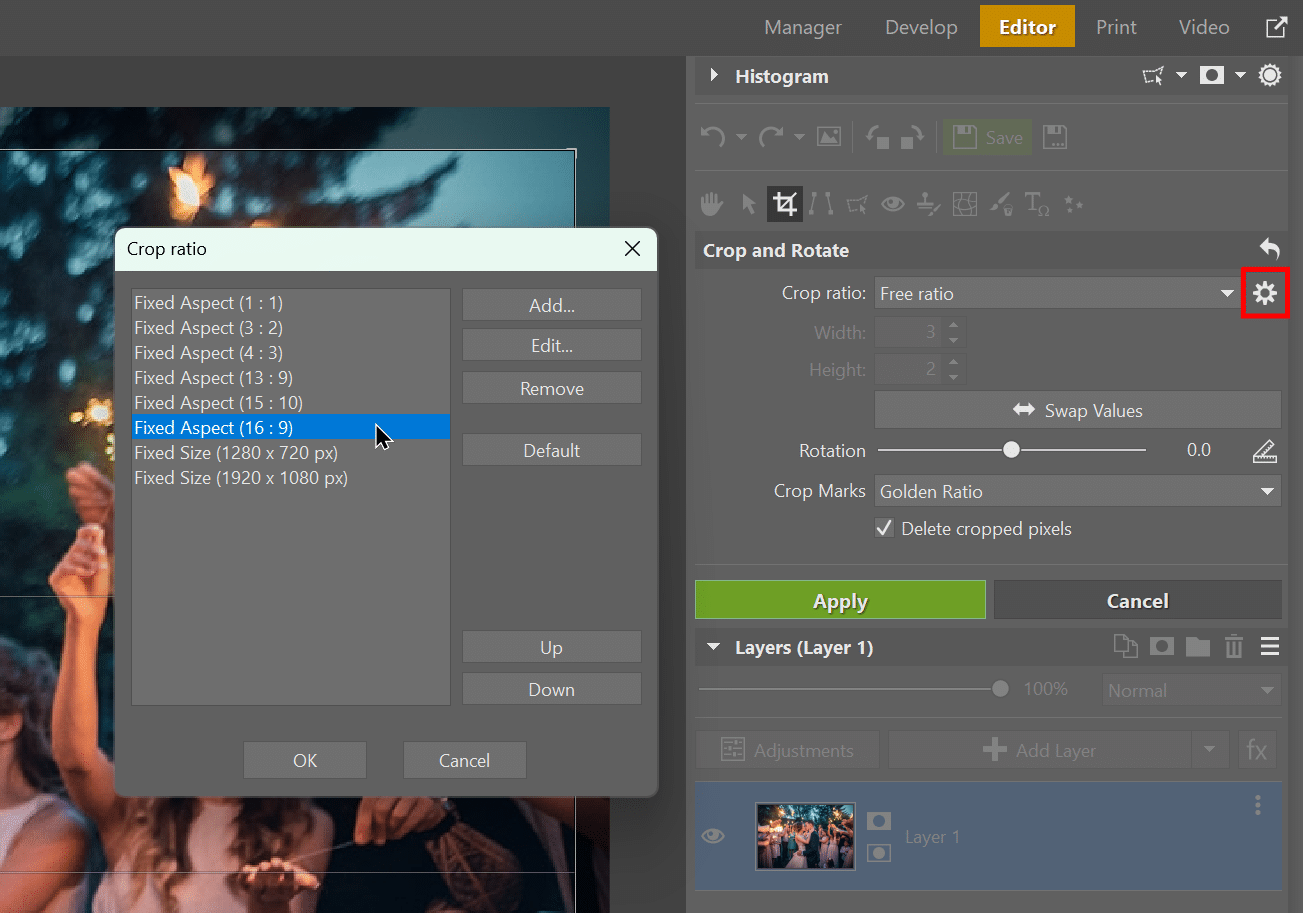
The factory settings for Zoner Studio already include the most common ratios of sides:
- 3:2 – The basics of basics. Most cameras shoot in this format. And the most common photo-paper sizes, such as 15×10 cm, also work out to 3:2.
- 16:9 – A wide ratio of sides that’s mainly used for video. Most TV stations broadcast in this format. And many phones shoot to 16:9.
- 4:3 – In the past, TV stations broadcast in this format instead. At present, it’s still used in certain phones and cameras.
The rest of the built-in list choices are based on common photo-print sizes:
- 1:1
- 13:9
- 15:10
How to Set a Custom Ratio of Sides
You can also set a custom ratio of sides in Zoner Studio. Just click Crop Ratio Settings—the gear wheel to the right of Ratio of Sides. Then click the Add button and set up the type, values, and name you want for your new crop ratio.
Here are some crop ratio settings that you might want to add:
- 4:5 – This is the “fattest” ratio that Instagram offers for portrait-orientation photos. Just a reminder again—as always, doing your own “pre-crop” here is optional, but if you just accept auto-cropping, you may get an unpleasant surprise.
- 205:78 – This strange-looking ratio just happens to be the one used for Facebook cover photos. Actually, it’s good to go a step further here and use the option to add a fixed size instead of just a fixed ratio. Facebook says to use 820×312 px.
- 2,33:1 (21:9) – While it’s not much used in photography, most movies right now are filmed in this ratio, and many widescreen monitors and TVs have it too.
The composition Doesn’t End With the Shot
Naturally, it’s always ideal if you ace your composition and crop during the shot. But things don’t work out like that every time.
Still, the solution is simple; just download Zoner Studio with its 7-day free trial and get started cropping your photos. And once you’ve got everything how you want it, you can publish and print your photos.
There are no comments yet.