Photographing Models in Different Environments III: Studio Photography
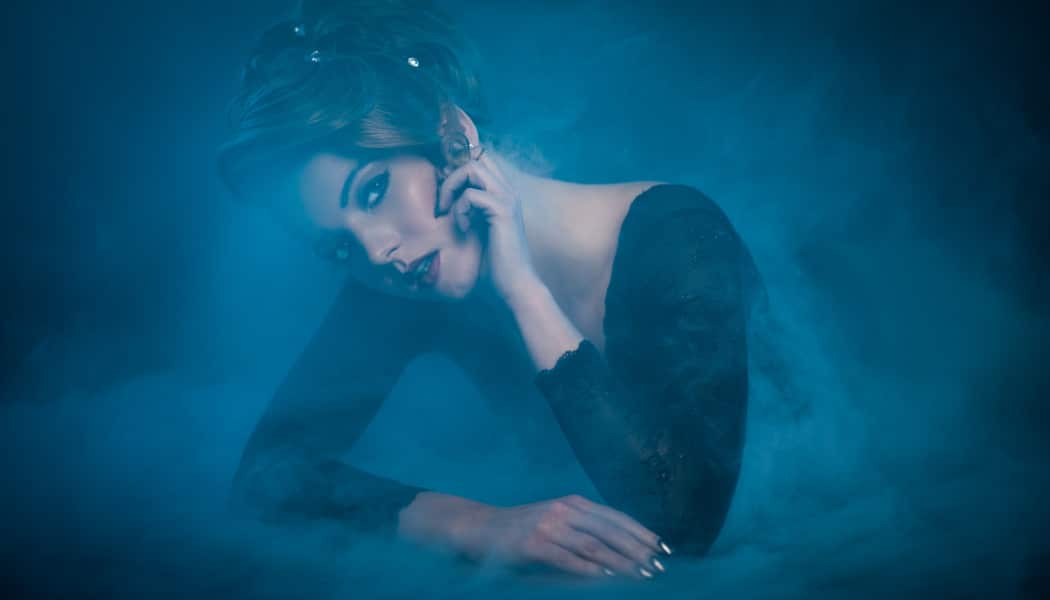
Sick of running around with your camera outdoors? Whether you’re cold or you just want a change of environment, sometimes it’s good to head into the warmth of a cozy studio. I’ll show you why every portrait photographer should give studio photography a try. A studio’s configurable flashes will give you almost unlimited control over light, which is a big advantage over photographing outdoors. And it’s so easy to get started. In this, the final part of my miniseries, I’ll show you that even in a studio, you’ll never be bored!
The term “photo studio” is actually a very broad one. For example, you can use studios that are furnished so as to imitate a luxurious room. But I spoke about those a little in the last part of this series, in which I covered photography in the city. This time I’ll focus on taking pictures in a traditional studio.
Endless Backgrounds
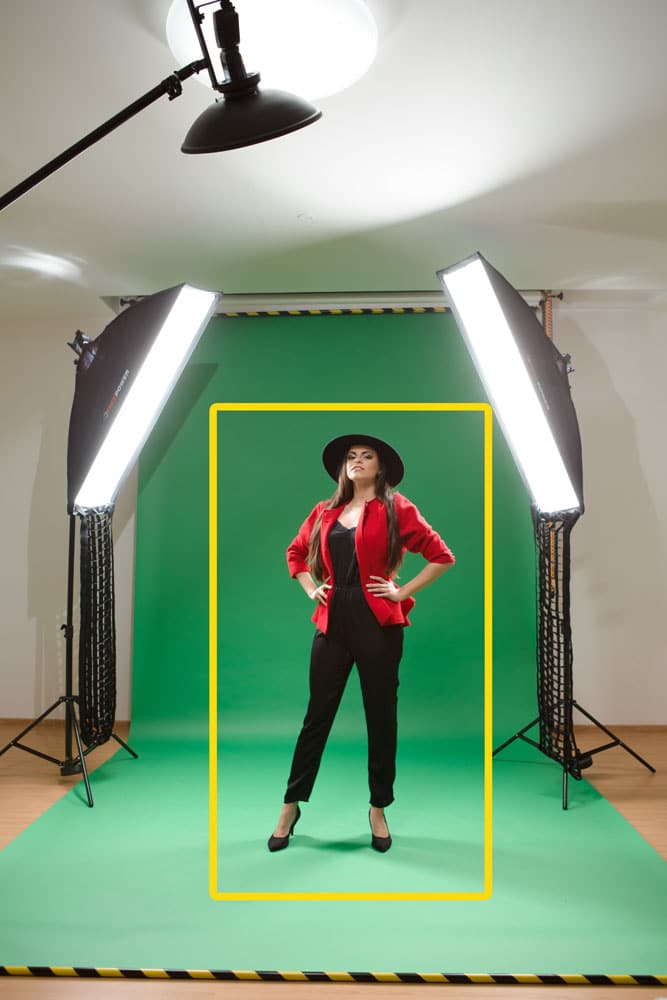
Traditional studios are usually furnished with what’s called an “endless background,” generally made out of paper, but sometimes out of vinyl or cloth. It hangs behind the model from a roll placed up high, and it rolls freely under her feet on the ground. This background thus fills up the entire frame without any edges or breaks, and so it acts as a uniform backdrop.
Different Sizes and Attachment Methods
An ordinary paper studio background roll has a width of around 2.7 meters. You attach several rolls in various colors to the wall and pull them down as needed. But that’s not the only possible solution. There are also background stands that you can unroll just before taking your pictures, and so with a little free space, anyone can create their own studio.
If you need to be mobile, a background with a width of only about 1.3 meters will do; you’ll mainly get use out of this for half body portraits and photos.
Advantages and Disadvantages
Studio work is about good control over the environment and photographic lights. Everything can look precisely how you wish, and even a year later, you can take a stylistically identical photo when someone asks you to.
On the other hand, many photographers prefer to be outdoors, where they can work with a more variable environment and light. In a studio, there’s nothing but what you’ve readied for the shot; your surroundings won’t help you.
You also have a set angle of view—pictures are almost always taken facing straight towards the background. That forces you to always prepare the scene in one direction. After a while you’ll get used to it, but it still means that you can’t just go and decide to take your next picture 90 degrees more to the right. If you did that, a random part of the studio would be behind the model instead of the background. And it’s usually not a very photogenic part.
The advantages are the same as for other work in a private interior. That is: you’re not distracted by anybody. Along with the fact that you have no shortage of lights, this means you have lots of room for experimentation.
Lights Are the Foundation
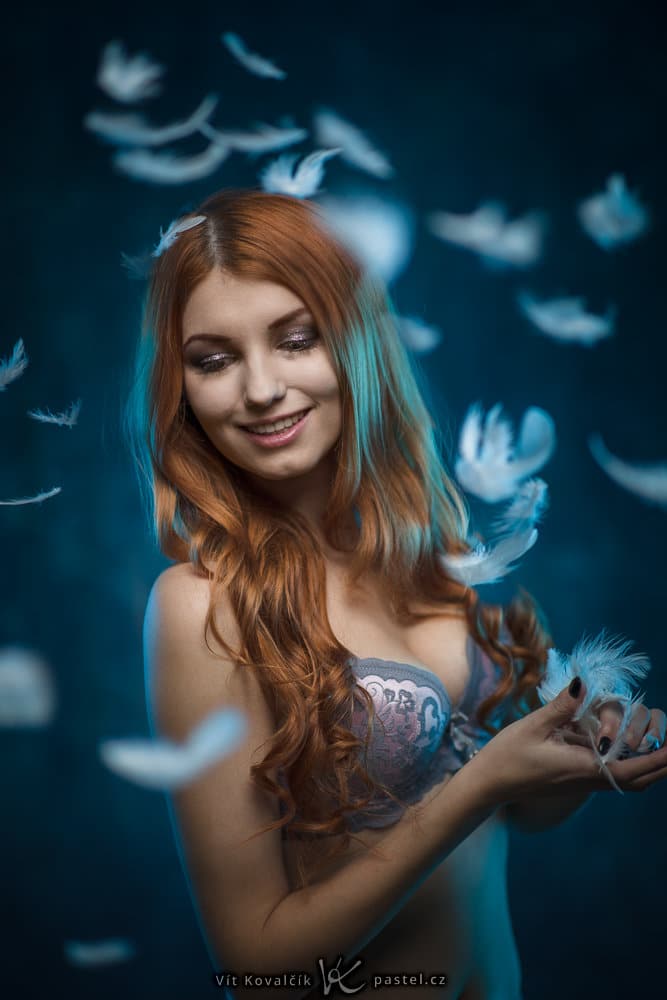
Your lights’ positioning, shape, and strength, and possibly their color. All of this is the key to studio photography. It’s clear to me that precisely this turns fact many photographers away, but the situation isn’t as complex as it might seem. There are several basic setups that you can use successfully, build on, and try variations for.
I’d recommend for example our article on ordinary studio portrait lighting. And meanwhile there are websites where photographers share their photos along with the light placement used for them (e.g. Strobox.com).
Standing Up
Taking pictures where the model is standing up is probably the first thing that occurs to everyone. This situation is straightforward, although you’ll run into one typical problem: What about her hands?
You can make use of a prop (even glasses, a book, or a phone can be enough), or sometimes the model can put her hands on her hips, in her pockets, or in her hair.
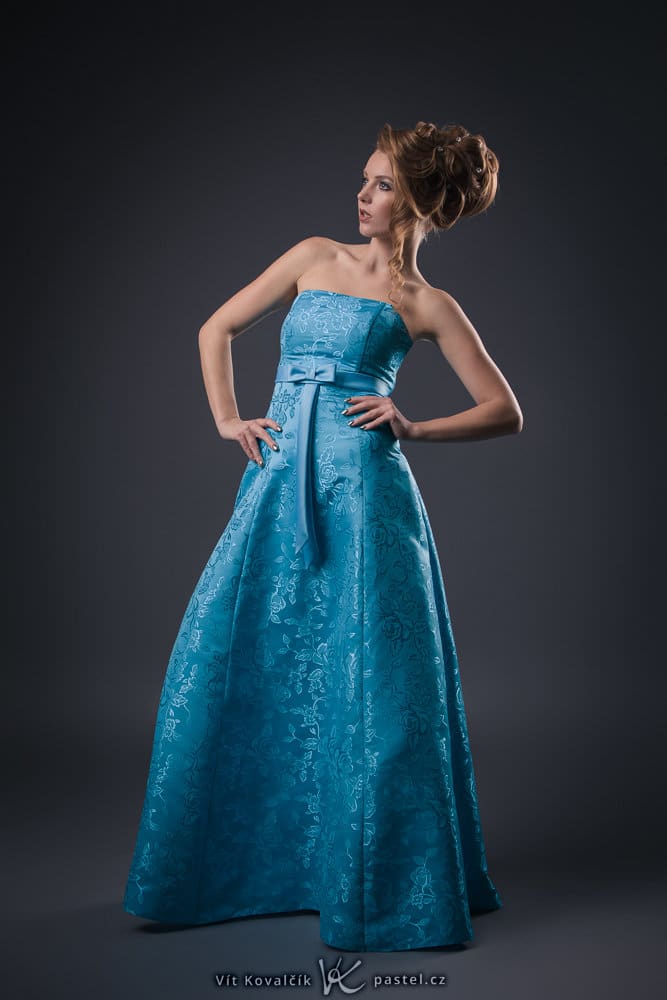
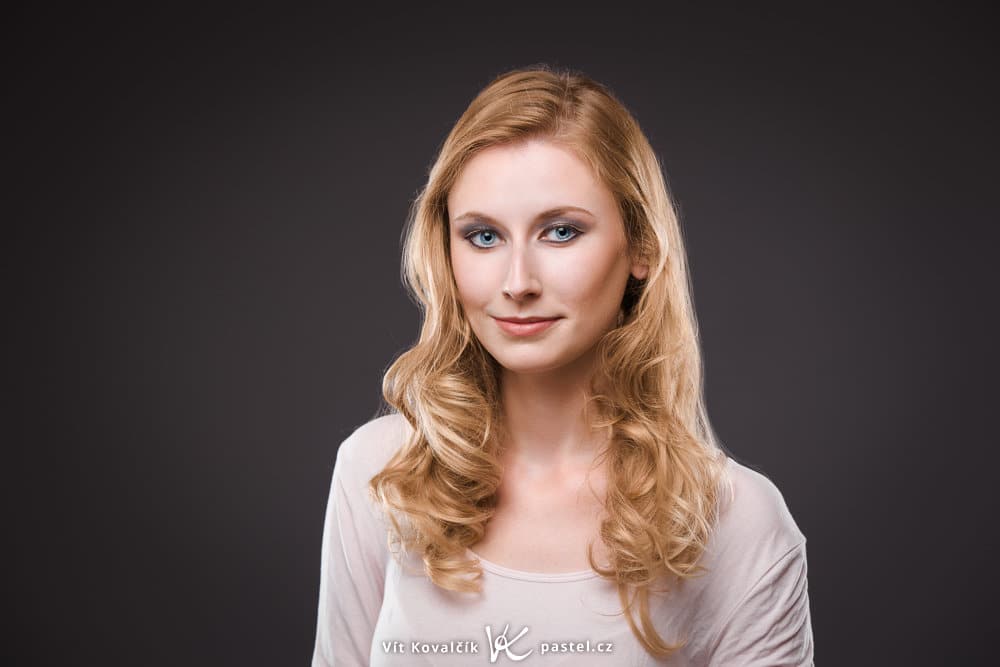
You can easily also take “head and shoulders” type portrait shots at the same time.
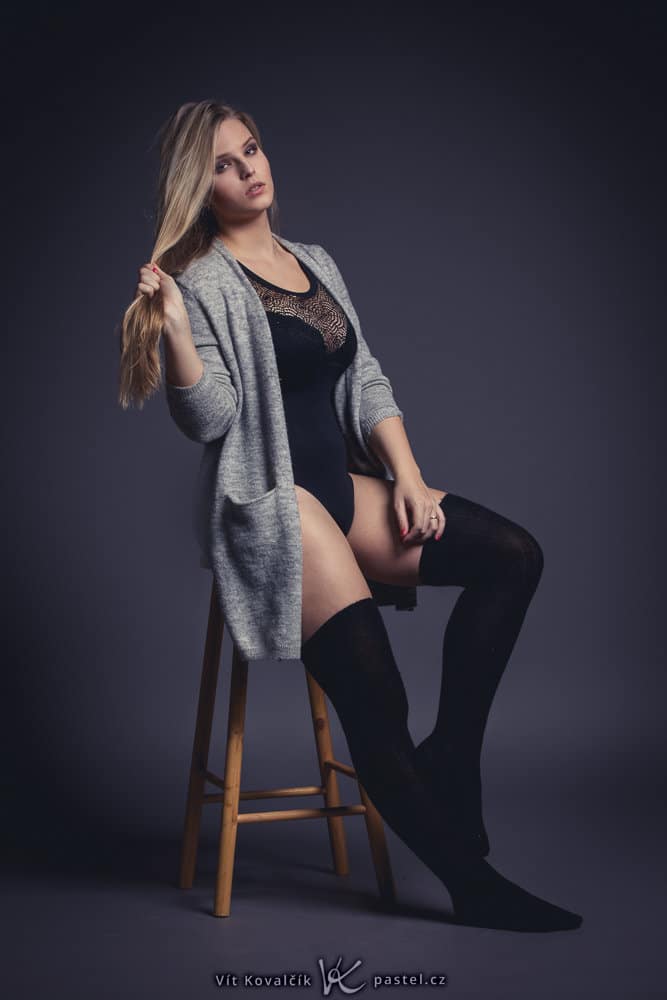
If there’s something in the room for sitting, whether that’s a chair, a taboret stool, or another stool, that’s worth trying out. It’s often an easy way to get different types of pictures.
On the Ground
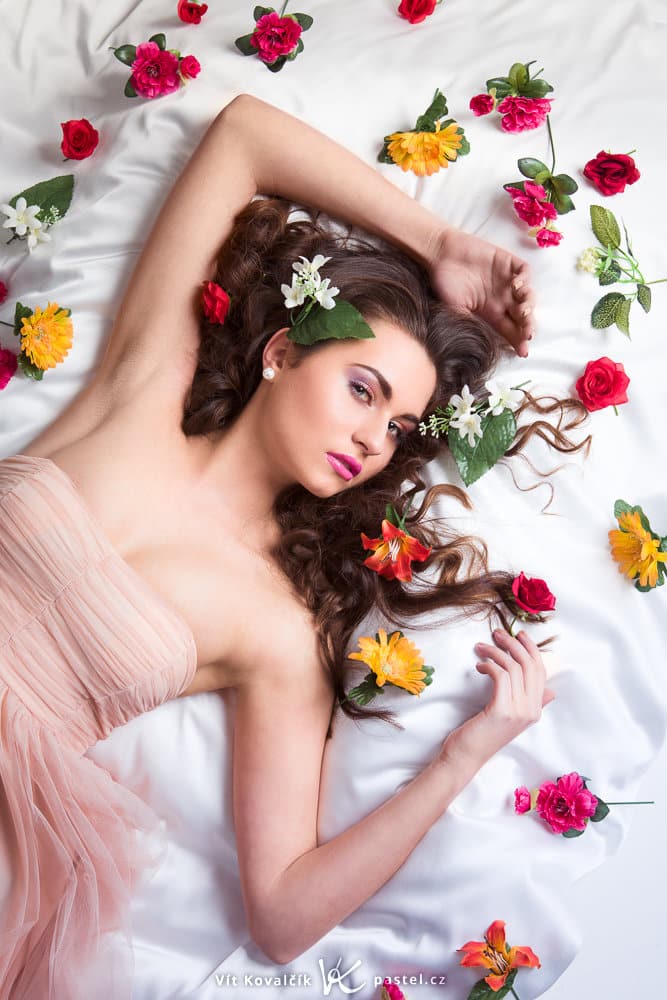
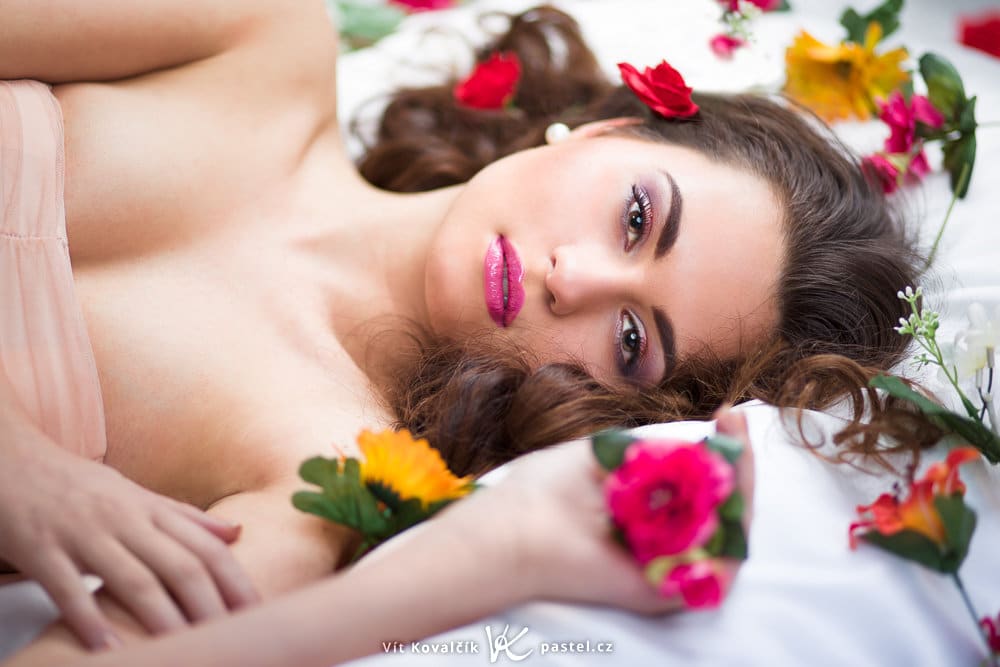
You can take pictures equally well with the model on the ground, and she doesn’t have to just be kneeling or sitting; she can be lying down too. I took the next two photos with the model on the ground on a white paper background, in front of which I threw a white sheet of cloth to imitate a duvet. With a few flowers, everything looks completely different than what you’d expect for a picture in front of an endless background.
Props
That brings us around to props. Props don’t have to just be small items for the model’s hands. They can also be things that change the whole scene. Besides seating items, all sorts of cloths, blankets and carpets are useful. You can usually use them in multiple ways, especially as a foundation on the ground and also as a “wall,” where the cloth in question is hanging or is affixed to the model.
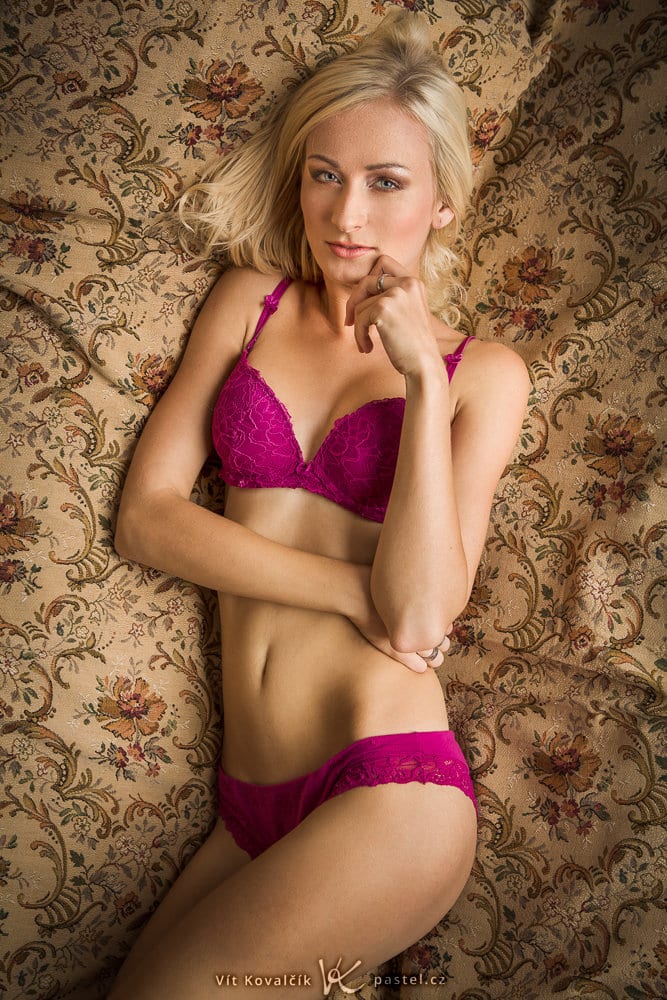
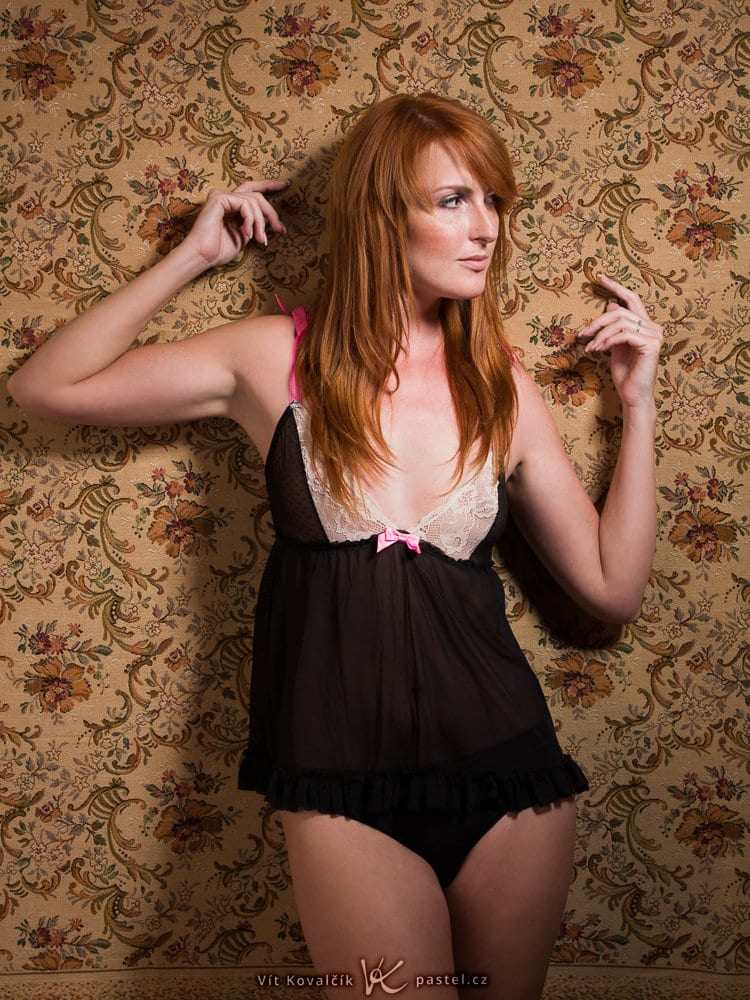
Background Appearance
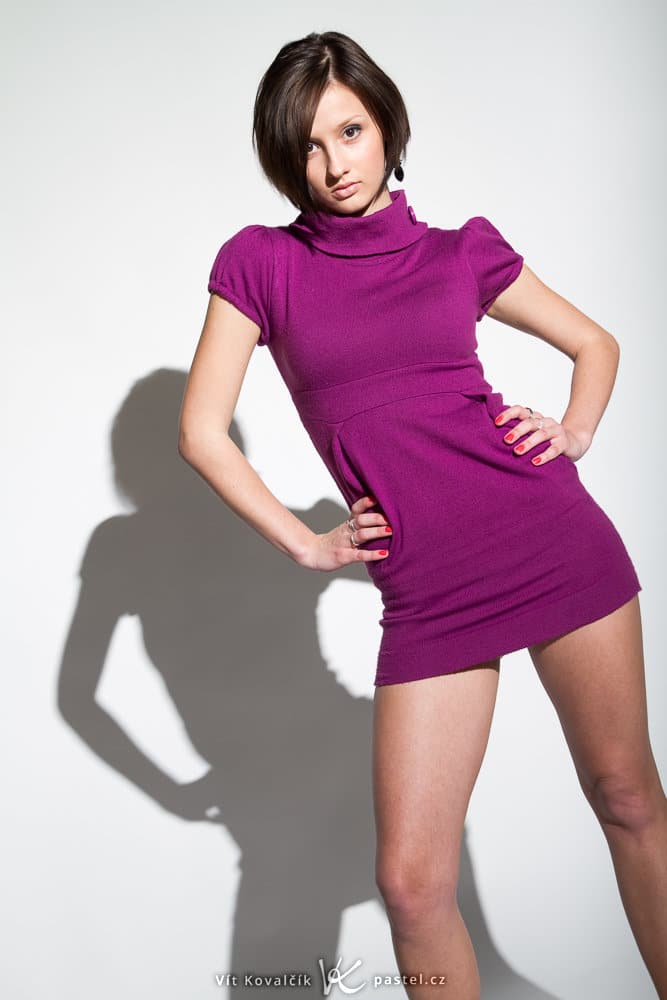
But you can even do further work with just an endless background. If the model is standing close to it and you have sharp enough light available, it’s easy to play with shadow compositions.
With a fairly large studio, the model can stand farther from the background, which opens up space for the use of lights that will only shine on the paper in the back.
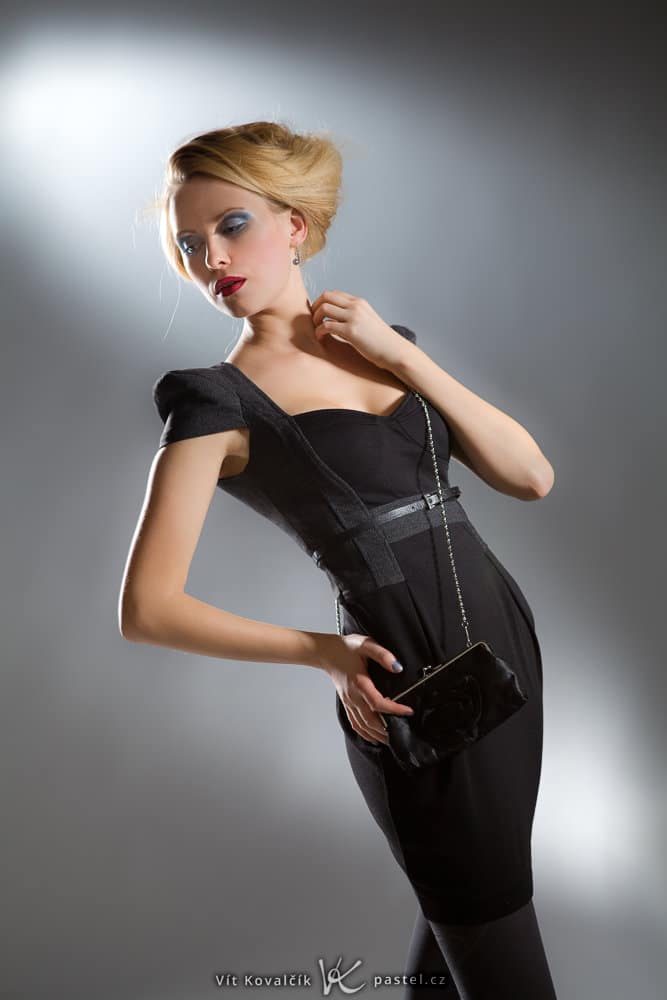
Specially colored films for studio flashes, meanwhile, let you illuminate the scene with colored lights.
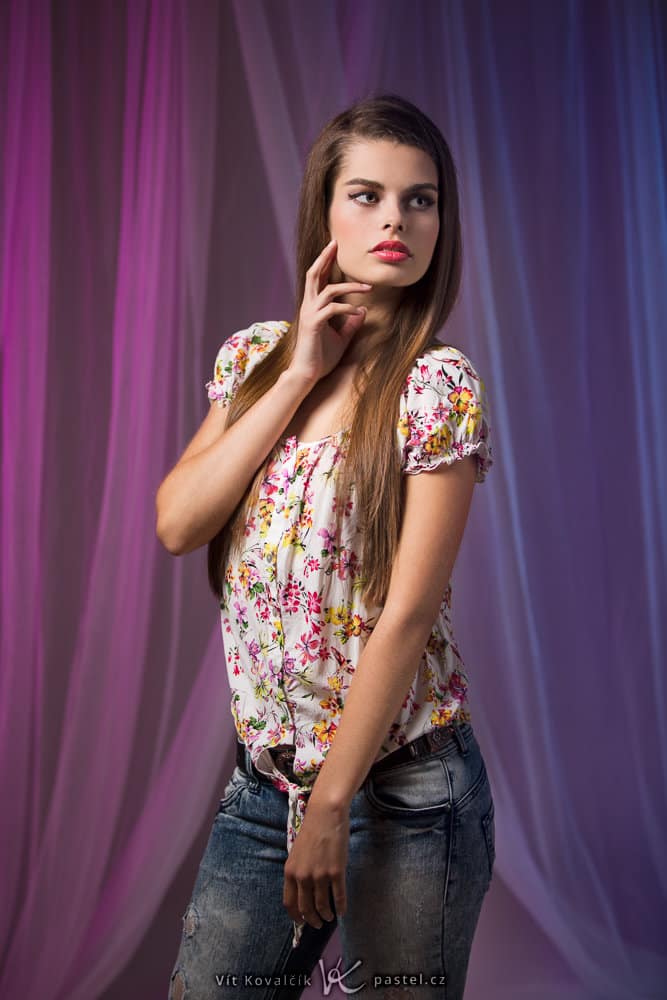
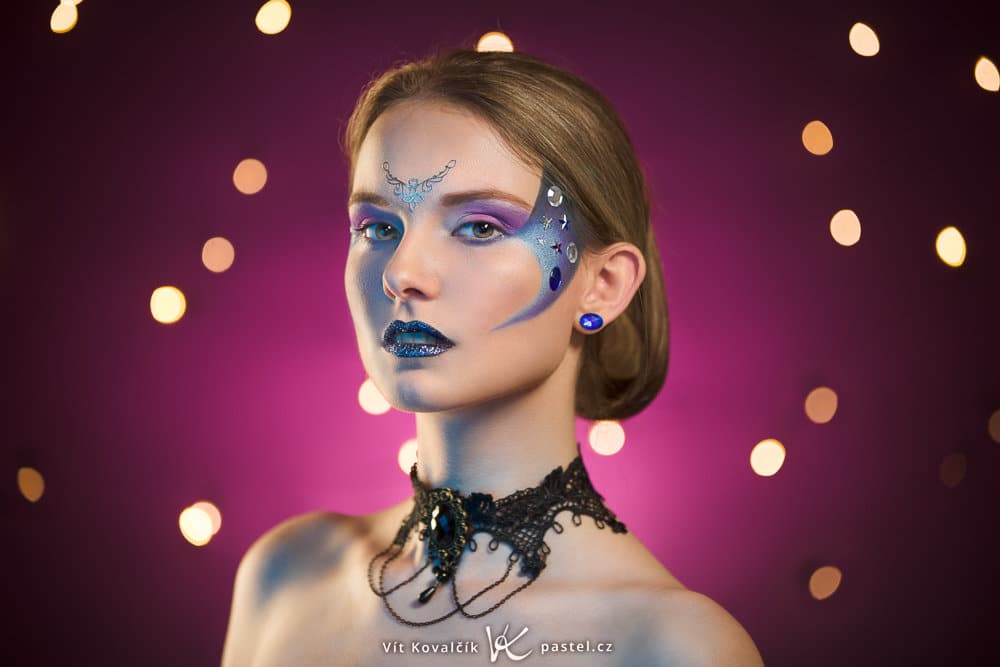
But you can play around any way you want. The photo below has a color-lighted background, in front of which Christmas lights are hanging. The lights are far enough away from the model that they’re blurred. I retouched away the bits of the lights’ wires that were still visible.
Things Are Never Boring at a Studio
I hope that I’ve shown that even at a studio, you can take pictures in a variety of styles, and you don’t have to constantly repeat a single pattern. This is (for now?) the end of our series on photographing models in various environments, and now it’s just up to you to make use of what you’ve learned.

There are no comments yet.