Resize your photos. We’ll show you 3 ways
One key skill that every photographer needs to master is photo resizing. Cameras and phones take pictures in the highest possible resolution, which can often be more than you need. And then they end up taking up more space than you want. So here’s some advice on how to shrink your photos.
The trouble with big photos is that they can take up a big part of your hard drive. That can make them hard to share or send by e-mail. So you need to resize them.
That’s why Zoner Photo Studio not one or two, but three quick ways to shrink photos:
- Resizing during Export from the Develop module.
- Resizing in the Editor, ideally after your other edits.
- Resizing using the Batch Filter.

Resizing photos when exporting them in Develop
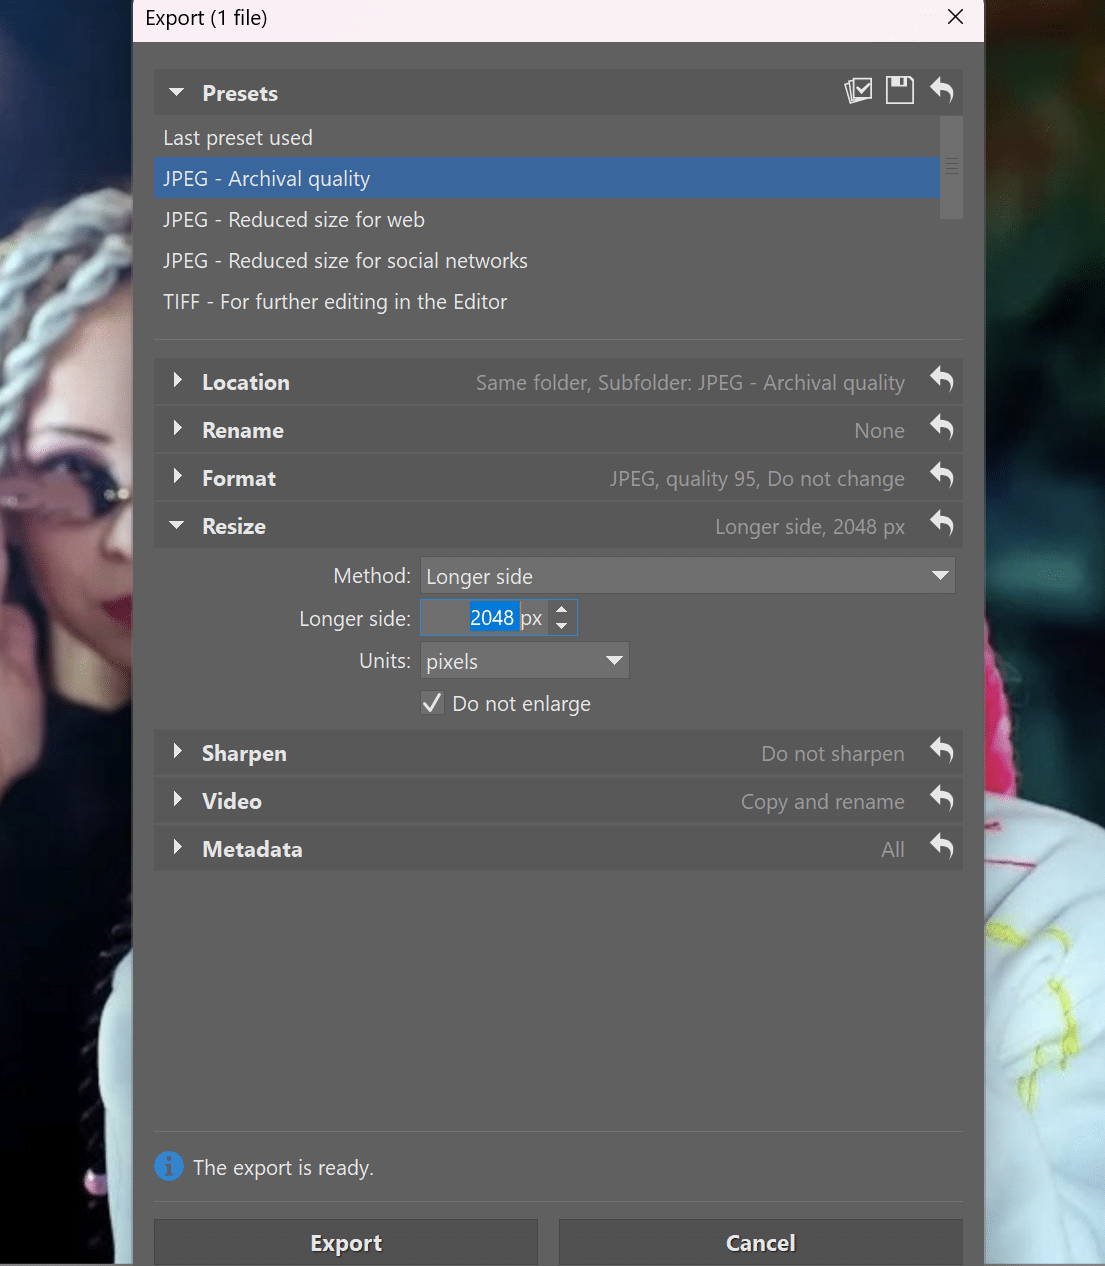
When you process photos in the Develop module and then export them, you can have ZPS shrink them at the same time. There are presets here for e.g. optimizing for Facebook or maintaining high quality for archival.
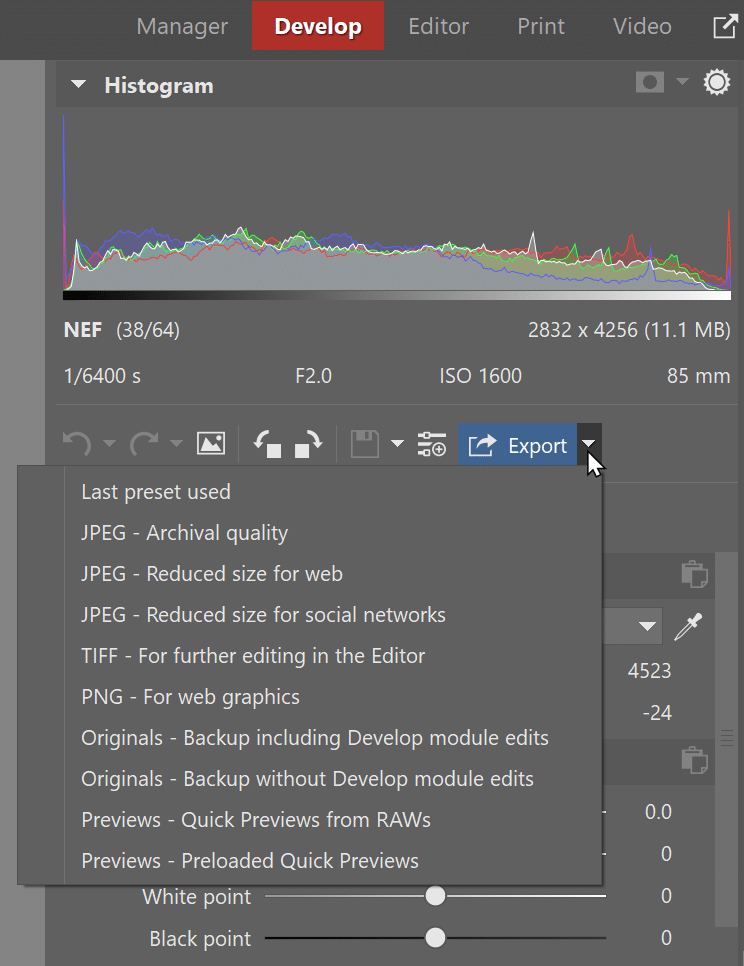
Click Resize. This shows the Resize controls. Enter the length of the longer side here. The photo will be also sharpened during export. If it still seems insufficiently sharp after resizing, you can easily increase the sharpness level in the Sharpening menu. Sharpening is important every time you reduce the size of a photo—it prevents a noticeable loss of quality.
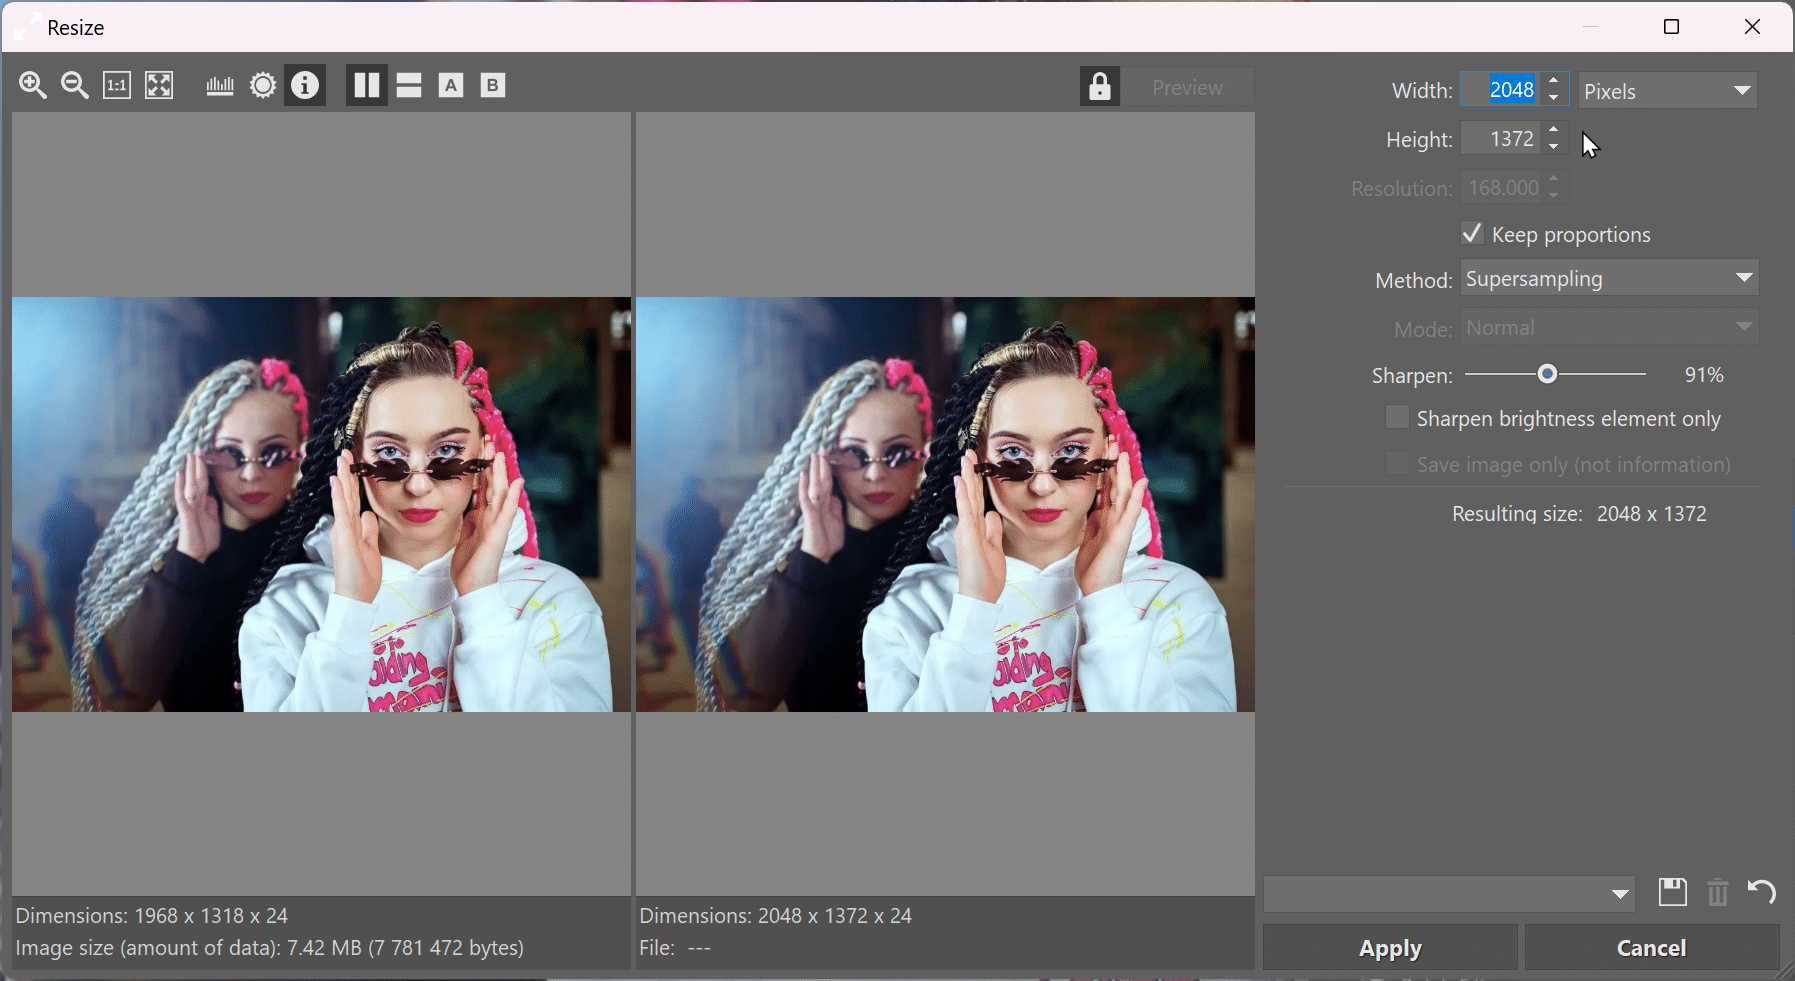
Shrinking photos individually in the Editor
Imagine the classic situation where you’re editing a photo in detail in the Editor and you want to publish it on Facebook. It’s said that the best size for Facebook photos is 2,048 pixels on the longer side. So click Resize document (Ctrl+E) in the right panel. Warning, this change is destructive! Always make sure you have the original photo saved in its original resolution.
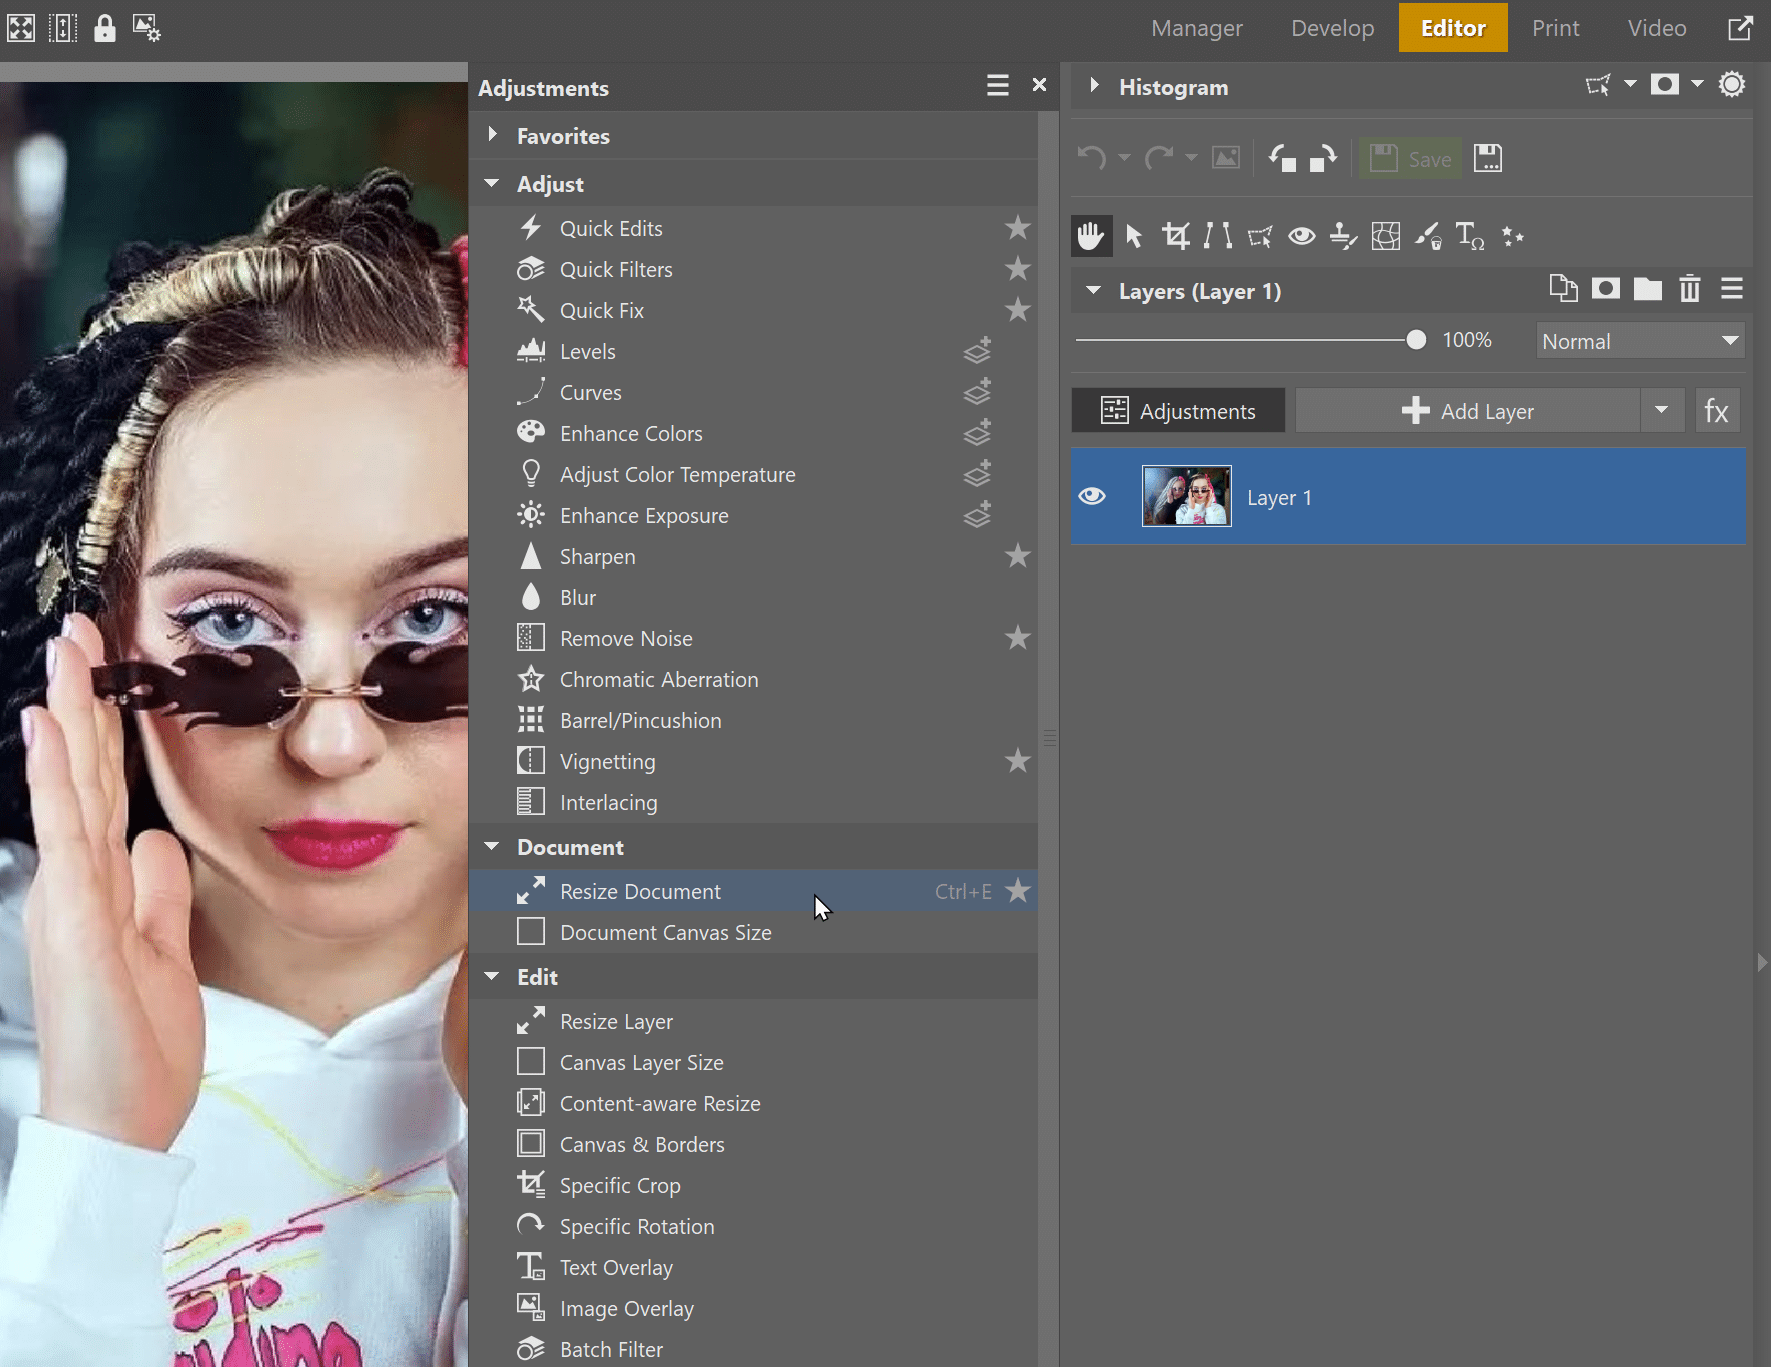
Pixel-based resizing is the most common, but you can also resize pictures based for example on a DPI and a size in inches that you want for that DPI.
In this case, I’m preparing a photo for Facebook. So I set the width to 2,048 px and check to make sure that Keep proportions is turned on. The shorter side is calculated automatically.
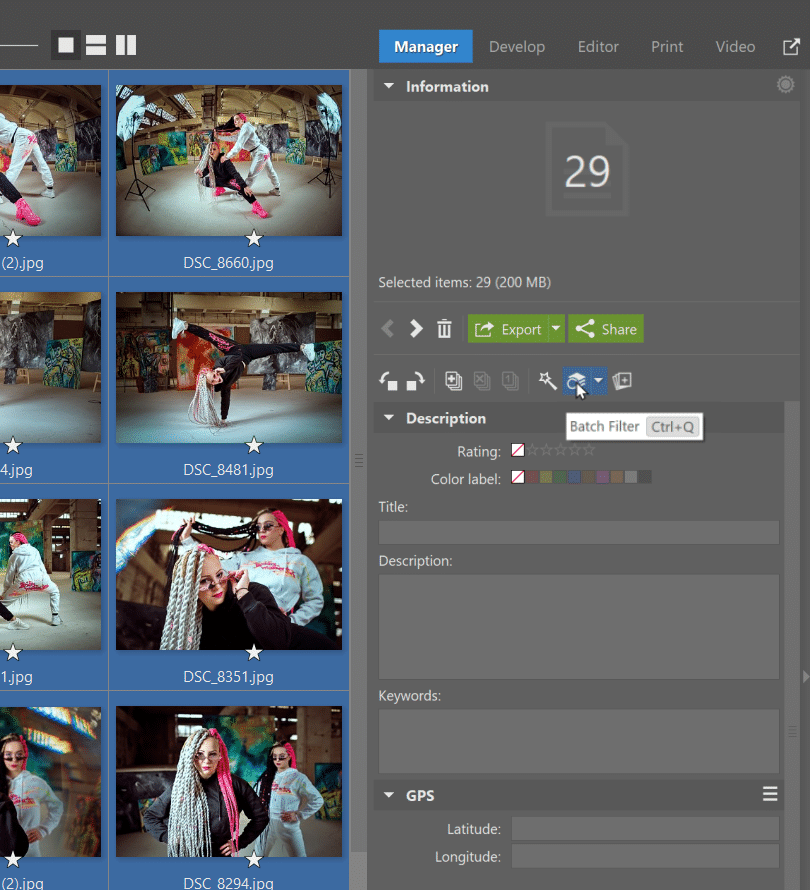
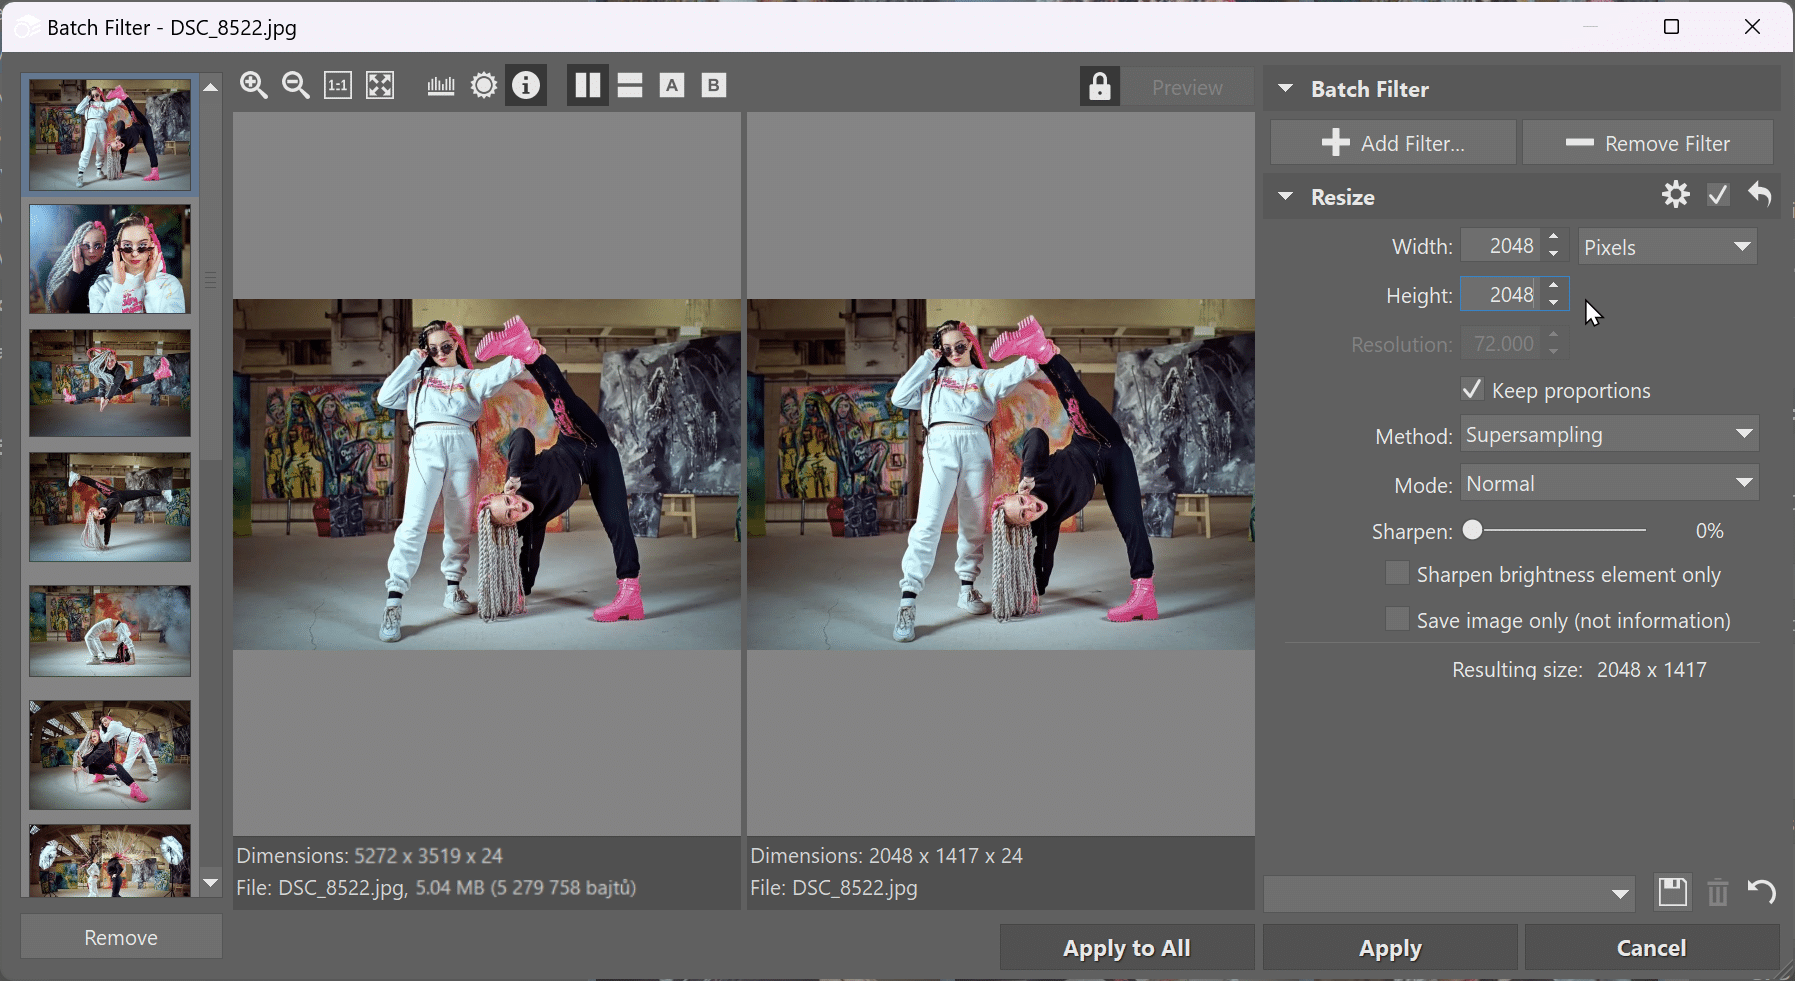
Batch resizing photos
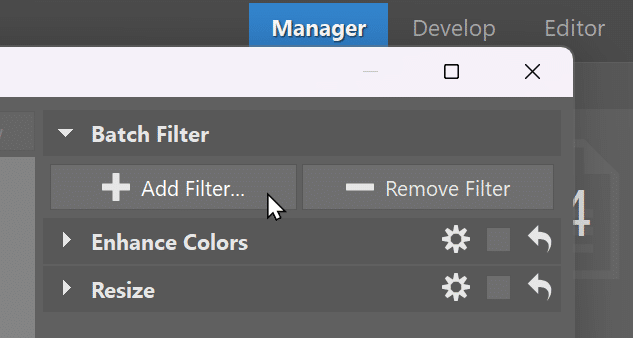
If you have a whole series of photos that you want to resize at the same time, use the Batch Filter feature (Ctrl+Q). You’ll find it in the Manager’s right panel.
Then just enter the dimensions you need and Zoner Photo Studio will resize the selected pictures accordingly.
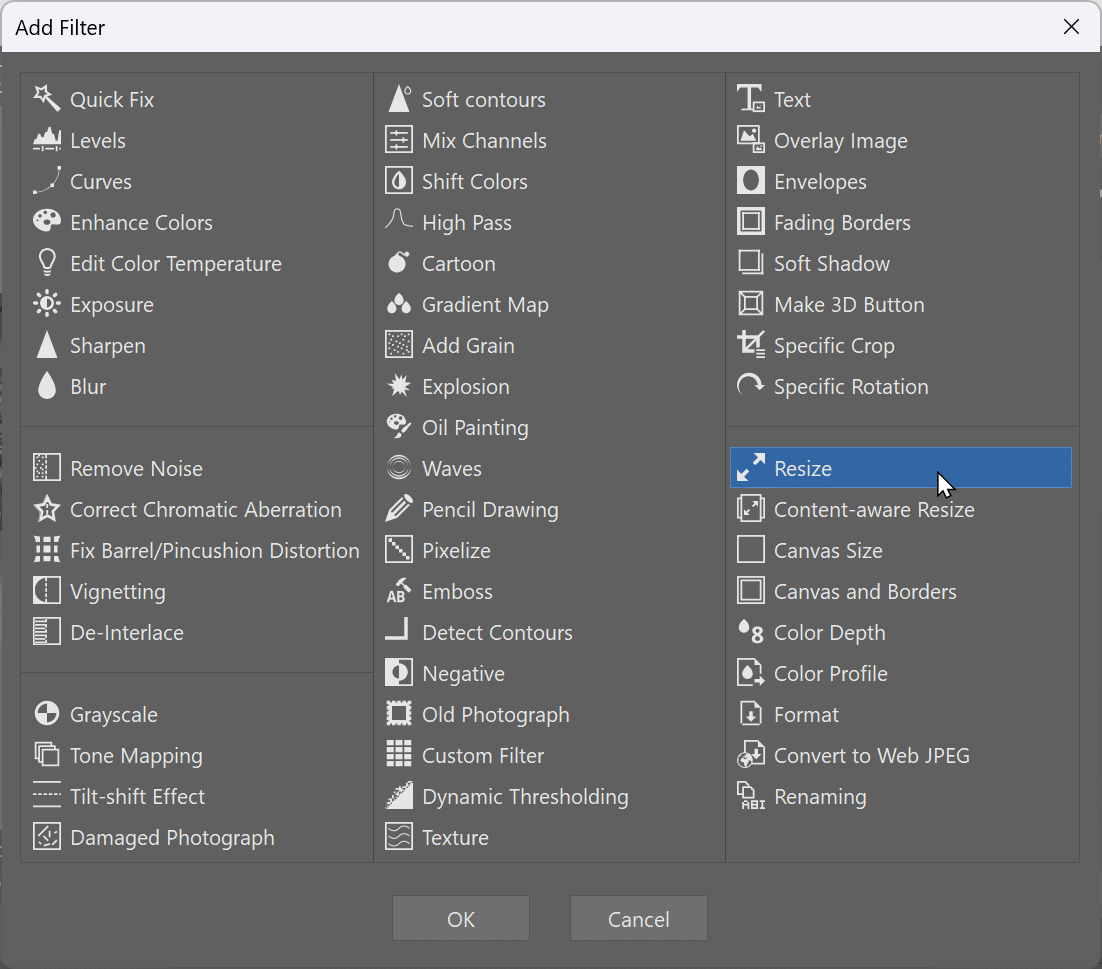
In the list of filters, find the filter called Resize, and select it.
If some of your photos are vertical and others are horizontal, and you want them all to have a size of 2,048 pixels on the longer side, then enter this value in both boxes. Zoner Photo Studio judges which side is longer and ensures that all the photos have the same dimensions.
An industry that often requires special resizing of photographs is the Real Estate industry. Although today, industry leaders allow photographers to submit photographs beyond 2000 to the 3000-pixel range, most MLS services tend to prefer 1024px to 2048px, the number being the long side or x-axis. The reason for this limit you ask? Servers need to work much harder to retrieve the image due to its size and you end up waiting longer for the photo to load and that’s no fun.
In any case, you can easily meet any standard with the help of Zoner Photo Studio. And, why not send 3 to 4 versions of the given photograph so that agents can easily pick the ideal size suited to them from the appropriate folder? This is a great way to increase your value and ZPS X can help you there. Oh and don’t forget dpi doesn’t really mean much, it’s the pixel dimensions that count.
Are you planning to resize your photos? Don’t forget backups
Before you get started on resizing your photos, think hard about whether or not you’ll need to keep the originals. When you save the photo files in their new sizes, they are irreversibly changed. So you will definitely appreciate it if the originals of your best photos, at least, remain.
Make photo sharing easier and resize your photos in Zoner Photo Studio X. Download it, use it for 7 days for free, and resize photos however, you need.