Self-portraits, or: How to Photograph Yourself Quickly, Easily, and Well
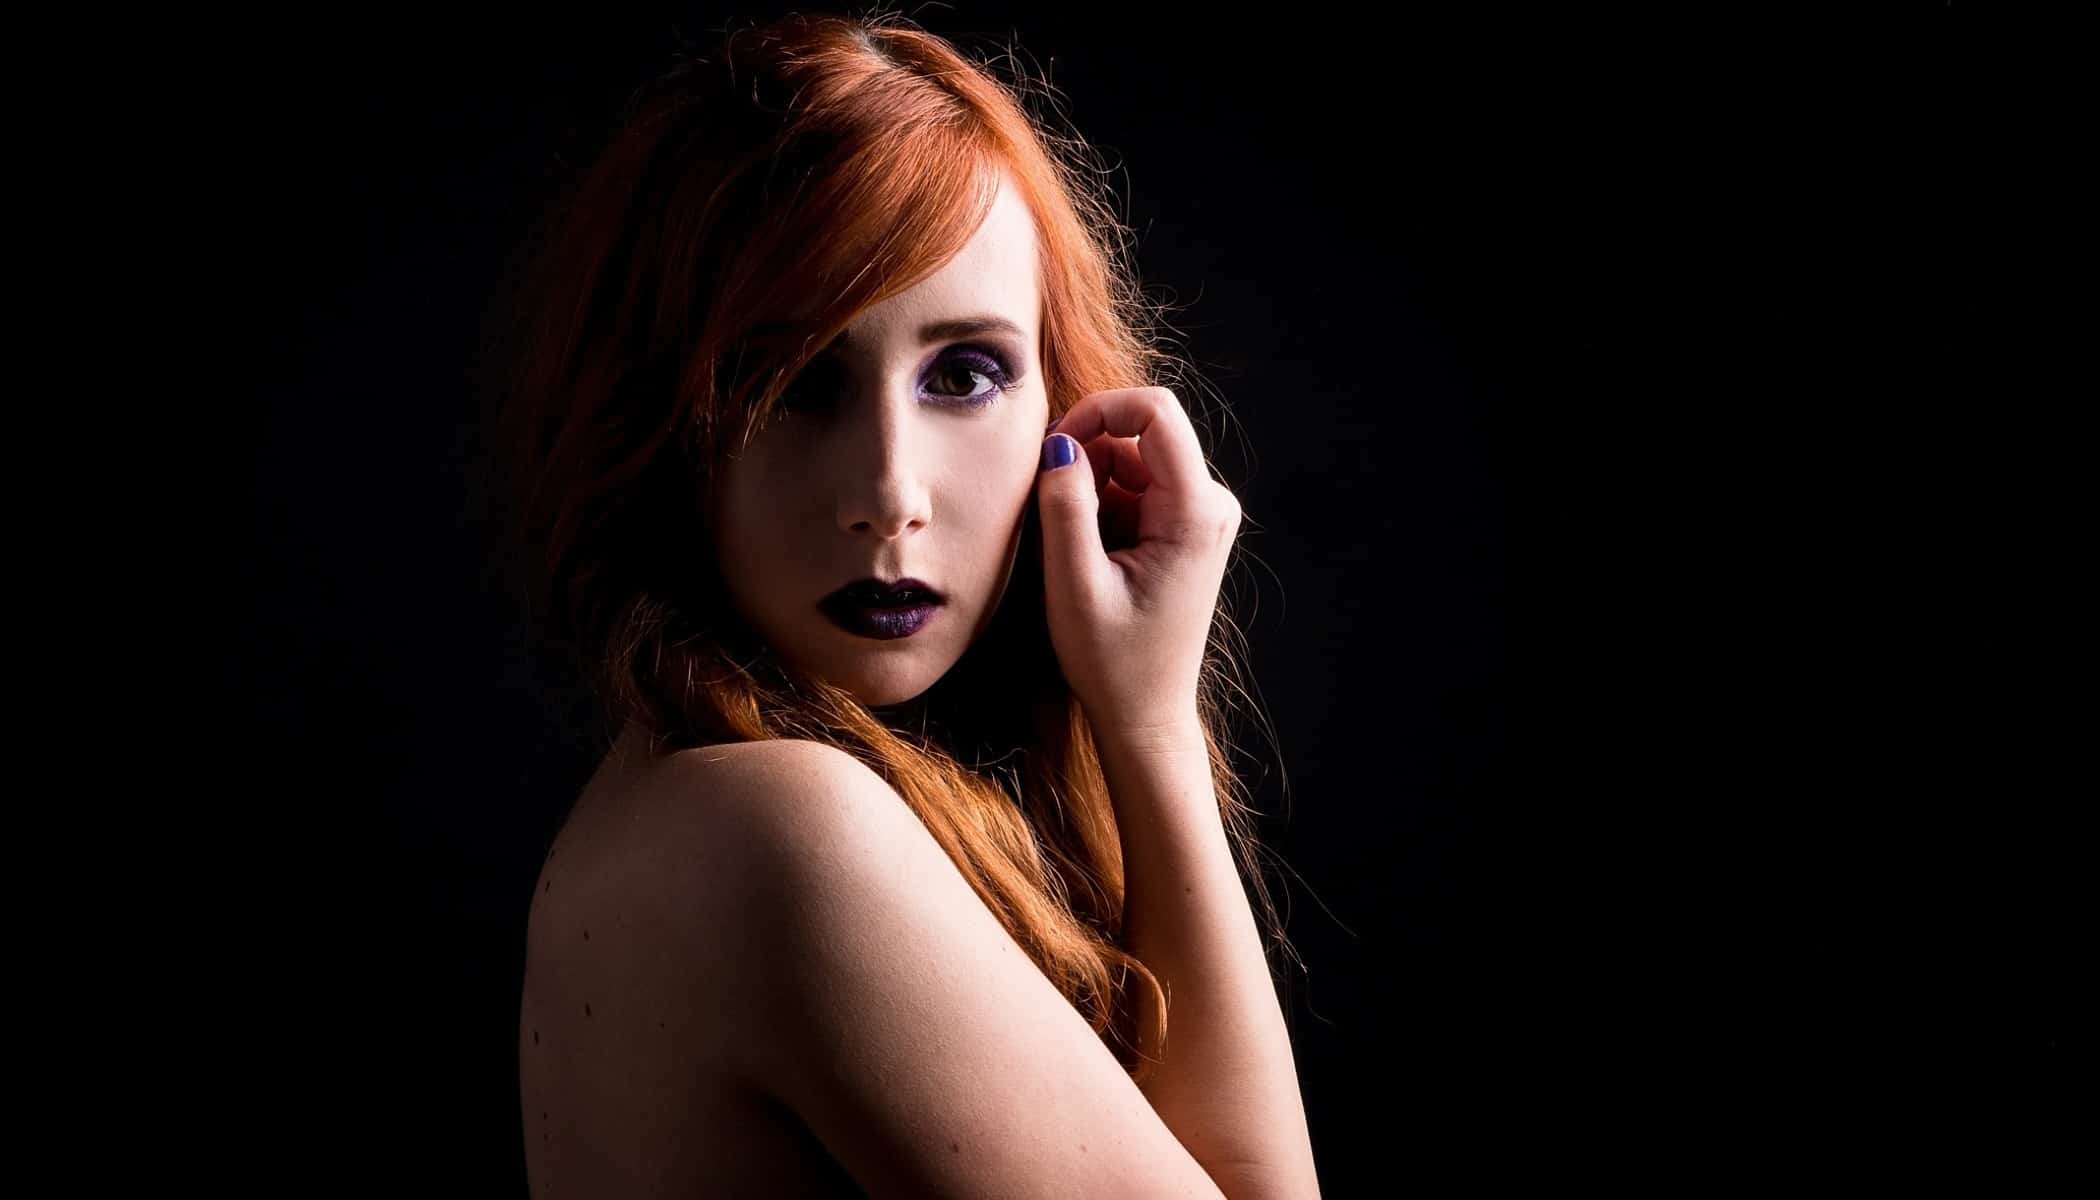
Ever thought of photographing yourself? And I don’t mean selfies in front of the bathroom mirror or a random snap from your phone’s front camera. Here we’ll be talking about how to take a self-portrait—a photo that’s interesting in its composition and technique, with some thought put into it, where it’s clear at first sight that you took it yourself. It’s time to face the lens!
What shape are photographers generally in when it comes to photos of themselves? That’s an easy one. We all know the situation well. Everyone around us has lots of photos we’ve taken of them, but we ourselves have at most a few selfies or backstage photos. If you haven’t tried it yet, now’s your chance to fix the situation and start thinking of yourself in this regard.
Don’t like being photographed by someone else? Well here’s that excuse out the window, because you’ll only need yourself. Worried you won’t look good in pictures? In a self-portrait, you’ve got everything under control.
Tripod and Gear
Your tripod is the most important gear. If you don’t want to lug around anything big and bulky, a Joby tripod will serve superbly, as will any of its peers: the various small and flexible tripods. These can be used not only for mounting your camera wherever you want, but also for attaching a flash.
If you don’t have a tripod, you can definitely still get by. Just use whatever you have around at the moment that will hold your camera in place. It won’t be a perfect and precise solution, but even an ordinary table or tree stump can help you with taking a picture.
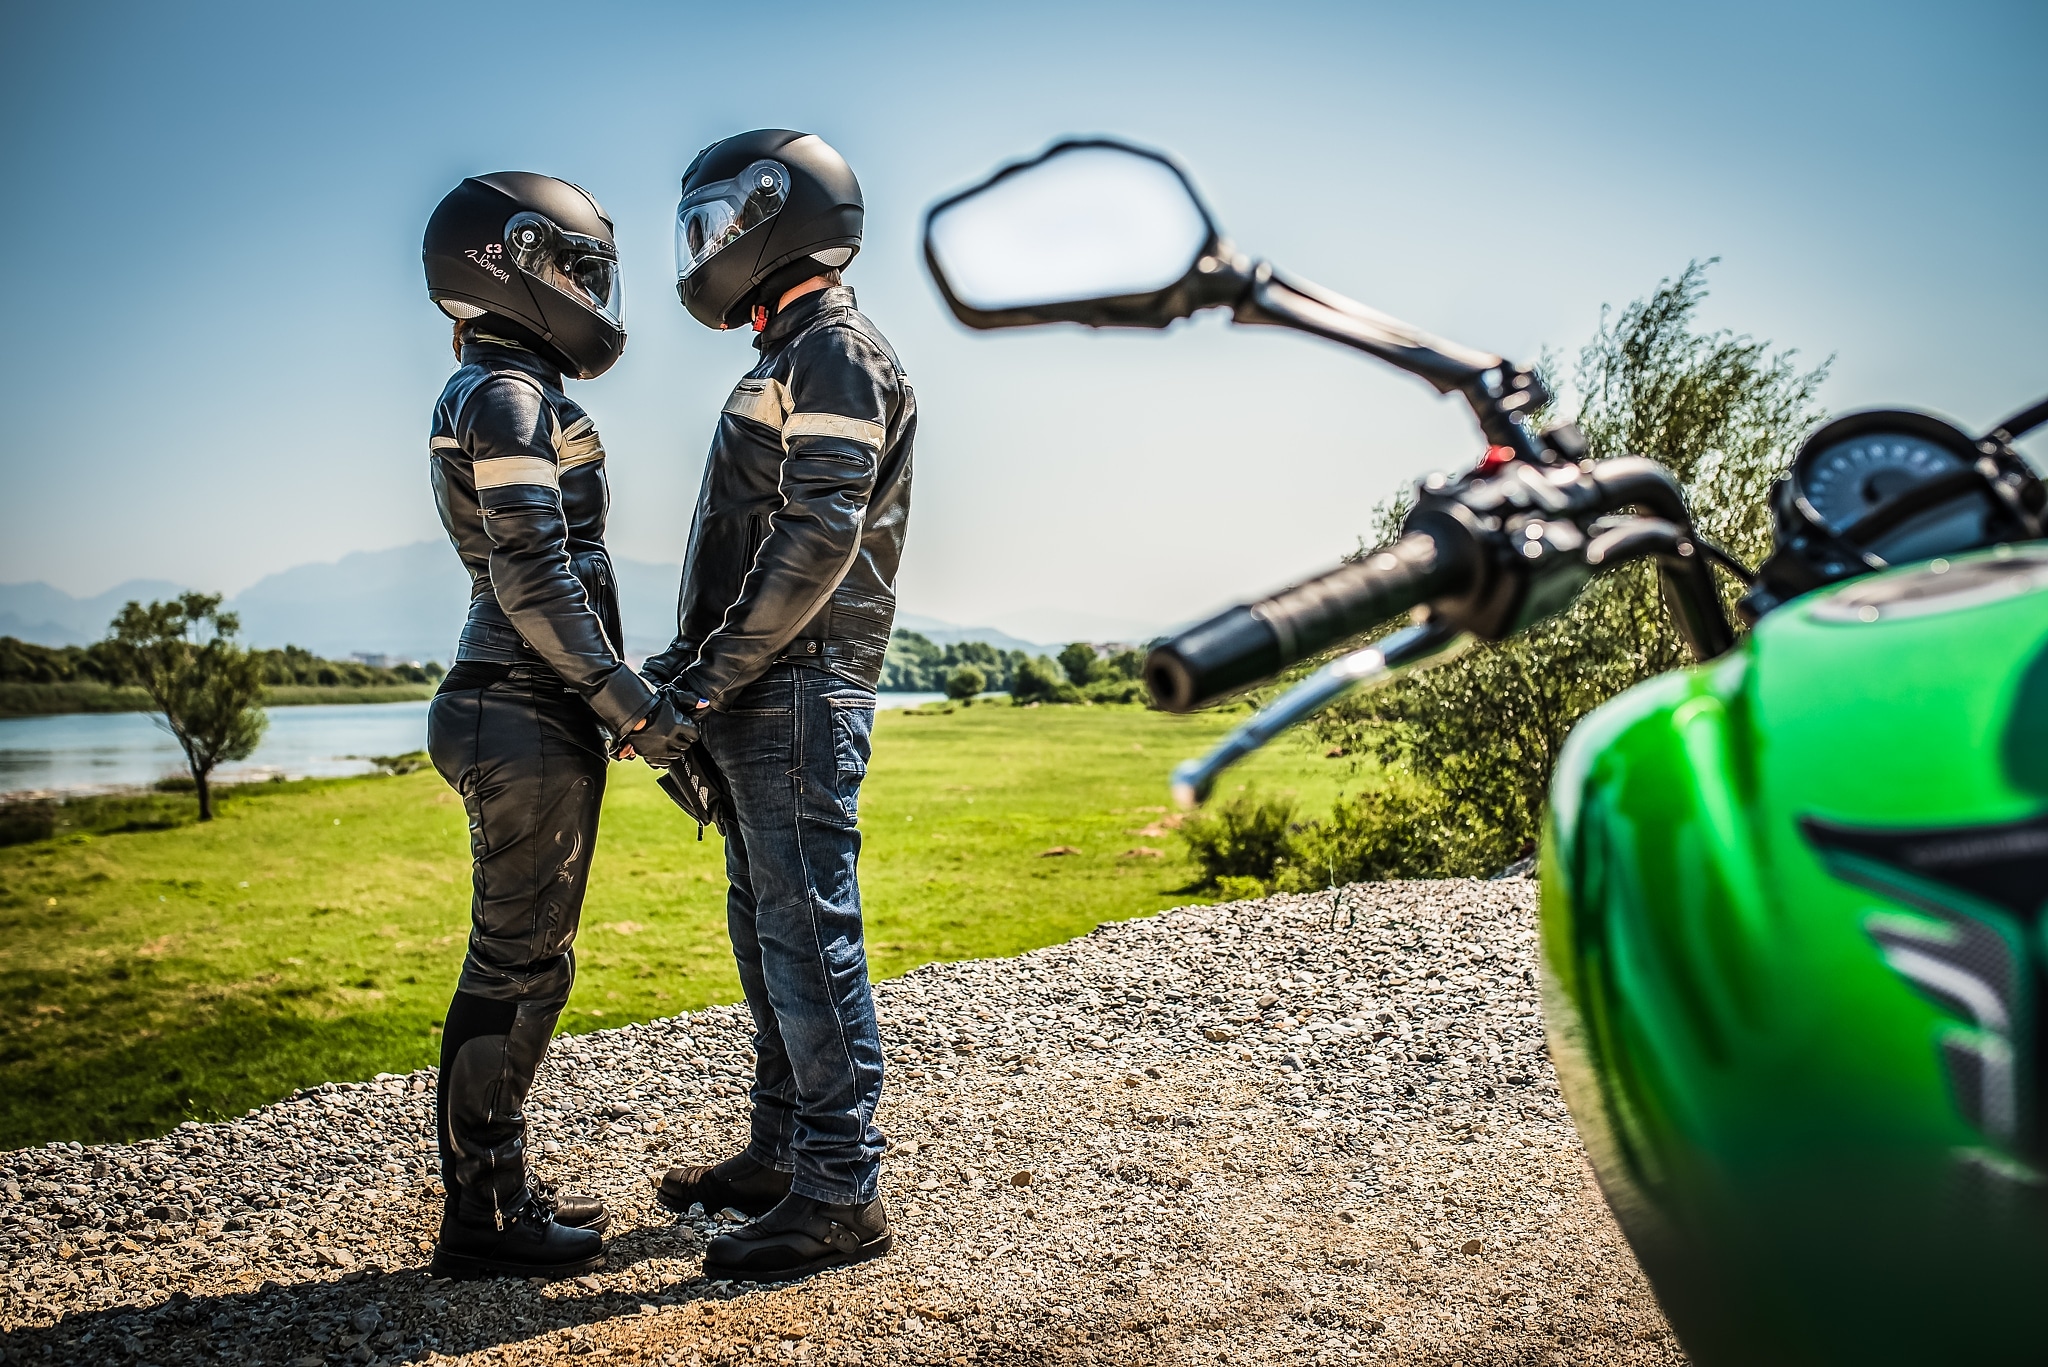
Nikon D750, Sigma Art 35 mm/1.4, 1/2500 s, f/3.5, ISO 100.
Self-timers
Every camera has this feature, and for that matter smartphones do too, so it’s a very universal solution. Taking pictures using a self-timer is a race against time, and you’ll often need many takes before you get the results you want. If you’re just photographing yourself, you can’t be sure how sharp the picture will be, and shooting with a low f-number can be very complicated, and often even infeasible. If you’re focusing on the background or on an object behind you in the picture, you yourself will end up blurry.
So a higher f-number will help you out here, as long as a low depth of field isn’t your outright goal. You can also focus on some object (for example a chair or a tripod) that you’ve placed into the scene in advance. You focus, then switch into manual mode, press the trigger, and move over to precisely the spot with your pre-positioned object. However, this takes a lot of patience.
If you’re taking pictures along with an assistant, just focus on them. Then make sure the scene contains only you before the timer runs out. The self-timer’s delay time (as well as the interval between the individual shots) can be adjusted in your camera’s settings.
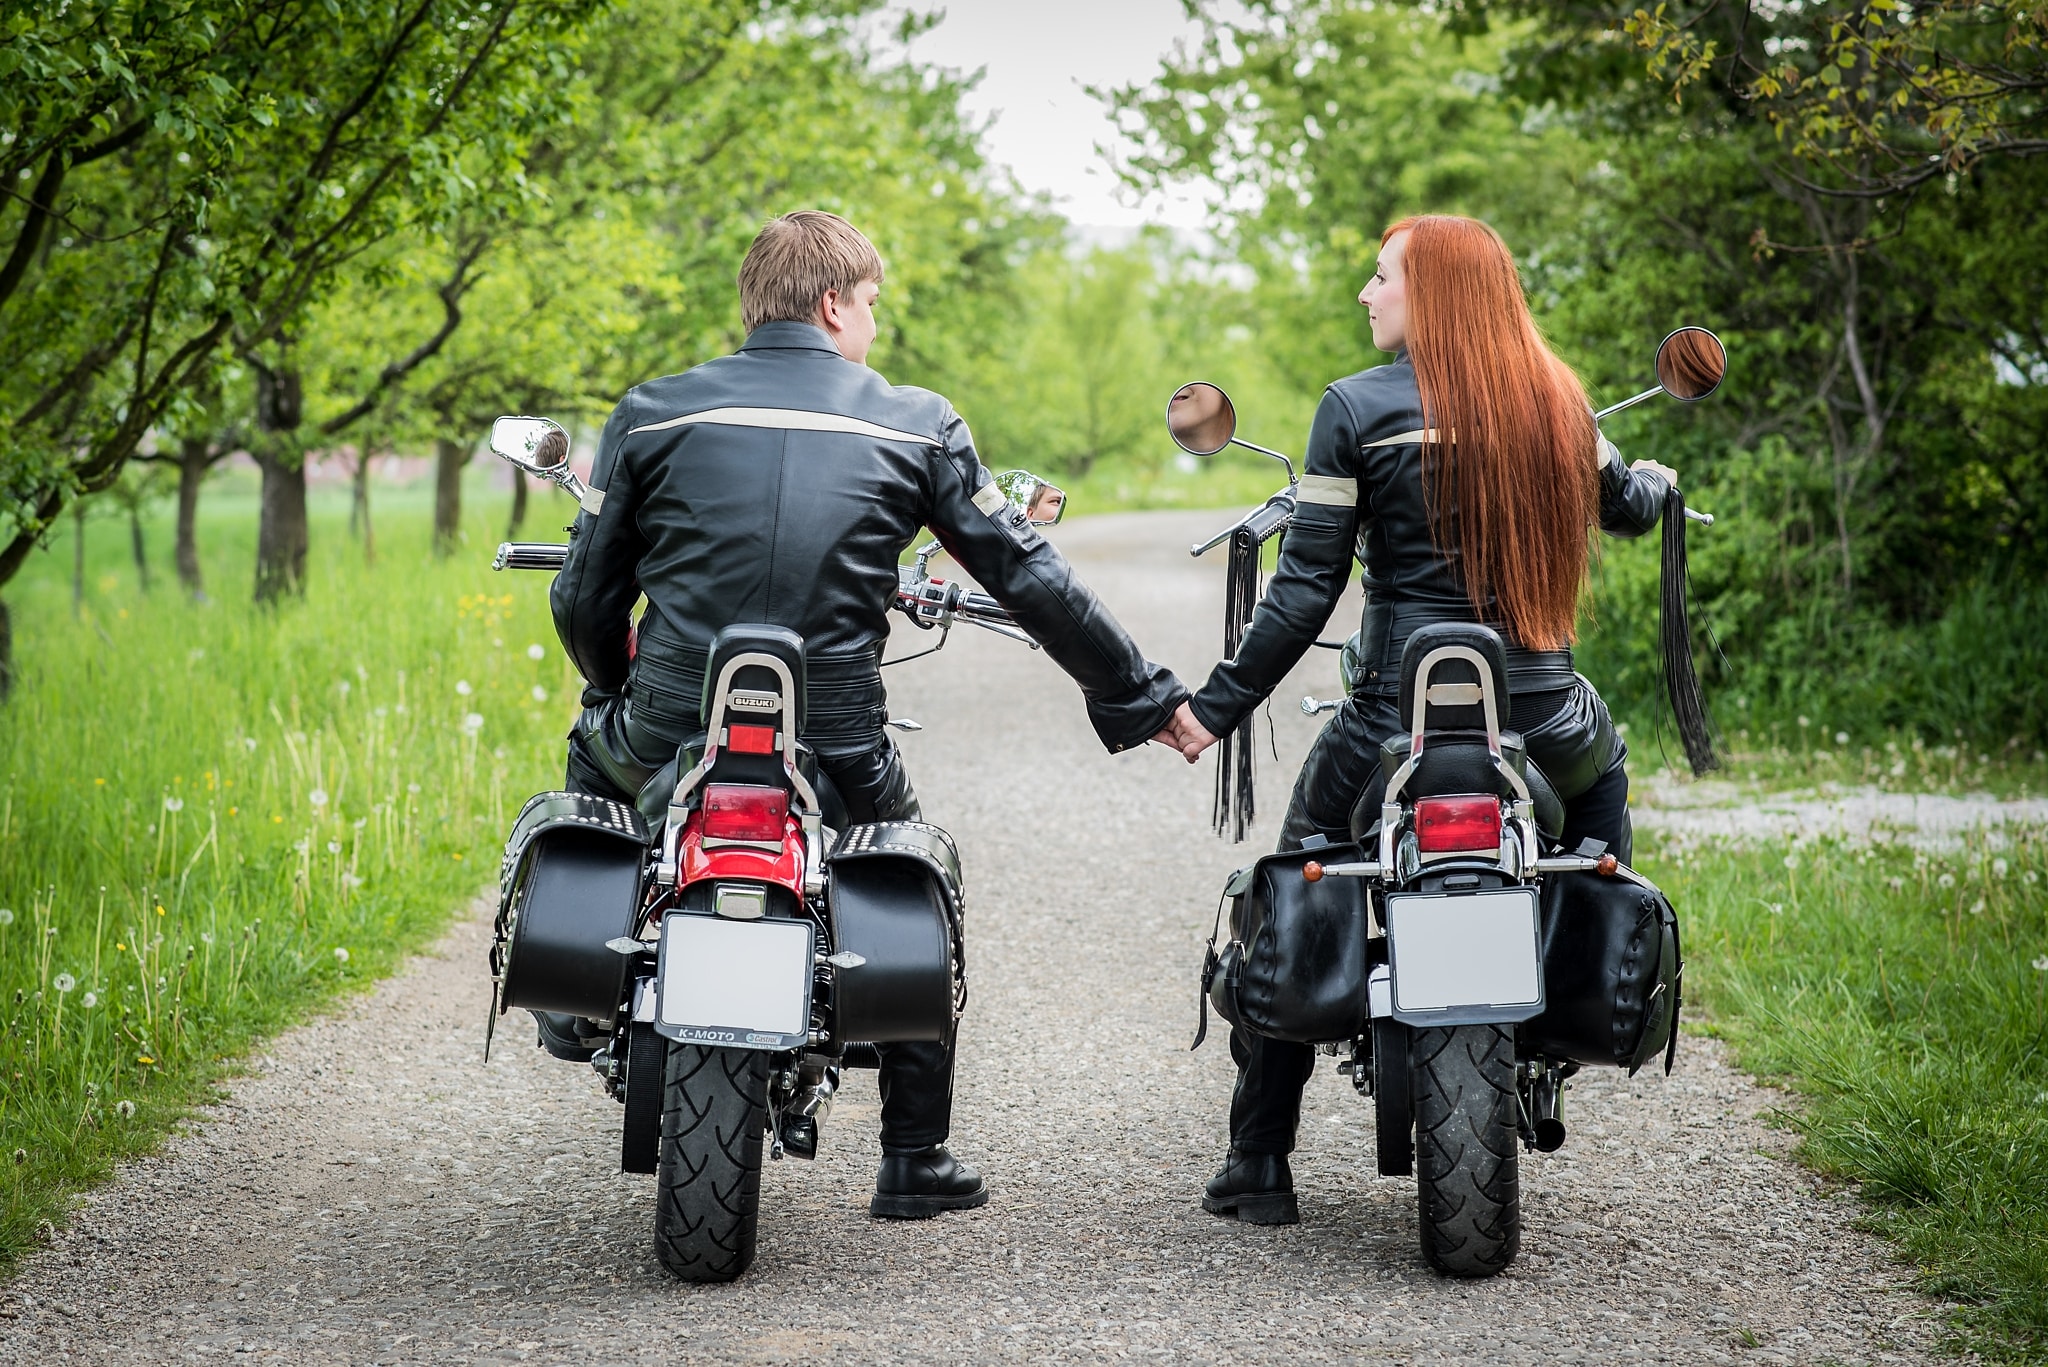
Nikon D750, Sigma Art 85 mm/1.4, 1/100 s, f/3,5 ISO 200.
Remote Controls/Triggers
As for remote controls, it all depends on compatibility with the specific camera. My experience is with the Nikon ML-L3 IR. This control is a great little gadget in that it saves you all the running around to your camera and back to set the self-timer. So you have plenty of time to prepare before the shutter snaps. You simply stick the remote into your hand and just snap as you need from there.
Sadly there’s also a disadvantage here: you can’t control the sharpness, so once again you’ll have to help yourself out by focusing on some object you’ve set up in advance. You should also watch out for your batteries, as these naturally just love (like all electronics) to run out of juice. Keep that in mind, and either take them out after you shoot, or have a replacement pair.
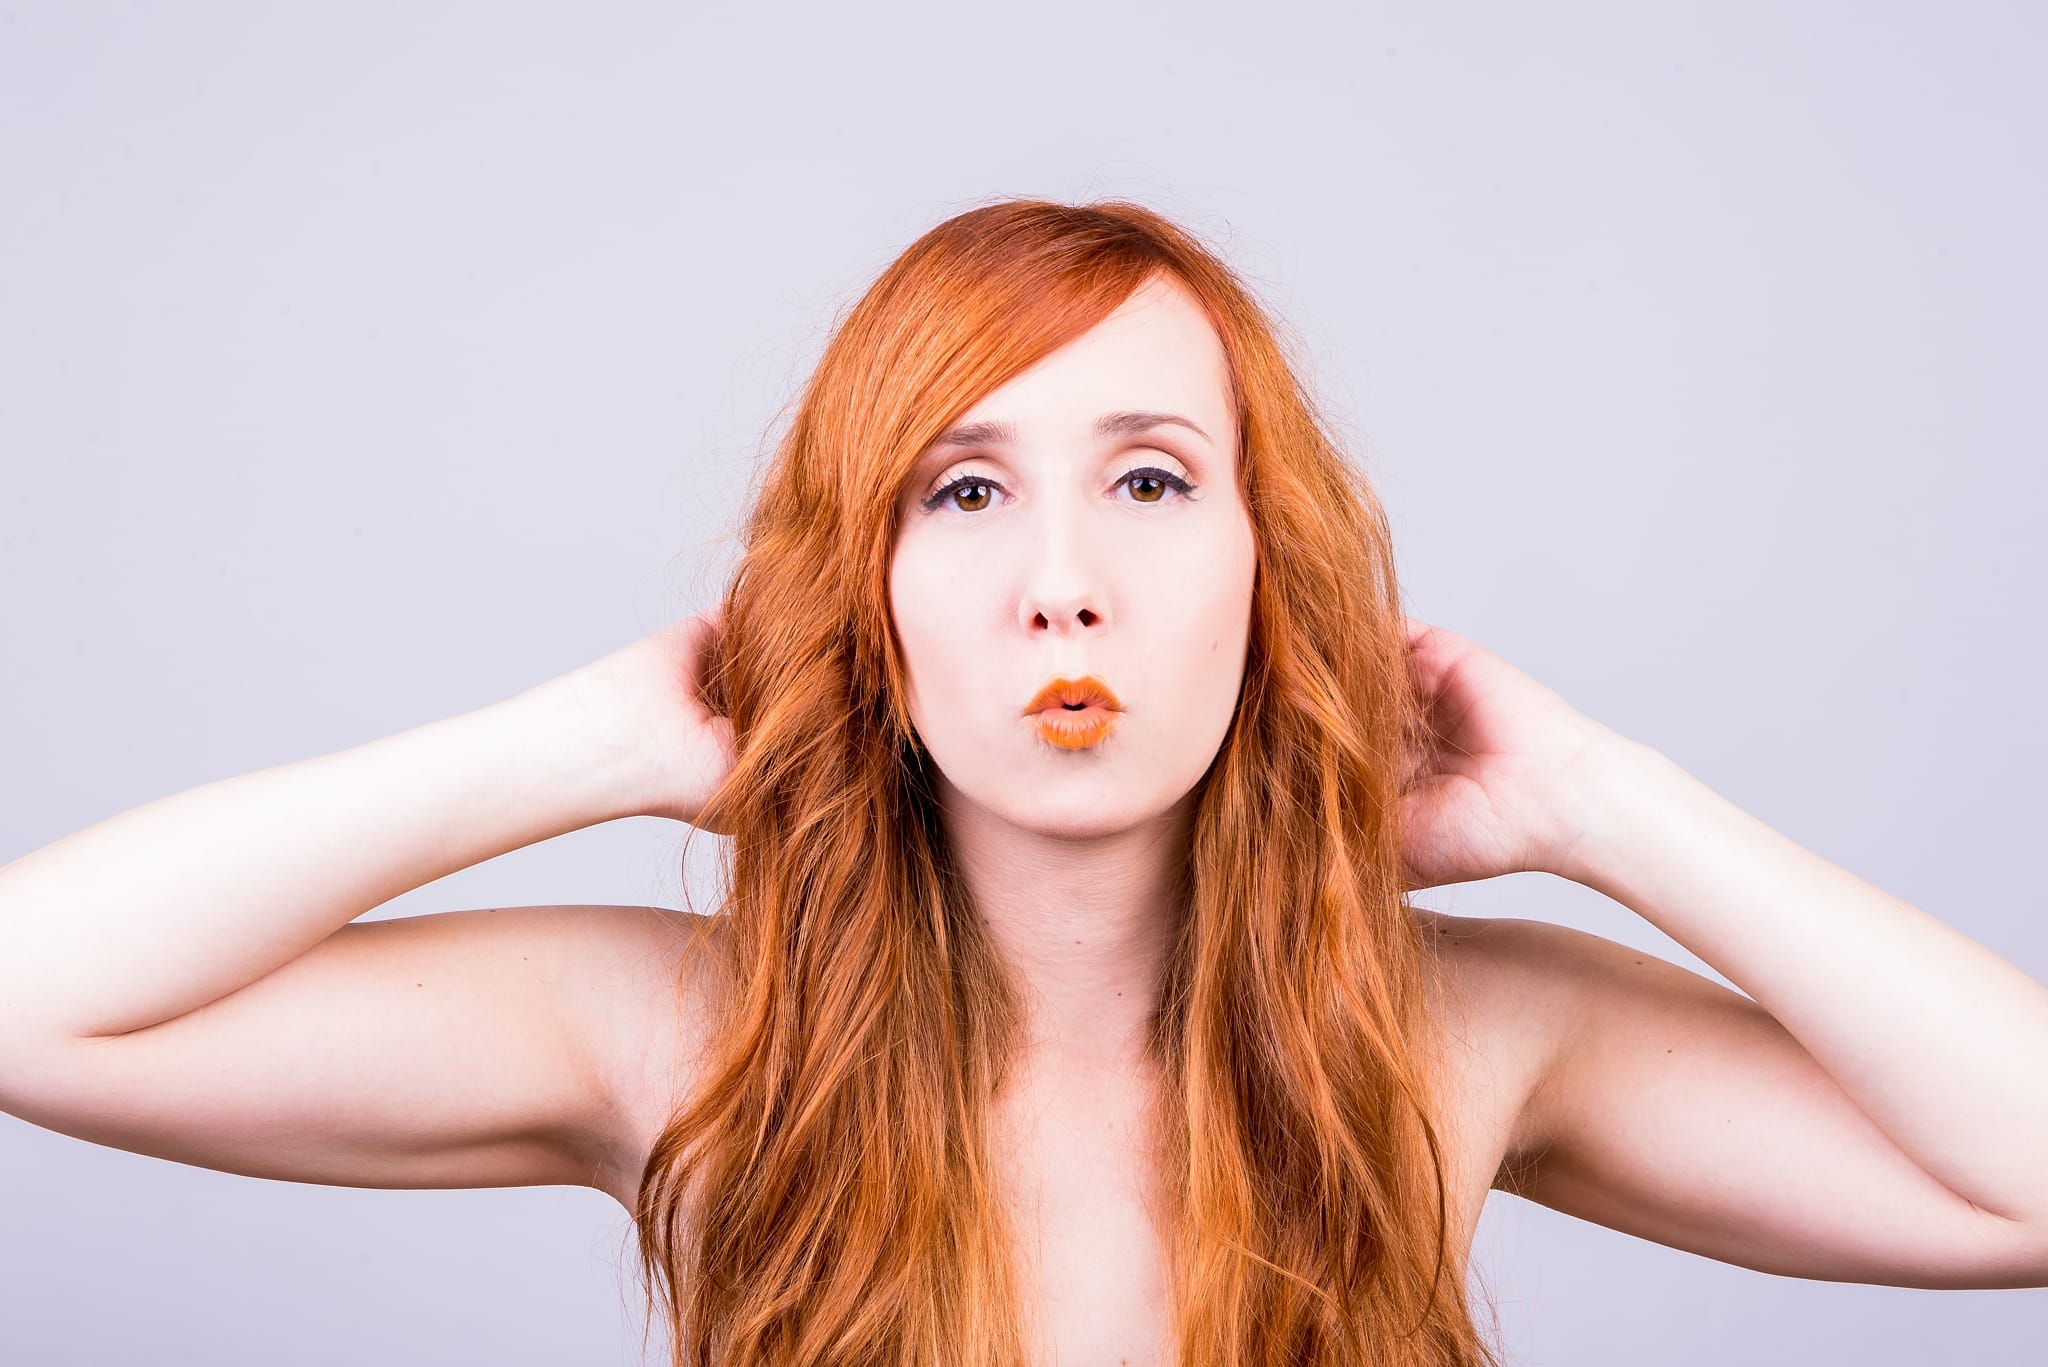
Nikon D600, Nikon 70-200/2.8. 1/125 s, f/18 ISO 100.
Assistants
Another way to take a self-portrait is to have an assistant who presses the trigger for you. But who’s really the photographer for a picture taken this way? Well, if it’s a picture that you’ve thought up yourself and prepared yourself, including the camera settings, and all your assistant did was press the trigger, don’t worry, it’s still a self-portrait. If you and your assistant both had creative input into a photo’s content, however, both of you are the joint “authors” of that photo.
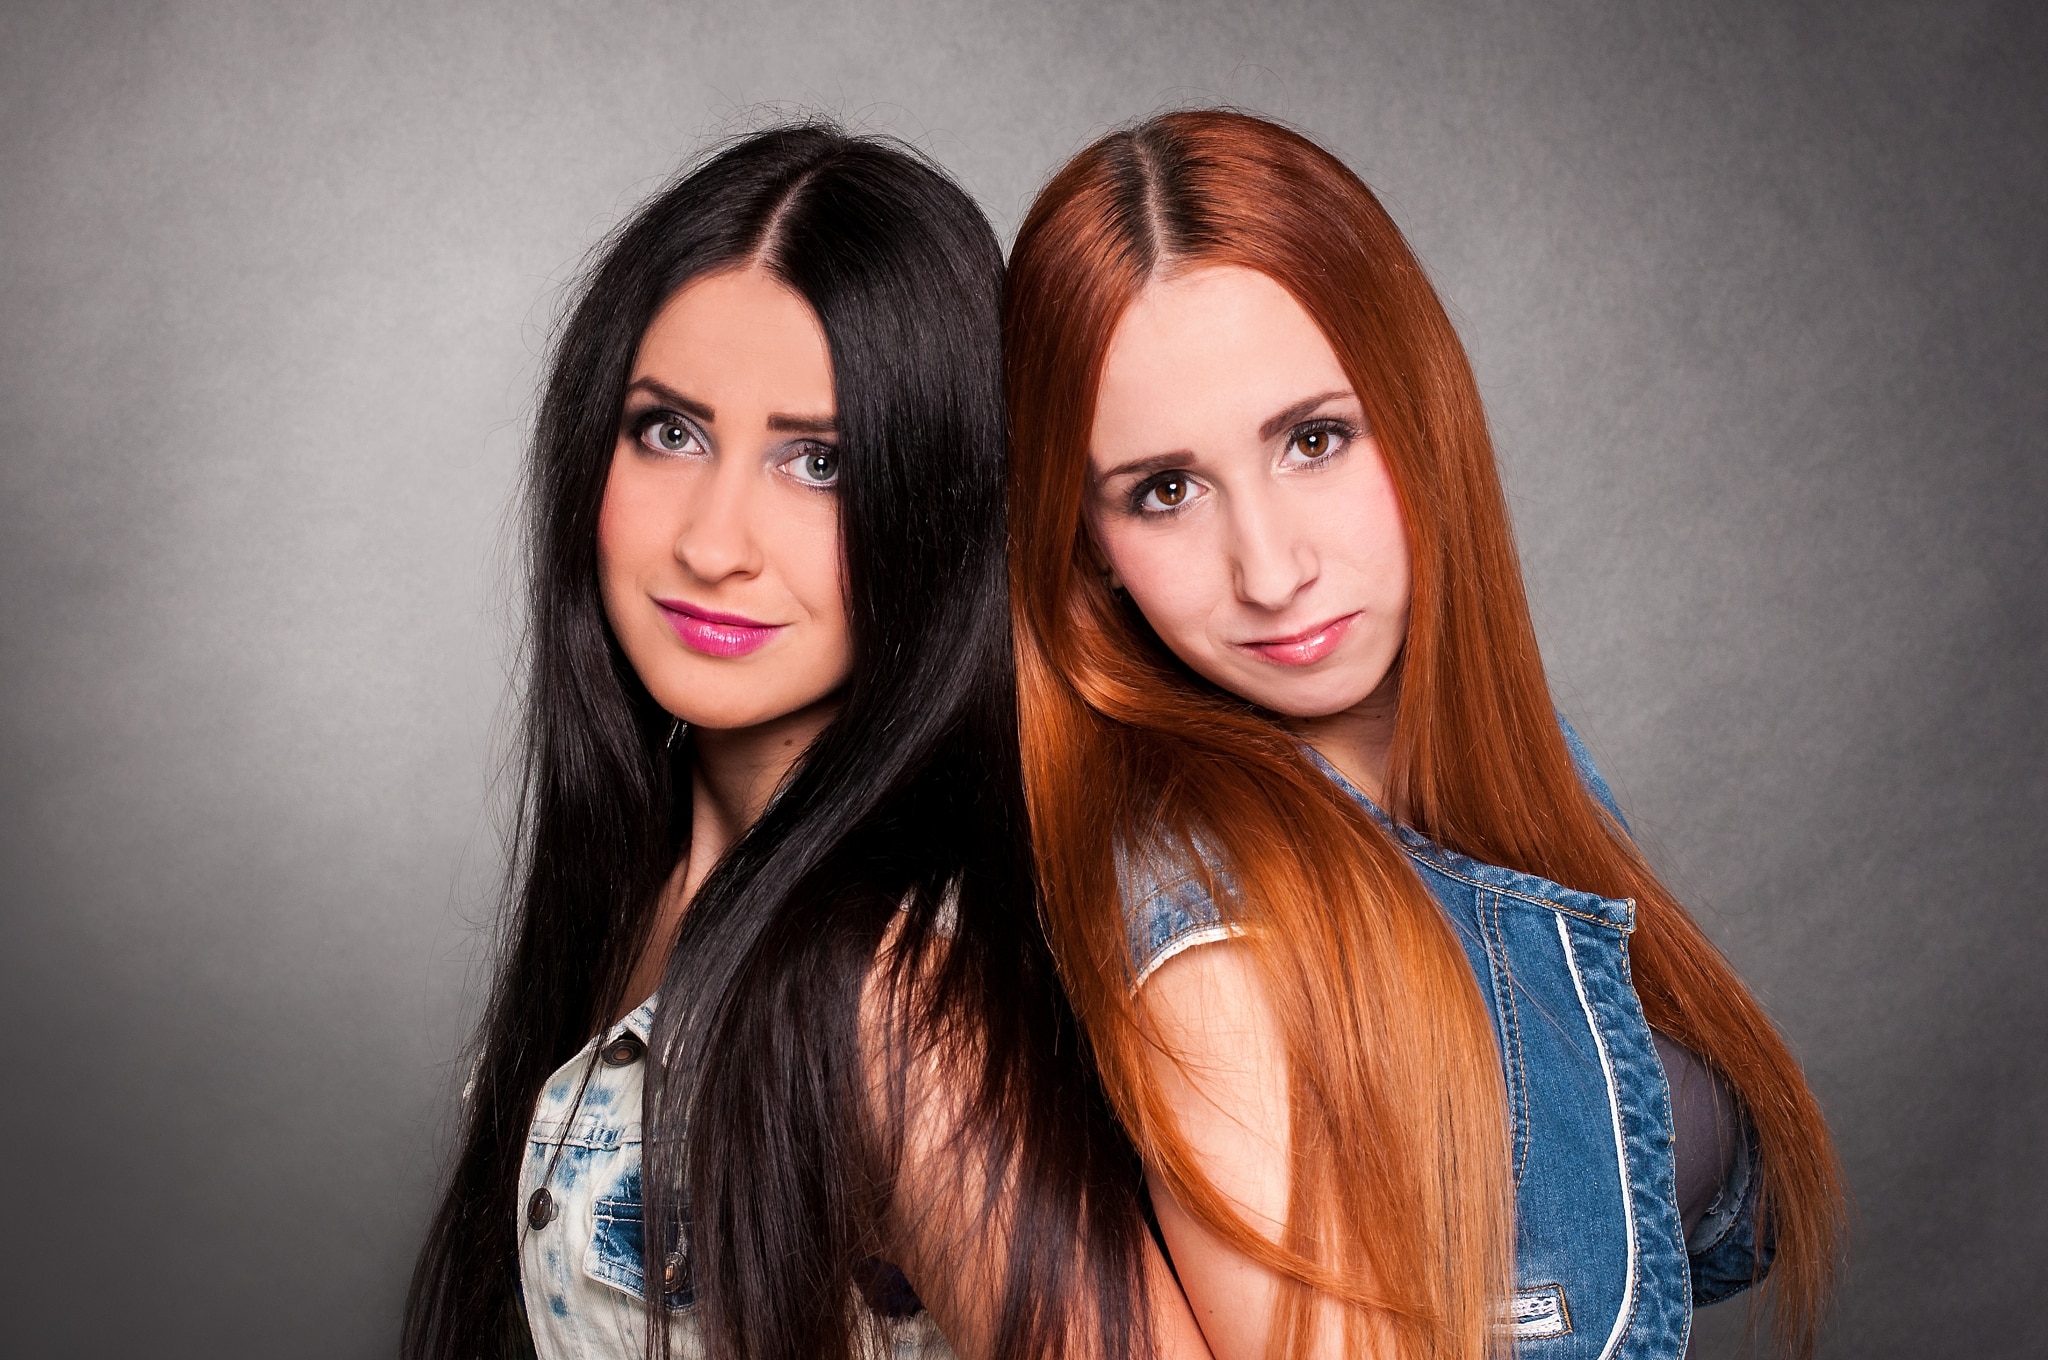
Nikon D300s, Nikon 50/1.8.G, 1/80 s, f/8 ISO 100.
Controlling Your Camera Via a Phone or Tablet
If you have a camera that can connect to a phone or tablet over wifi or bluetooth and remotely controlled via an app from there, then you have the simplest solution right at hand. It has never been easier to take a self-portrait than it is with this technology. You have enormous control over the look of the final photo, and you know in advance which part of it will be sharp.
So you can feel free to take pictures with even the lowest of f-numbers, and above all, you can see directly on your phone’s screen how the final picture will look. You can shoot straight from a phone you’re holding in your hand, or you can set a self-timer and hide the phone somewhere before the shutter snaps. For my Nikon Z6, the Snap Bridge app is the one that can do all this. It really is a great technology, so if you have a camera that supports this feature and you haven’t tried it yet, there’s nothing left to wait for. It’s about as simple as you can get.
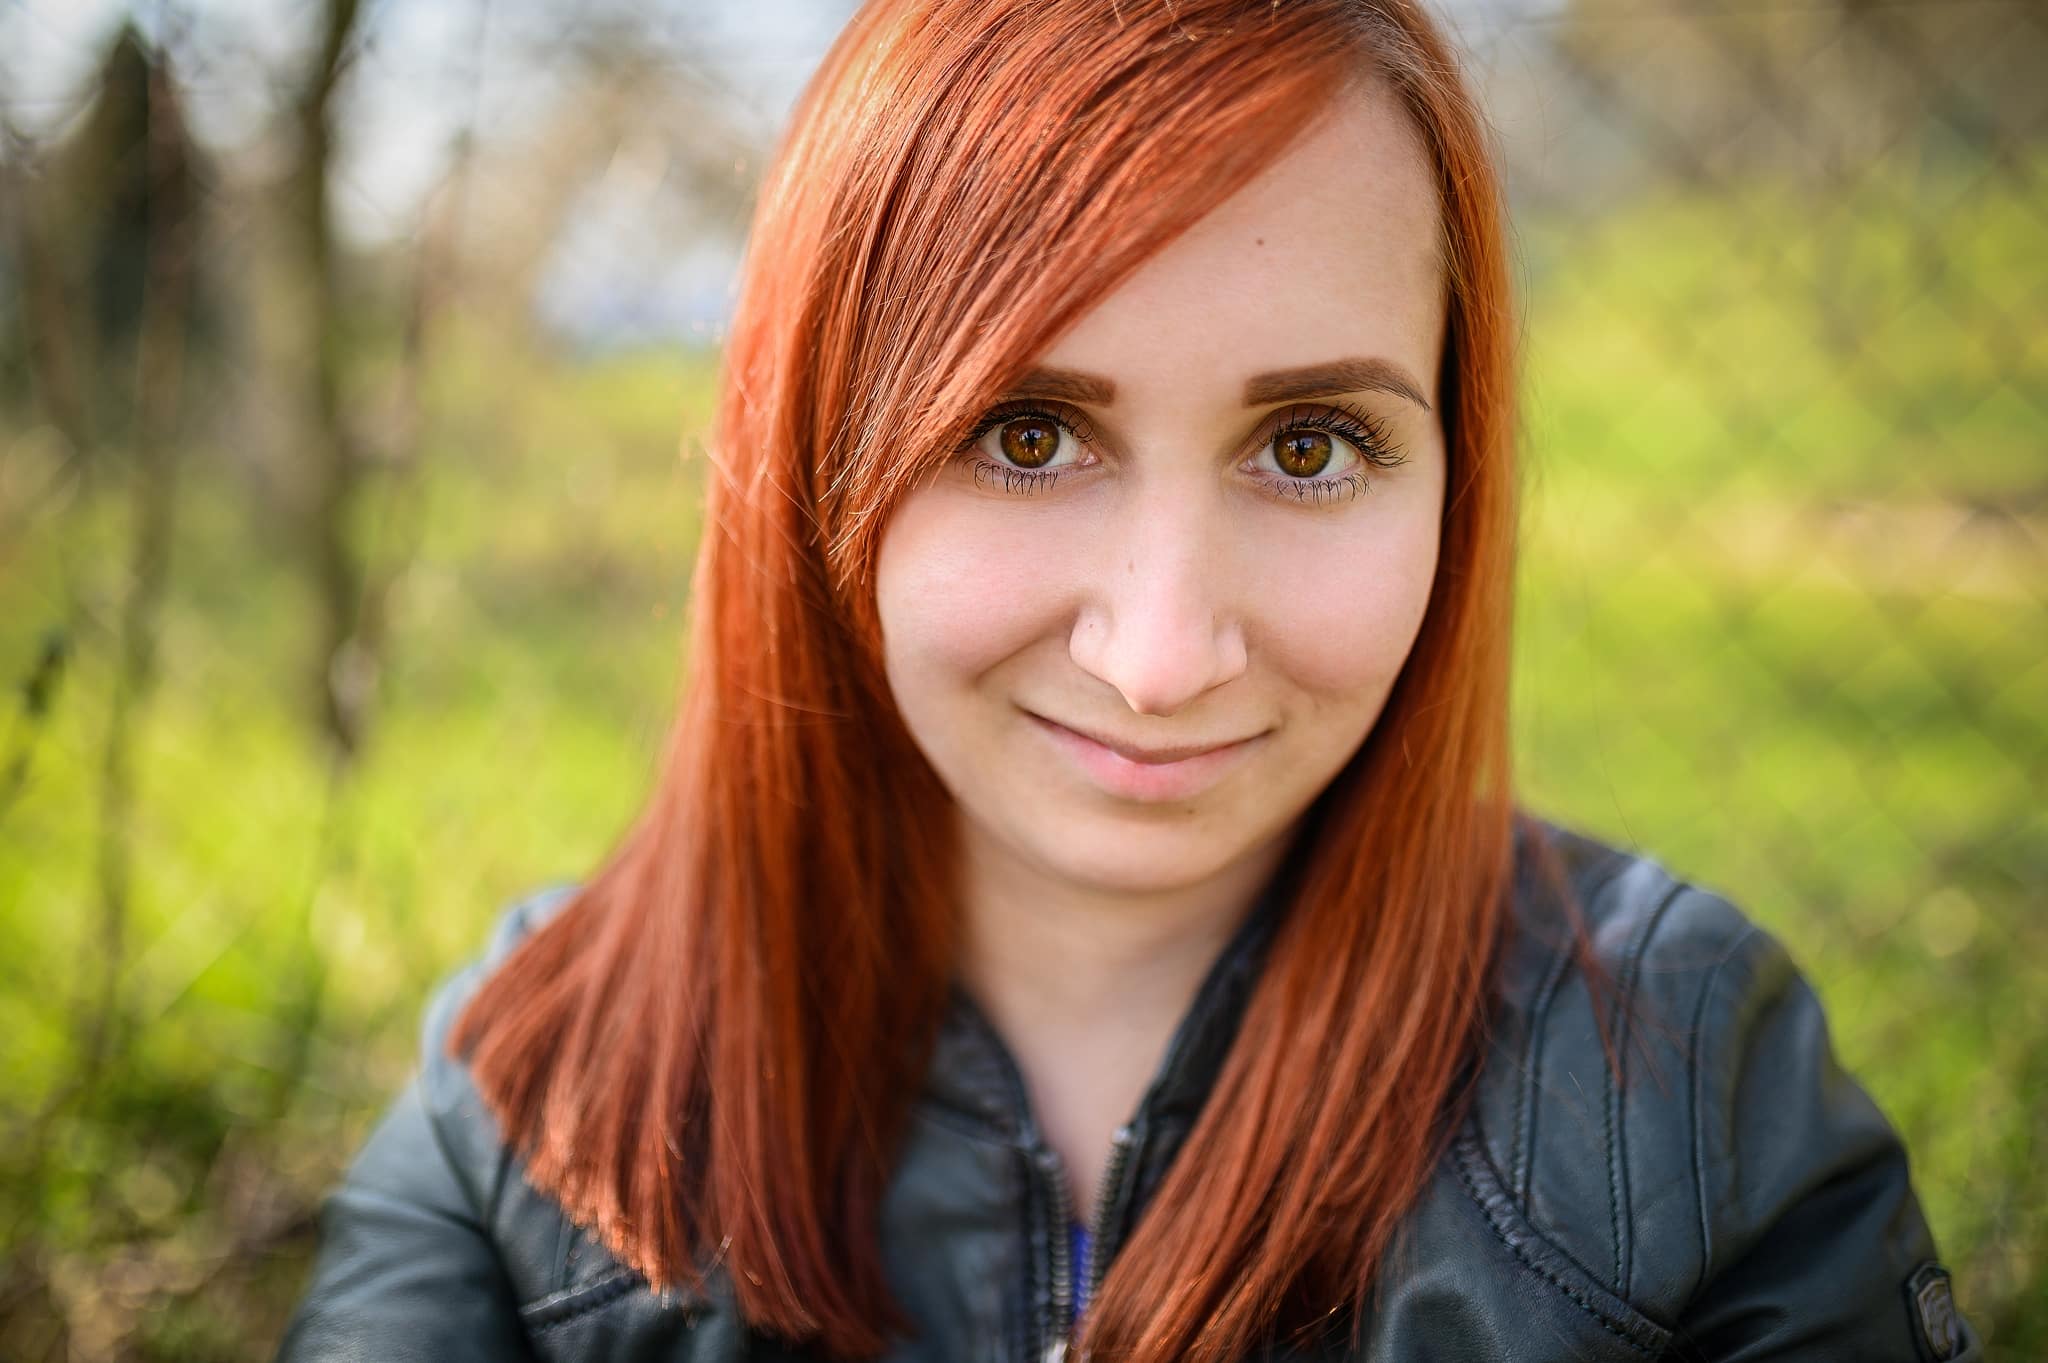
Nikon Z6, Sigma Art 35 mm/1.4, 1/800 s, f/1.4, ISO 100.
Self-portrait, Selfie, or Dronie?
There are also a few other possibilities for how to take a self-portrait. However, they bring you more into the zone of “selfies,” or if you’re using a drone, “dronies.”
Self-portraits are often associated with an artistic approach. But how can you distinguish an artistic self-portrait from an ordinary selfie?
Today the borderline between a self-portrait and a selfie is very thin, and the very term “art photography” is itself often quite arguable. If a self-portrait has added value, an idea behind it, and some thought put into the light and composition, let’s call it a “self-portrait” (no matter what you used for taking the picture). If you snapped it quickly without thinking, on the other hand, then that’s more of a selfie.

There are no comments yet.