Shutter Priority vs. Aperture Priority: Learn to Use Them Right
Shutter Priority and Aperture Priority. You’ll find these semi-automatic modes in every DSLR. They let you manually set ISO and shutter speed or aperture size however you need. They then automatically calculate the missing piece. Take a look at which mode to use when, how to work with them, and when it pays to choose manual mode.
When shooting with a DSLR, it’s best to completely forget about automatic camera modes. At most you’ll utilize them in documentation photography, where you only need to produce an image recording, and you have no demands on a photo’s aesthetic quality.
For creative expression, it’s best to turn to the semi-automatic Shutter Priority and Aperture Priority modes or your camera’s manual mode.
Shutter Priority
In Shutter Priority, you yourself set the shutter time and ISO you want to work with. The built-in exposure meter then sets an aperture value to go with the parameters you’ve set, so that your photos will be correctly exposed.
For more information on the relationship of individual exposure settings to an image’s exposure, read our article on the exposure triangle.
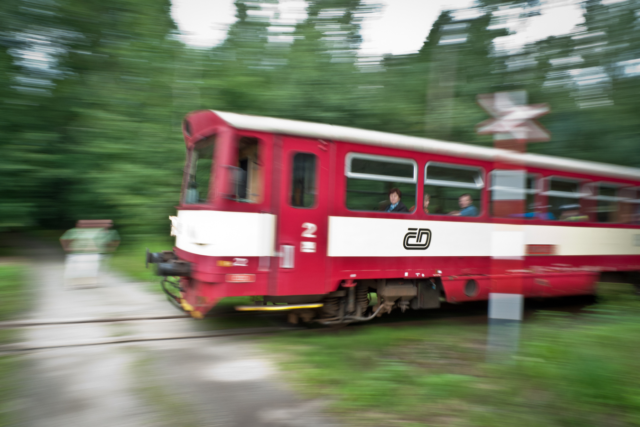
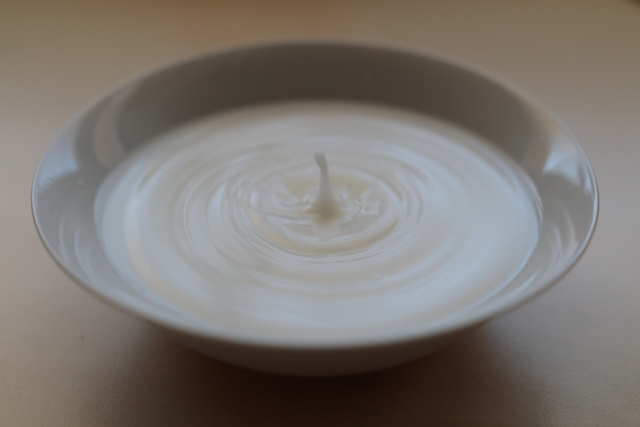
You’ll benefit from Shutter Priority mode e.g. for “freezing” quickly moving objects. It gives you sharp images for subjects like sports and moving animals. Just set a short enough shutter time.
But you can also work in the opposite direction and set a long shutter time. This gives you pictures with impressive blurred moving water, or clouds floating across the sky.
While in the first case you’ll be working with times on the order of hundreds or more likely thousands of a second, in the second one you’ll be setting times several seconds—or several dozen—long. You can also use long exposures to blur moving objects out of a busy scene. For example when photographing landmarks, this lets you easily get rid of tourists in motion.
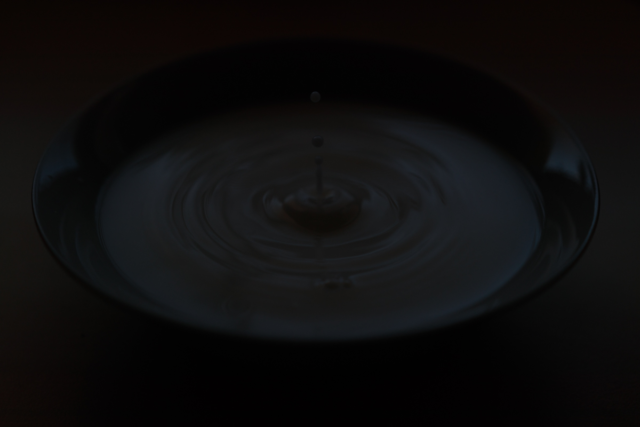
I have to stress that when using extremely short times, you’ll run into the technical limits of your camera, or more precisely your lens.
When shooting exposures only thousandths of a second long, you often don’t have enough light even when the aperture is wide open. Thus you run the risk that your photos will be underexposed. So you need to work with high ISO values, which will reduce your photos’ technical quality: they will have more noise and reduced dynamic range.
It will also pay off to shoot to RAW; this preserves a maximum of image information. You can then easily improve exposure in Zoner Studio.
On the other hand when taking pictures with extremely long exposure times—dozens of seconds—not even a fully closed aperture can sufficiently limit the light reaching the sensor. So you have to help yourself out with a neutral density (ND) filter or a polarizing filter; these limit the light flowing into the lens.
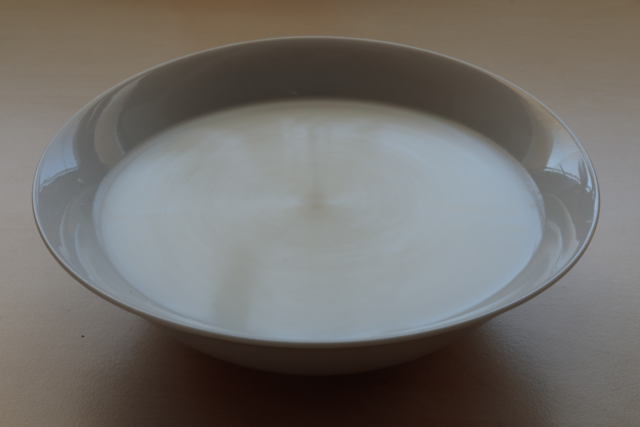
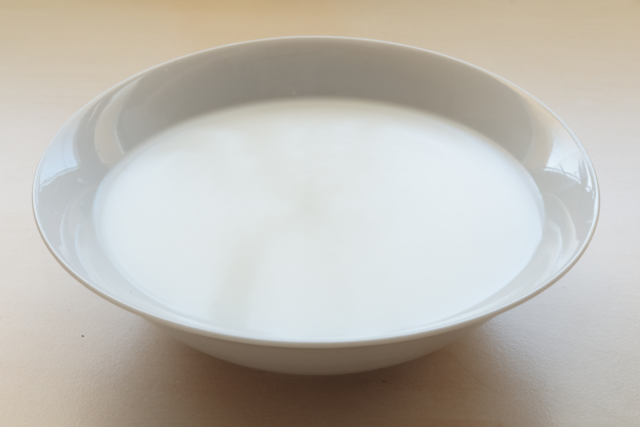
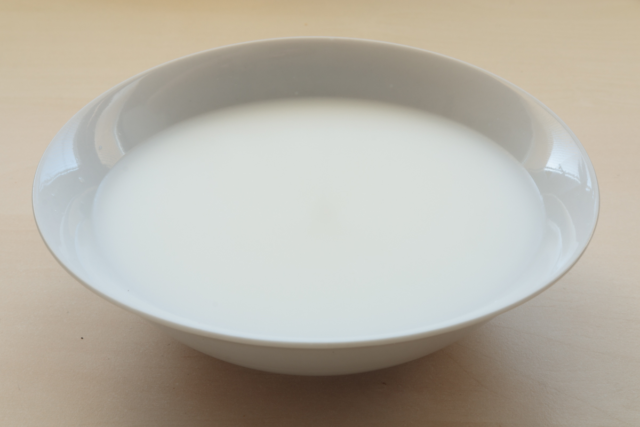
In part due to the mentioned shortcomings with extreme shutter times, Shutter Priority is not used too much in practice. In general it’s best to photograph the subjects I’ve mentioned in fully manual mode.
Aperture Priority
Unlike Shutter Priority, which you won’t use too much in practice, Aperture Priority is the basic mode used by all reportage photographers. In this semi-automatic mode, you set the aperture and ISO that you want. The camera then chooses the correct shutter speed.
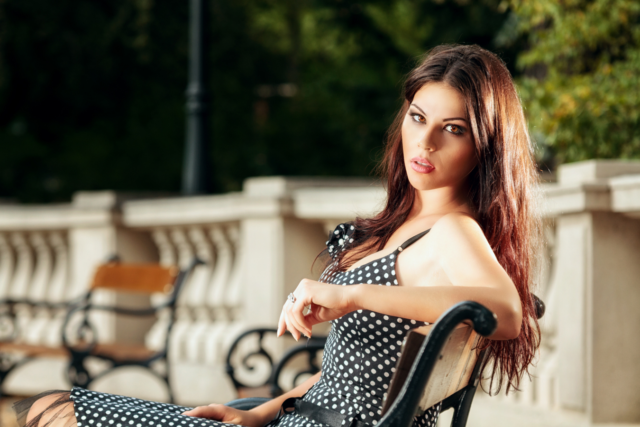
By setting the aperture, you’re controlling the photo’s depth of field. Thanks to this, you decide what will be sharp in the photo and what will be blurry, i.e. outside the depth of field.
This is a very effective way to separate the photo’s subject from its background (e.g. in portraits), or do the opposite—get a picture that’s sharp throughout the scene’s whole depth and width (e.g. for nature photography, architectural photography, or product photography).
Manual Camera Mode
The king of camera exposure modes is manual mode, where you have all your photographic parameters fully under control. The camera’s measurement serves you as an advisor, whom you can listen to, or not.
You’ll generally turn to manual mode in situations where there’s enough time to set shot parameters manually. In these situations it’s a good idea to use a hand exposure meter. This is more precise than a camera’s built-in meter.
While the built-in meter measures light reflected from the scene and can be confused by objects that are too dark or light, an external meter directly measures the light falling onto the scene.
In reportage photography, you’ll find manual mode useful in situations where the scene’s lighting level is unchanging. Typically in interiors under artificial lighting. This gives you a series of consistently exposed pictures. That way you don’t have to worry that one picture will be lighter or darker than the next.
Meanwhile when you’re shooting with flashes in a studio, manual mode is the only one you can even use.
Automatic ISO
Today’s DSLRs let you work with automatic ISO settings in every single camera mode. Personally, for reportage photography I’ve come to like the combination of Aperture Priority and automatic ISO.
Imagine you’re photographing a wedding and you start with shots in front of the church. You set the aperture you want, and the camera automatically sets the shutter time, which is rather short due to the bright outdoor light. When you move in to the church’s dark interior, the shutter times calculated would start to be too long to shoot well without a tripod. But you’ve set automatic ISO. So your camera reacts automatically: it does not set a speed that can’t be shot by hand. Instead it starts to raise the ISO, giving you properly exposed, sharp pictures without having to change the camera settings.
Aperture Priority Is What You’ll Encounter in Practice
While you won’t get use out of Shutter Priority too often, you will on the other hand use Aperture Priority, especially for reportage photography. That’s because in reportage moments, events are moving quickly and you don’t have enough time to set exposure parameters manually. But thanks to Aperture Priority, you still have your photos’ final look under control.
Meanwhile for static subjects, the best is to work in fully manual mode. That way you have everything under control, and you’re not tied to the camera’s systems, which are not infallible.
If your camera offers it, then take the time to master work with automatic ISO as well. That will save you setup time, which again is something you’ll appreciate in reportage photography.
There are no comments yet.