Software Lens Correction
Camera lenses aren’t perfect, but increasingly advanced software can correct defects directly in the camera or with photo editing. Let’s take a look at what lens defects you may encounter and how removing them can affect image quality—for better or for worse.
It’s tempting to complain to lens manufacturers and demand a better product. They probably could make a better lens, but then the weight, size, and ultimately the cost would be extremely high.
This is why lens manufacturers often opt for a compromise that makes the final product affordable, at the cost of minor imperfections that are automatically or manually corrected after the picture is taken. High-quality, high-end lenses still exist. However, as the computing power of image processors increases, most “glass” (photography lingo for lenses) relies on corrections that weren’t possible even a few years ago.
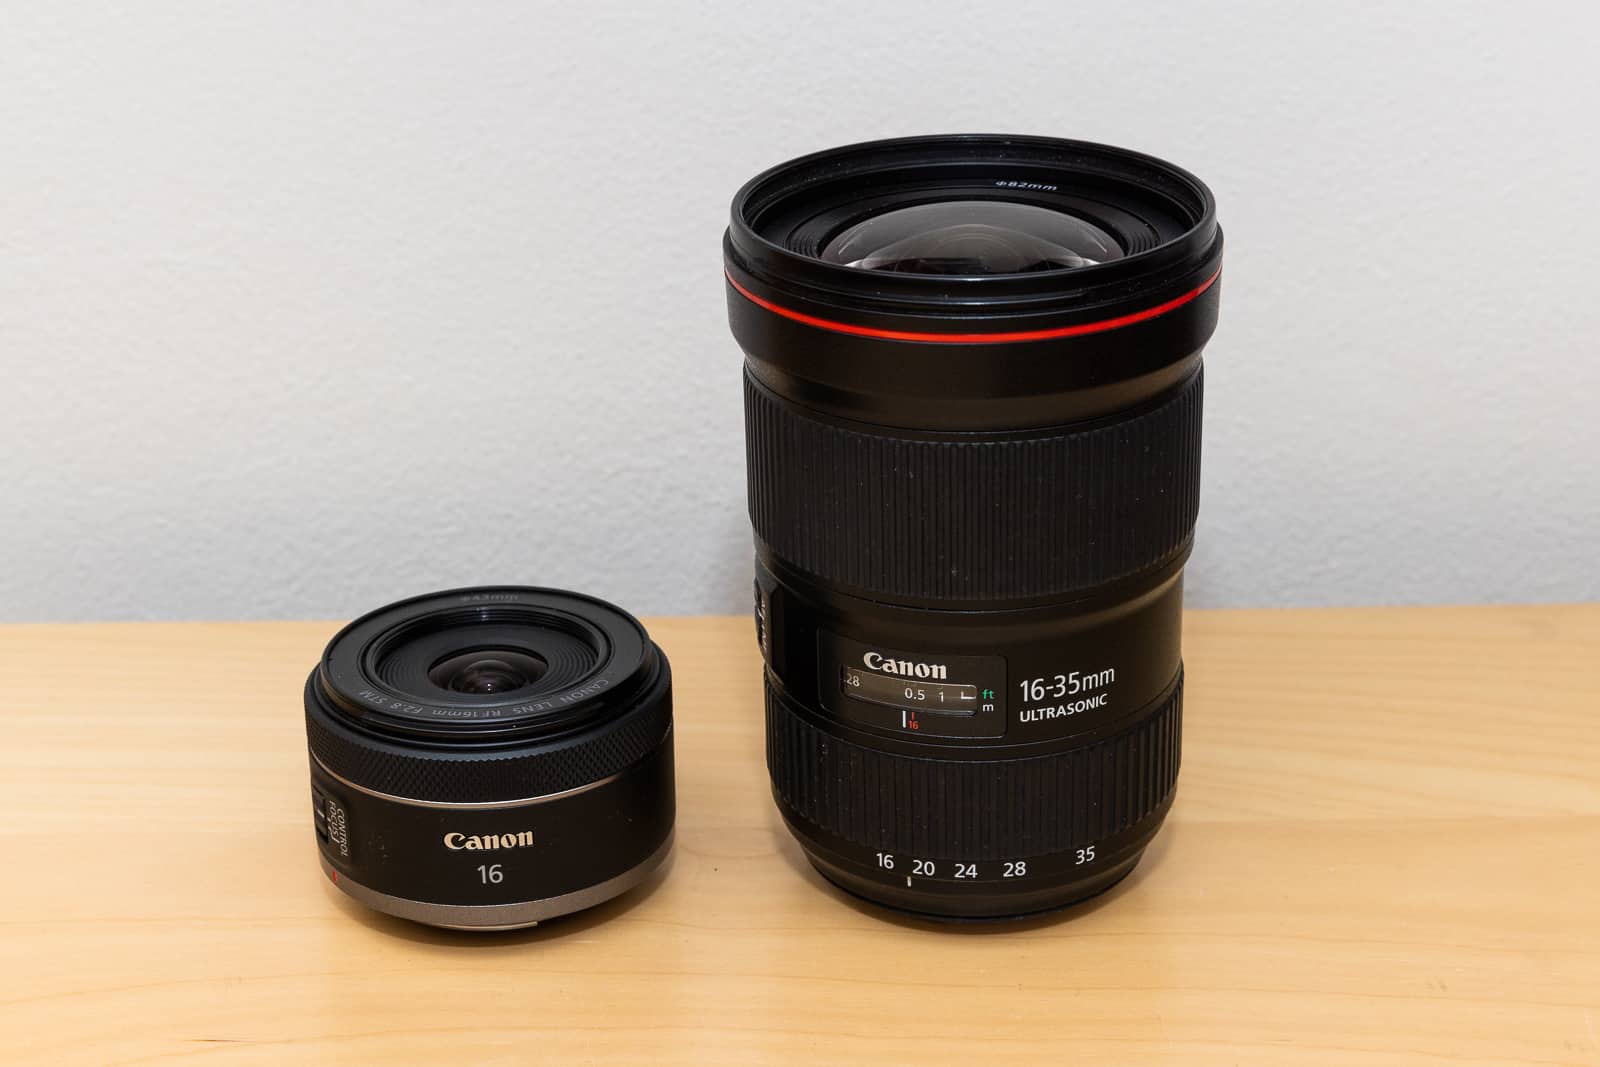
Example—Canon RF 16/2.8
To demonstrate, we chose the Canon RF 16/2.8 lens, which came out at the end of 2021. At the time of writing, it has been on the market for a little over a year. Although it’s designed for full-frame cameras with a large sensor, the lens itself is tiny and weighs only 165g. To compare, all of my lenses are over 600g.
Conditions for automatic correction
Several conditions must be met for in-camera corrections:
- First and foremost, the camera must recognize the lens and have a lens correction profile available for it. Sometimes this means that the body and glass must come from the same manufacturer, other times the requirements are more lax.
In online photography forums, there are often people who have an older Sigma lens mounted on a Canon body and struggle with peculiar circles across the image (like this post with an example). The problem is that they have lens correction enabled but the camera doesn’t recognize the lens and uses a different profile. If the error is not solved by a lens firmware update, auto-correction must be turned off.
- The second condition for in-camera corrections is that you have to shoot in JPEG format. Raw, uncorrected image data is kept in RAW files, but the camera and lens information is stored alongside it. So if a RAW file is opened by an application that can recognize RAW data, it automatically applies the corrections. It is also possible to turn off auto-corrections either entirely, or partially, which is convenient because some corrections are not beneficial and can even slightly worsen the image.
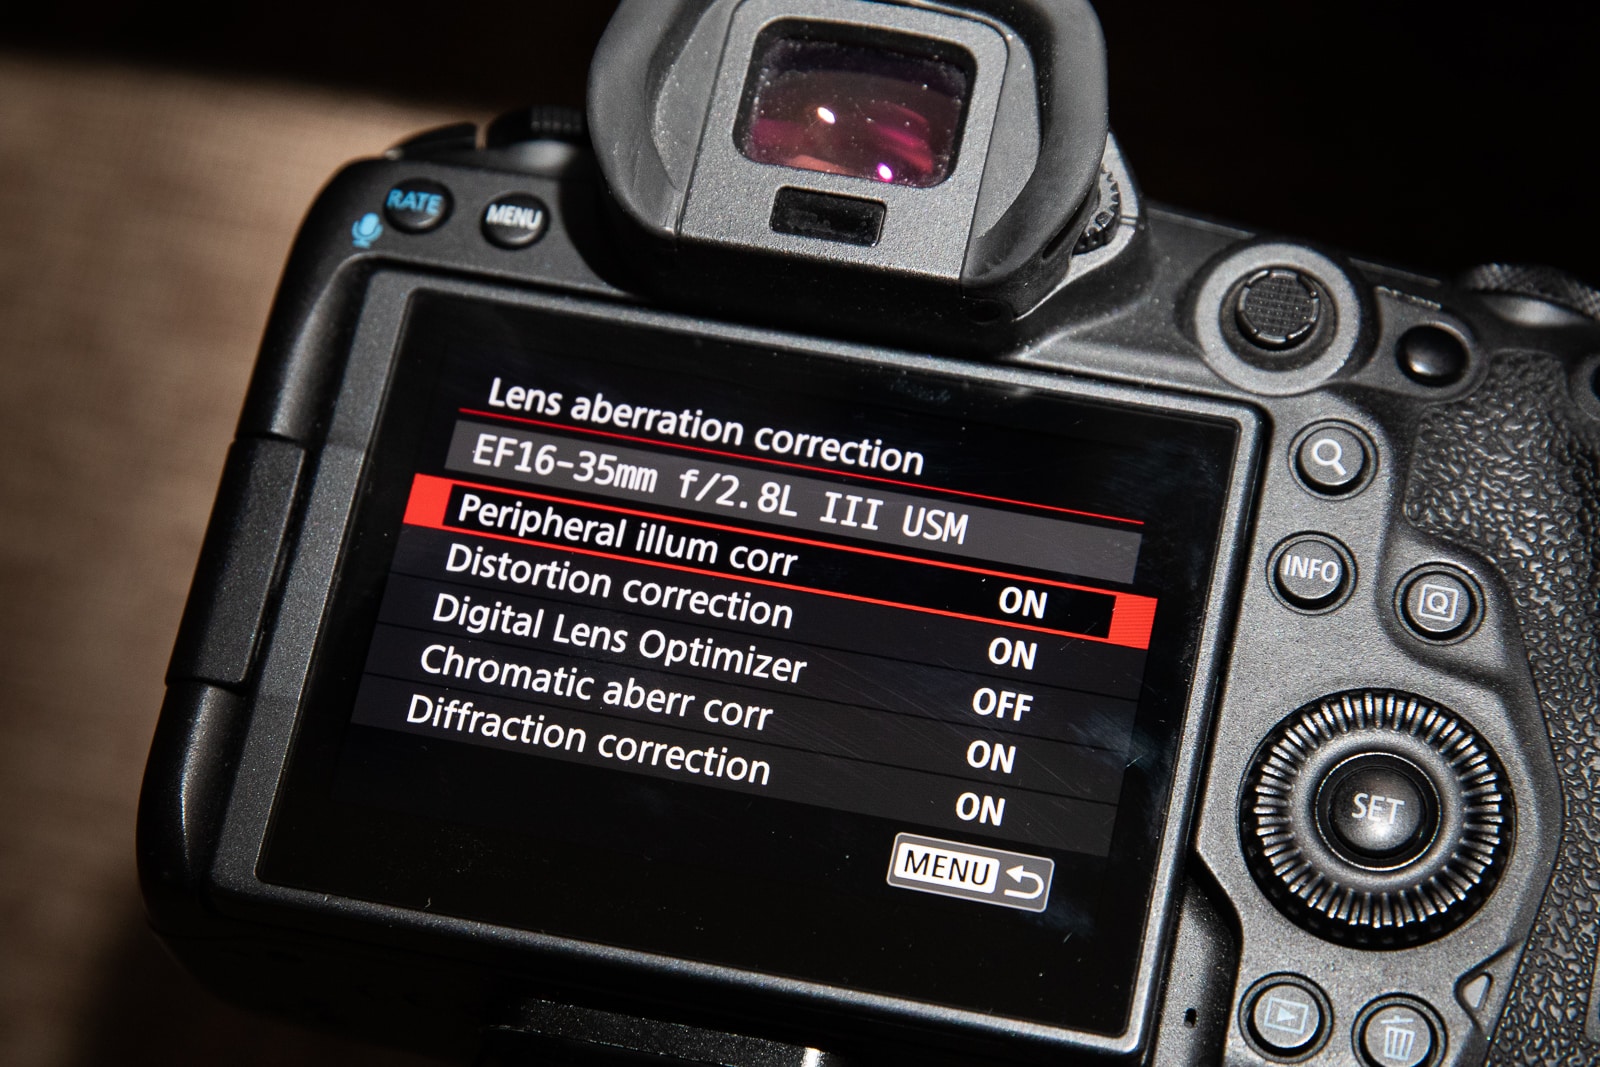
- The third condition is that corrections must be enabled in the camera menu. Either as a single option with an On/Off setting, or listed as separate items that can be enabled or disabled.
Distortion
Geometric lens distortion is a common defect of wide-angle lenses in particular. It can either look like a bulge, a hollowing, or sometimes a more complex wavy shape. It tends to vary with zoom lenses at different focal lengths.
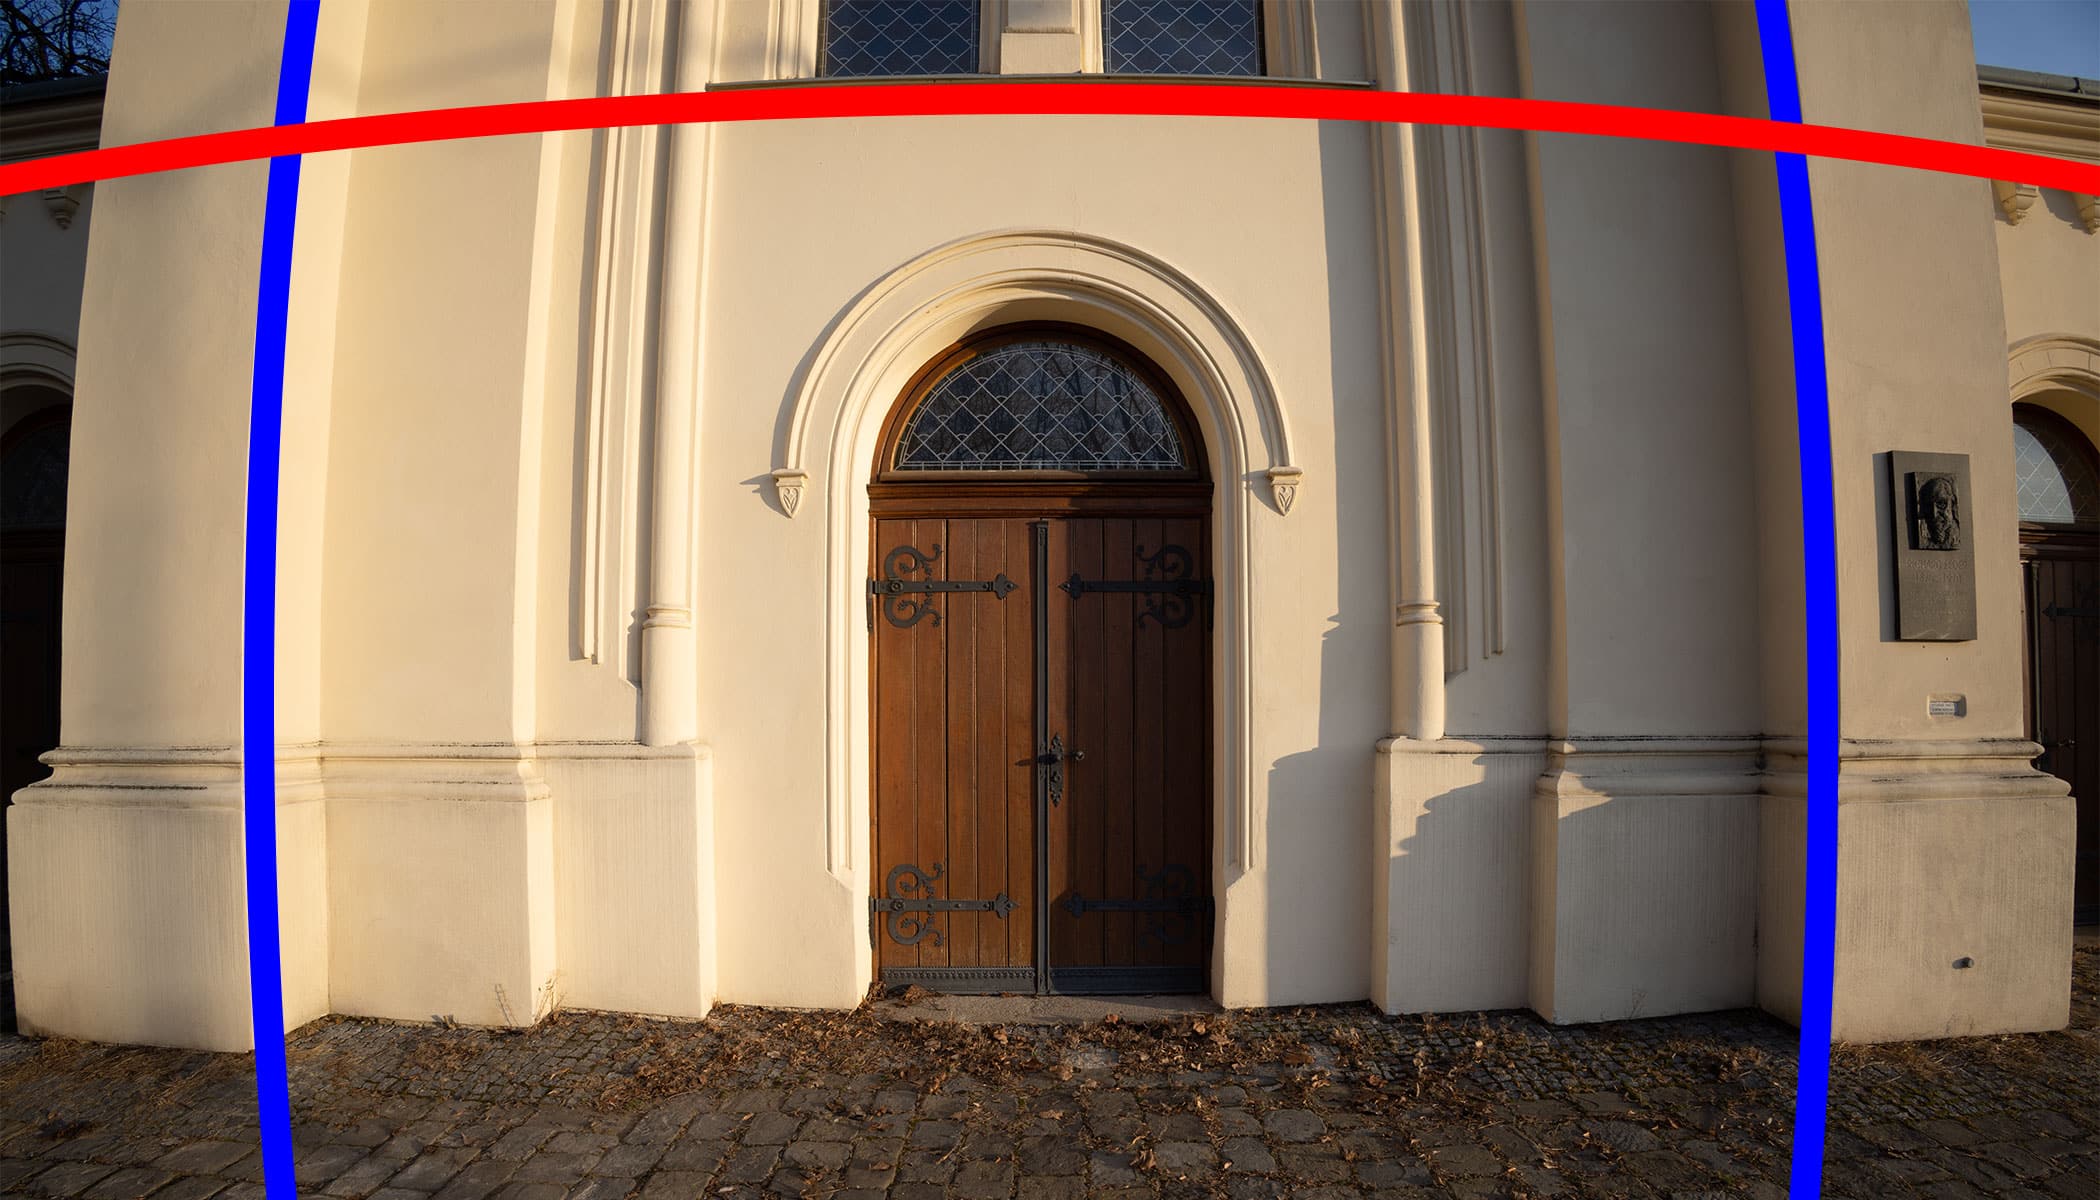
This lens is perfect for demonstrating lens distortion, because it has huge distortion. You can’t even turn the correction off in the camera’s menu because it assumes you wouldn’t want to. But if you shoot in RAW, you can see the RAW image data at home.
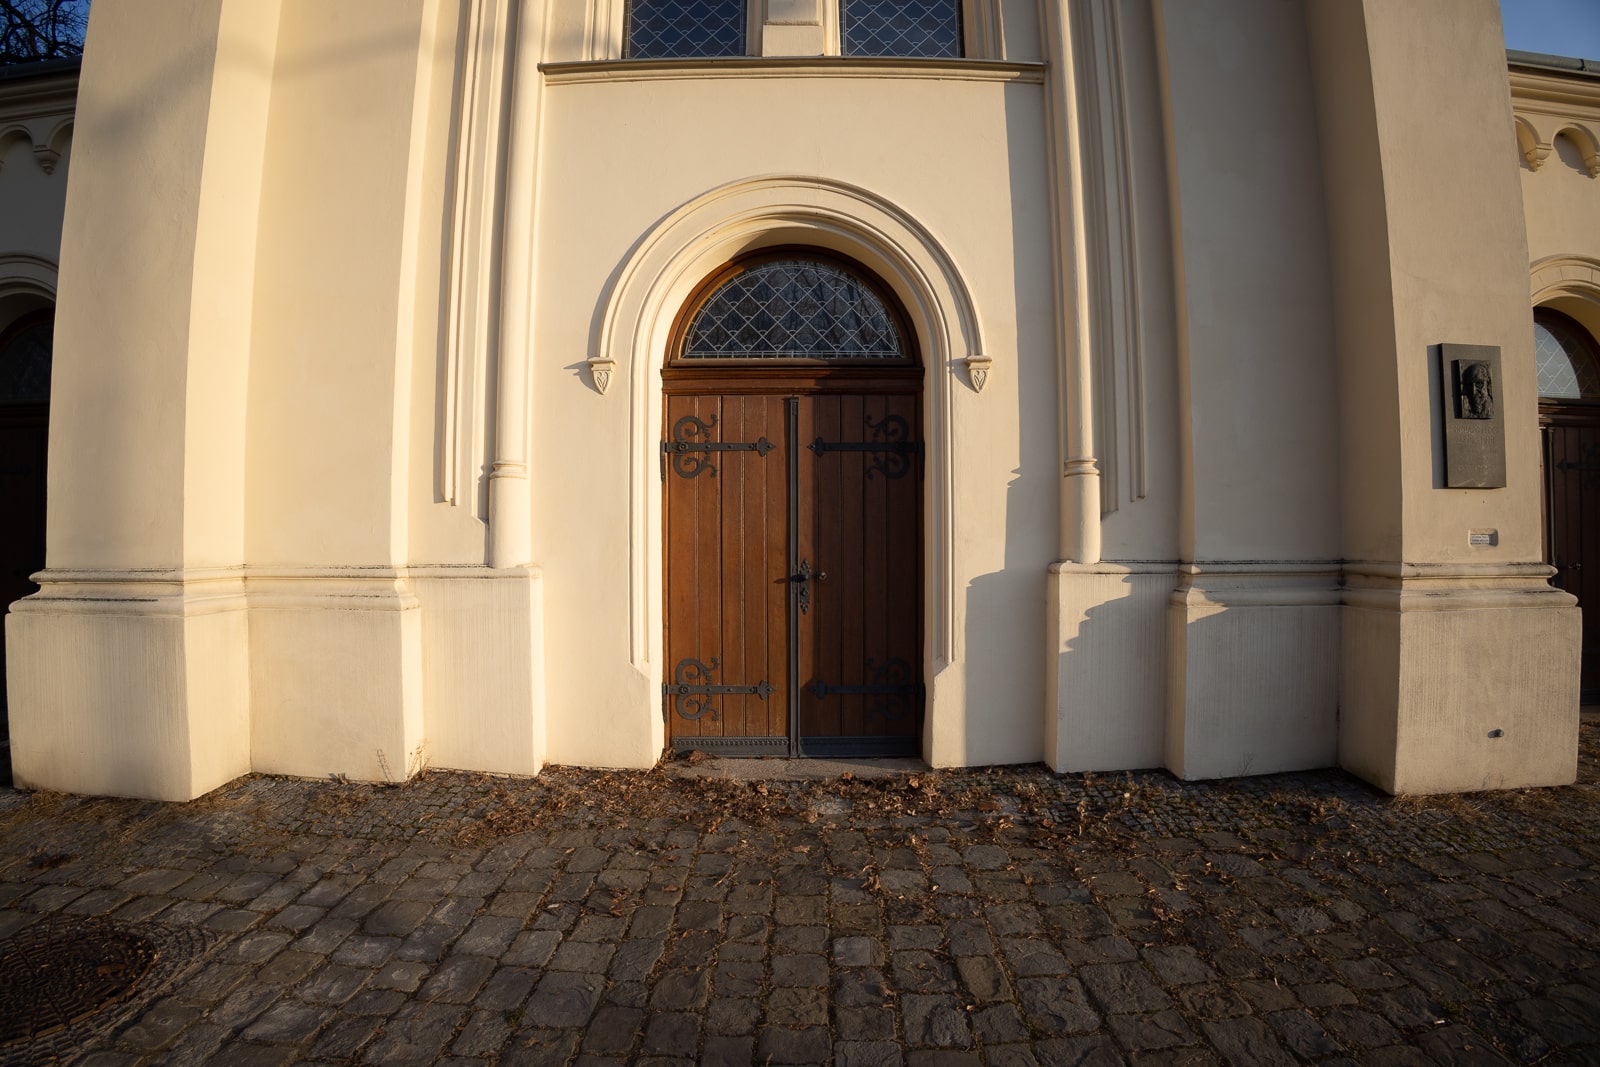
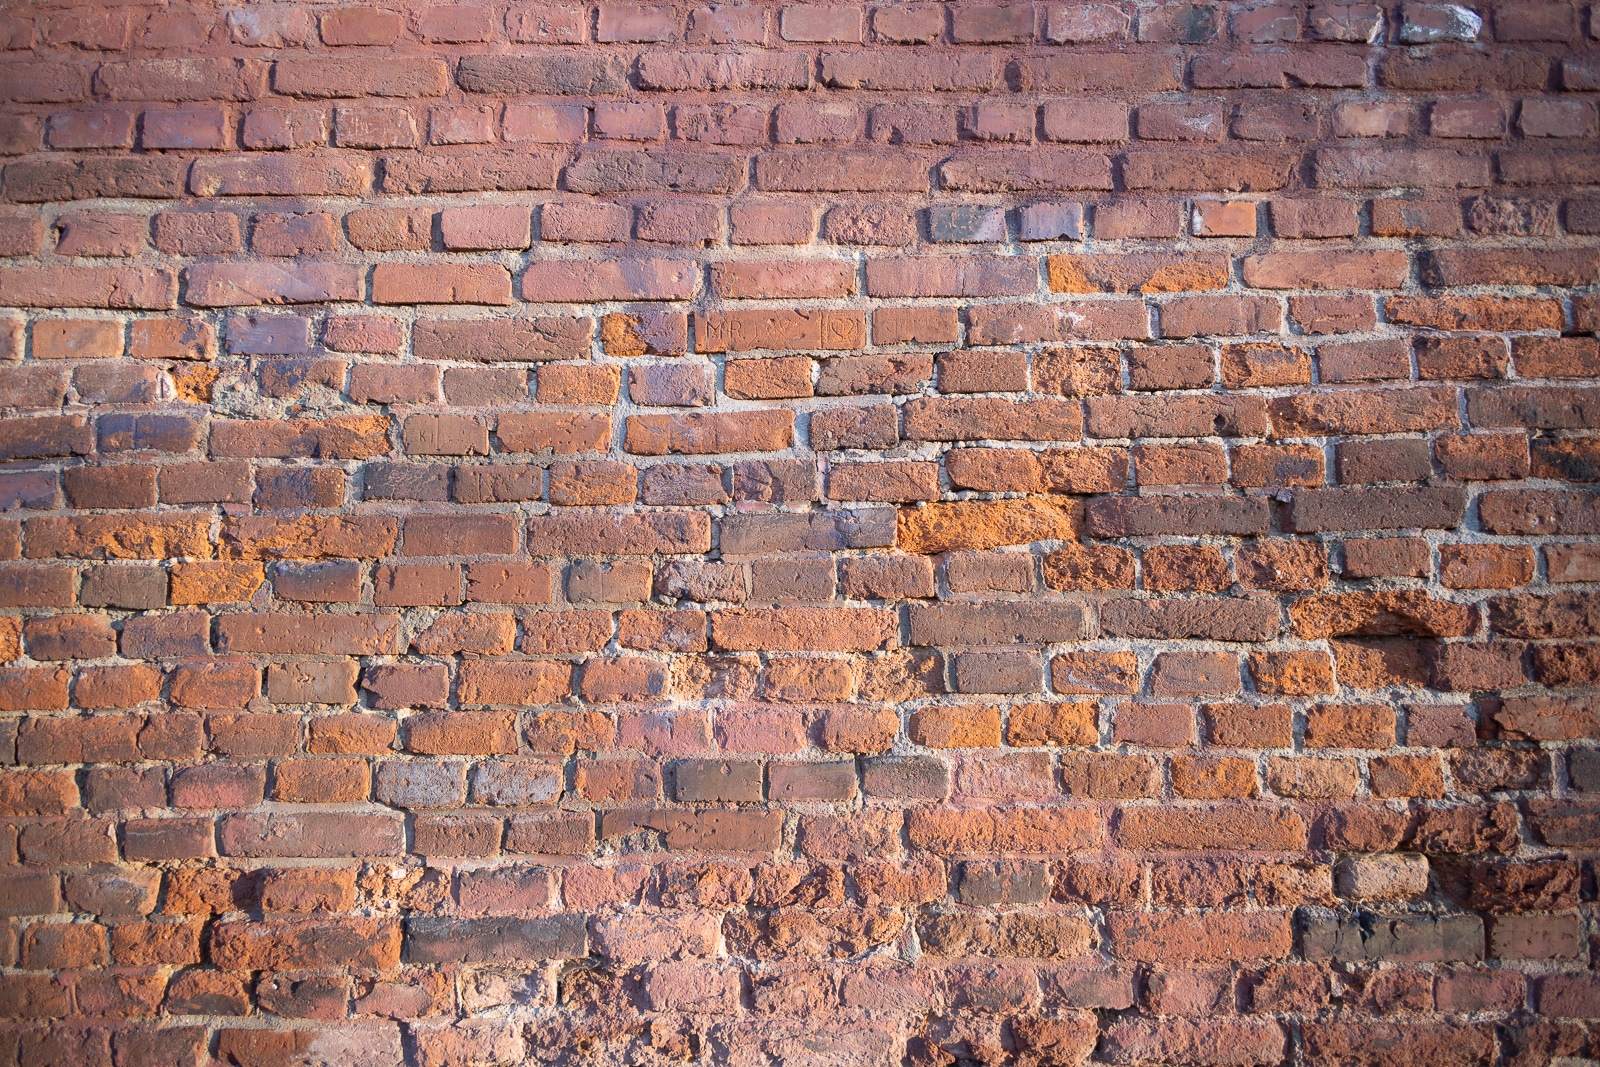
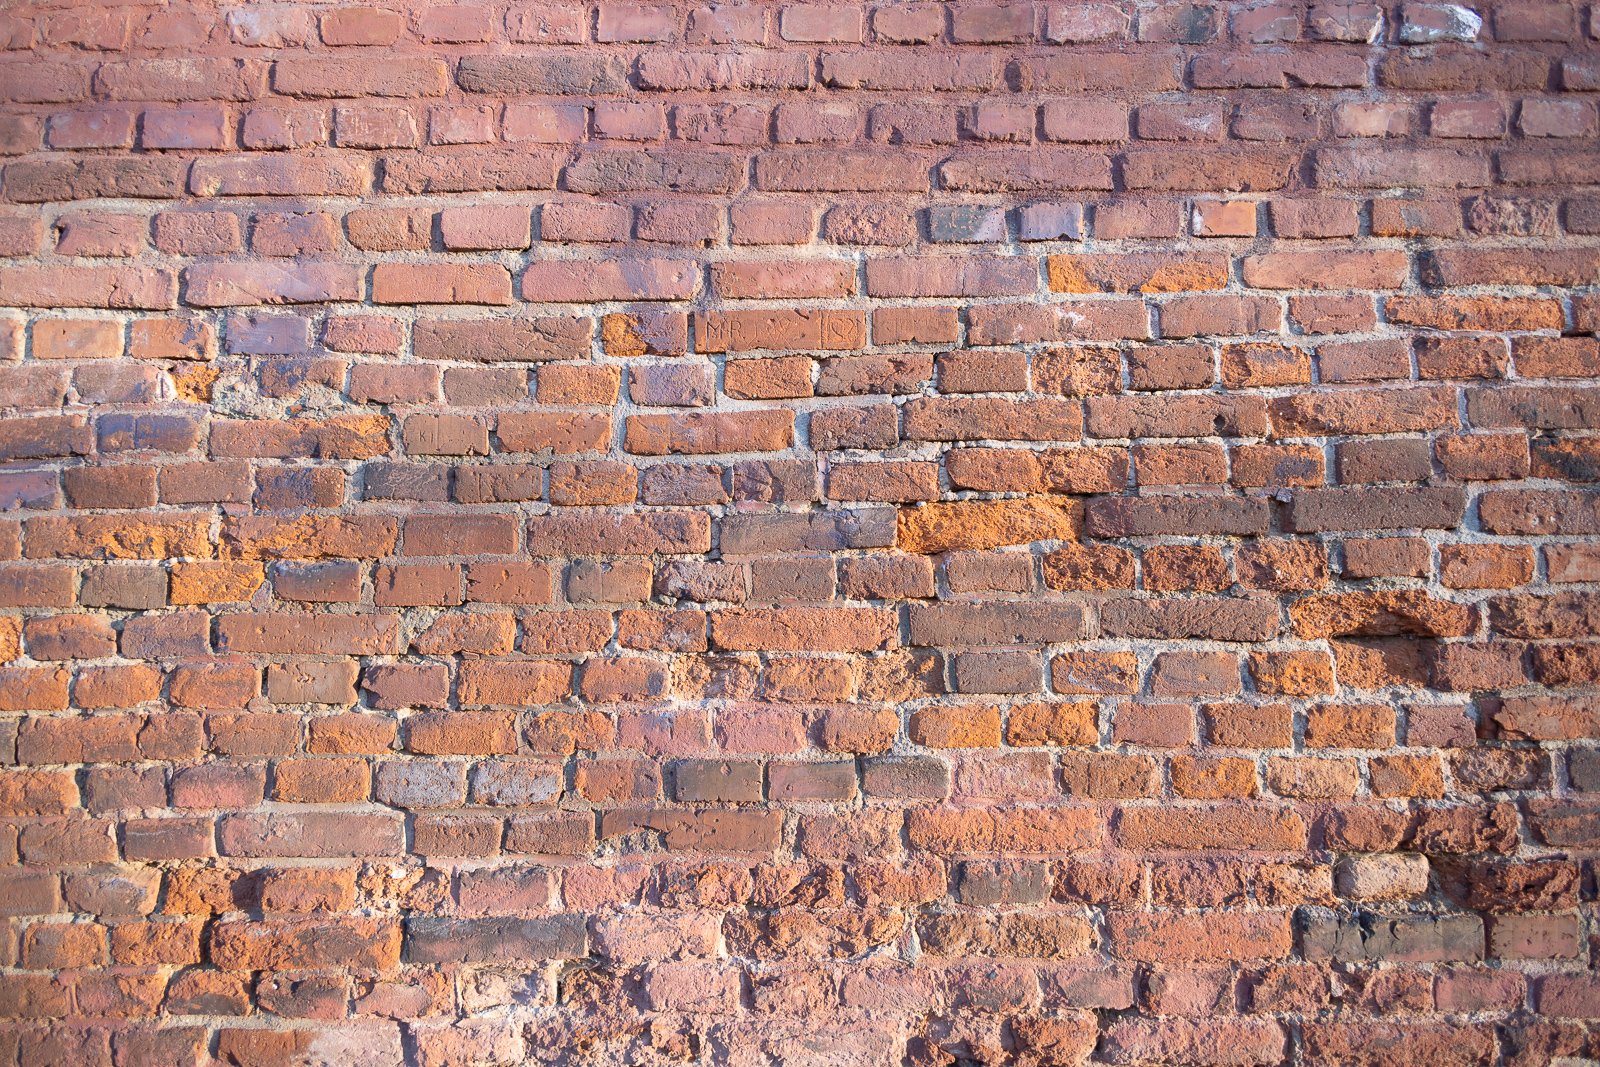
Geometric distortion uncorrected and corrected. Curiously, the lens’ angle is larger, but the edges of the image, where the errors are too large, are not used.
The distortion is corrected by warping the image to the opposite side. The result is a flatter image, but in some places slightly less sharp than the original. But we’re talking pixel-level sharpness. You won’t notice the blur when viewing the image as a whole.

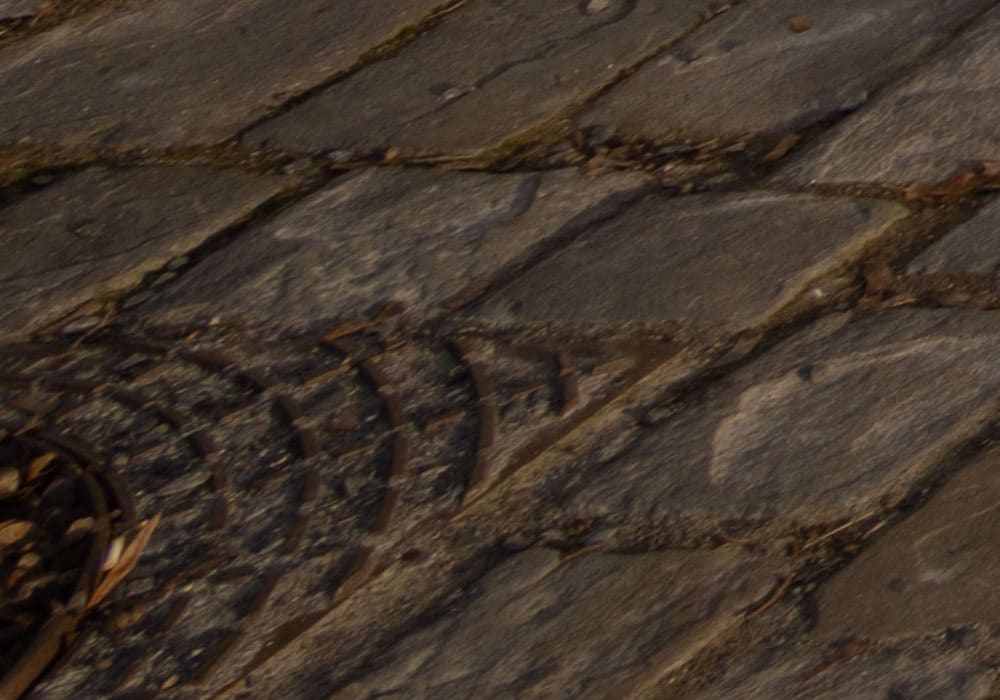
Close-up of the lower left corner before and after distortion correction. The image was stretched and enlarged, so the result is not as sharp.
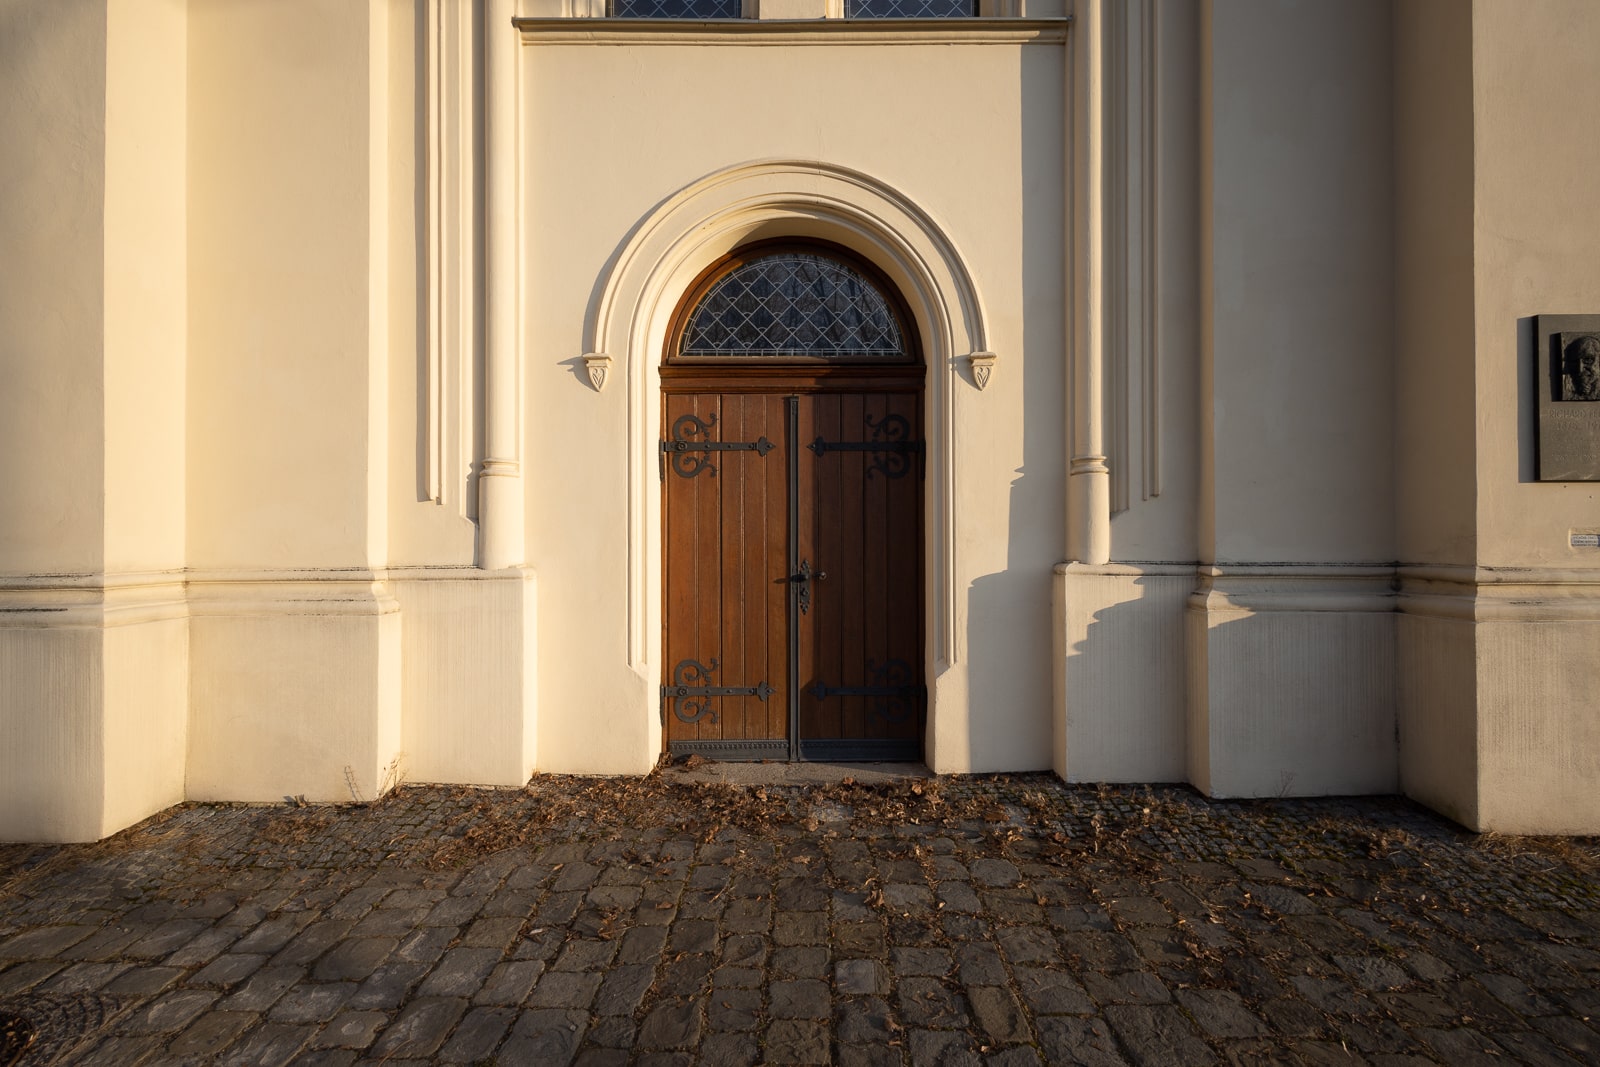
Distortion correction is highly beneficial when there are exact lines in the picture that should be parallel. In other words, perfect for your architecture photography. On the other hand, it is usually unnecessary to correct distortion in landscapes and naturally-occurring irregular shapes in general.
Vignetting
Almost every lens has some level of vignetting, or darkening at the corners of the image. It is more pronounced at lower apertures (like f/2.8) and decreases if you close your aperture (to f/8, for example).
Vignetting uncorrected and corrected, both at f/2.8.
The solution is easy: brighten the corners. But that also means increased noise in the edited areas. Some algorithms (e.g., for Canon, the option in the Digital Lens Optimizer menu) can compensate by reducing noise more at the corners, but this results in a loss of detail.
On the other hand, many photographers add vignetting to bring out the center of the image where the main subject is usually found.
The situation is not all black and white. Even cameras don’t have to completely eliminate vignetting, but only partially to fix lens issues more sensitively.
I would like to mention another issue with lens correction. Even if you shoot in RAW, some newer devices show the corrections in the digital viewfinder in real-time. This can be both practical and impractical. If you’re confused about why your viewfinder is flashing because the sky is overexposed, yet you’re comfortably within range in RAW, it may just be the vignetting correction that is brightening the sky.
Chromatic aberration
This term refers to the unequal refraction of different wavelengths of light. You may say that it doesn’t matter if the red car is one pixel off in the image, and you’re right. But the problem is mainly around the edges of white objects with dark surroundings, like a bright sky around dark tree branches. The different components of white light shift relative to each other, so typically green or purple will overlap into dark areas and create unpleasant contours, especially at the edges.
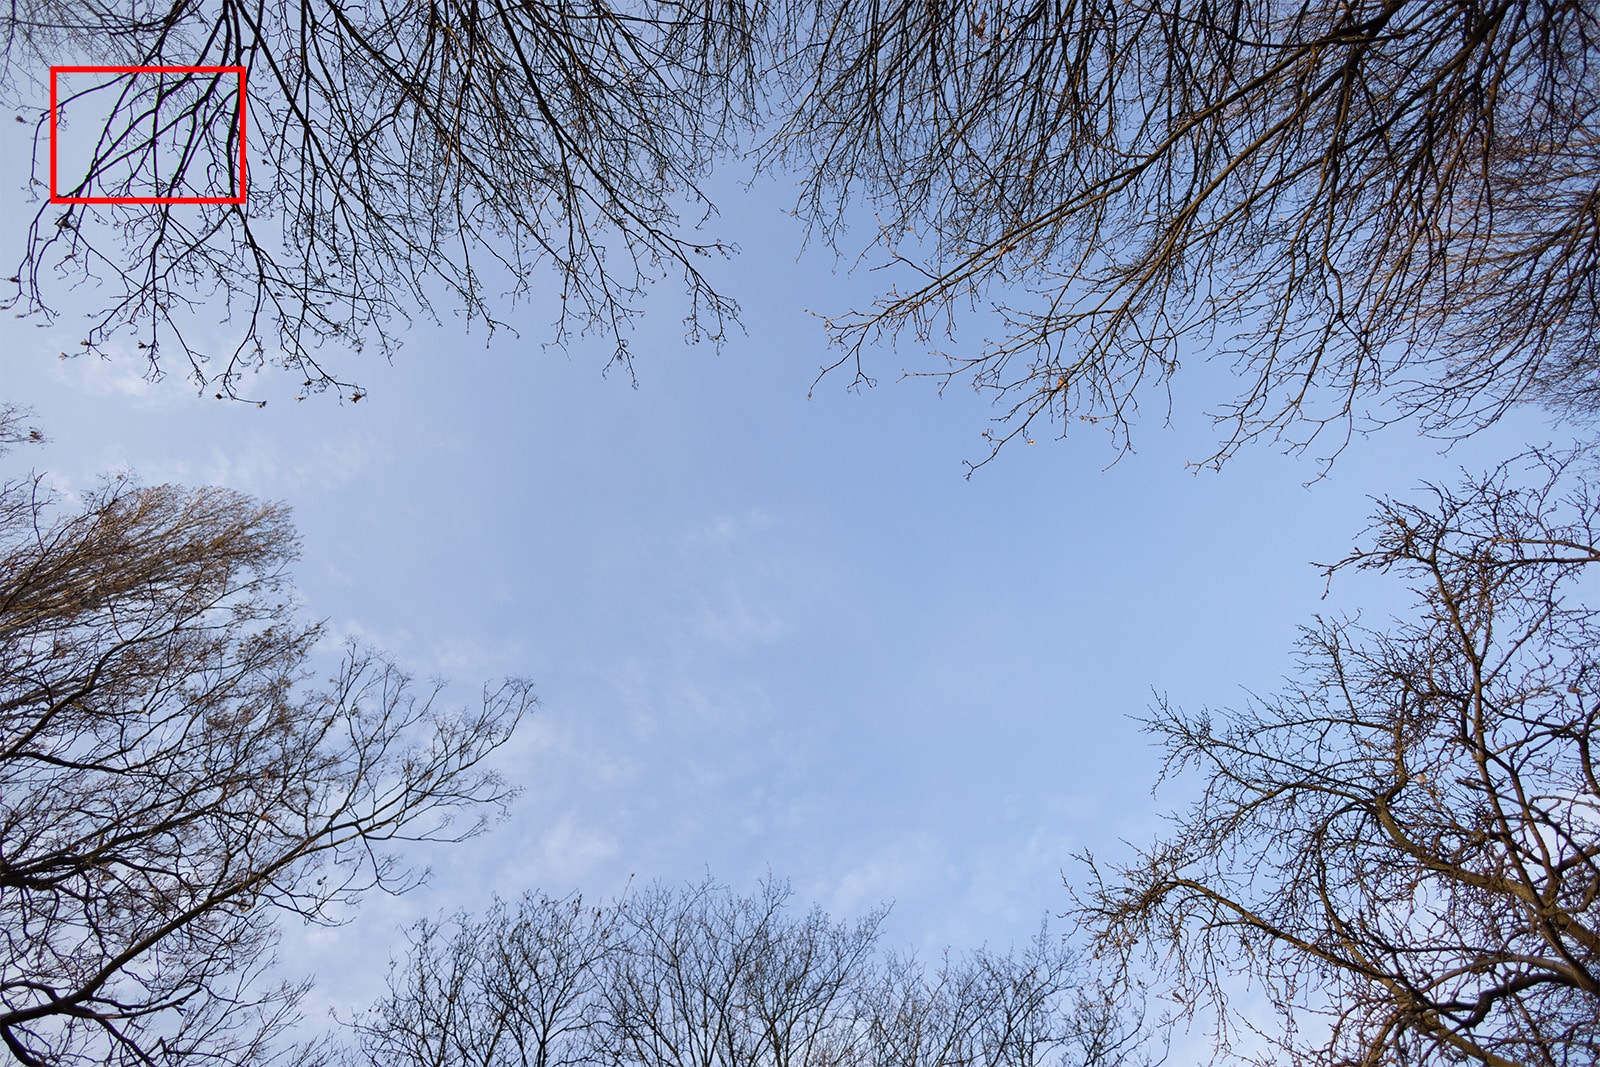
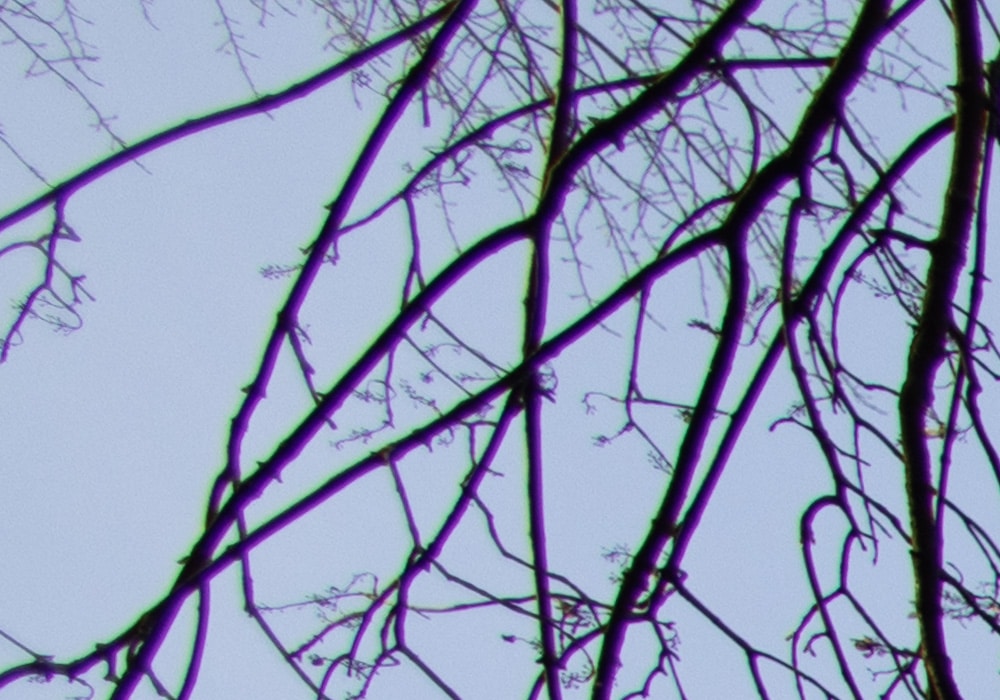

Lateral chromatic aberration without and with correction.
There are two types of chromatic aberration. Lateral aberration is easily solved automatically. All you have to do is divide the image into separate components—red, blue, and green. Then, transform each of them slightly differently.
Theoretically, the result can have a very slight blur, but the benefits outweigh the risk, so I use this correction almost every time.
Diffraction
Diffraction is image blur, which is not caused by lens design. It is a physical phenomenon of light bending as it passes closely through an obstacle. This effect is negligible if you shoot with a low f-number. But when using a high f-number, you create a very small opening for the light, and then much of the passing light is very close to the aperture blades. A large part of the light is bent in different directions and the image quality suffers.
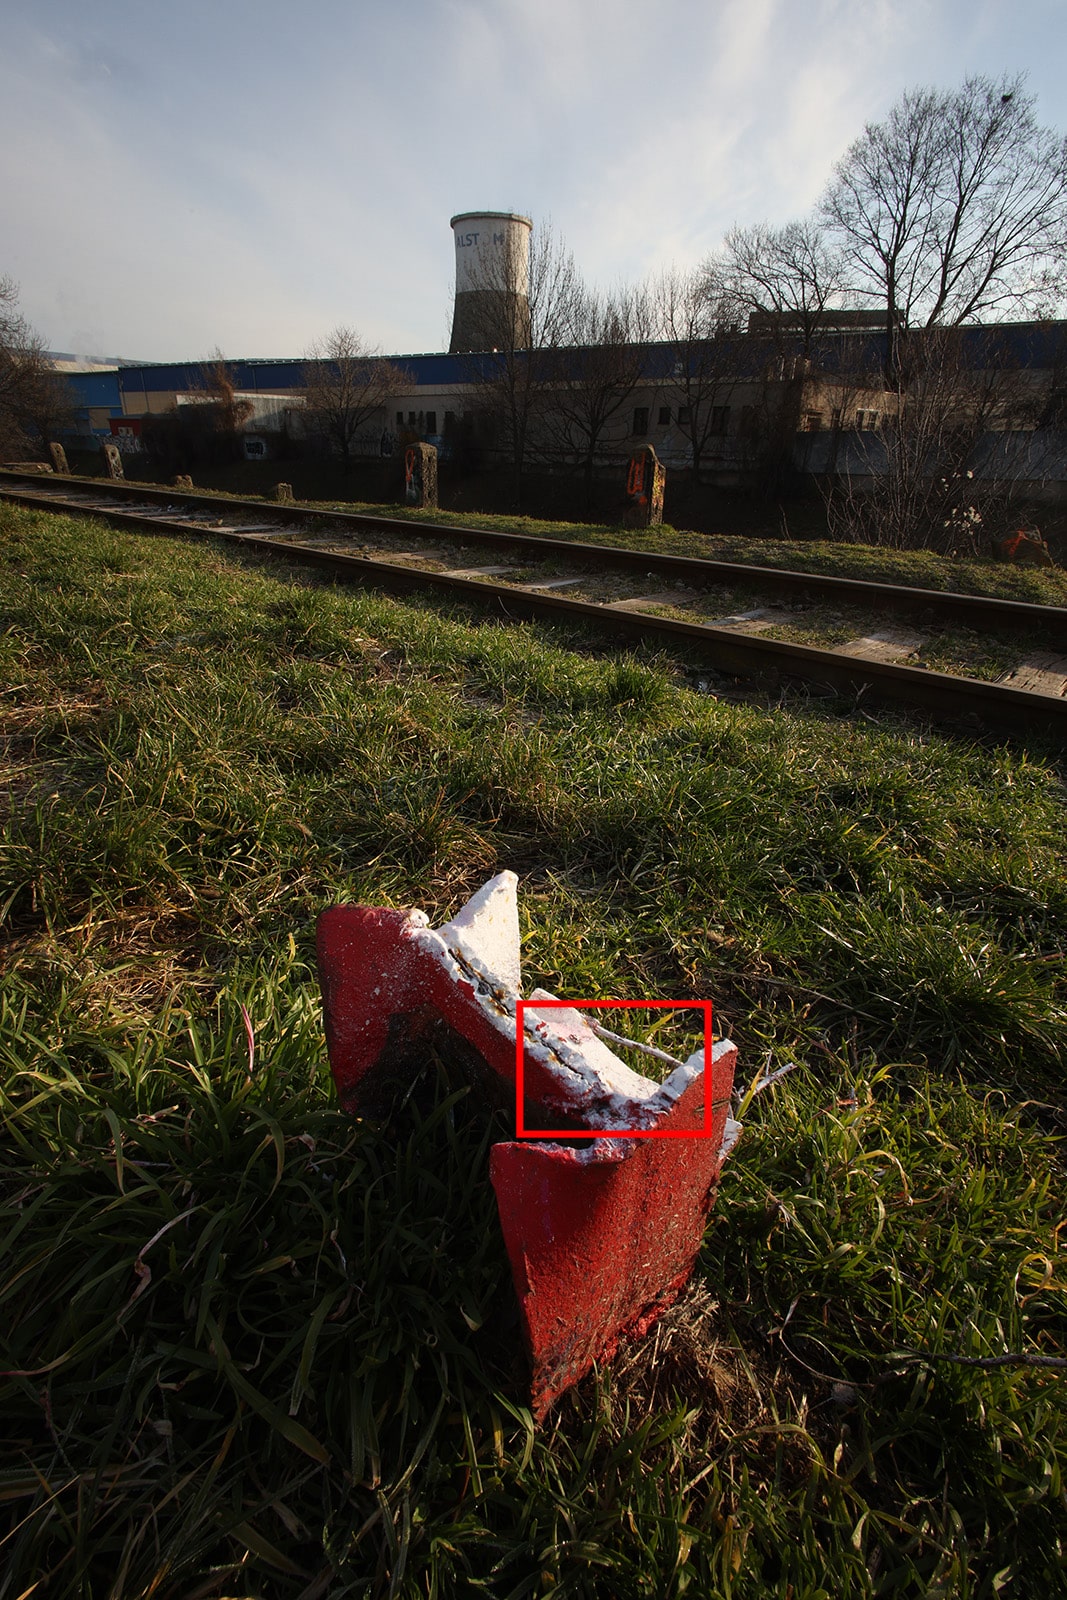
The demonstration photo isn’t meant to be artistic, but it’s exactly the type of photo that requires diffraction correction. To focus on subjects both near and far at the same time, a very high aperture is needed, (f/22 in this case). It has slight blur in the form of diffraction.


Diffraction of lateral chromatic aberration uncorrected and corrected.
There’s help in the form of software image sharpening, but this can also sharpen unwanted areas or noise. Again, we find ourselves opting for a compromise.
Correcting in post-production
If you shoot in RAW or don’t want in-camera automatic corrections applied for some reason, there is one remaining option.
You can still do some or all corrections in post-production. One option is Zoner Studio, which supports RAW formats for a majority of cameras, or the Adobe DNG Converter. But the Adobe DNG Converter relies on guesswork and measurement of lens issues, so the corrections may not be the same as a JPEG image from the camera. Camera manufacturers offer their own programs. In this case, Canon Digital Photo Professional includes the same corrections that a camera would use, except that you have greater control over them.


If even this option doesn’t work for you, then you can use the wide range of tools in Zoner Studio, including masks and other features. You can apply corrections to only certain parts of the image.
Use some corrections always, others in moderation
Having the ability to (semi) automatically compensate for lens imperfections is great. These features save a lot of time, especially for architecture photography where corrections are necessary, as well as many other occasions.
If you don’t like auto-corrections, you now know you can disable the corrections in your camera, or edit them later when you manually edit the photo.
Fine-tune your photos so they match your vision. Try lens and camera profiles in Zoner Studio free for 7 days limit-free and with support for all functions.
There are no comments yet.