Split Toning: Give Photos Your Own Personal Style
The article is over 5 years old. The information in it may be outdated.
![]()
We are working on its update. In the meantime, you can read some more recent articles.
I want to continue reading the article.
SIMILAR NEWER ARTICLES...…
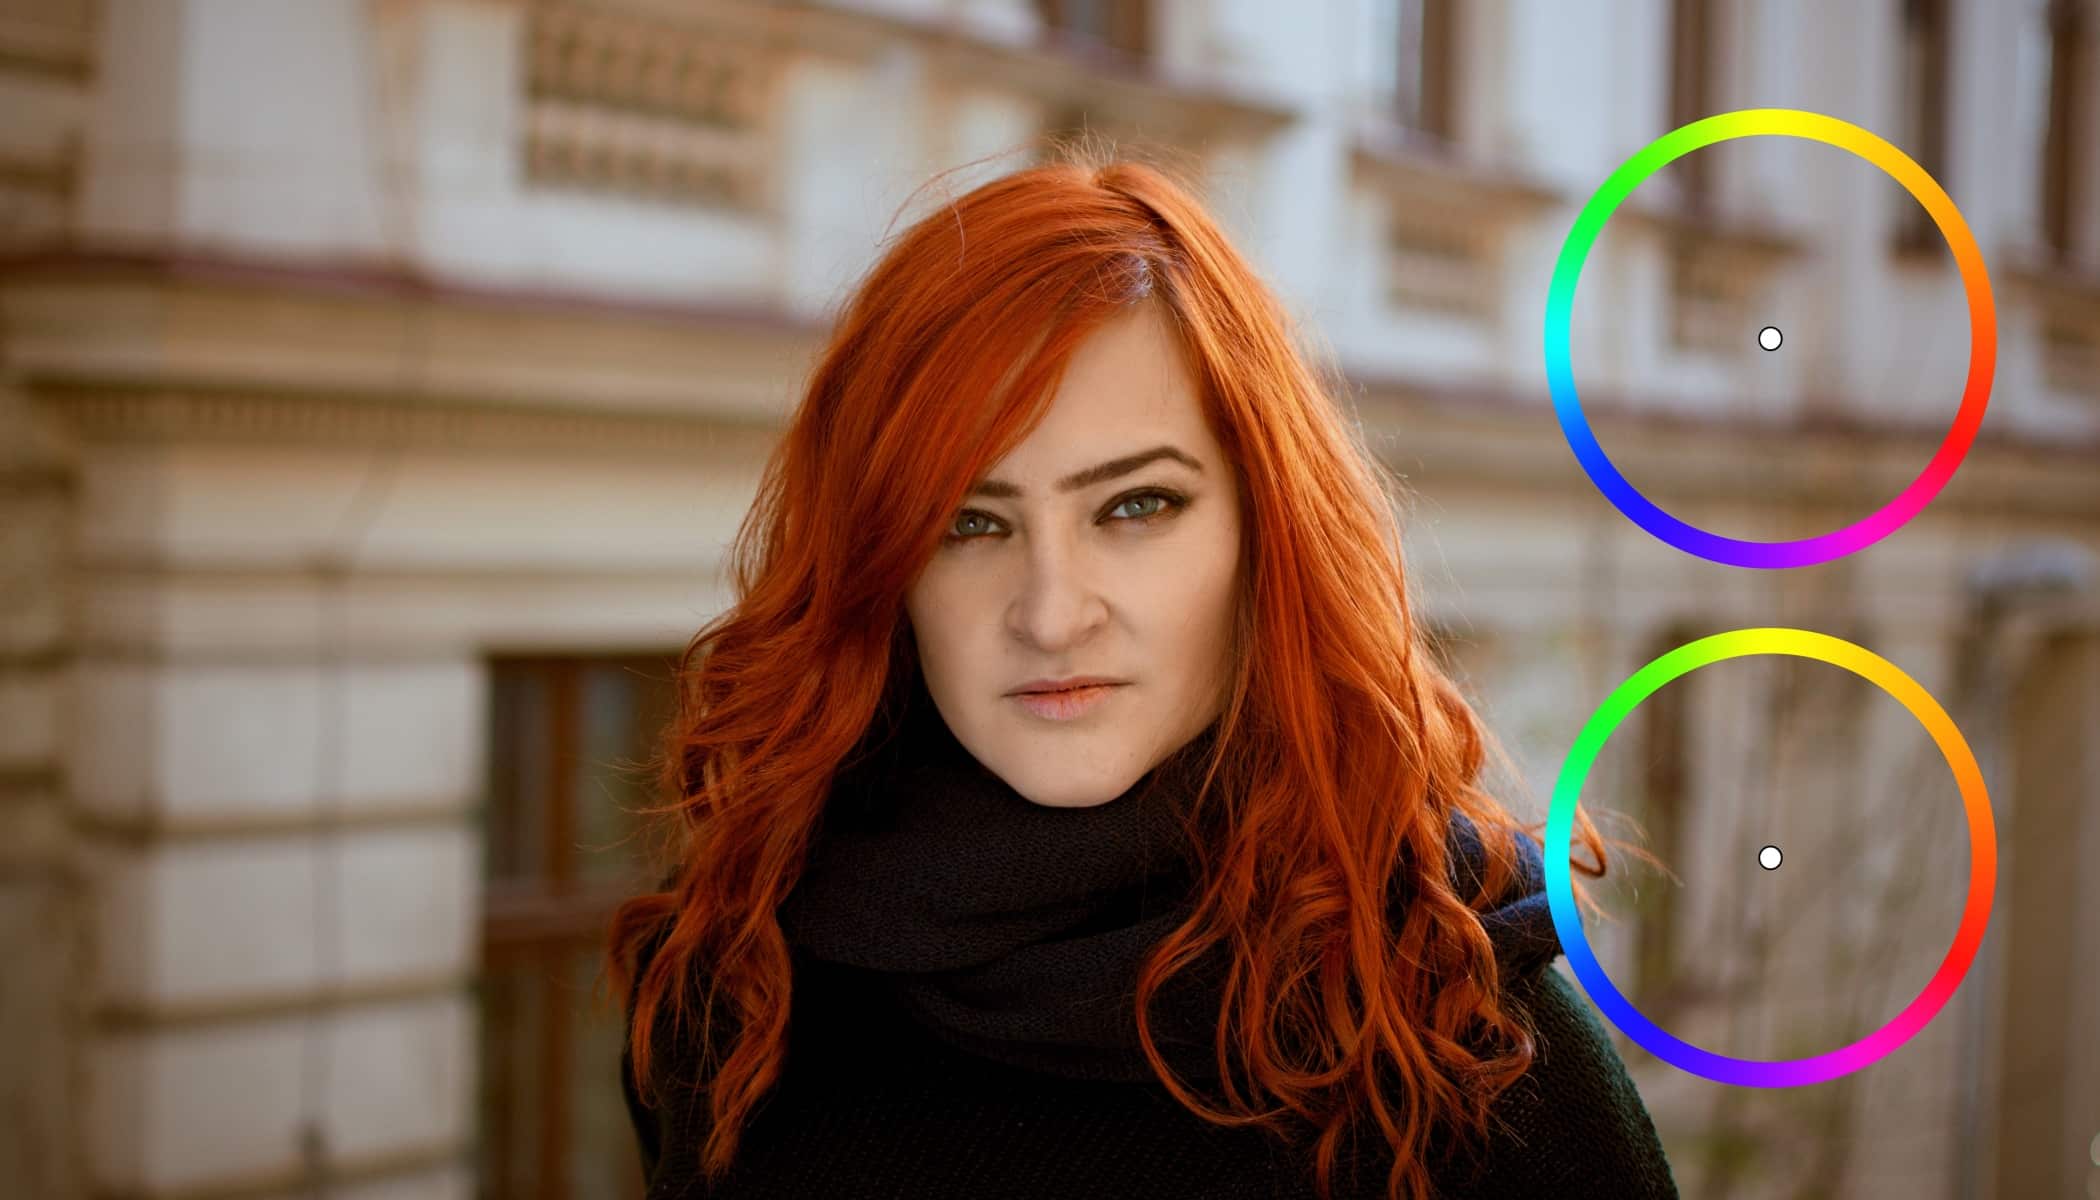
One special part of our bundle of new tools for working with colors is a Split Toning. You can use it to tint a whole photo towards colors of your choice—or tint its dark and light areas separately. It’s an easy way to change your photos’ mood and give them new life and your own style.
Split toning works by “screening” certain parts of a photo with a desired hue and saturation. You can tone a whole photo at once, or dark and light areas separately. For that second approach, you use a different color on dark areas than on light ones. Working like this, you can give your pictures a very fresh look. Take a look at how to do it.
Introducing Split Toning
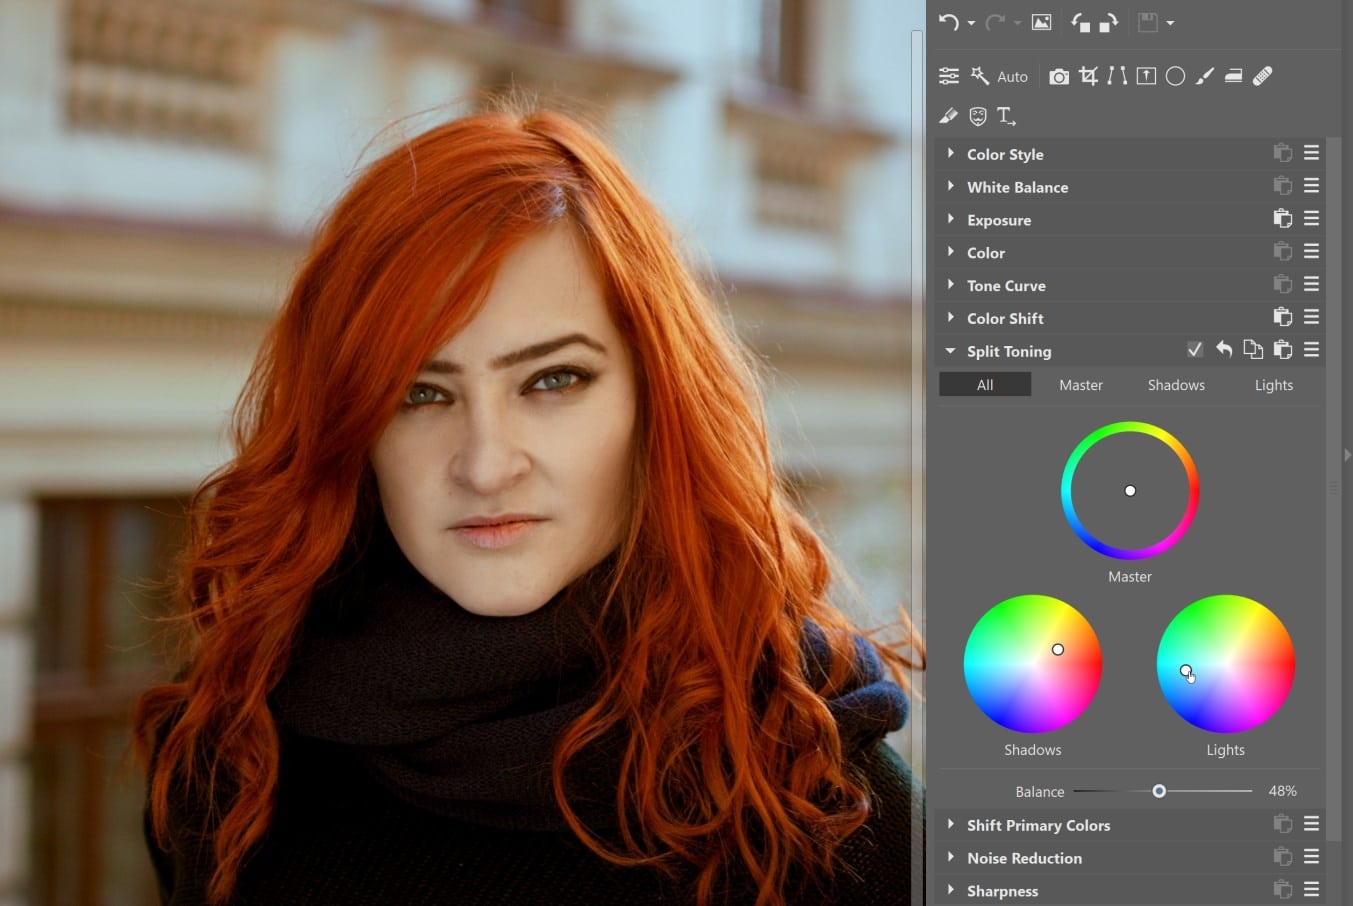
The Split Toning controls are simple and intuitive. The All section offers three color wheels and a single slider:
- Master – Sets the photo’s overall tinting in both the shadows and lights.
- Shadows – tints the dark parts of a photo.
- Lights – tints the light parts of a photo.
- Use the Ratio slider to set the ratio between what is counted towards the lights and what is counted towards the shadows. In practice this amount to balancing the tinting in the shadows vs. the lights.
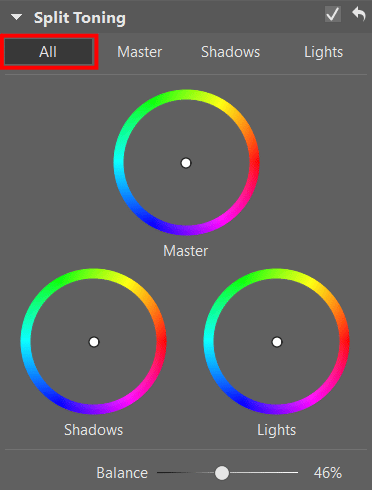
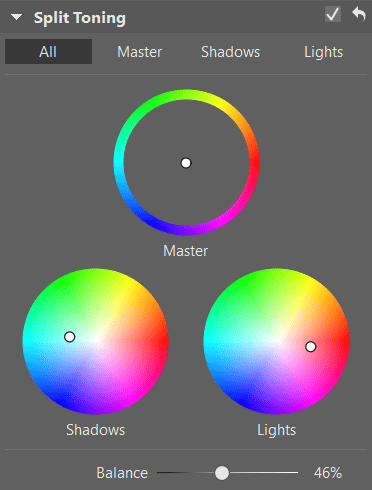
Grab the node in the middle of a color wheel and drag it to the shade you want—the one towards which you want to tint the given part of the picture. Choose a shade by moving the point around in a circle. To affect the saturation, move the node closer to or farther from the center—the closer to the center, the lower the saturation, and vice-versa.
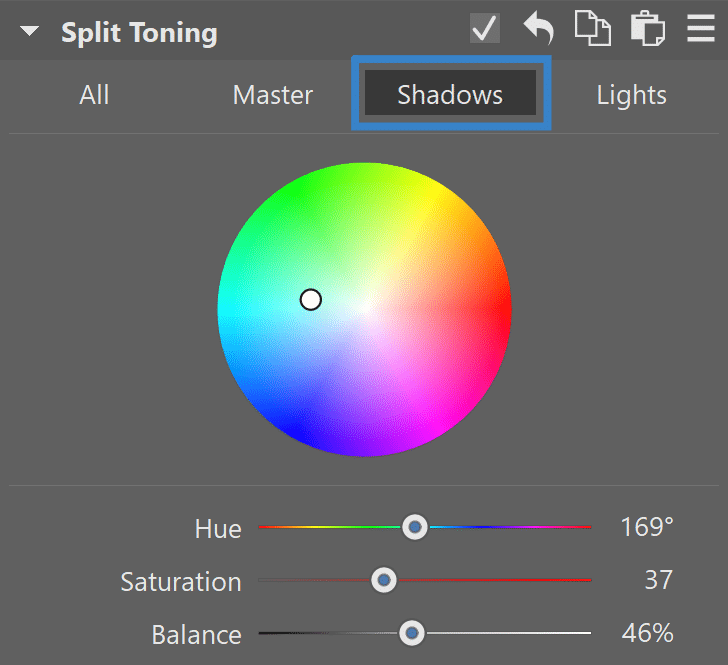
You’ll find three other sections in addition to All. As their names imply, they’re used for detailed color toning of a photo’s individual parts. These sections each offer two additional sliders: Hue and Saturation. They work the same as moving the node around the circle, but they let you work more precisely, and you can enter numbers in them manually as well.
TIP: You can even use Split Toning to edit black-and-white photos. Fine-tuning of colors for lights and shadows works the same here as when you’re editing color photos.
Gentle Yet Impressive Color Tuning
Split Toning makes it easy to adjust a photo’s overall mood. One advantage is that in many cases, Split Toning can replace the Tone Curve—and yet it’s faster and more convenient to work with.
TIP: We recommend using high-contrast colors for lights and shadows, i.e. colors on opposite sides of the color wheel. Color contrasts are great for conjuring up a mood for your colors, making pictures dynamic, and emphasizing a photo’s subject.
The most typical way of using Split Toning is to tune shadows towards cooler tones and lights towards warmer ones. But naturally that’s not dogma. Every photo has different needs, and also, don’t feel limited: with Split Toning you can easily create your own signature look.
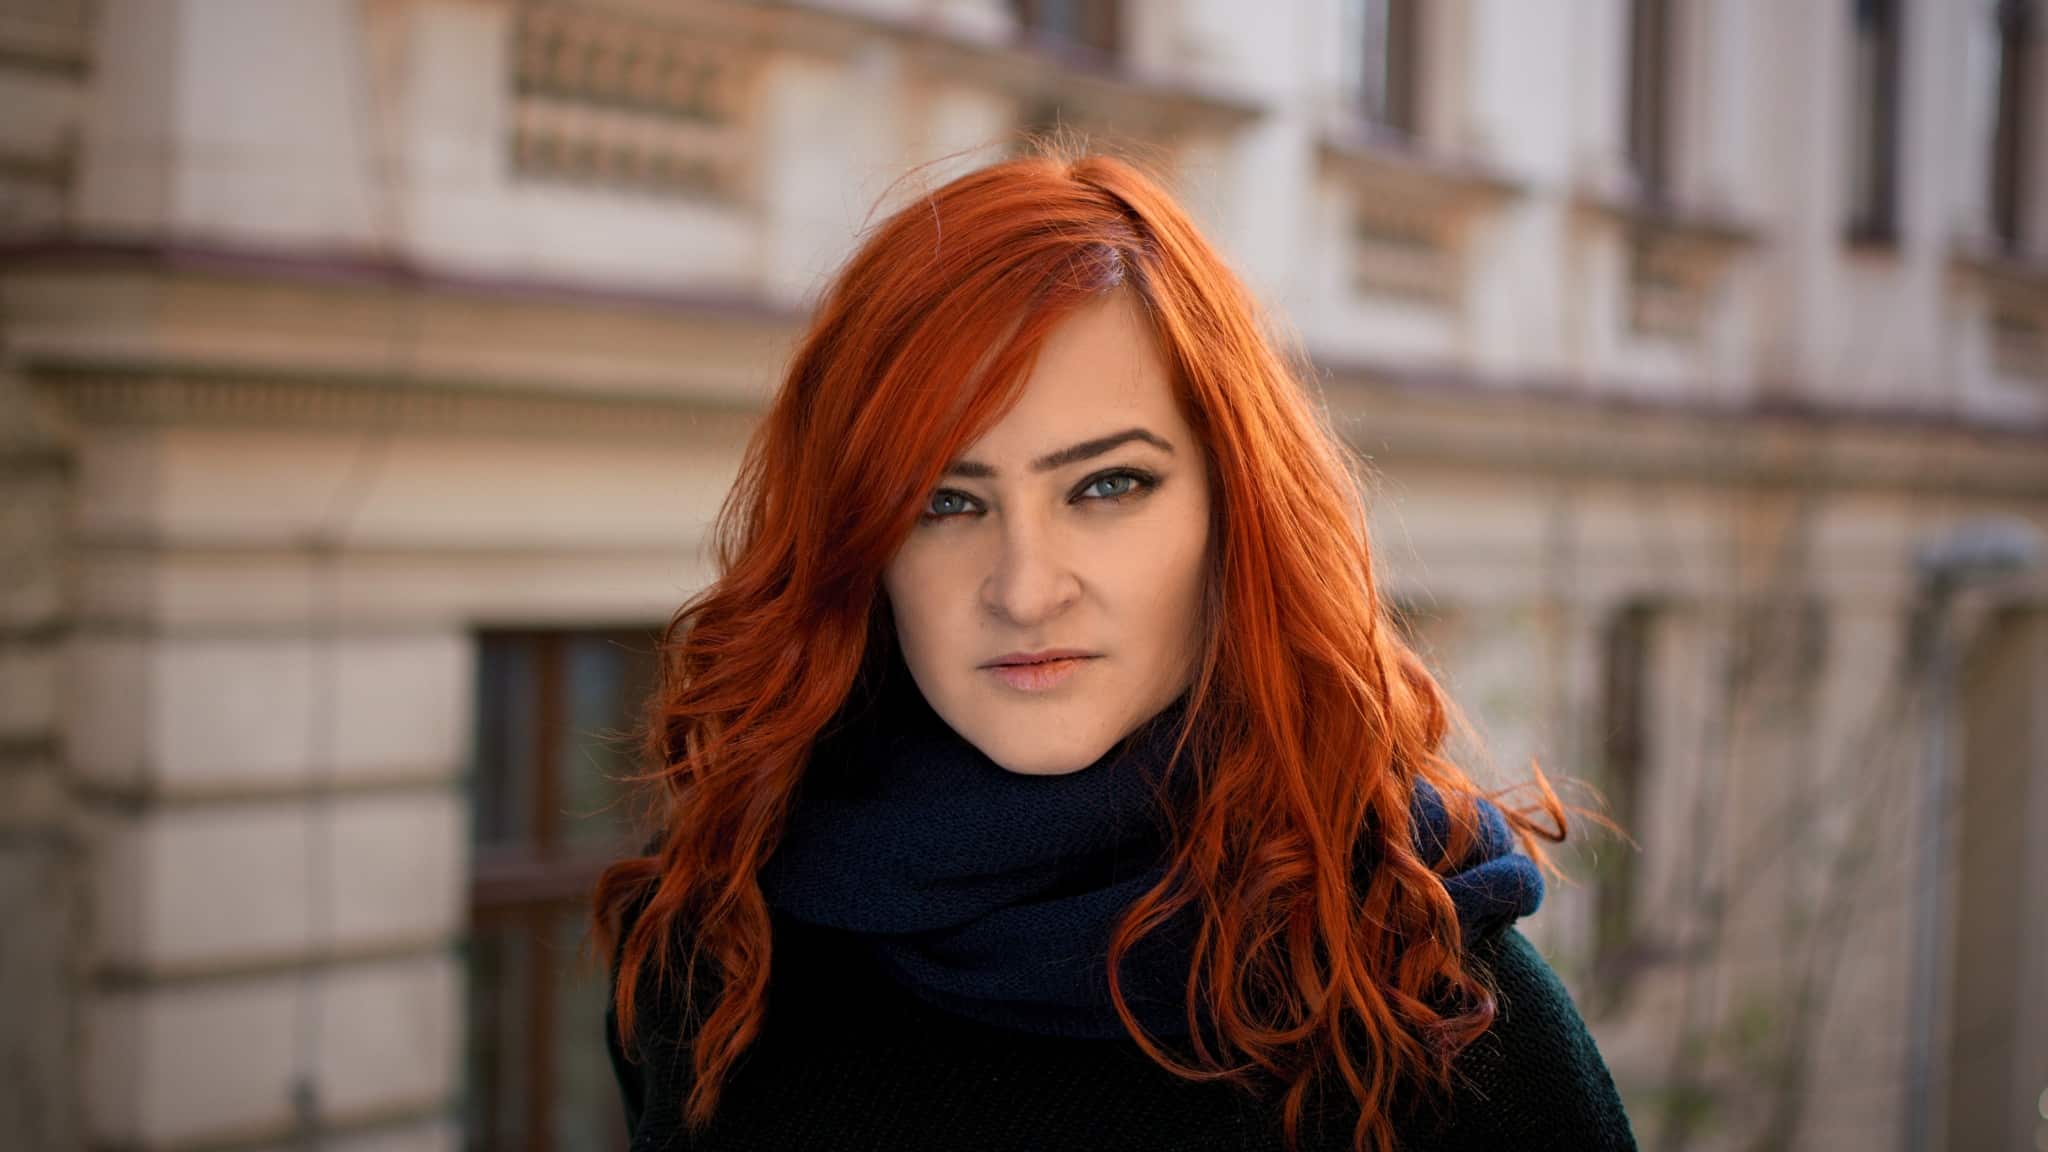

Fine Tune Your Very Own Style
Keep in mind that going overboard is harmful too. Not every color combination looks good. Use Split Toning with care, and it will help you out with your photos a lot. See for yourself how simple and efficient edits with this tool can be. We’re excited about this new improvement!
Can’t wait to try out Split Toning? Then don’t wait. Download Zoner Studio, try it free for 7 days, and get started editing!

There are no comments yet.